Grafix Demo 3
Project Description: Grafix Demo in a Box 3 is an educational technique on using both sides of Wet Media Dura-Lar Film.


Designed by: Barbara Cowlin
Difficulty: Easy
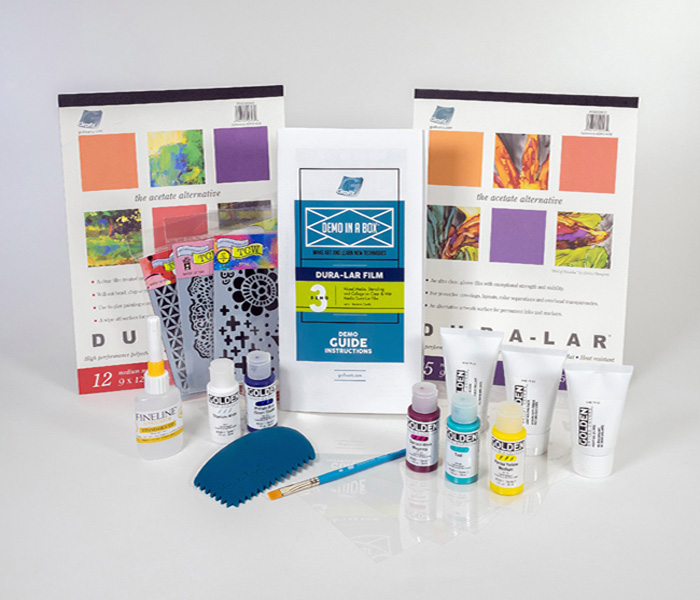
Materials:
- Grafix Clear Dura-Lar
- Grafix Wet Media Dura-Lar
- The Crafter’s Workshop 6 x 6″
- Mini Kaleidoscope
- Stencil Positivity
- Octogonal Lace
- Golden Soft Gel Gloss
- Golden Heavy Gel Gloss
- Golden Light Molding Paste
- Golden High Flow Paints:
- Titanium White
- Teal
- Quinacridone Magenta
- Phthalo Blue (green shade)
- Hansa Yellow Medium
- Princeton Artist Brush Co. brushes (various)
- Fineline Applicators
Steps to Make This:
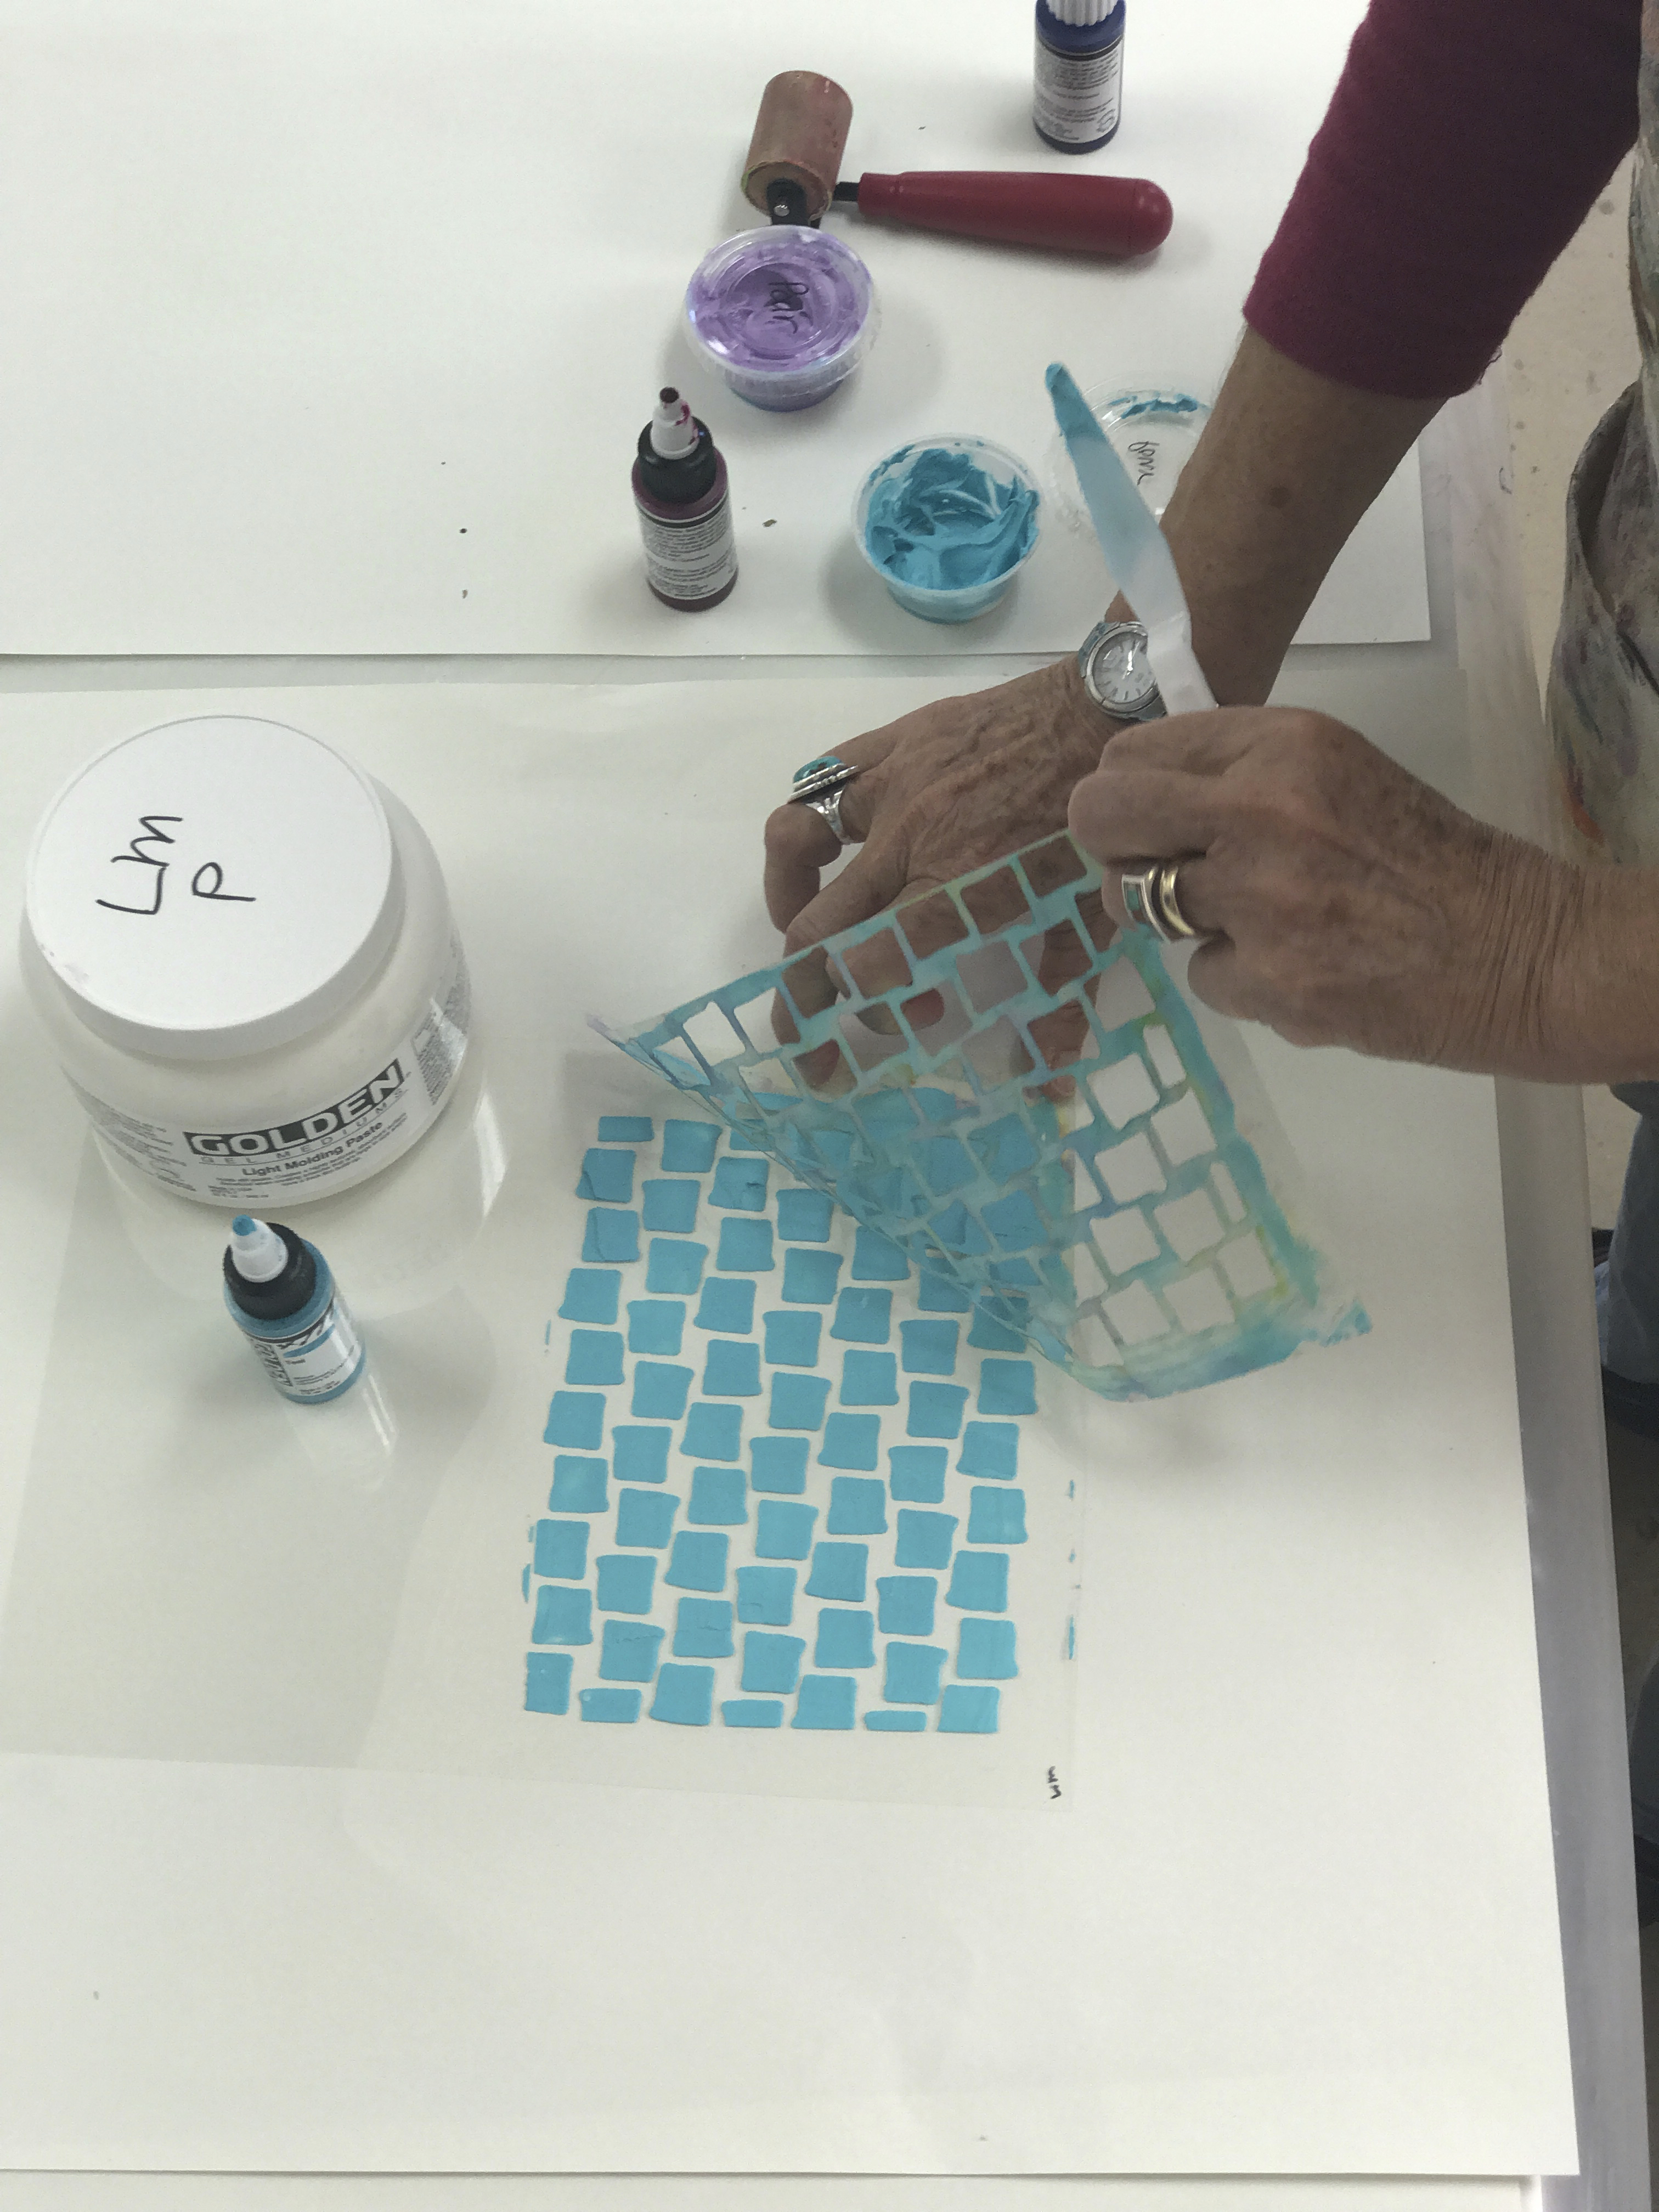
- Prepare paint and medium mixtures by separately mixing High Flow acrylics into Light Molding Paste and into Heavy Gel Gloss. Use 2 oz. containers with lids for mixing a variety of colors into the Paste and into the Heavy Gel Gloss.
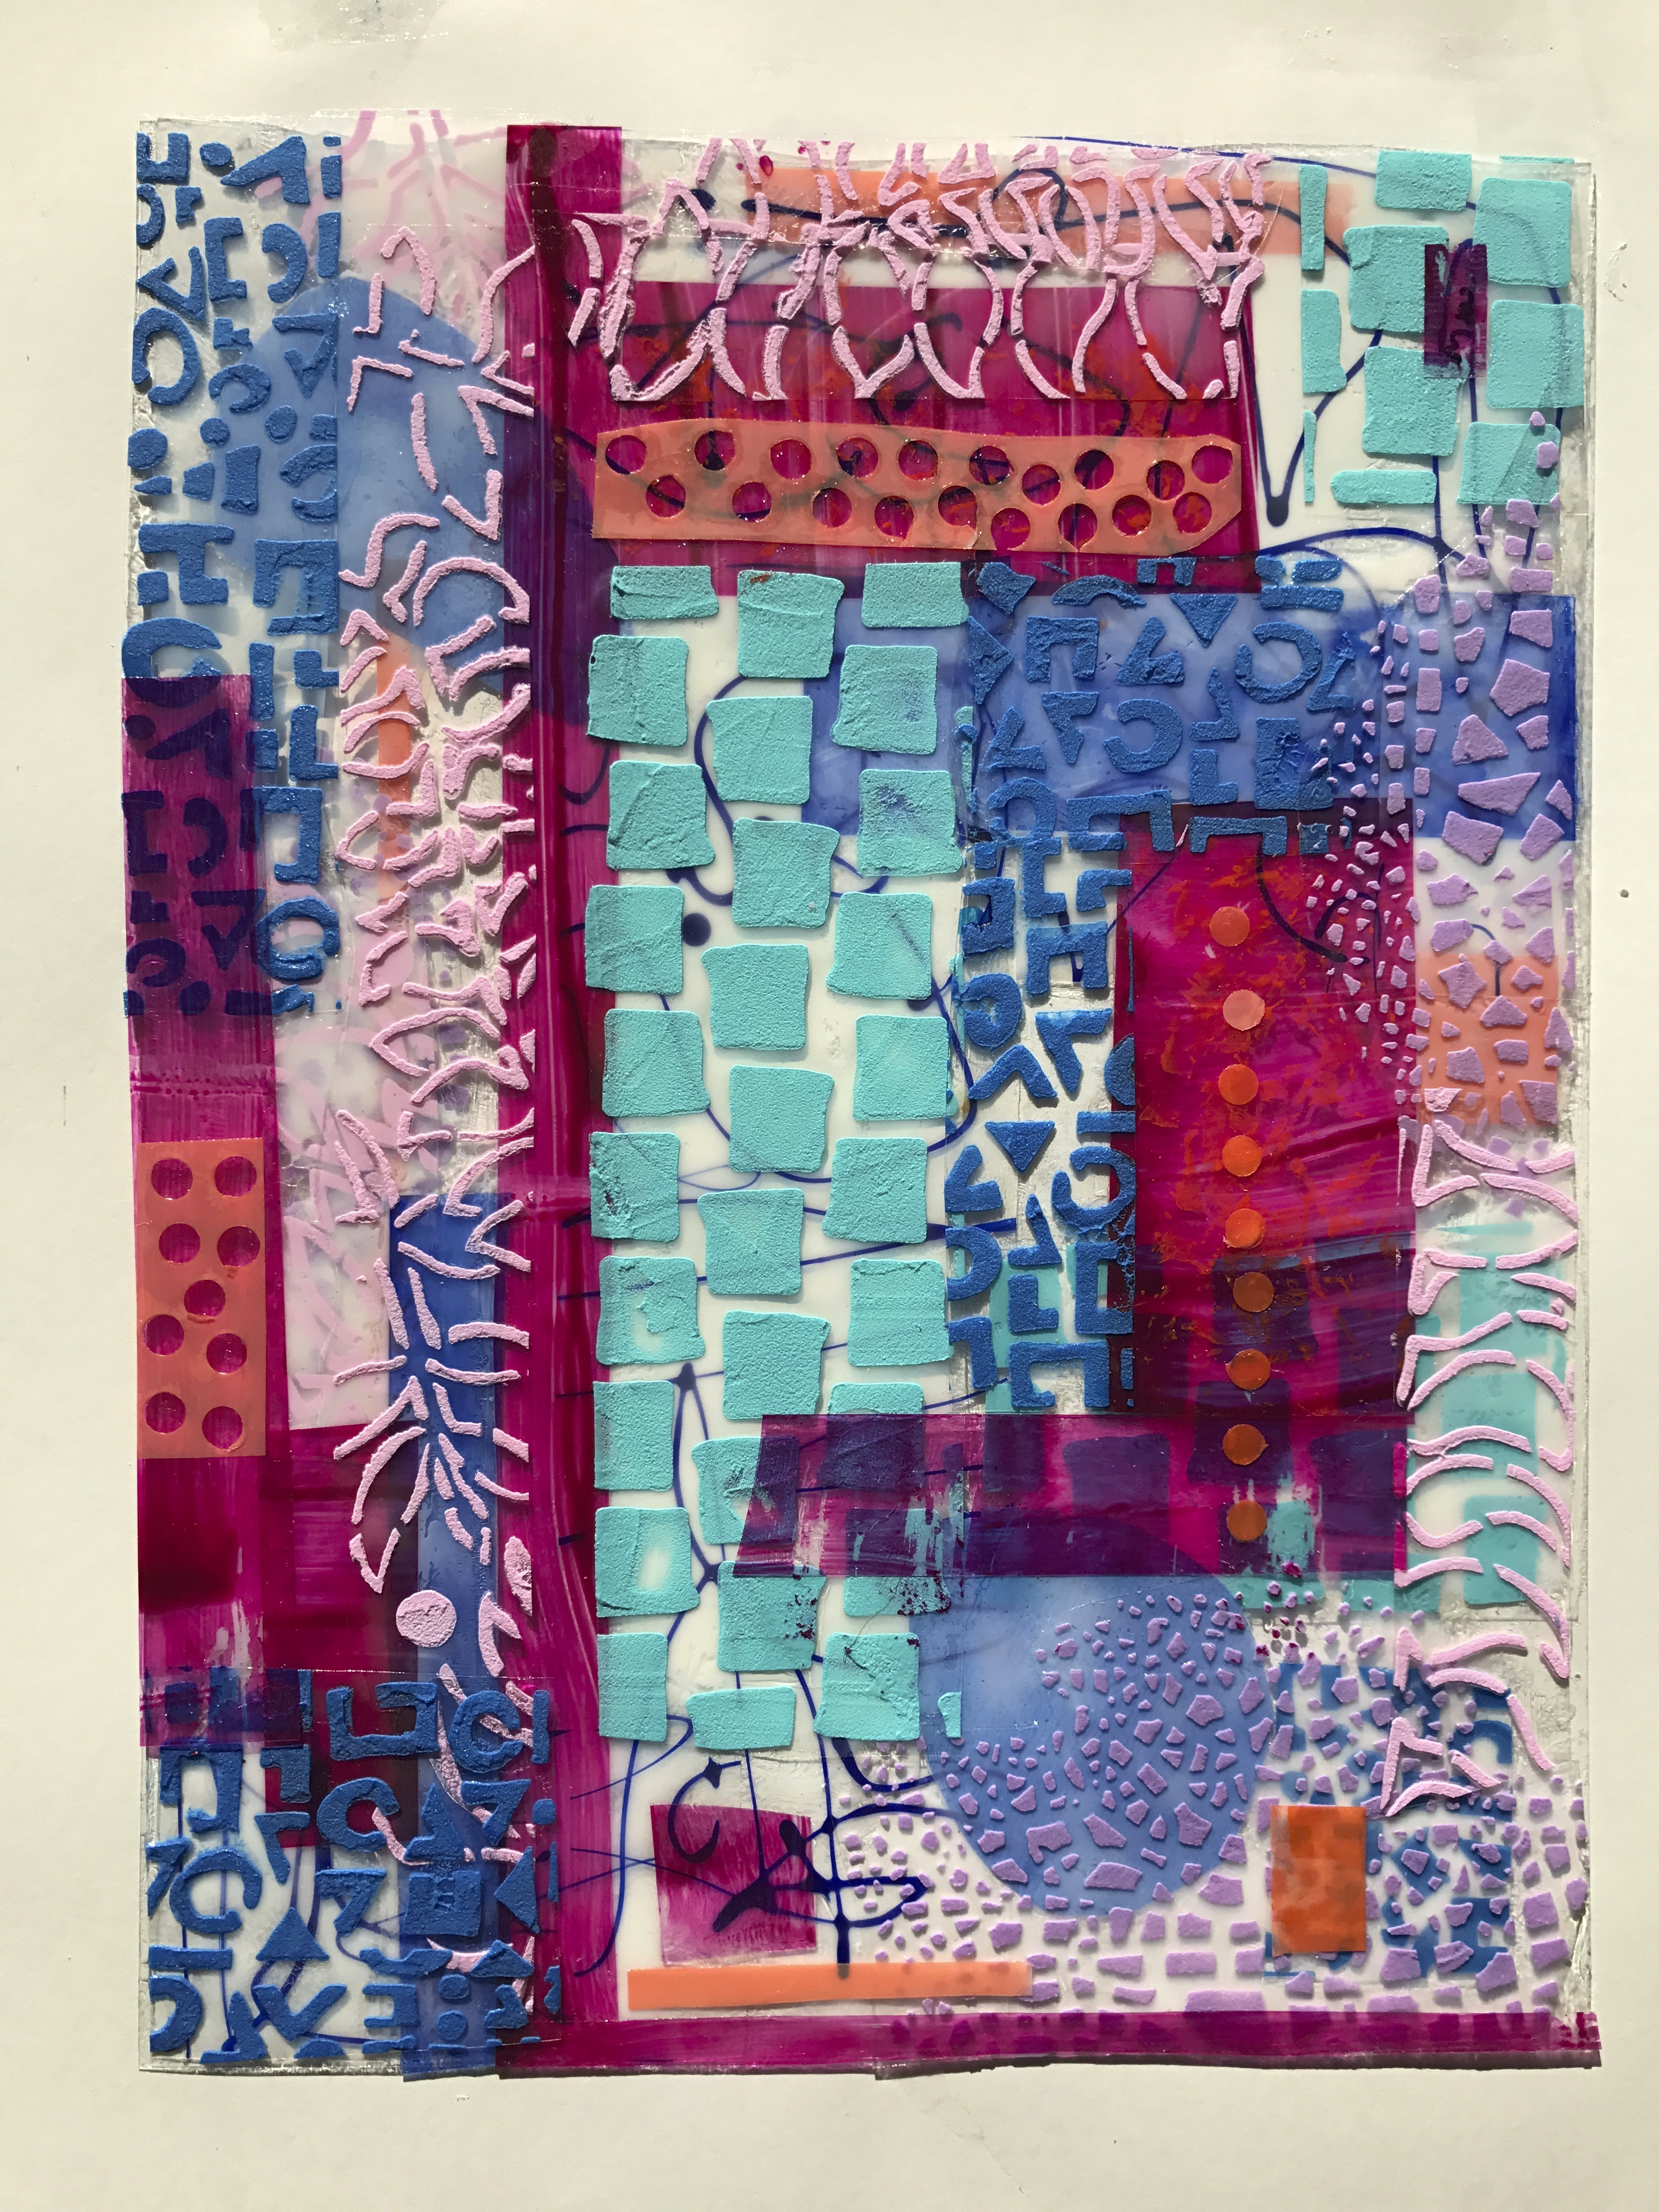
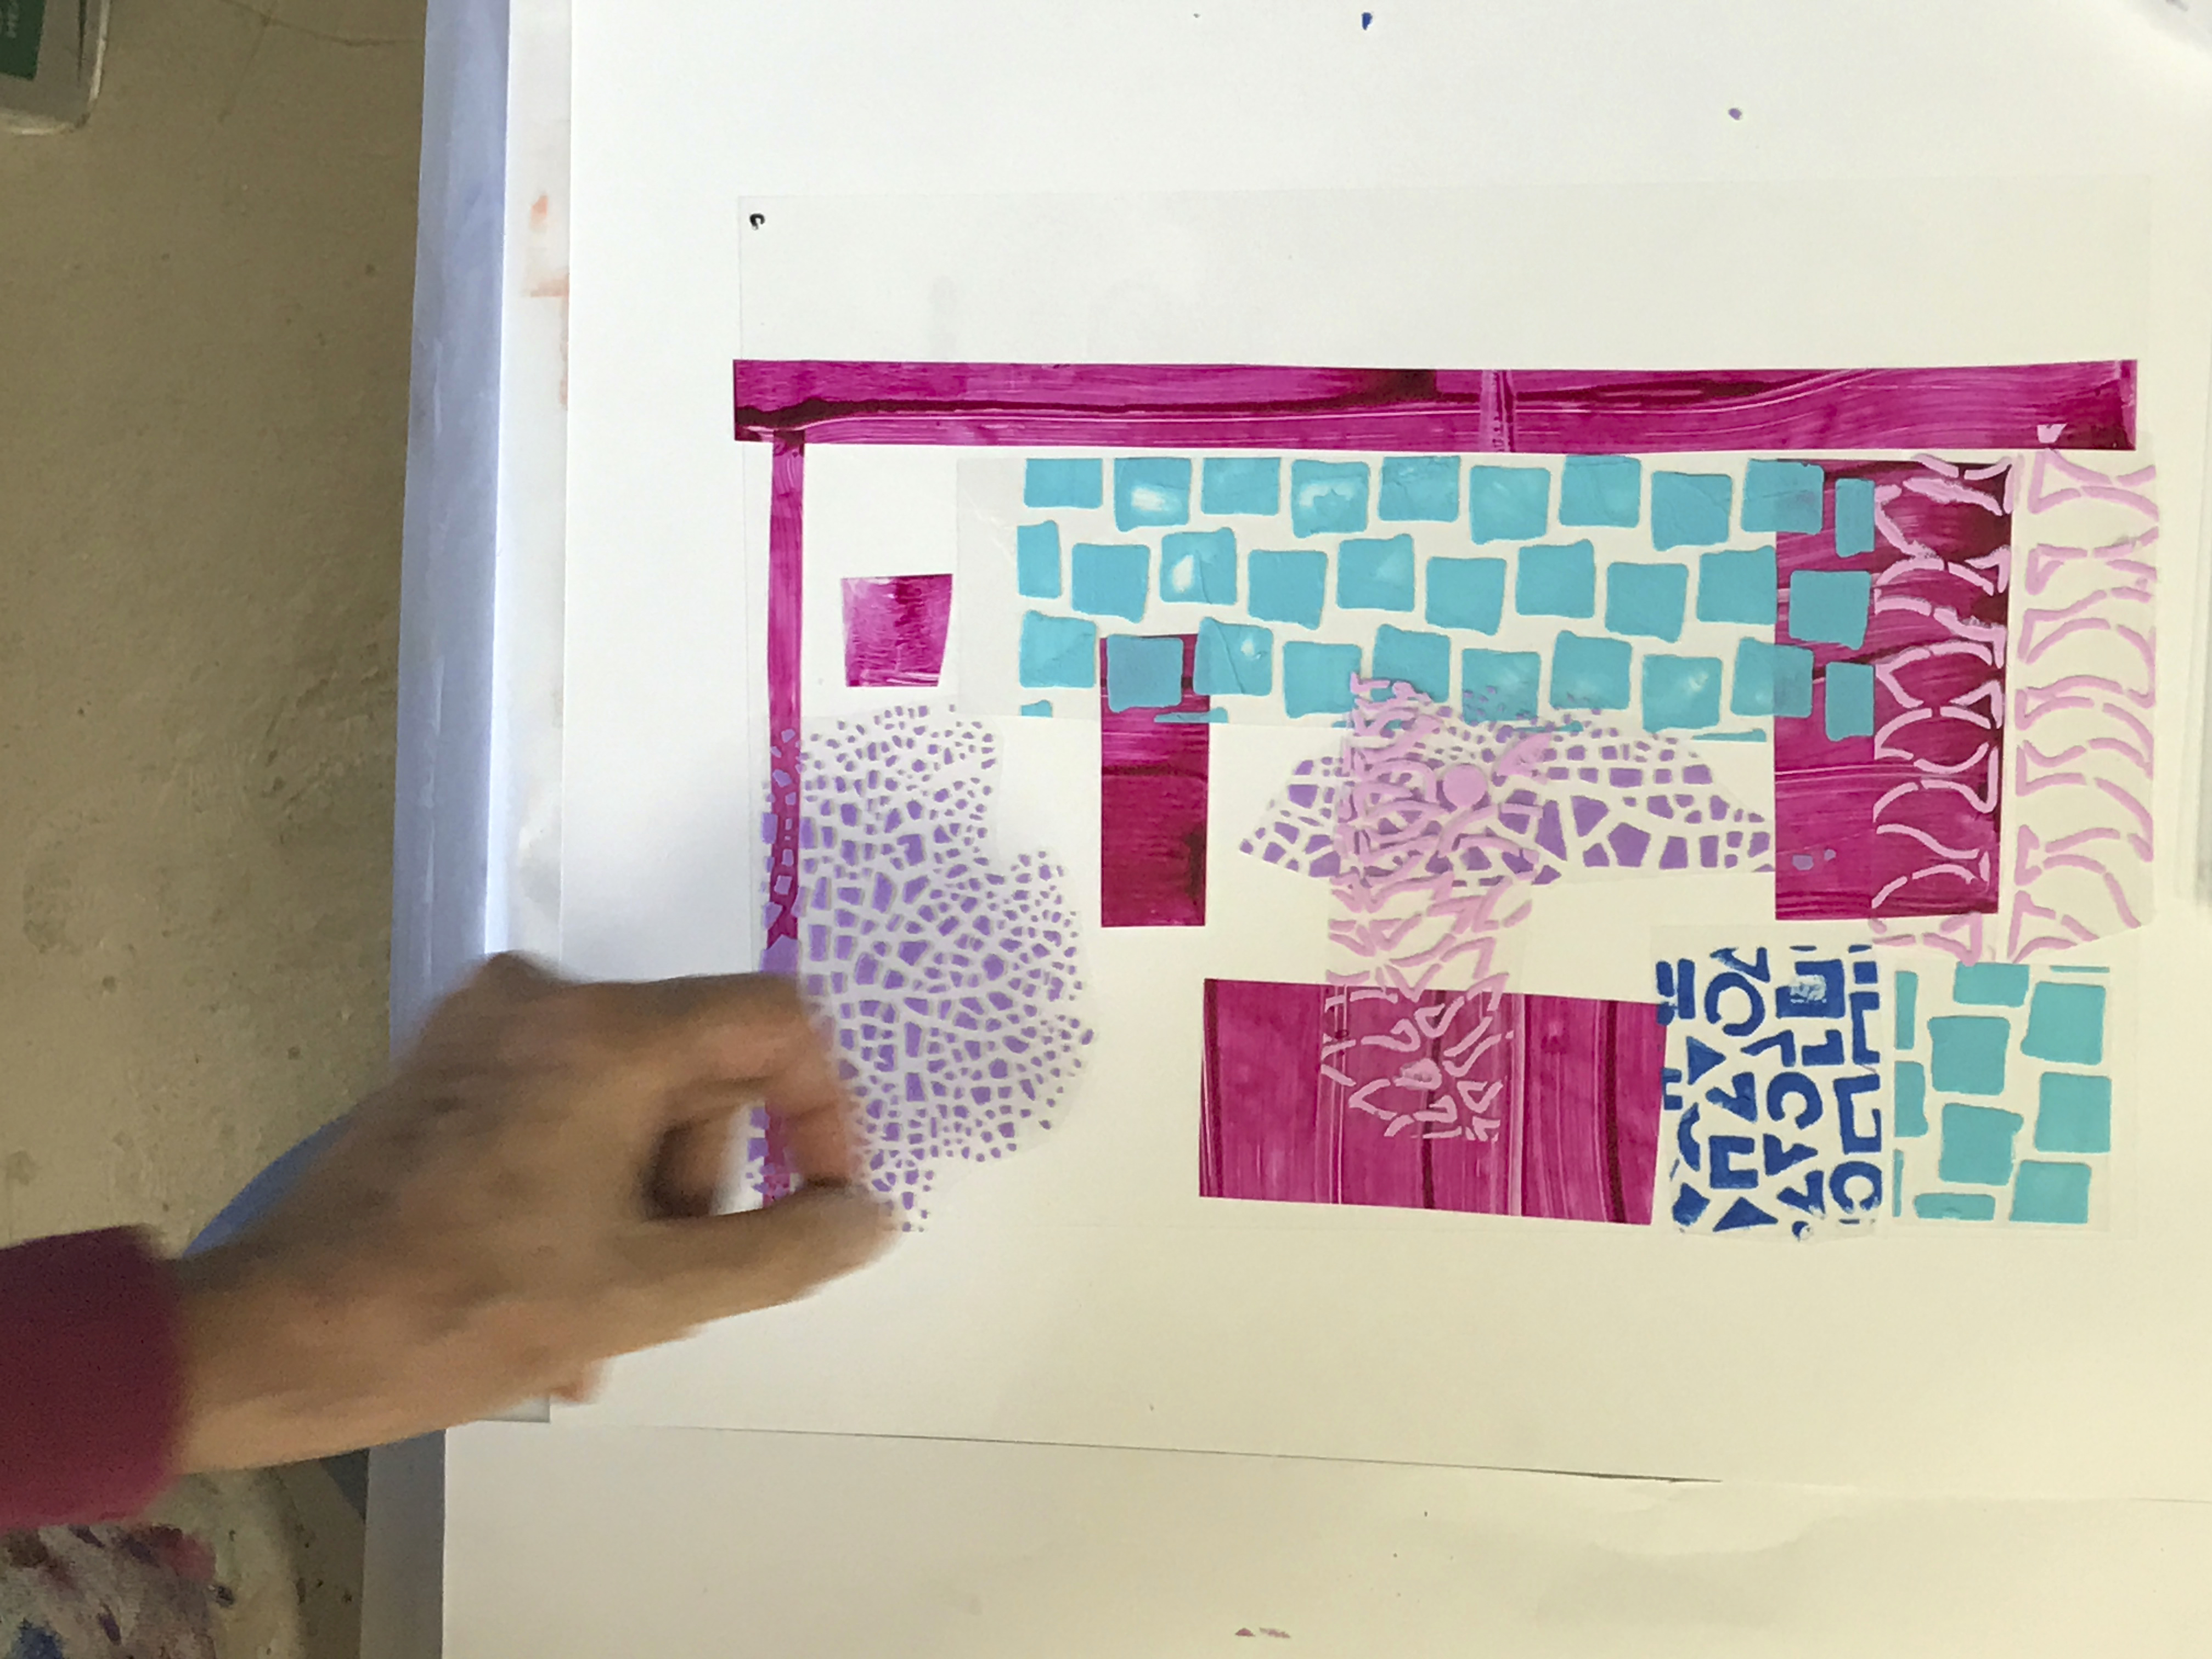
- Create a library of painted Wet Media Dura-Lar Film sheets which will be cut up and then assembled into a college.
- Demo Tip: Save scraps for later use.
- Stencils: cover sheets of Wet Media Dura-Lar Film with a variety of stencils and colors mixed with molding paste and gloss. Use a palette knife to scrape the medium over the stencil.
- Demo Tip: Save scraps for later use.
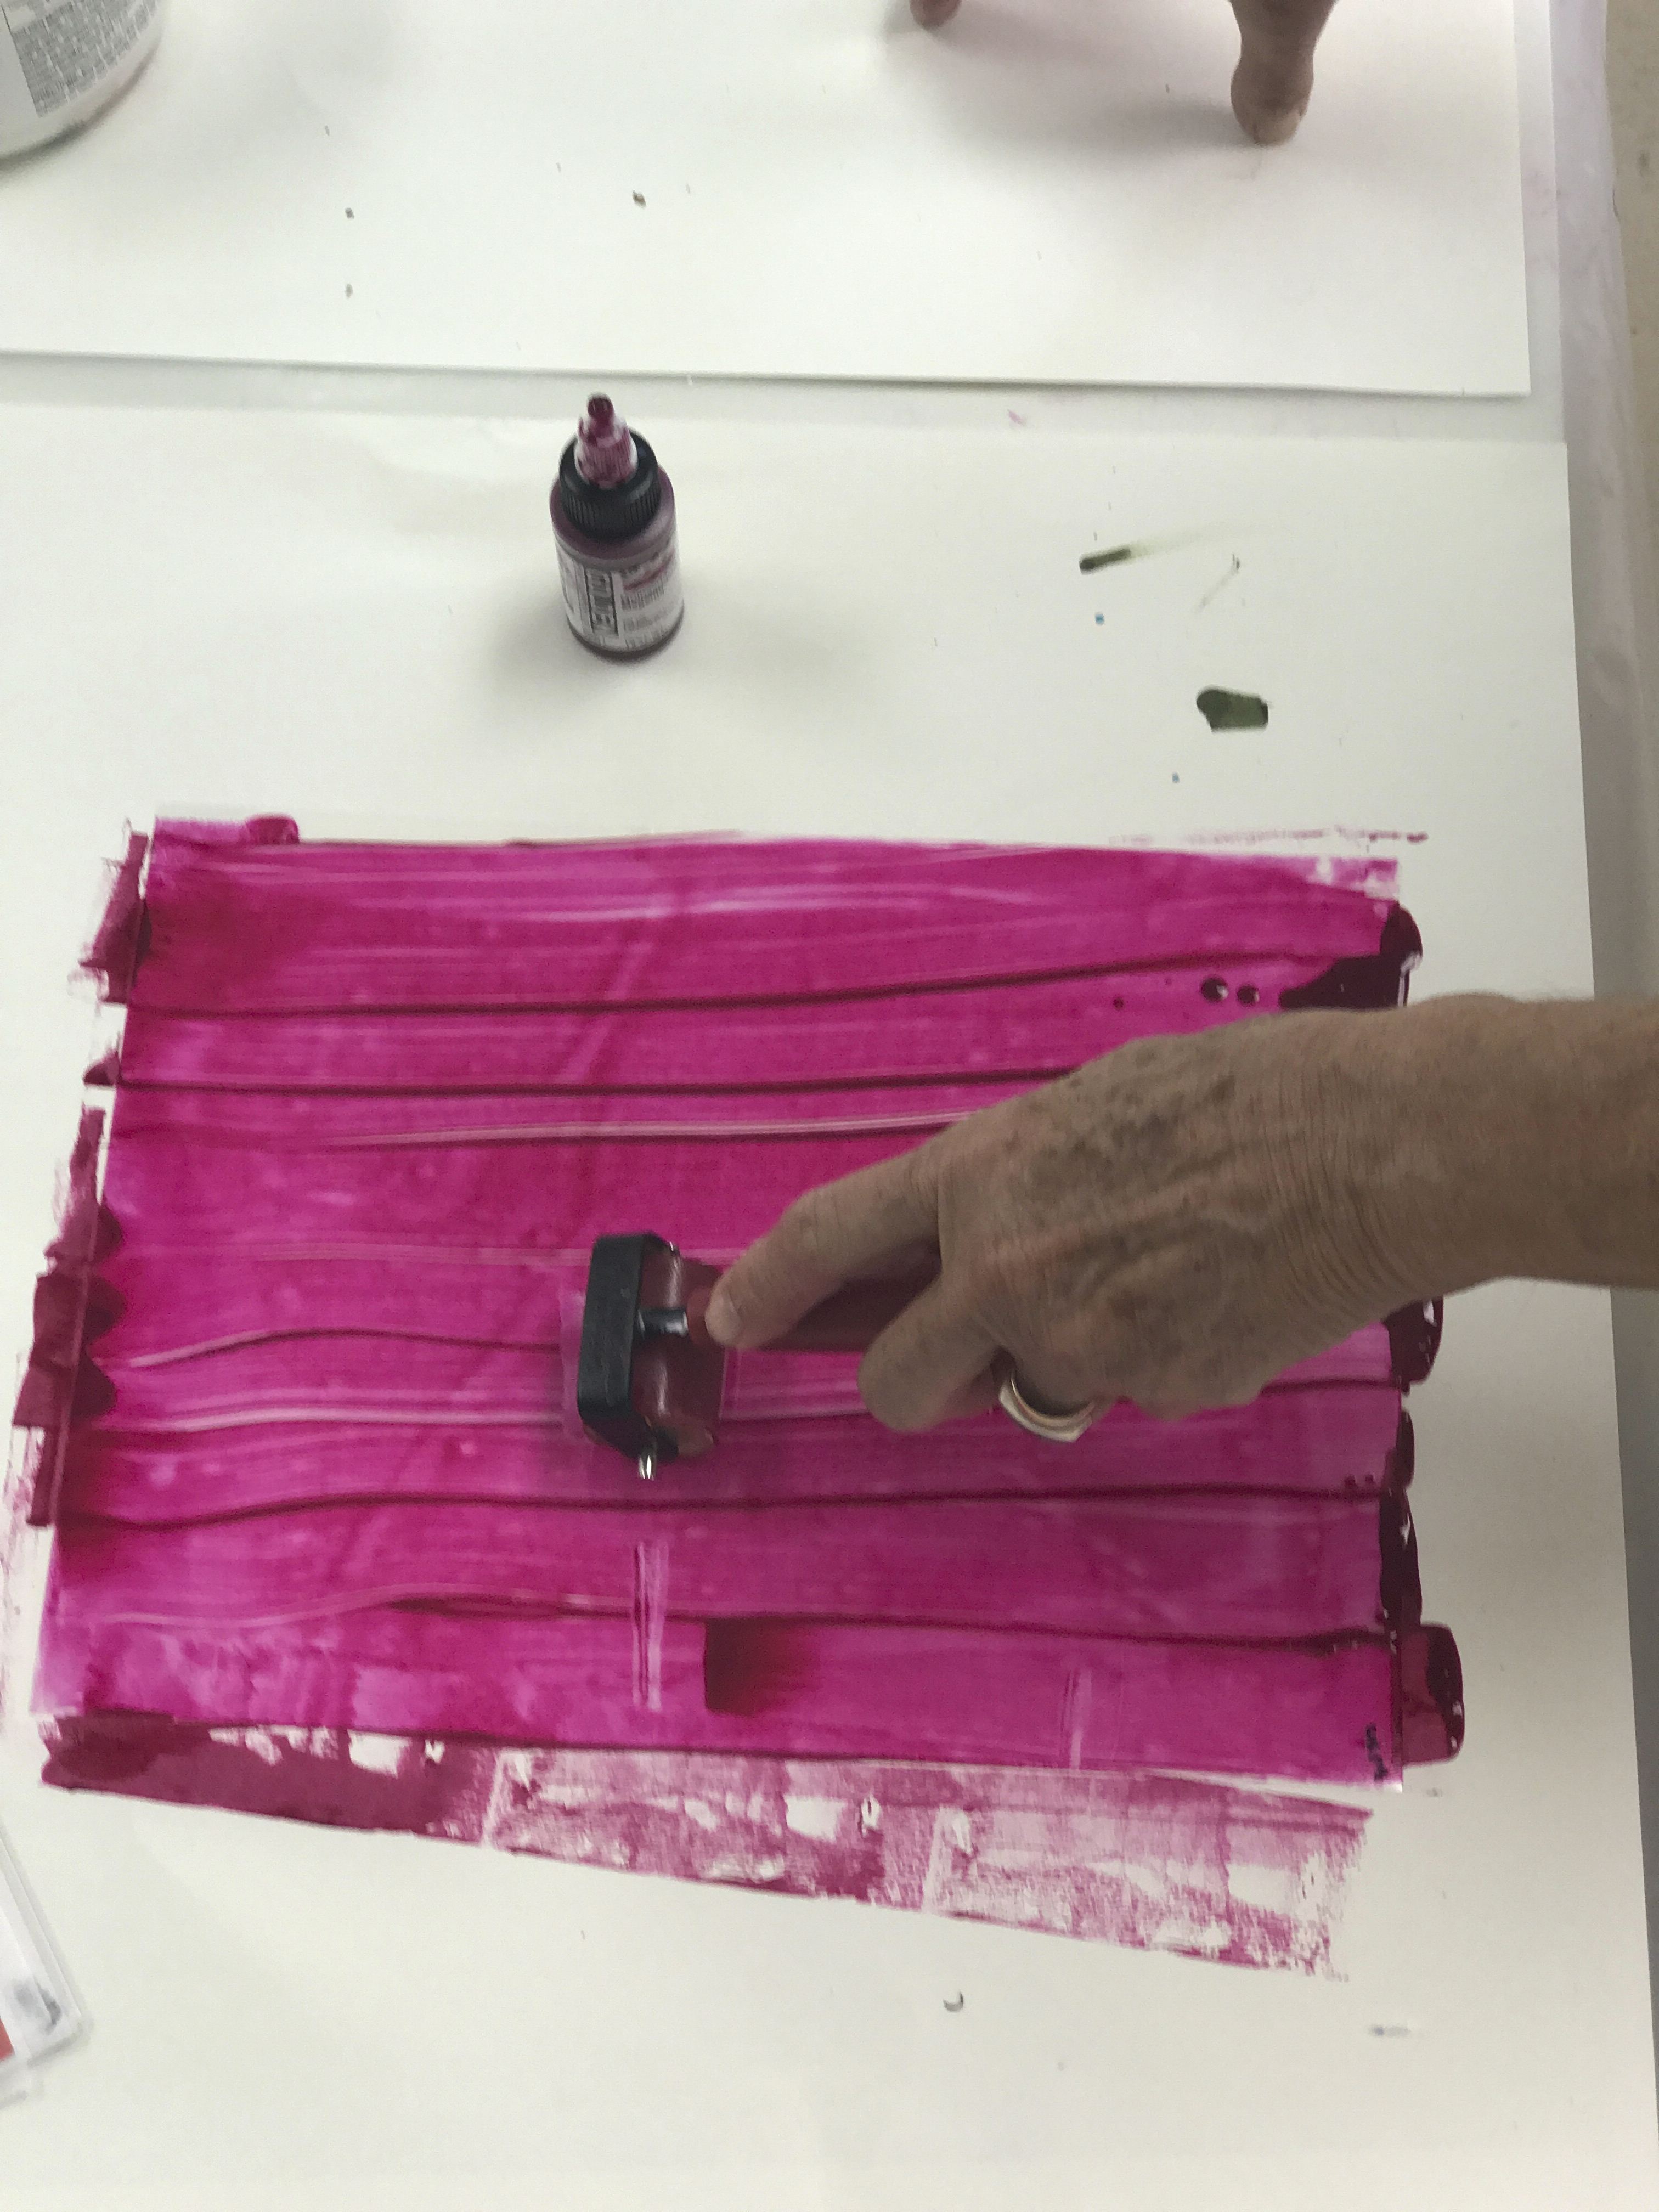
- Transparent sheets: Dribble high flow acrylic across a sheet of Wet Media Dura-Lar Film, use a brayer to spread it over the sheet. Create sheets of each color.
- Demo Tip: Paint does not have to be perfectly smooth. Mix multiple colors on a single sheet.
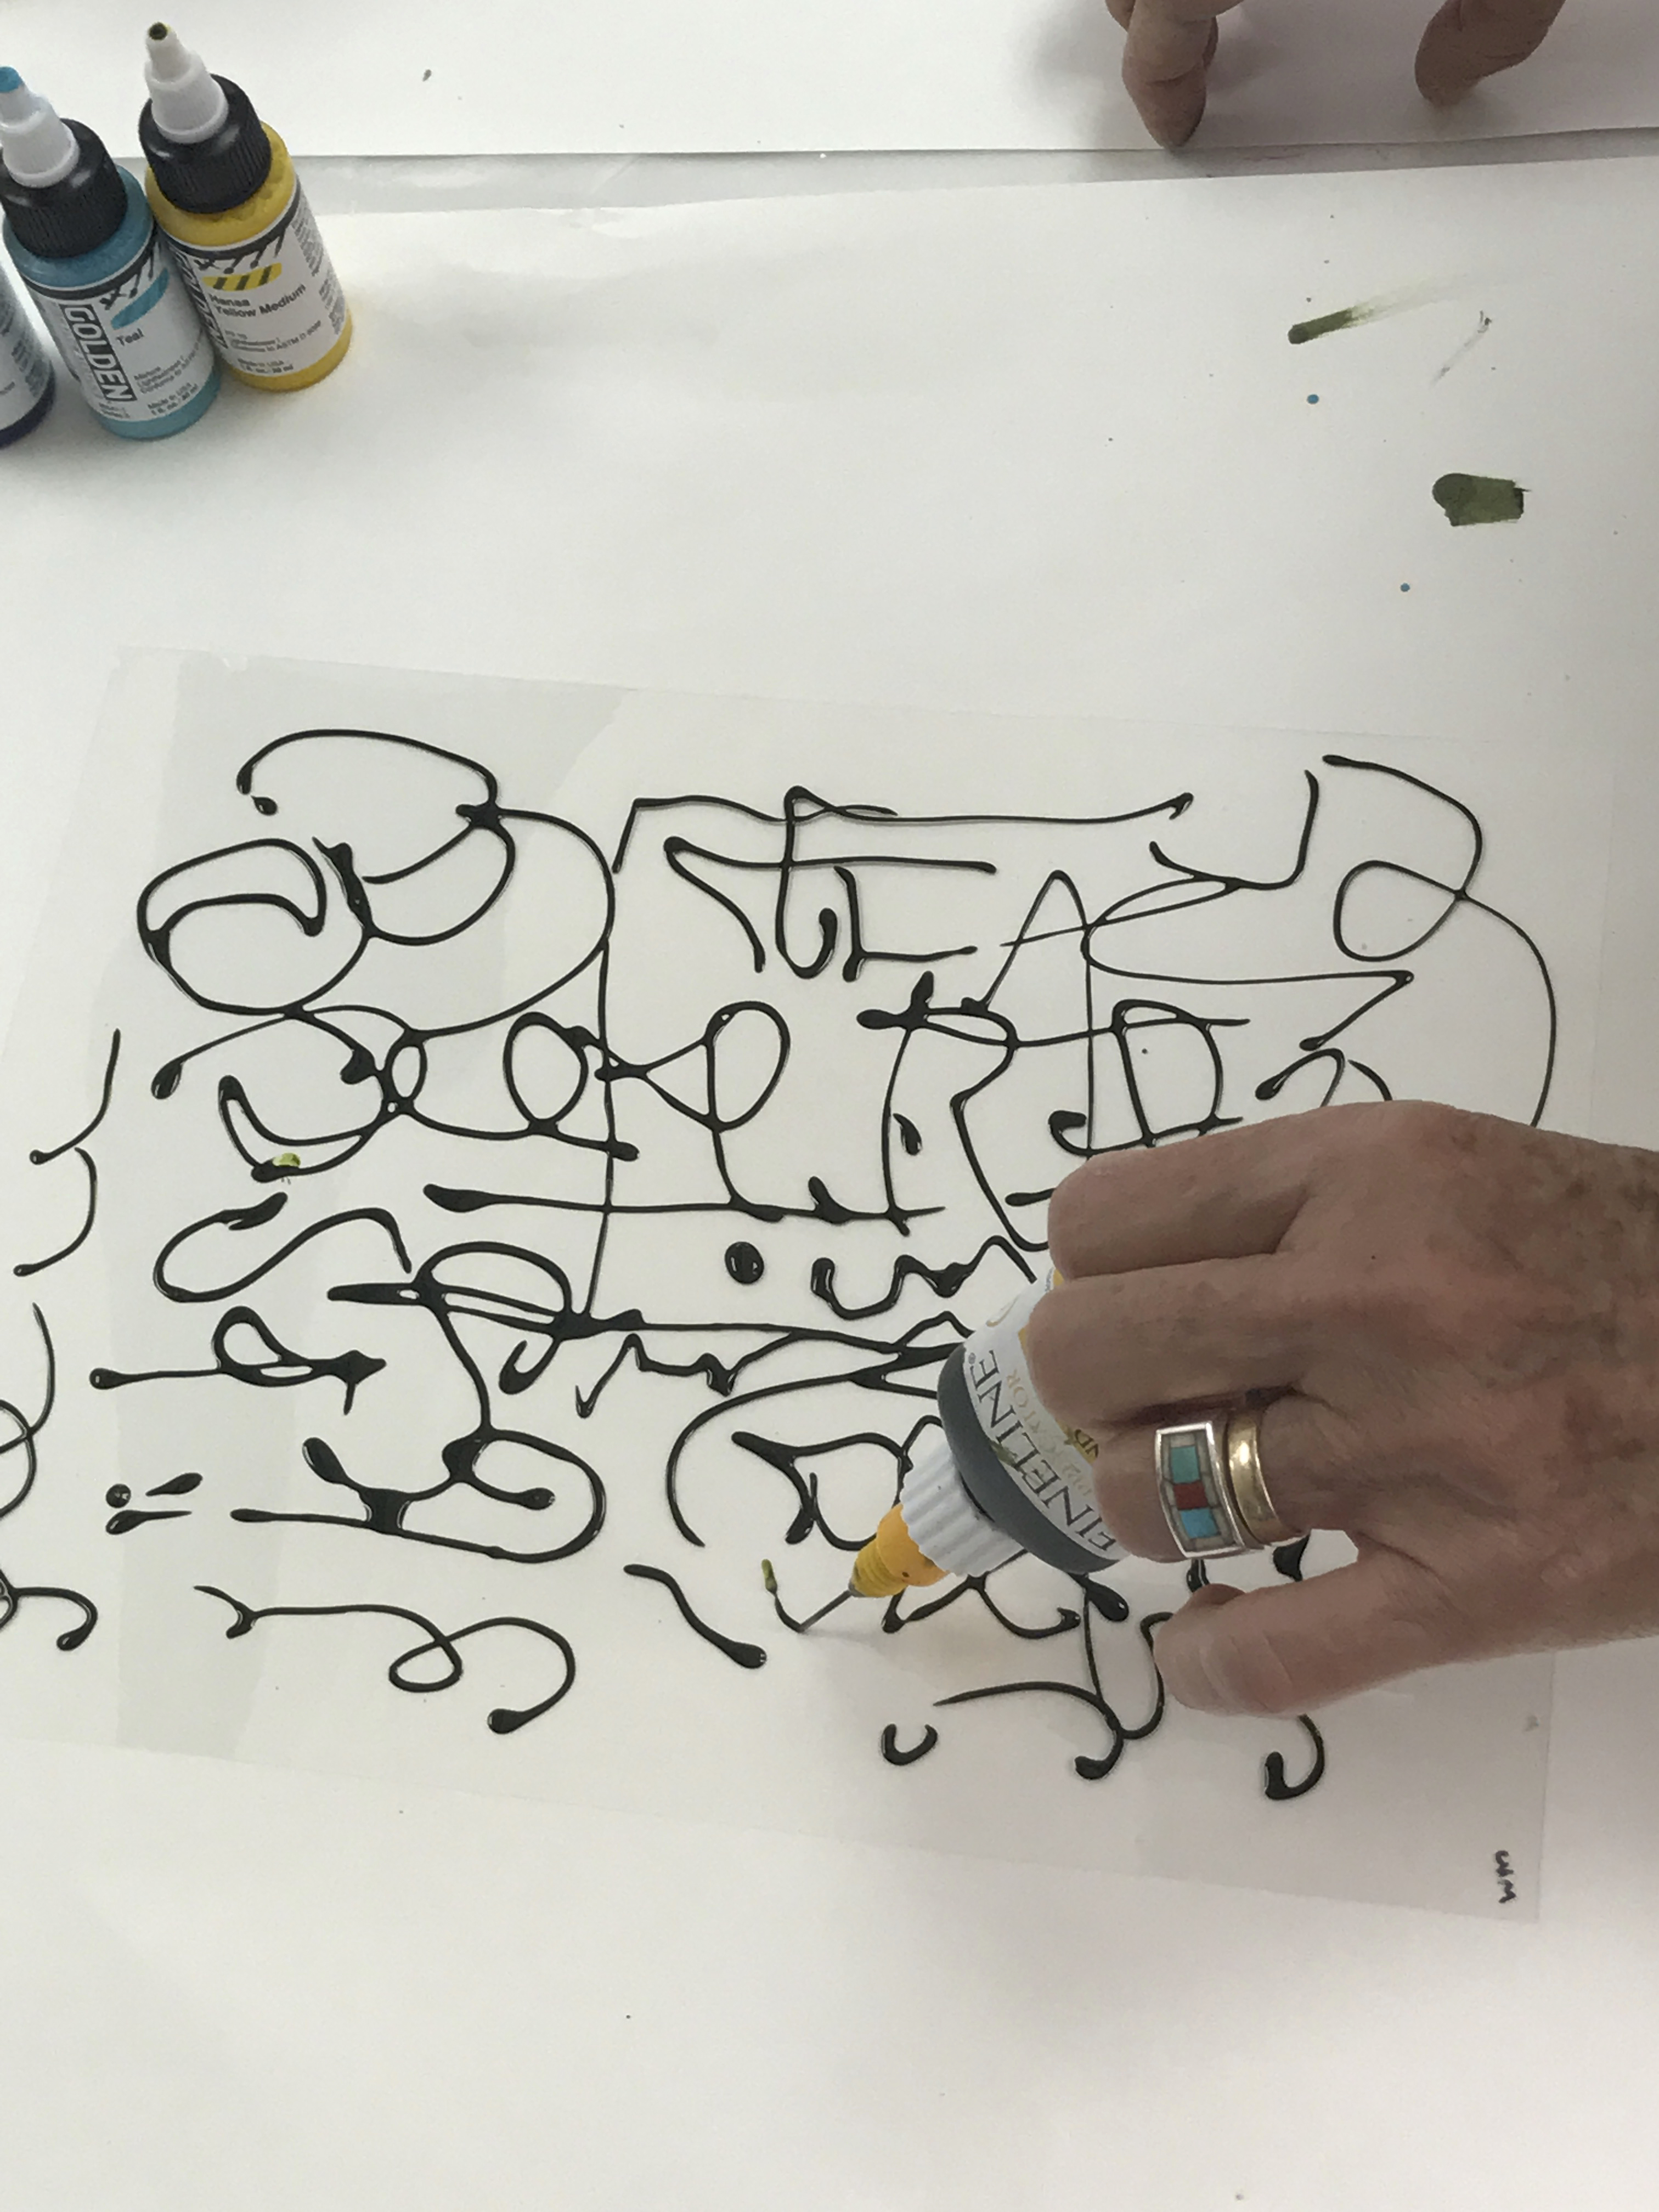
- Lines: use a fine line applicator filled with paint, scribble lines, words, shapes, and designs over the Wet Media Dura-lar Film. Try the same with a brush.
- Demo Tip: Have fun, just paint small brush strokes in warm colors, but lightly like Monet.
- Do it advance or let dry.
- Cutting: Cut sheets with a scissor into shapes, strips, your favorite parts, randomly.
- Arranging: Using a piece of Clear Dura-Lar Film as your base, begin with a half dozen pieces and move them around until you like a design. Layer, add more, trim as needed.
- Demo Tip: Save scraps for later use.
- Gluing prep: remove the arrangement from your base. Place a piece of freezer paper over your arrangement and gently turn it over so it is on the bottom and your collage is face down. Remove the Clear Dura-Lar Film base from the top.
- Demo Tip: To remember the layout, take a photo with your phone. Or take small pieces of painter’s tape and tape it together gently before removing them from the base.
- Gluing: Using a palette knife spread a thin layer (dime thickness) of soft gel gloss over the back of your arrangement. Either lay Clear Dura-Lar Film over your glue-covered piece or flip the glue-covered piece from the freezer paper over to your Clear Dura-Lar Film base. With freezer paper on top, use a squeegee or credit card to smooth excess medium out. Remove the freezer paper and wipe off excess glue.
- Demo Tip: Soft Gel Gloss stars milky but dries transparent. The thicker the medium the longer it to dry.
- Final: Flip the project back and forth to see both sides. Add more pieces until you get the look you want.
- Demo Tip: You might consider more painting & stenciling directly on the collage.
- Display: Hang with clear fishing wire in front of a window to see both sides. Glue the whole piece onto a panel using soft gel gloss.
- Demo Tip: Use the same application as collage assembly to adhere to paper or panel.