How to Make a Pinterest Notebook with Computer Grafix
Project Description: Decorate your notebook covers with your pins from Pinterest using Computer Grafix.


Designed by: Tami Sanders
Difficulty: Easy
Materials:
- Computer Grafix Matte Adhesive Backed
- Grafix Artist-tac
- Grafix Black and White Chipboard
- Beacon Adhesives 3-in-1 Glue
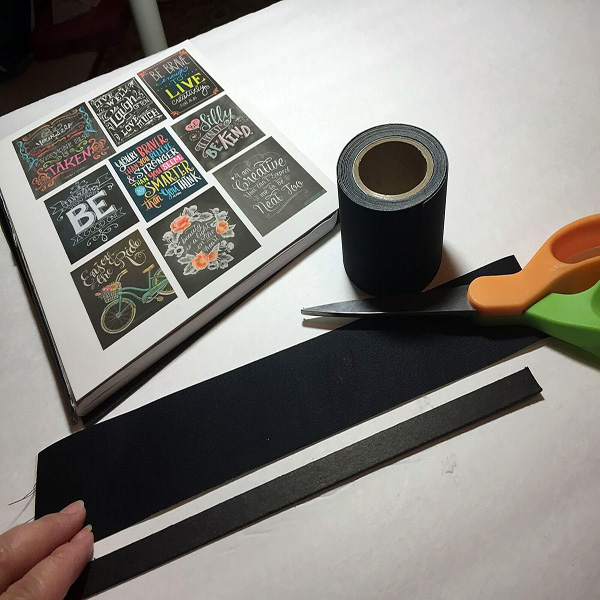
- Bookbinding Tape- black 2”
- Washi Tape
- Printed paper
- Heavy Duty Trimmer (or metal ruler and Exacto)
- Scissors
Steps to Make This:
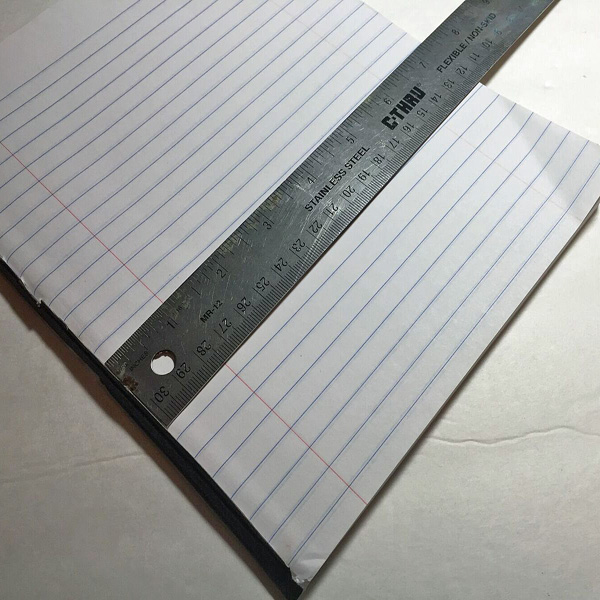
- Prep composition book by using scissors or metal ruler and Exacto to remove both the front and back covers. Note: Leave a portion of the spine in place.
- After the covers have been removed there should be about a 1/2″ to 3/4″ piece of the spine remaining. This will keep the pages intact and make them easier to adhere to your cover.
- Measure the width and length of your pages, and then add 1/4″ to each measurement to get the size of the covers you will need.
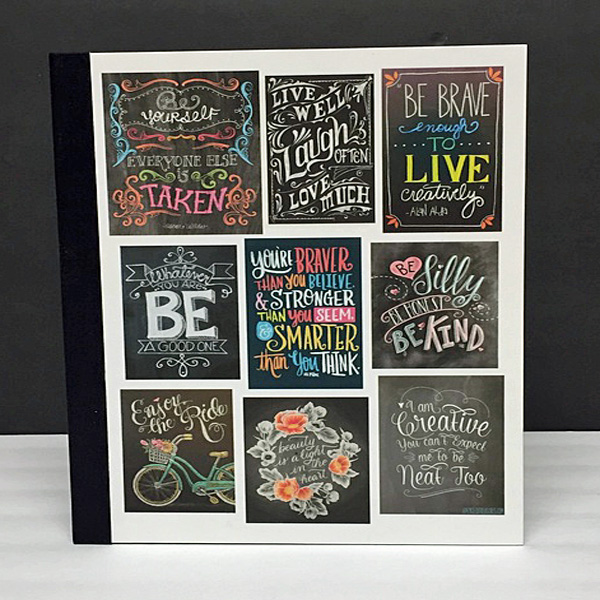
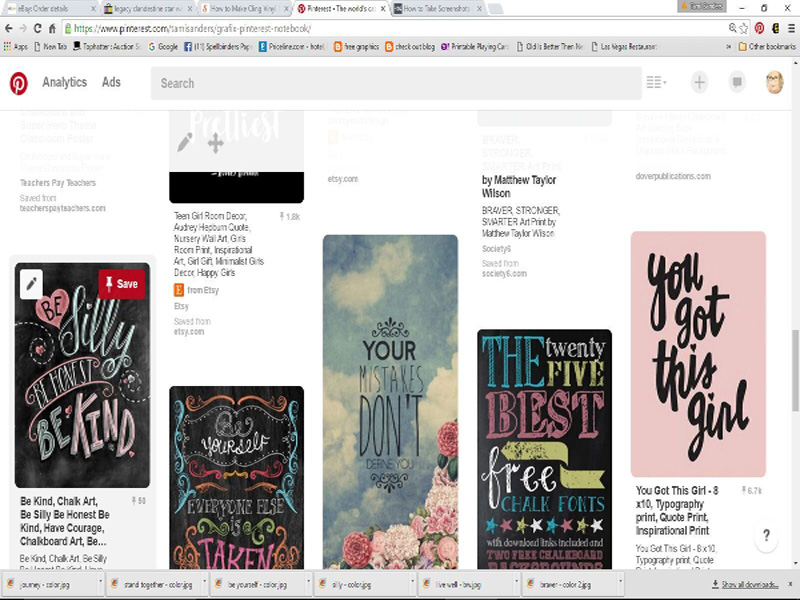
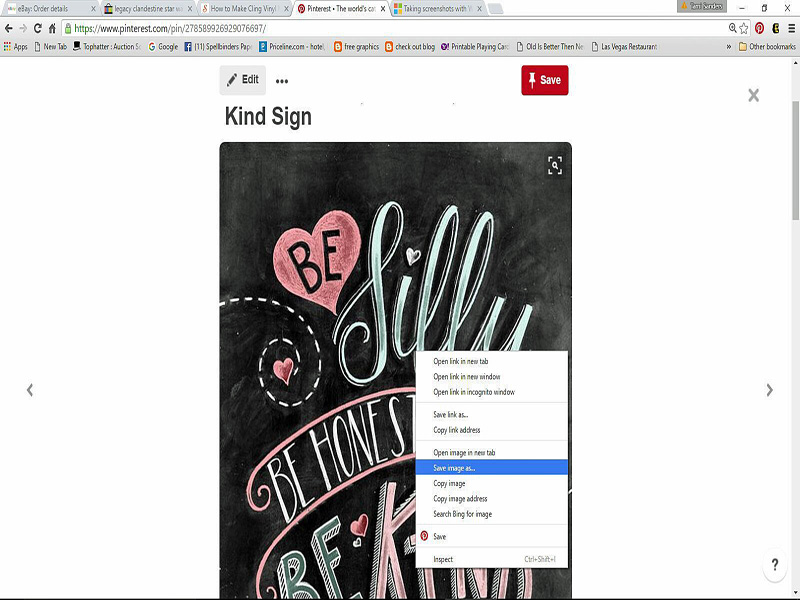
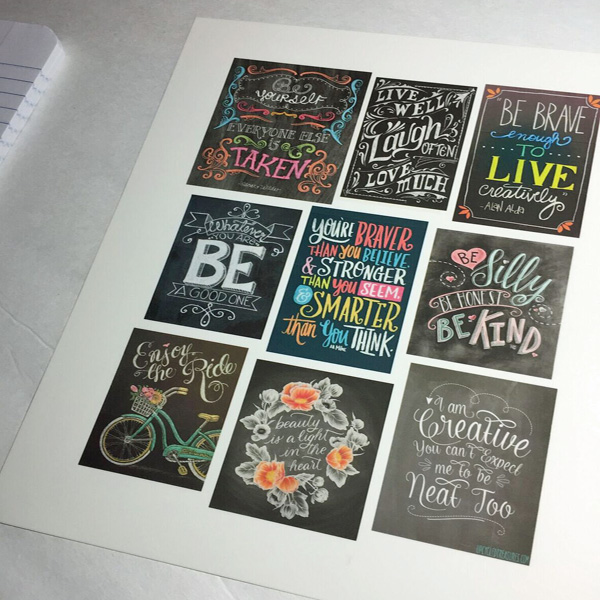
- Open your Pinterest board to your favorite pins and select the pins for the cover.
- Save the pins to a dedicated folder for this project
- Open a new document in your choice of publishing program.
- Set size and margins using measurements from journal pages as a guide.
- Select the photos you would like to use. Note: pick more than you think you will need so you will have a variety of sizes and shapes to choose from when creating your collage.
- Drag and drop photos to the page.
- Adjust the sizes and placement of photos as you work to create your collage.
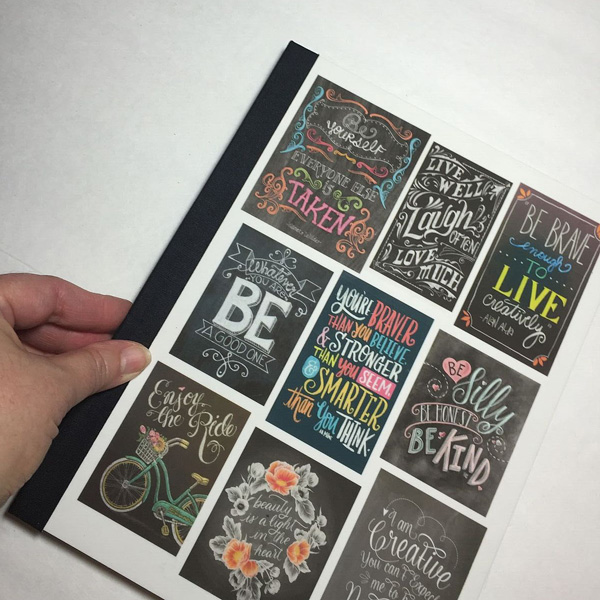
- Once you are happy with your collage, save it and print your cover out on a sheet of the Computer Grafix Matte Adhesive-Backed Film.
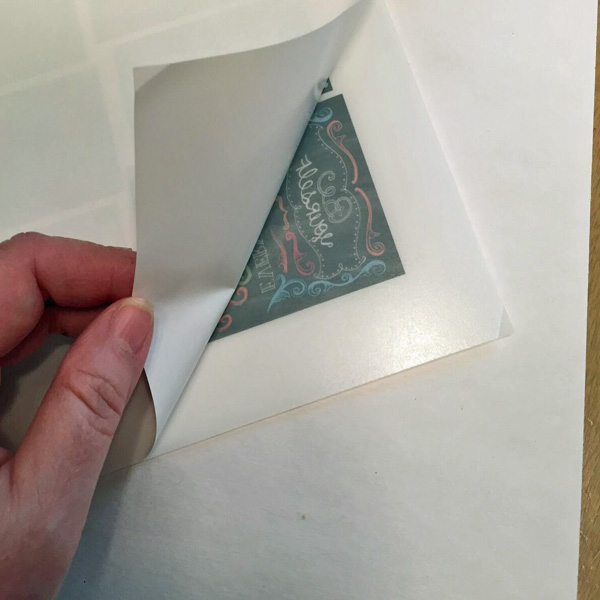
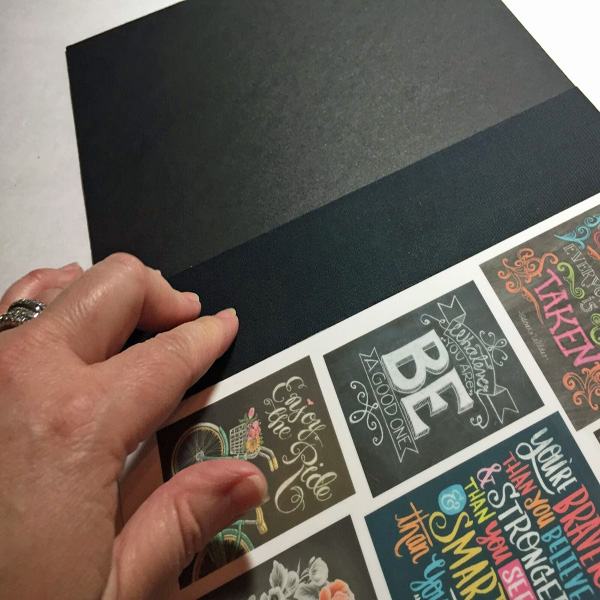
- Starting with a corner, remove a portion of the backing from the sheet to expose the adhesive.
- Adhere the Computer Grafix film to the corner of the white chipboard and line up the corner of the page with it. Note: Do this carefully, the adhesive is strong! Once you have stuck it down, it is not easy to remove.
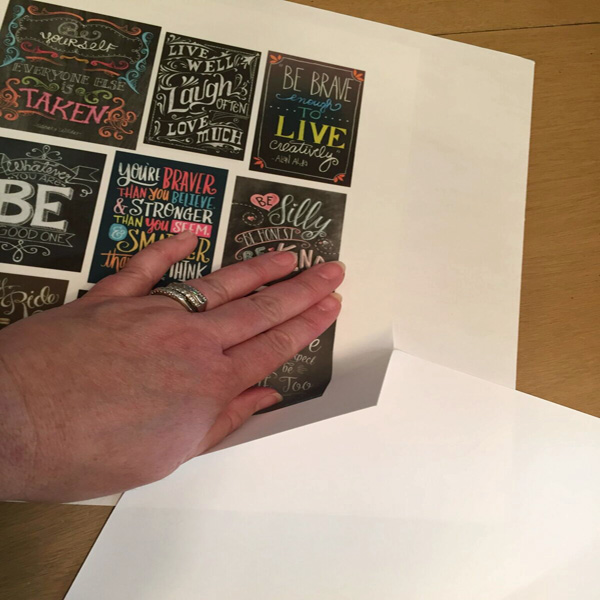
- Continue to pull on the corner of the backing sheet to expose more adhesive, while smoothing sheet down with your other hand. Working slowly and carefully to avoid having air bubbles get trapped.
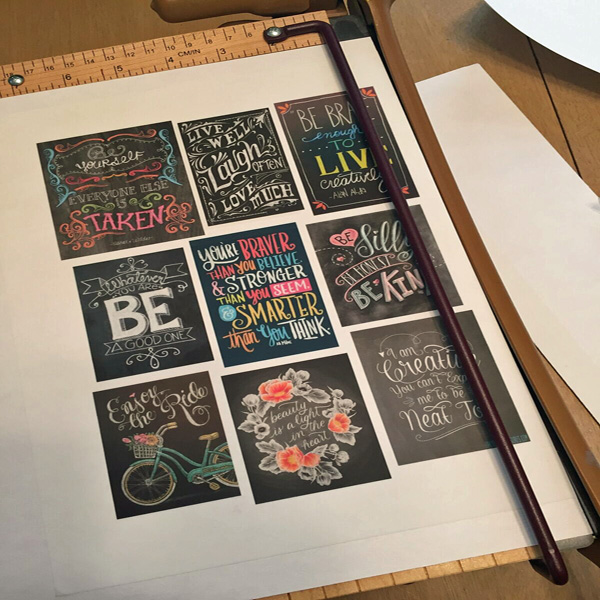
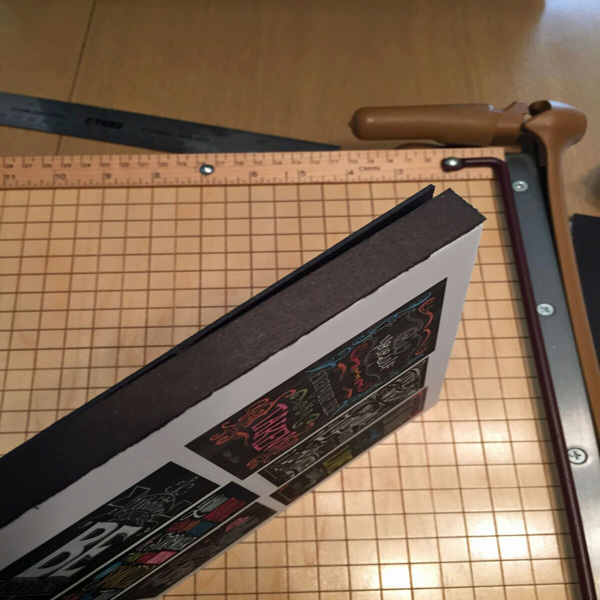
- Once the sheet has been applied cut the cover to size using the measurements determined earlier. Note: a portion of the left edge will be covered by the binding tape and cut accordingly.
- Use you’re now cut to size front cover as a guide to cut back cover. You can line up on the trimmer, or mark cuts first using a pencil.
- Cut a 1/2″ spine piece the same length as cover pieces. If you would like a BIGGER book, you can make this wider and attach 2 or more composition books inside your covers (need wider binding tape).
- Cut a piece of bookbinding tape about a 1″ longer than your spine piece.
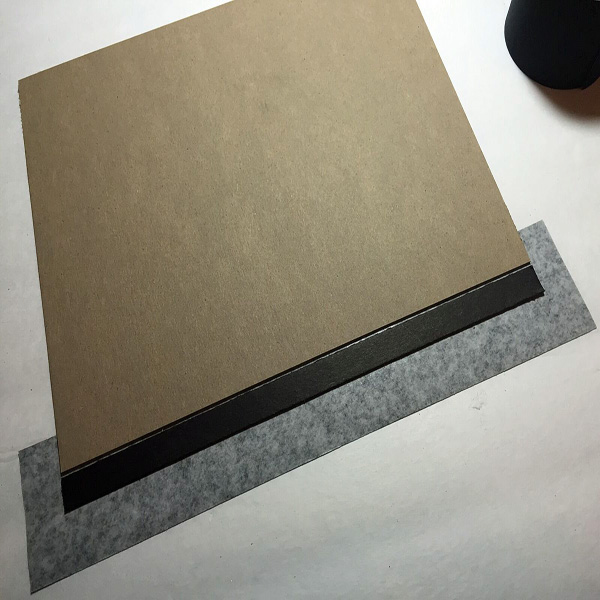
- Attach the bookbinding tape to the left side of your cover, leaving about 1/2″ excess hanging over the top. The tape should extend about 3/4″ onto the cover.
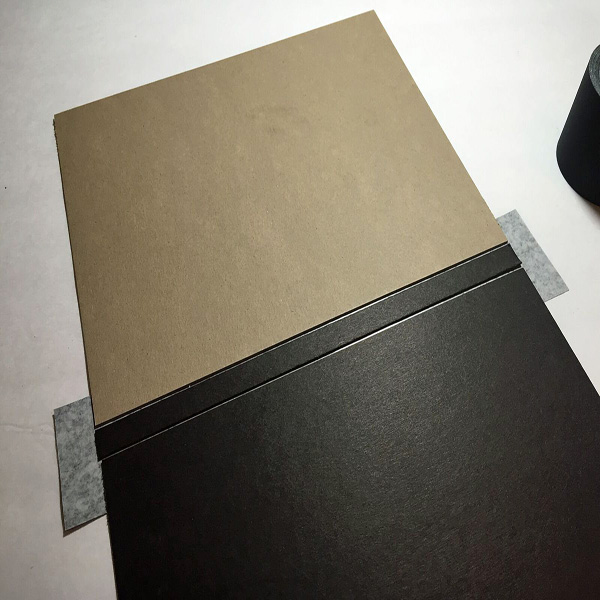
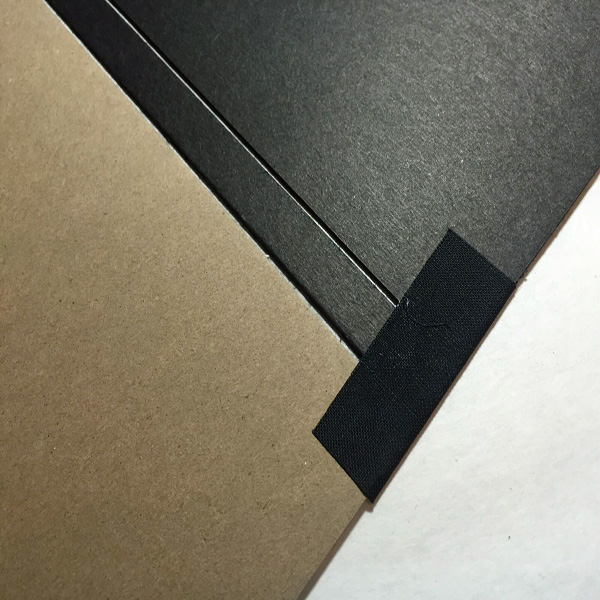
- Turn piece over and lay spine piece next to front cover leaving a small gap. Make sure ends are even.
- Now lay back cover next to spine piece, again leaving a small gap.
- Turn ends of tape up on both at top and bottom.
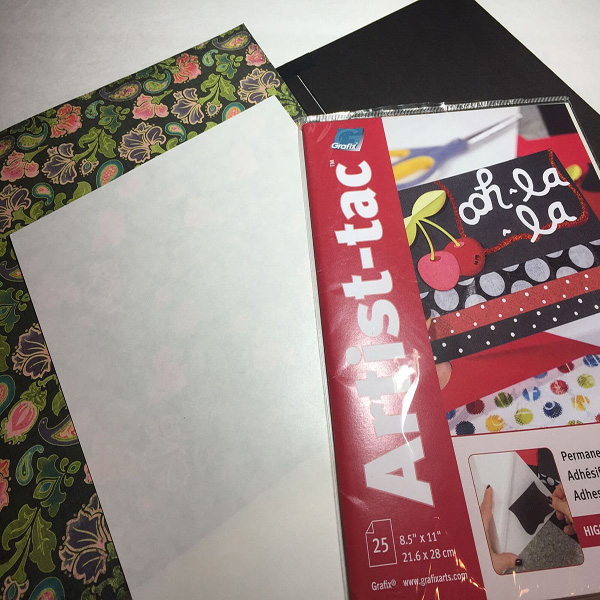
- To finish off the inside of the front cover, select a coordinating piece of printed paper. We’ll be using Artist-tac to adhere it.
- Artist-tac is a dry adhesive that is easy to use and provides a very strong, secure bond. Start by removing a corner of the backing.
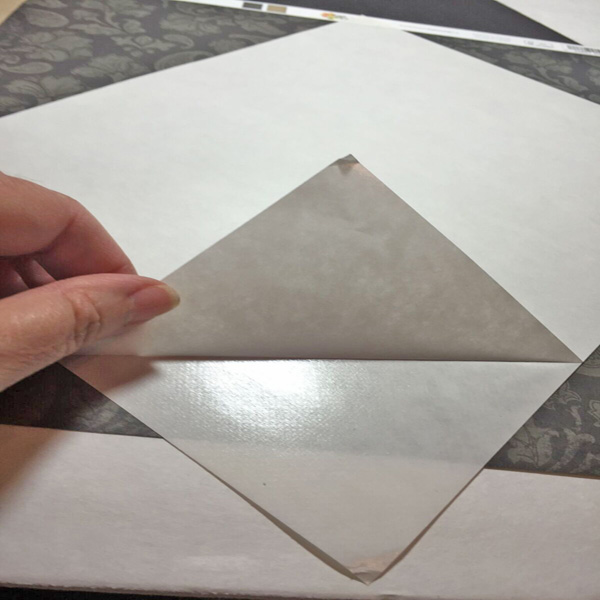
- Line up the corner of the adhesive with a corner of the paper. Work as before, pulling on the corner of backing to expose the adhesive and pressing and smoothing adhesive to paper as you go.
- Rub and burnish entire sheet to make sure all the adhesive transfers.
- Remove the backing to expose a corner of the now adhesive backed paper.
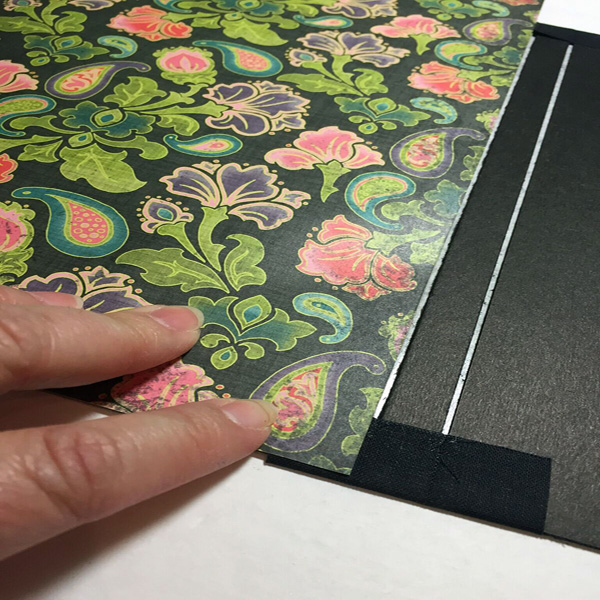
- Start in the corner again and smooth the paper down to the inside of front cover. Trim using scissors or an Exacto knife and metal ruler.
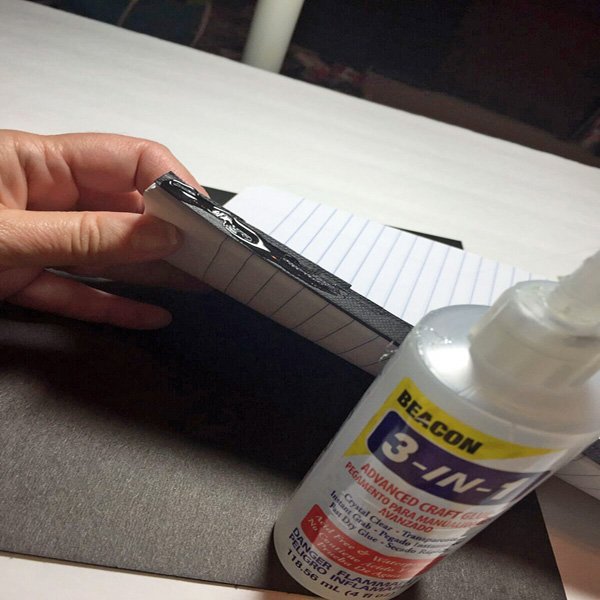
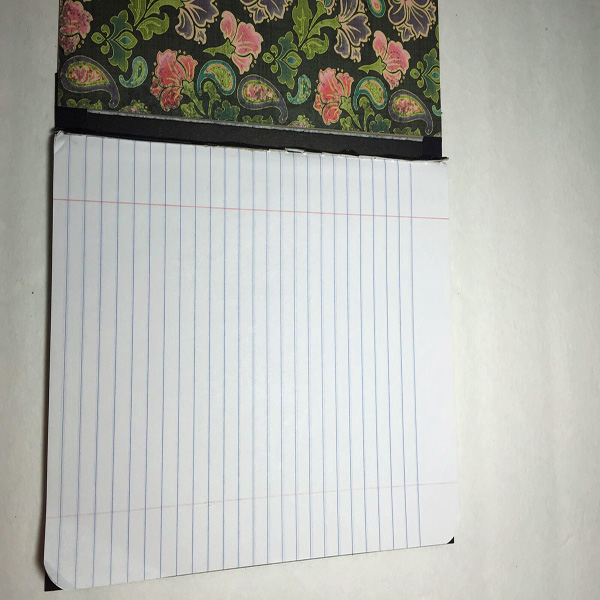
- You are now ready to add the pages to your journal cover. Apply a generous line of glue along the spine piece left on the composition book pages.
- Line up and lay pages inside your cover, once happy with the placement, close the cover.
- Press well along the spine to adhere to the spine of your covers. You can check and make sure that you don’t have any excess glue “ooze” to clean up inside the book before setting it aside for glue to set.
- Add washi tape along the spine of the inside of your front and back covers to finish off the edges.