Card Set Made Using Grafix Stencil Film
Project Description: Customize thoughtful cards with Grafix Stencil Film.
")
Designed by: Tami Sanders
Difficulty: Moderately Challenging
Materials:
- Grafix Stencil Film
- Grafix Inking Palette
- Clearsnap ColorBox Art Wheel and Handle
- Clearsnap ColorBox Pigment Ink: Rosebud, Cupid, Orchid, Razberry, Heliotrope, Pistachio, Turtle and Citrine
- Clearsnap ColorBox Stylus & Tips
- Beacon Adhesives: 3-in-1 Glue
- Kraft Knife
- Scissors
- Heat Gun
- Paper Trimmer
- White Card stock
- 5 X 6 ½ Black White Cards
- Blue Painter’s Tape
- Scrap Paper
- Foam Pad
- Black Permanent Pen
- Black Fine Tip Pen
- Pencil
- Self-Healing Mat
Steps to Make This:
Stencil:
- The image used to make the stencil for the cards was found on a vintage tablecloth.
- A black and white copy of the flowers was made; resizing them to fit on the cards, add registration marks at opposing corners for reference.
- Cut 3 pieces of Grafix Stencil Film about 1 1/2″ around all sides, larger than the image.
- Lay a piece of the Stencil Film over the copy and outline the flowers using a black permanent pen, also trace registration marks.
- Using another piece of film, outline the flower centers, also tracing registration marks.
- Trace the leaves using the last piece of film and trace registration marks.
- Use self-healing mat and Kraft knife to cut out traced images from film to make stencil set.
Cards:
- Use Grafix Inking Palette to add and blend inks on.
- Add “lines” of Rosebud, Cupid and Orchid Pigment Inks from refill bottles on Inking Palette.
- Use Color Wheel and Handle to blend inks on palette.
*REPEAT THE FOLLOWING STEPS 3 MORE TIMES:
- Use blue painters tape to adhere stencil to 6 X 6 piece of white card stock, also securing the card stock to a piece of scrap paper placed over foam sheet.
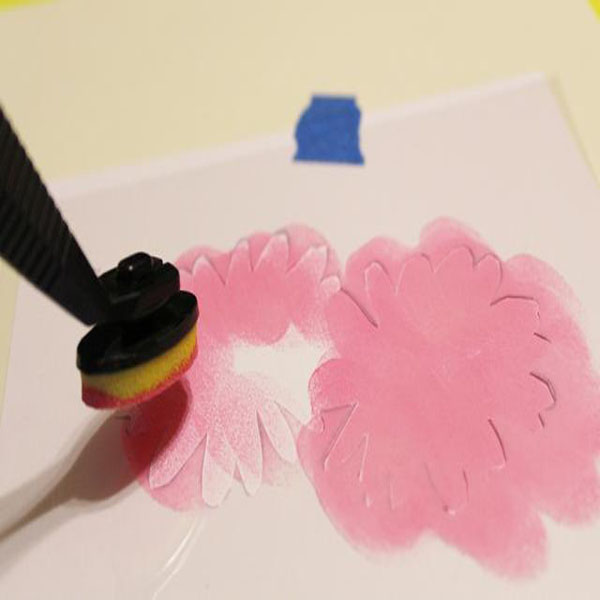
- Use Stylus & Tips and dab tip into blended ink, then tap into stencil, then heat set inks.
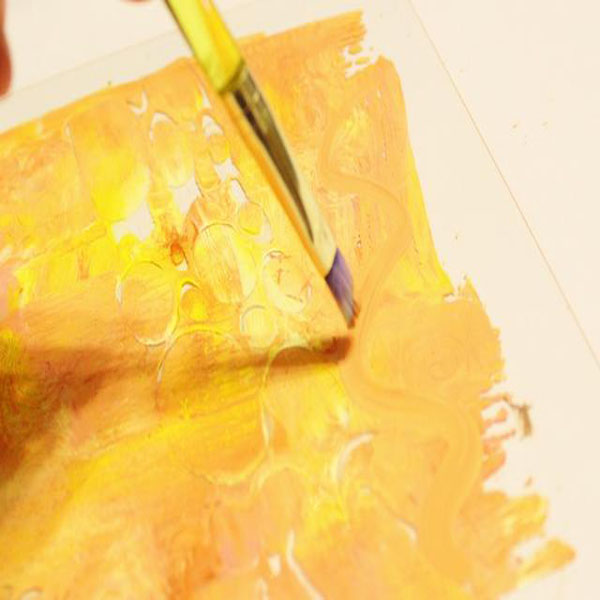
- Use Color Wheel and Handle to use excess ink on Inking Palette to create background on 6 X 6 white card stock. Roll vertically, then horizontally.
- Add Razzleberry and Heliotrope Inks to Inking Palette and use Color Wheel and Handle to blend inks.
- Use blended inks and Stylus & Tips to apply ink to flower centers.
- Use Color Wheel and excess ink to add another layer to background.
- Use a clean sheet from the Inking Palette to add “blobs” of Citrine, Turtle and Pistachio Pigment Inks and blend using a cleaned Color Wheel. Use excess ink and Color Wheel to make a green background.
- Tape on leaves stencil, matching registration marks. then ink leaves using a clean tip with the Stylus and heat set.
- Use a fine-tipped black pen to loosely outline stenciled flowers.
- Trim flower piece to measure about 4″ X 4 1/4″, then loosely outline around all edges.
- Let the heat set and then trim background papers to 4″ X 5 1/2″.
- Adhere pink background, then green background to front of a blank card.
- Adhere stenciled flower piece at an angle to card front.