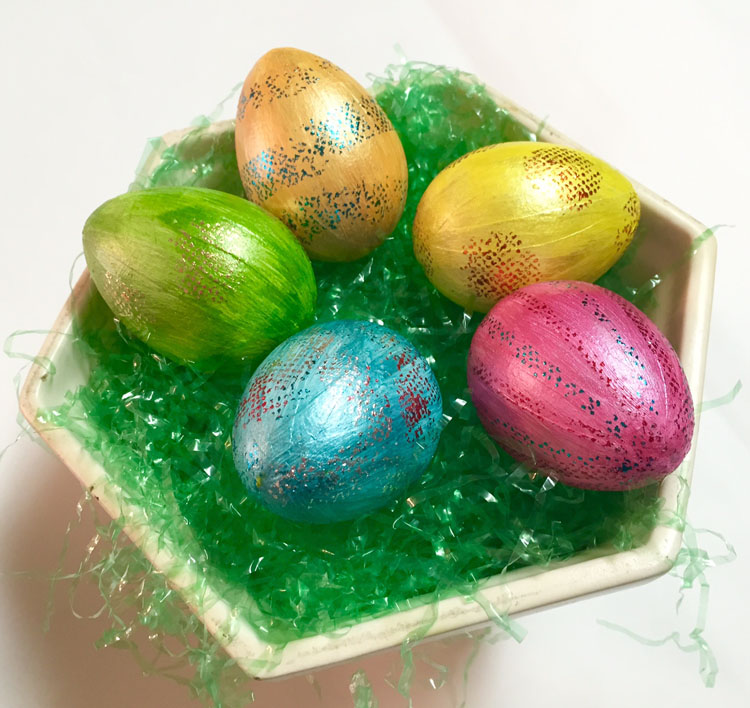
Easter Foiled Eggs
Project Description: Use Artist-tac and foil to embellish Easter Eggs.


Designed by: Tami Sanders
Difficulty: Easy
Materials:
- Grafix Artist-tac™
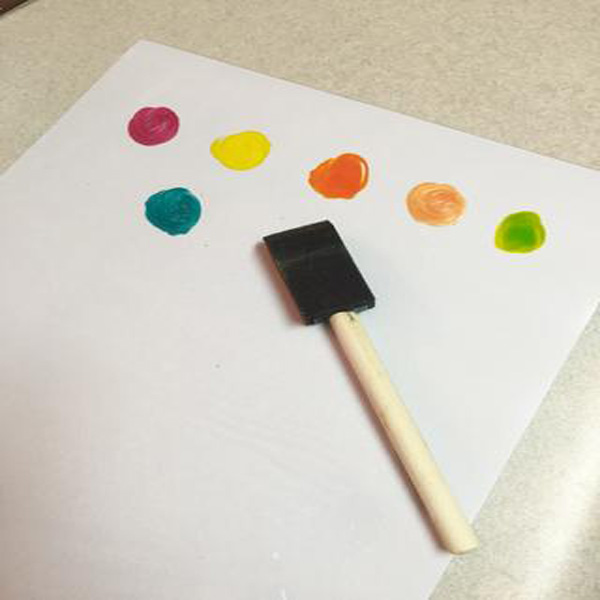
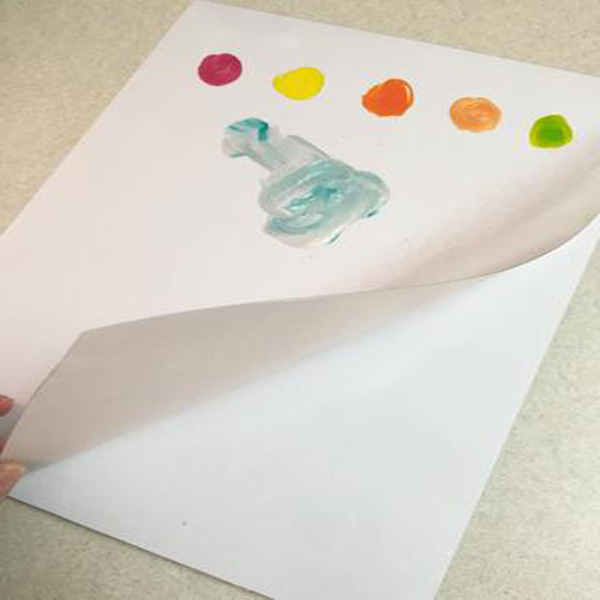
- Grafix Inking Palette
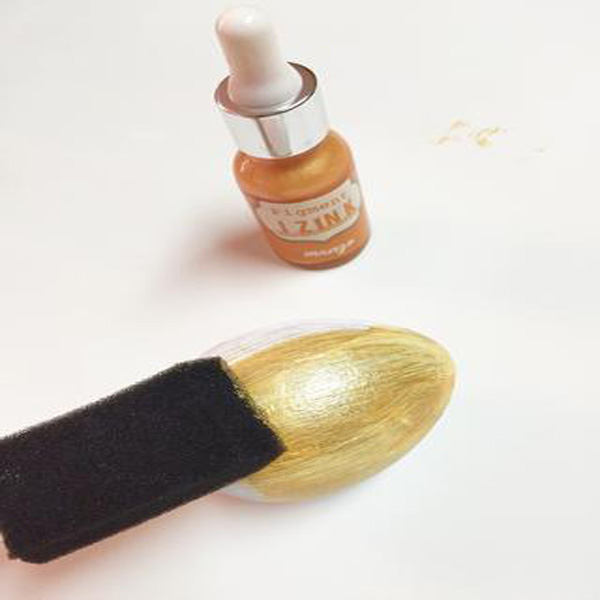
- Clearsnap: Izink Inks: Mango, Citronella, Safran, Topaz,
Cactus, Bamboo, Ambre, Caviar, Jasmine, Opaline and Orchid
Designer Foils: Cherry Pie, Silver Fog, Goldmine, Campfire and
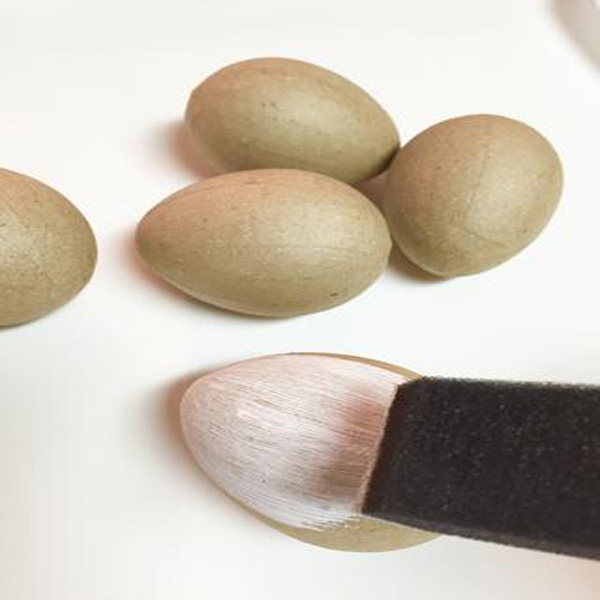
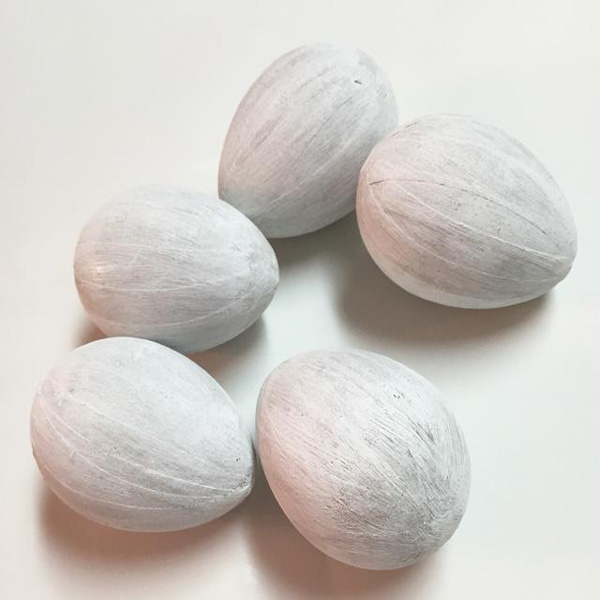
Lagoon - Paper Mache Eggs
- White Acrylic Paint
- Scissors
- 7/8” Circle Punch Foam Brushes
NOTE: Use the Inking Palette to stage inks and paint for application and allow the eggs to completely dry before decorating.
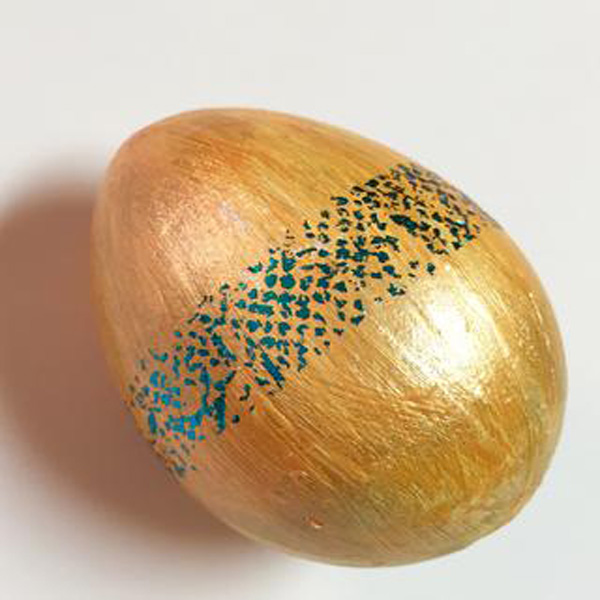
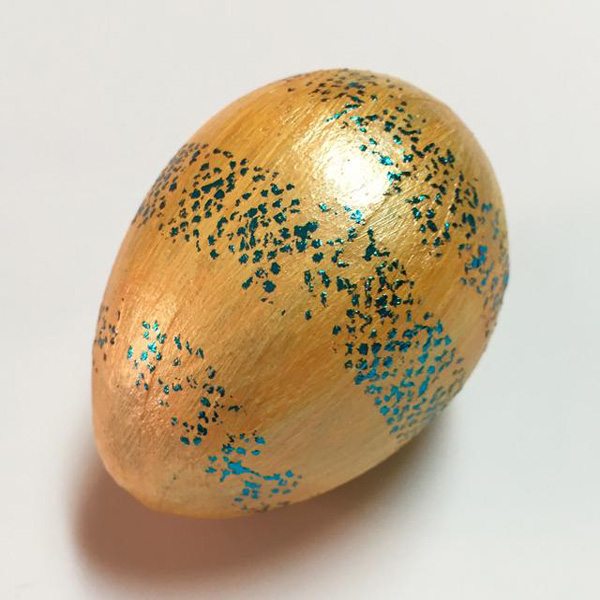
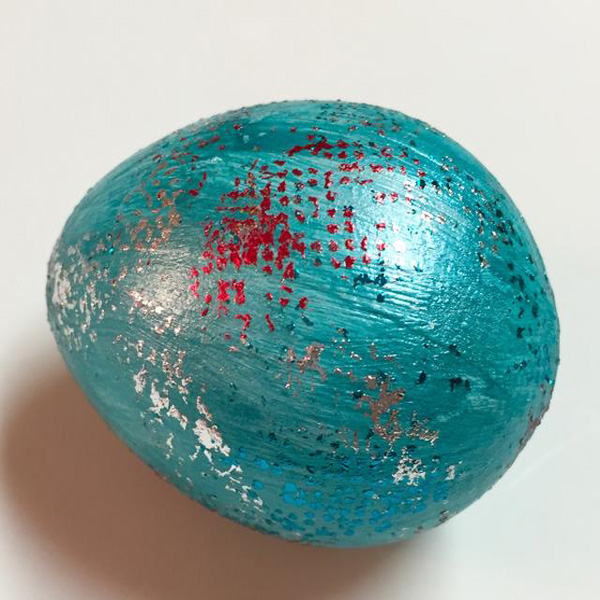
RANDOM FOIL: Another way to foil egg, and to use up any leftover bits of adhesive and foil, is an all-over random pattern. Just rub bits of adhesive on the egg and then rub with leftover foil.
Steps to Make This:
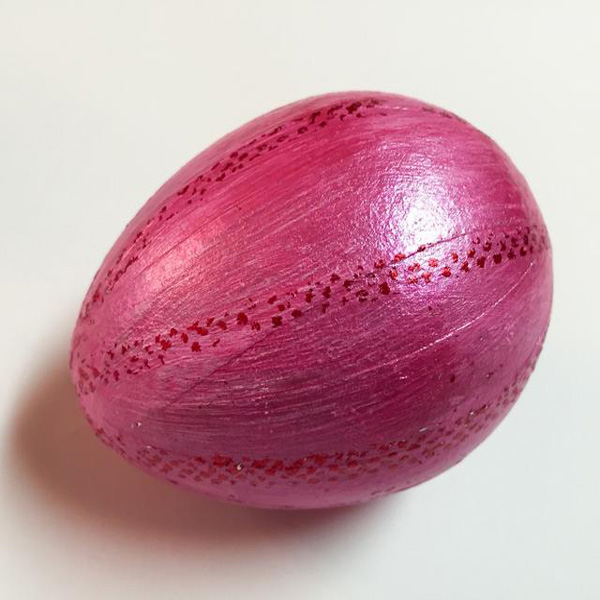
1. Paint eggs with 2 coats of white acrylic paint; allowing eggs to dry between coats. The white color will allow the Izink Inks to shine brighter.
2. Paint each egg with a different Izink color. One coat should cover well, but apply 2 coats if needed.
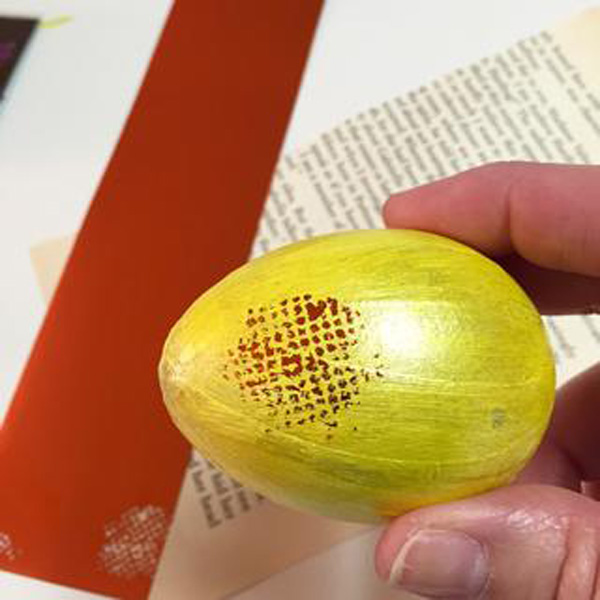
3. Punch circles from the Artist-tac sheet; you’ll need about 8-10.
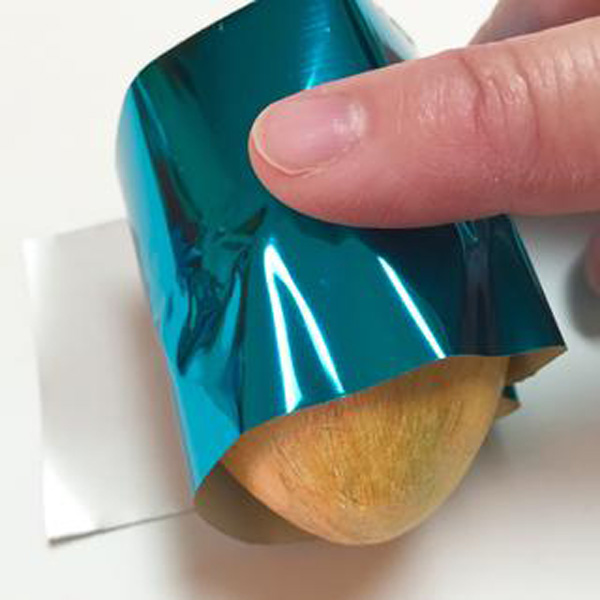
4. Remove backing from circles and place sticky side down on egg. Rub with your finger to transfer adhesive. You’ll want to work one dot at a time as the adhesive is clear and hard to see once applied.
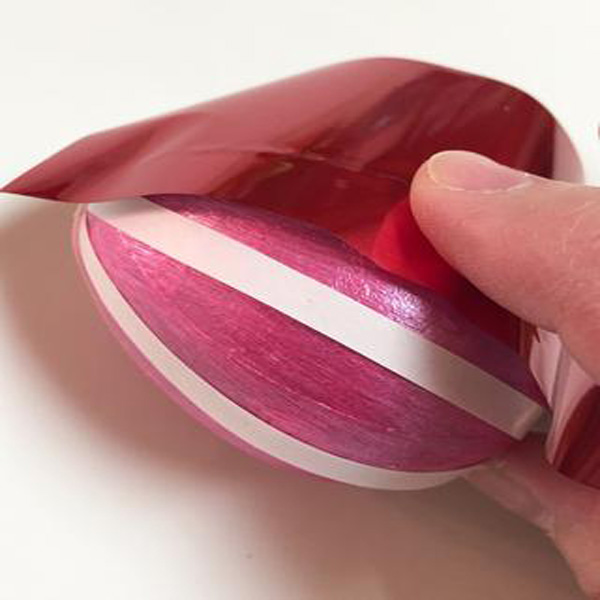
5. Place foil sheet over the adhesive dot and rub with your finger to transfer foil.
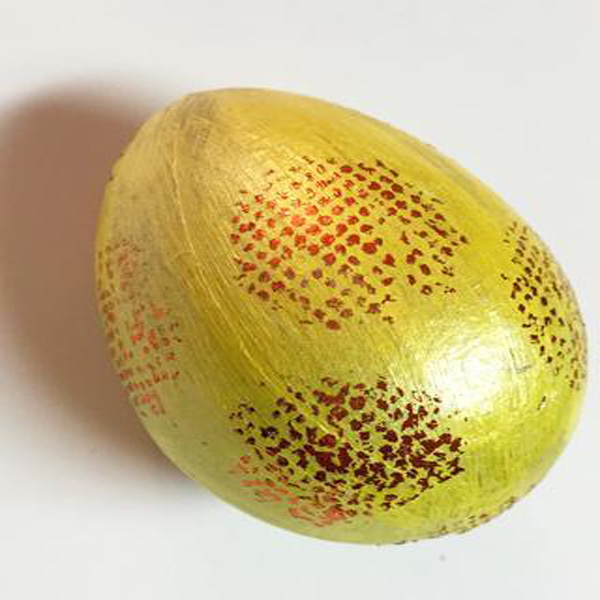
6. Continue adding adhesive dots and covering them with foil until you are happy with the design. If any sticky areas remain, just rub them over with the foil sheet. The foil sheet can be used multiple times.
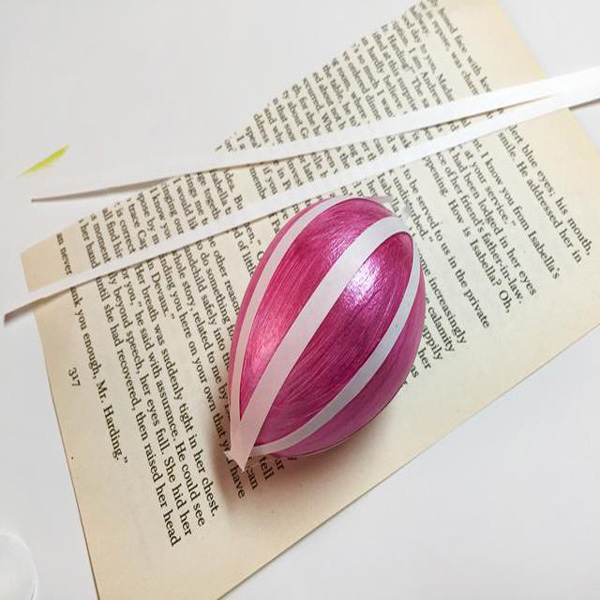
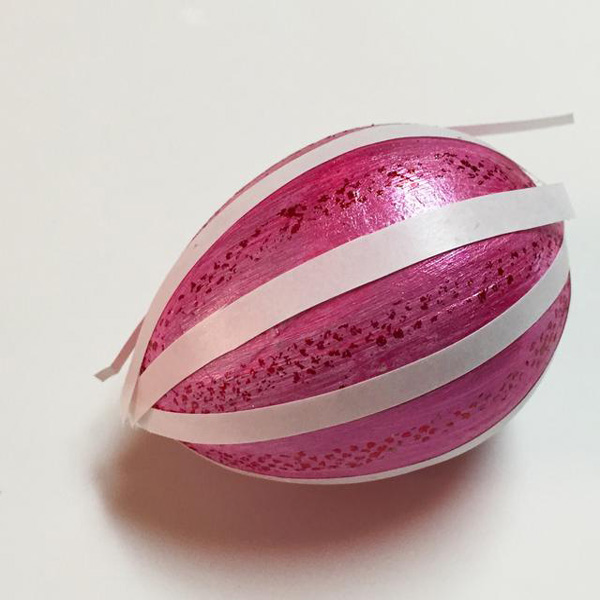
7. Cut 3–1/2” strips of adhesive from sheet long enough to wrap around egg plus a little bit extra.
8. Wrap one strip around the center of the egg, and then trim excess.
9. Rub with finger to transfer adhesive and then remove the backing strip.
10. Rub foil sheet over the strip.
11. Repeat steps 2-4 at either end of the egg to add 2 more stripes.
12. Cut 8 –1/4” strips from adhesive sheet the length of the egg plus a bit. Apply strips to the egg from to top-bottom, spacing evenly around the egg. Rub strips with finger to transfer adhesive.
13. Working one strip at a time, remove the backing and rub with foil.
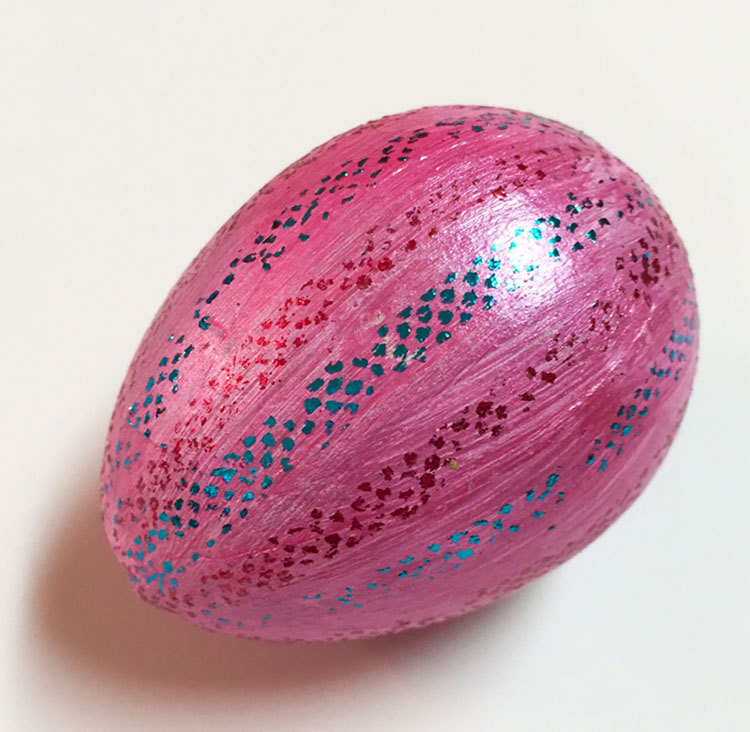
14. You can add one or more sets of stripes to the egg and use multiple colors of foil. Just repeat steps 1-2 and place stripes in between previous ones using a different color of the foil.