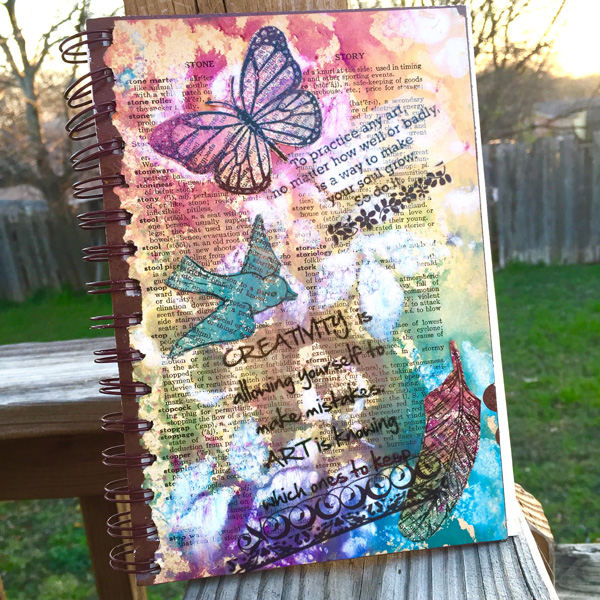
Altered Mixed Media Journal with Grafix
Project Description: Learn how to alter a mixed media journal with Grafix plastic film, as seen at the 2016 NAMTA trade show.
Designed by: Tami Sanders
Difficulty: Moderately Challenging
Materials:
- Grafix Monoprint Plate
- Grafix Artist-Tac
- Grafix Inking Palette
- Grafix Stencil Film
- Grafix Computer Grafix Clear Adhesive Backed
- Rub-Onz Film
- Strathmore Visual Journal: Mixed Media: 5.5 X 8
- Clearsnap ColorBox Spritzers: Pinkolicious, Mermaid and Lemon Drop
- Clearsnap ColorBox Pearl Rain Spray
- Clearsnap ColorBox Handle and Art Wheel
- DecoArt Media Fluid Acrylic Titanium White Paint
- Sizzix Bigz Garden Greens Die
- Dictionary Pages
- Craft Mat
- Scissors
- Foam Brush
- Heat Gun
Steps to Make This:
Prep:
- Follow package directions to print collage images on Computer Grafix.
- Follow package directions to print faux “washi tape” on Rub Onz.
- Diecut design using Stencil Film.
Ink Only page- Make 2:
- Place a dictionary page under the center of the Monoprint Plate.
- Spritz plate lightly using Rain Spray.
- Spritz plate in different areas over book page using all 3 colors of Spritzers; let colors overlap slightly in places. Do NOT apply too much ink.
- Let inks blend about 30 seconds, then cover plate with another dictionary page – using page underneath plate to line up.
- Roll page lightly with Art Wheel to transfer inks.
- Remove page from plate and set aside to dry or speed up dry time using heat gun.
Ink and paint page – Make 1:
- Place a dictionary page under the center of the Monoprint Plate.
- Spritz plate lightly using Rain Spray.
- Pour out a small amount of white paint onto Inking Palette.
- Use stencil, white paint and foam brush to add designs as desired over book page, moving stencil as needed. Use enough paint to cover open areas of stencil using a dabbing motion. Remove stencil.
- Dip cap of spritzer into paint and use to add circle designs over book page in between stenciled designs.
- Spritz plate in different areas over book page using all 3 colors of Spritzers; let colors overlap slightly in places. Do NOT apply too much ink.
- Let inks blend about 30 seconds, then cover plate with another dictionary page – using page underneath plate to line up.
- Roll page lightly with Art Wheel to transfer inks.
- Remove page from plate and set aside to dry or speed up dry time using heat gun.
Accent images – Make 3:
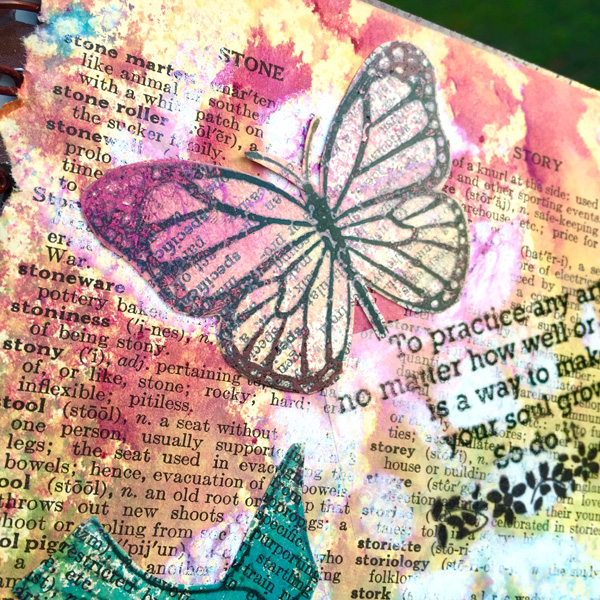
- Select and cut out 3 designs from printed Computer Grafix sheet. (You don’t need to trim completely at this point).
- Move images over one of the INK ONLY pages and decide where to place each design. Then remove adhesive backing from images and adhere to page.
- Cut out designs from book page.
Assemble Cover Designs:
- Peel and turn back the backing from half of a sheet of Artist-tac to expose the adhesive.
- Place sheet, adhesive side down, over the front cover of journal.
- Rub to transfer adhesive to cover.
- Remove adhesive sheet.
- Line up INK and PAINT page on front cover starting at one corner and slowly lay page on book. Rub to adhere page to cover.
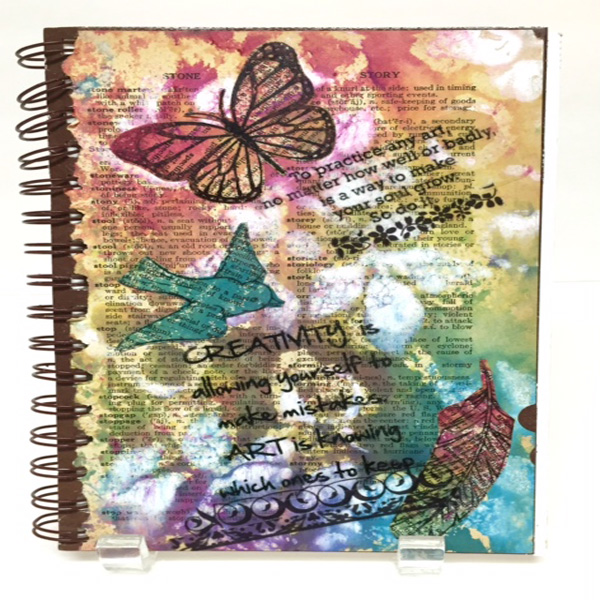
- Repeat steps 1-5 using INK ONLY page and adhere to back cover.
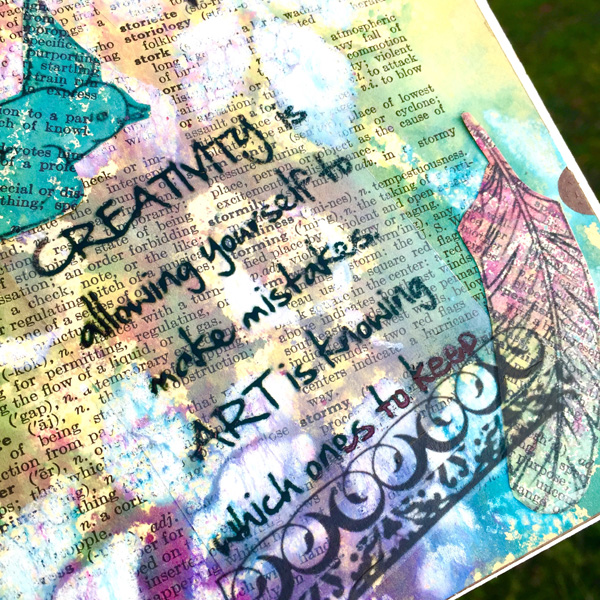
- Cut out 1 or 2 sentiments from printed Computer Grafix sheet.
- Without removing adhesive, place sentiment and 3 accent images on the front cover of book. Arrange placement as desired.
- Remove backing from sentiments and adhere to front cover.
- Pull and turn down a portion of backing on Artist Tac sheet to expose adhesive.
- Place accent images on adhesive and rub lightly to transfer adhesive.
- Adhere accent images to front cover.
- Add faux “washi tape” accents under sentiments using Rub Onz*.
*Rub-Onz Directions:
- Cut out a block of several washi tape strips.
- Cut out a portion of the adhesive film sheet that will fit over the images.
- With white liner facing up, slowly peel way the white liner from adhesive film.
- Apply clear adhesive film, sticky side down, to cover design on matte side of rub onz transfer film.
- Using a craft stick, gently rub top of clear adhesive film to bond adhesive to design.
- Cut out design.
- Peel away clear adhesive film from a corner of design to reveal a sticky design underneath.
- Apply design sticky side down to desired surface.
- Using a craft stick, gently rub top of design, which is the shiny side of the rub onz transfer film to bond design to surface.
- Peel away shiny side of transfer film from corner of design to reveal adhered design to surface.


