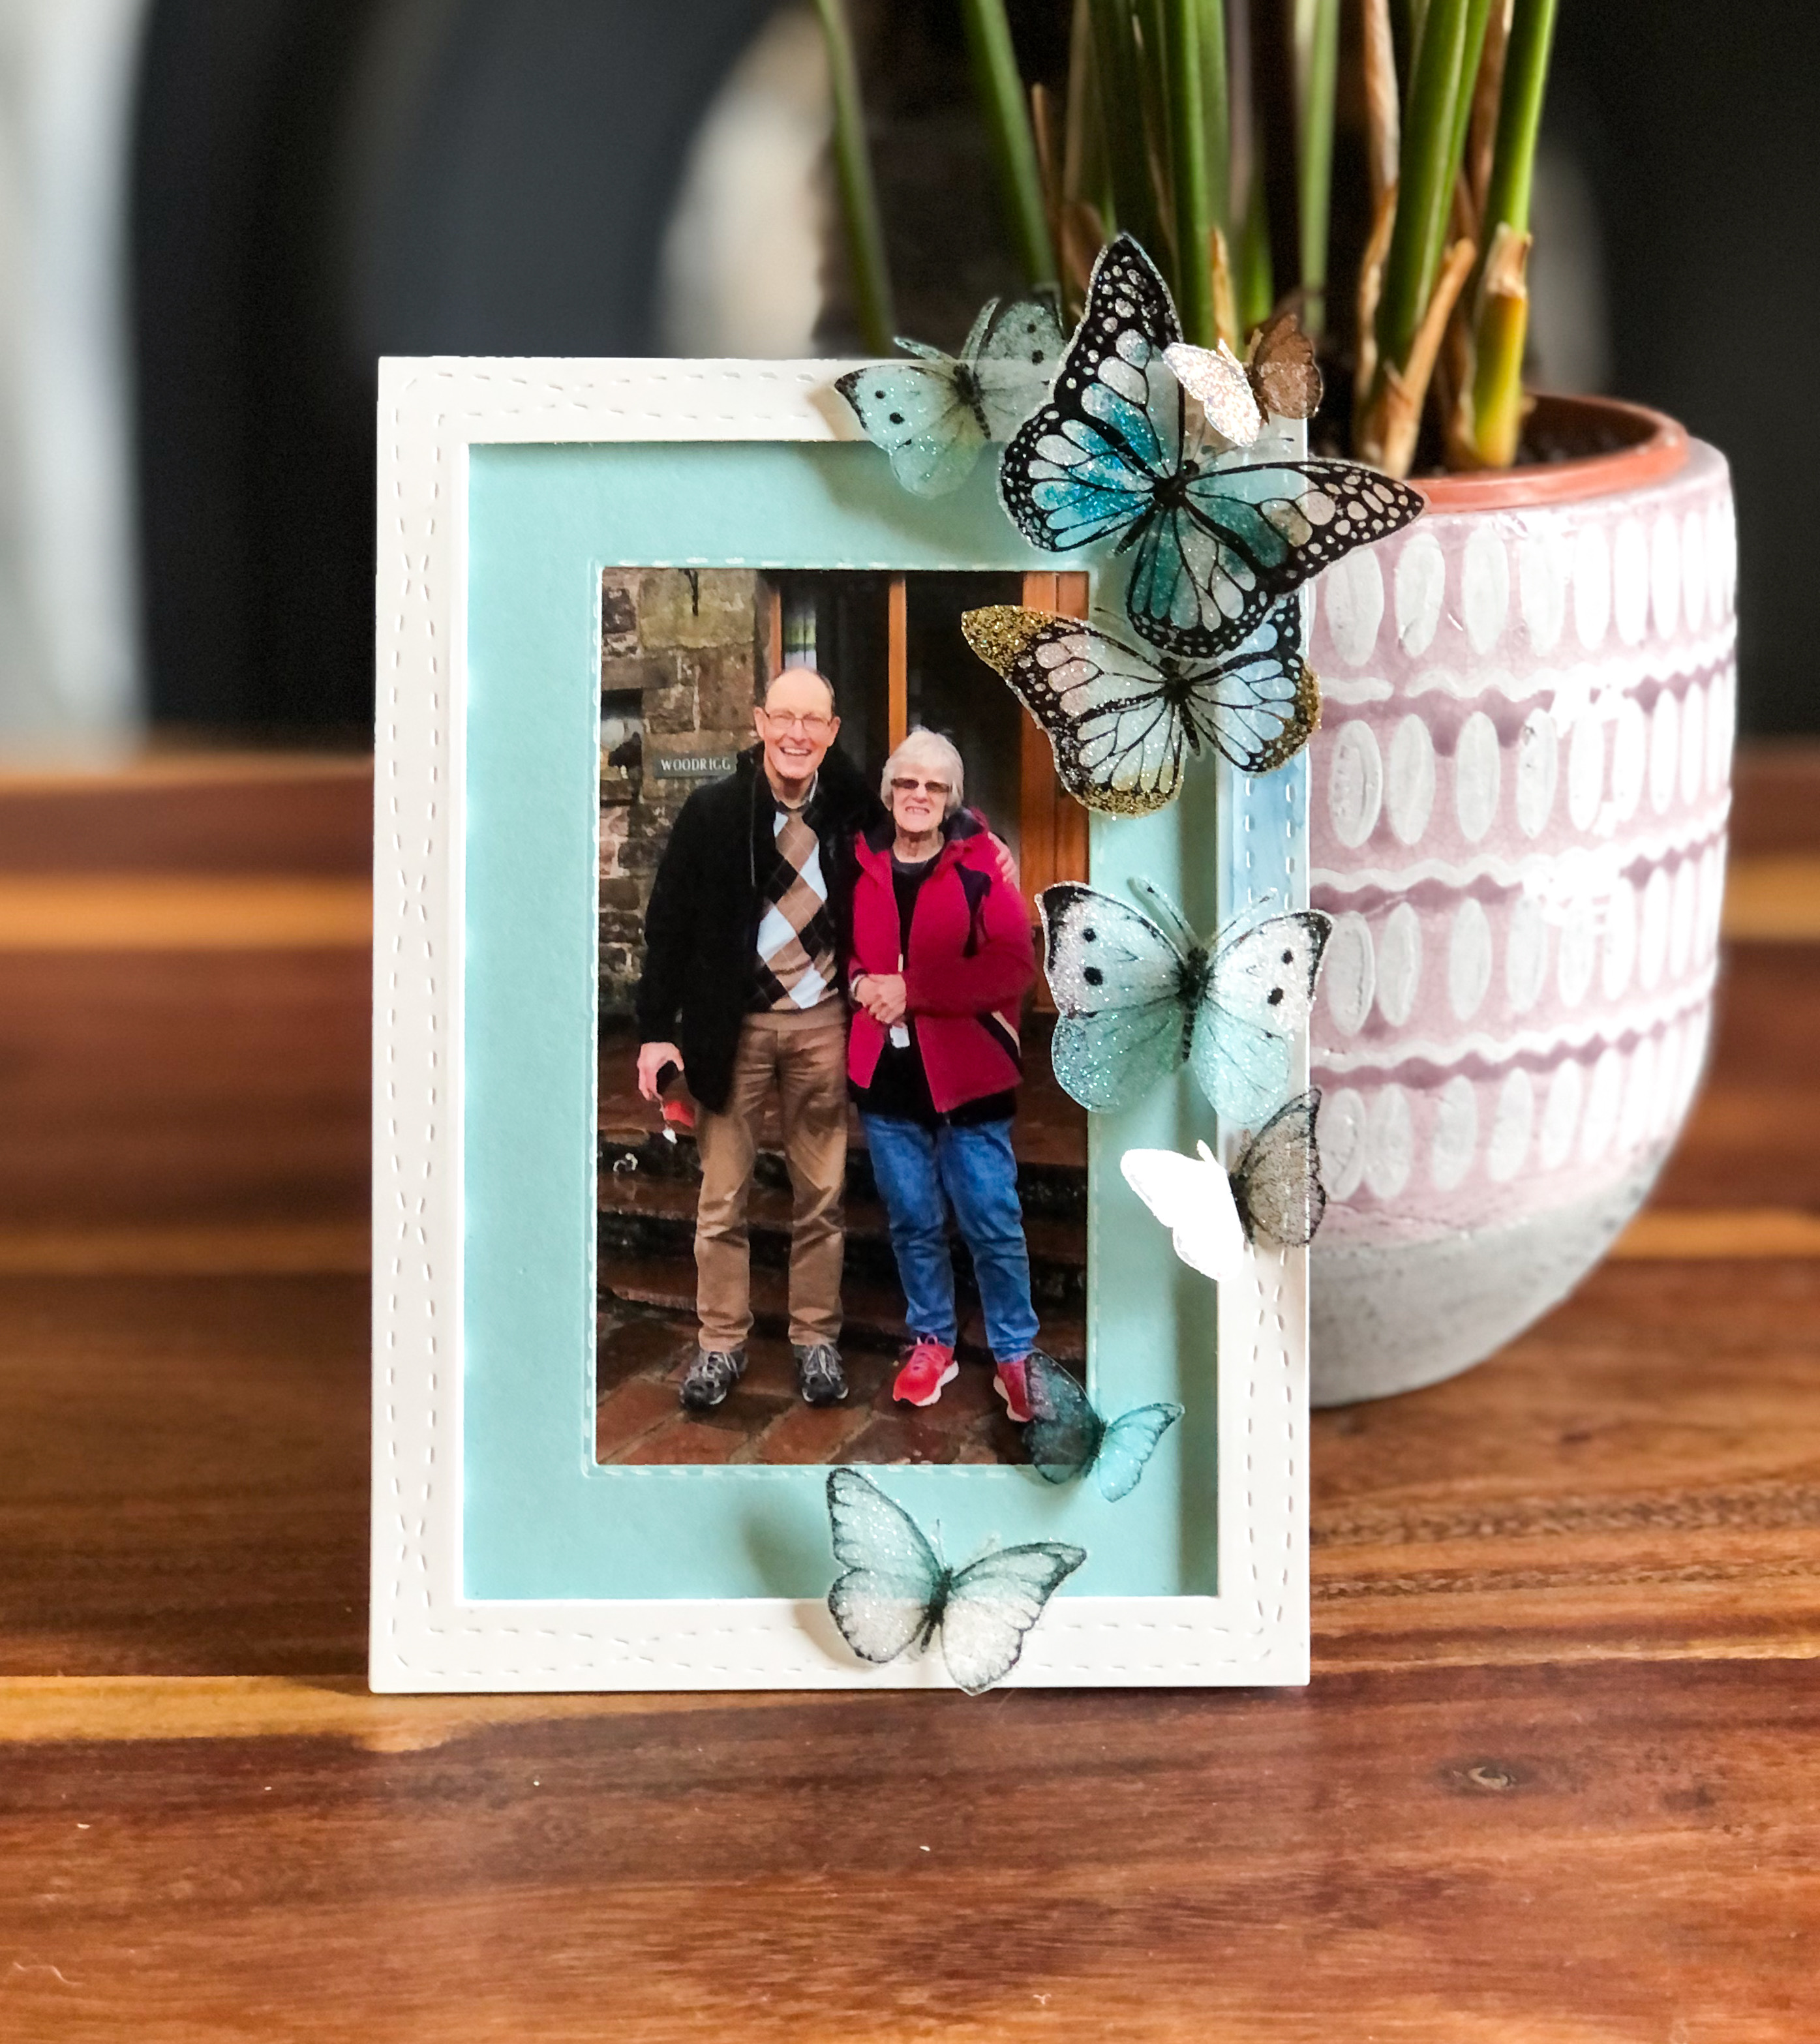
Butterfly Frame
Project Description:
Using Grafix Craft Plastic and Computer Grafix to make a Butterfly Photo Frame.
Designed by: Keren Baker
Difficulty: Moderate
Materials:
- Grafix Craft Plastic Opaque White
- Grafix Computer Grafix
- Glitter in different colours
- White & Blue Cardstock
- Rectangle Dies to create frames with
- Metallic Waxes (Treasure Gold or Metallic Wax Patina)
- White Gel Pen
Steps to Make This:
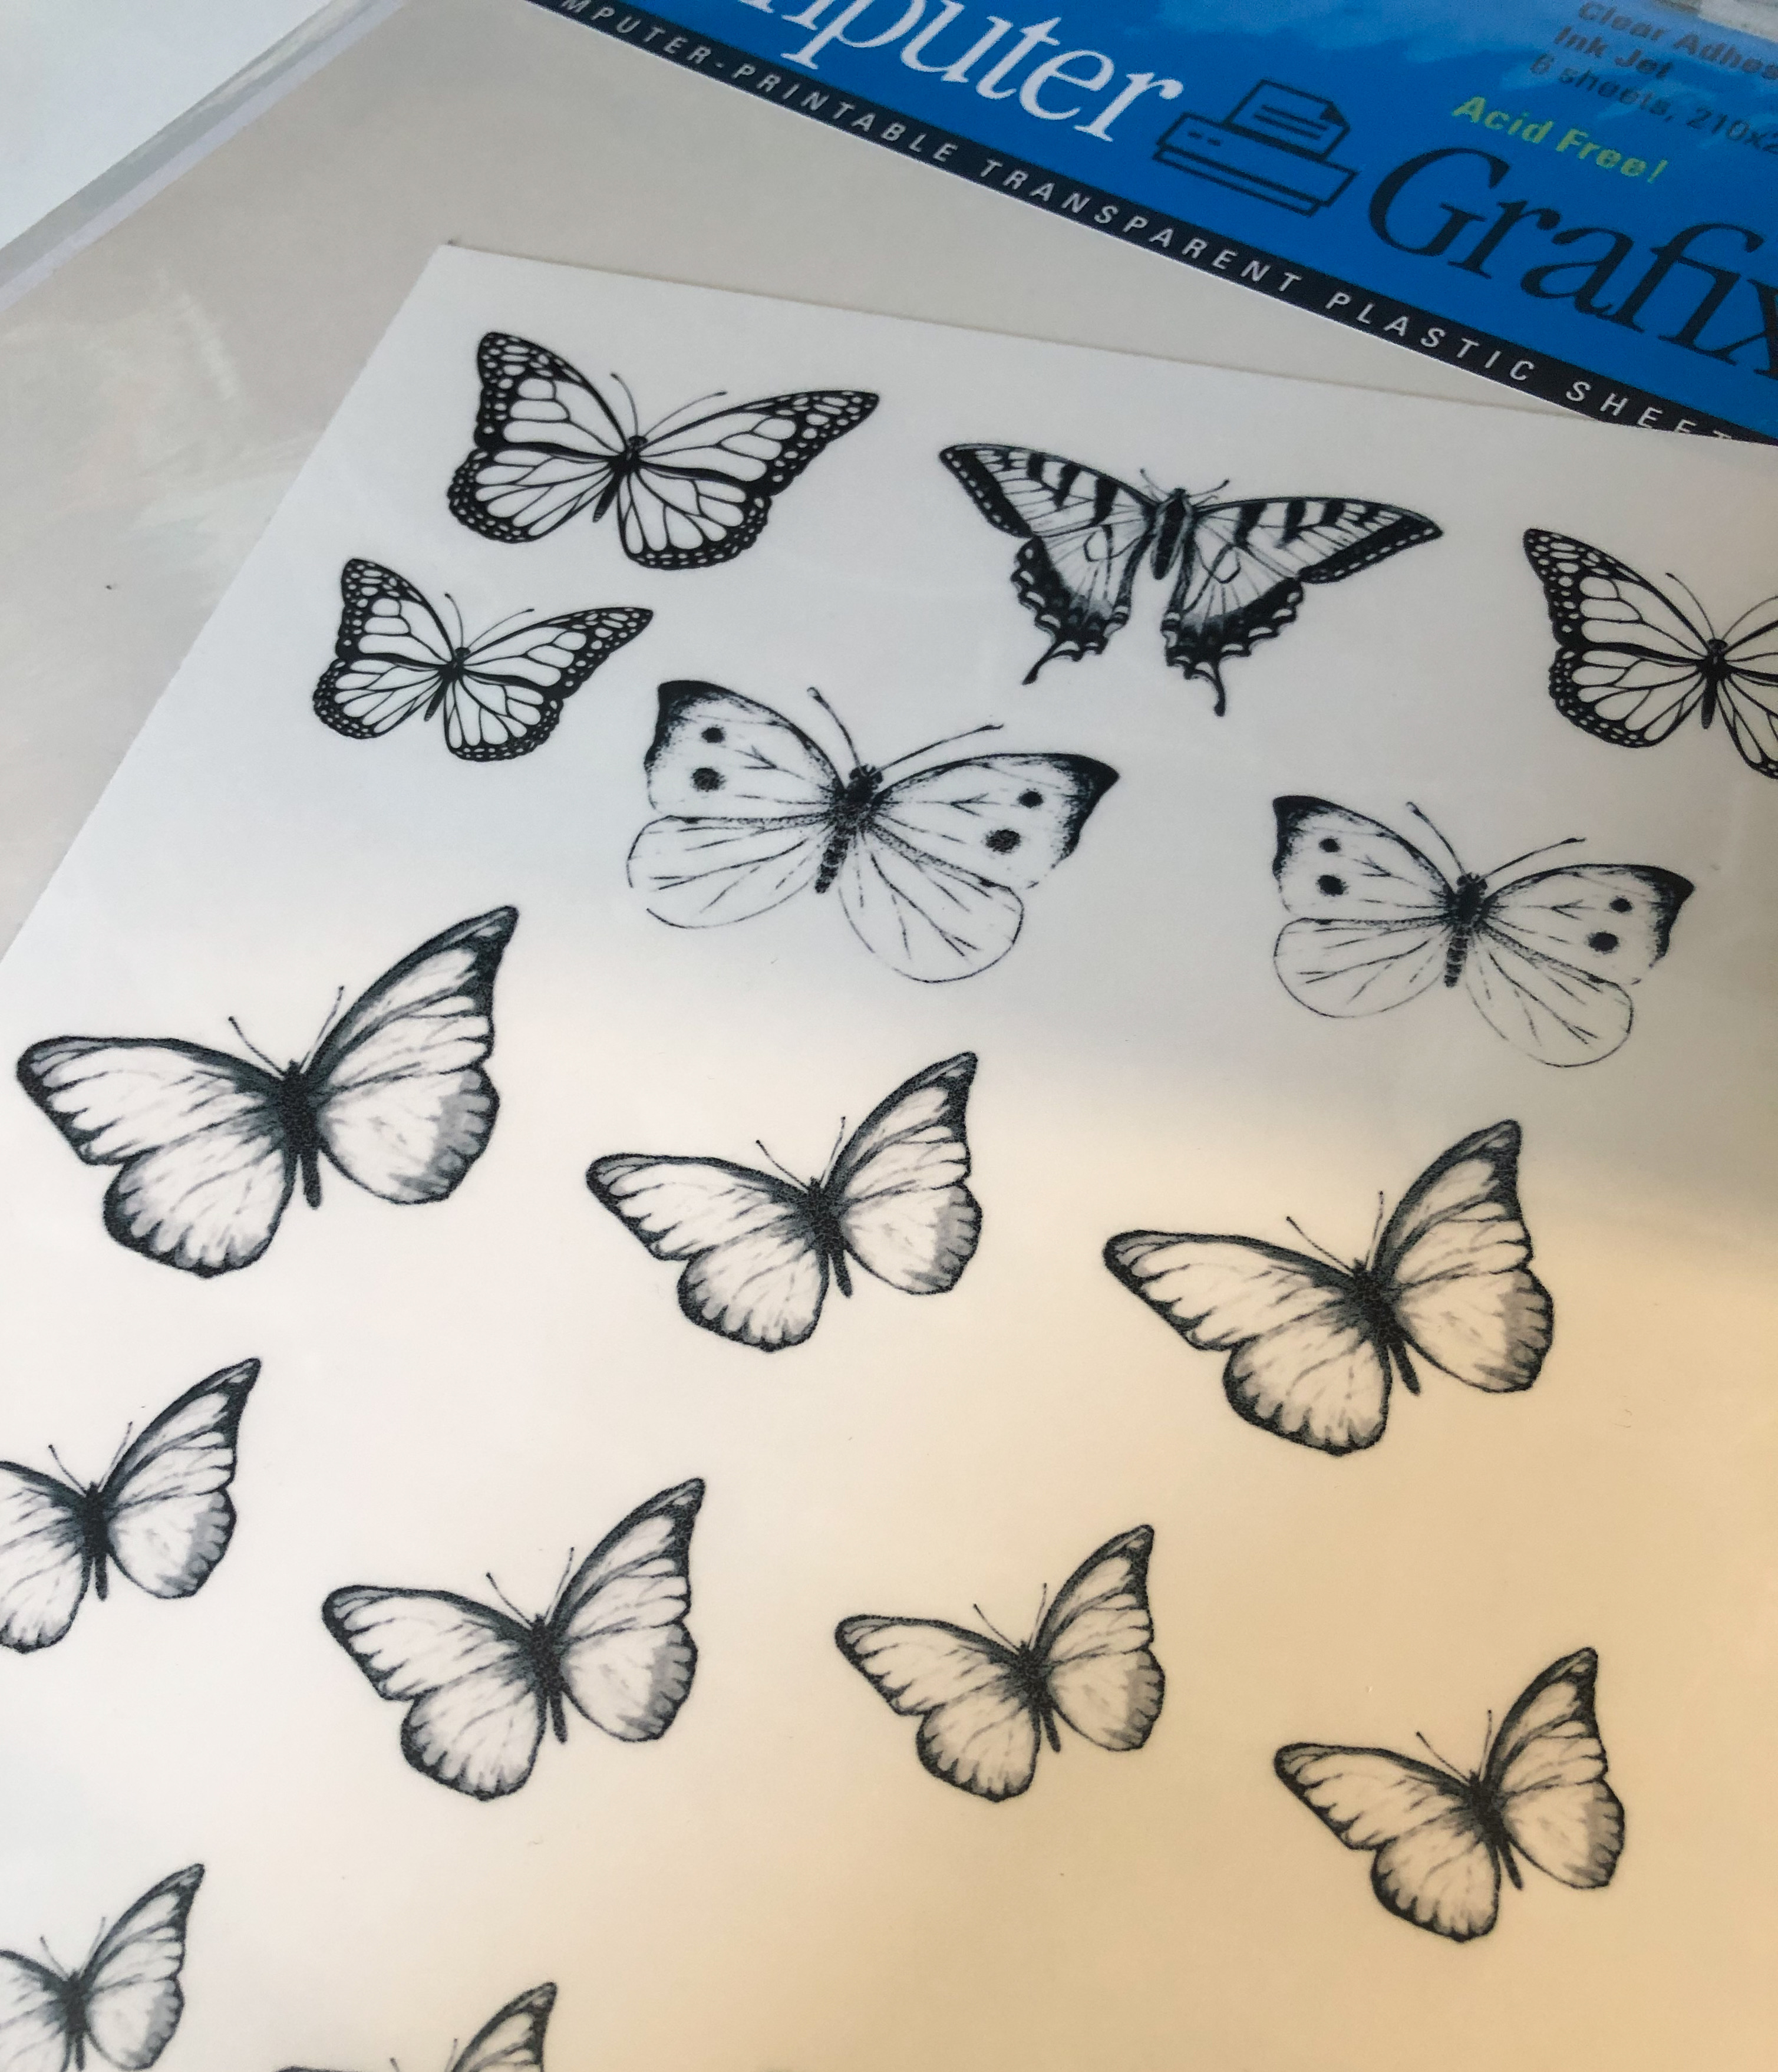
1. Find some butterfly images online and print out onto the Grafix Computer Sheets (these are suitable for Ink Jet Printers). Allow to dry completely.
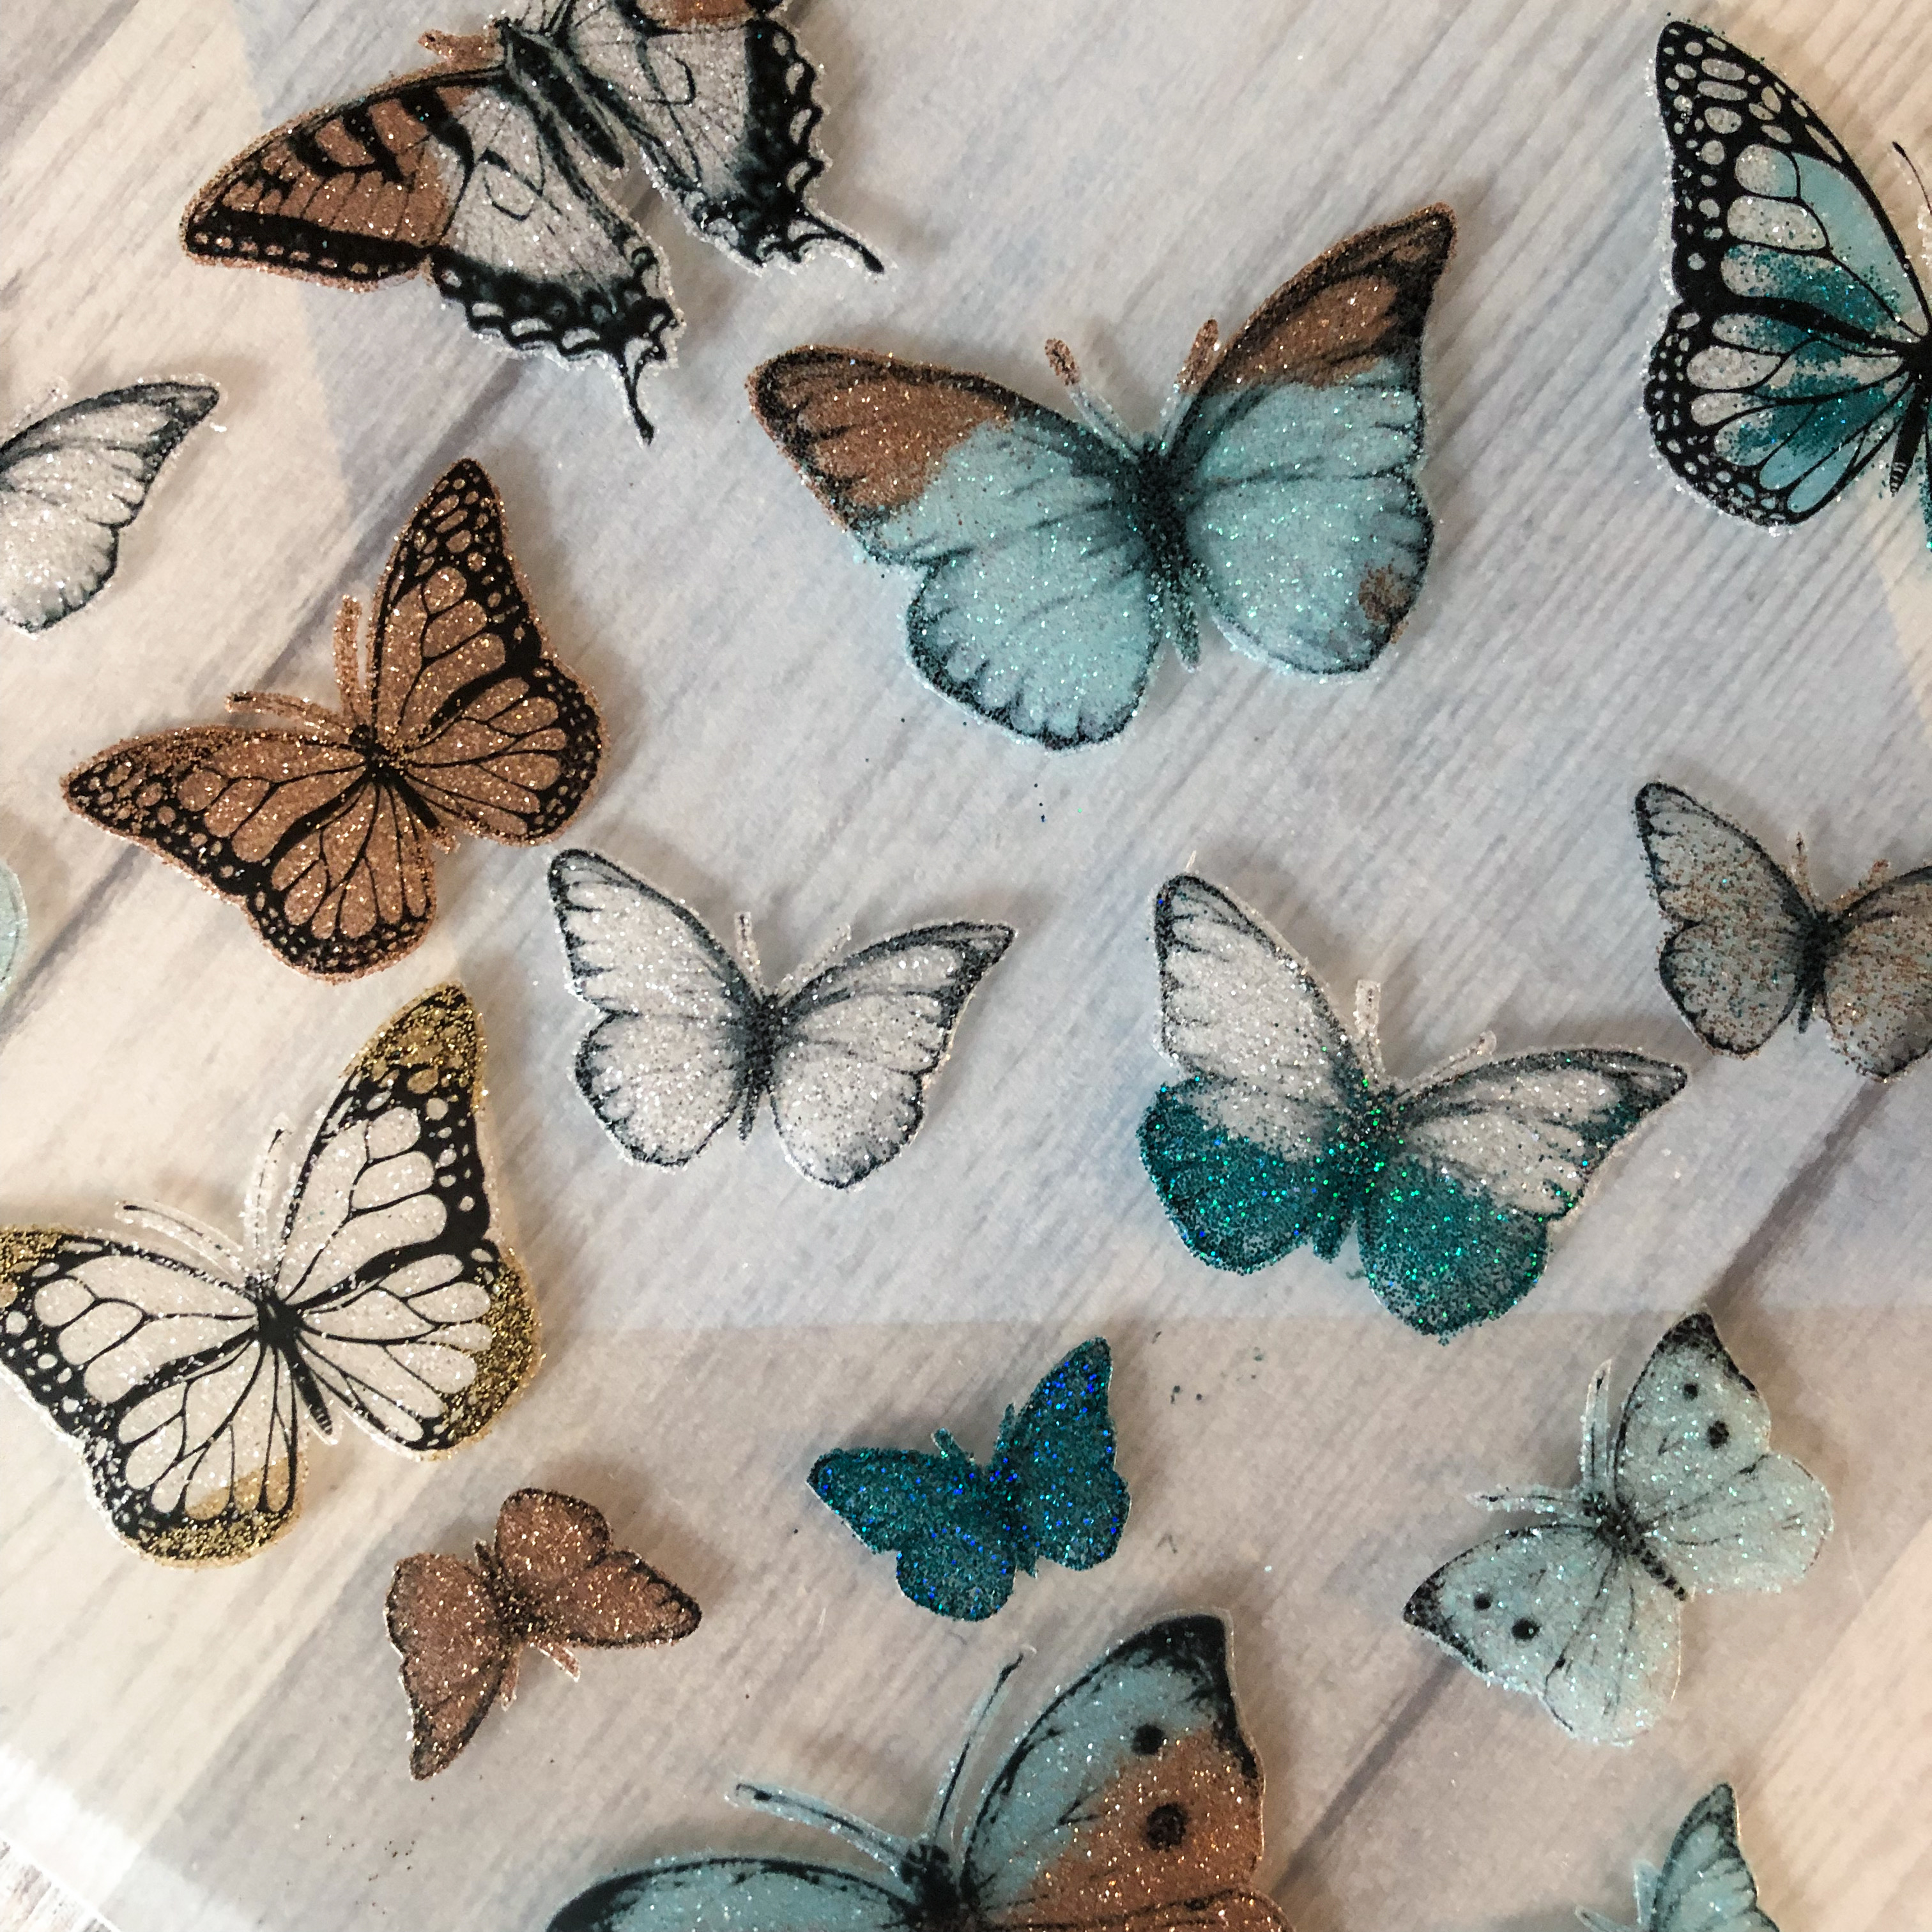
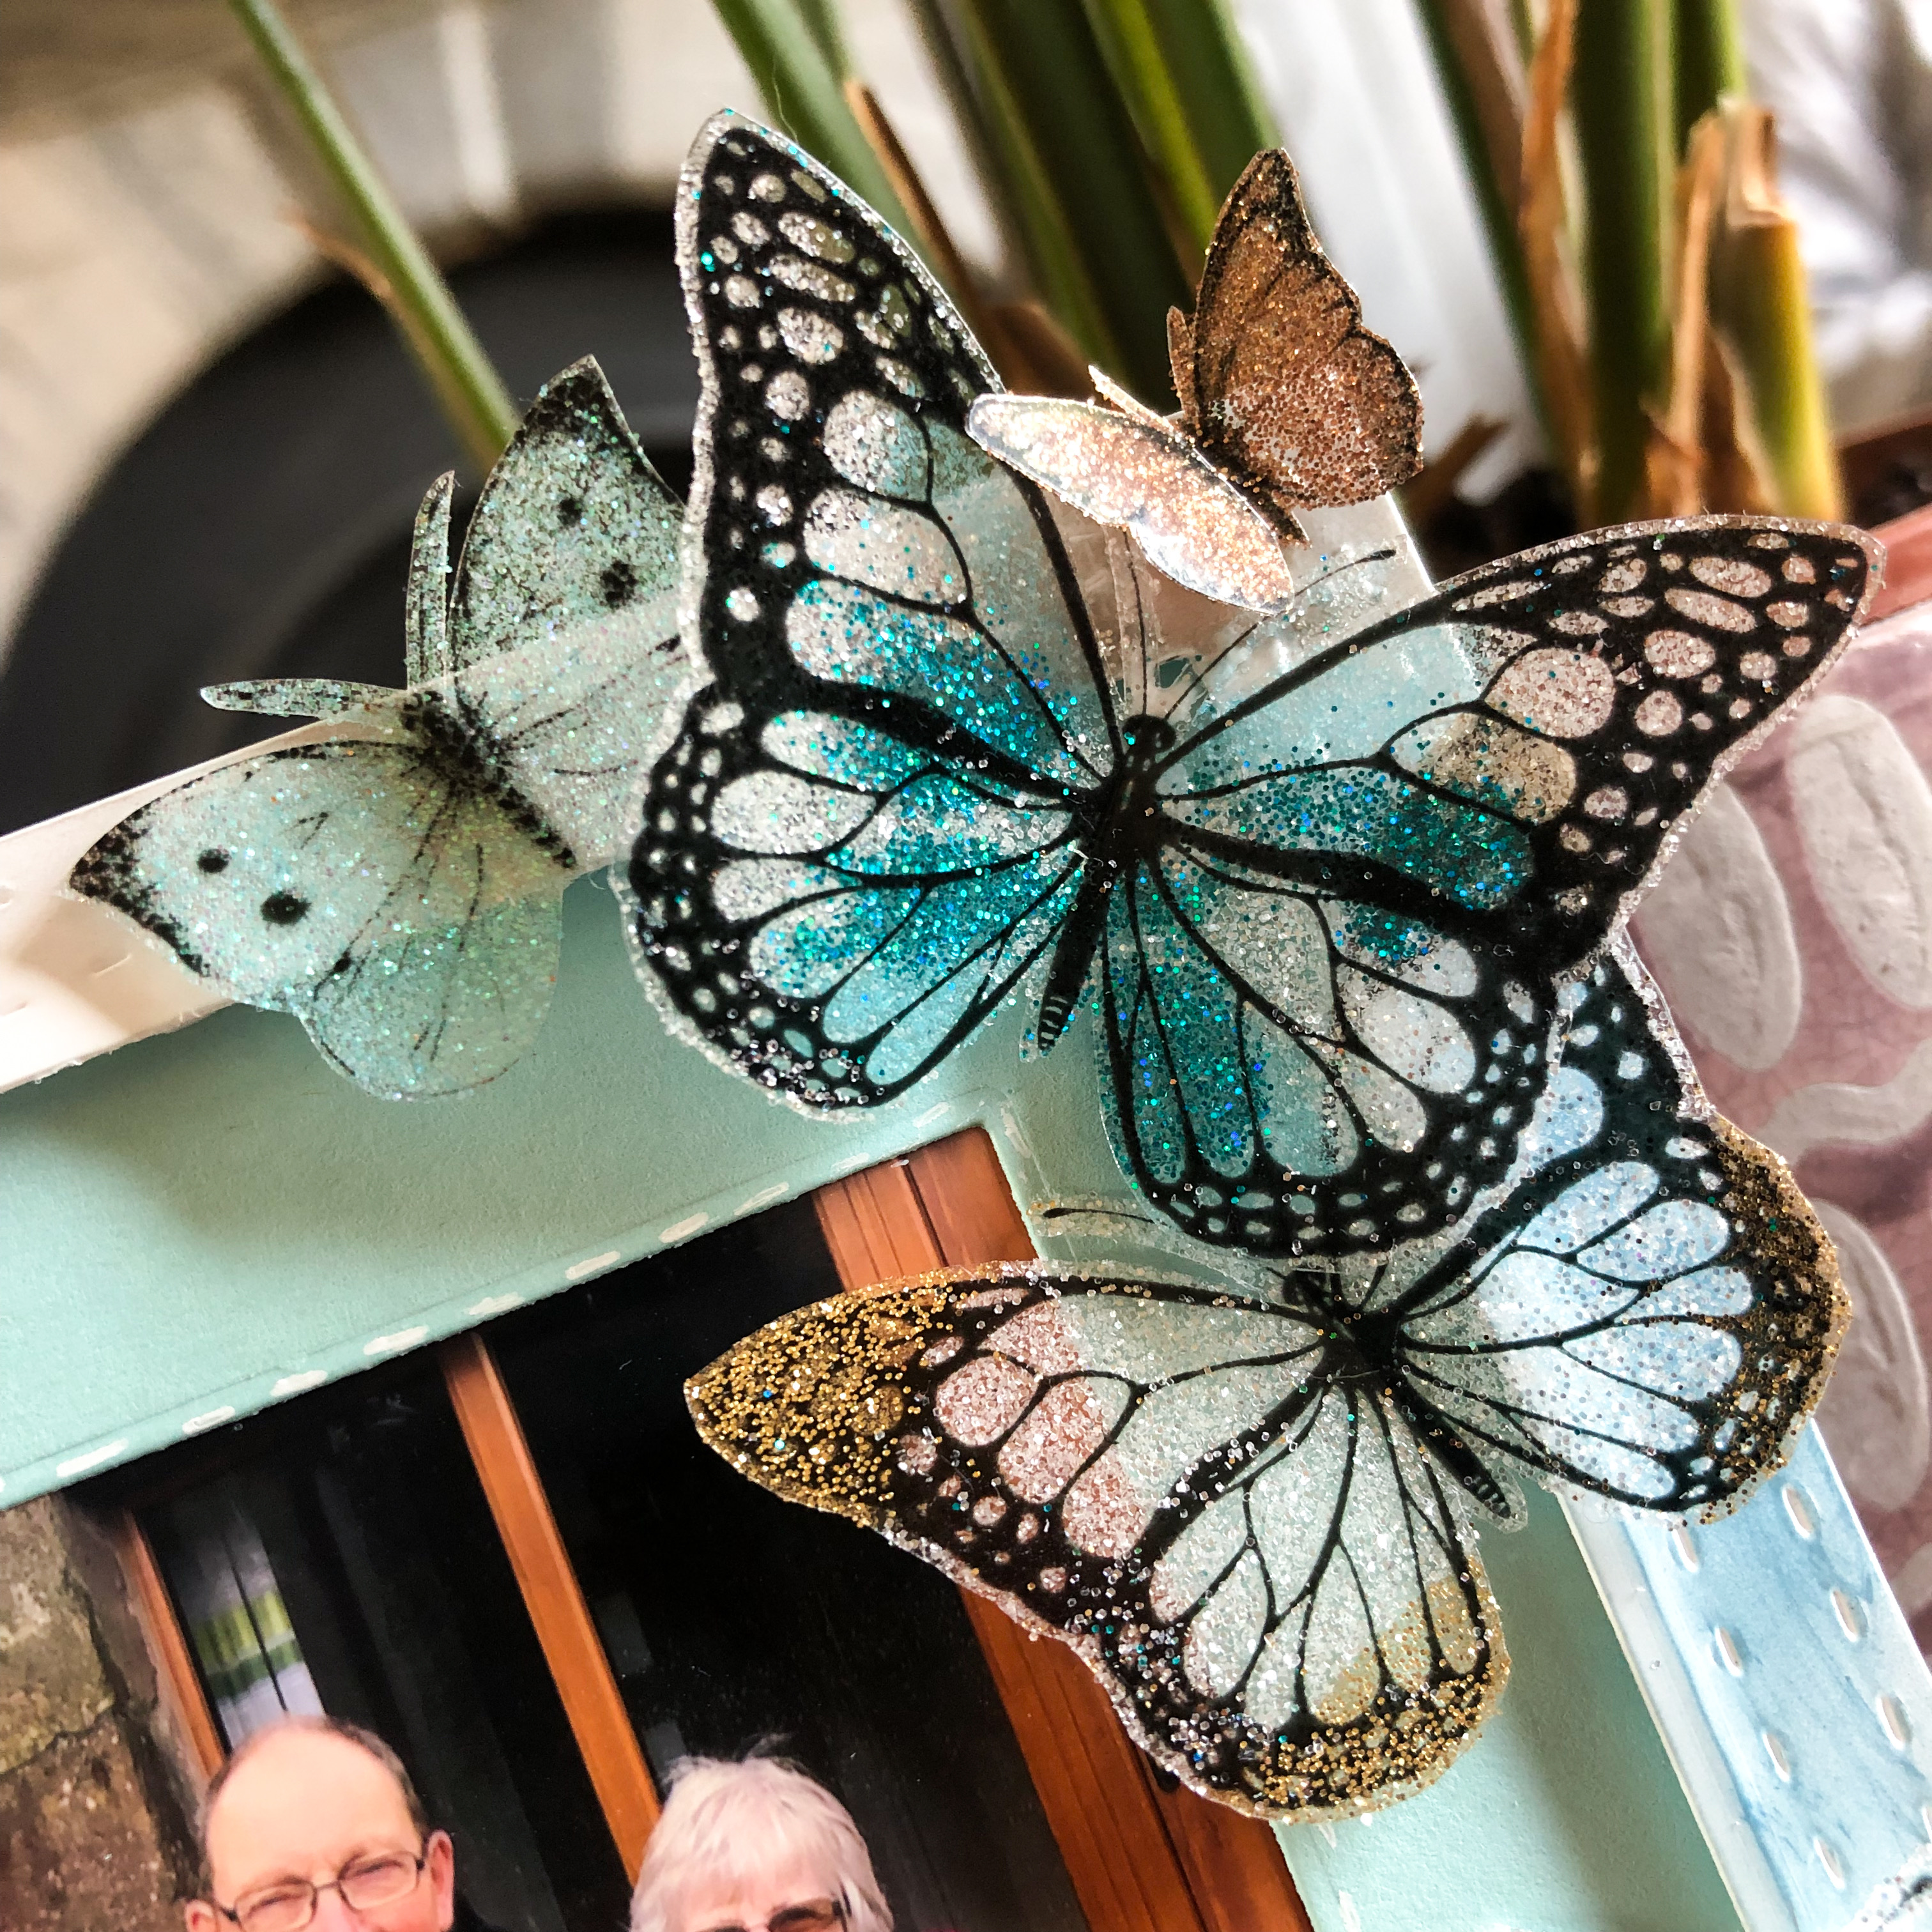
2. Trim around each butterfly. Peel back the adhesive backing and press different coloured glitters into each butterfly. Fold each butterfly inwards to give it shape.
3. Die cut a frame shape from Grafix Craft Plastic. This method works really well if you have dies that imprint a pattern too.
4. Using the metallic waxes, rub into the edge of the frame on the top right hand corner. Rub well to spread the colour evenly and leave to dry.
5. Die cut a smaller blue frame and add the Craft Plastic over it using foam pads. Add a photo behind and a heavyweight piece of cardstock behind that.
6. Add a bracket for standing the frame up or add this to a frame backing. Add double sided tape to the centre of each butterfly and arrange around the frame to finish.
[/efsrow]


