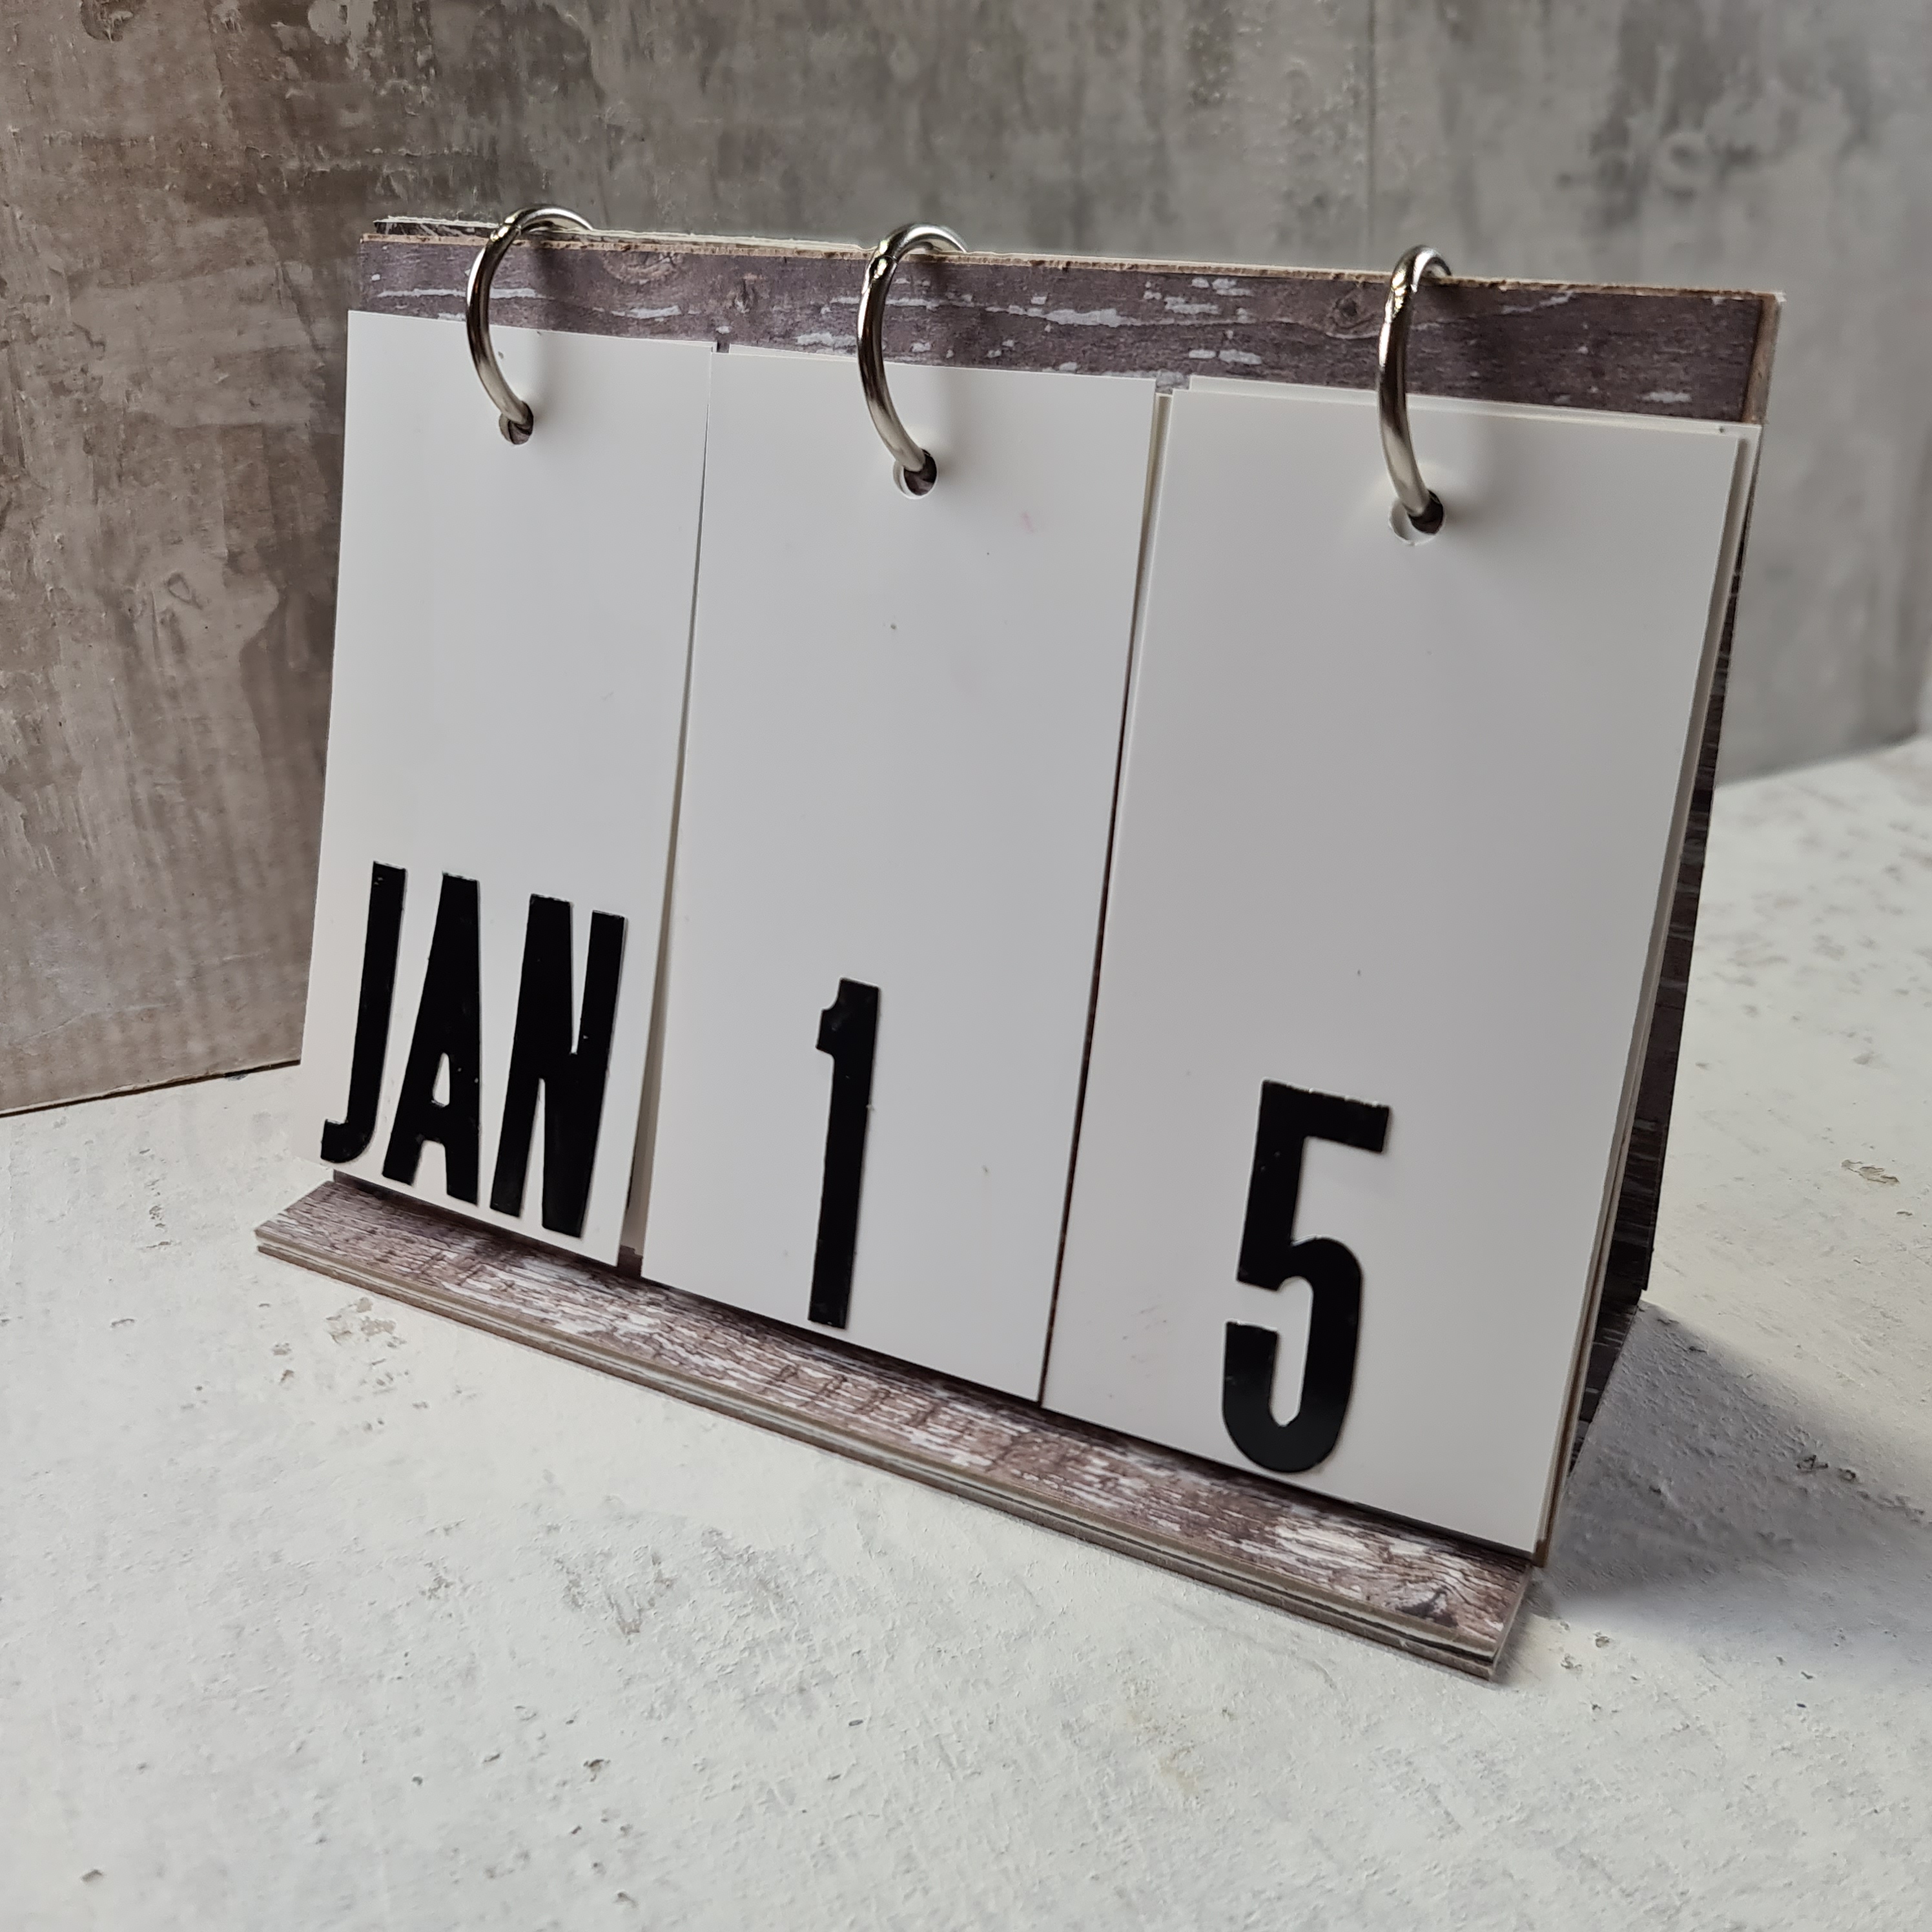
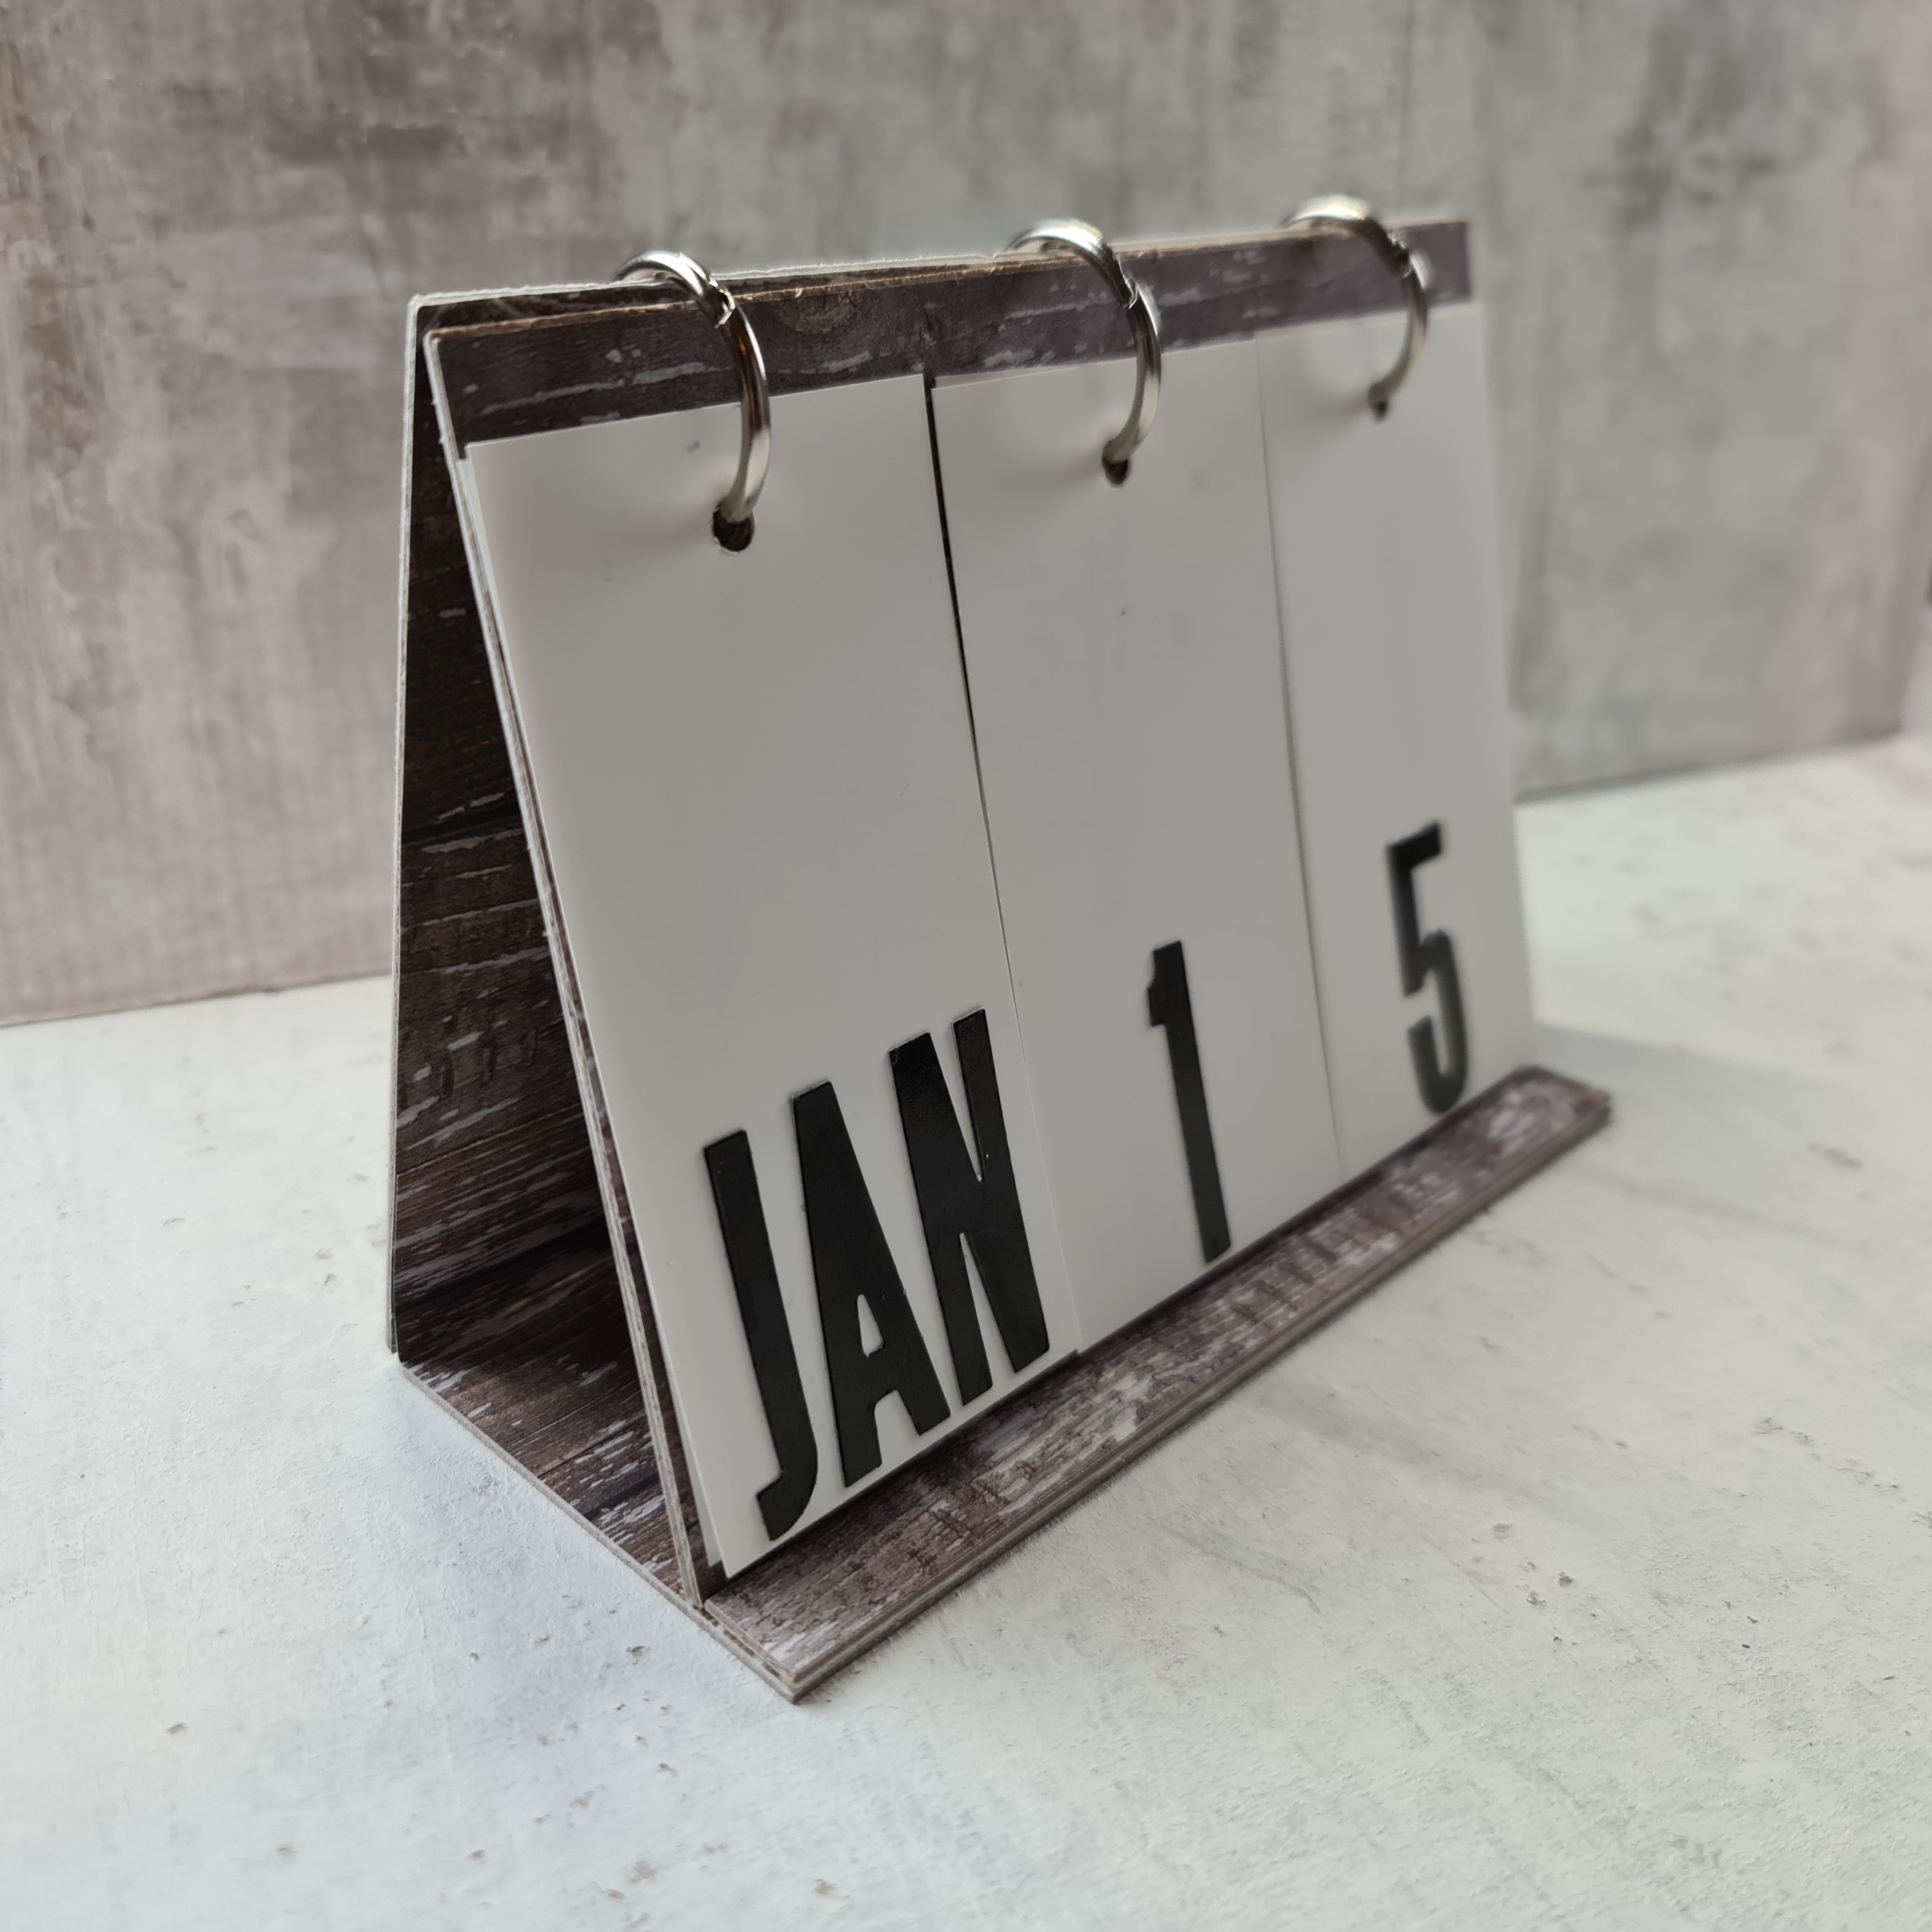
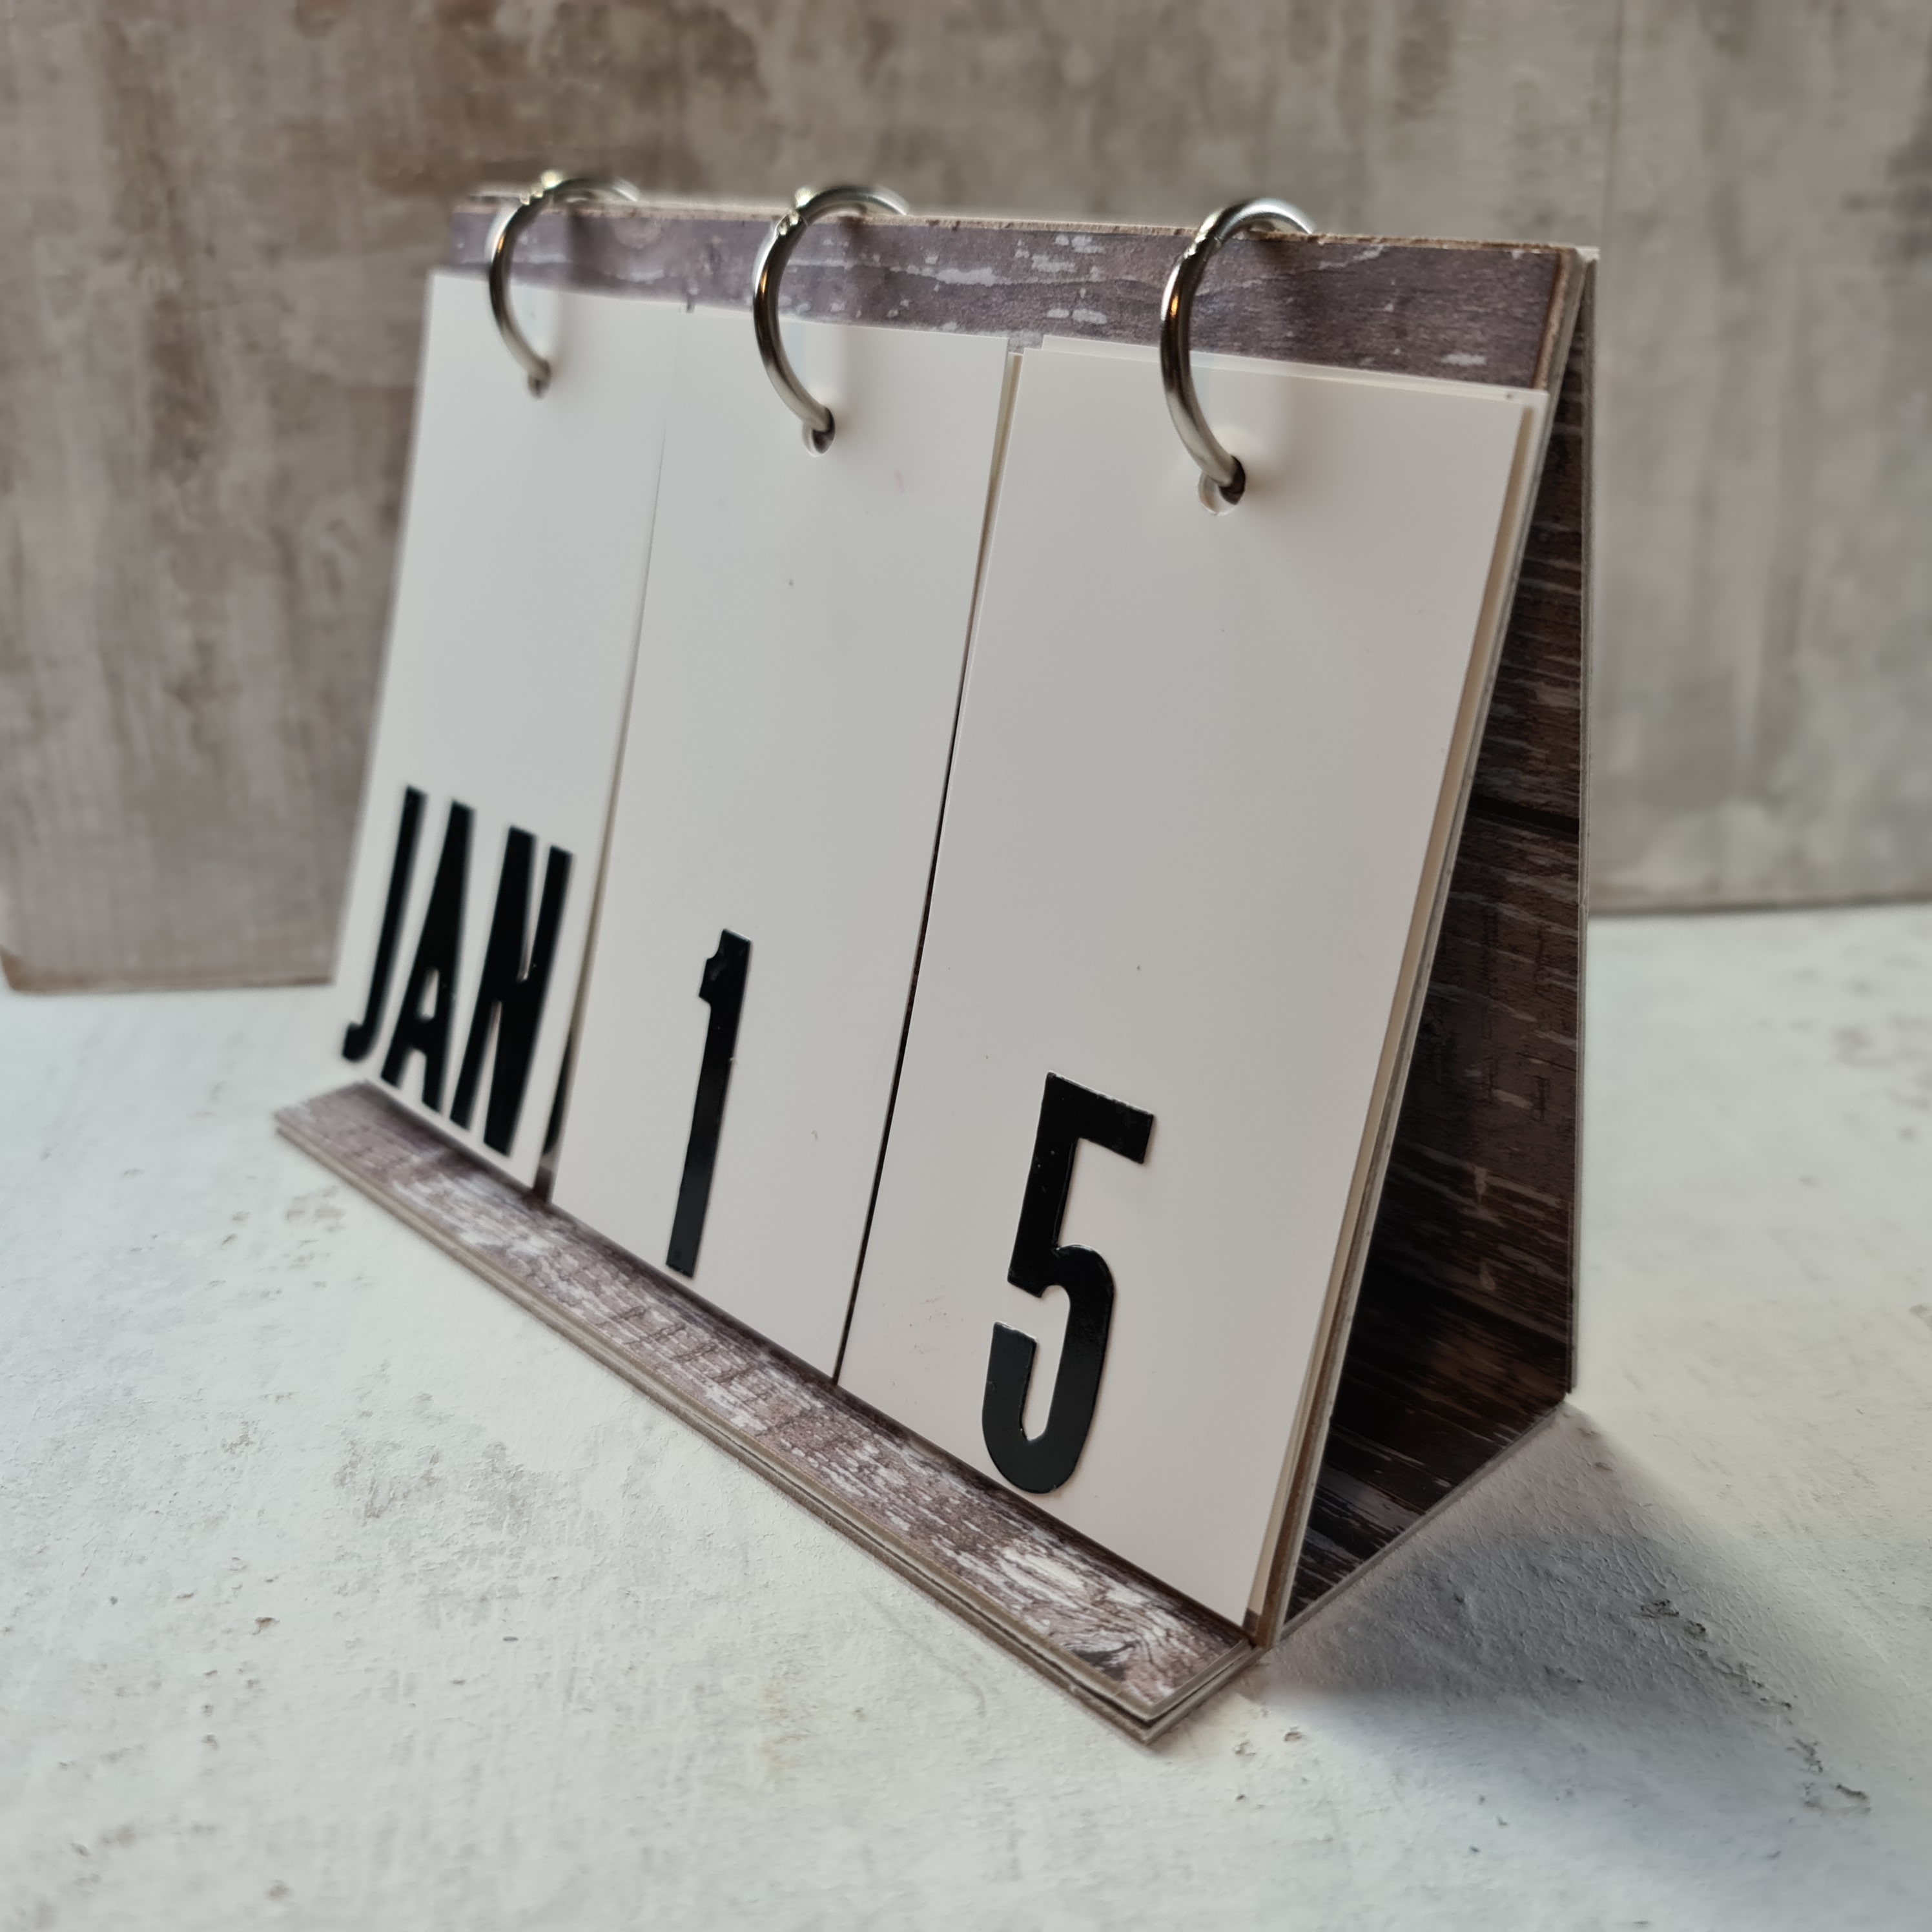
Chipboard Calendar
Project Description:
Create an aesthetically pleasing fun Calendar to spruce up any workspace using Grafix Products!
Designed by: Tania Ahmed
Difficulty: Advanced
Materials:
- Grafix Chipboard
- Grafix Metallic Foil Board
- Grafix Artist Tac
- Grafix Opaque White Craft Plastic
- Woodgrain patterned paper
- Book rings
- Hole Punch
Steps to Make This:
- Cut Chipboard into pieces two of 4.5”x6”, 2.5”x6” and ¼”x6”
- Mark spots on Chipboard at 1”, 3” and 5” to punch holes on the two 4.5”x6” pieces
- Cut patterned paper pieces the same size as chipboard
- Peel release sheet off Artist-tac and apply on to chipboard pieces
- Apply patterned paper to chipboard pieces
- Punch Holes into the two 4.5”x6” pieces
- Apply Artist Tac to ¼”x6” chipboard piece and apply to 2.5”x6”chipboard piece
- Create a “hinge” using more patterned paper cut to 2”x6”
- Use Artist Tac to adhere the hinge to 4.5”x6” and 2.5”x6” pieces adjacent to the lip created by the smallest chipboard piece
- Cut twenty five 2”x4” pieces of Opaque White Craft Plastic and punch holes in the top centre of the film
- Die cut Metallic Foil Board to spell out the months of the year along with numbers for days
- Apply Artist Tac to the back to the die cut Metallic Foil Board and stick on to Opaque White Craft Plastic pieces.
- Add book rings to perpetual calendar base and add on the second 4.5”x6” piece along with the Opaque White pieces
[/efsrow]


