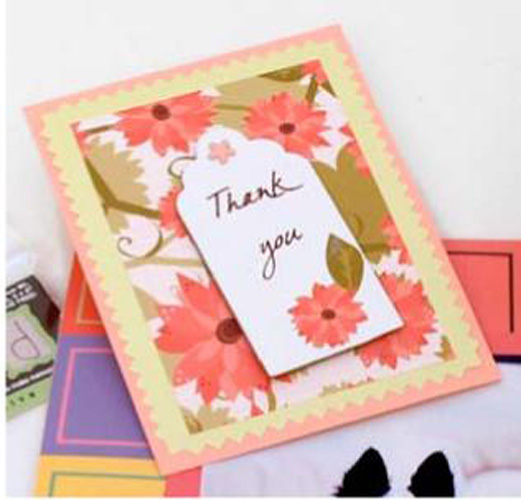
Chipboard Thank You Card
Project Description: Create one of a kind Thank You Cards with Grafix products.
Designed by: Grafix Designer
Difficulty: Easy
Materials:
- Grafix White Chipboard
- Grafix Double Tack
- Rub-Onz Transfer Film
- Flower brad
- Patterned Paper
- Pink and Sage Cardstock
- Hole Punch
- Die cutter or Scissors
Steps to Make This:
- Cut a piece of White Chipboard into a tag shape using die cutter or scissors. Tag should be 2” x 4”.
- Cut pink and sage card stock to 4.5” x 6”.
- Trim the sage card stock with decorative scissors and layer with the pink card stock. Secure with Double Tack.
- Cut patterned paper to 3.5” x 5” and attach to the sage card stock with Double Tack.
- Create text on your computer and print on to the Rub-Onz material.
- Apply to the tag according to the directions on the package.
- Cut out a flower and leaf from the patterned paper and apply to the bottom corner of your tag.
- Punch a hole in the tag and card stock layers. Secure the tag to the card stock using a brad.

