Clear Organization Bin Labels
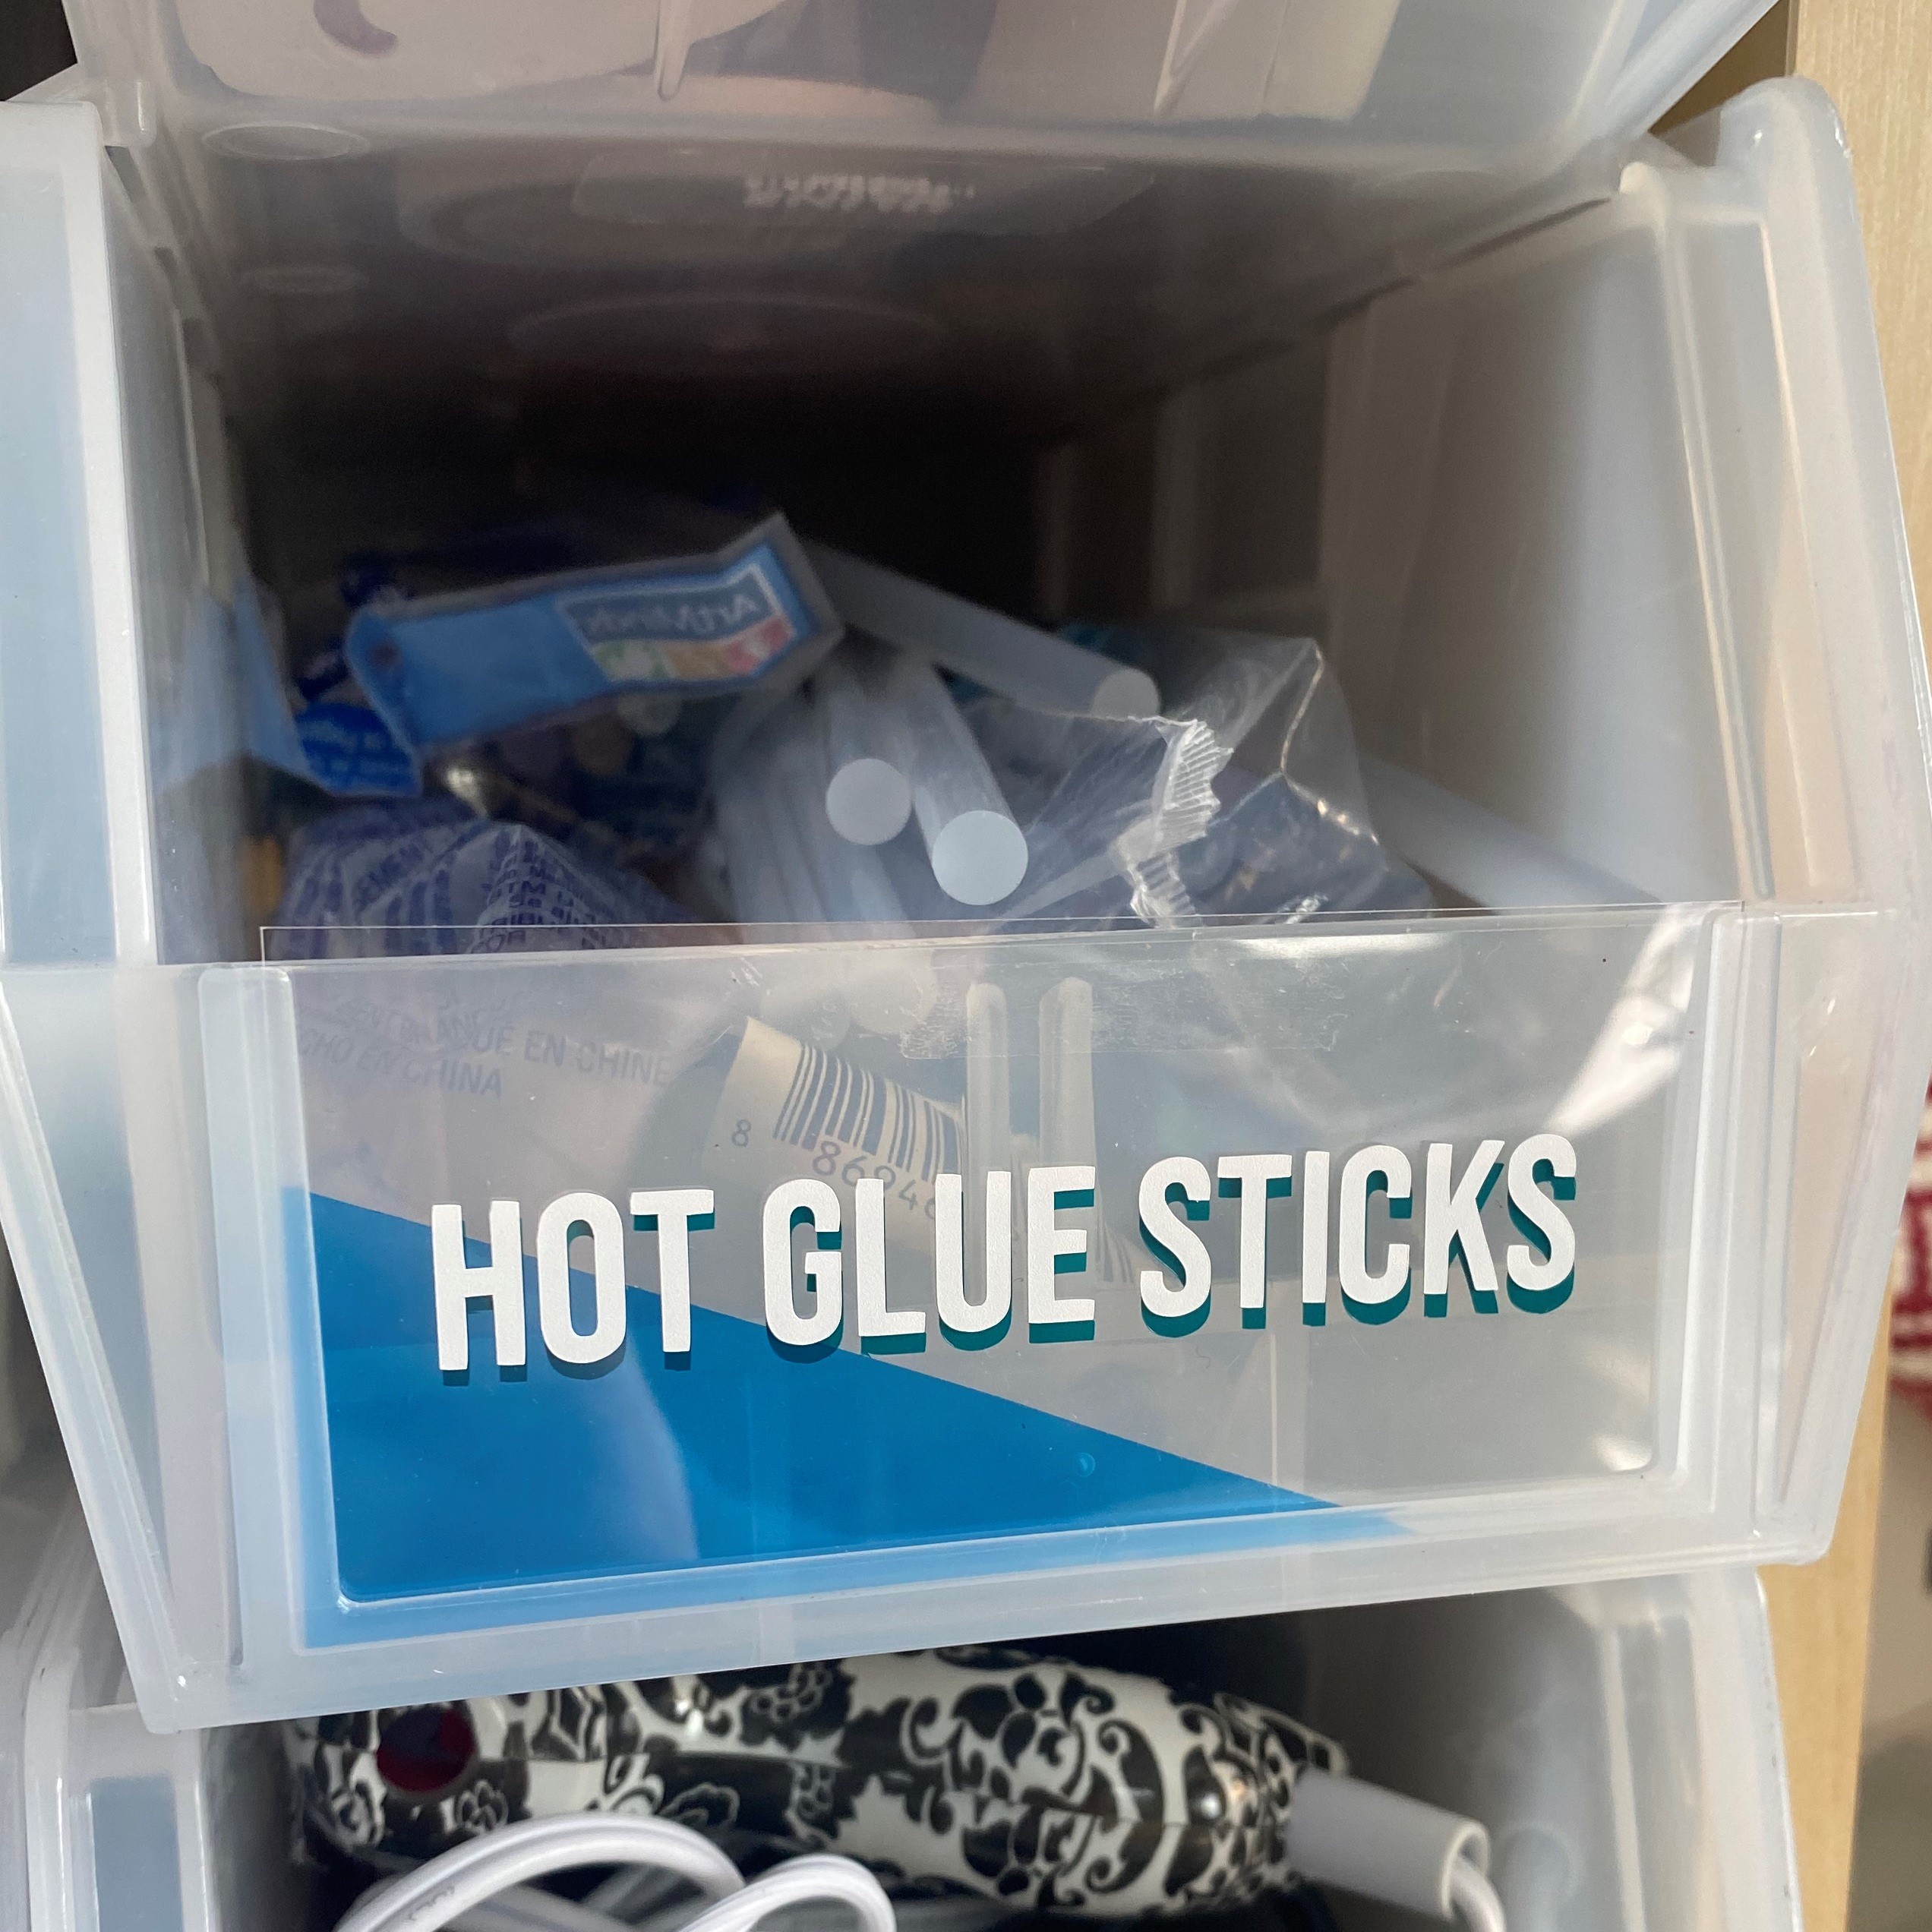
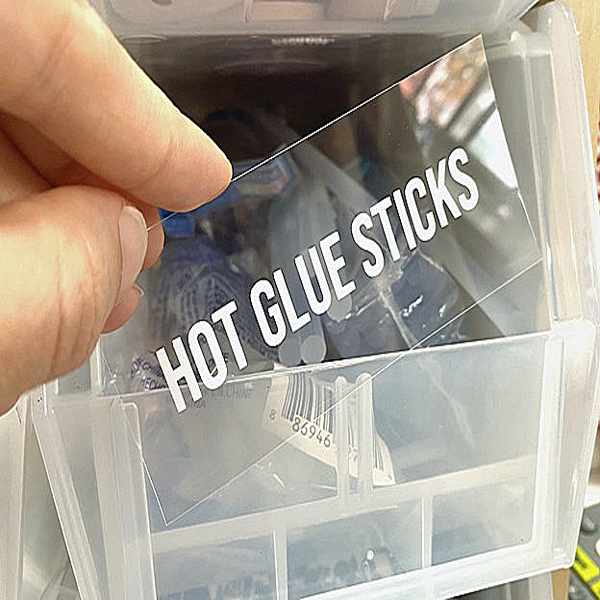
Project Description: I love having clear bins so I can see the contents inside – but labels block my view, so I made clear labels using craft plastic and vinyl.
Designed by: Natasha Dzurny
Difficulty: Easy
Materials:
- Grafix Clear Dura-Lar
- Cricut Machine or Your Die-Cut Machine
- Weeding Tool
- Adhesive vinyl, appropriate for a craft cutting machine
- Vinyl Transfer Tape
- Straight edge and blade
- Uline Organization Bins
- Optional: Grafix Assorted Colored Clear-Lay Film (For Color Coding)
Steps to Make This:
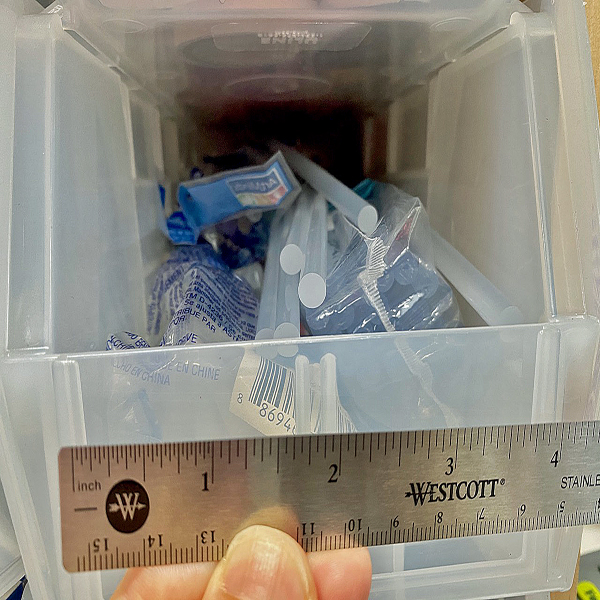
- First, measure the slot of your bins. The clear bins used for this project are from Uline and are 4 inches wide by 1.75 inches tall. There are many brands of bins, so be sure to measure your own!
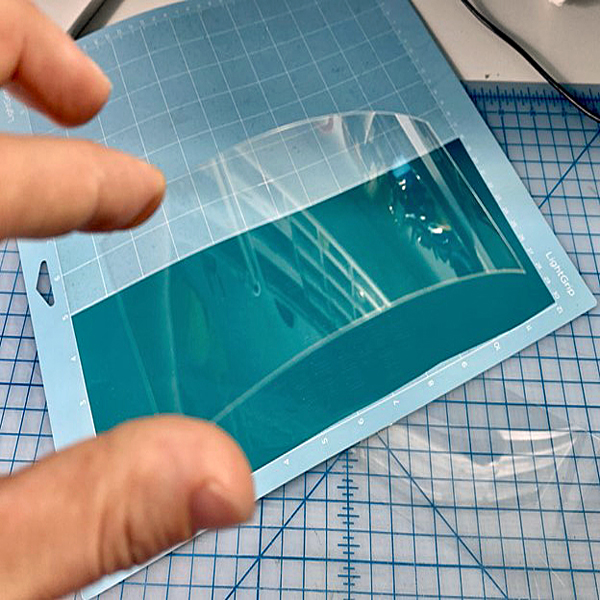
- Use a straight edge and blade to cut rectangles out of a sheet of Grafix Clear Dura-Lar Film matching the measurements of the bin.
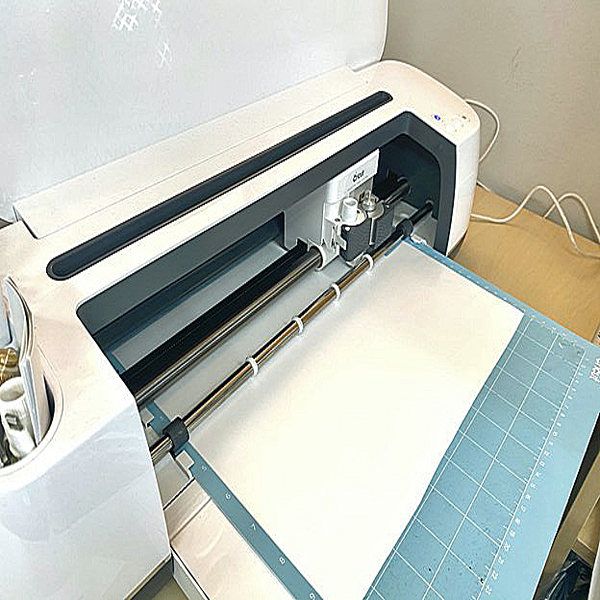
- To design your label, choose a font, and use a font size that leaves a margin of about .5 inches from the edge of the rectangles. Cut your design out with a Cricut Machine or your choice of craft cutting machine to cut the Vinyl in a color of your choice.
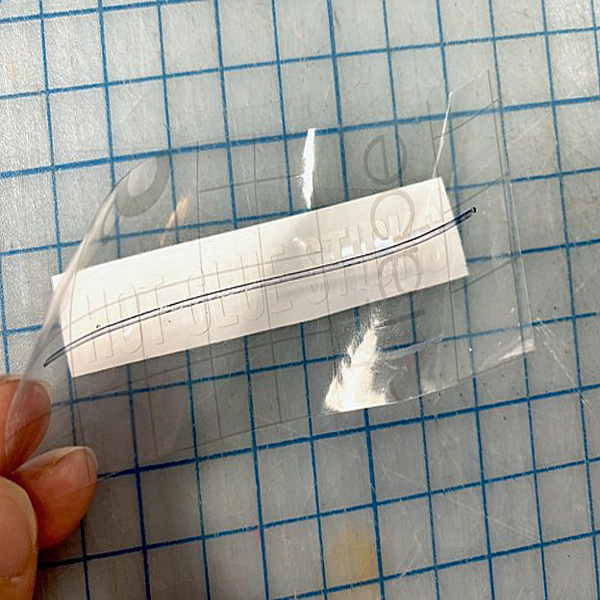
- Next, cut a piece of transfer tape the same size as your rectangle. If the transfer tape doesn’t have markings, you could use a permanent marker to mark the center to make it easier to align.
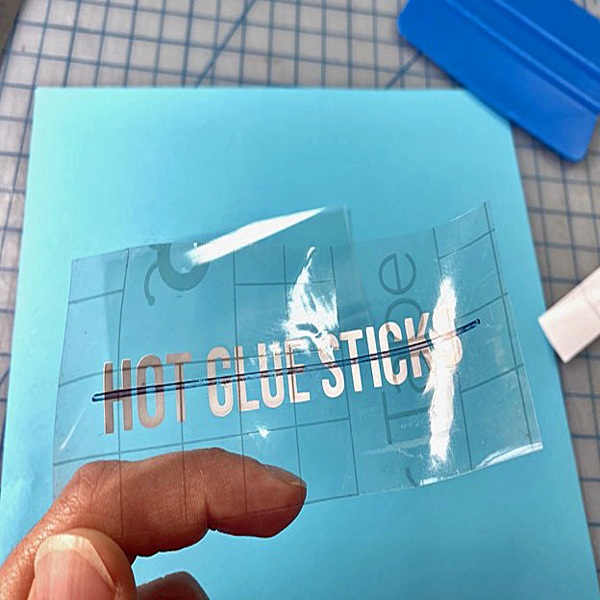
- Weed all of the letters using your weeding tool.
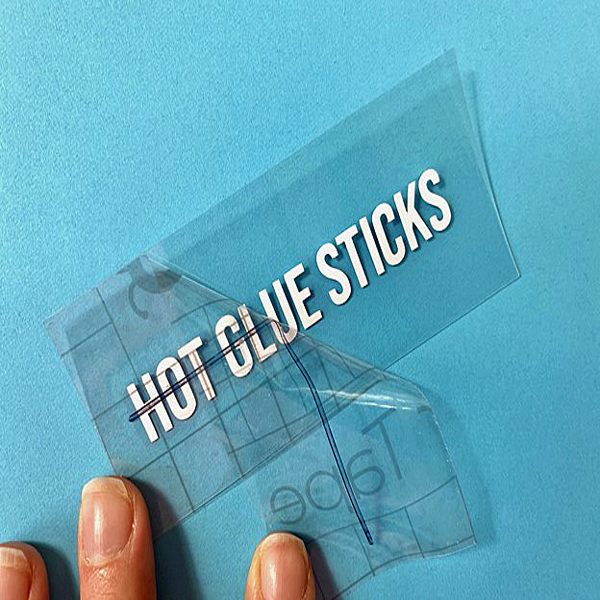
- Then use the transfer tape to transfer the letters to the Clear Dura-Lar Film, aligning the transfer tape with the edges of the clear rectangle.
- Optional: Cut triangles or other designs from Grafix Assorted Colorful Clear-Lay Film. You could use this for decoration or to color-code your bins, and still see through the labels!
- Insert the label into the slot in the bin. If you added the colored shapes, place them behind the label. Enjoy your new organized bins!

