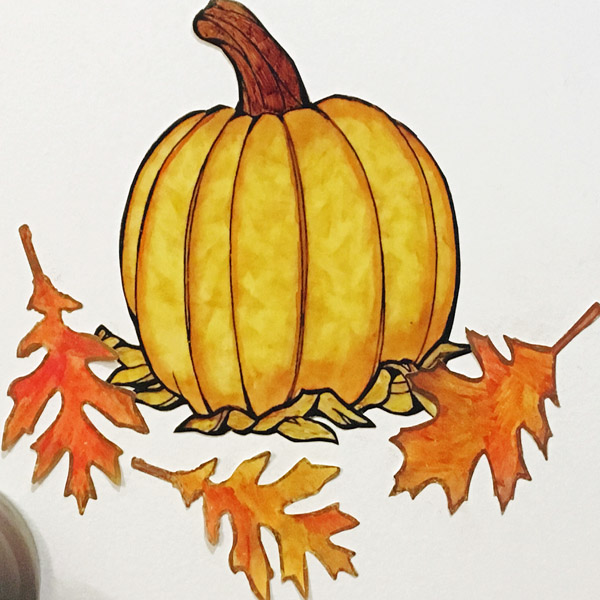
Cling Fall Decor
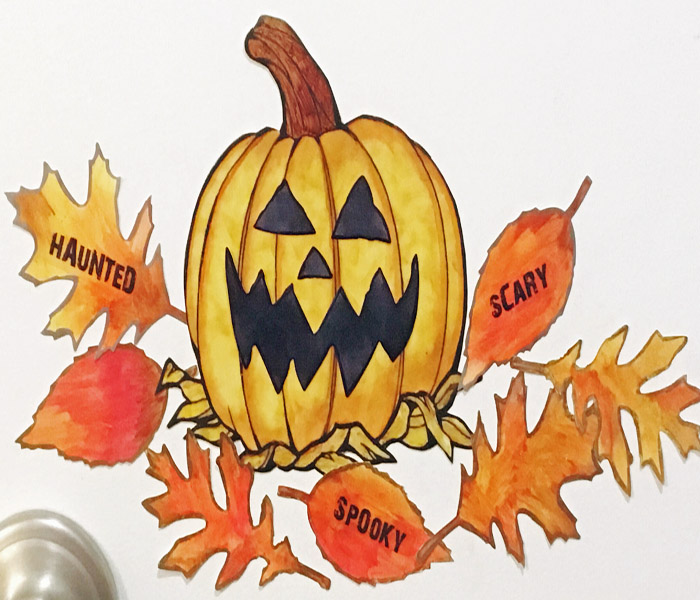
Project Description: Create quick and easy Fall décor with Grafix Cling Film and Computer Grafix!
Designed by: Tami Sanders
Difficulty: Easy
Materials:
- Grafix White Cling Film
- Adhesive-Backed Computer Grafix Film
- Sizzix: Movers and Shapers Tray and Mini Scary Jack-o-lantern Set and Tattered Leaves Dies
- Clearsnap: ColorBox Mixed Media Ink: Black, Khaki and Orange, Stylus & Tips and Circus Art
- Screen
- Sharpie: Yellow, Orange, Red, Brown, Gold, Silver and Bronze Fine Point Markers
- Sizzix Big Shot
- Scissors
- Computer
- Printer
Steps to Make This:
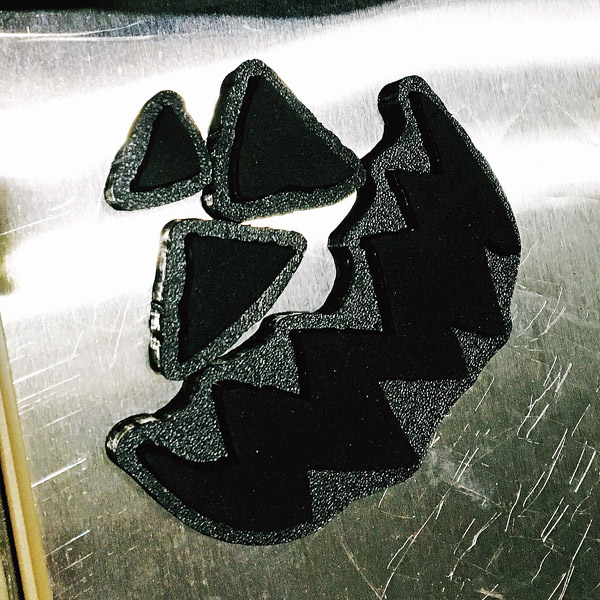
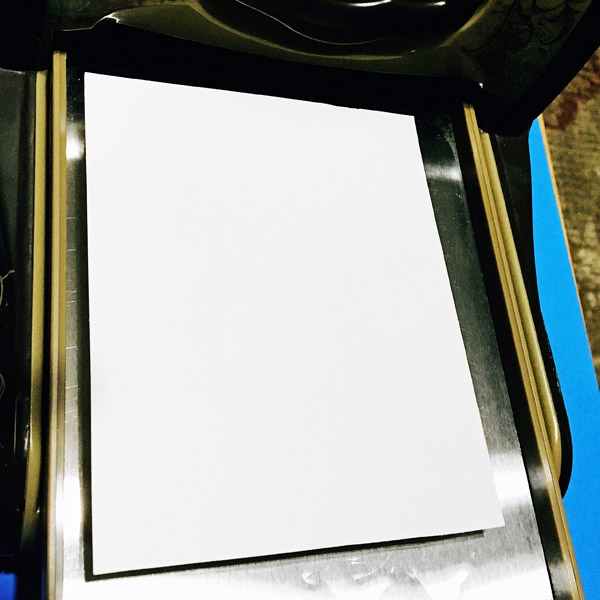
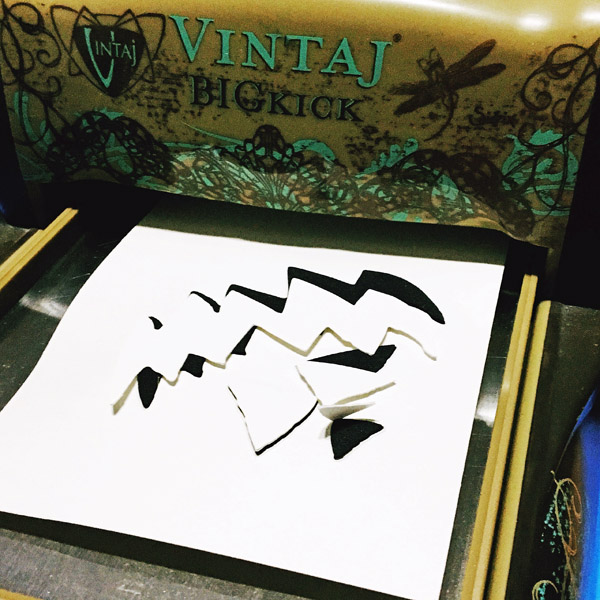
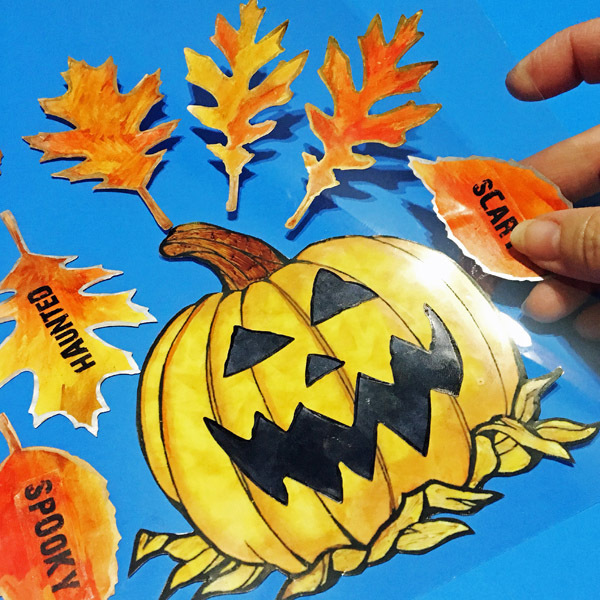
- Start by using the Jack-o-lantern face die-cut to cut out from Grafix White Cling Film.
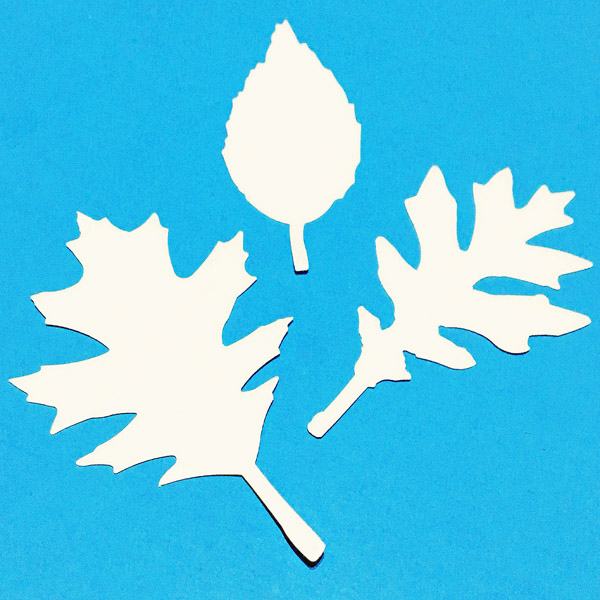
- Also die-cut leaf designs from the Cling Film.
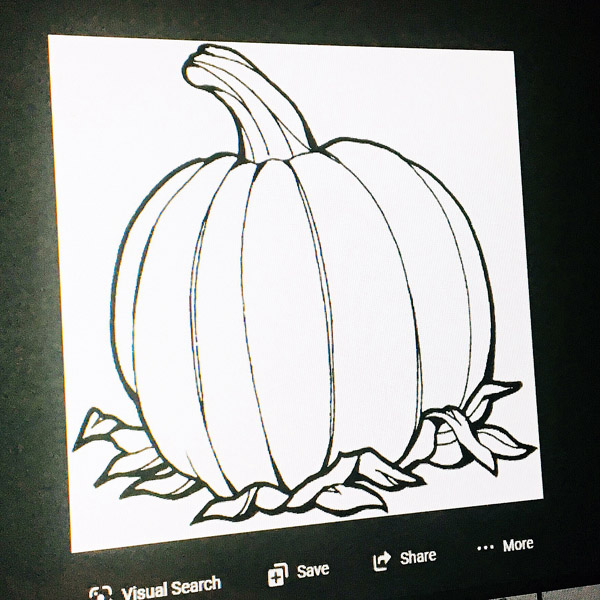
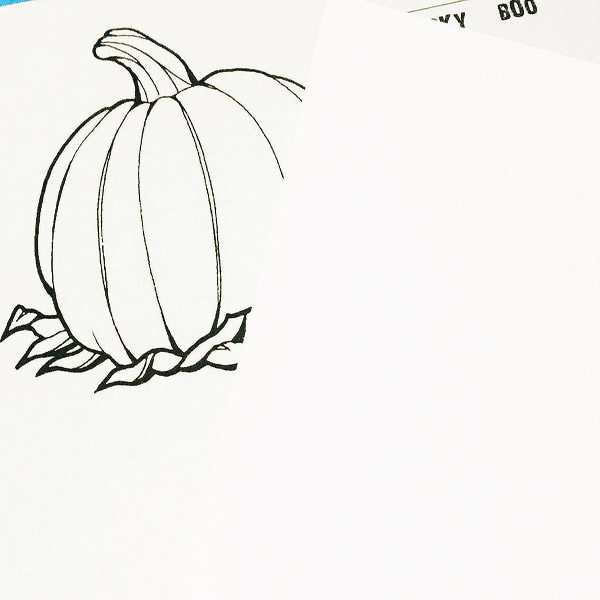
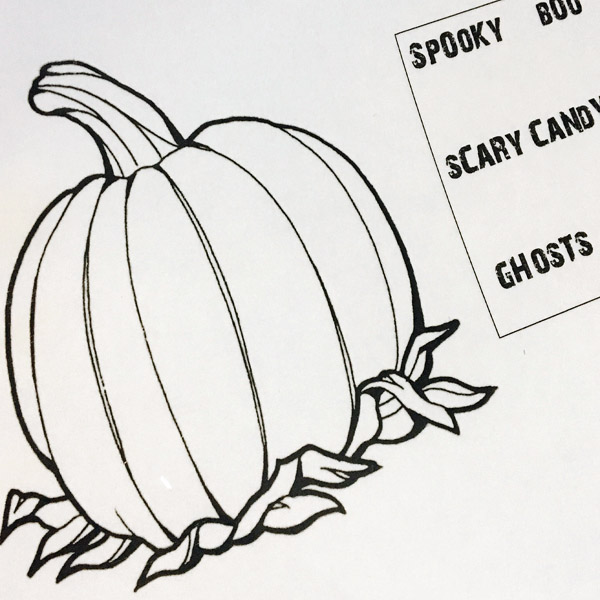
- Online find a pumpkin outline image that you like.
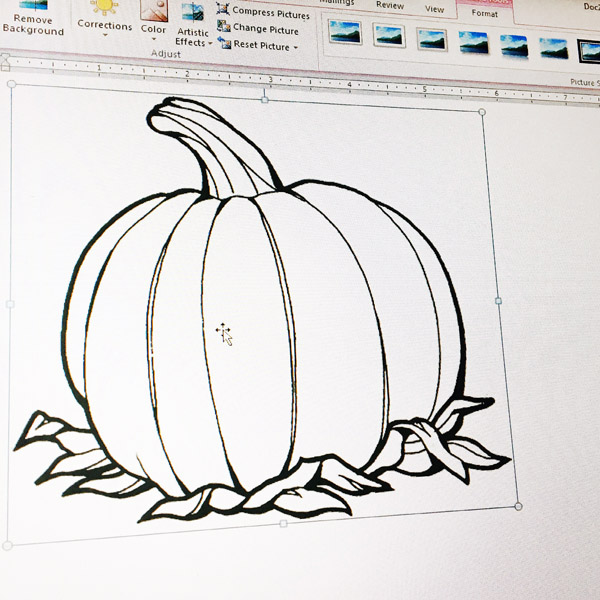
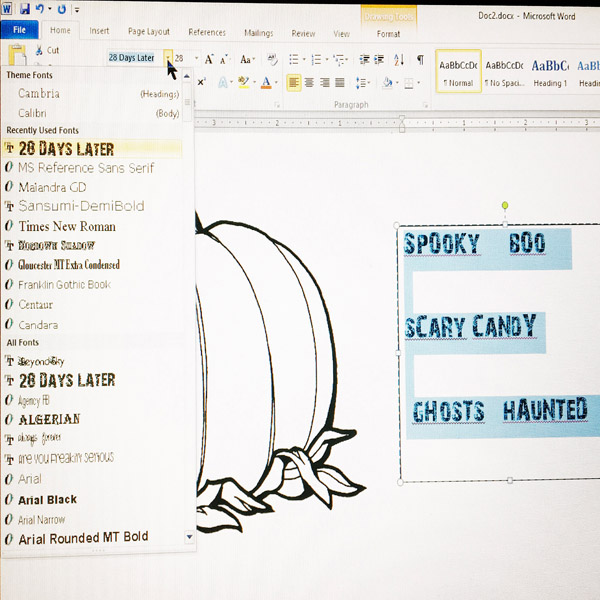
- Then copy and paste the design into a Word document.
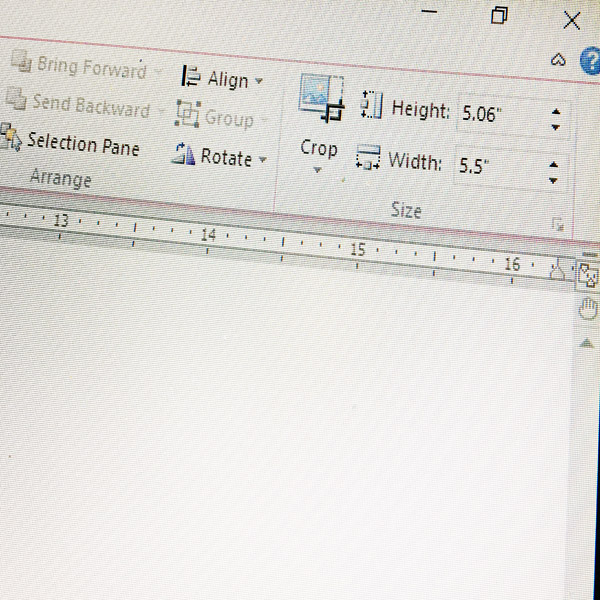
- Adjust the image size to approximately 5 ½” wide.
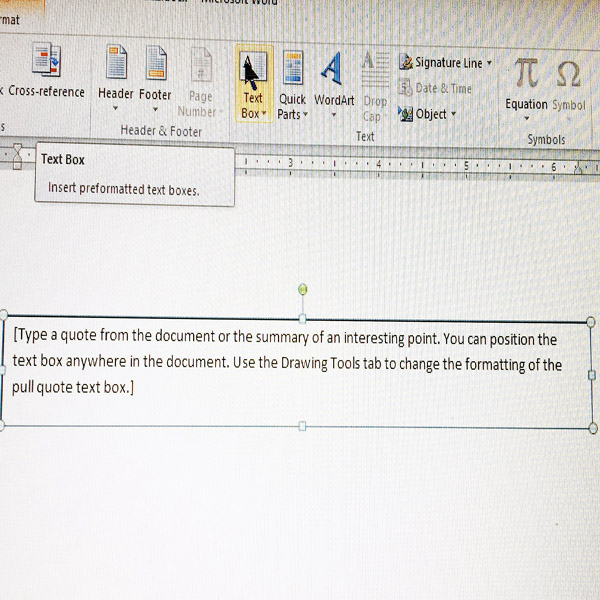
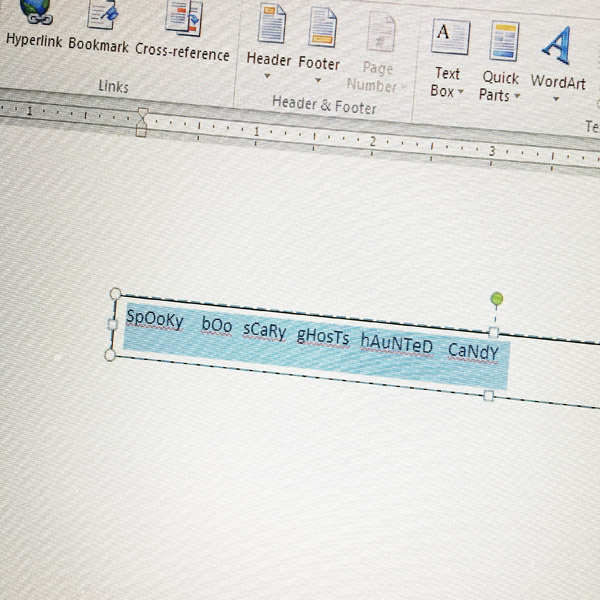
- Alongside the pumpkin, insert a text box and type in some Halloween or Fall theme words. (You can also skip adding in the theme words for a simpler look).
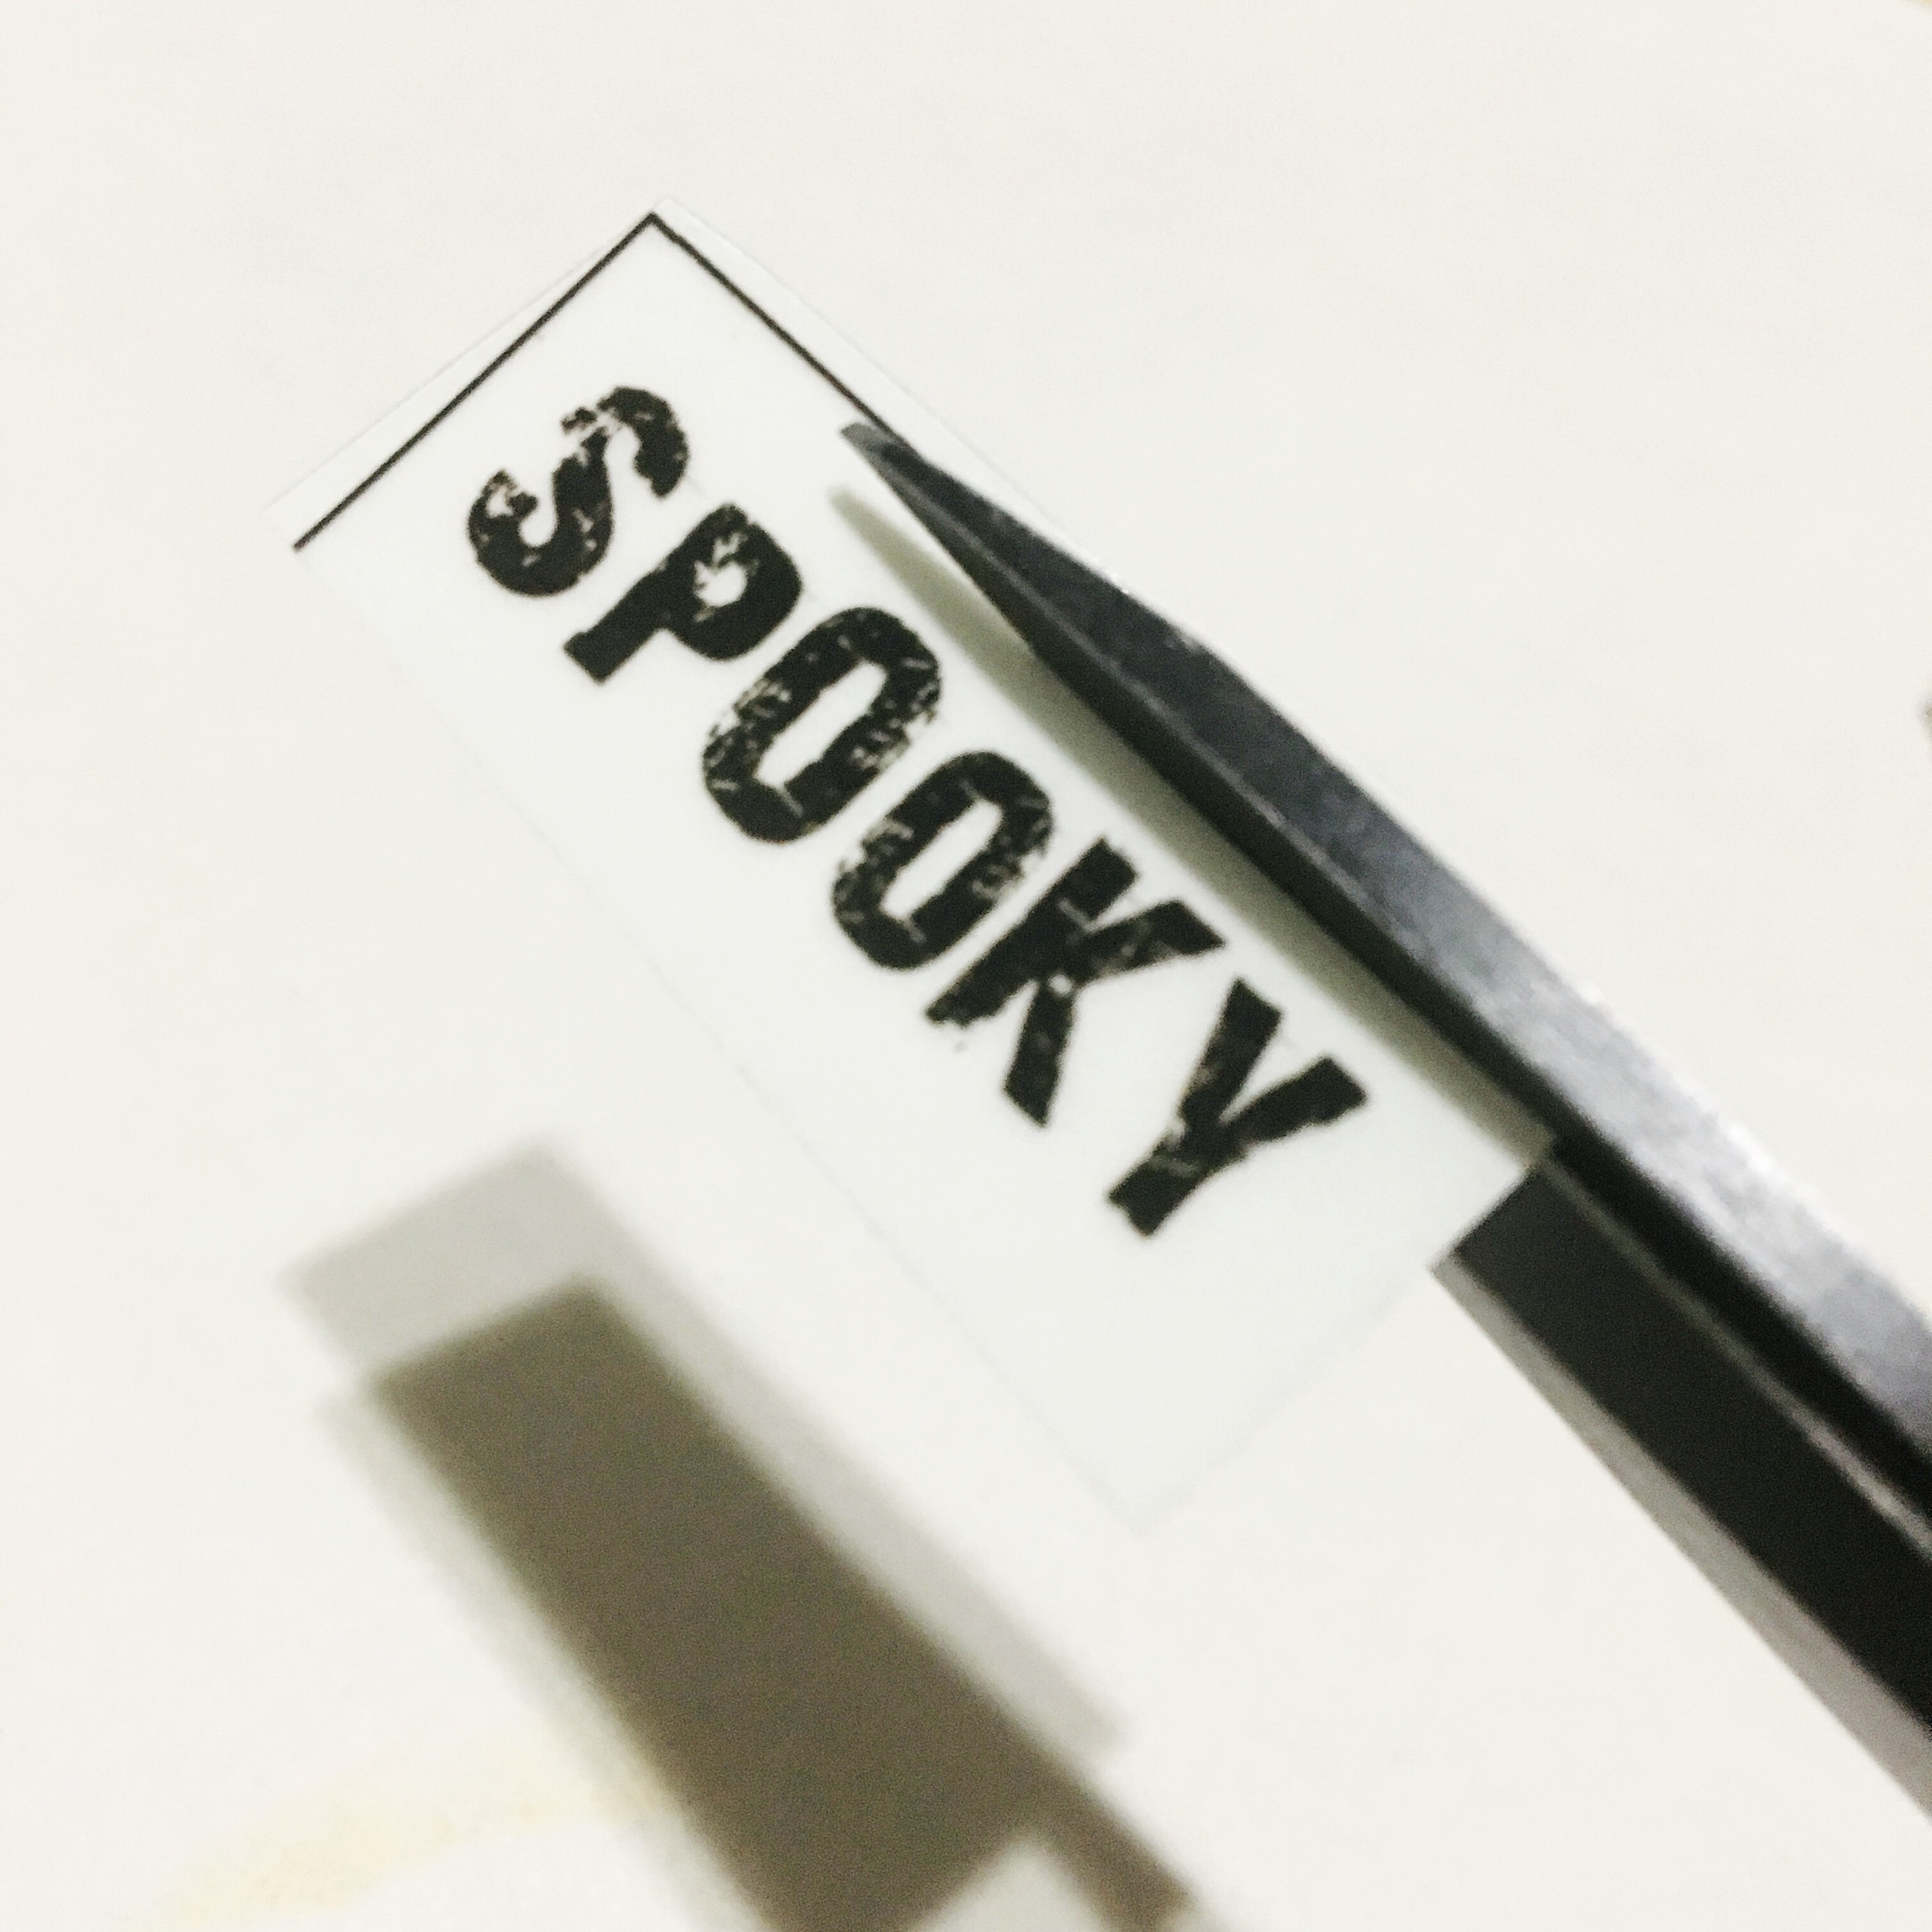
- Adjust the size and font of the words to fit on the leaves.
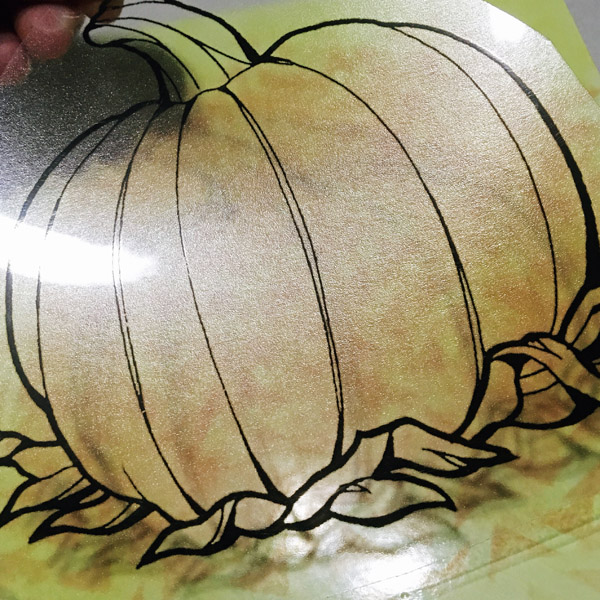
- Print the pumpkin and words out on Adhesive-Backed Computer Grafix Film.
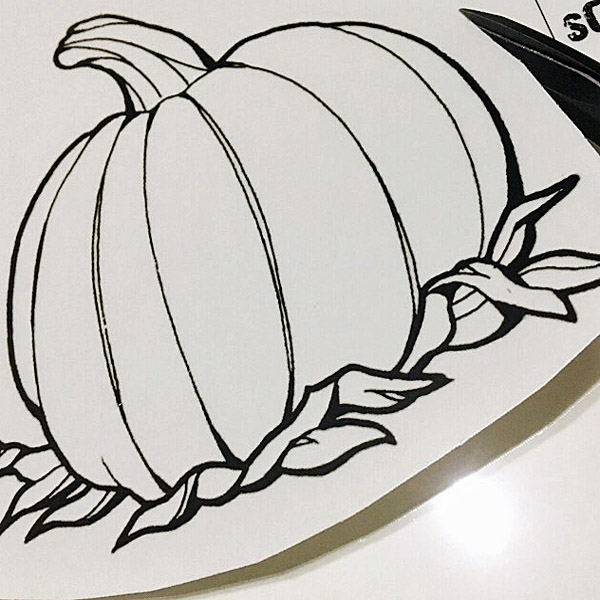
- Cut a piece of the Cling Film a bit larger than the pumpkin.
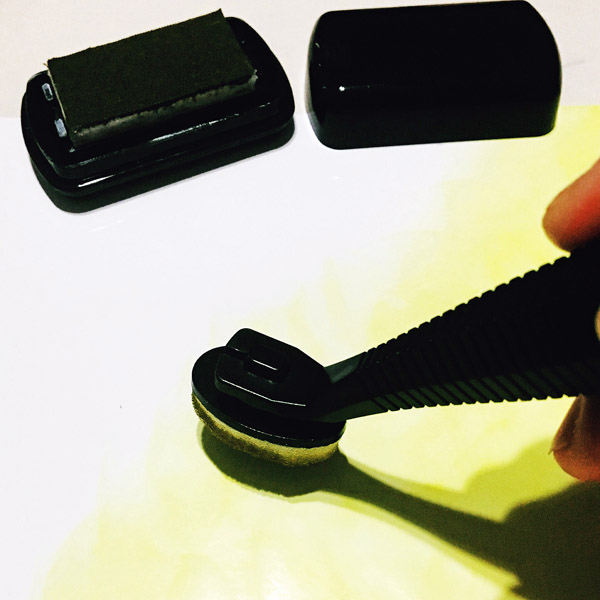
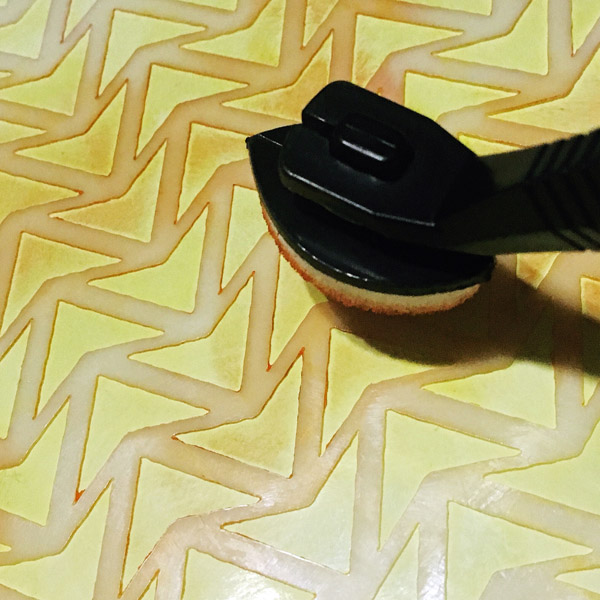
- Ink the Cling Film using Khaki Ink applied with Stylus and Tip.
- Lay an art screen over Cling Film and ink with orange ink.
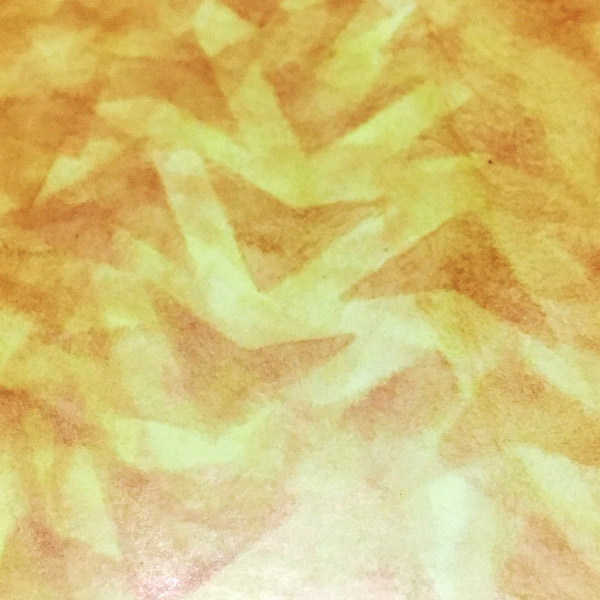
- Reposition the screen and re-ink, keep moving the screen and inking until most of the Cling Film is covered with the pattern.
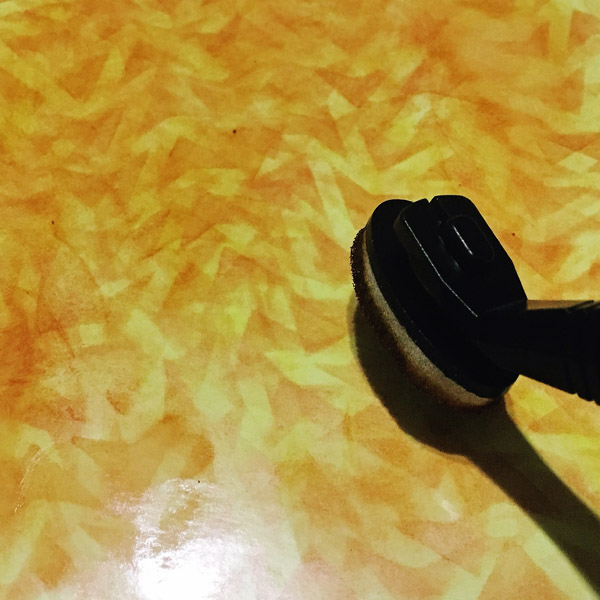
- Remove the screen, lightly ink over the entire piece with orange ink, and let dry.
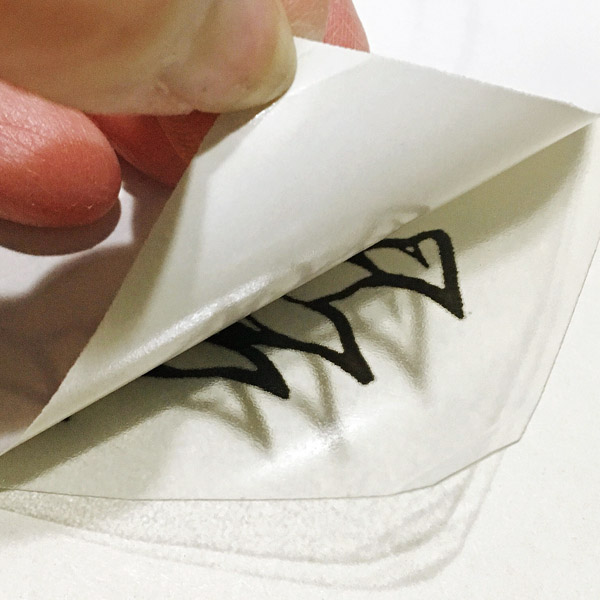
- Remove the backing from the pumpkin and lay over the inked Cling Film.
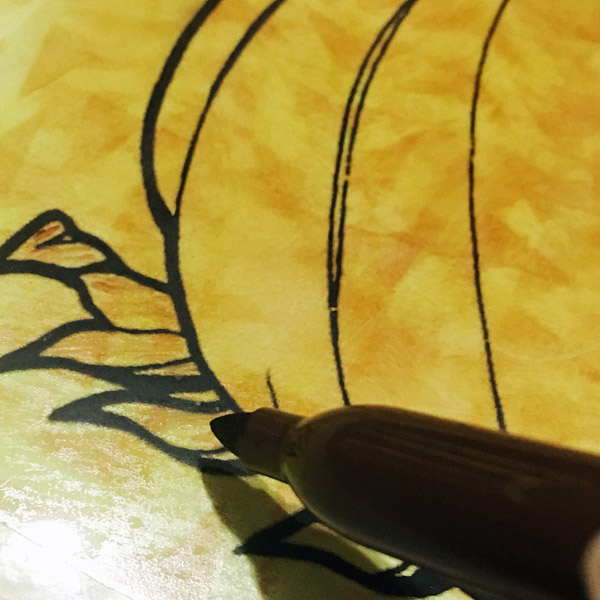
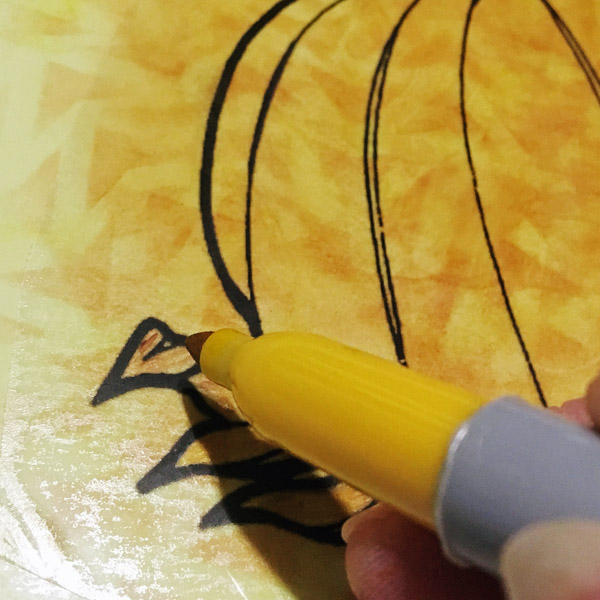
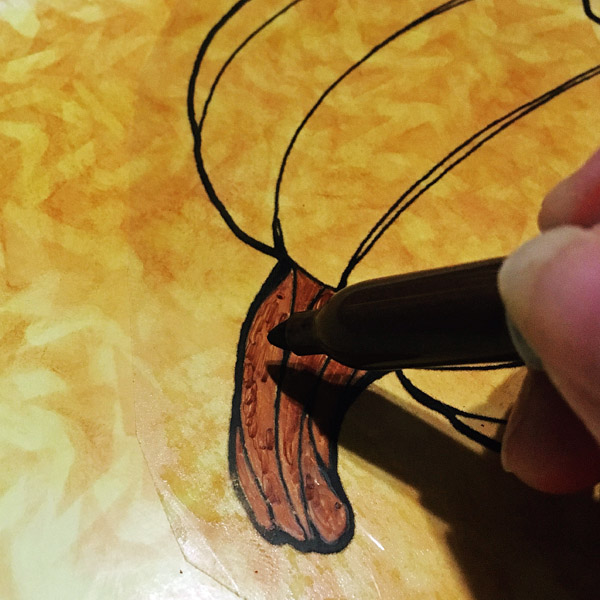
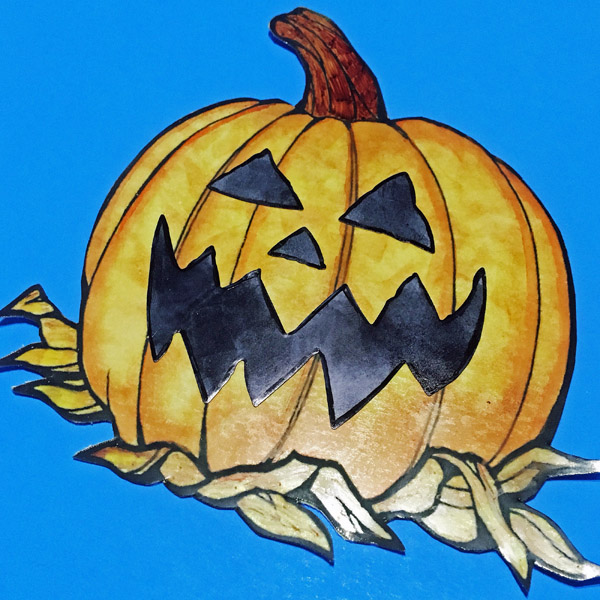
- Fill in the stem with a brown pen. Then use the yellow and brown pens to fill in leaves.
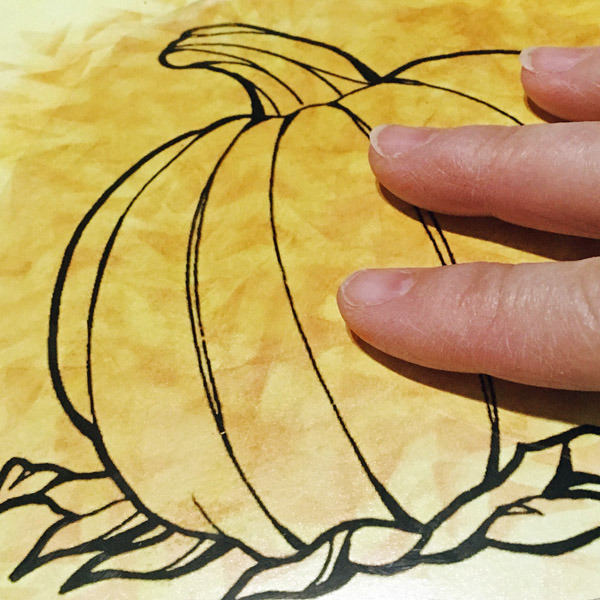
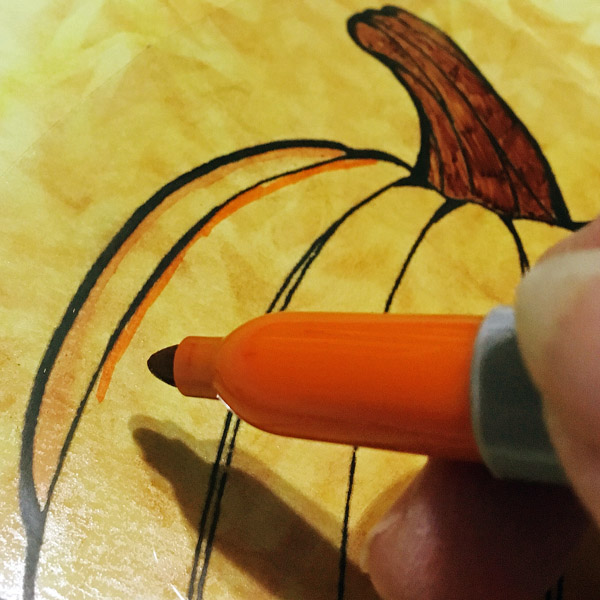
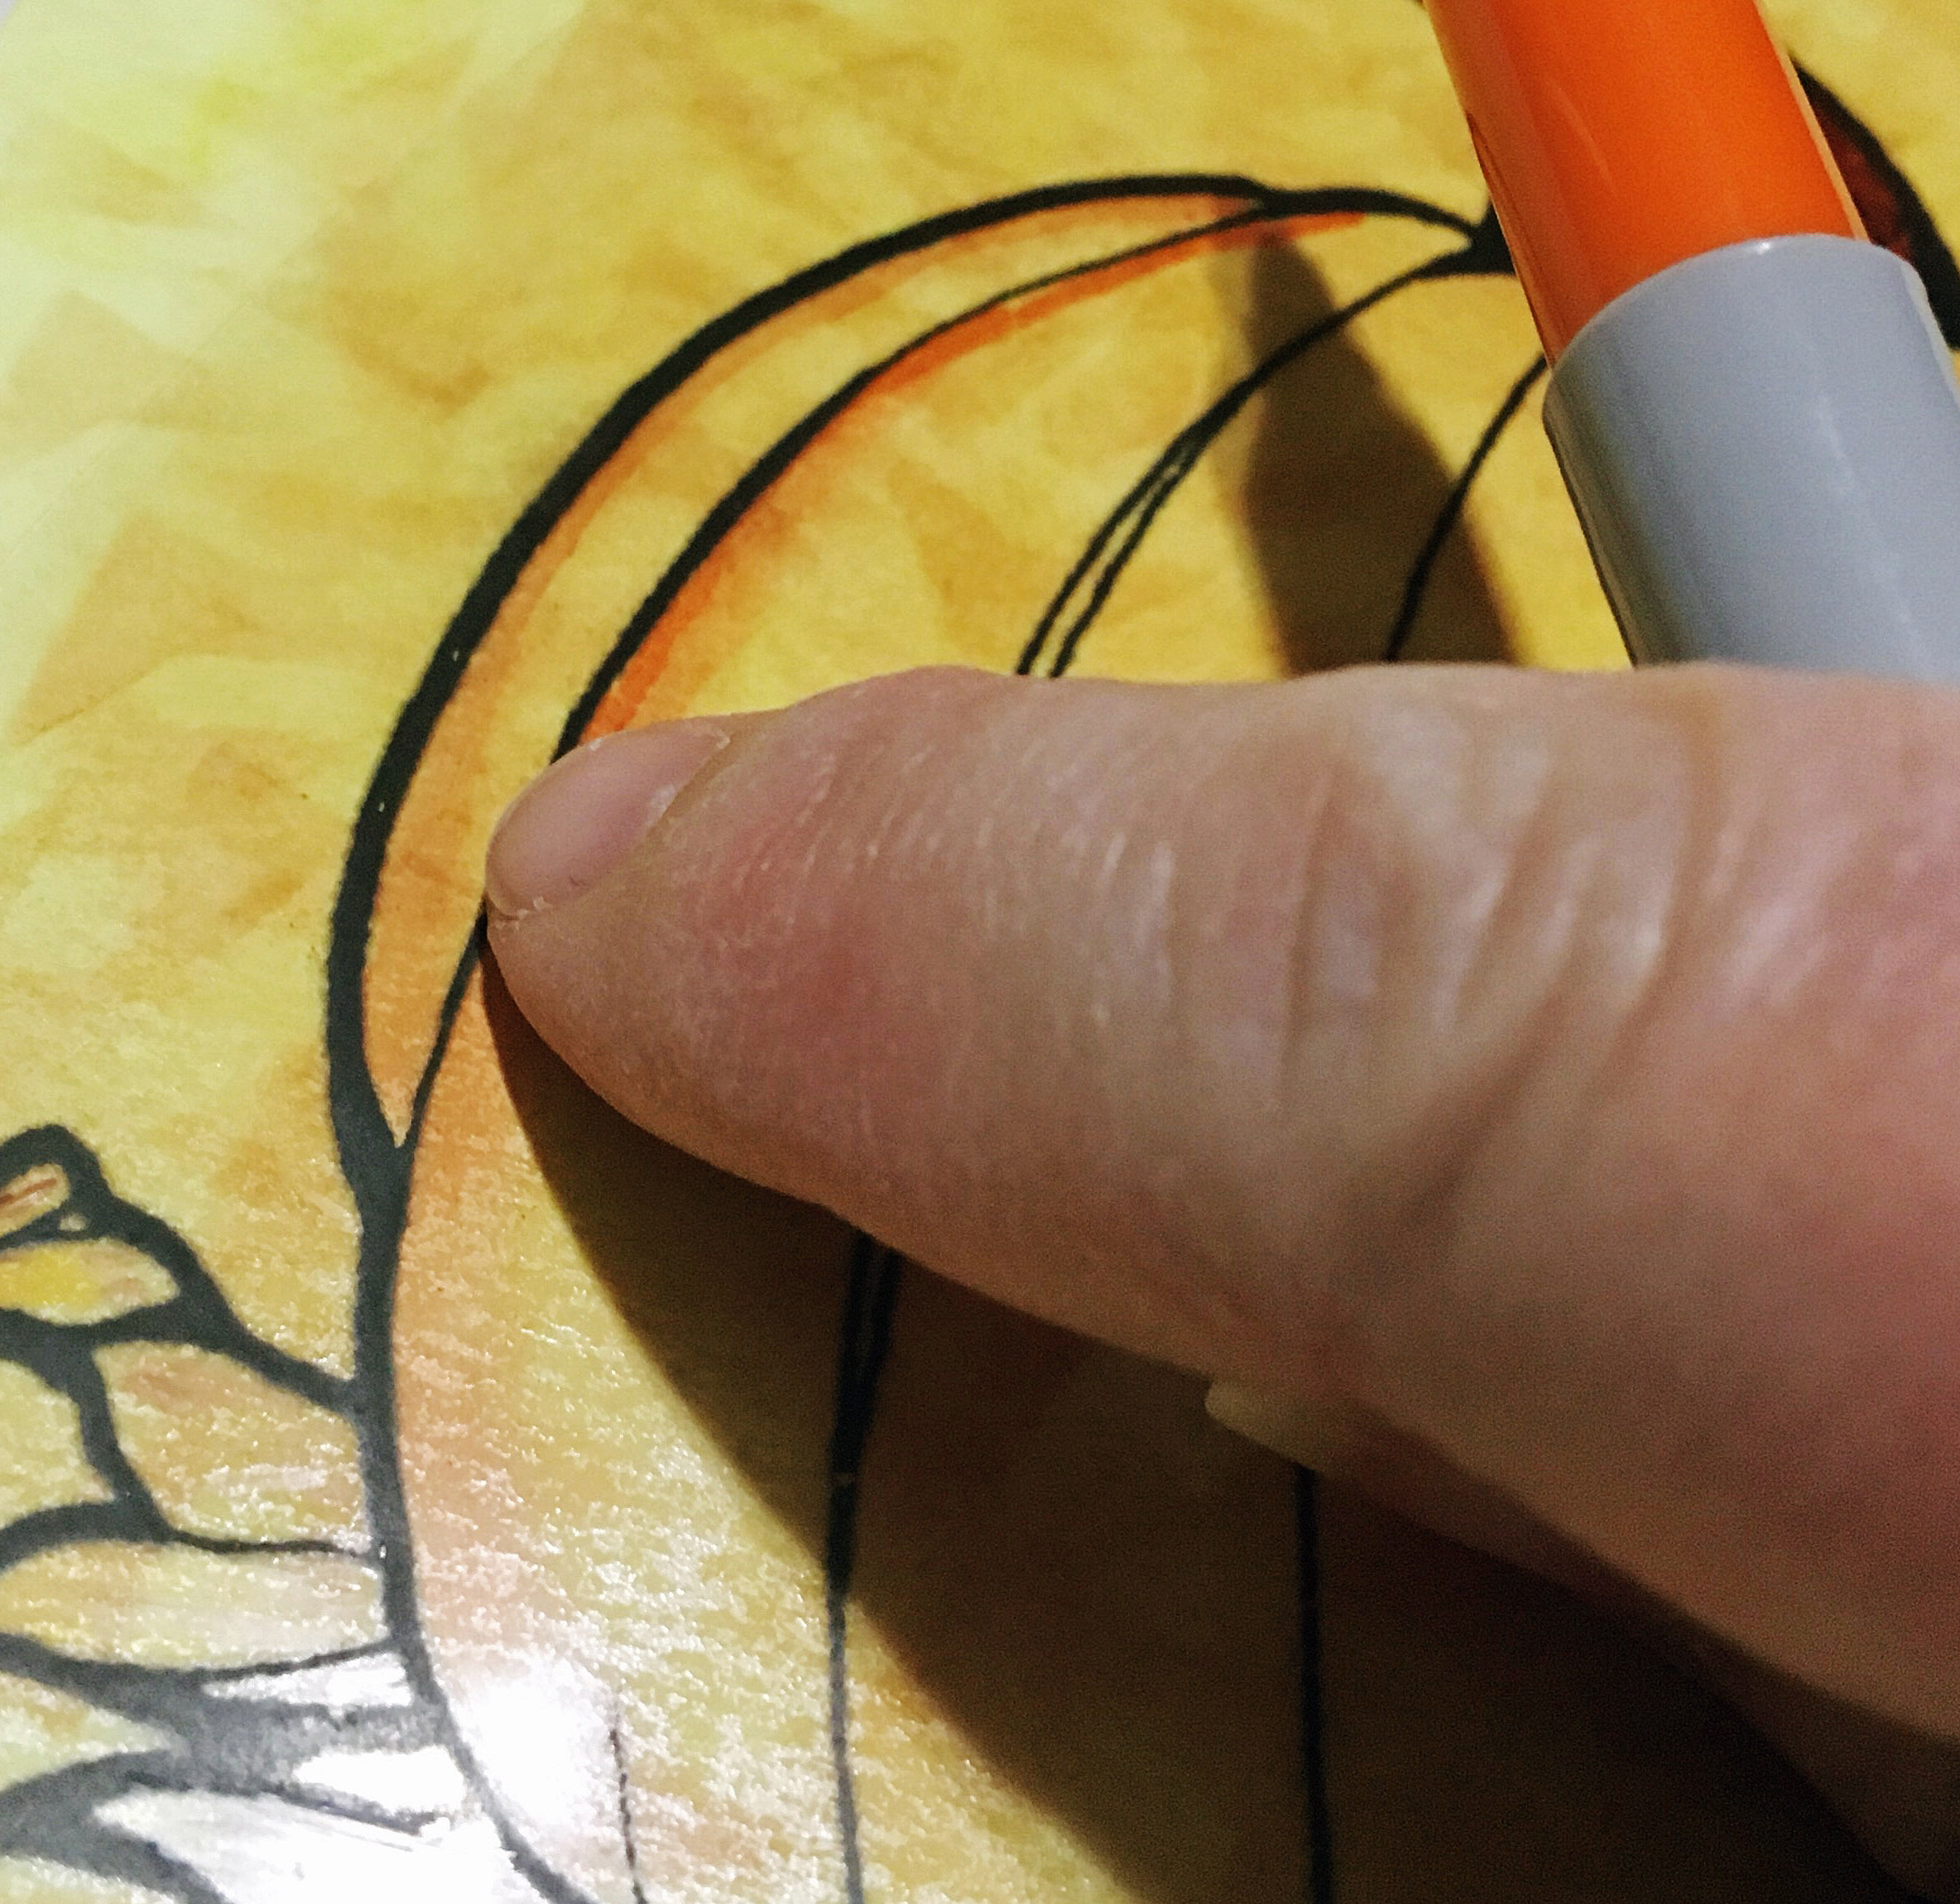
- To add shading, add a line with an orange pen down the creases in the pumpkin and smudge with your finger.
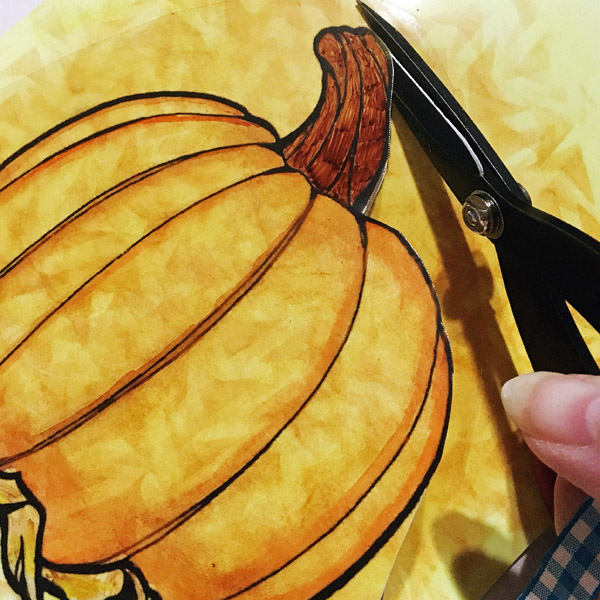
- Cut out the pumpkin.
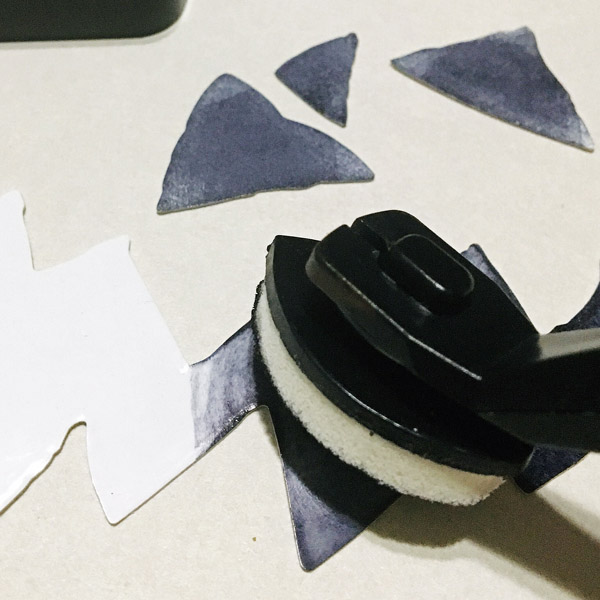
- Ink the jack-o-lantern face with the black ink using Stylus & Tip.
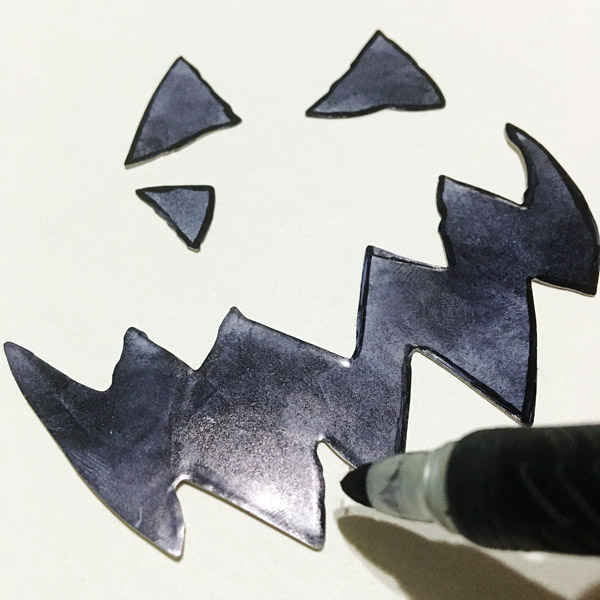
- Outline the pieces using a black pen.
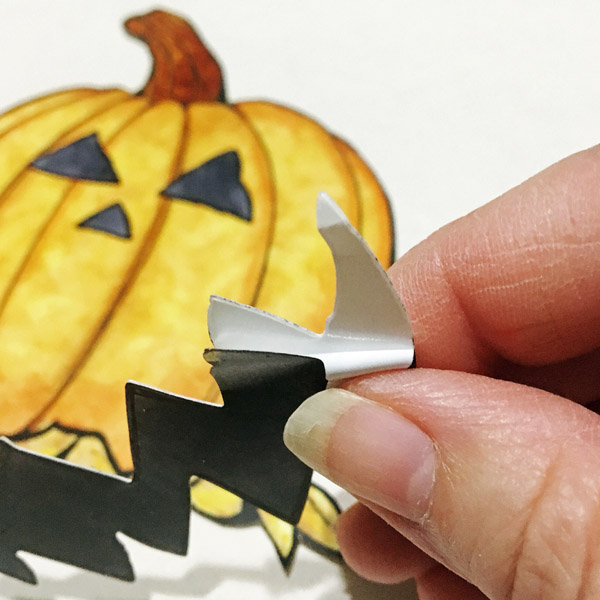
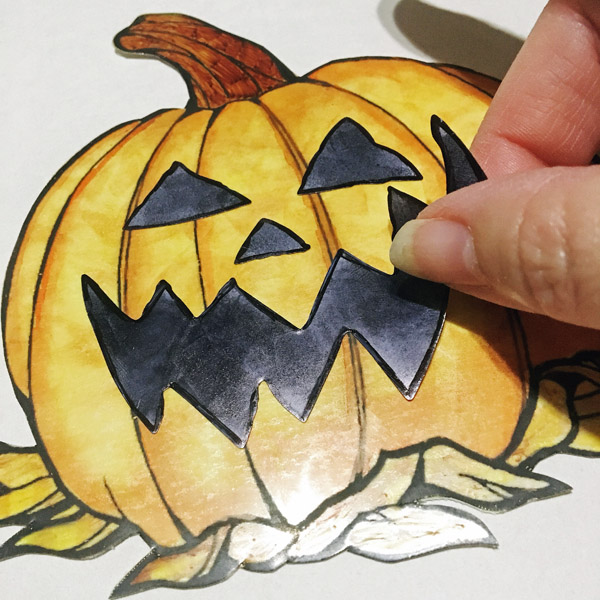
- Remove the backing from the jack-o-lantern pieces and apply them to the pumpkin.
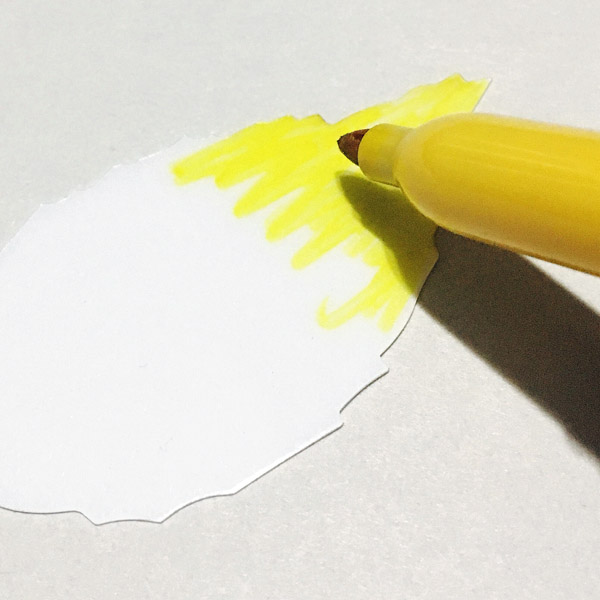
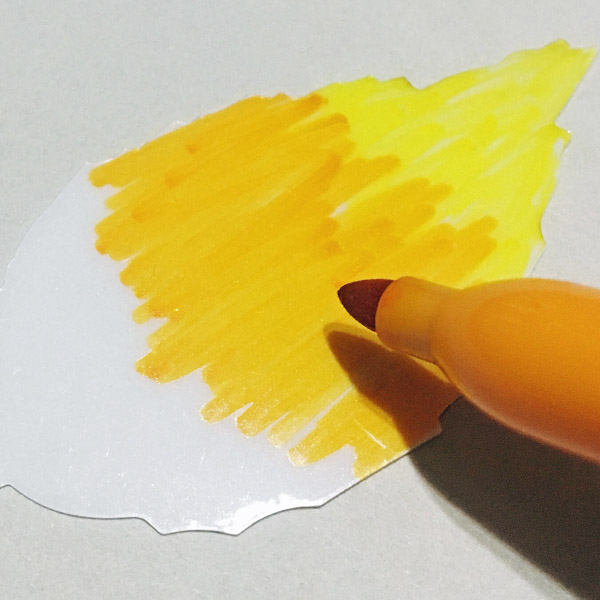
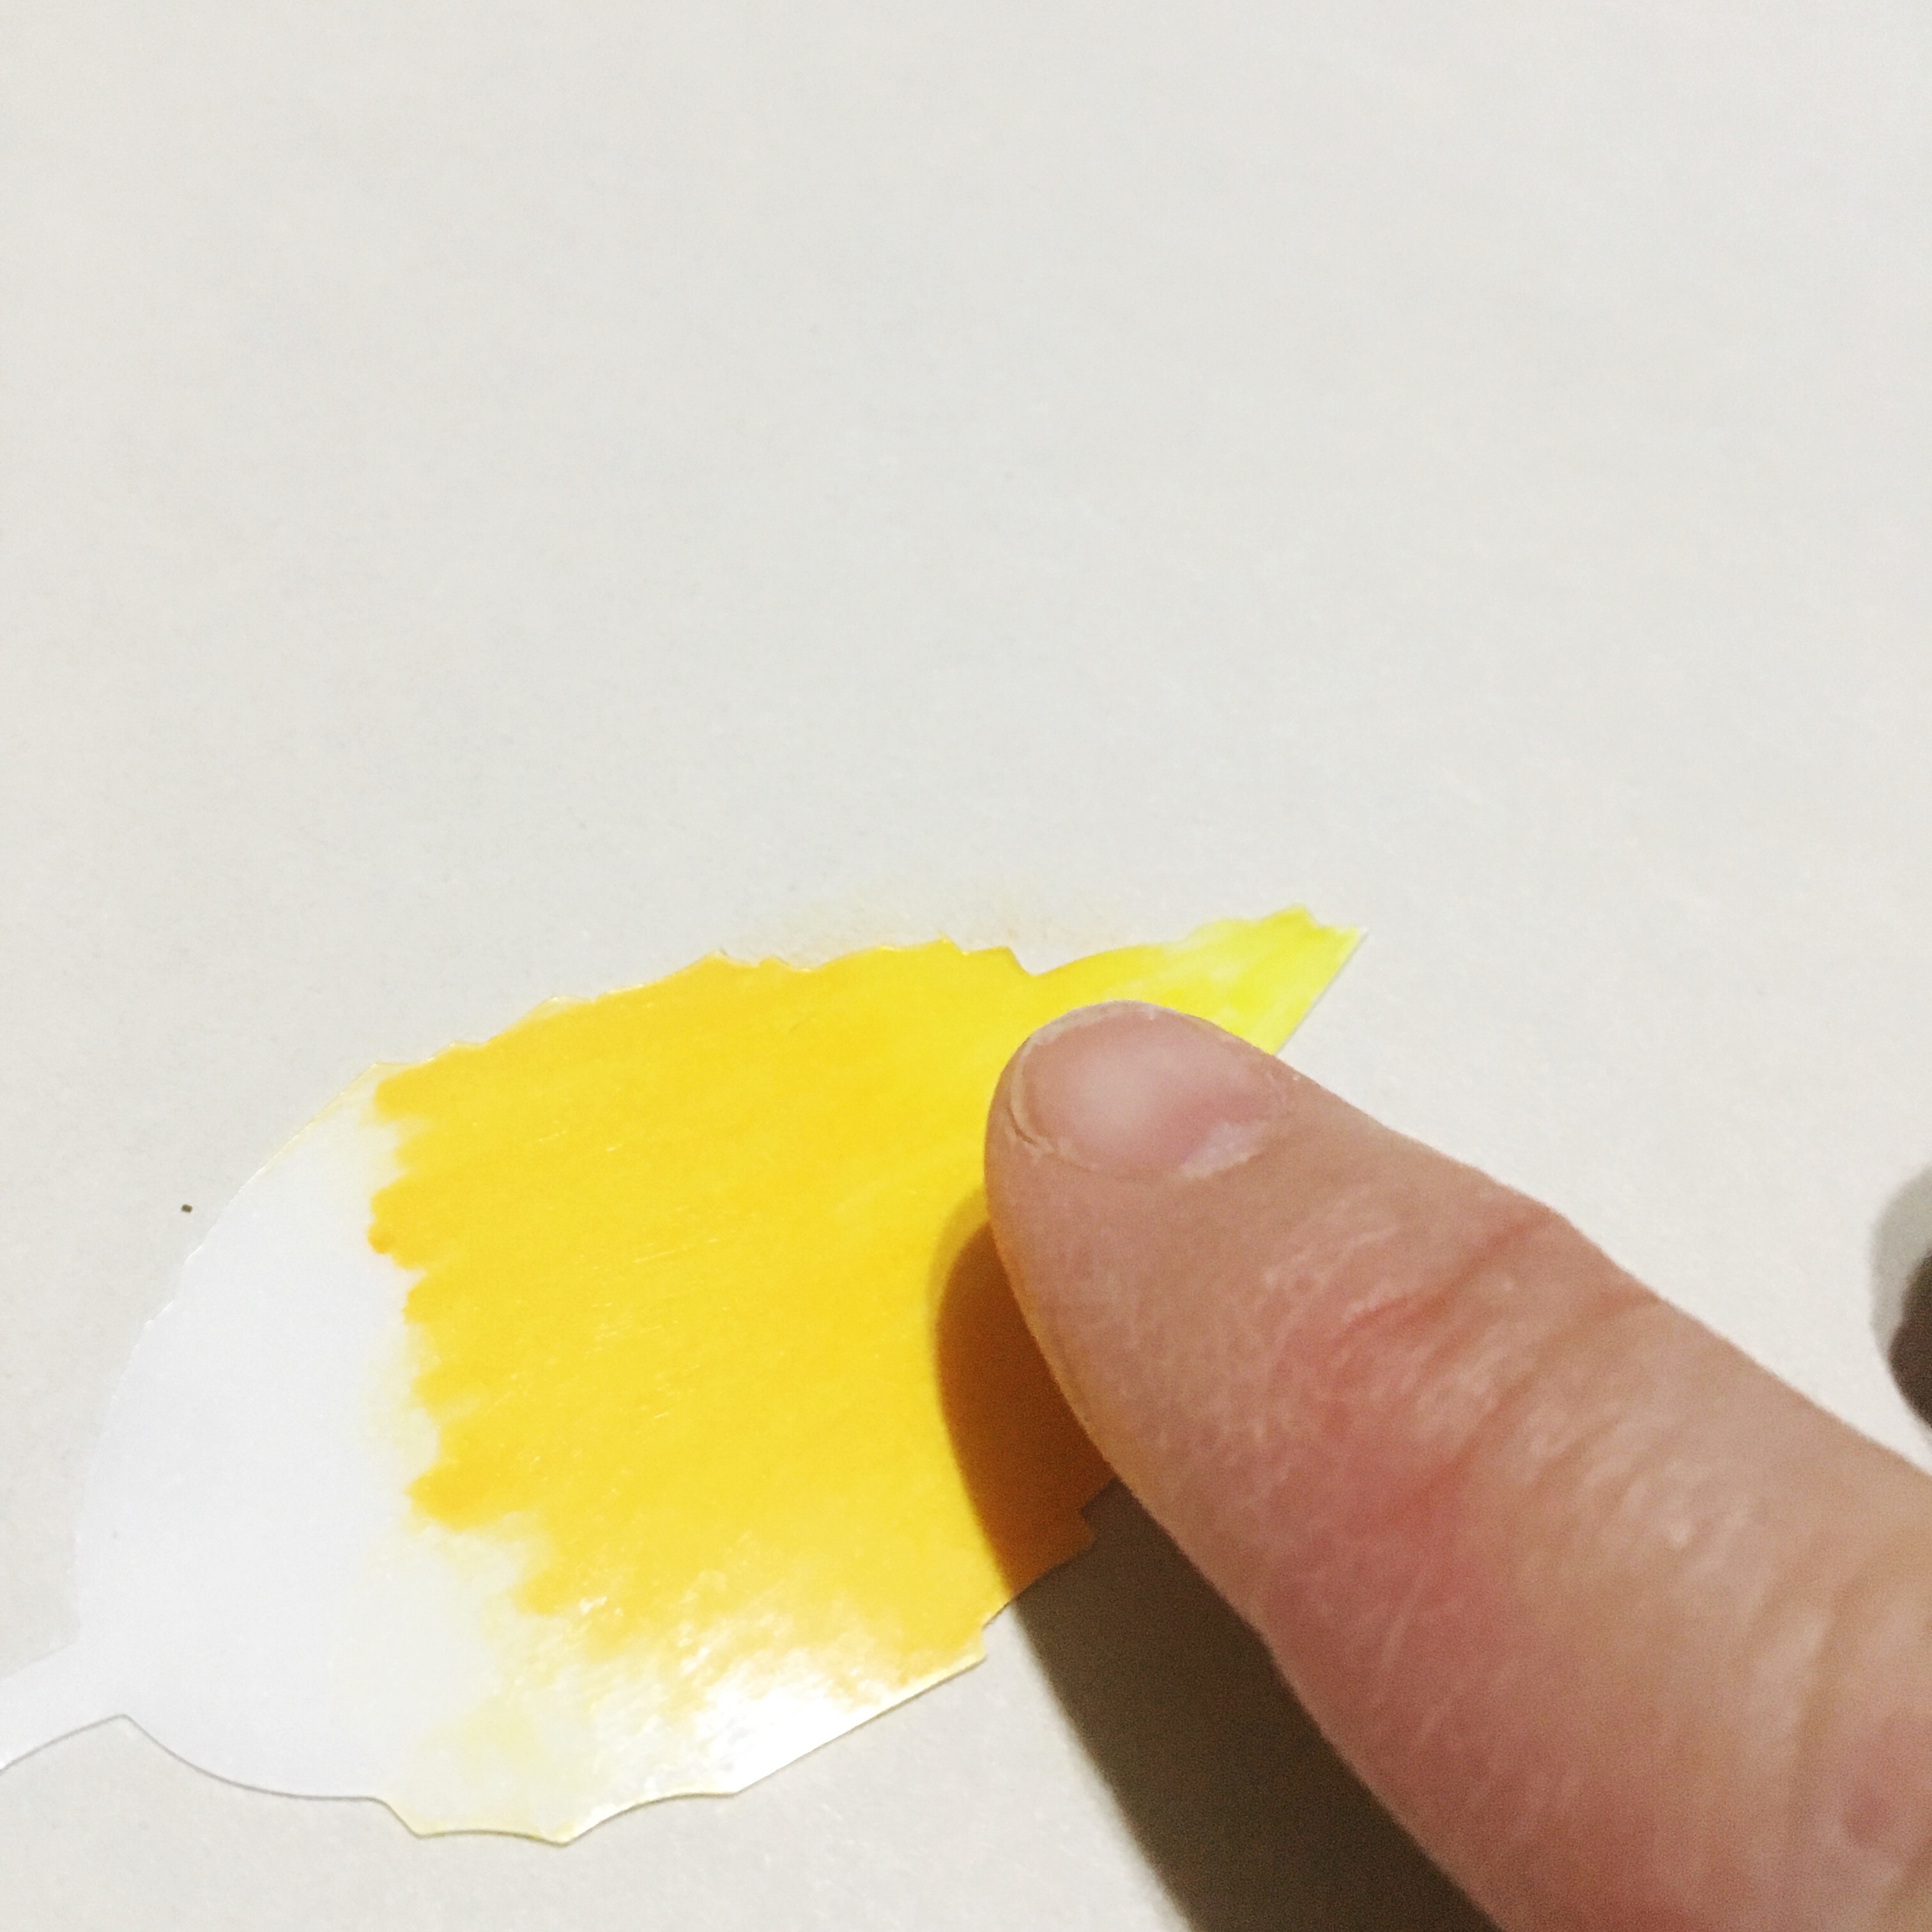
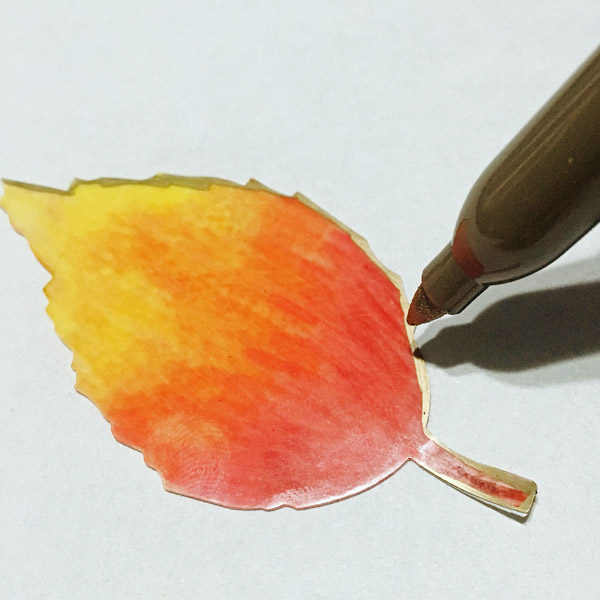
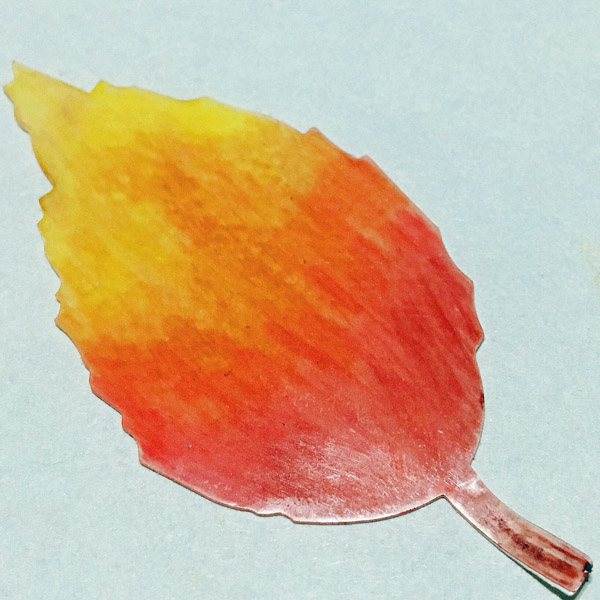
- For the leaves, add a combination of orange, yellow, brown and red marker and smudge colors as added to the blend.
- Outline the leaves in a Metallic marker.
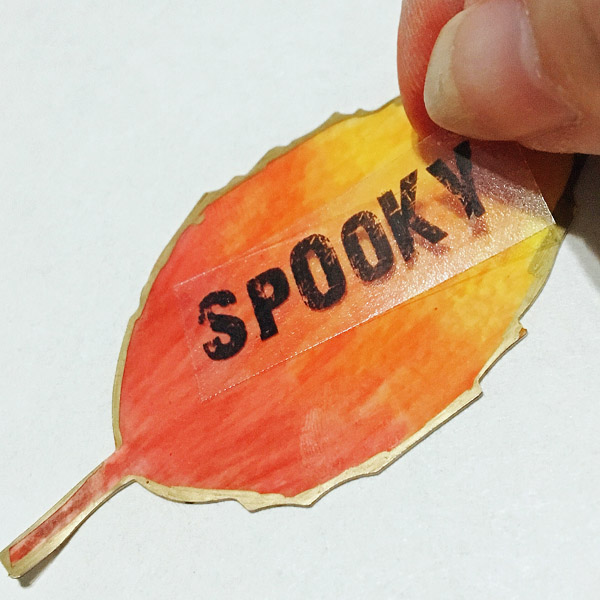
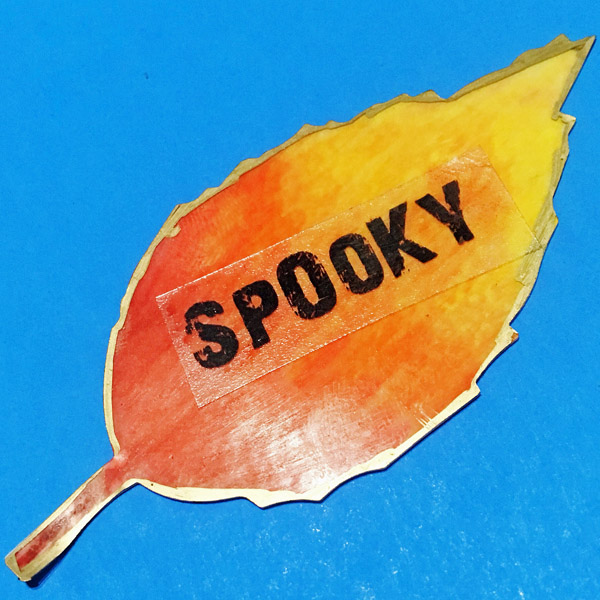
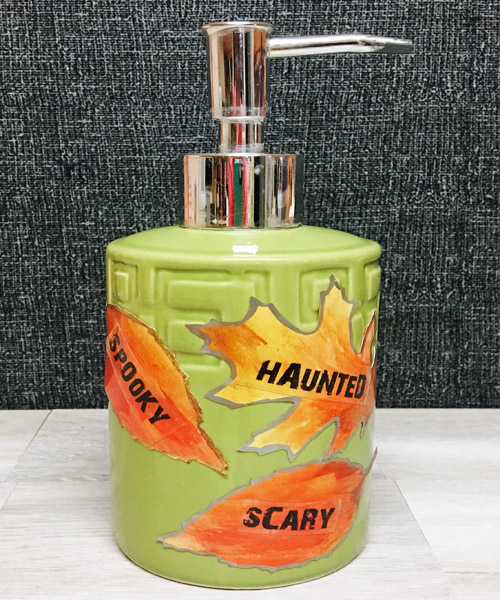
- Cut out the Halloween words, peel off the backing, and adhere to the several leaves.
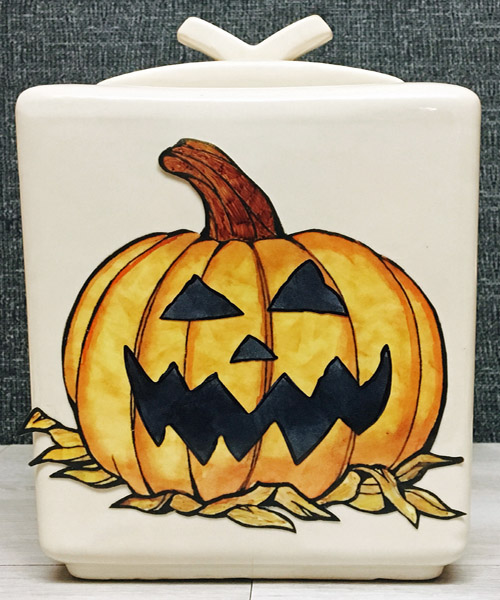
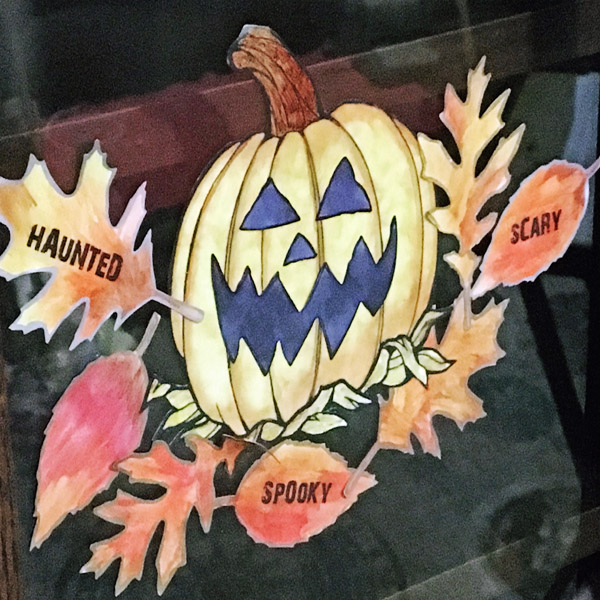
- Remove the backing from the pumpkin and then you are ready to decorate.
- Arrange and apply the pieces to mirrors, glass, soap dispensers, doors, refrigerators, or any other non-porous surface.

