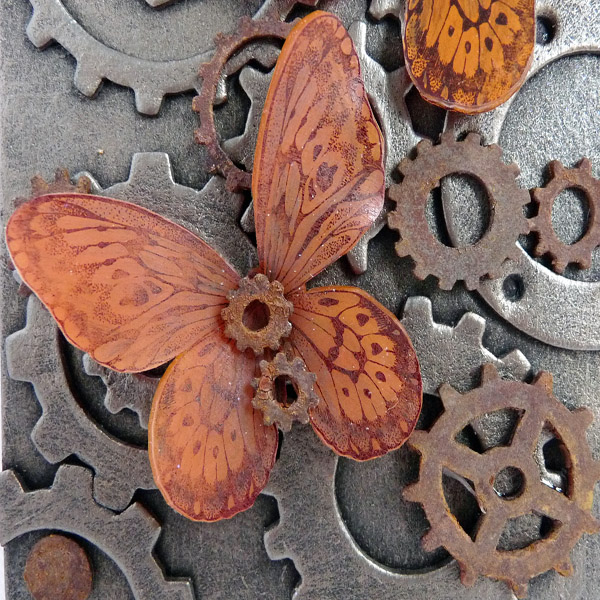
Cogs and Butterflies Tag
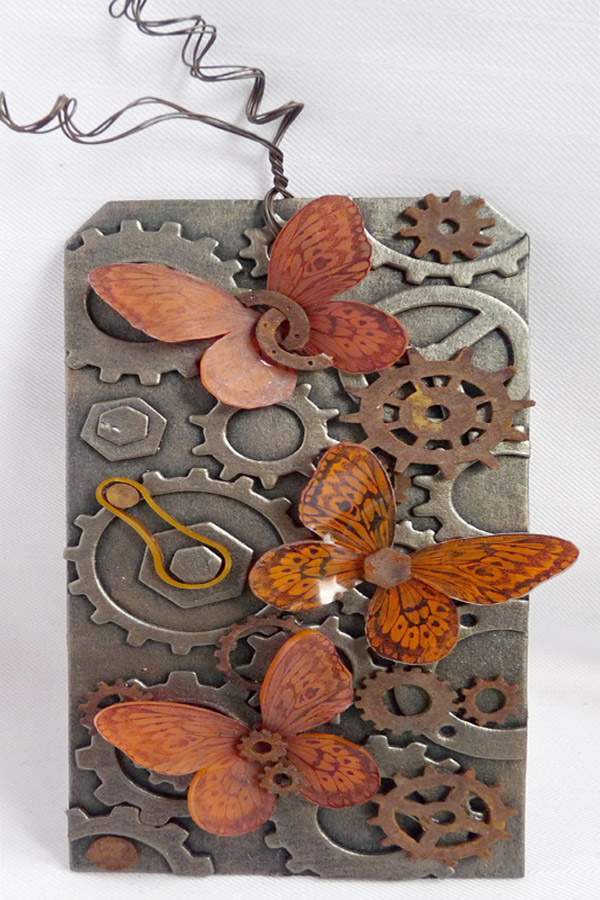
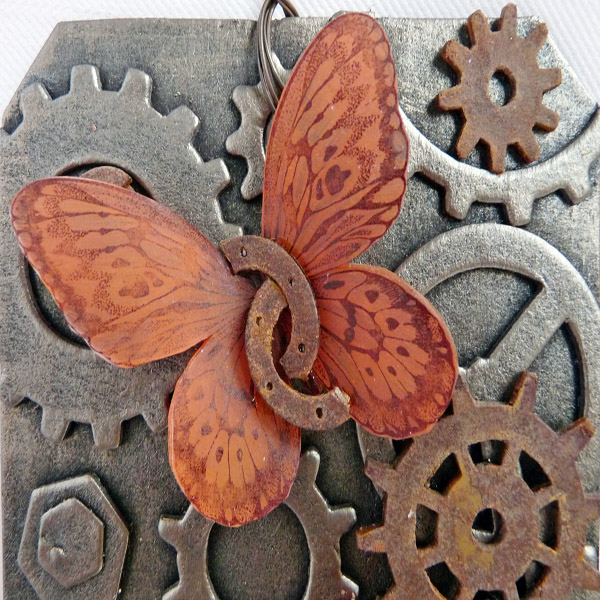
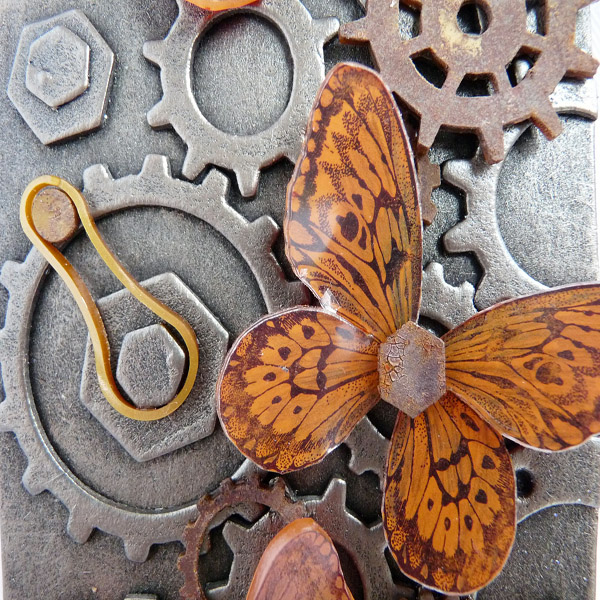
Project Description: This tag comprises of three different techniques that come together, however, each technique could be taken in isolation and used on other projects. The faux metallic background contrasts with the rusty embellishments and both enhance the heat-shrunk butterflies.
Designed by: Kay Molyneux
Difficulty: Challenging
Materials:
- Grafix Gold or Silver Shrink Film
- Grafix Super Sanded Shrink film
- Grafix Black Chipboard
- Grafix Artist-tac
- Sizzix Tim Holtz Alterations Industrial (661817) Cog Dies and Gadget Gears
- Sizzix Tim Holtz Alterations Tag Die
- IndigoBlu FlitterGlu or any other glue that remains sticky when applied
- DecoArt Ultra-Matte Varnish
- Die Cutting Machine
- Powdered Iron
- Malt Vinegar in a Spray Bottle
- IndigoBlu Raven Black Metallic Paint
- IndigoBlu Pheasant Bronze Metallic Paint
- Stiff Paint Brush
- IndigoBlu A6 Butterfly stamp
- Claret StazOn Ink Pad
- Tinted Graphite Pencils
- Orange Acrylic Paint
- Ranger Craft Heat Tool
- Wooden Block
- Wooden Dowels
Steps to Make This:
(Easy) Rusty cogs – Note: This takes 24 hours for the rust to develop.
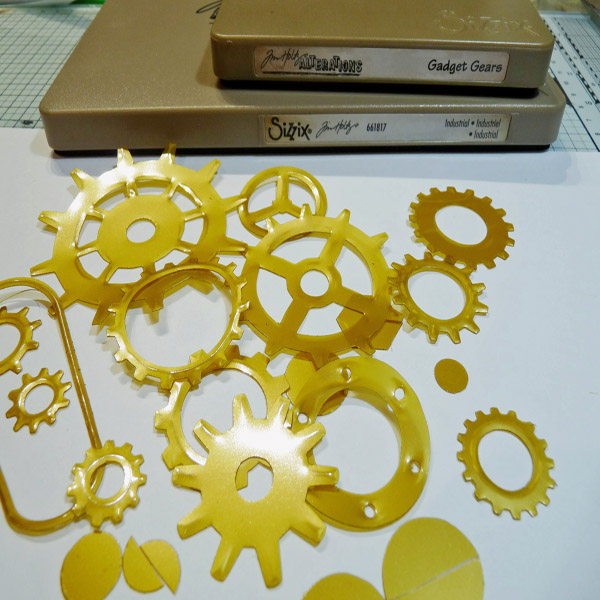
- Die cut a selection of cogs from a sheet of gold shrink film and shrink to given instructions.
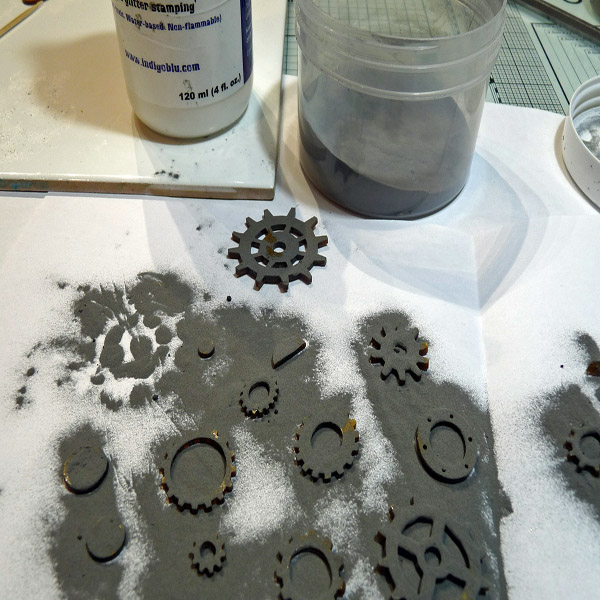
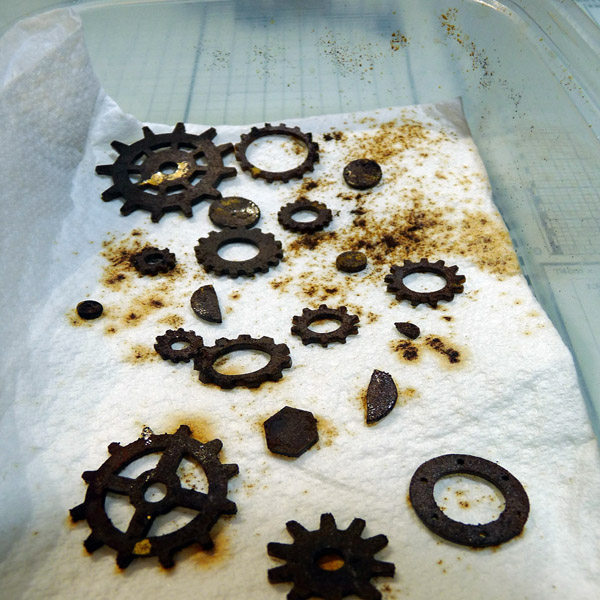
- Coat each cog with the FlitterGlu and cover with the powdered iron, remove excess. Don’t worry if small areas are not covered with glue, this will add to the effect.
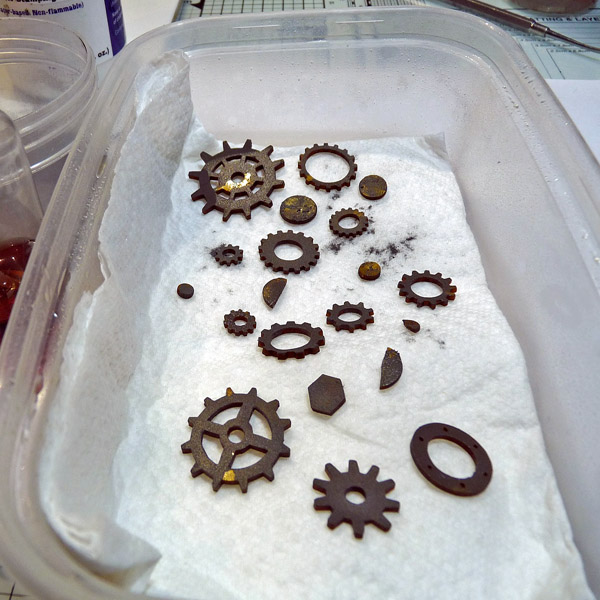
- Place the covered cogs onto a sheet of kitchen paper in a disposable container and lightly spray with the vinegar. Cover and leave for 24 hours. Covering prevents evaporation and also contains the smell.
- After 24 hours, remove from the paper.
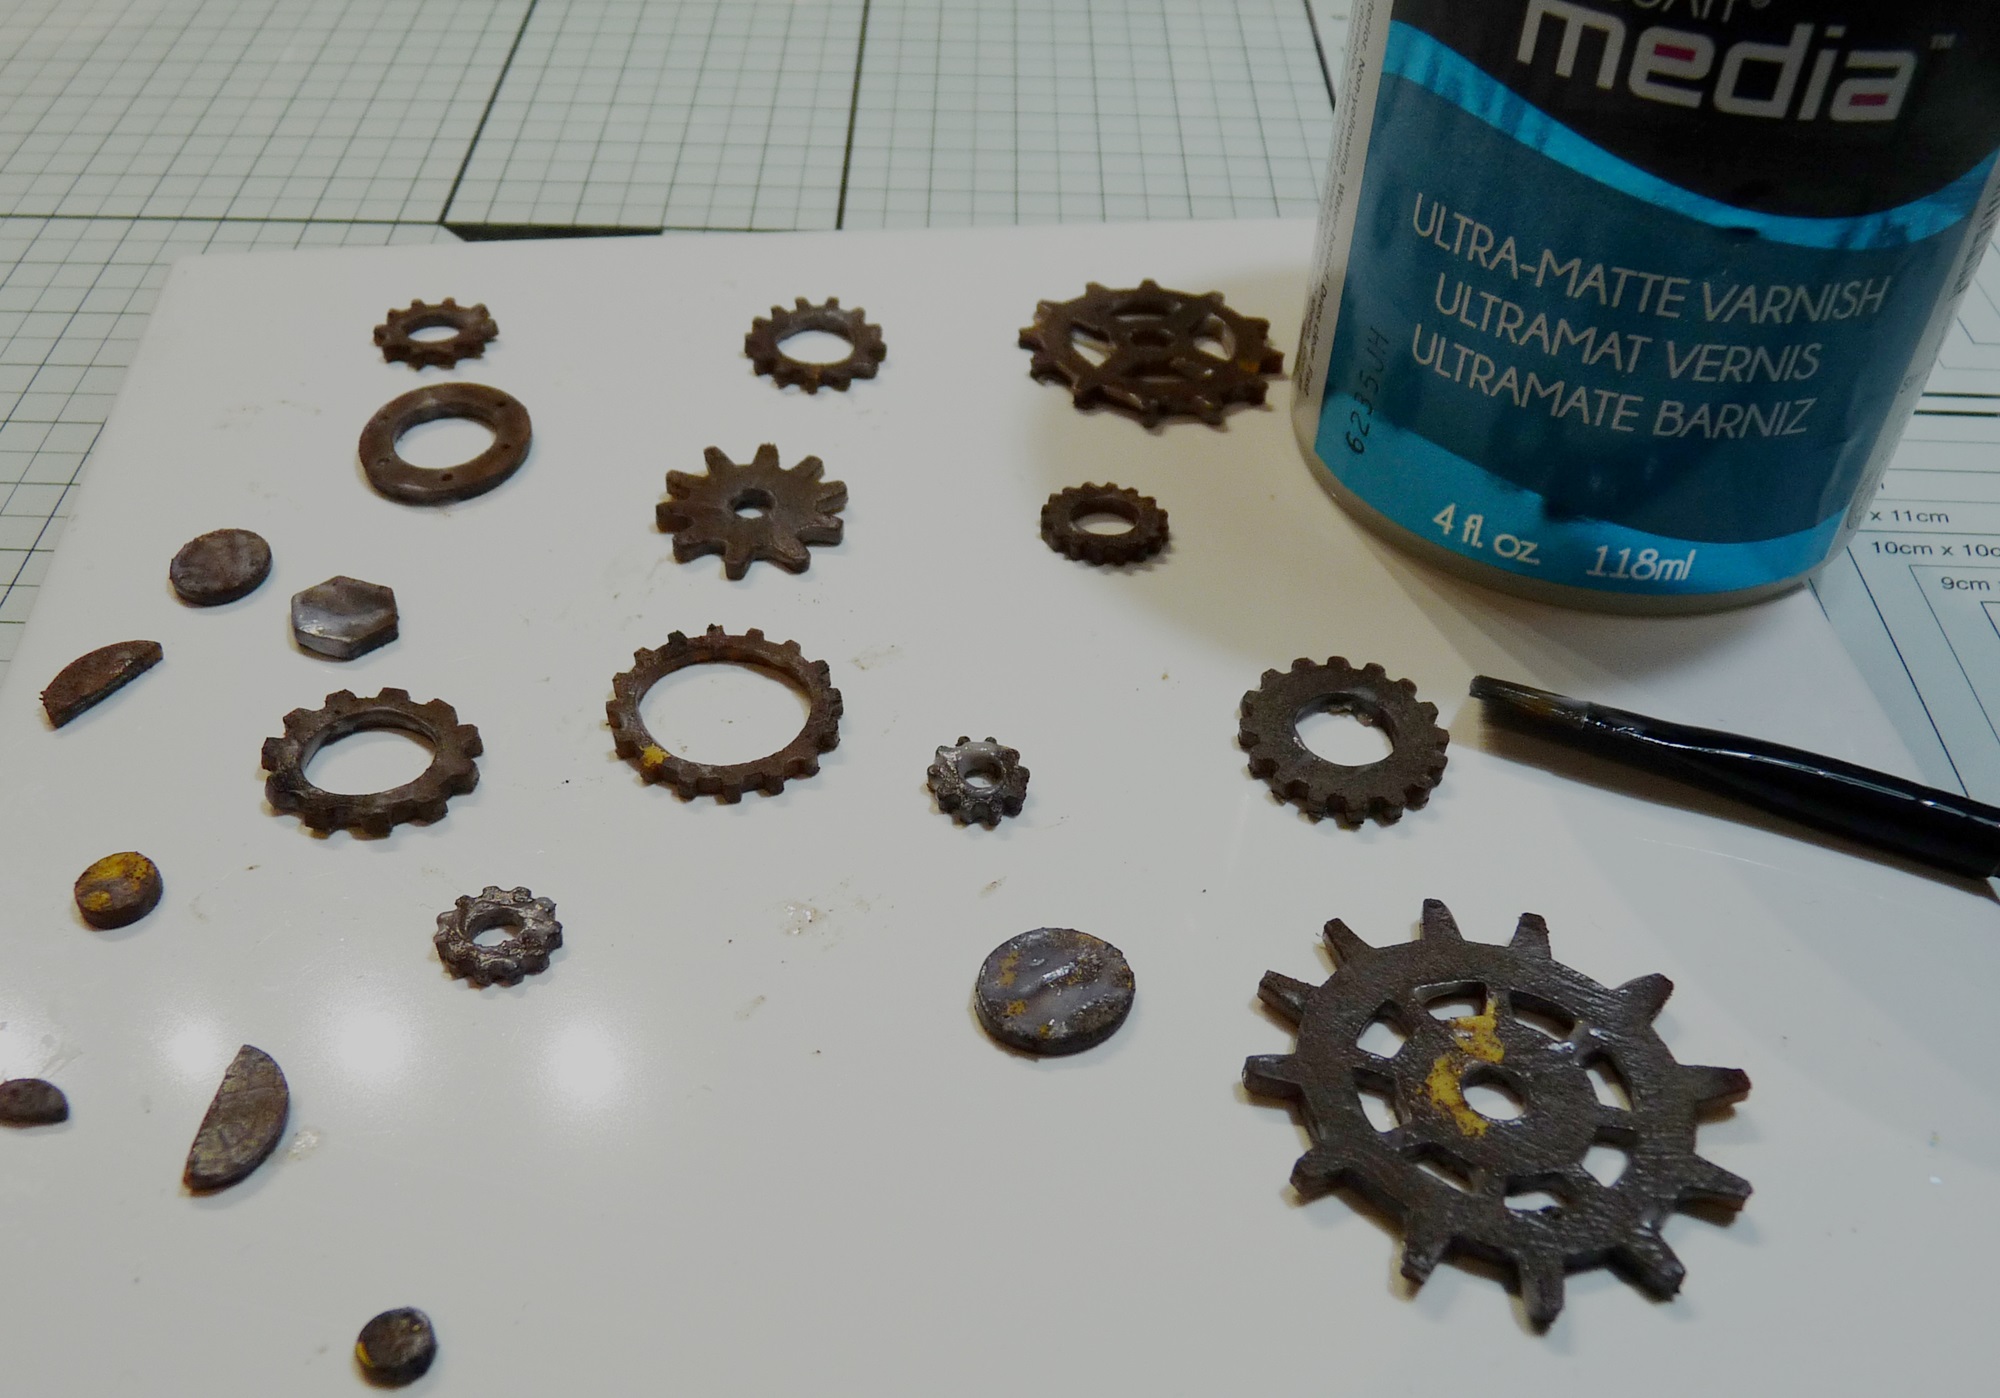
- Paint the cogs with the Ultra-Matte Varnish to prevent the rust rubbing off. When dry, they are ready to use.
(Intermediate) Cogs Background
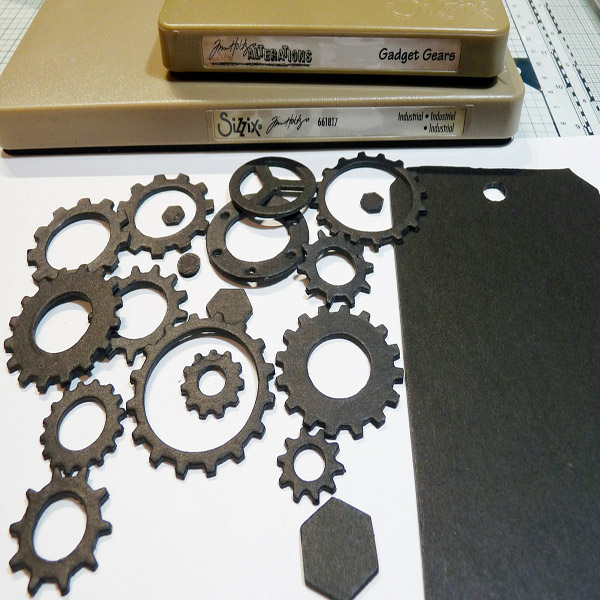
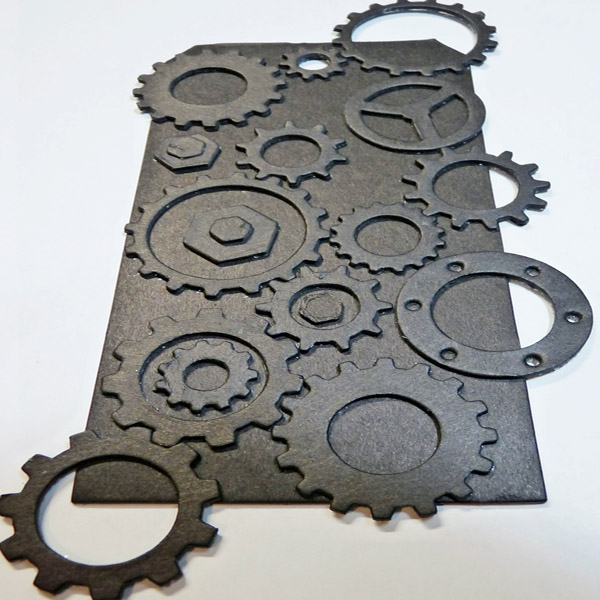
- Die cut a tag and selection of cogs from black chipboard.
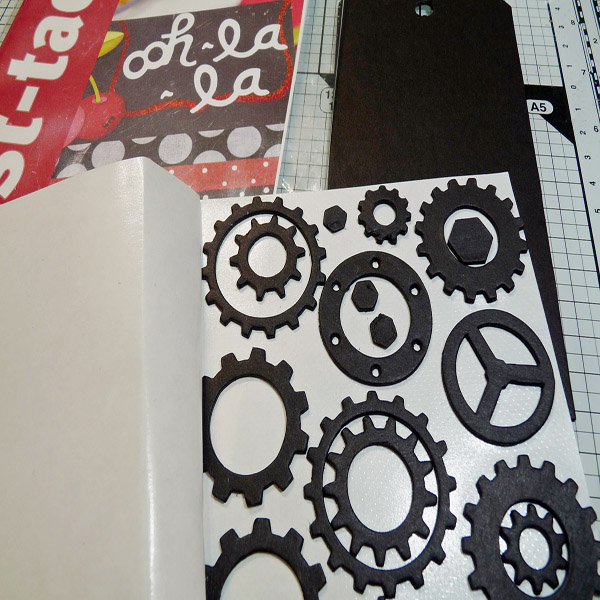
- Place the cogs onto the Artist-tac sheet, burnish so the adhesive adheres to the cogs.
- Attach the cogs to the tag as shown and trim any excess from the tag.
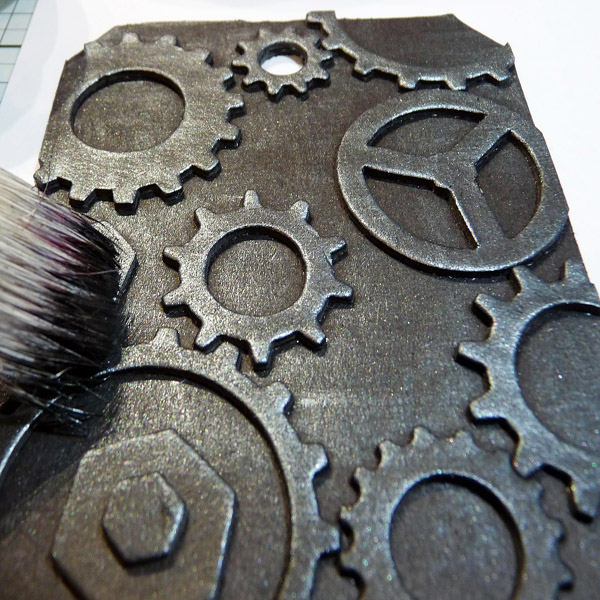
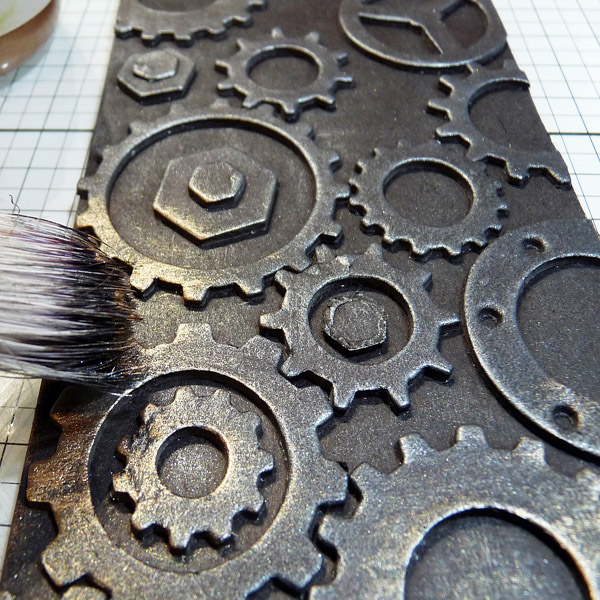
- Pick up a little Raven Black Metallic paint onto the brush; remove excess paint so the brush is loaded with dry paint. Lightly brush over the tag, increasing the pressure as the paint is used up. It is more effective to build up the color in thin layers.
- Repeat the process in step 4 with the Pheasant Bronze Metallic paint.
- Repeat steps 4 and 5 one more time. When dry, this doesn’t take long, buff up the surface with soft cloth.
(Advanced) Butterflies
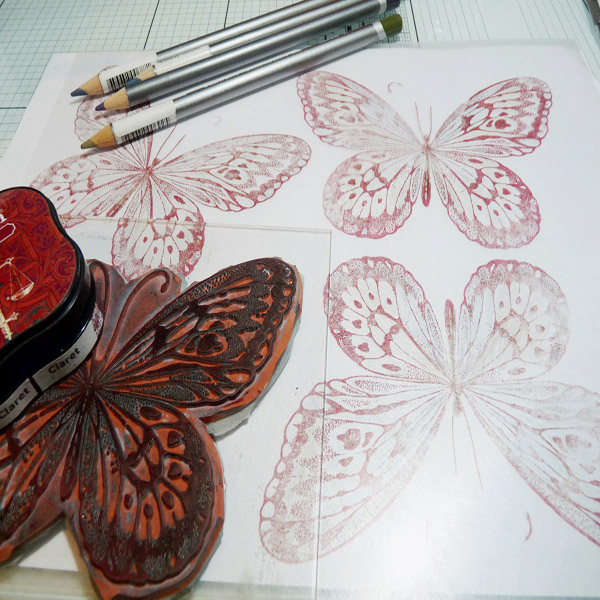
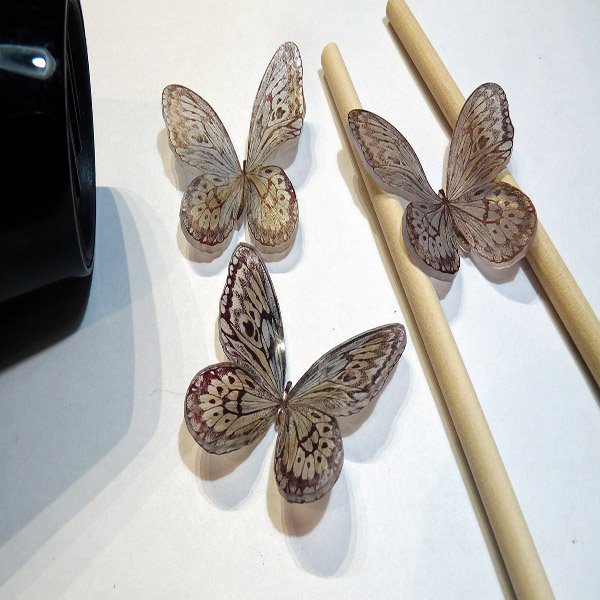
- Stamp three butterflies onto the sanded side of the shrink film with the StazOn ink. Color with the pencils and cut out, ignore the antennae!
- Use the heat tool with the wooden block to shrink a butterfly, while still hot shape the wings using the wooden dowels, leave to cool in that position. Repeat for the other butterflies; keep two of the butterflies with the matt surface uppermost and the other glossy side up.
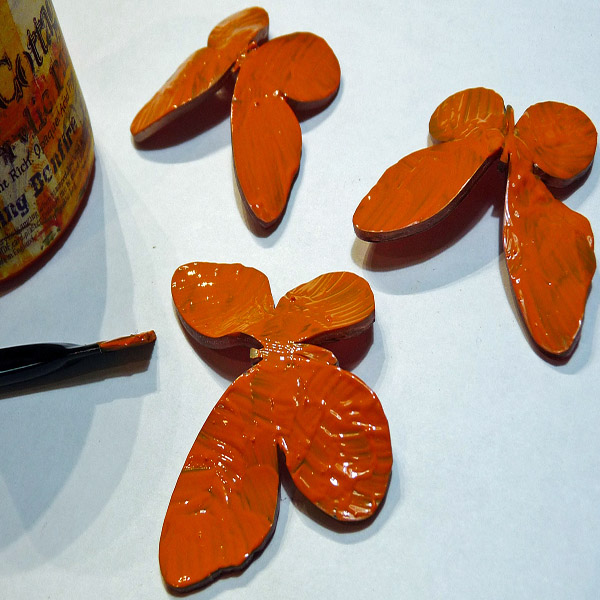
- Paint the underside of the wings with a thick coat of paint and dry.
Making up the tag
- Attach some of the smaller cogs to the bodies of the butterflies with the Glossy Accents.
- Arrange and glue the rusty cogs to the tag with the Glossy Accents.
- Place the butterflies evenly on the tag and use the silicone glue to attach.
- To finish add twisted rusty wire to embellish.

