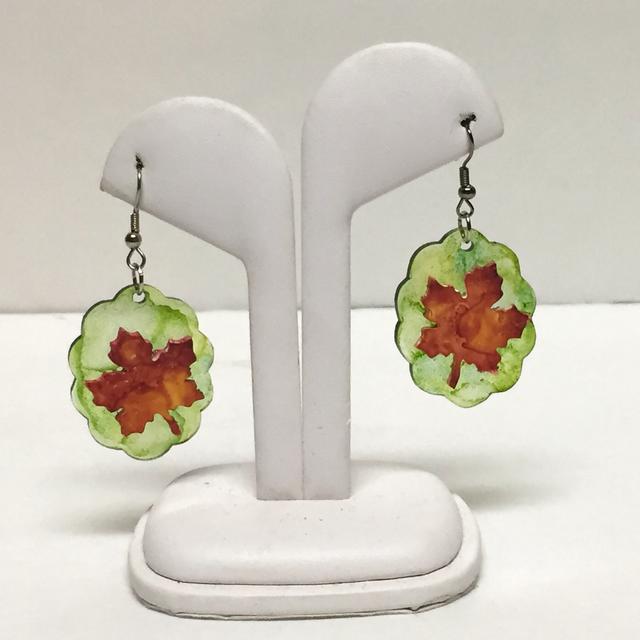
How To Create Earrings using Grafix Shrink Film
Project Description: Create your own custom jewelry using Shrink Film by Grafix and alcohol inks.
Designed by: Tami Sanders
Difficulty: Easy
Materials:
- Grafix Clear Shrink Film
- Grafix White Shrink Film
- Clearsnap: ColorBox Color Blender
- Beacon Adhesives: 3-in-1 Glue
- Ranger: Alcohol Inks: Bottle, Lettuce, and Meadow
- Ranger: Alcohol Inks: Caramel
- Ranger: Alcohol Inks: Cranberry, Amber Yellow
- Spellbinders: Orchard Harvest Tags and Accents
- Spellbinders: Big Scalloped Ovals – Small
- Baking Sheet
- Hole Punch
- Ear Hooks & Jump Rings
- Parchment Paper
- Jewelry Tools
Steps to Make This:
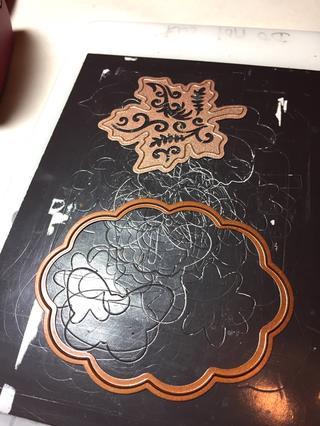
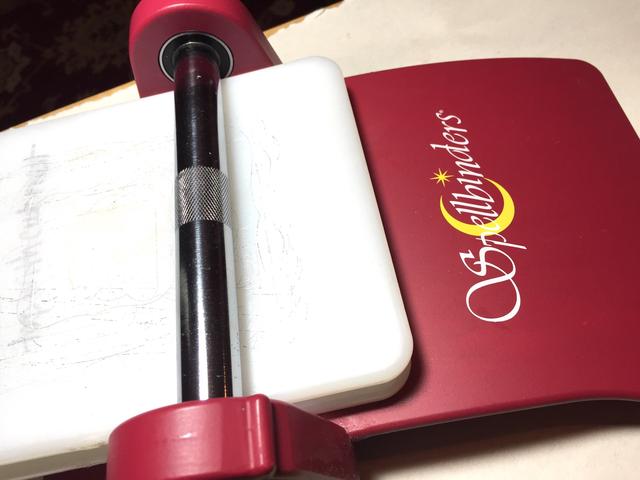
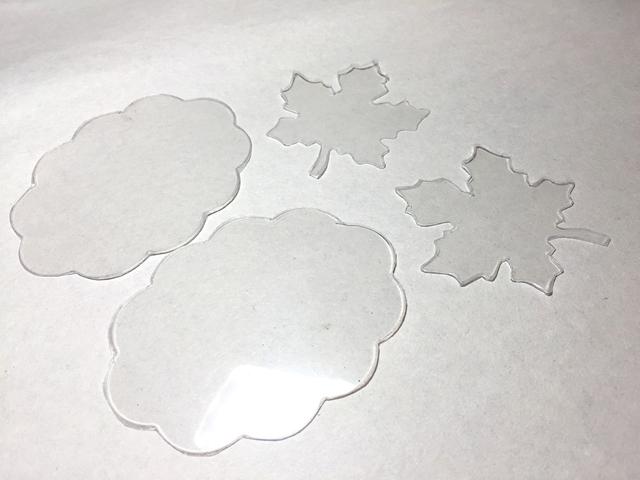
- Select and set up your die cuts according to your machine’s directions. *note: fine details, like the filigree patterns on the leaves, will not be cut out due to the thickness of the Shrink Film.
- Run through your machine to punch out shapes.
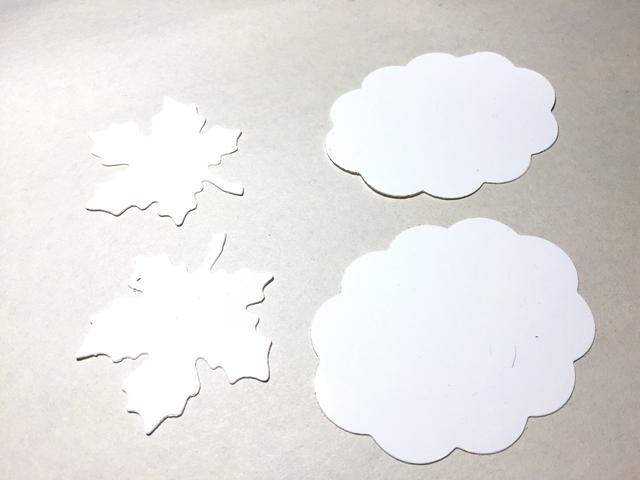
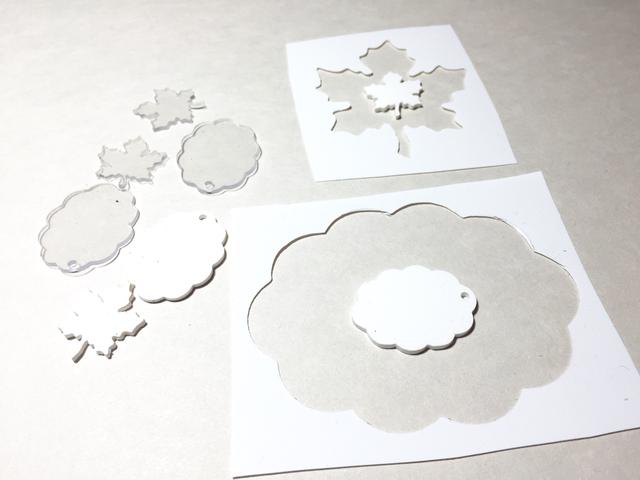
- You will need 2 of each shape.
- I cut out one set from white and one set from clear, so I could decide how I wanted to layer them.
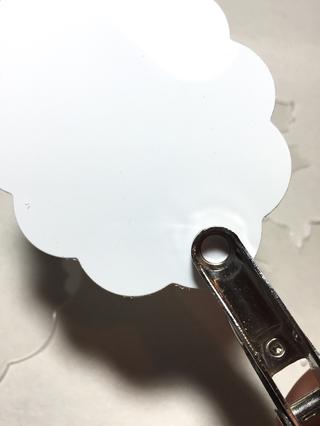
- Punch holes in the top of the oval pieces.
- Bake and shrink pieces according to package directions before inking them. I use a parchment-lined baking sheet to shrink mine.
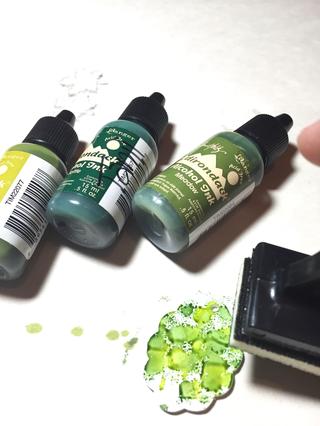
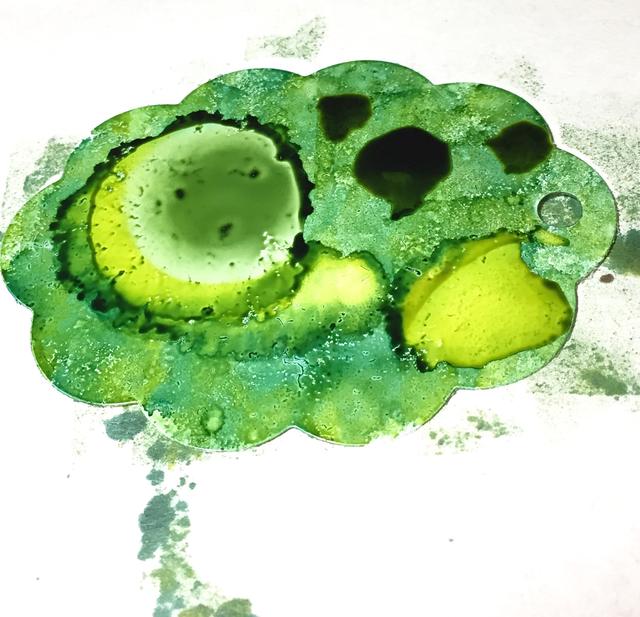
- Working on one piece at a time, add drops of the different green inks on the oval pieces.
- Then dab using the Color Blender to gently spread and blend the inks, don’t over blend.
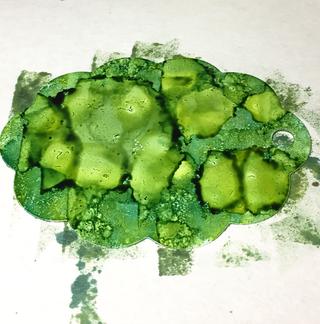
- After you have applied your background color, dribble drops of ink on the pieces and let them “bloom”.
- Keep adding drops of ink until you are happy with the pattern.
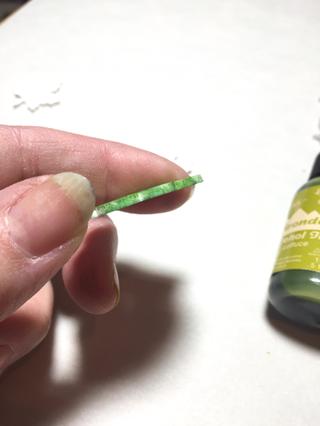
- Also, ink the sides of the pieces.
- Repeat the process on the leaves using the orange, red, and brown inks.
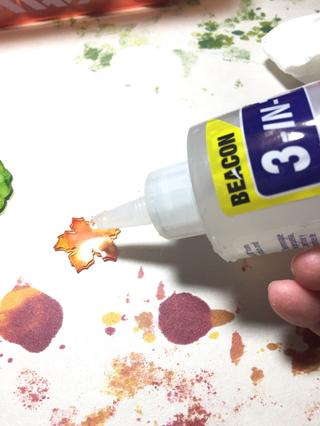
- Use Beacons 3-in-1 Glue to adhere leaves to ovals. I decided I liked the white Shrink Plastic leaves on the clear backgrounds the best.
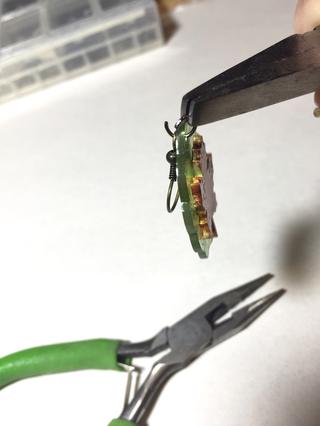
- Once the glue has set, attach ear wires using jump rings.
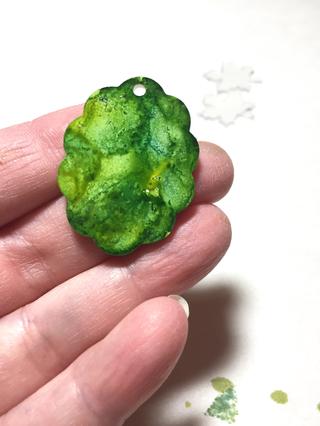
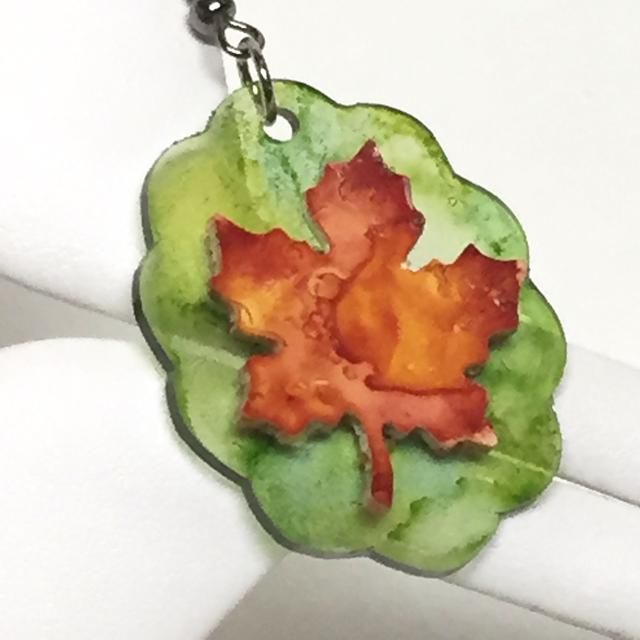
- Close-up of finished earring.
- Experiment with your die cuts and punches to create your own unique jewelry.

