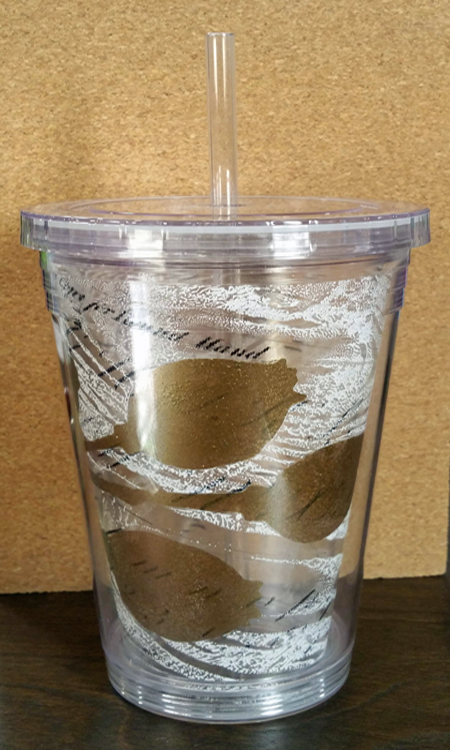
Custom Printed Travel Cup
Project Description: Use this unique Mono-stenciling technique to customize your own travel cup using Grafix Stencil Film and Monoprint Plate as seen on Make It Artsy.
Designed by: Jenn Mason
Difficulty: Moderately Challenging
Materials:
- Grafix Stencil Film
- Grafix Monoprint Plate
- Printable acrylic sheets (printed with chosen design)
- Brayer
- Printing paints and/or acrylic paints
- Sponge
- ScanNCut
- Scissors
- Customizable iced-coffee cup
- Scrap paper
- Faux Bois tool
Steps to Make This:
- Use the digital cutter or craft knife and cutting mat to cut out your desired shape from the center.
- Use a brayer to roll printing ink onto the printing plate and then run the faux bois tool through the ink to create your desired texture.
- Clean the brayer quickly.
- Place the cut stencil sheet printing side down on the printing plate, cover with scrap paper and roll over the surface with the brayer.
- With the printed acrylic sheet printed side down, place the cut and textured stencil plate down on the surface. Use another piece of scrap paper and the brayer to transfer the texture to the back of the printed acrylic sheet.
- Remove the scrap paper and dip the sponge in a second ink or acrylic paint color and fill the inside of the stencil shape.
- Carefully remove the cut stencil to reveal the printed piece. Let dry completely. Use the template from the coffee cup to cut the final artwork to size and slip it into the cup.