Denise Liquid Frisket And Opaque White
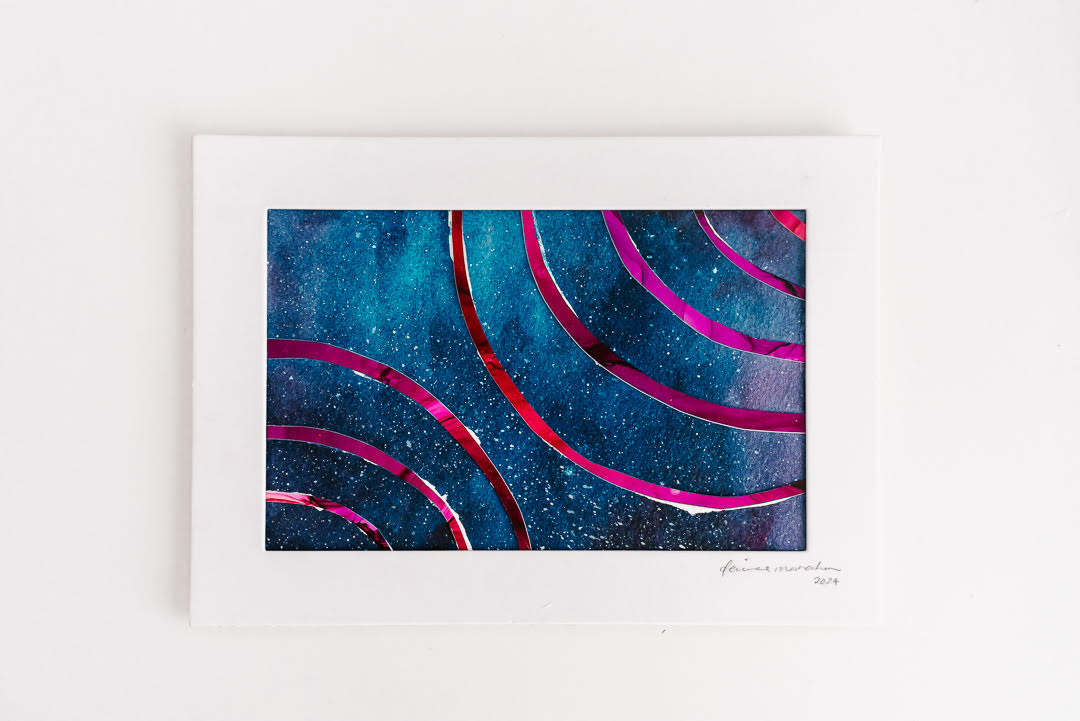
Project Description: This out-of-this-world spacey piece is a great way to learn and understand how to use Grafix Incredible art products!
Designed by: Denise McMahon
Difficulty: Moderately Challenging
Materials:
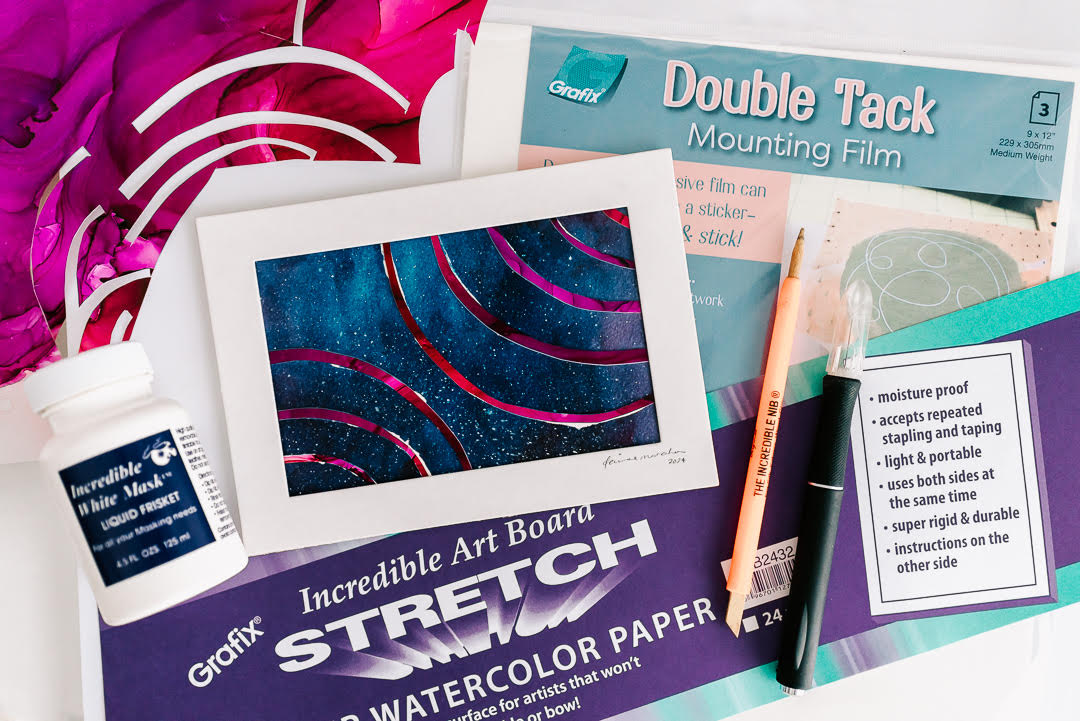
- Grafix Incredible Frisket Kit (Incredible White Mask Liquid Frisket, Incredible Nib, Rubber Cement Pick Up)
- Grafix Double Tack Mounting Film
- Grafix Incredible Art Board
- Gummed tape cut to size for your piece
- Cup of water
- Paper towel
- 2-3 watercolor paints that play well together (i.e. purple/pink/blue, green/yellow/blue, orange/red/yellow).
- Cold-pressed paper (preferably 100% cotton, 300gsm, 140lb paper)
- Round mop brush
- 1” flat brush
- Exacto knife
- Self-healing mat (or thick cardboard)
Directions:
- Prerequisite: This project builds upon alcohol ink + craft plastic projects.
- Measure and cut the watercolor paper to preferred size (I did 5 inches by 7 inches).
- Submerge your watercolor paper completely in water a few times and shake off excess water. It should be damp looking but not dripping or puddling when you put it on the Art Board.
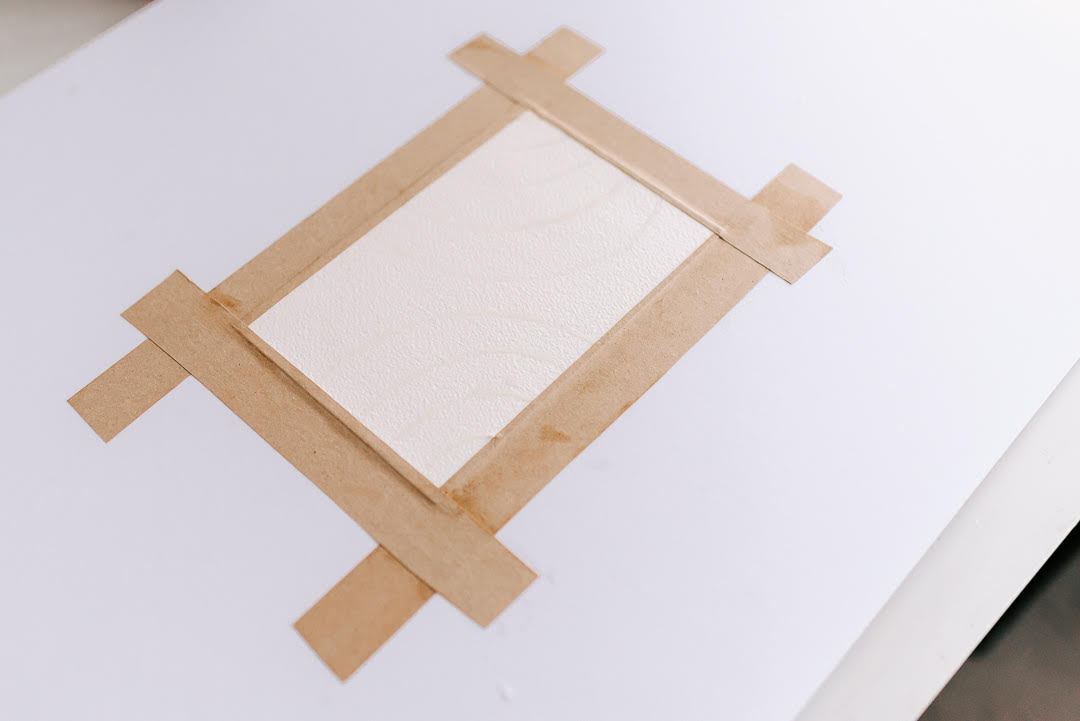
- One by one, wet the gummed tape fully on the adhesive side and tape down each edge of your paper onto the Art Board.
- Wait for the paper to dry completely (up to 24 hours). You’ve now stretched your paper.
- Grab your Incredible Frisket kit, some water and paper towel.
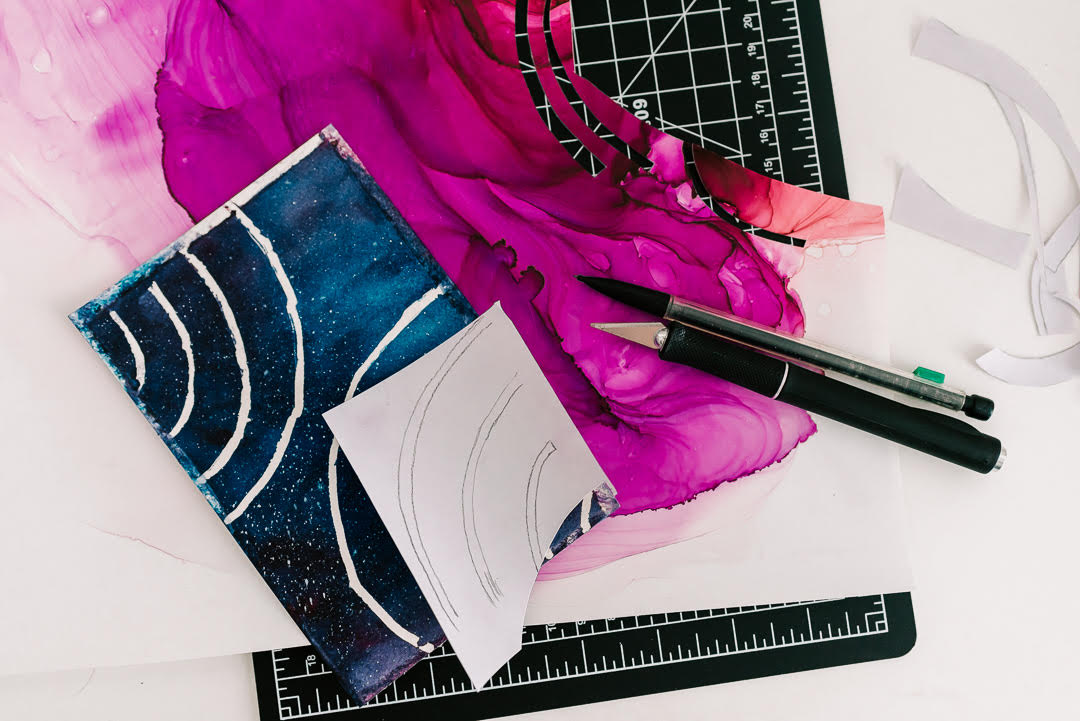
- Use the Incredible Nib and Frisket to lay down the masking on top of your design (sketched out lightly with a pencil beforehand if needed).
- Wait for it to fully dry before moving on. Frisket should look translucent and no longer opaque/white.
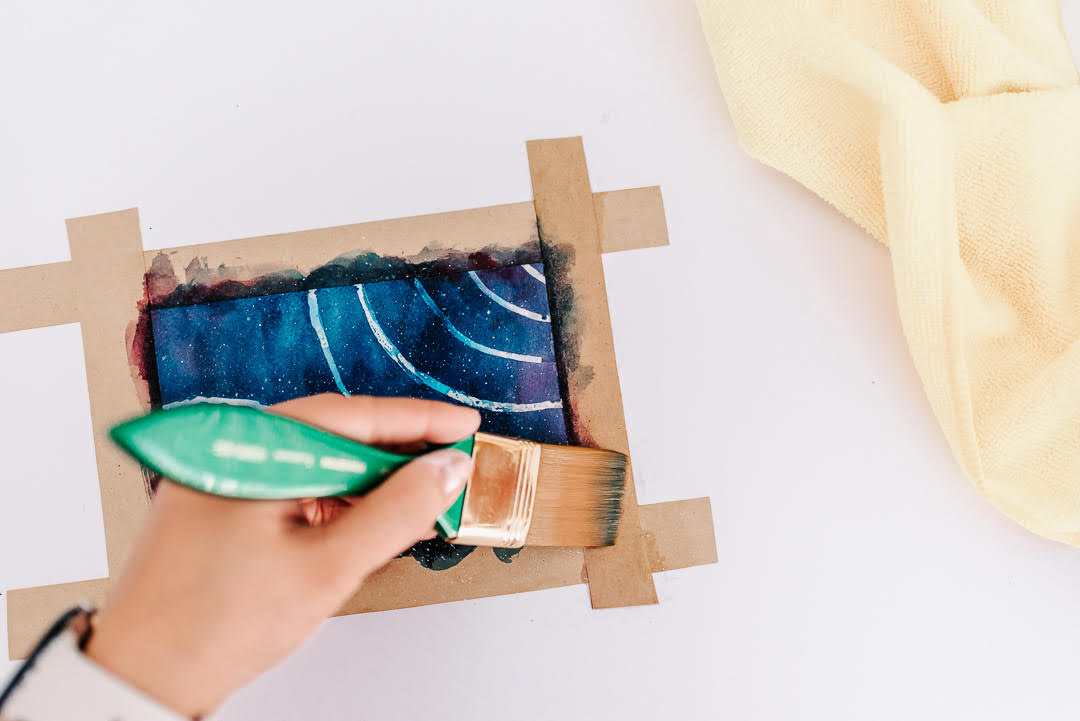
- For the first layer, lightly wash the whole paper with water. Again, damp but not puddling.
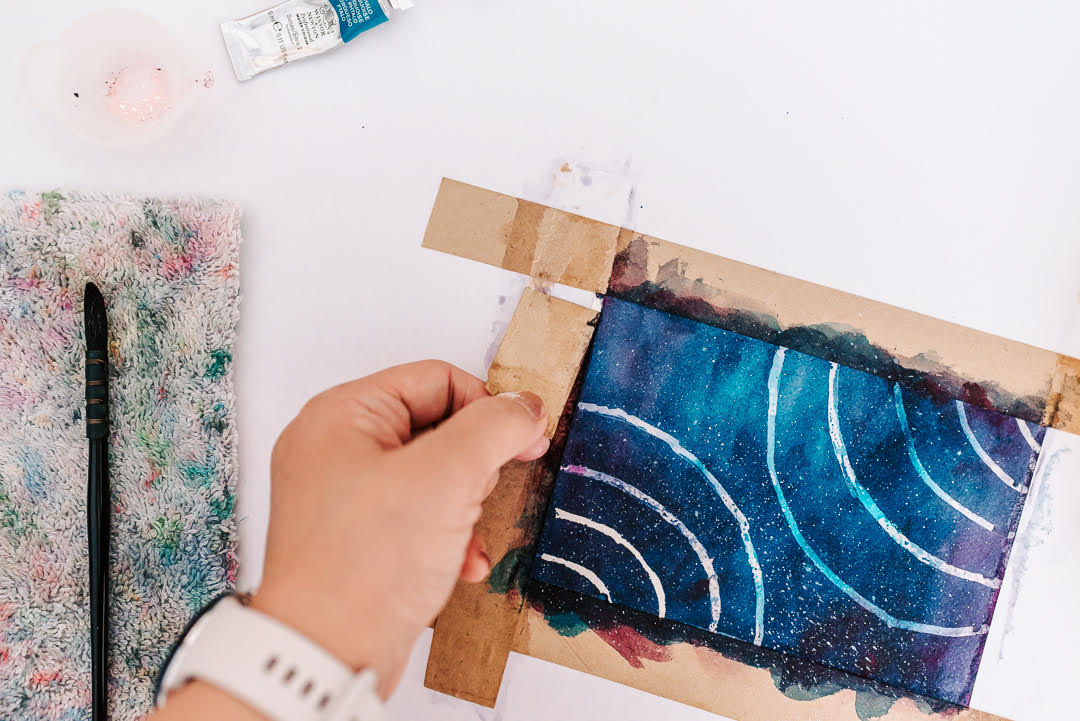
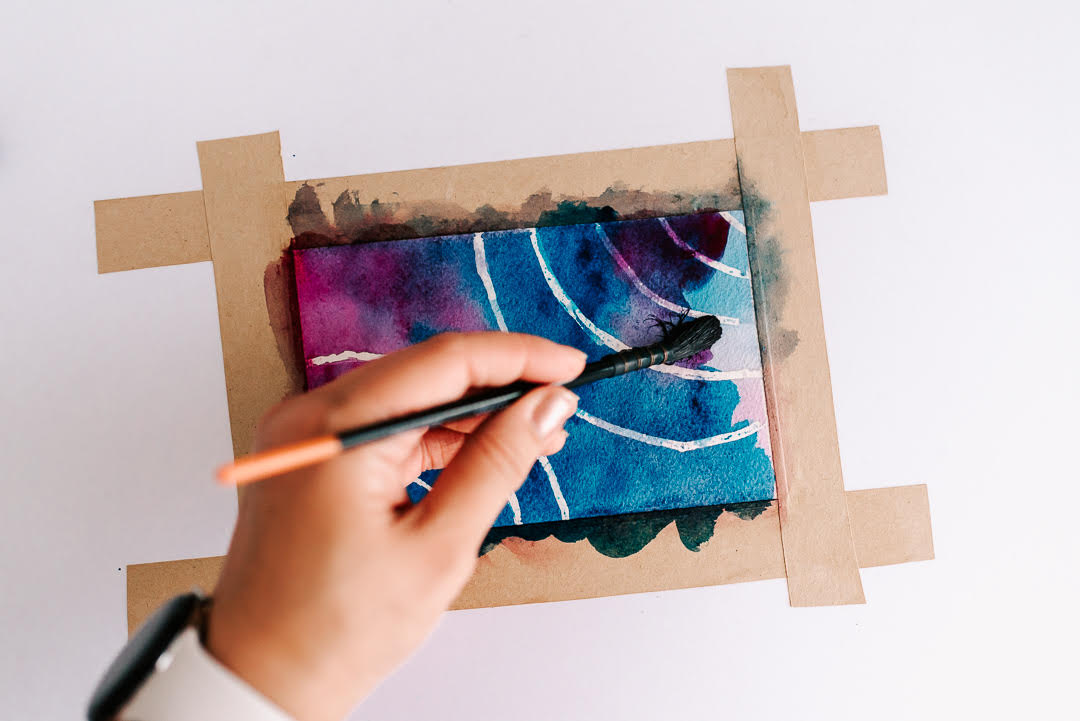
- Apply your colors randomly with your mop brush and blend (wet on wet).
- Wait for the layer to dry fully (use a low wattage blow dryer to speed up the process).
- Add more concentrated layers of colors for the next few layers.
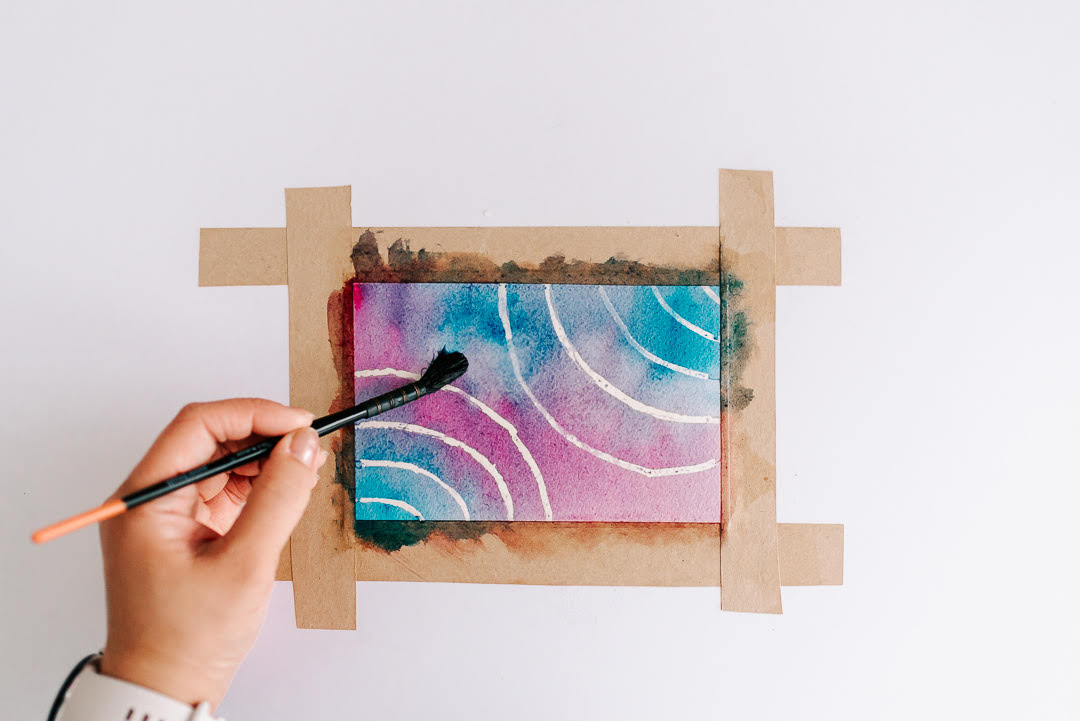
- Pick up one of the watercolor paint colors on your brush and apply some of it directly onto the paper (wet on dry).
- Rinse that color off and pick up another color and apply that right next to your other color.
- Repeat for your third color if you have three.
- Wait for this layer to dry.
- Repeat as many times as you’d like (I like about 3-4 layers in total).
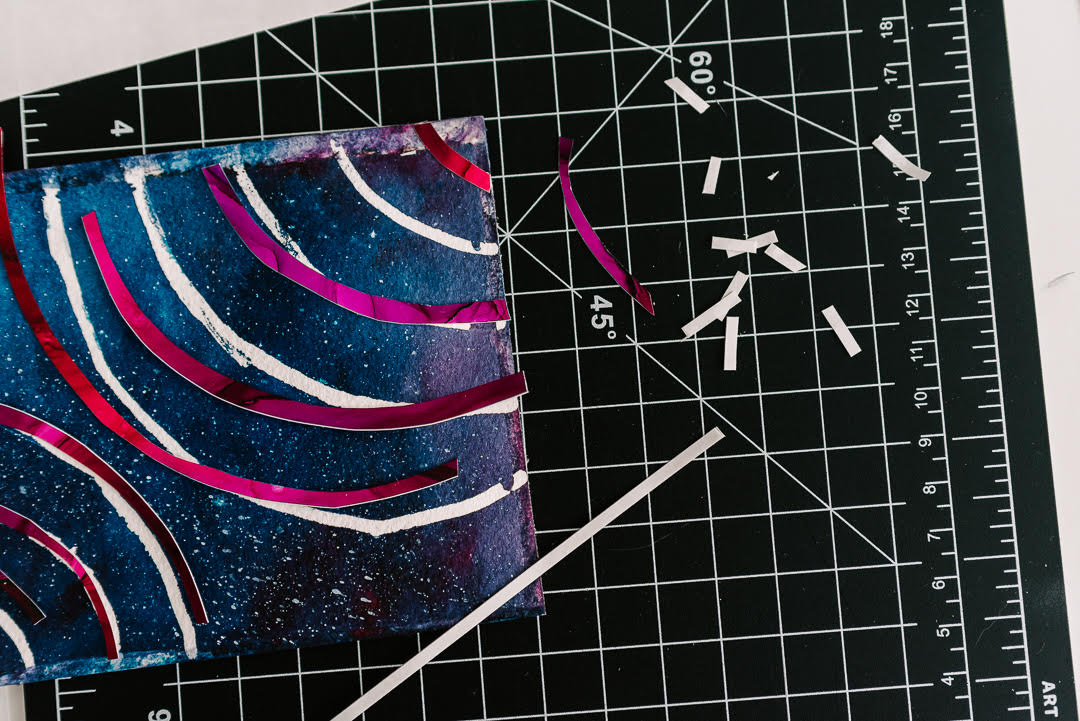
- Grab sealed alcohol ink artwork on craft plastic and use an exacto knife to cut out the design for your watercolor paper.
- Once your watercolor piece is dried, carefully wet each piece of gummed tape so you only wet the tape and not your paper and gently peel it off your Art Board once it’s completely soaked. Do this one side at a time.
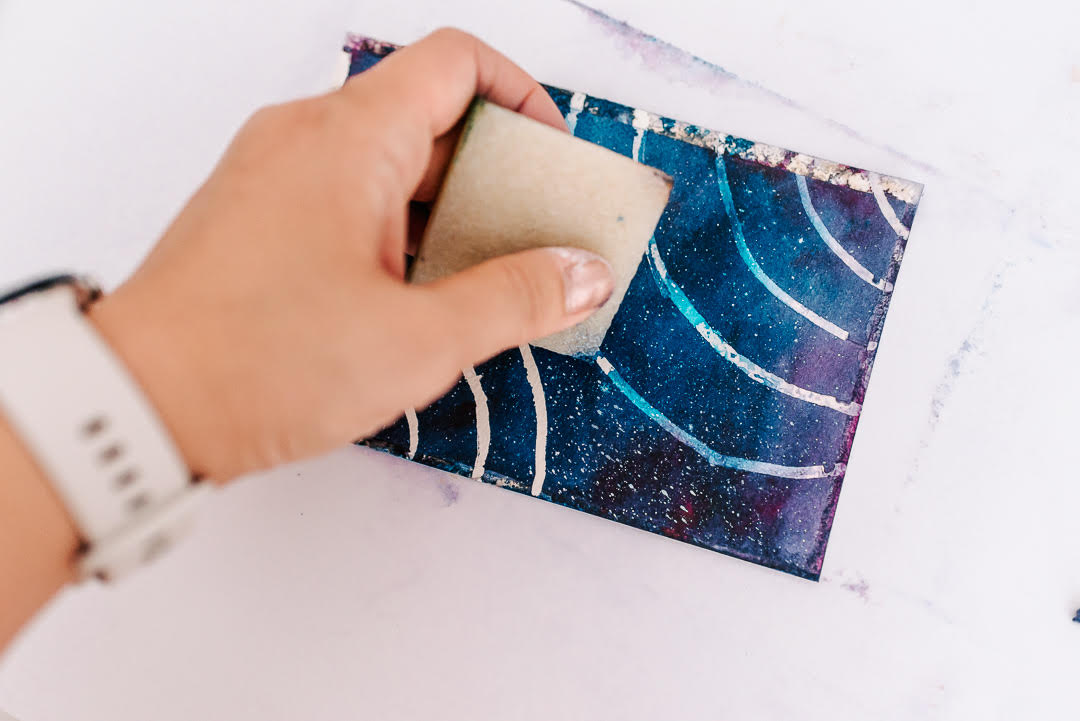
- Use your Rubber Cement Pick Up to remove the frisket.
- Use Double Tack Mounting Film strips to adhere your alcohol ink cut-outs onto the watercolor paper.
- Mat your piece if you’d like using mat boards and Double Tack Mounting Film.

