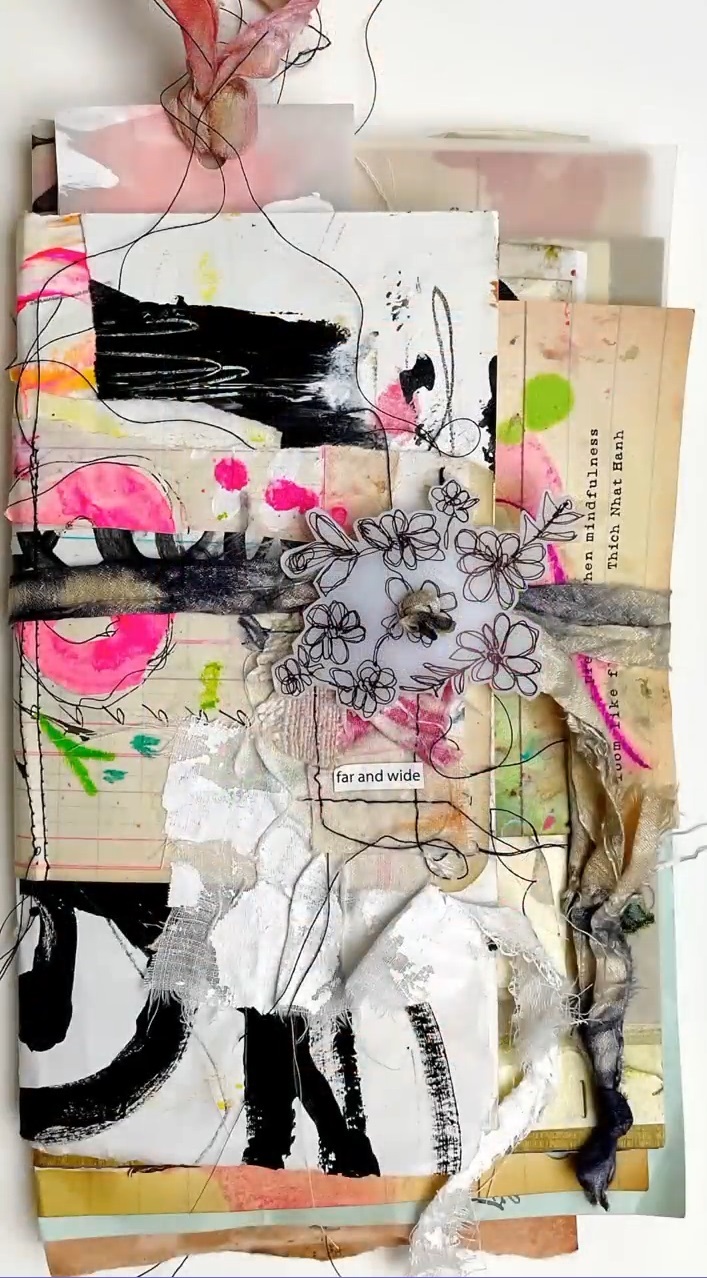
Embellish Your Junk Journals with Grafix Shrink Film
Project Description: Breathe new life back into old things with this nostalgic craft by Roben – Marie Smith Art using Grafix Shrink film!
Designed by: Roben – Marie Smith
Difficulty: Moderate
Materials:
- Grafix Matte Shrink Film
- Sharpie Ultra Fine Tip Permanent Marker
- Scissors
- Paper Straw
- 1/4″ Hole Punch
- Sari Ribbon
- Parchment Paper
- Baking Pan Your
- Favorite Junk Journal
Directions:
- First up, gather your materials: shrink film (matte preferred)
scissors
straw
Sharpie markers in ultra-fine
doodle printouts
Don’t have printouts? No worries, you can freehand your designs too! This tutorial is all about personalization.
- Once you’ve chosen your design, it’s time to get tracing! Whether it’s freehand or using printouts, simply outline your doodle onto the shrink film.
- Next, trim around your design. Remember, the shape doesn’t have to be perfect! Embrace the uniqueness of your creation. Then, use a book awl or Japanese screw punch to create a hole for the closure. I add a paper straw to the hole so that it doesn’t shrink any smaller.
- Now comes the magical part – baking the shrink film. Lay it on parchment paper, keeping the straw in the center, and bake at 350°F for 2-3 minutes. Keep an eye on it, as all ovens vary. Once baked, flatten with a spatula if necessary. The transformation is pretty cool. ???????? I recommend you watch it curl and change shape while it bakes.
- Here comes the final touch! Using Sari ribbon, attach the shrink film closure to your junk journal. The contrast between the closure and the journal adds such a unique touch! Plus, it’s adjustable – perfect for a growing journal. Such a creative and practical closure idea!
Tag and your favourite collage material to decorate.

