Fall Leaves Card
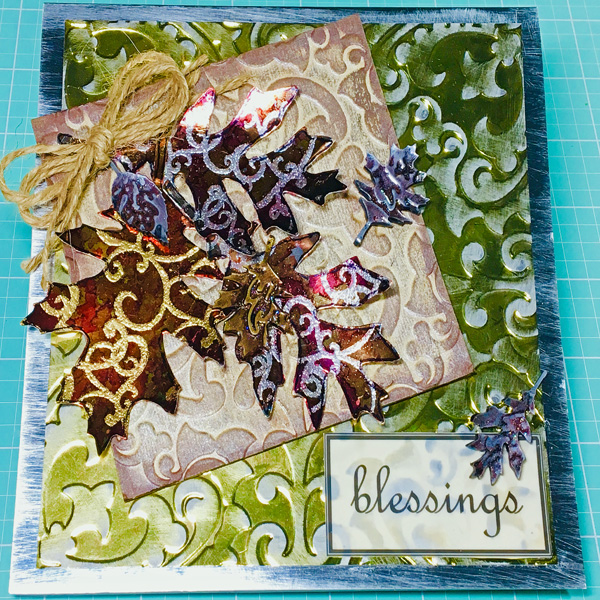
Project Description: Create a fall-tastic card with materials from Grafix this year!
Designed by: Tami Sanders
Difficulty: Moderately Challenging
Materials:
- Grafix Gold and Silver Metallic Foil Board
- Grafix Matte Adhesive Backed Computer Grafix Film
- Grafix Artist-tac
- Grafix White Chipboard 4” X 4”
- Grafix Metallic Shrink Film
- Sizzix: Tim Holtz Alterations: Tattered Leaves Die and Regal Flourishes Texture Fades
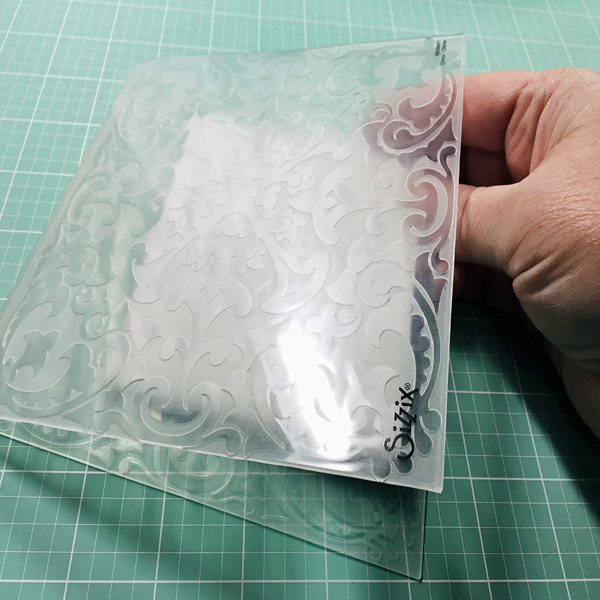
- Sizzix: Vintaj: Leaf Rosette Embossing Folder
- Clearsnap: ColorBox Brown Chalk Ink
- Clearsnap: Top Boss Clear Embossing Pad
- Clearsnap: ColorBox Gold Sparkle and Silver Embossing Powder
- Clearsnap: Spun Sugar Smooch Spritz
- Clearsnap: Frost Smooch Glitz
- Ranger: Tim Holtz Alcohol Inks: Ginger, Terra Cotta, Cranberry, and Pitch Black
- Ranger: Tim Holtz Alcohol Inks: Applicator Tool with Felt Pads
- Paper Wing Productions: Flourish Fun 1
- Craf-t: Metallic Rubs
- Vintage Twine
- Beacon: Zip Dry
- Die Cut Machine
- Heat Gun
- Parchment Paper
- Baking Sheet
- Sanding Block
- Bone Folder
Steps to Make This:
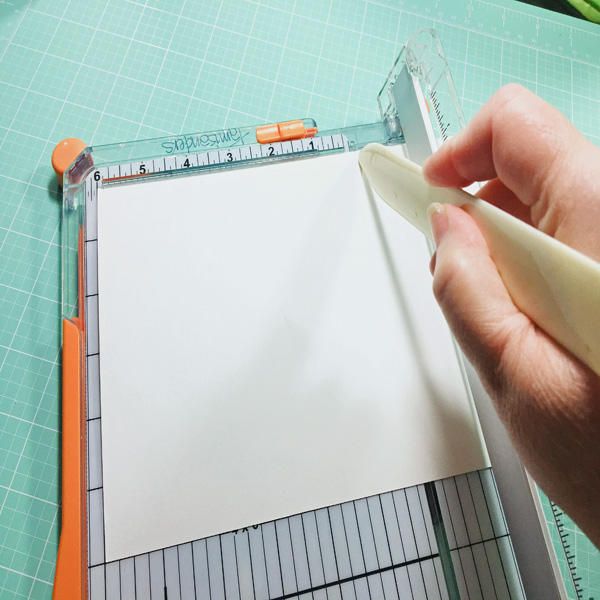
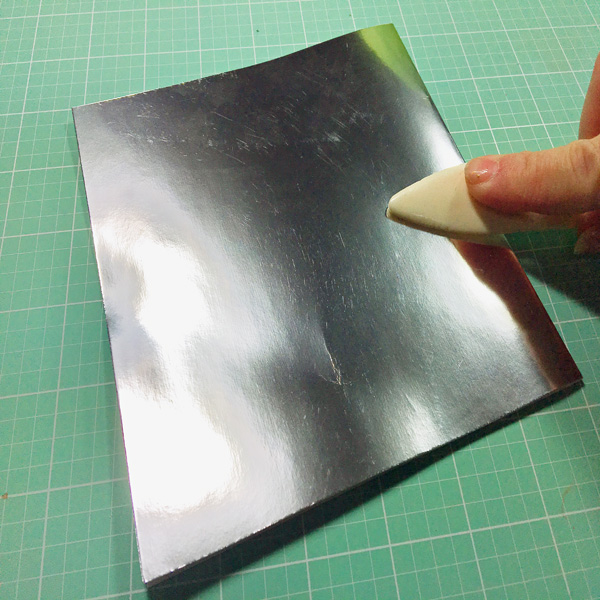
- Start by cutting a 12” L X 6” W rectangle piece of the Grafix Silver Metallic Foil Board and score the sheet at the 6” along the width to make a card base.
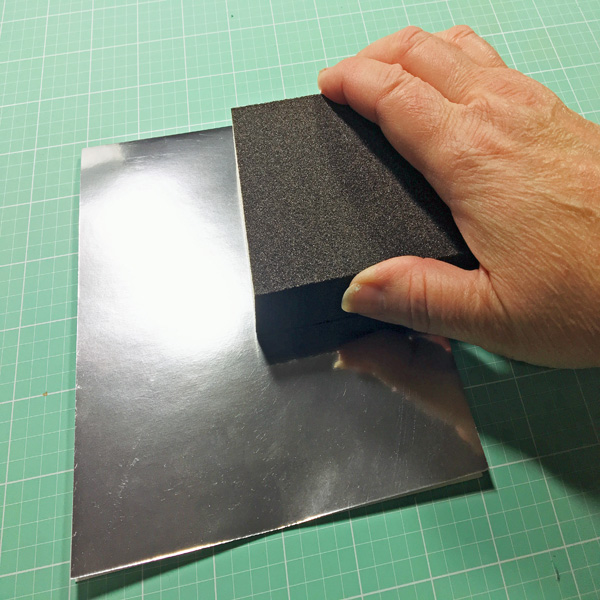
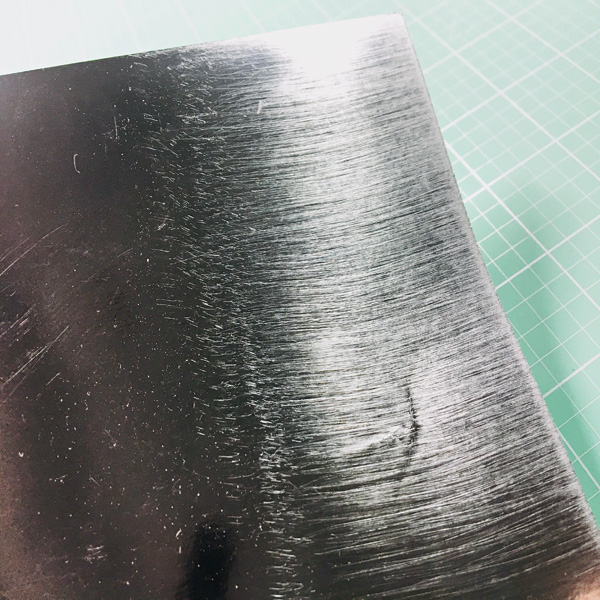
- Then using the sanding block, create a brushed finish on the card front by sanding in long horizontal strokes.
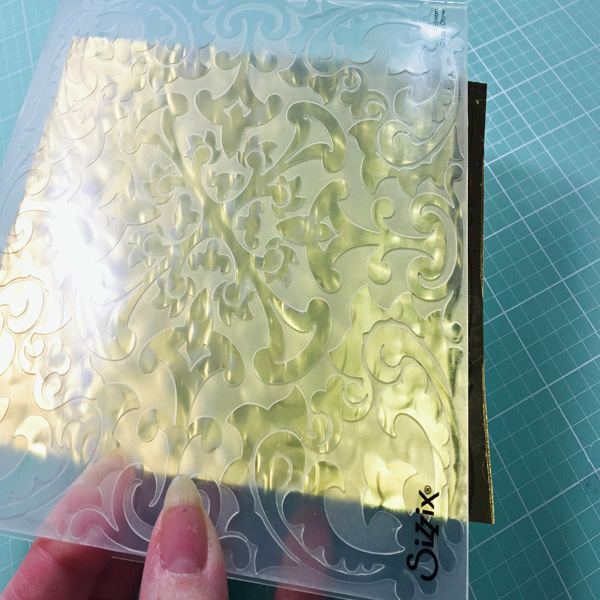
- Cut a 5 ½” X 5 ½” piece of Grafix Gold Metallic Foil Board and emboss in Leaf Rosette Embossing Folder.
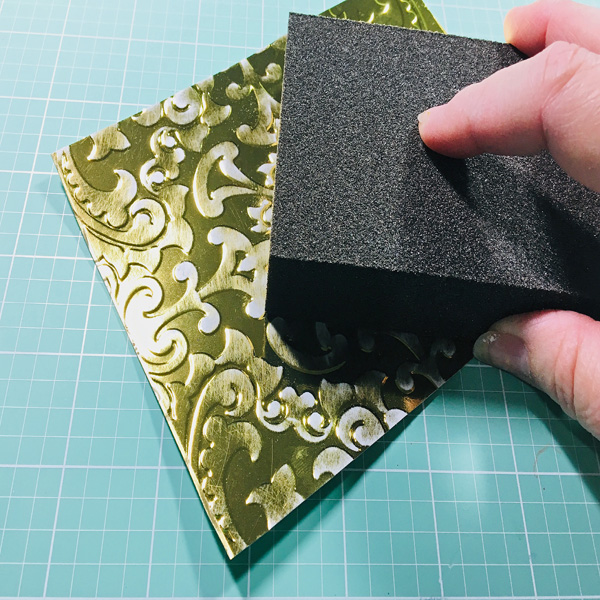
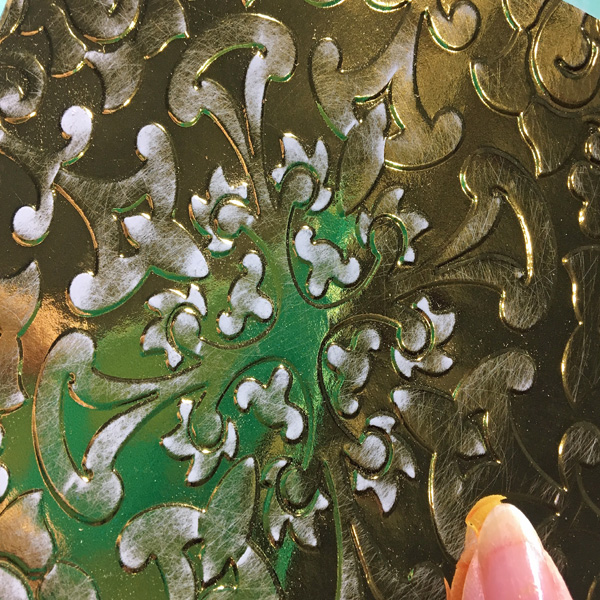
- Lightly sand the Embossed Foil to remove the foil from the raised design.
- Lightly rub raised design with a silver metallic rub.
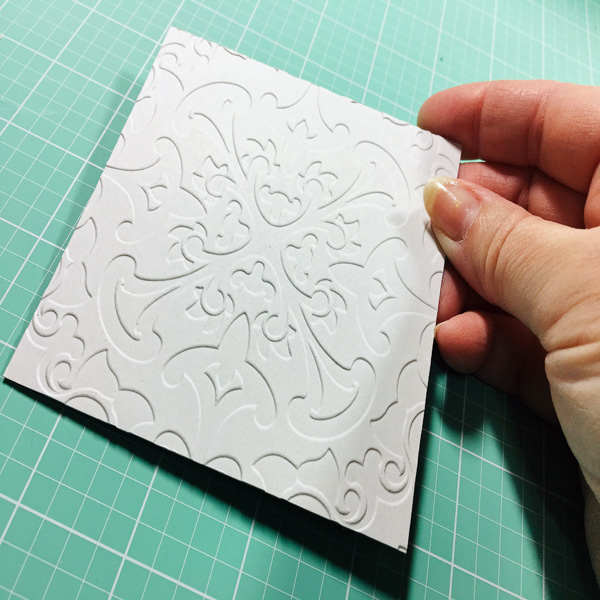
- Place a 4” X 4” piece of Grafix White Chipboard in the Leaf Rosette Embossing Folder and emboss.
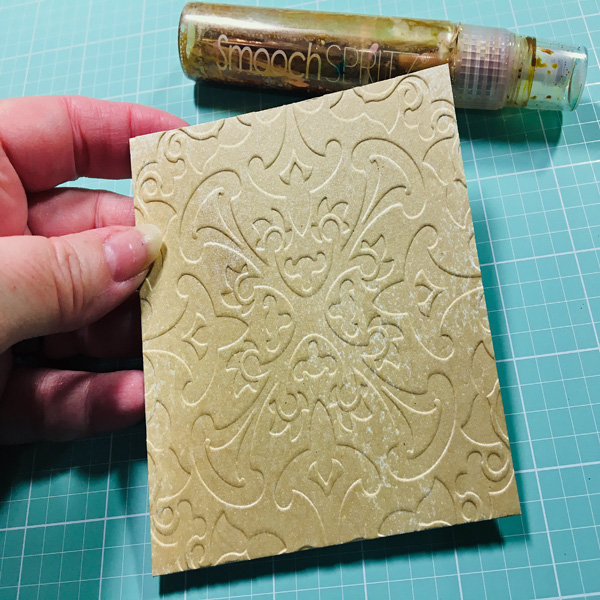
- Next, spray the Chipboard with Spun Sugar Smooch Spritz.
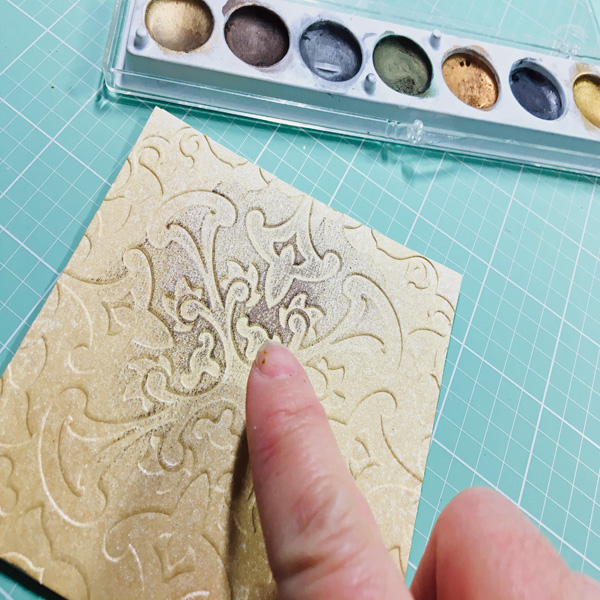
- Then, lightly rub the raised design with a bronze metallic rub.
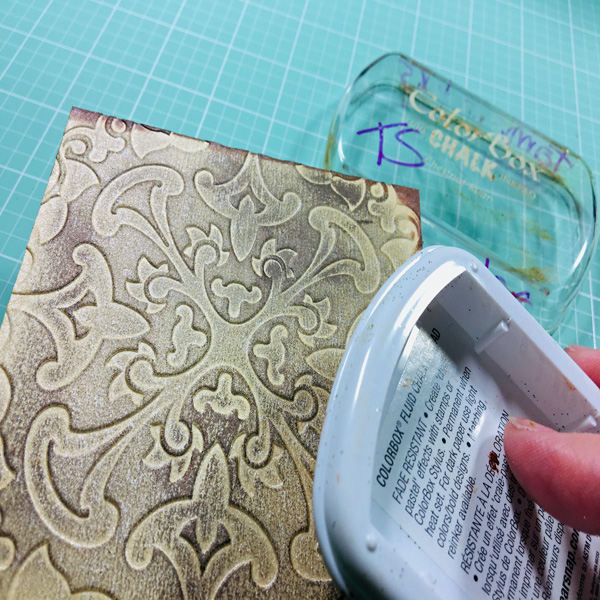
- Distress the edges of the Chipboard with Brown Chalk Ink.
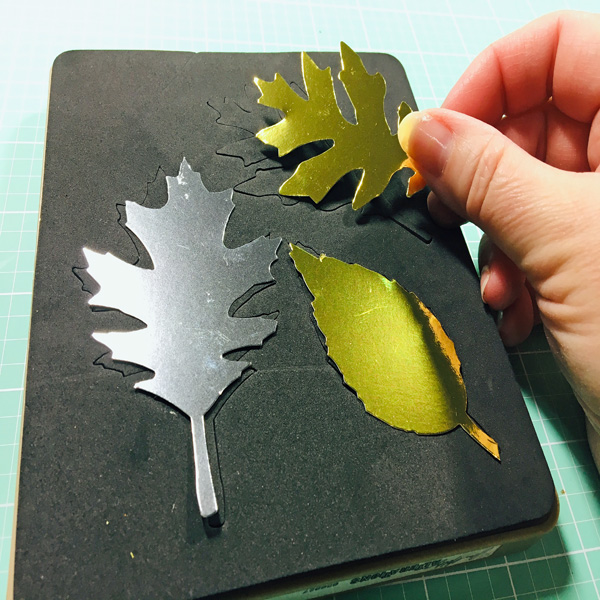
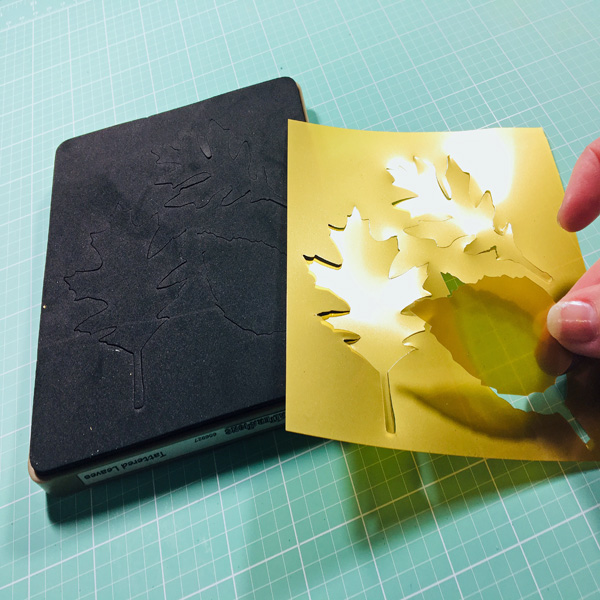
- Die-cut leaves from the Silver and Gold Metallic Foil Board.
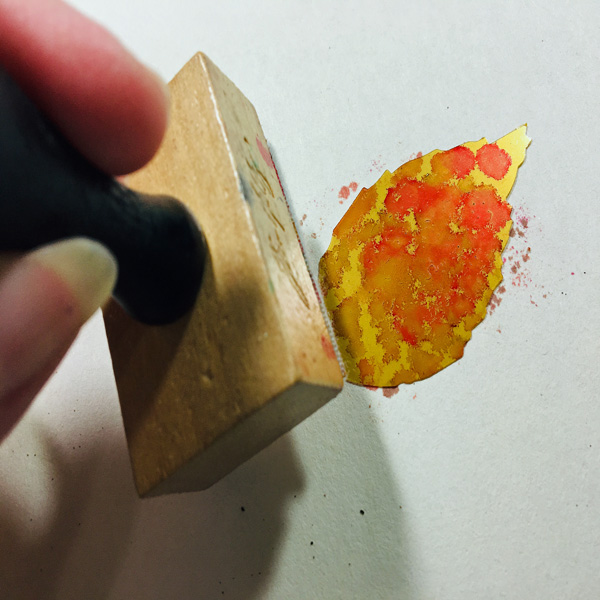
- Add a few drops of Ginger, Terra Cotta, and Cranberry alcohol inks to the felt pad on the applicator.
- Dab the applicator over the foil board leaves.
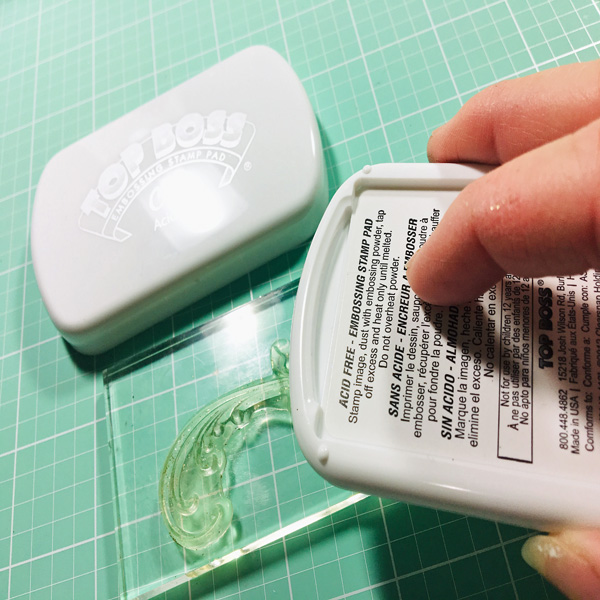
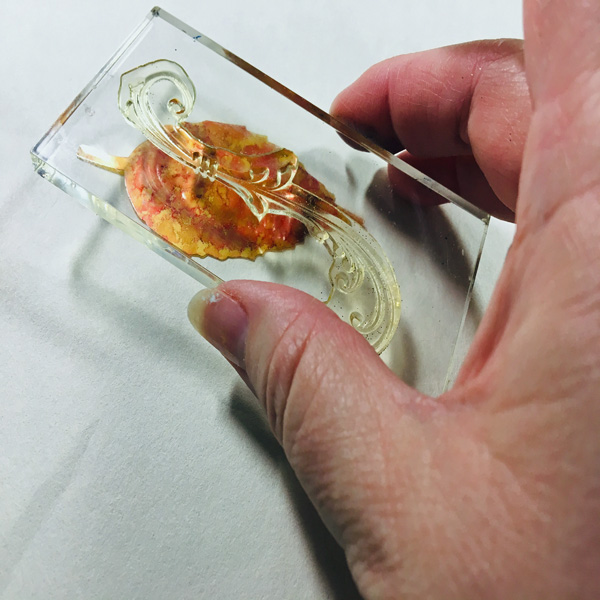
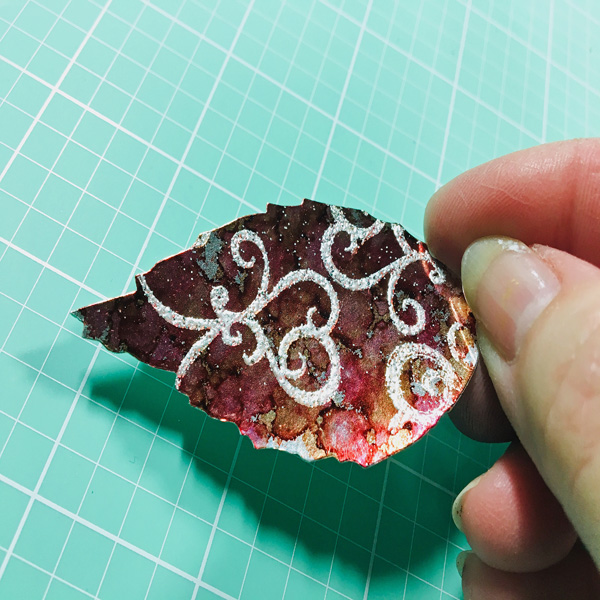
- Ink the swirl stamps with the Clear Embossing Pad and stamp over inked leaves.
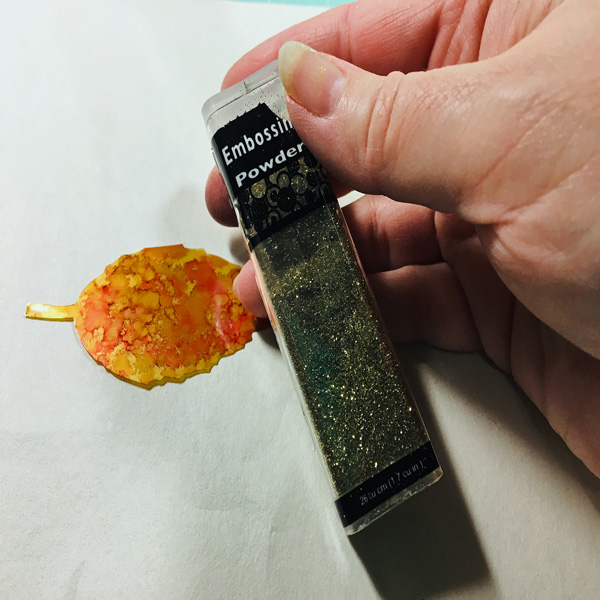
- Then emboss with the Gold Sparkle or Silver Embossing Powder.
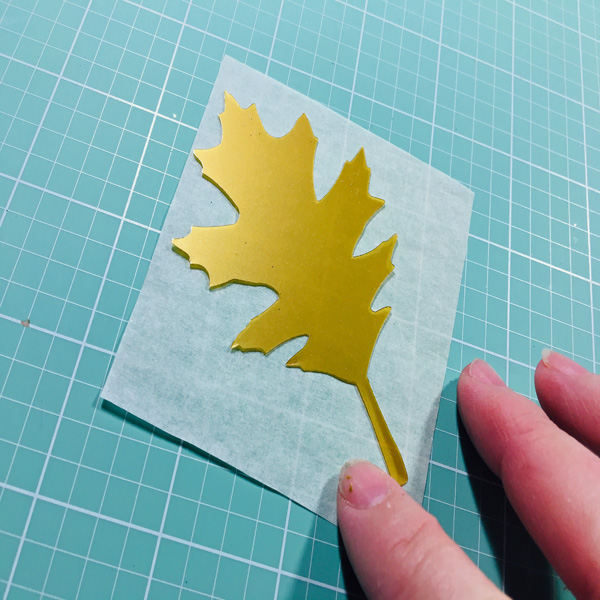
- Die-cut leaves from the Grafix Metallic Shrink Film.
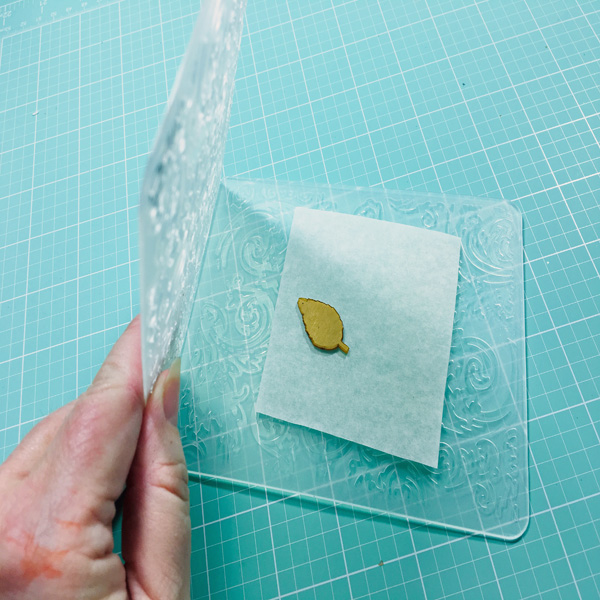
- Place each Shrink Film leaf on a square of parchment paper and bake. (Follow the instructions on the back of the Shrink Film package).
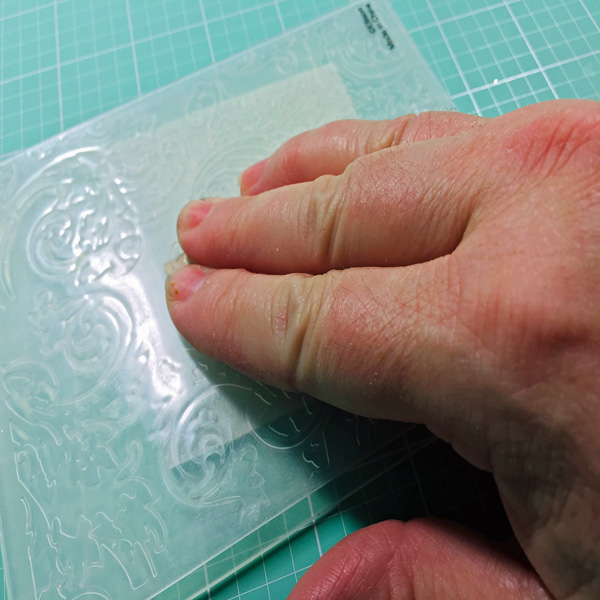
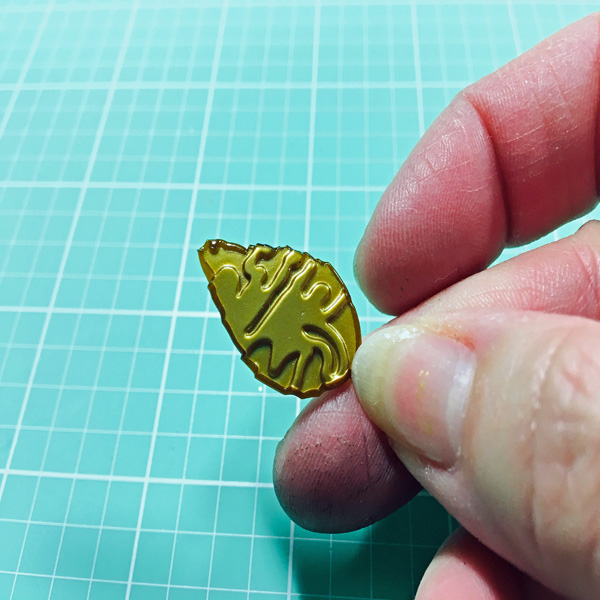
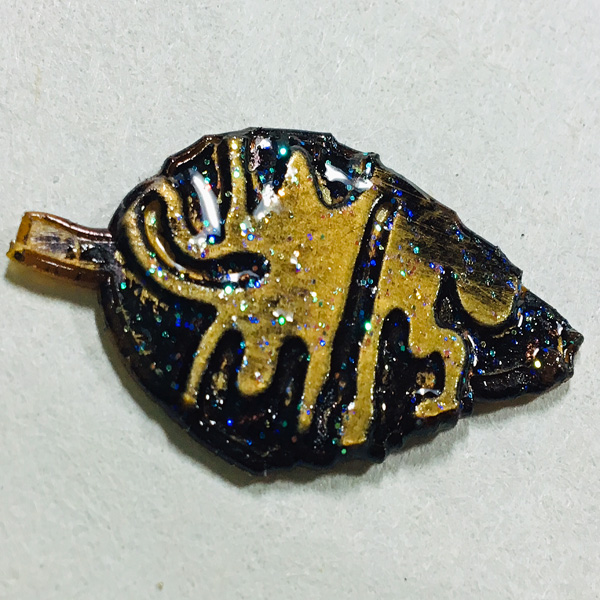
- While the Shrink Film leaf is still hot, place it in the Regal Flourishes embossing folder and press down to emboss leaves with the design. (HINT: you can cover the folder with a hot pad if it’s too hot).
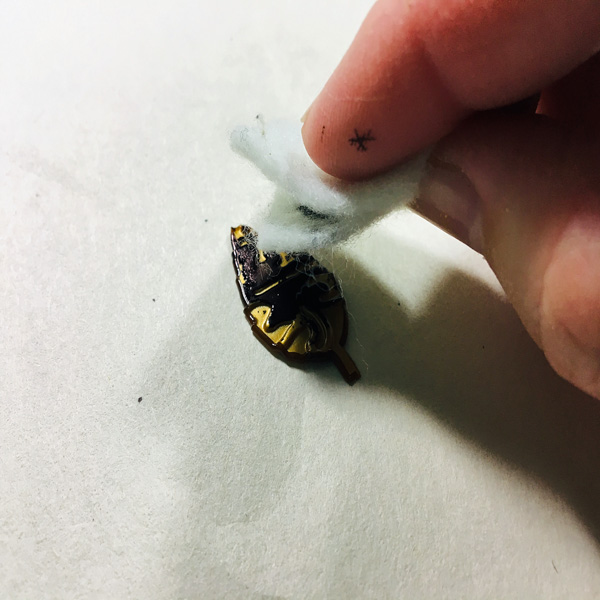
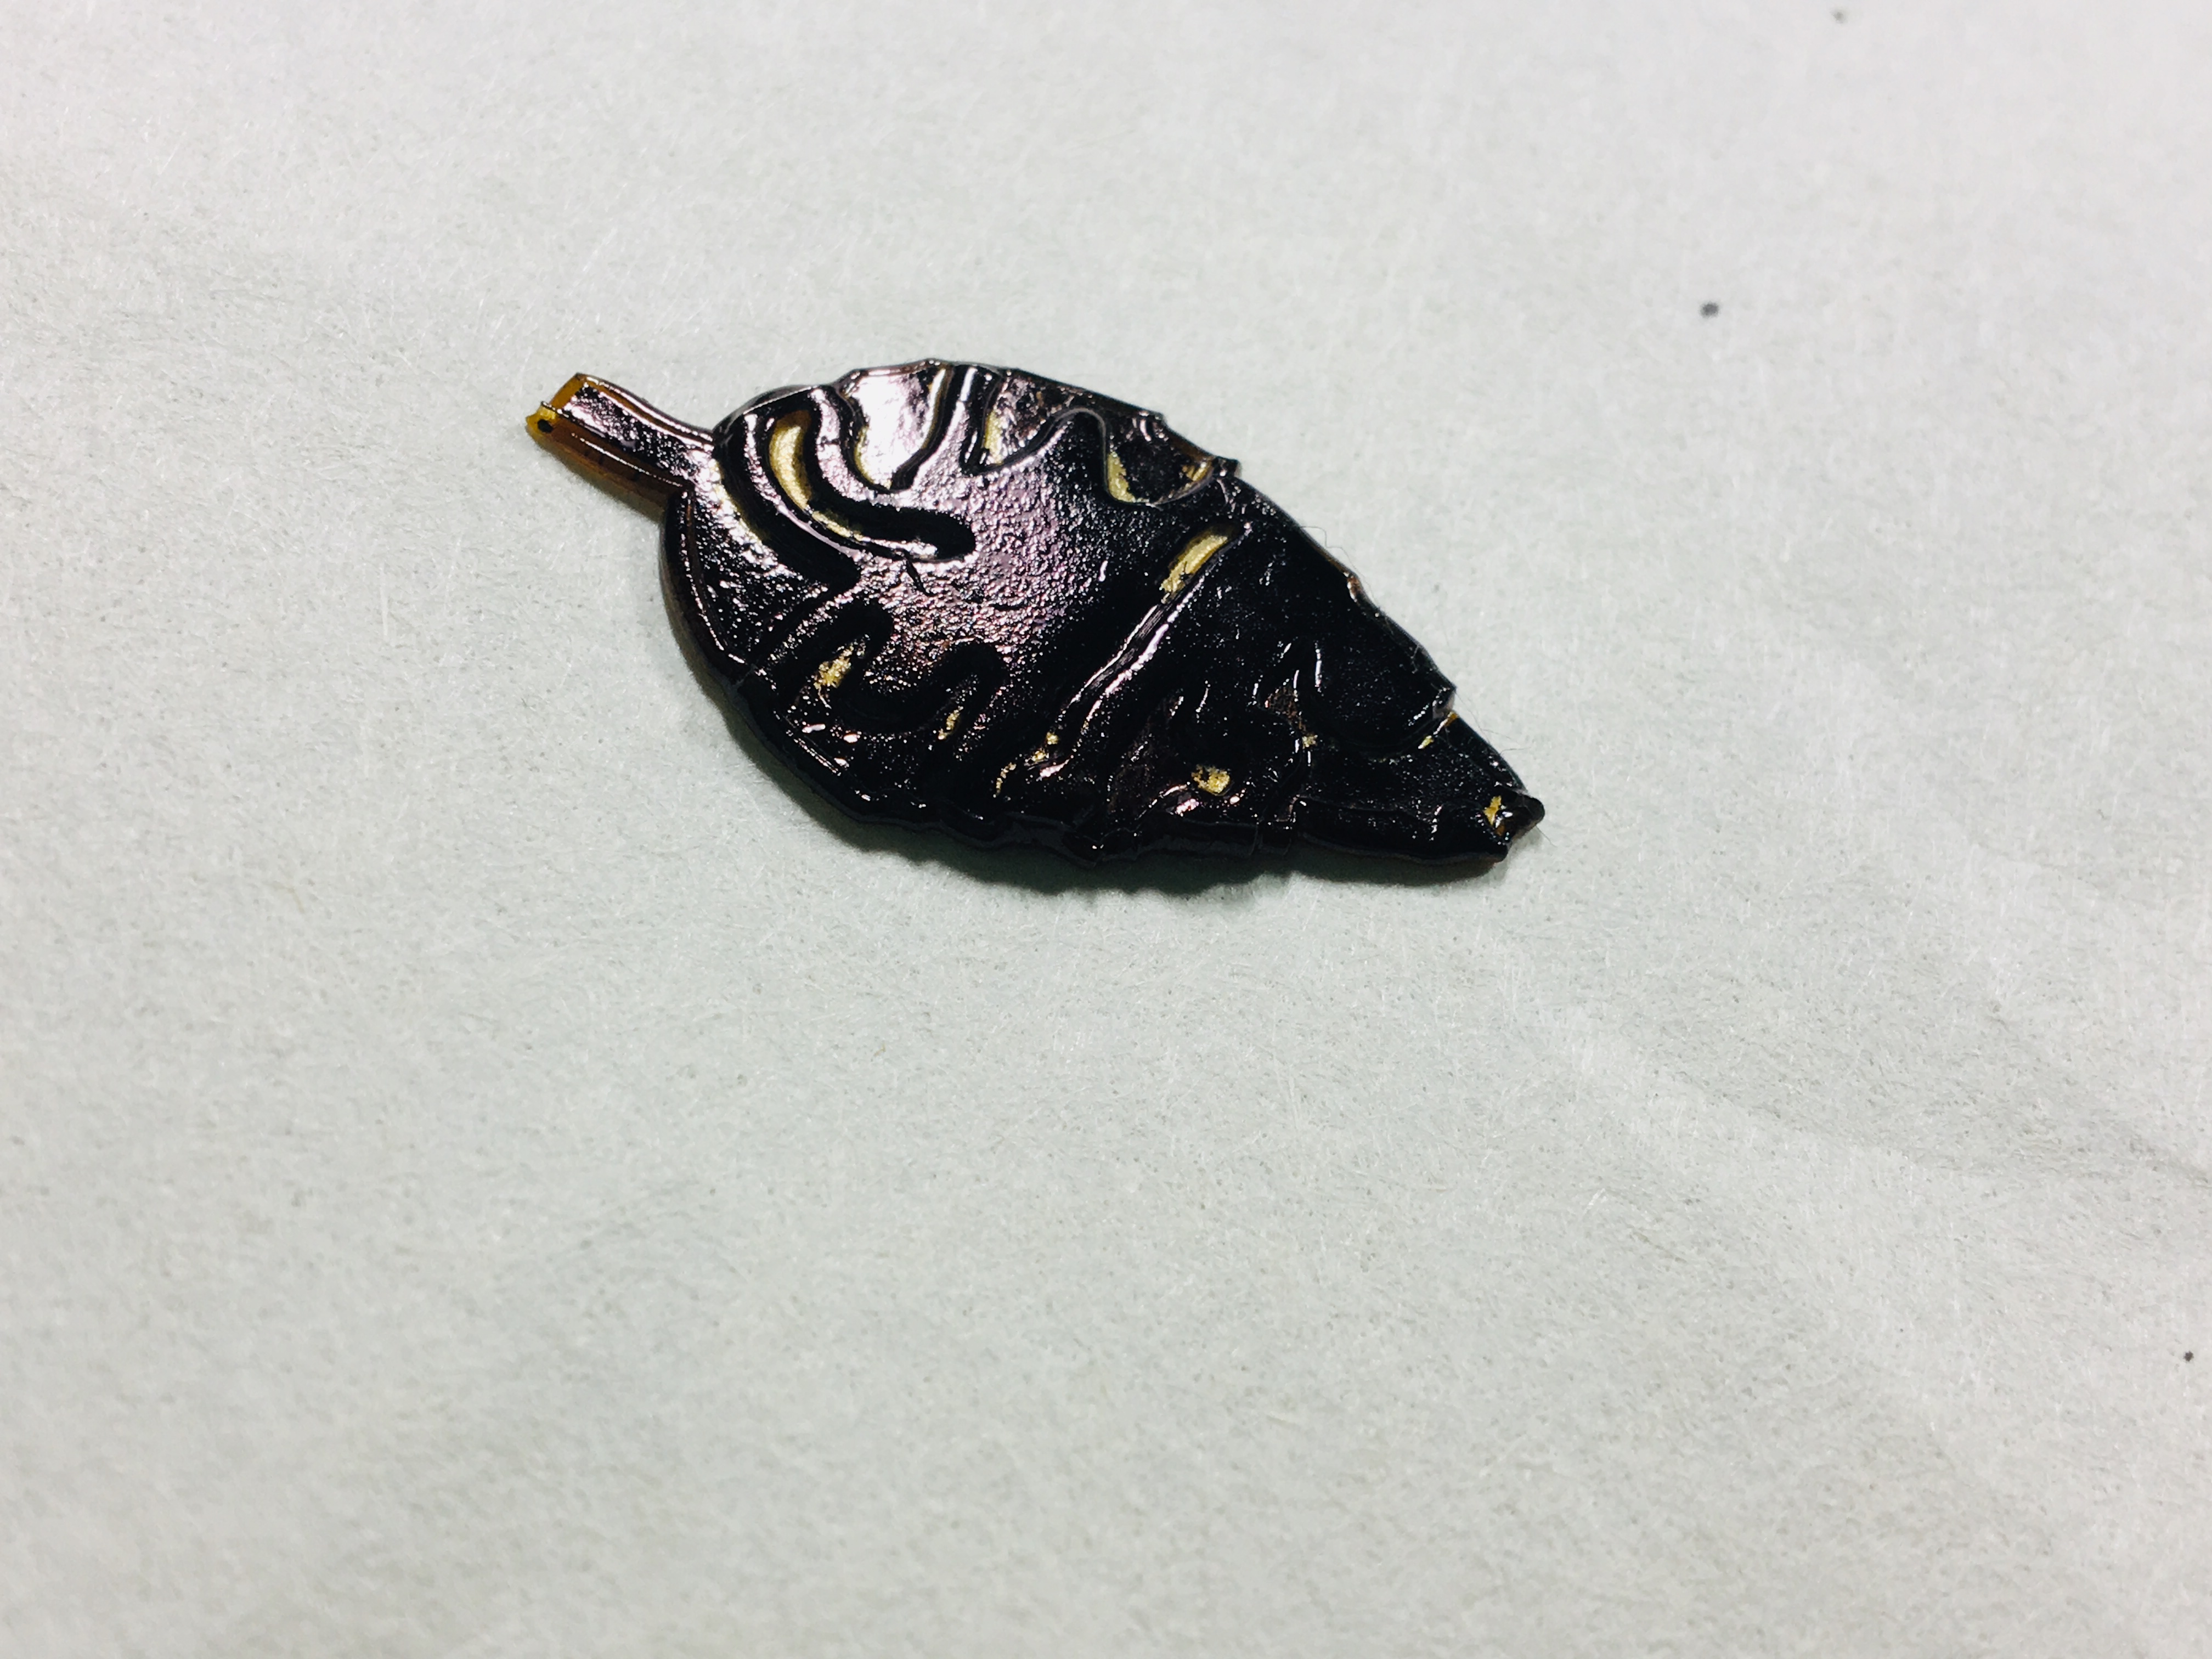
- Antique the Shrink Film leaves with Pitch Black Alcohol Ink applied by hand with a piece of felt.
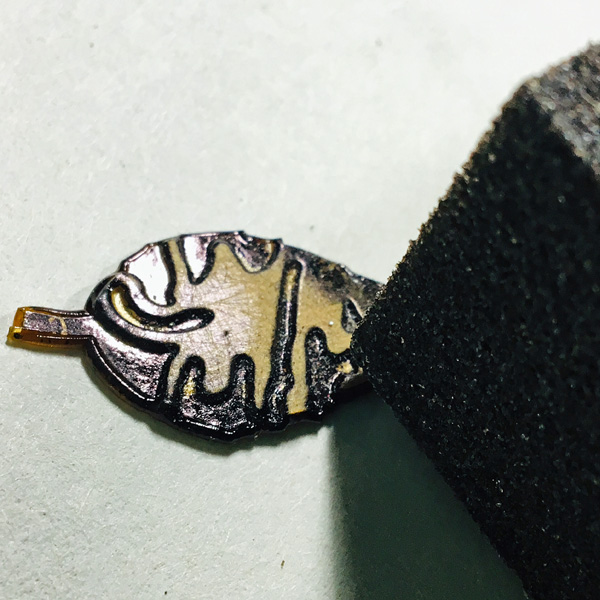
- When the ink is dry, lightly sand the raised portion with the sanding block.
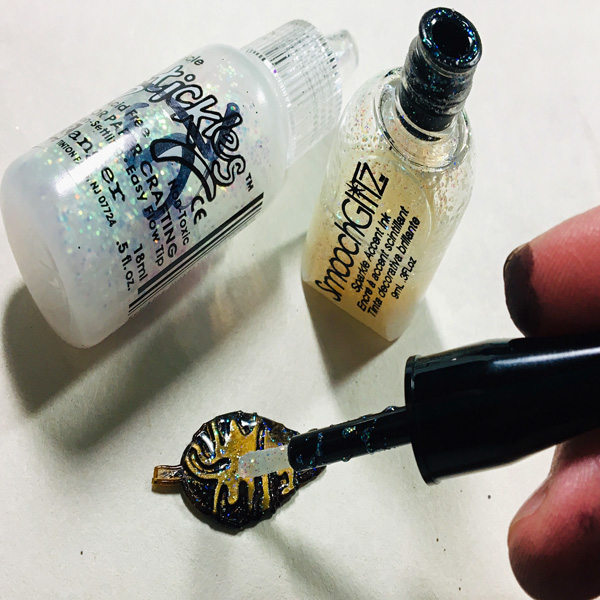
- Add a layer of Smooch Glitz to the Shrink Film leaves and let dry.
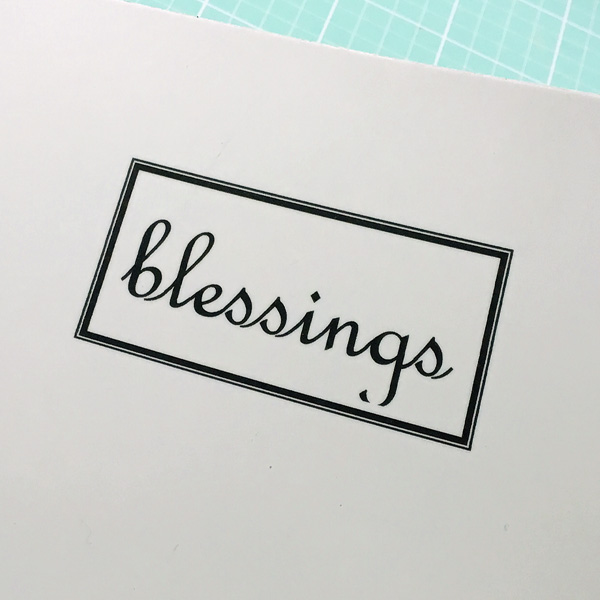
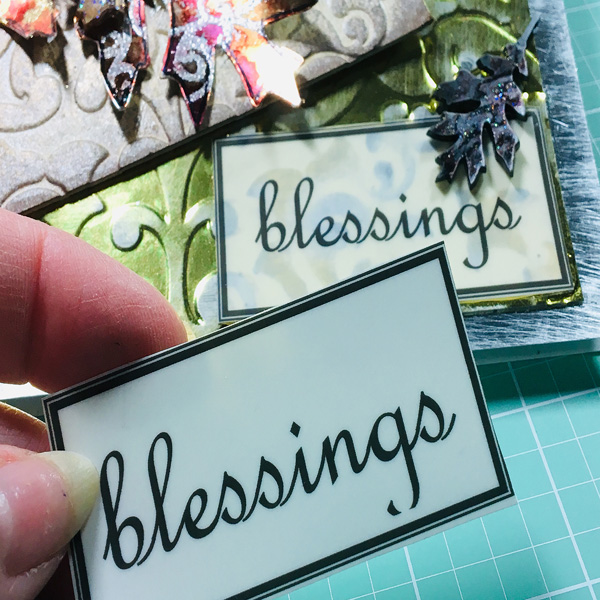
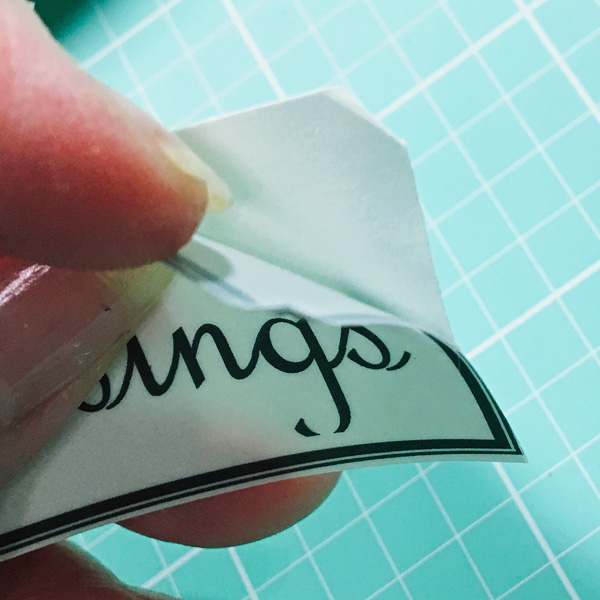
- Print “blessings” in a text box with a border on the Matte Adhesive-Backed Computer Grafix Film.
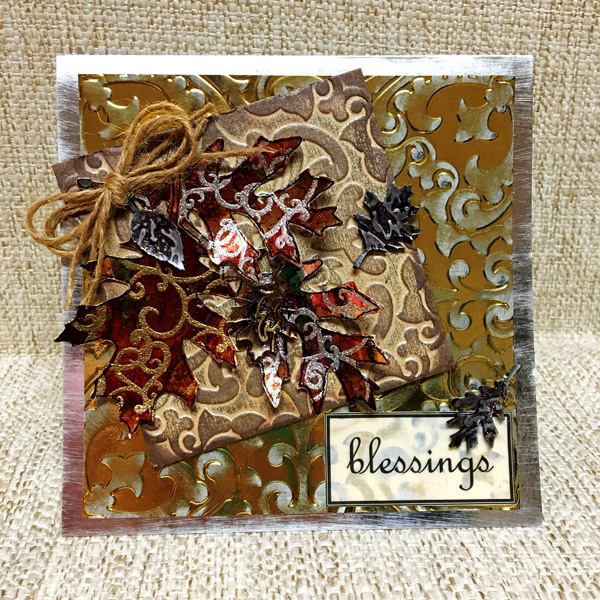
- To assemble adhere embossed Gold Foil Board to the card front, then adhere embossed chipboard piece at an angle in the upper left corner.
- Adhere the leaves on chipboard piece, adhere “blessings” sticker to lower right corner, then adhere to Shrink Film leaves.
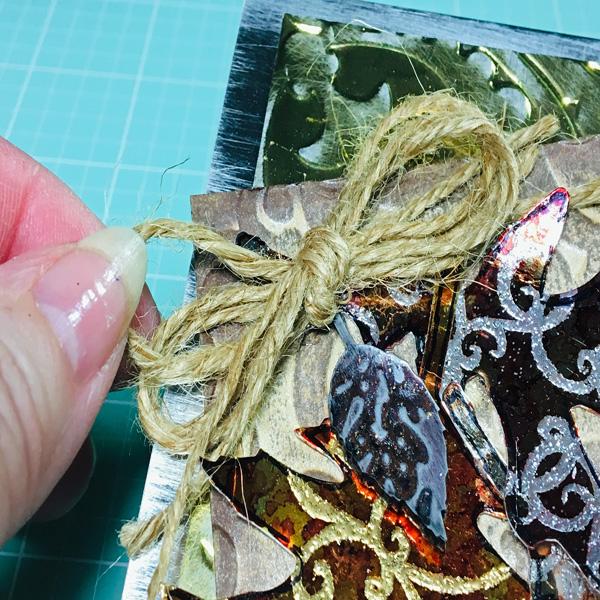
- To finish, add twine bow at the upper left of the chipboard square.

