Faux Stained Glass
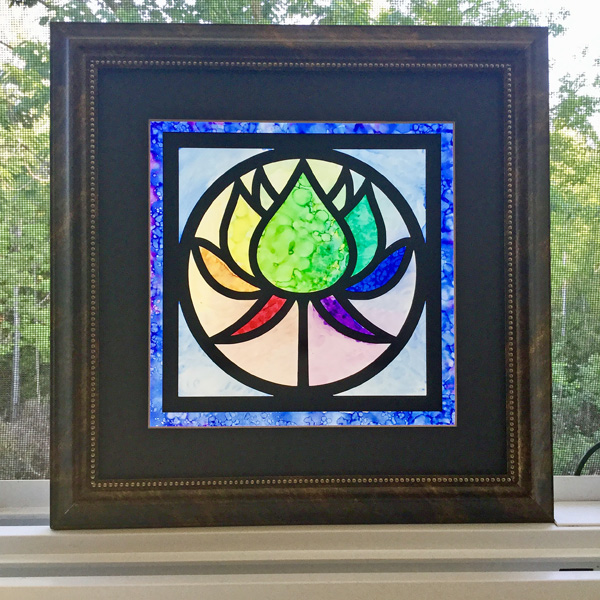
Project Description: Let the sunshine through your own custom faux stained glass design using Grafix Clear and Matte Dura-Lar Film.
Designed by: Dee Chodan
Difficulty: Easy
Materials:
- Grafix Clear Dura-Lar Film 9”x12”
- Grafix Matte Dura-Lar Film 9”x12”
- 90% Isopropyl alcohol (you can also use an alcohol ink blender solution)
- Brea Reese Alcohol Inks and/or Markers
- Cricut Brand Transfer Tape Transfer 9“x 9“
- Oracal 651 Black Adhesive Vinyl 9” x 9“
- Black Foam Board or Matt Board for creating a frame 11”x11”
- Scraper or credit card
- Cutting machine or X-Acto knife with cutting mat
- Kamar Sealant Varnish
- UV Sealant
- Optional: Dabber, a Straw, a Hairdryer, a Heat Gun or an Air Compressor
Steps to Make This:
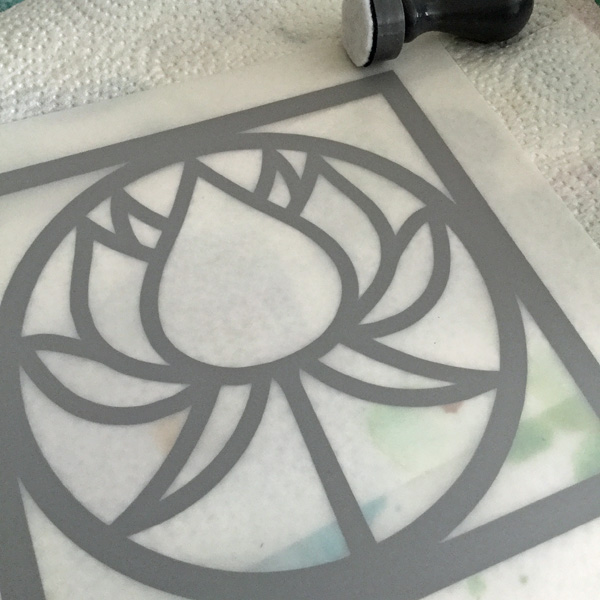
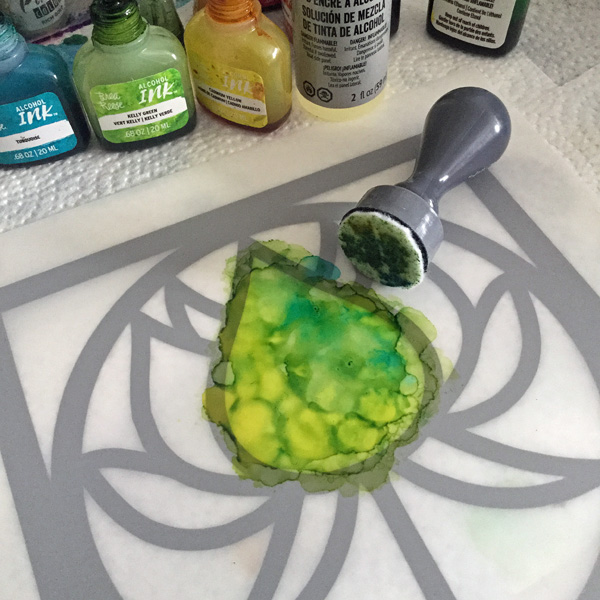
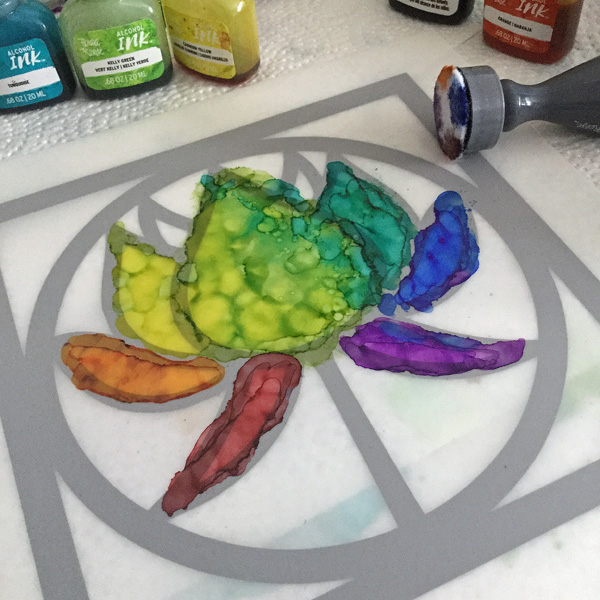
- Add a small pool of alcohol to the Grafix Matte Dura-Lar Film and then add in a couple of drops of Brea Reese Alcohol Ink.
- Disburse the ink around either by blowing with your breath or using the following items; a straw, a hairdryer, a heat gun, or an air compressor. (Remember to use heating elements at a distance, so that no warpage can occur).
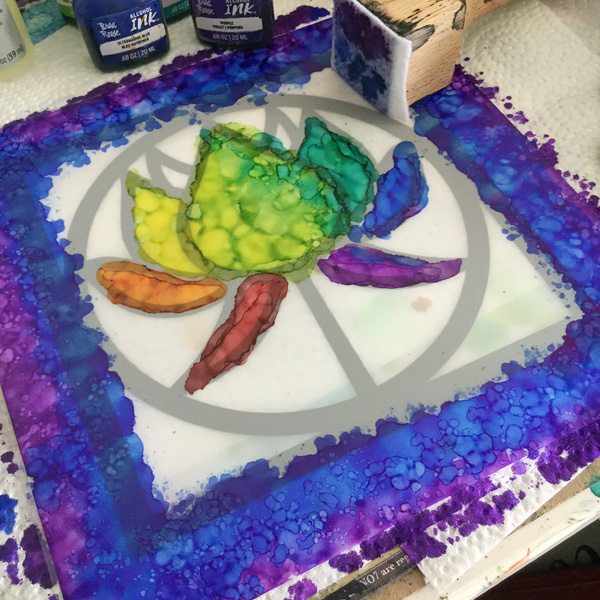
- Add ink to the dabber and then repeat the process above until the whole area of the page has been filled in with color. (You can also use alcohol ink markers to strategically place colors where you want them because the Matte Dura-Lar is translucent so you can put a copy of the design behind the sheet to see the areas you want to target). Make sure you were doing this in a well-ventilated area as with using alcohol there can be some fumes).
- After you are satisfied with how it looks, let the sheet dry. Then spray two coats of Kamar Sealant Varnish and one layer of UV Sealant. Make sure that the film is dry before adding each sprayed layer.
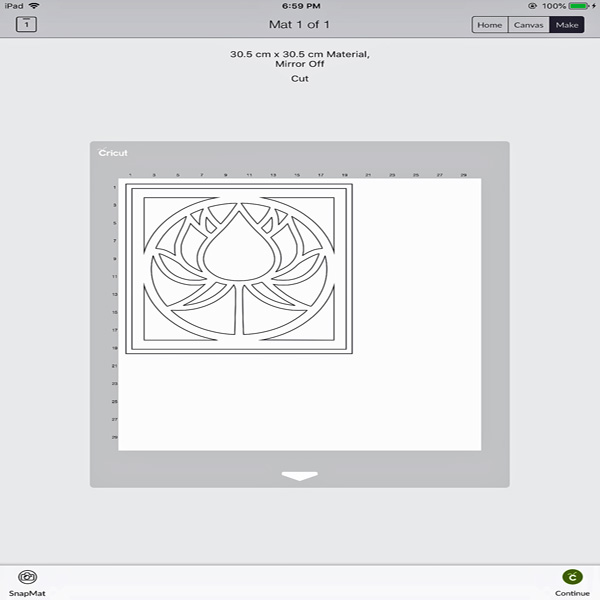
- For the adhesive vinyl overlay, cut out your design using a Cricut machine or a cutting mat and an X-Acto knife, making sure you measure correctly. You can cut your vinyl sheet smaller than the inked area so that you can leave a colored border around the design.
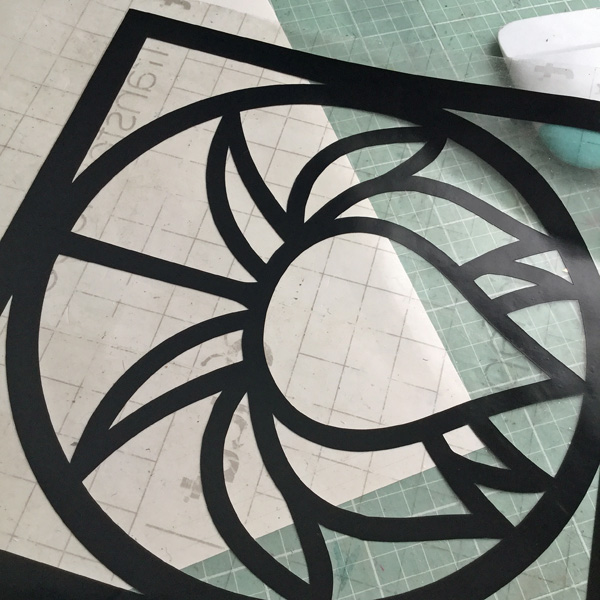
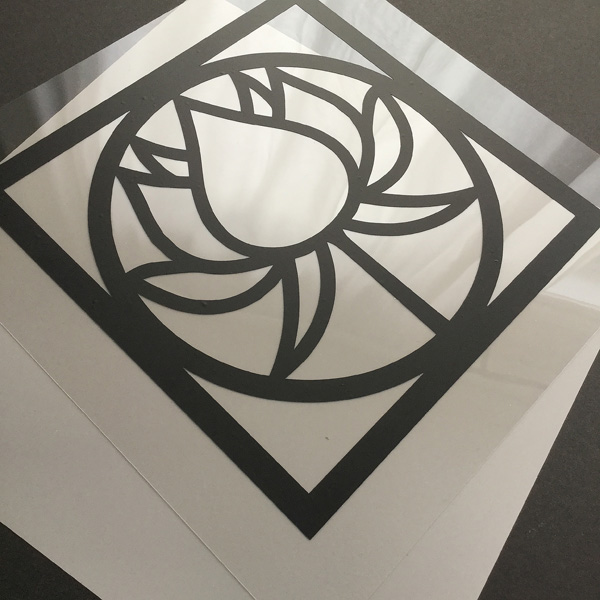
- Remove and discard the white area only, these will be the areas where the ink shows through. To be able to place the overlay on top of the clear Dura-Lar, you will need a transfer sheet. This adhesive-backed transfer sheet will be placed on top of your black vinyl overlay so that the overlays backing can be removed and ready for applying on top of the 9” x 9” Grafix Clear Dura-Lar Film.
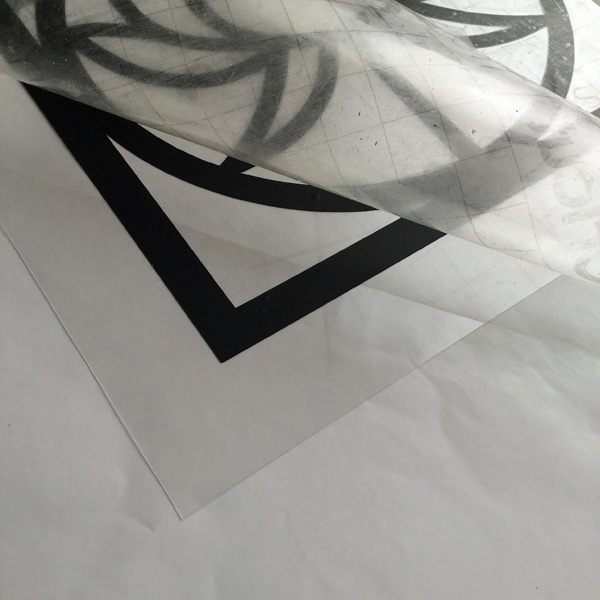
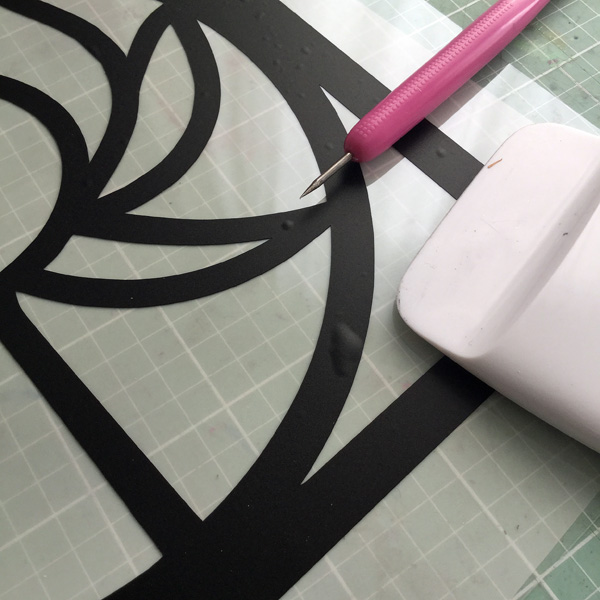
- Now you can carefully line up your overlay on top of the Clear Dura-Lar (remember to position accounting for 1” borders); transfer sheets usually have guidelines or grids. Start at the bottom and press down as you move to the top, you can use a scraper or credit card to help ensure there are no bubbles. (If you are unable to squeegee out the bubbles you can use a very small pin to pop the bubble and squeeze out the air).
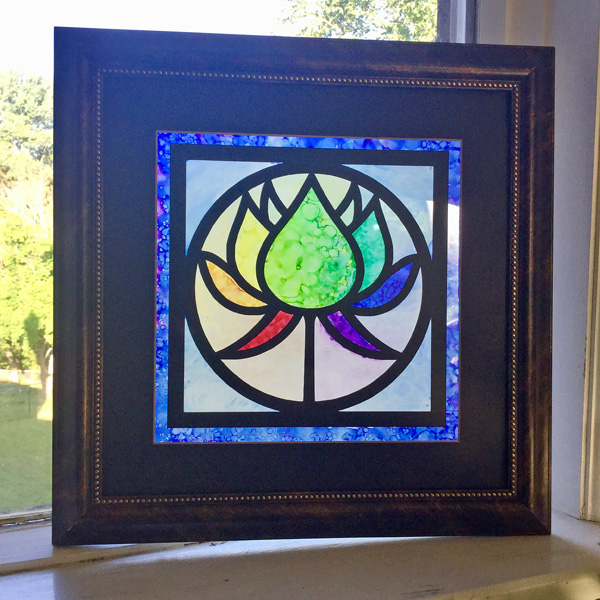
- The clear sheet with the black vinyl can be placed over the inked sheet.
- Your artwork should now be ready for framing. Use an X-Acto knife to cut out a frame for the art piece.

