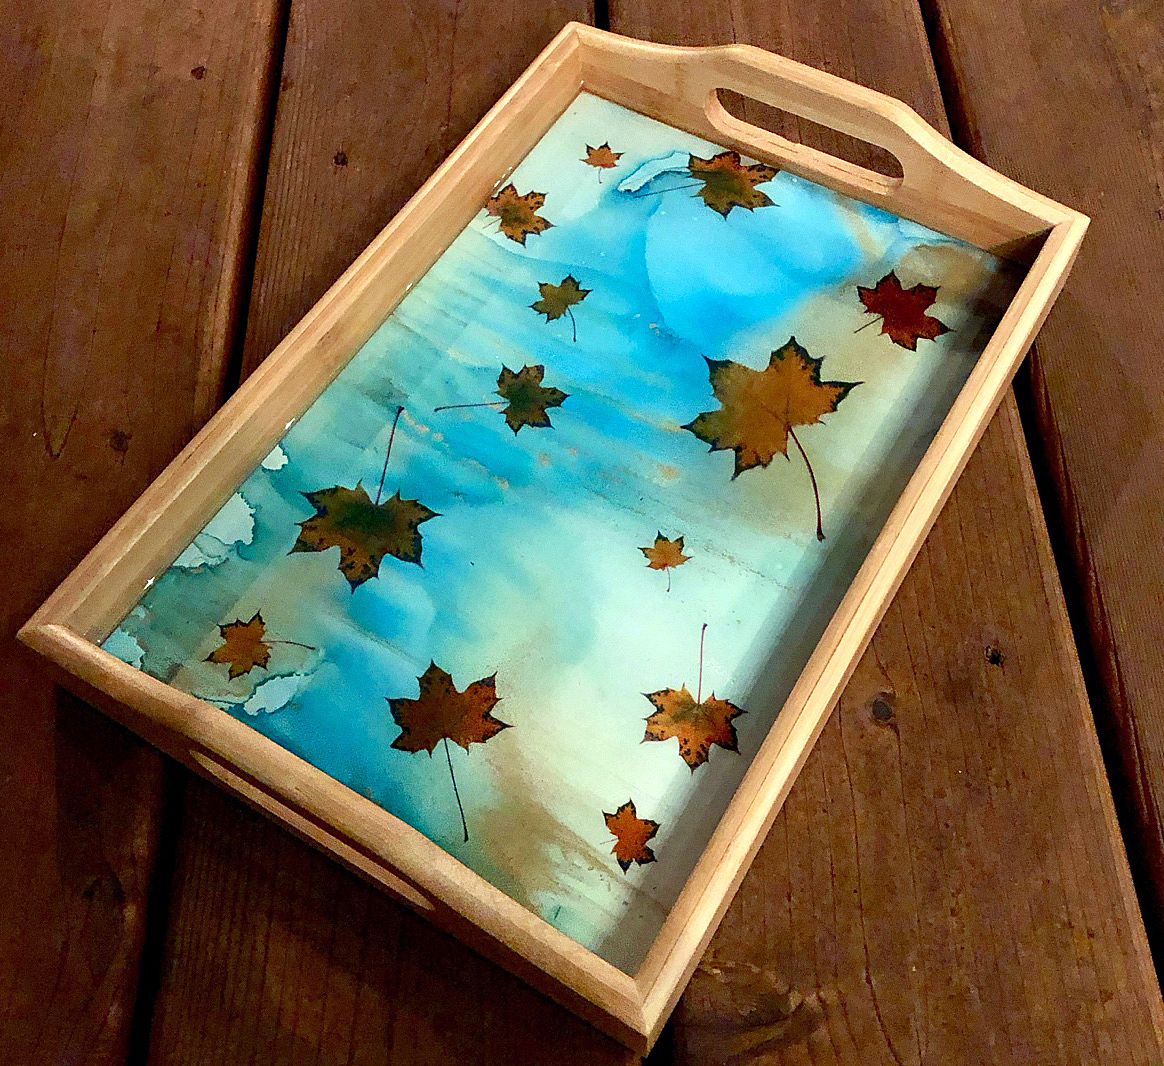
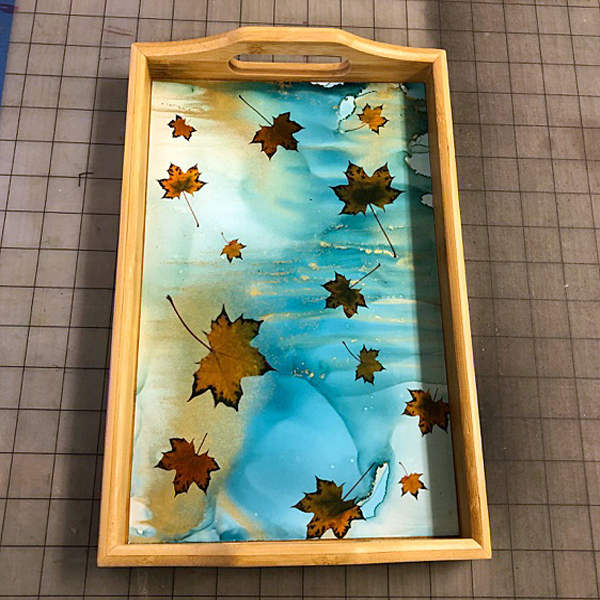
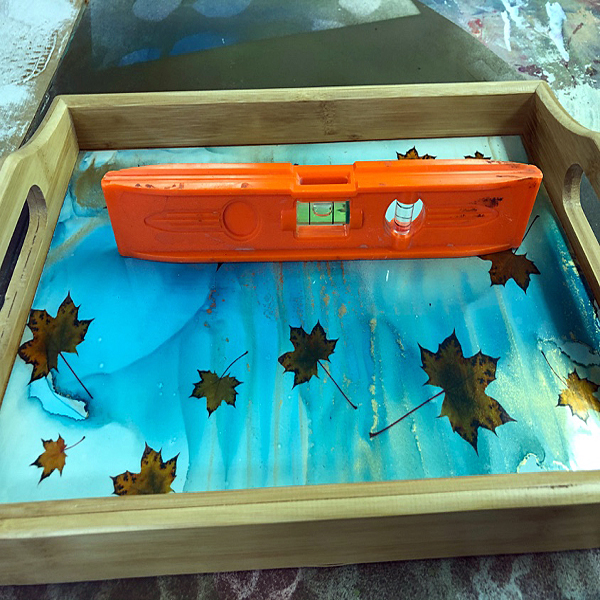
Floating Leaves Tray
Project Description: Make your own creative mixed media tray with Grafix Opaque White Craft Plastic Film, Computer Grafix Film, and Artist-tac.
Designed by: Cheryl Holz
Difficulty: Moderately Challenging
Materials:
- Grafix Opaque White Craft Plastic Film
- Clear Computer Grafix Film
- Clear Adhesive-Backed Computer Grafix Film
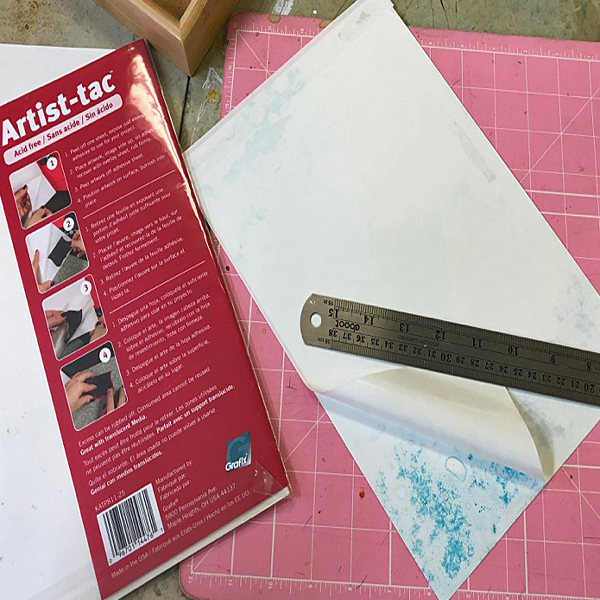
- Grafix Artist-tac
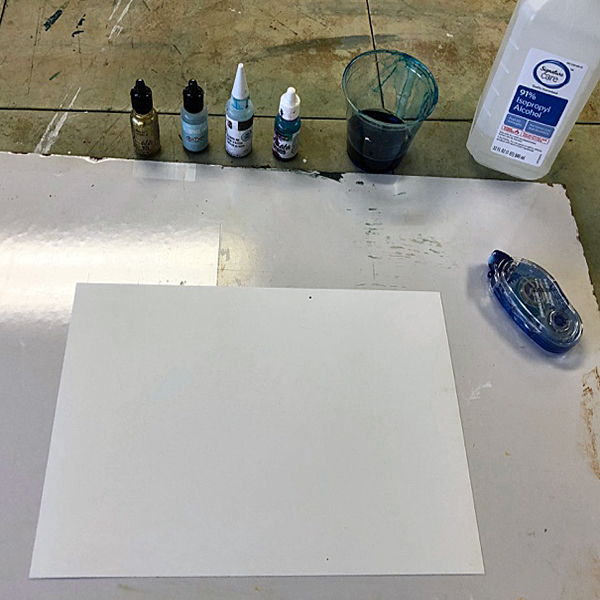
- Alcohol Inks: Piñata Teal & Rich Gold, Marabu Arctic, and Rangers Cloudy Blue
- 91% Isopropyl Alcohol
- Clear Mixing Cup
- Pencil
- Metal Ruler
- Mat Knife/Xacto Blade
- Scrap Mat Board Larger than your Tray
- Krylon Kamar Varnish
- Krylon UV Resistant Clear Spray
- Rigid Backing Board to Work on
- Double-Sided Tape
- Serving Tray (a 12” x 8.5” Blue House Bamboo was used for this project)
- Envirotex Lite Pour on Finish (Resin)
- 2 Clear 8 oz. Plastic Disposable Graduated Epoxy Mixing Cup
- Plastic Gloves
- Mixing Stick
- Small Cooks Blow Torch
Steps to Make This:
- BACKGROUND: Adhere a piece of Grafix Opaque White Craft Plastic Film to a rigid working board using double-sided tape.
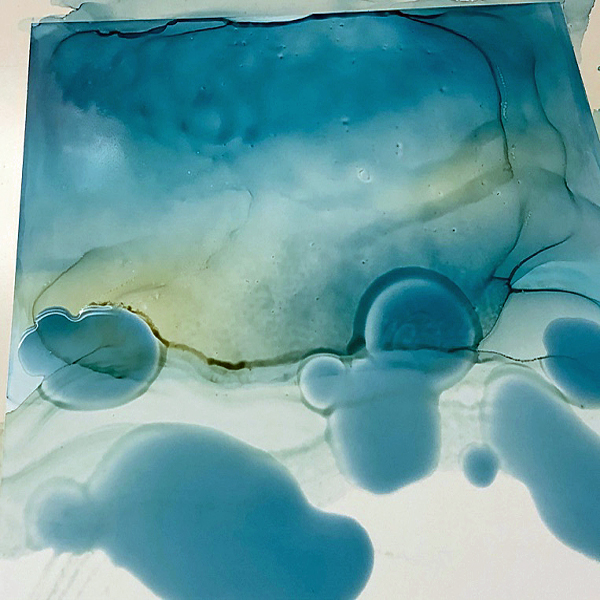
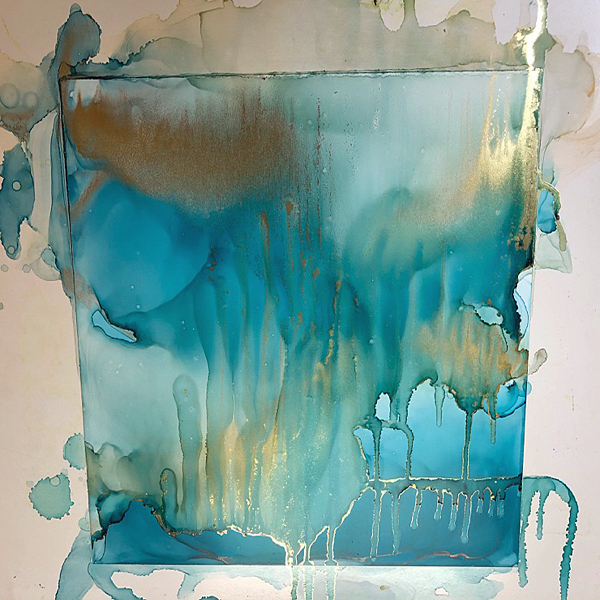
- Then mix the 91% isopropyl alcohol and a couple of drops of Piñata Teal alcohol ink to create a light blue wash.
- Pour the teal wash on the Opaque White Craft Plastic Film and then dribble in the Marabu Arctic and Rangers Cloudy Blue inks. Tilt the board from side to side to spread the inks.
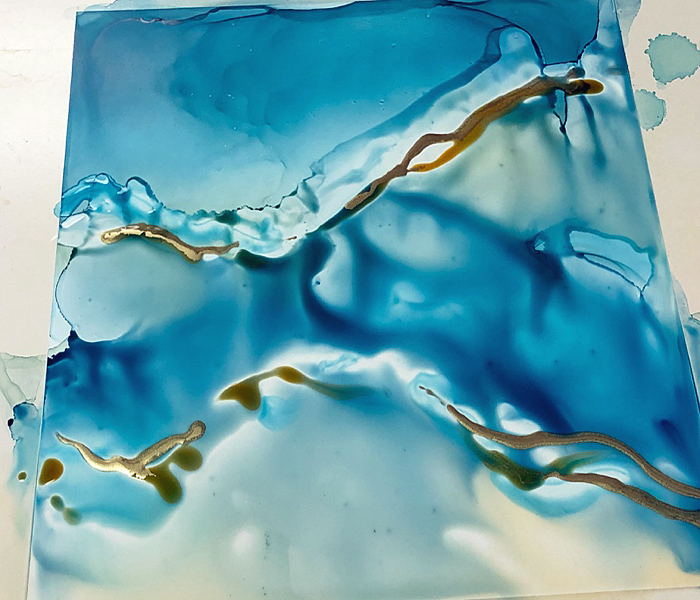
- Next, drop-in a line of Piñata Rich Gold alcohol ink and tilt back-and-forth to spread it out. You can also use an air blown through a straw to help spread the inks around.
- OPTIONAL but RECOMMENDED: To help ensure the stability and longevity of your background design, spray the background with three layers of varnish, and follow up with two layers of UV protectant. Follow directions for both the varnish and UV protectant. Make sure to do this in a well-ventilated area.
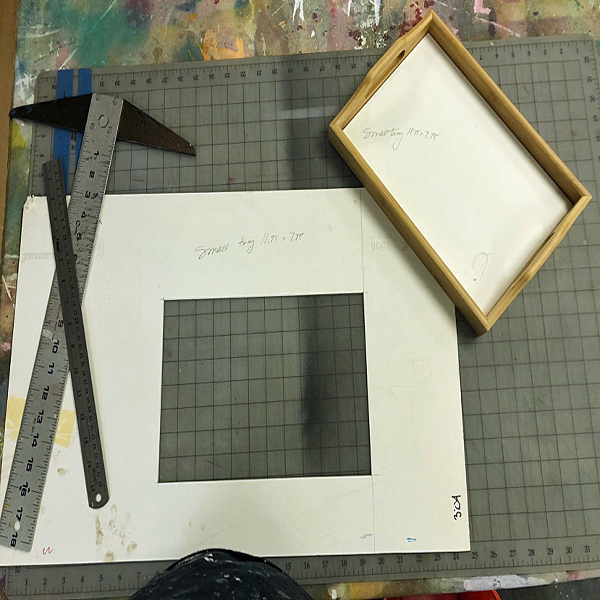
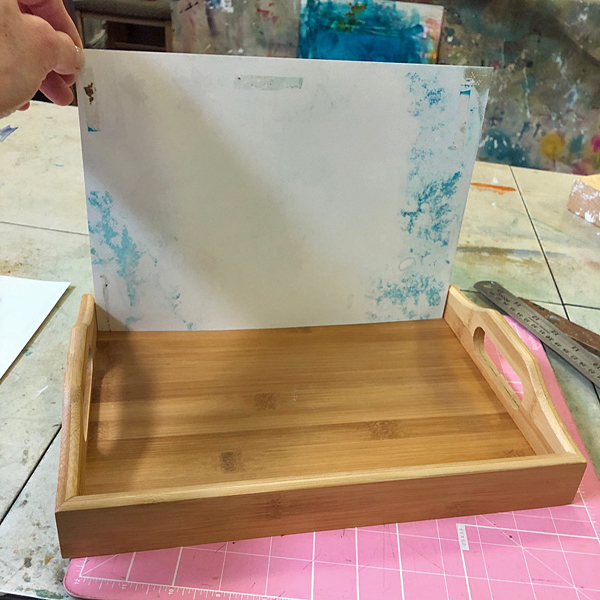
- Measure the inside area of your serving tray and cut out a window the same size in a piece of white matboard. Then insert the cut-out section in the tray to confirm it’s the right size.
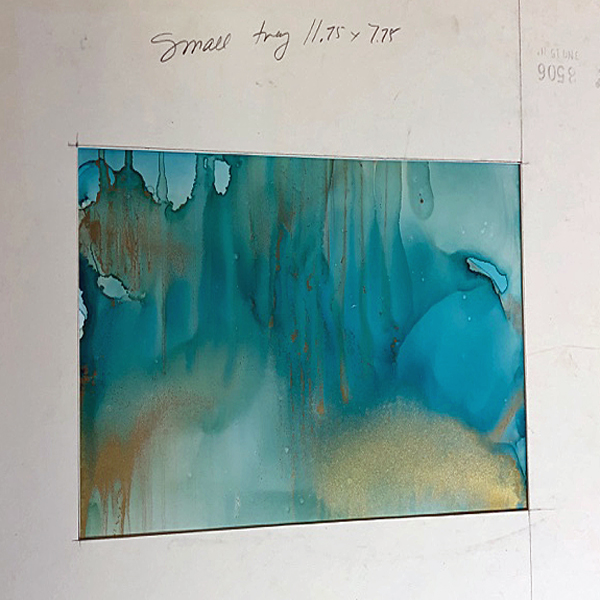
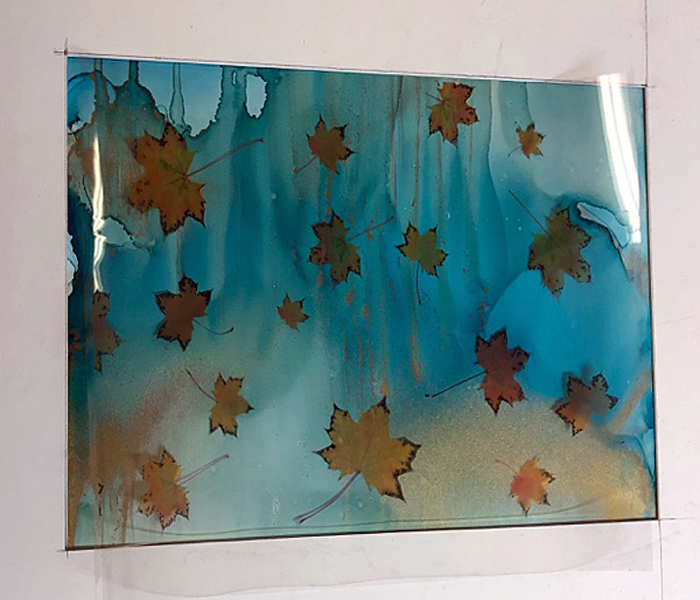
- Looking through the white mat window, select the best portion of your blue background painting.
- Trace lightly with a pencil and then cut out with a mat knife.
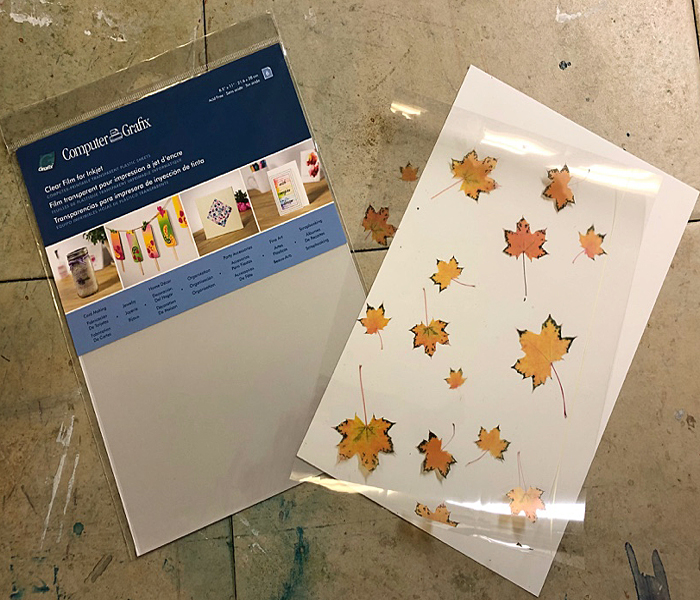
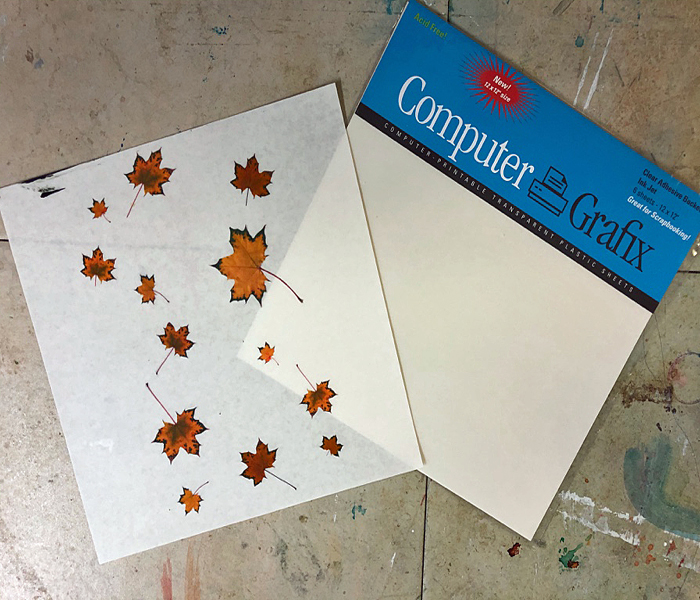
- LEAVES: Use a photograph or download clip art of fall leaves. Arrange the images in Photoshop (or a similar program) to cover the size of your tray.
- Print out the leaf design on Clear Computer Grafix Film to test out a layout on the blue background.
- Then print out the leaf design on Clear Computer Grafix Adhesive-Backed Film.
- Trim the leaf design to at least 1 inch larger than the blue background.
- Peel off the protective backing from the Computer Grafix Adhesive-Backed Film then apply the leaves to the blue background.
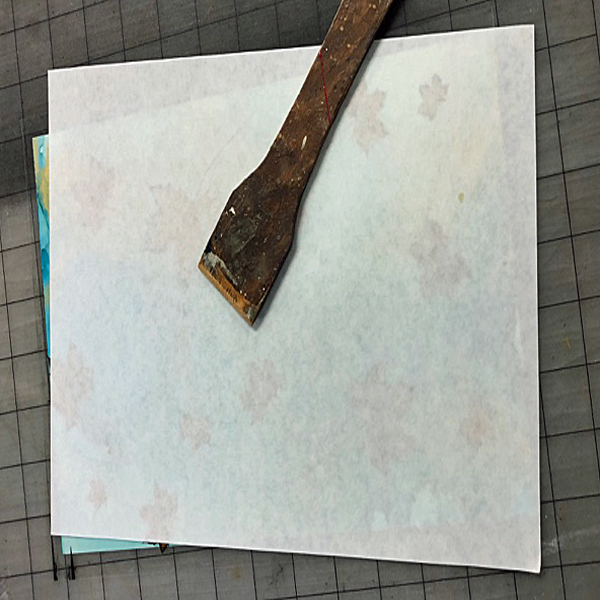
- Cover the applied design with the protective backing, and burnish well to remove any air bubbles.
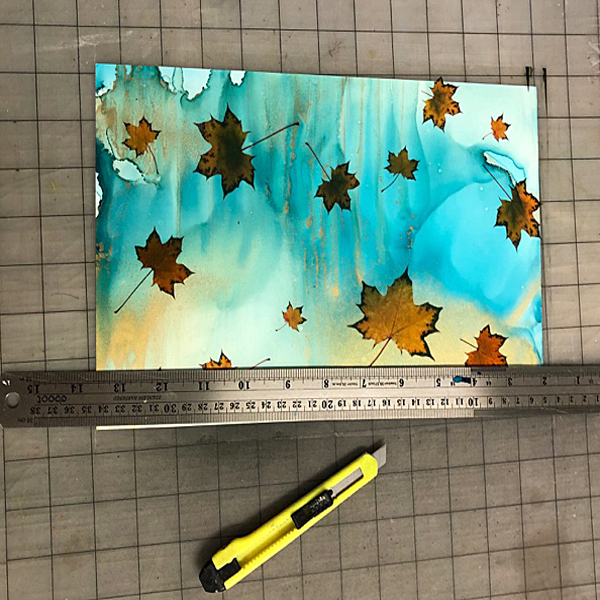
- Trim off the excess Computer Grafix Adhesive-Backed Film with the Xacto blade and ruler.
- Drop the Computer Grafix covered blue background into the tray to confirm fit. Trim if needed.
- Apply Grafix Artist-tac adhesive to the back of the blue background, then press onto the tray. Also, cover with a protective backing and burnish again to make sure it has adhered.
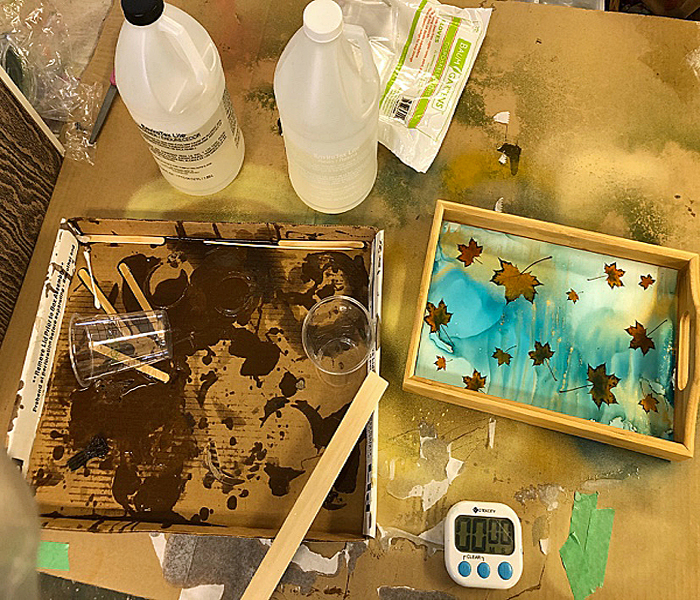
- RESIN COATING: Prepare a work surface – resin is very permanent, so make sure to protect your work surface with drop cloths, cardboard or other material. Disposable gloves are highly recommended.
- Pour 3 ounces of resin and 3 ounces of the hardener into a graduated cylinder and begin mixing immediately. Follow the directions on the package and make sure to do this in a well-ventilated area.
- After three minutes of mixing, carefully pour your resin into the tray.
- Remove gloves and use clean hands tilt the tray to spread out the resin. (Air bubbles can be removed by exhaling onto the surface or using a small cook’s blow torch lightly over the surface).
- Cover your tray with an empty box or board to help prevent dust or other materials from landing in your resin. Resin should be set to touch after a couple of hours but takes 72 hours to fully cure.
- Now your tray is waterproof and ready to use!

