Gardner Postcards
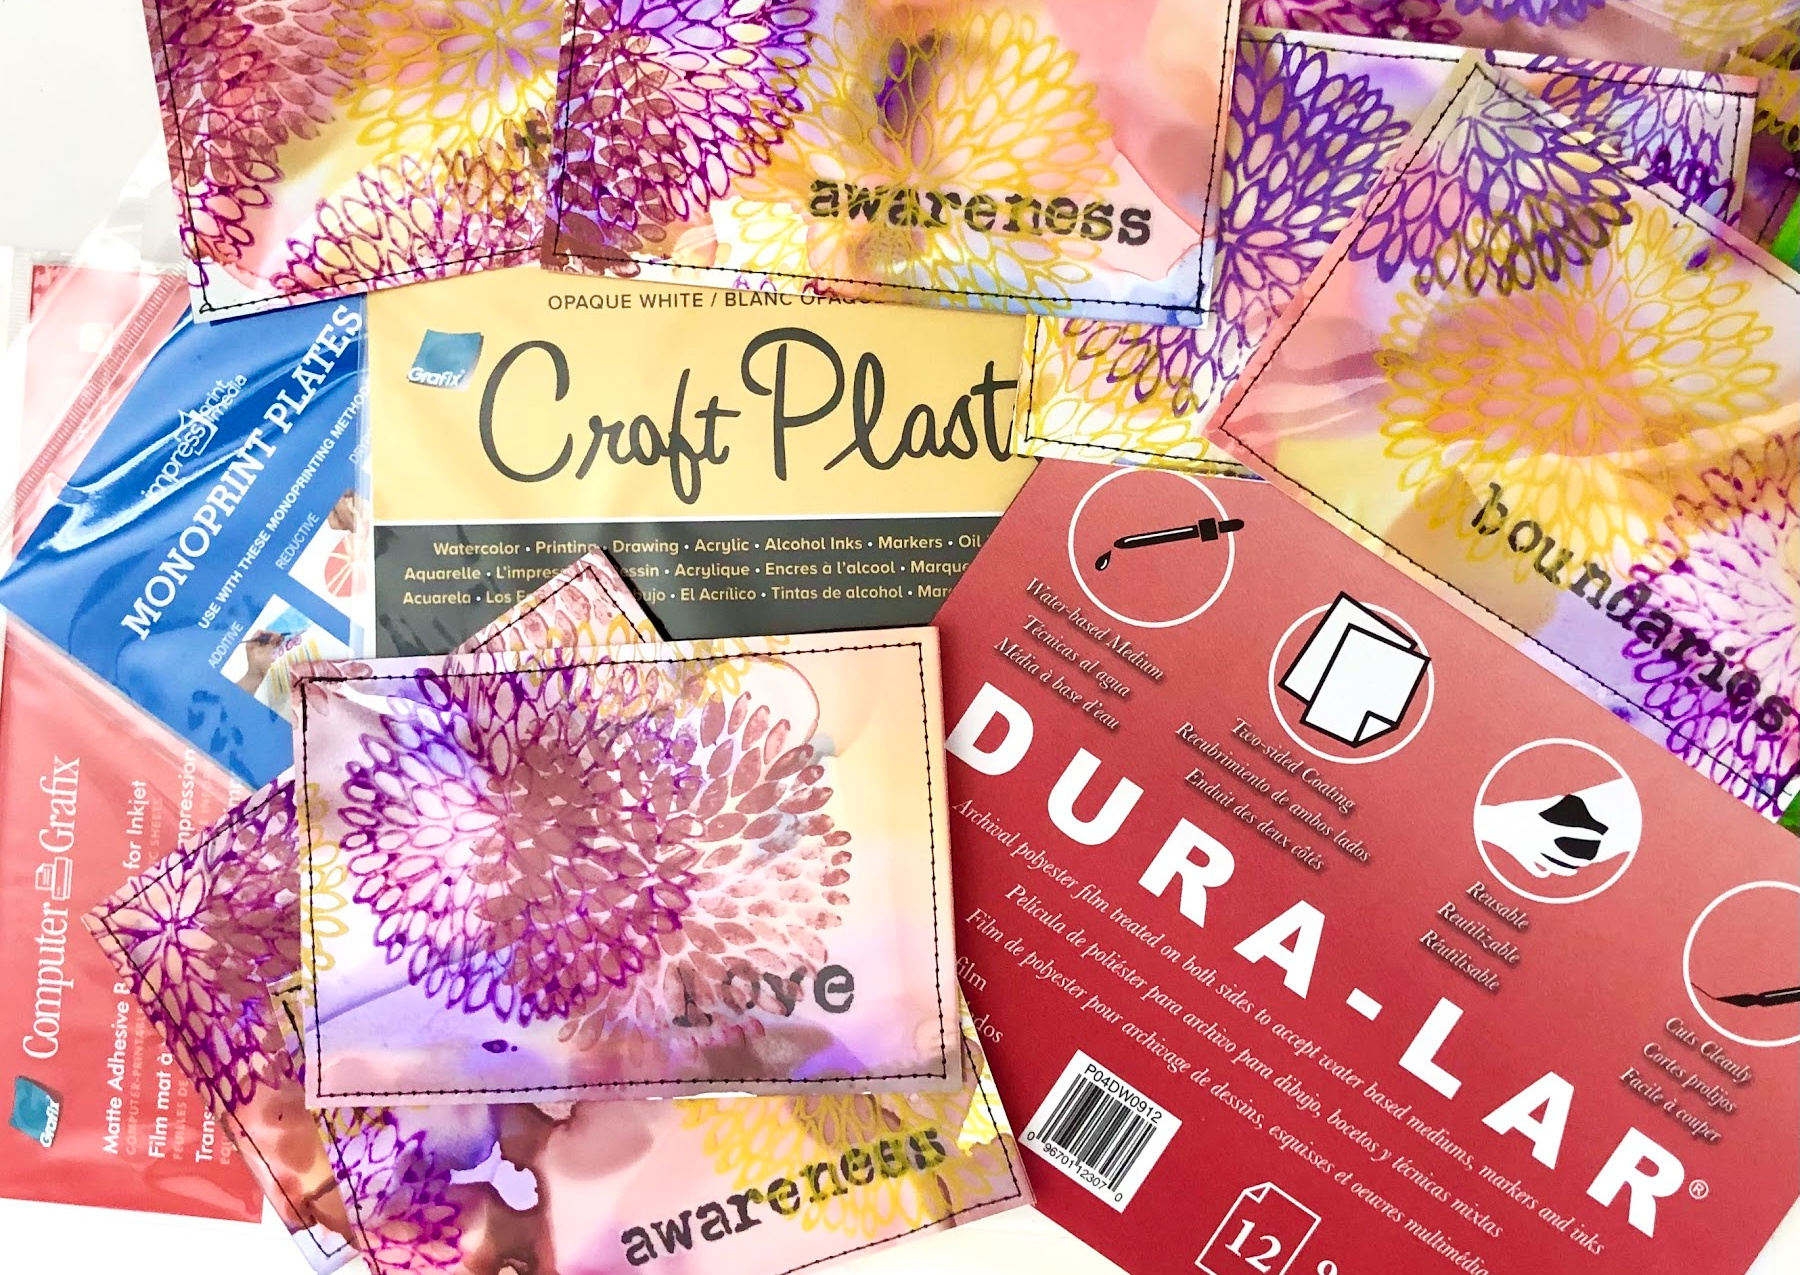
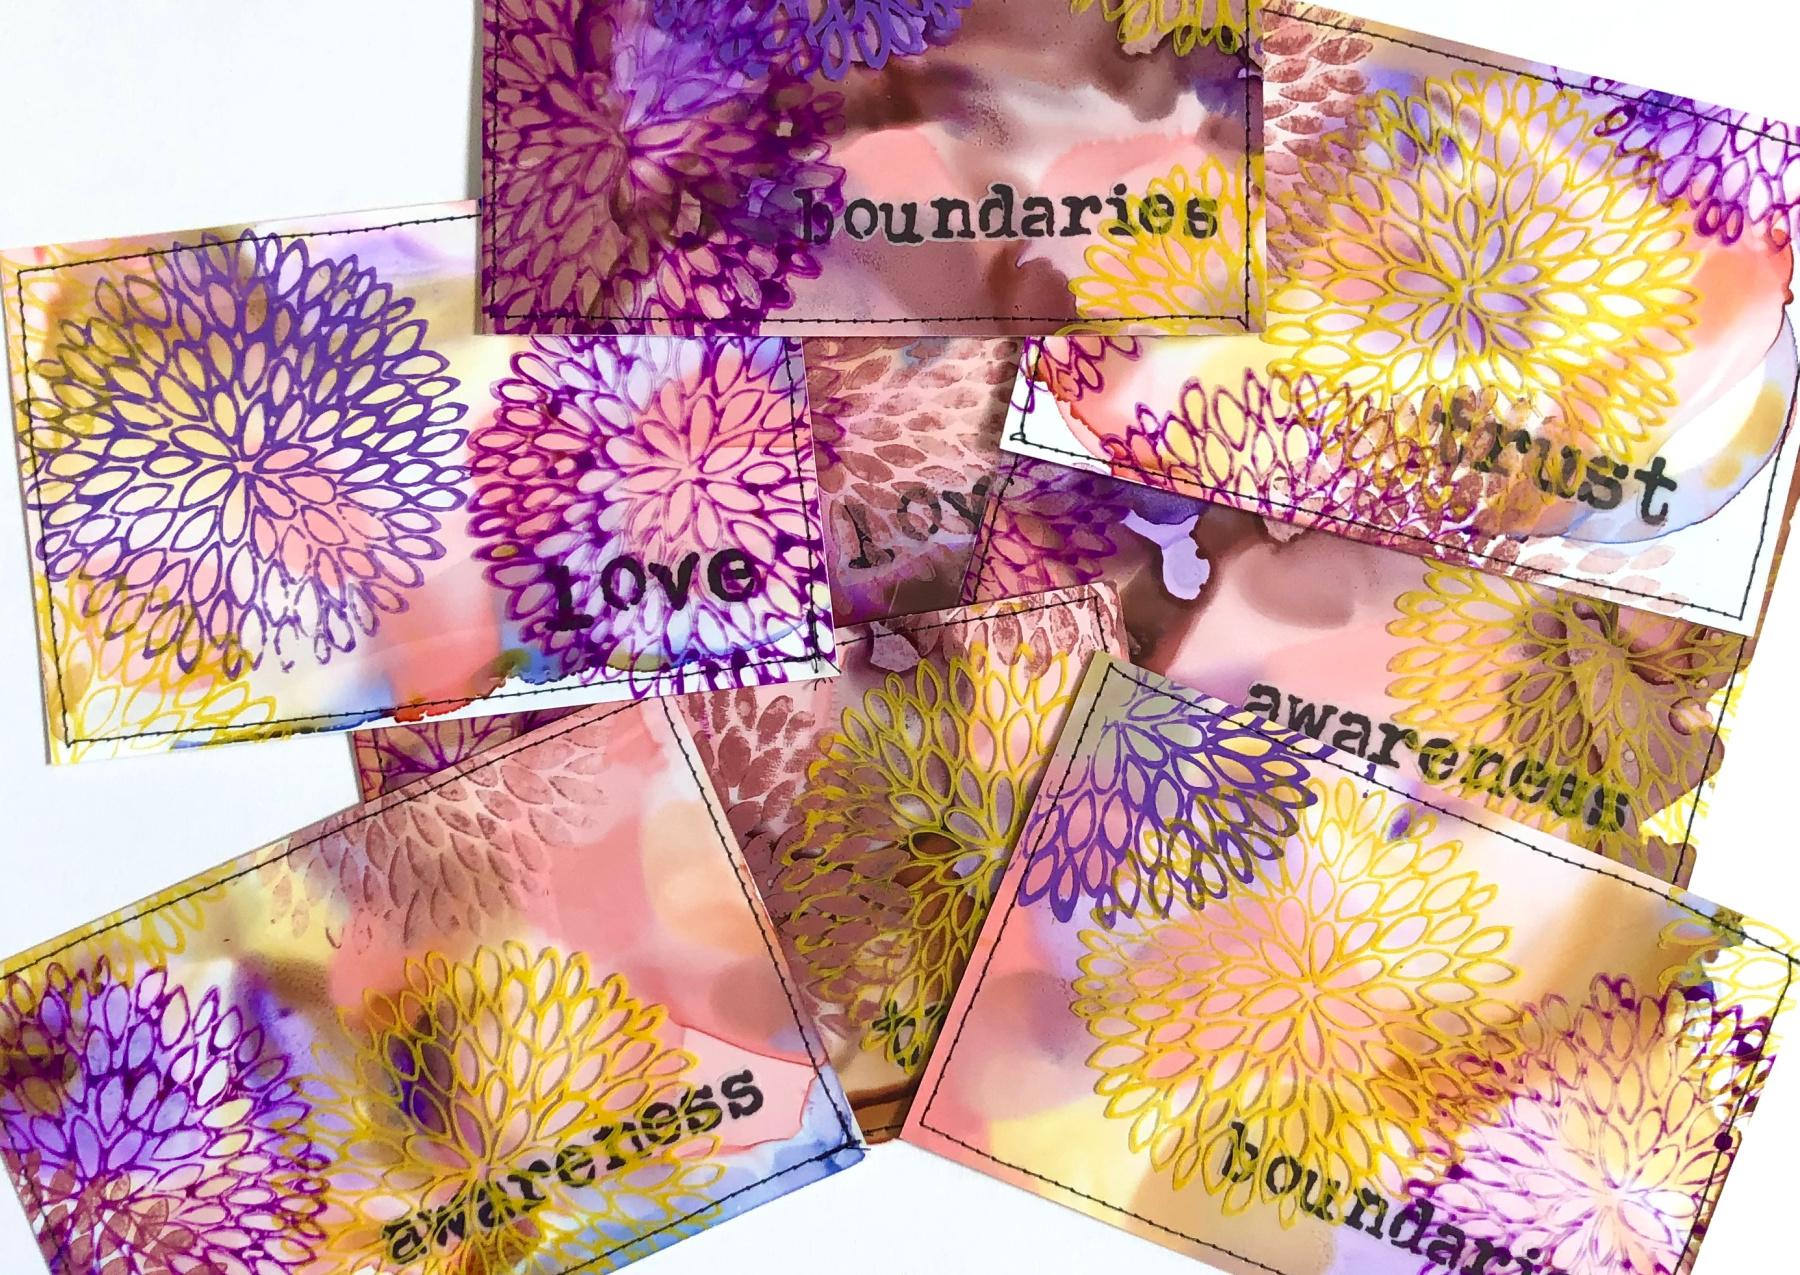
Project Description: Using a wide range of Grafix films you can make these eye catching and unique see thru postcards!
Designed by: Sarah Gardener
Difficulty: Moderate
Materials:
-
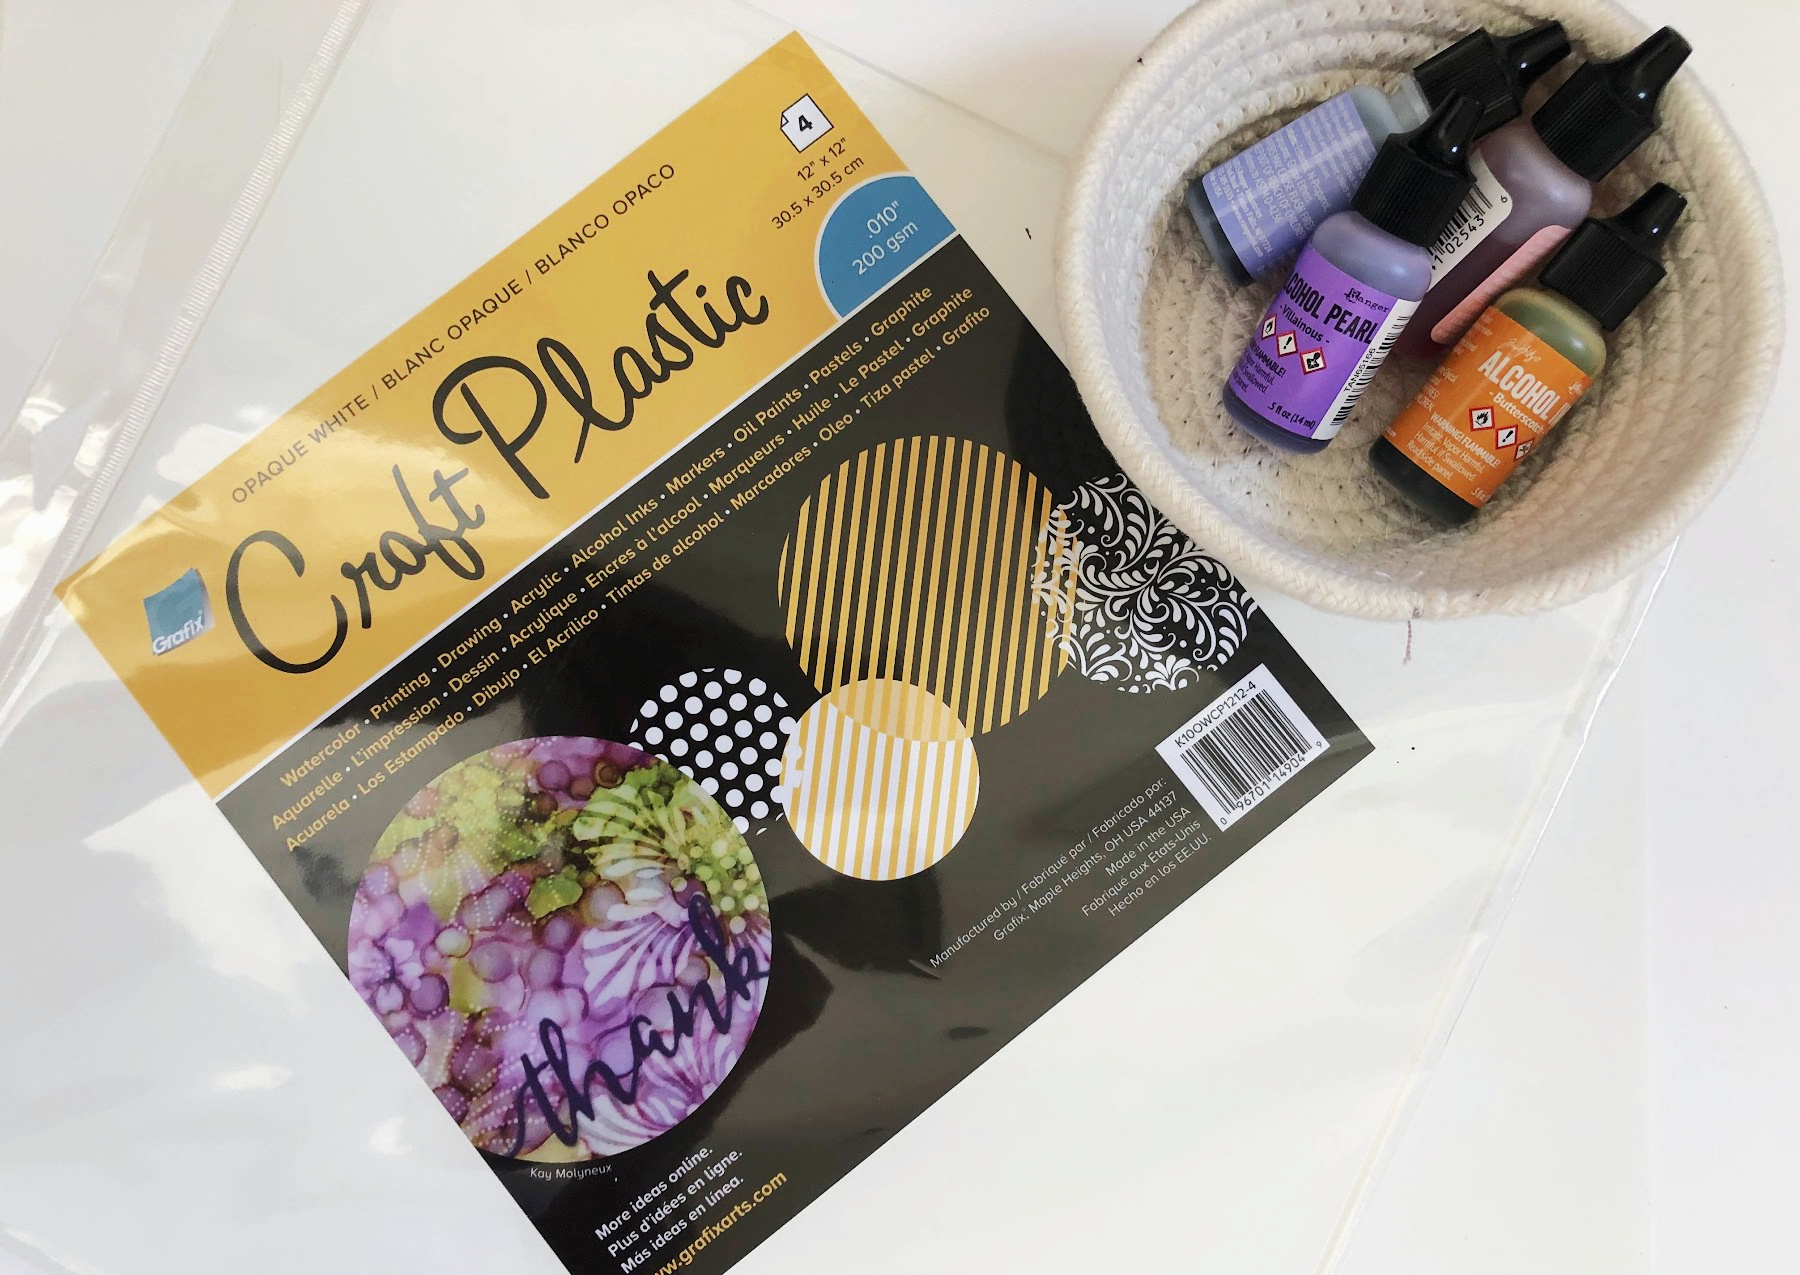
Grafix Opaque White Craft Plastic, 12 x 12 inches (1-2 sheets)
-
Alcohol inks in 3-4 colors
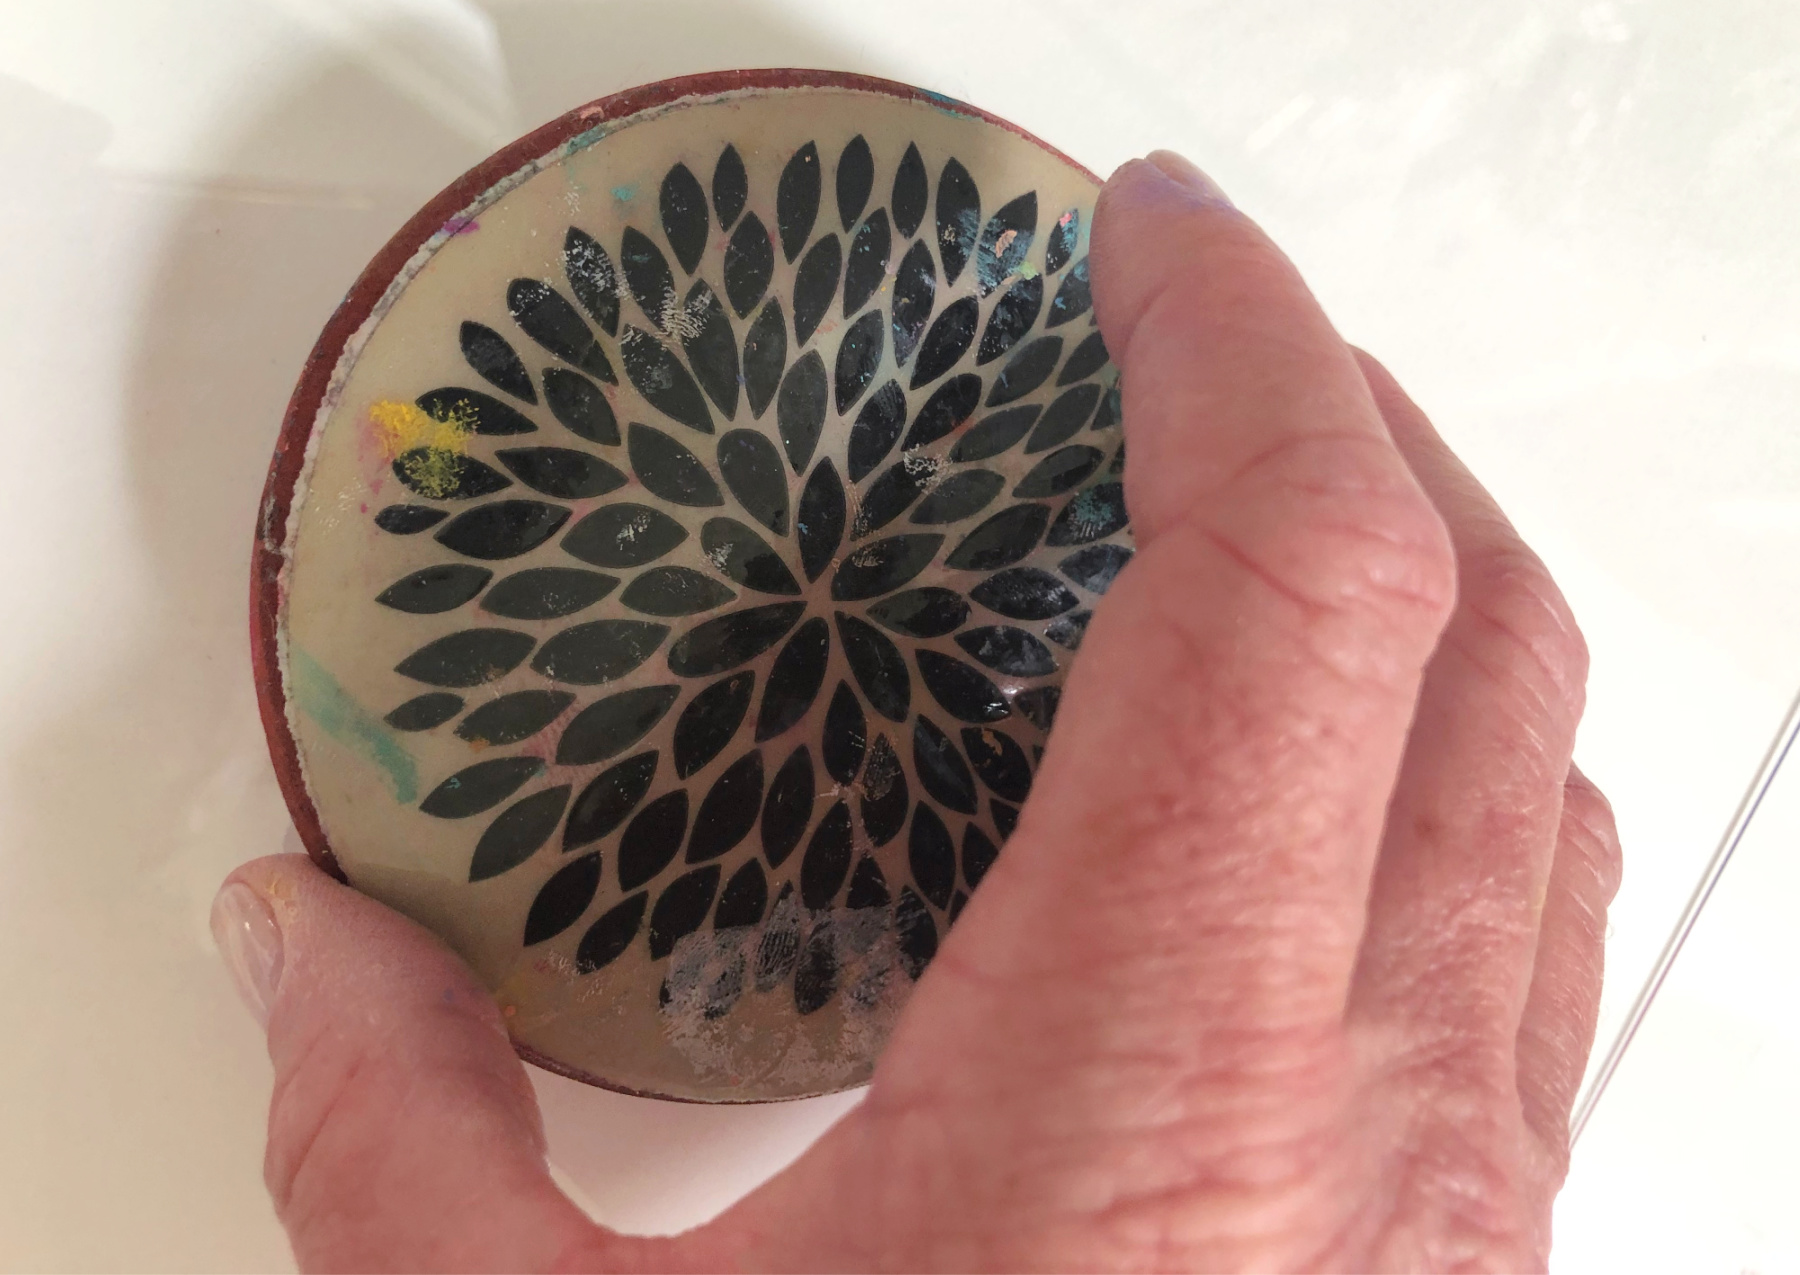
-
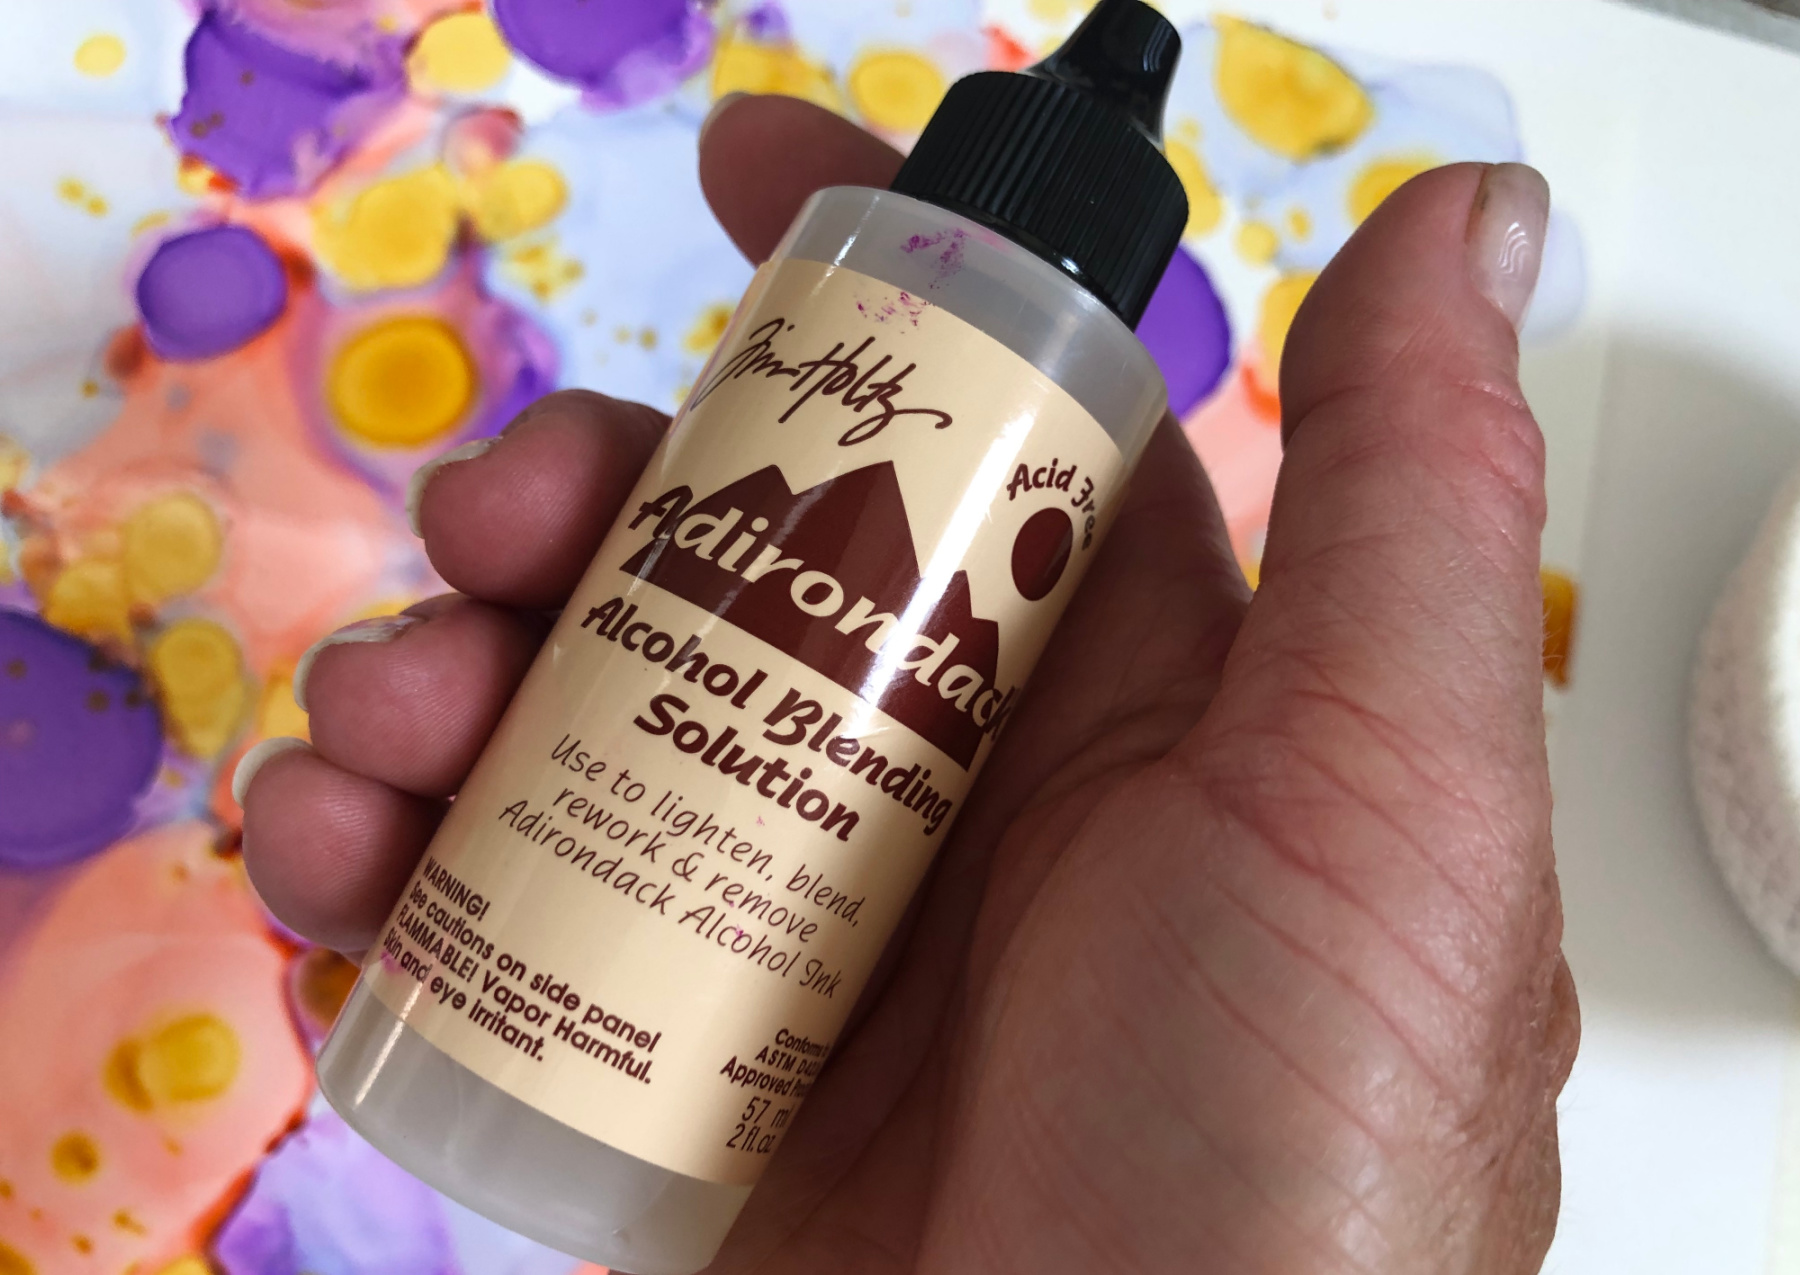
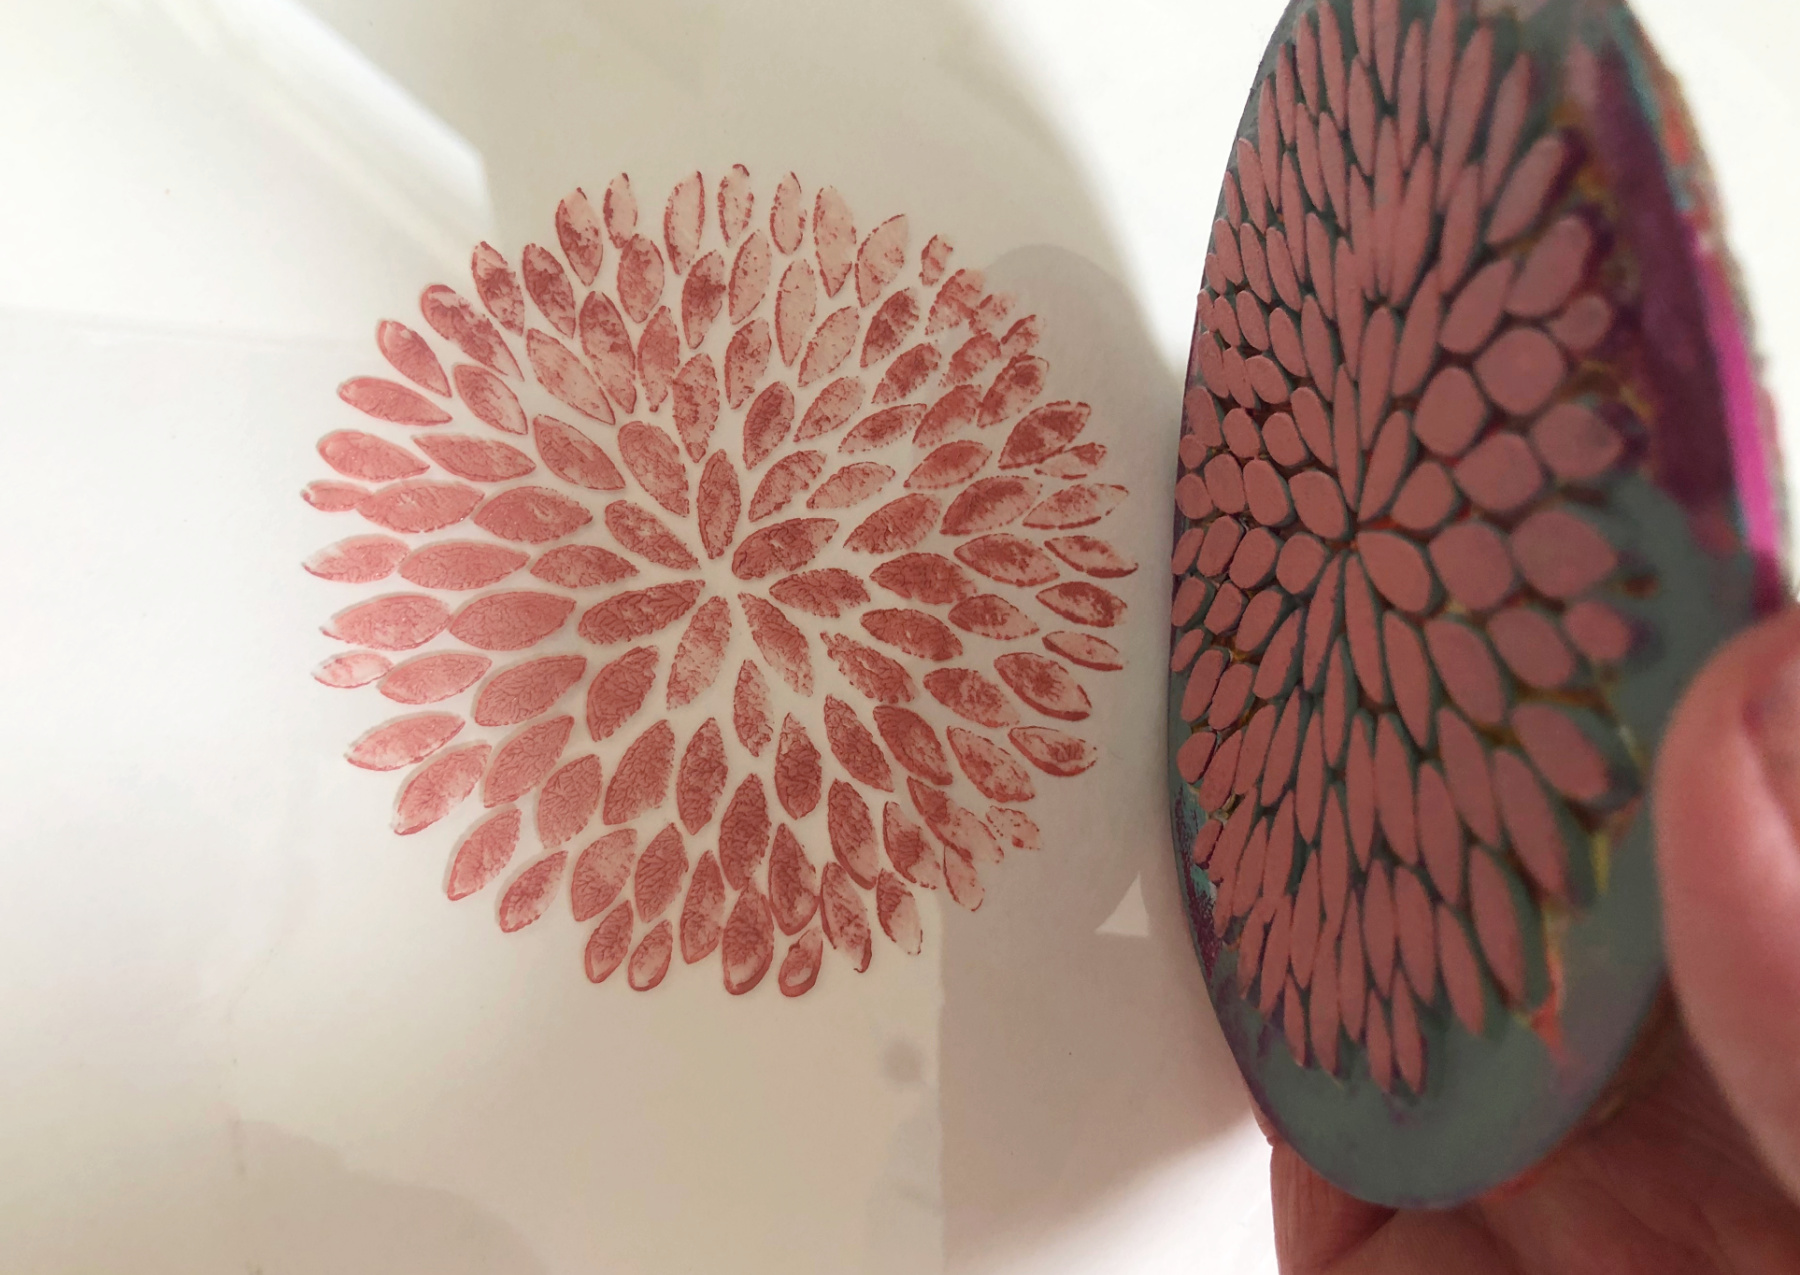
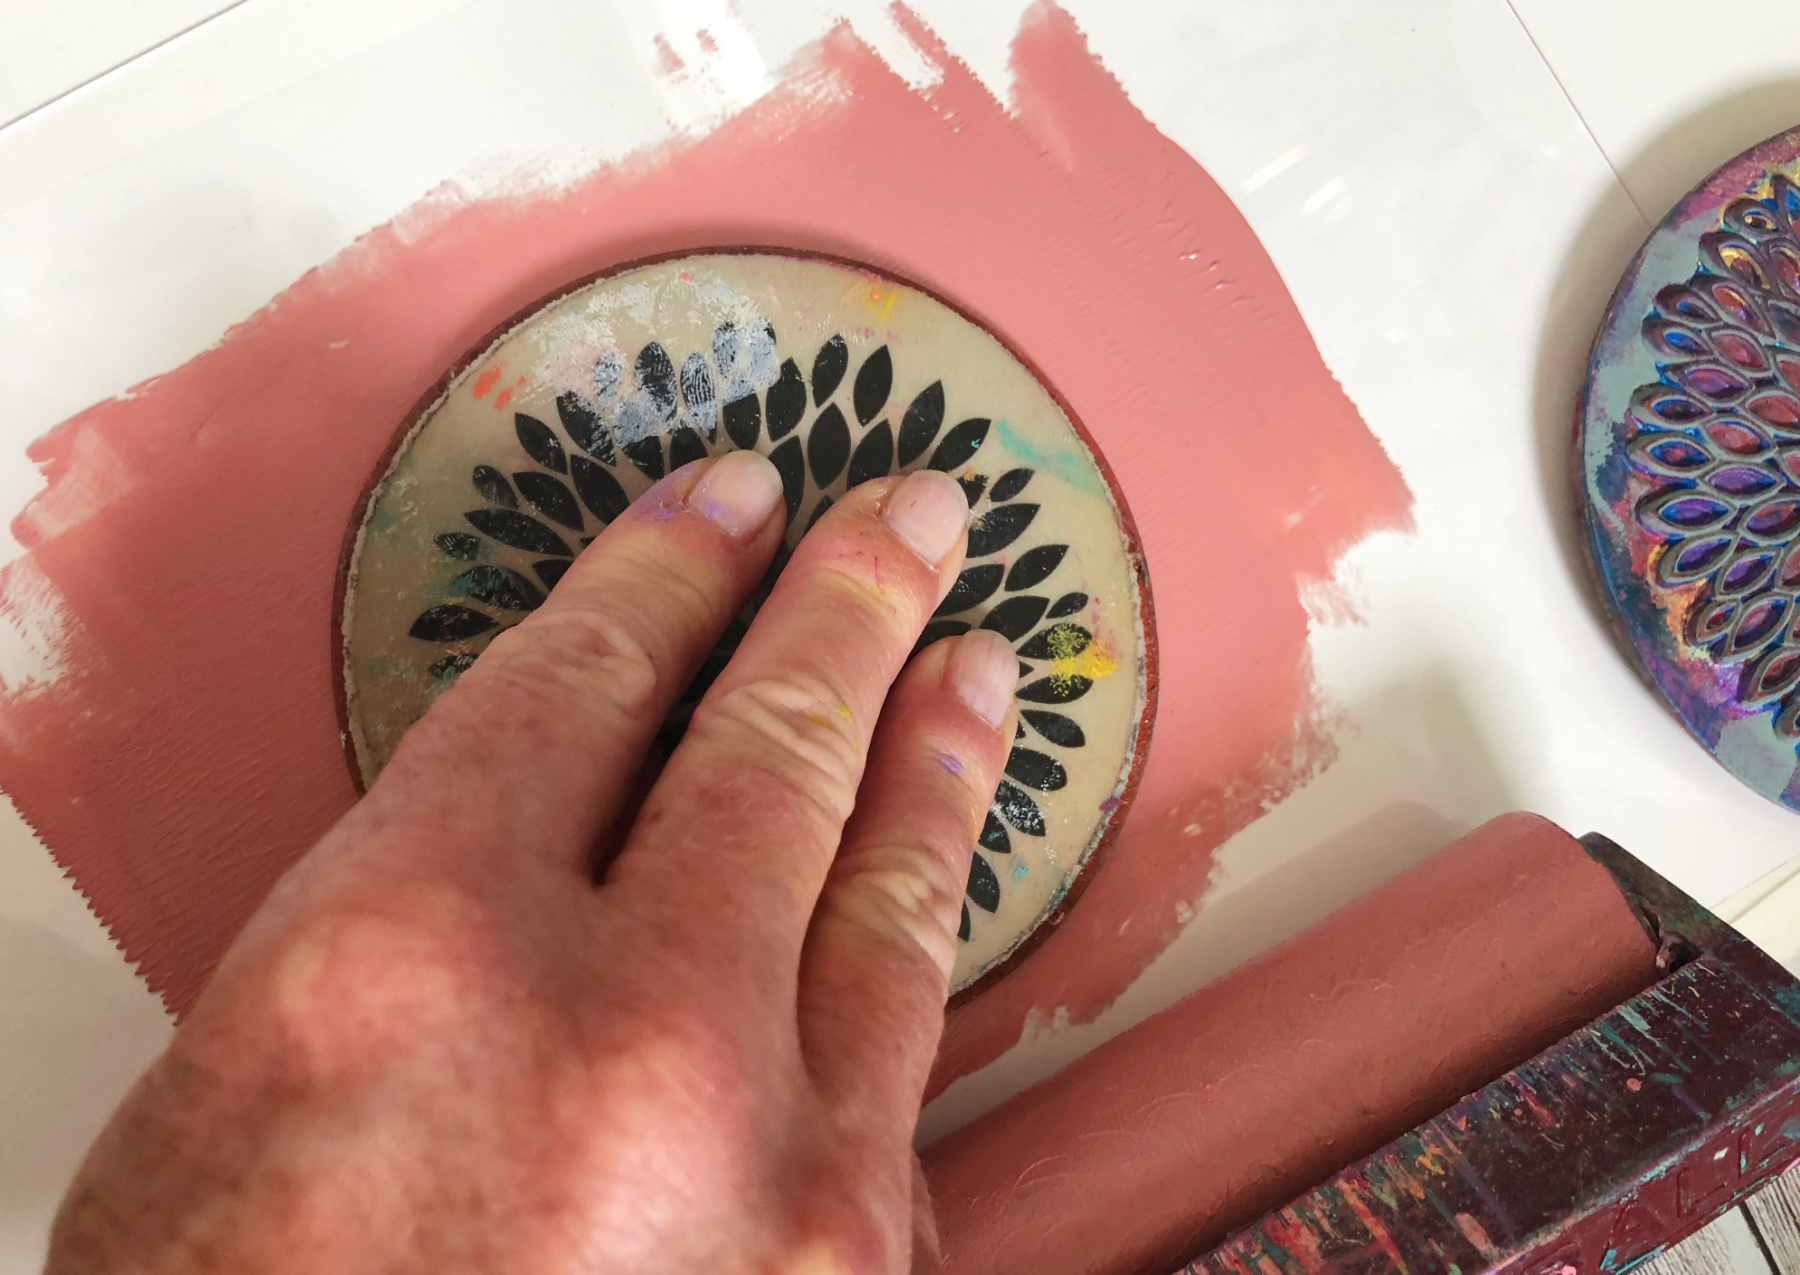
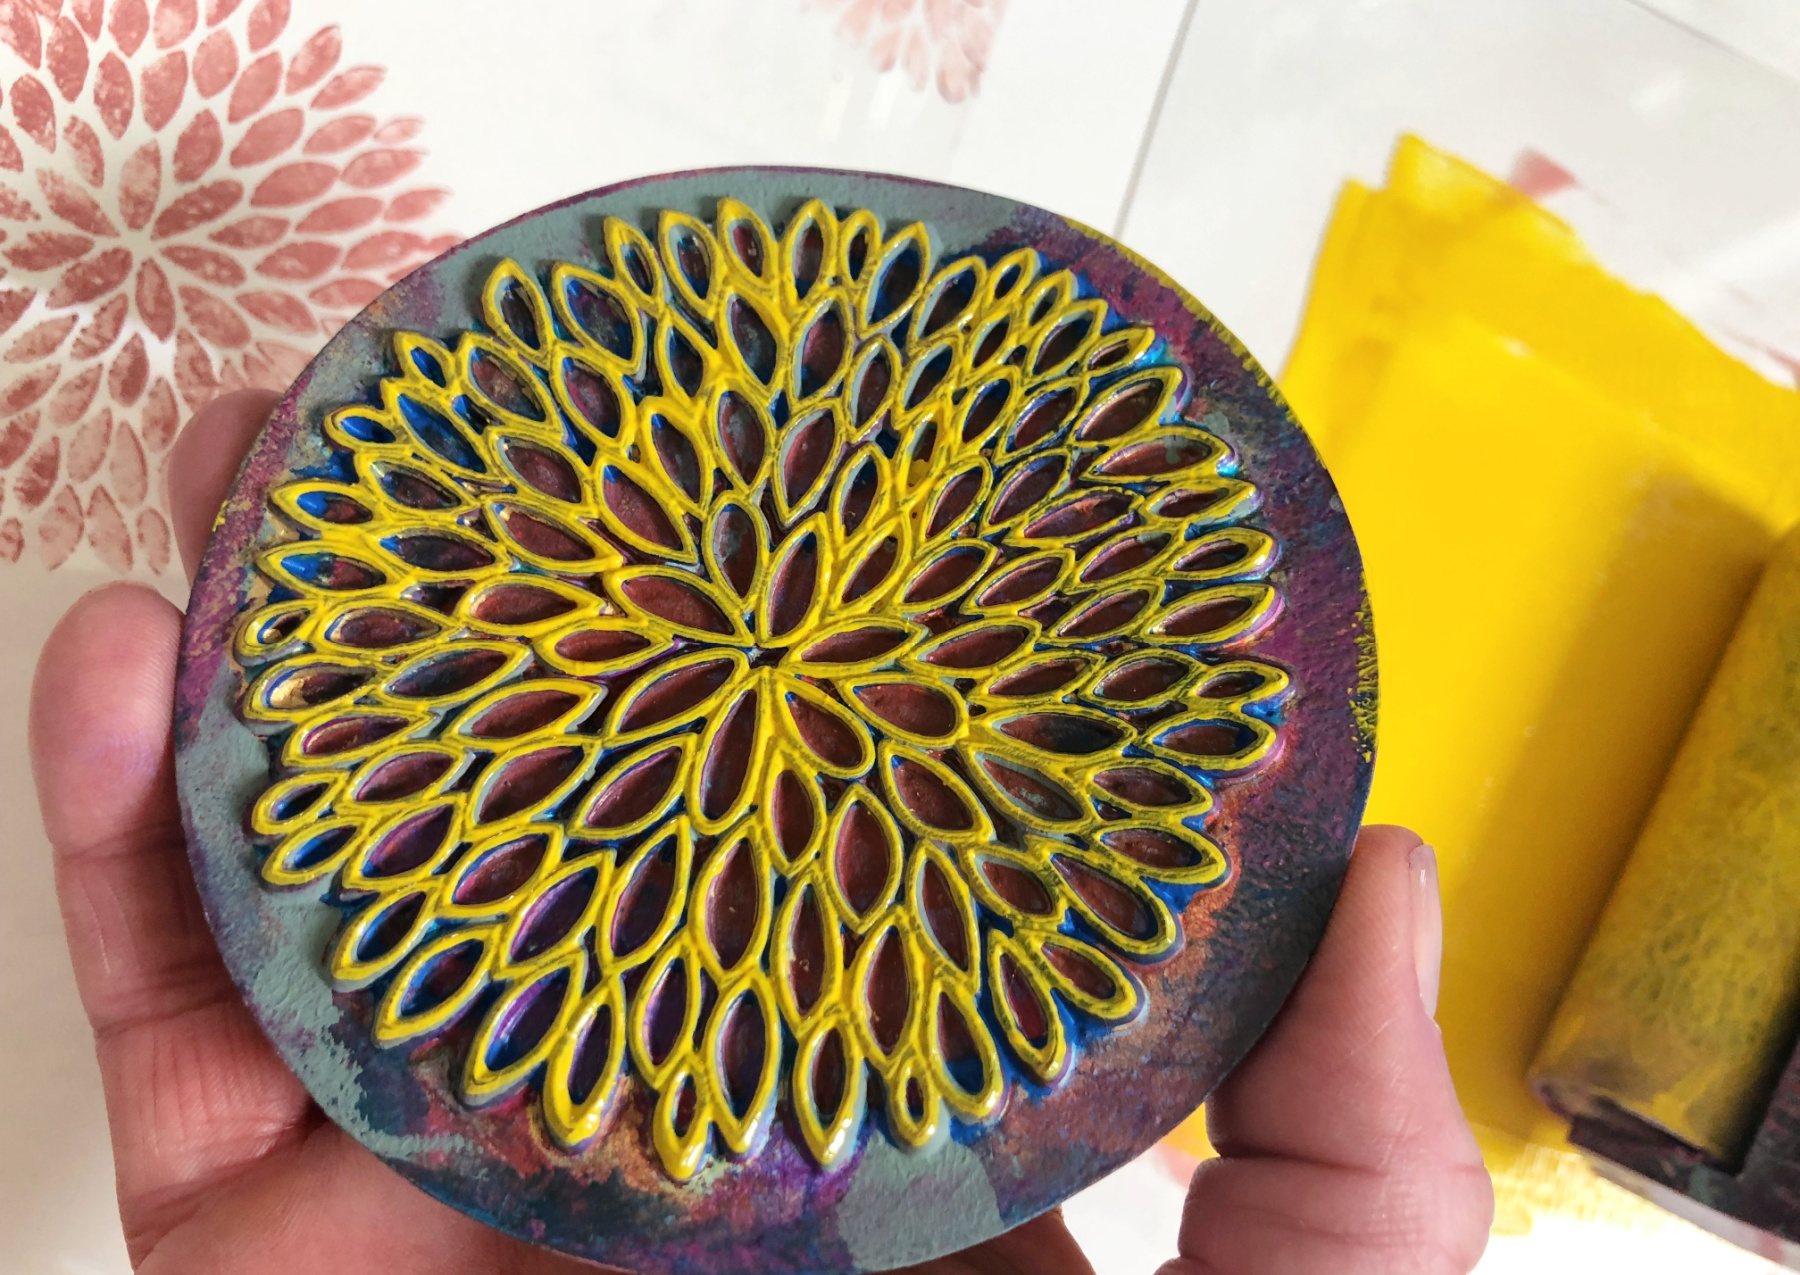
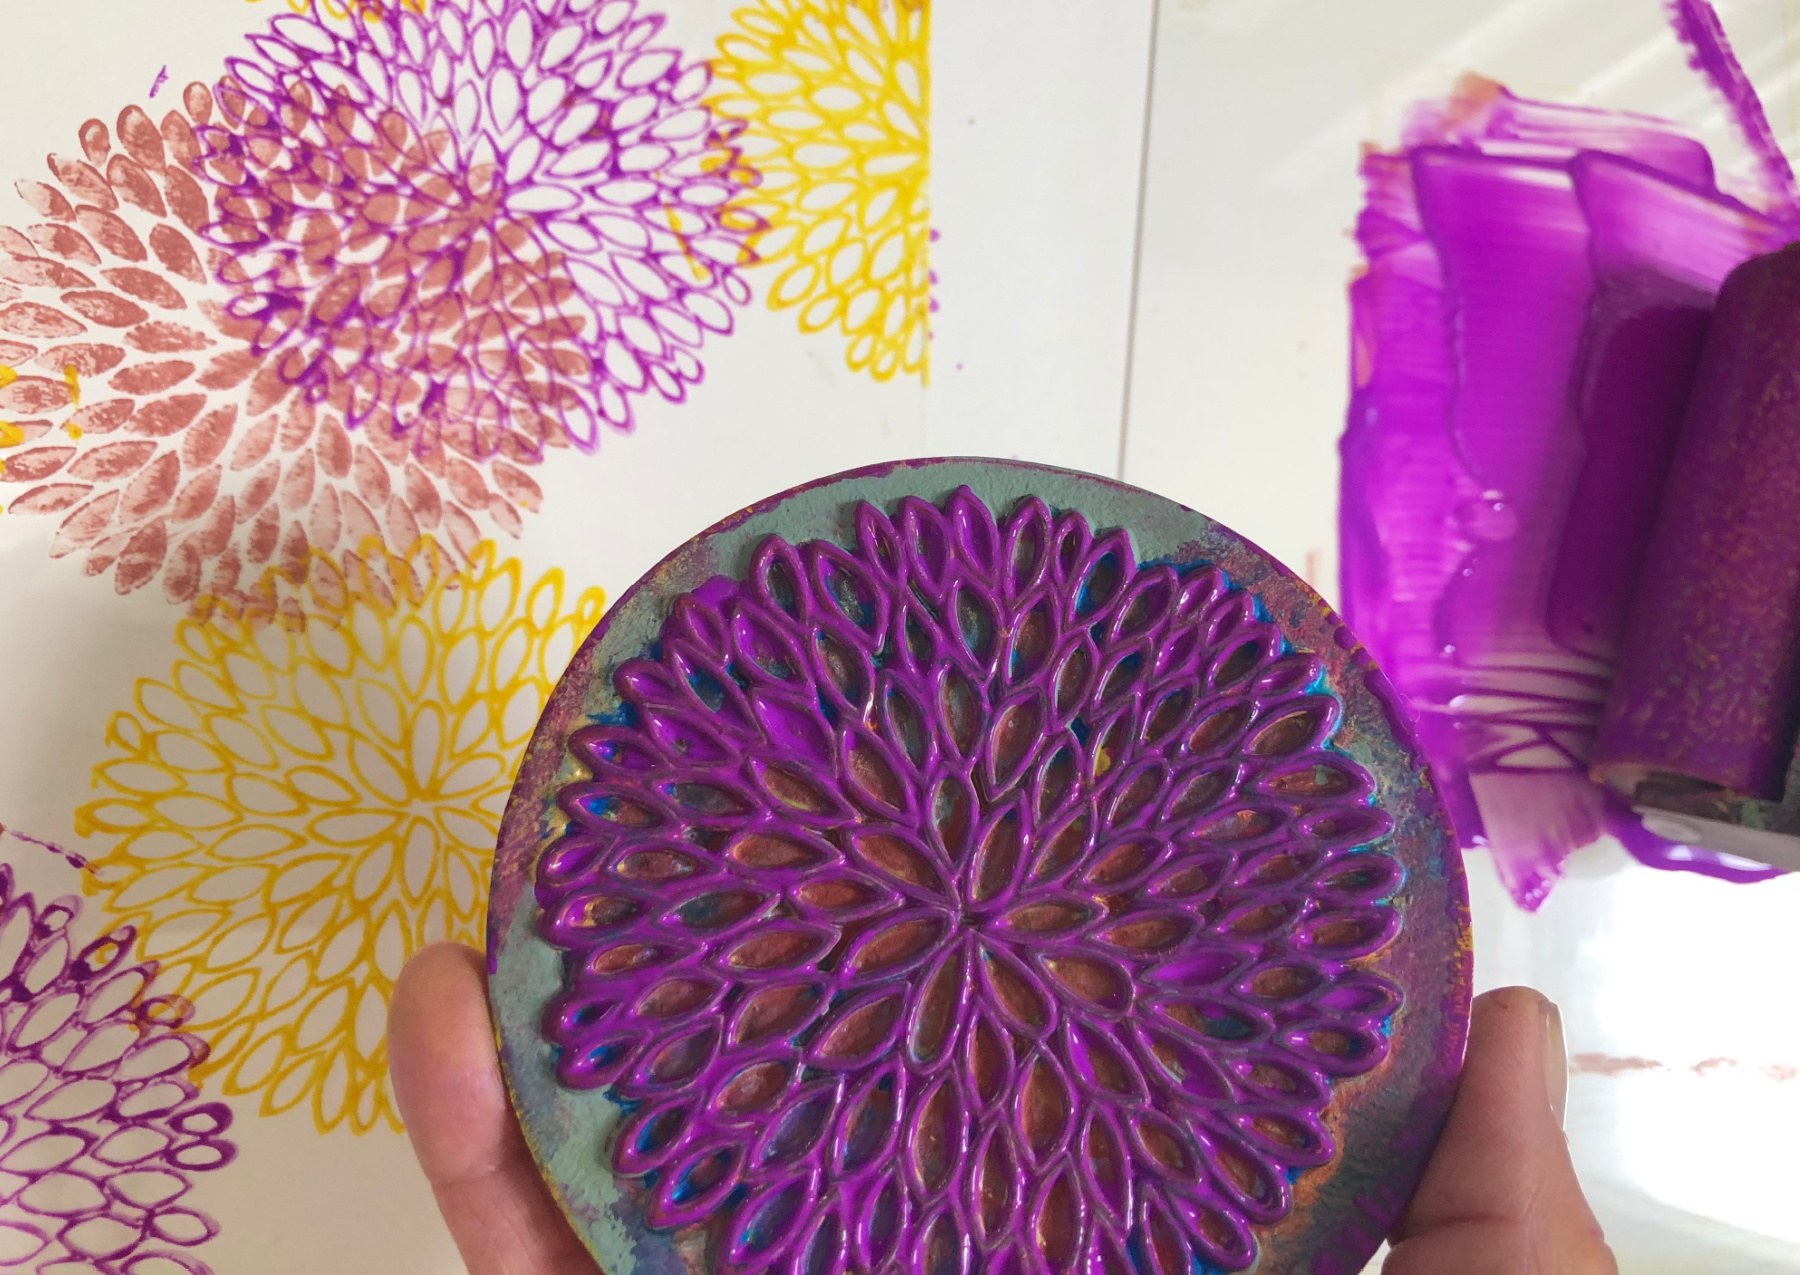
Alcohol ink blending solution (Optional)
-
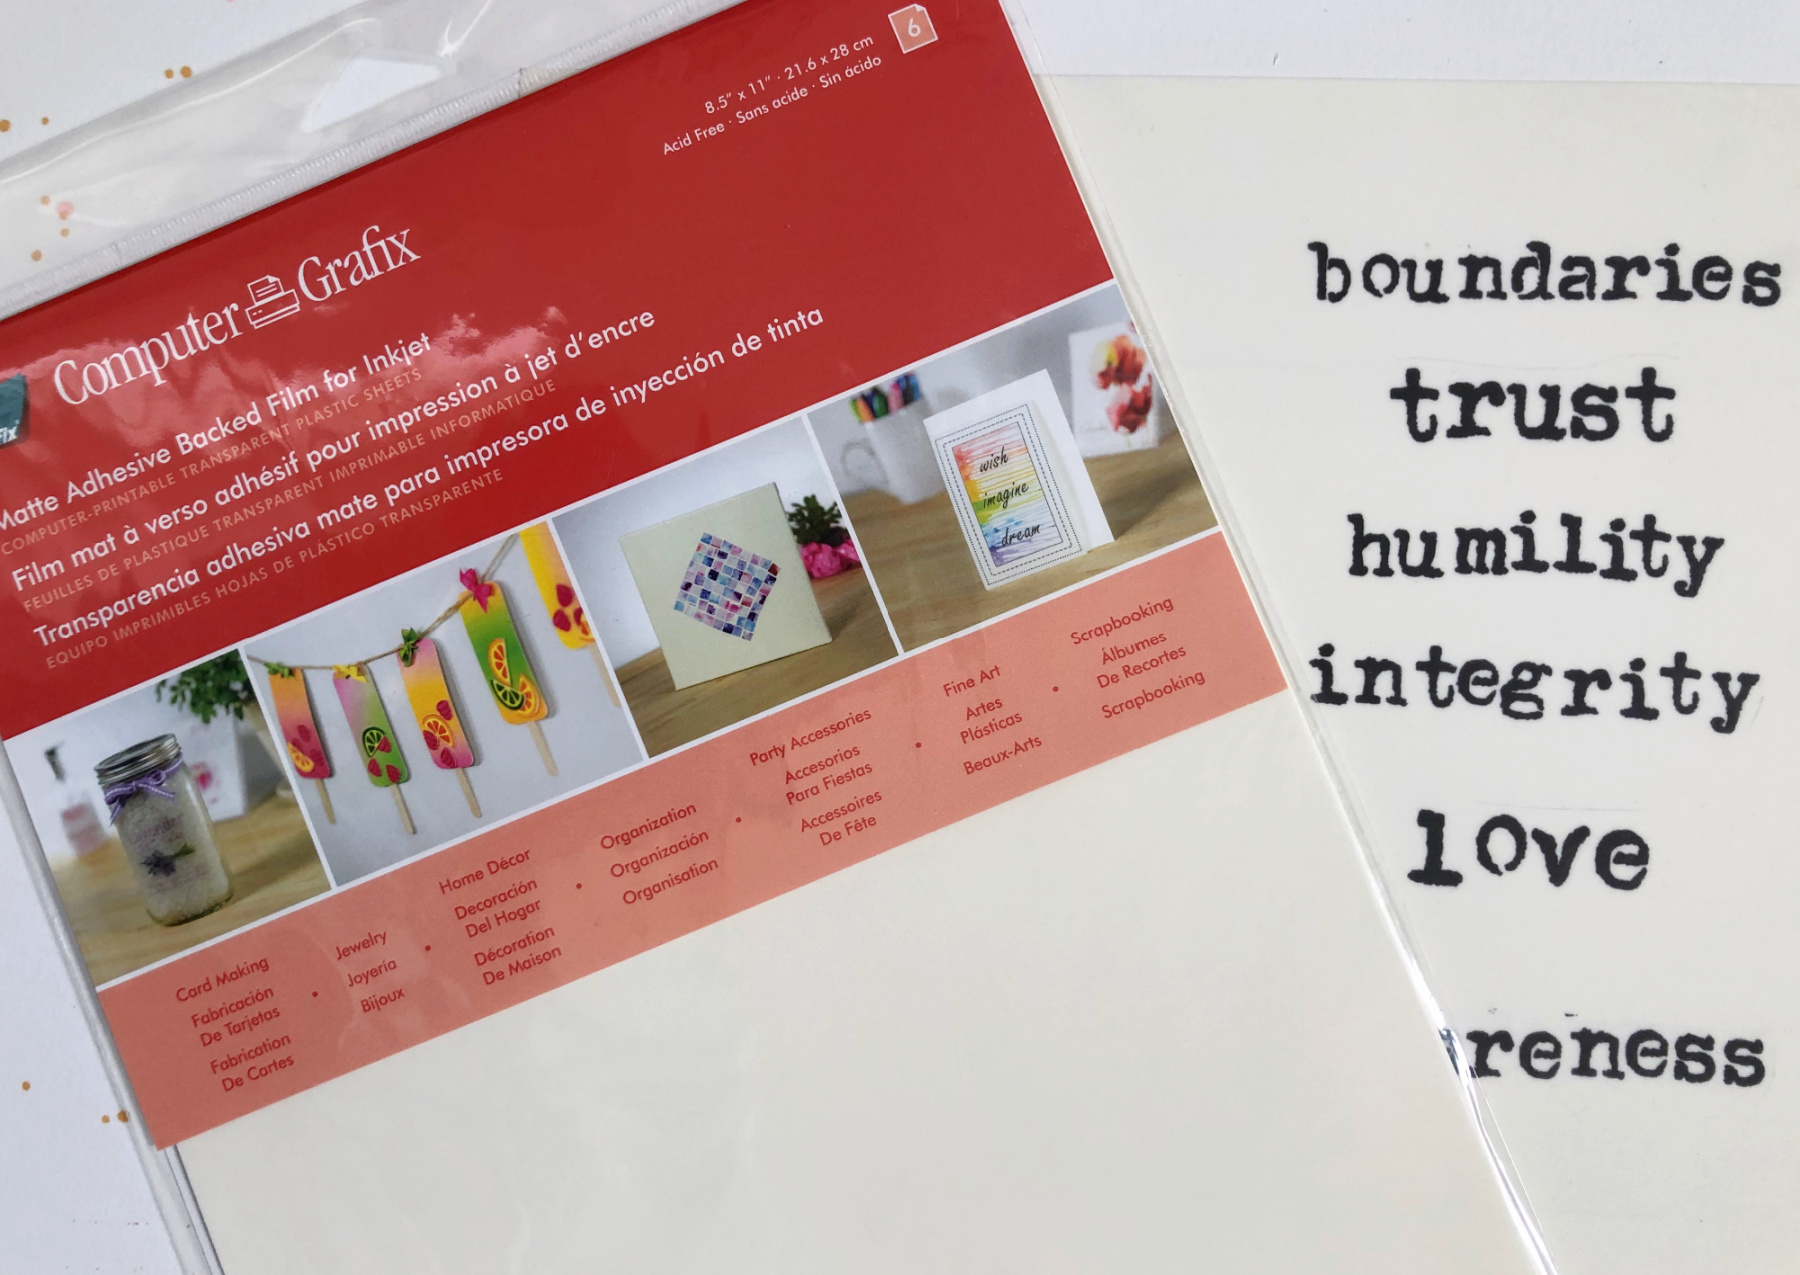
Computer Grafix Matte Adhesive Backed Film for Inkjet (1 sheet)
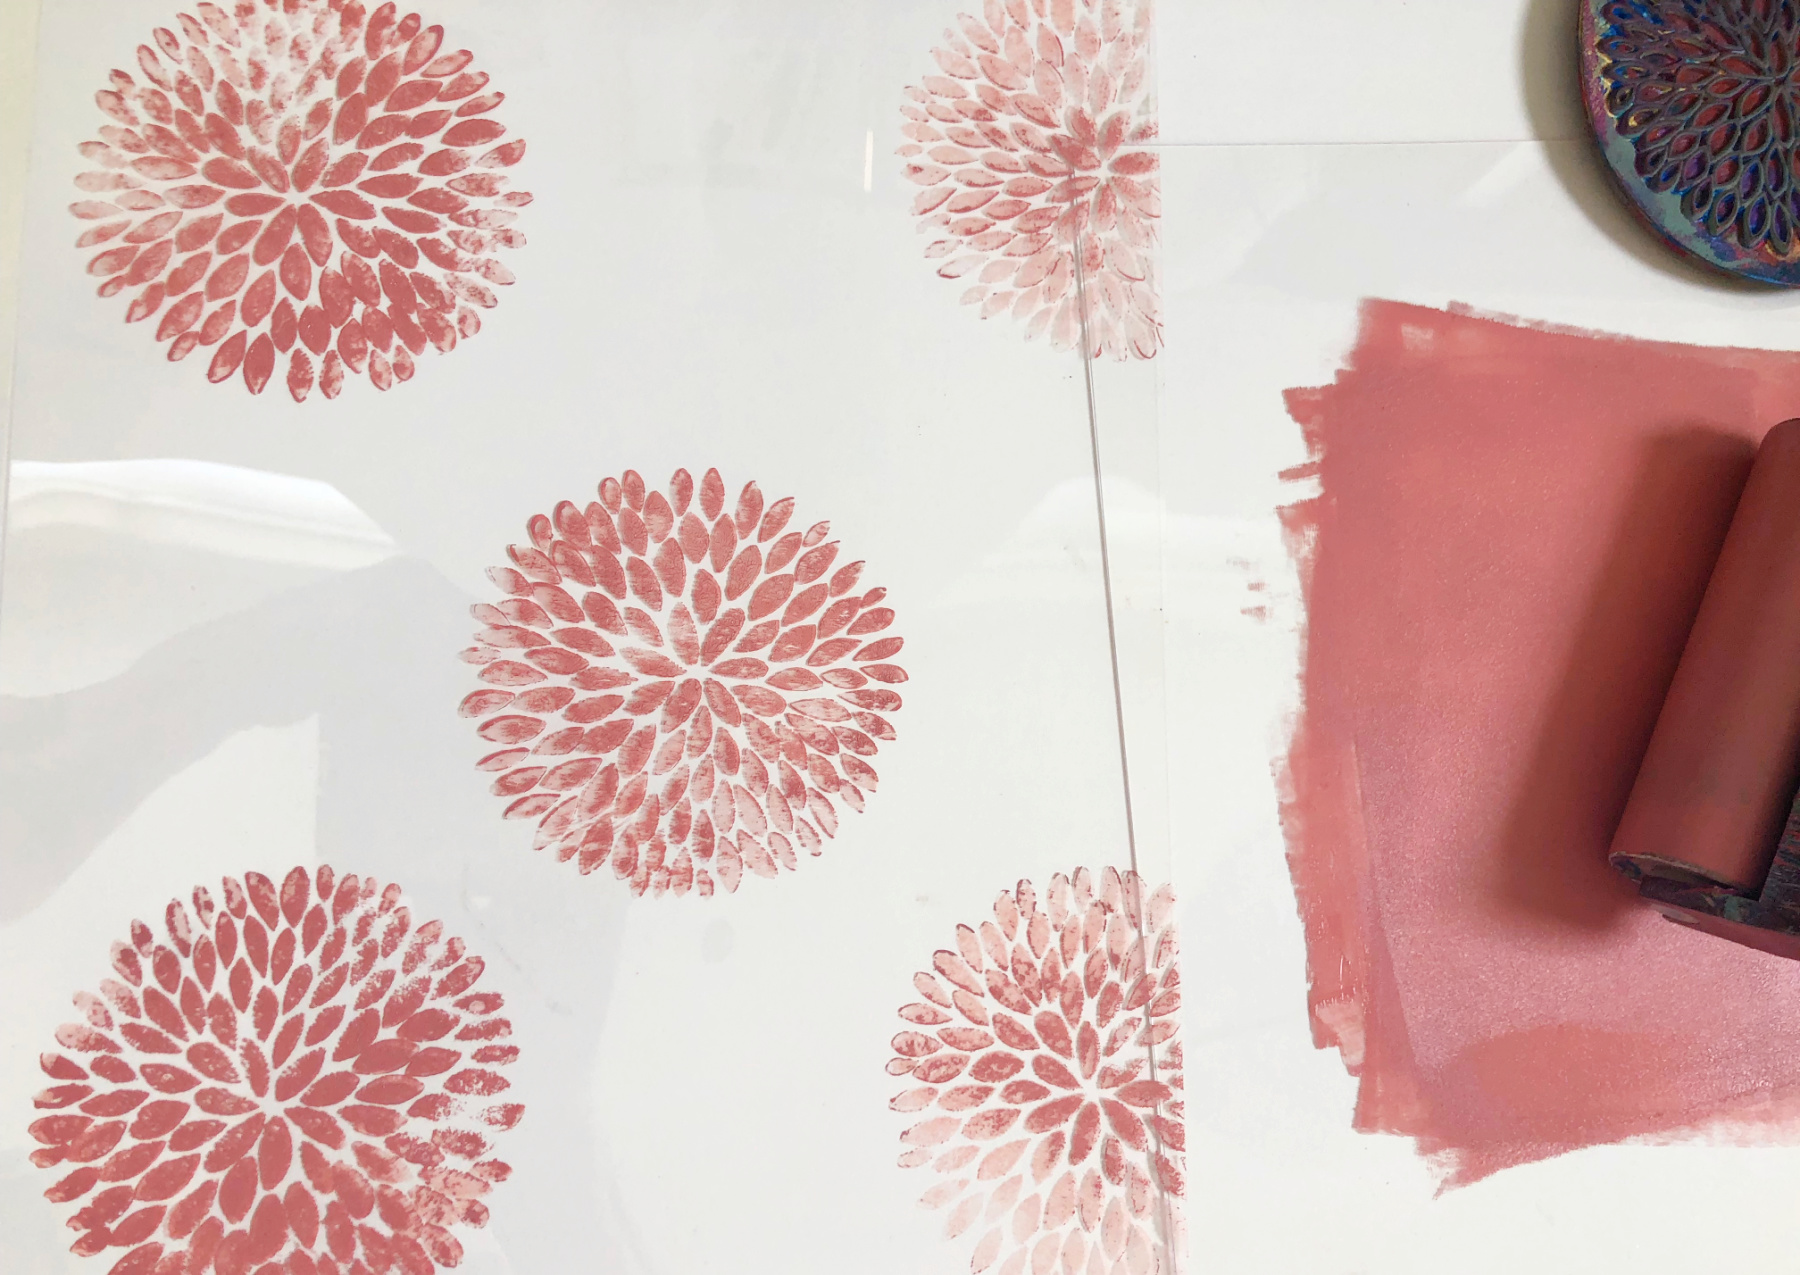
-
Scissors
-
Grafix Impress Print Media Monoprint Plate
-
Grafix Dura-Lar Wet Media Film
-
Brayer
-
Acrylic paints in 3 colors (I suggest colors that match your
alcohol inks) -
Rubber stamps
-
Paper trimmer or Ruler, pencil, and scissors
-
Sewing machine, or stapler, needle and thread, or glue runner
Steps to Make This:
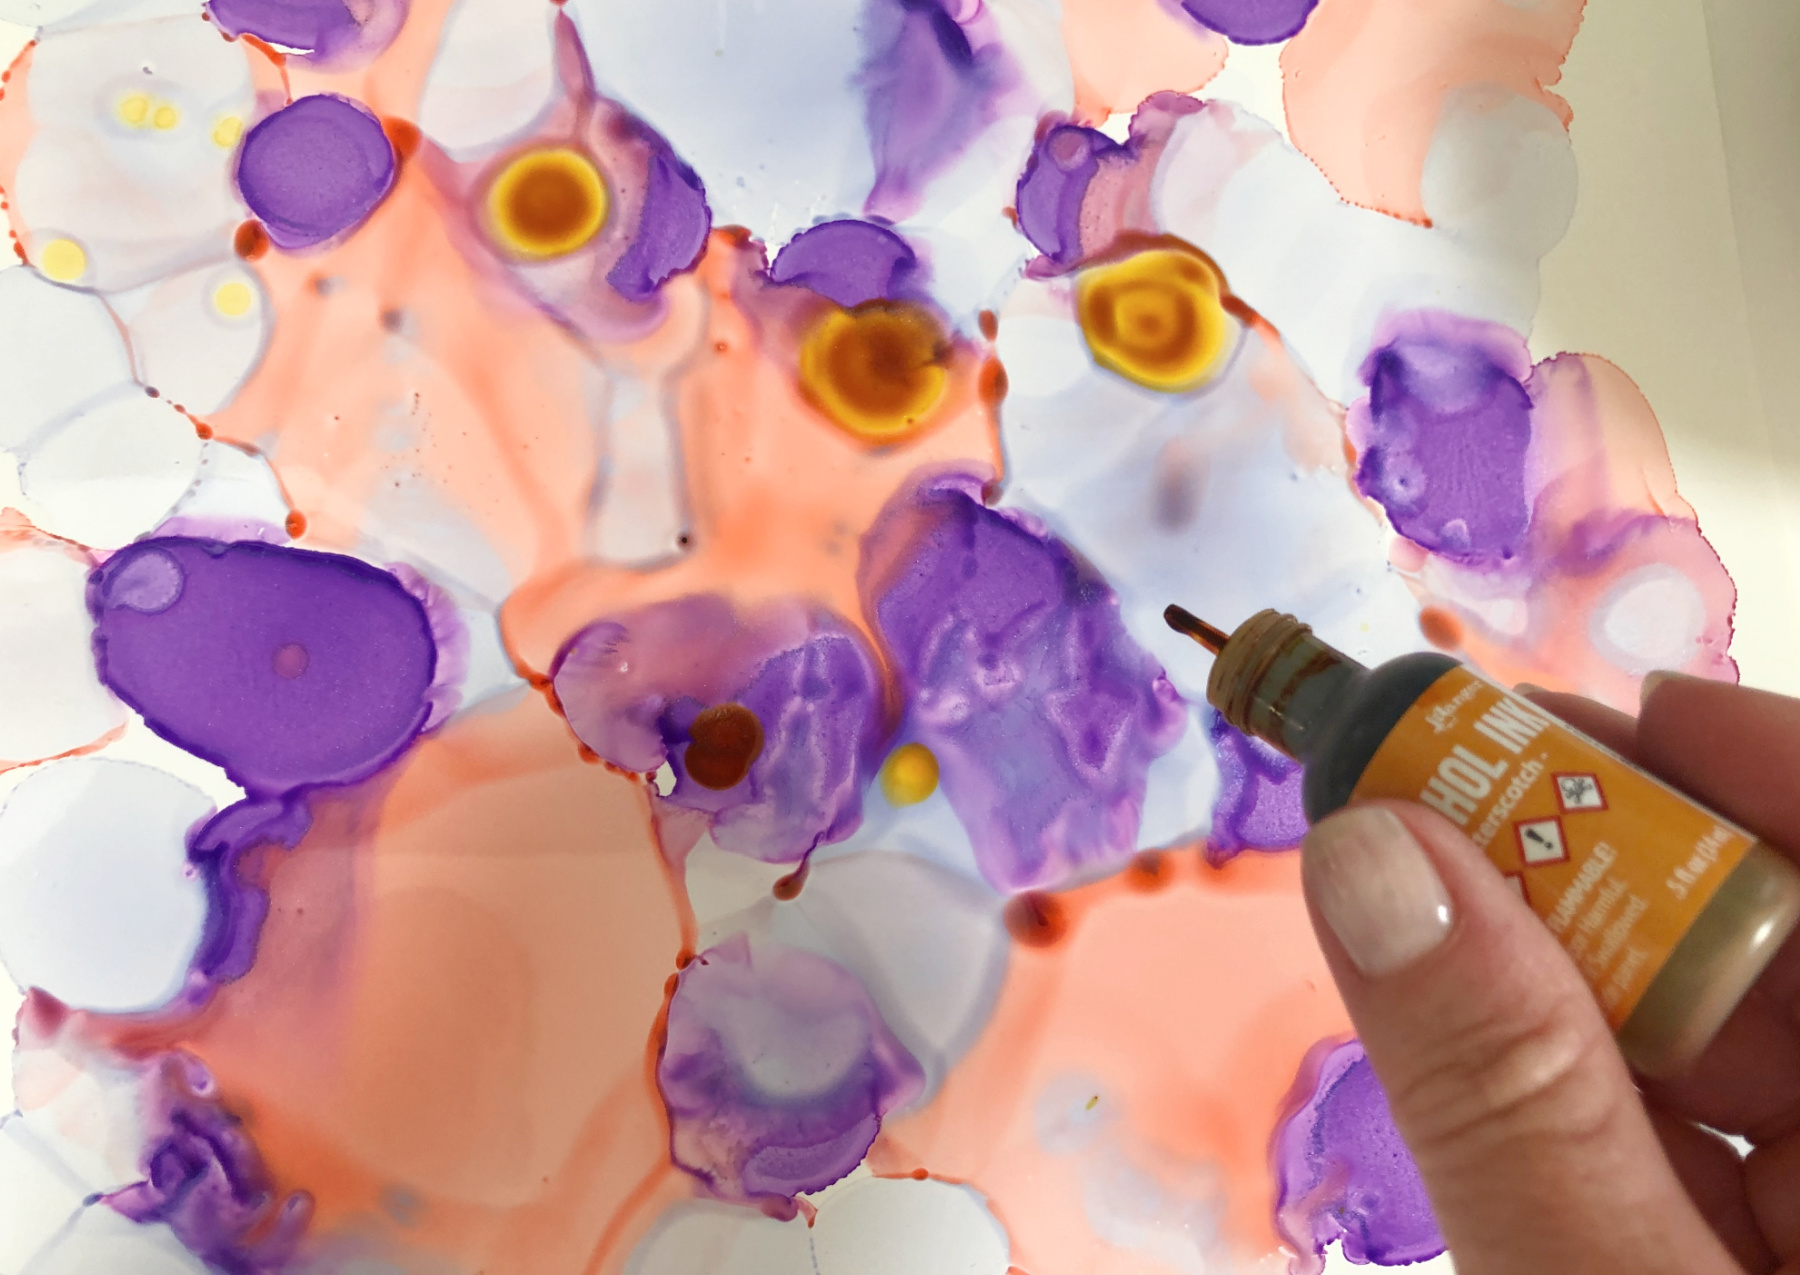
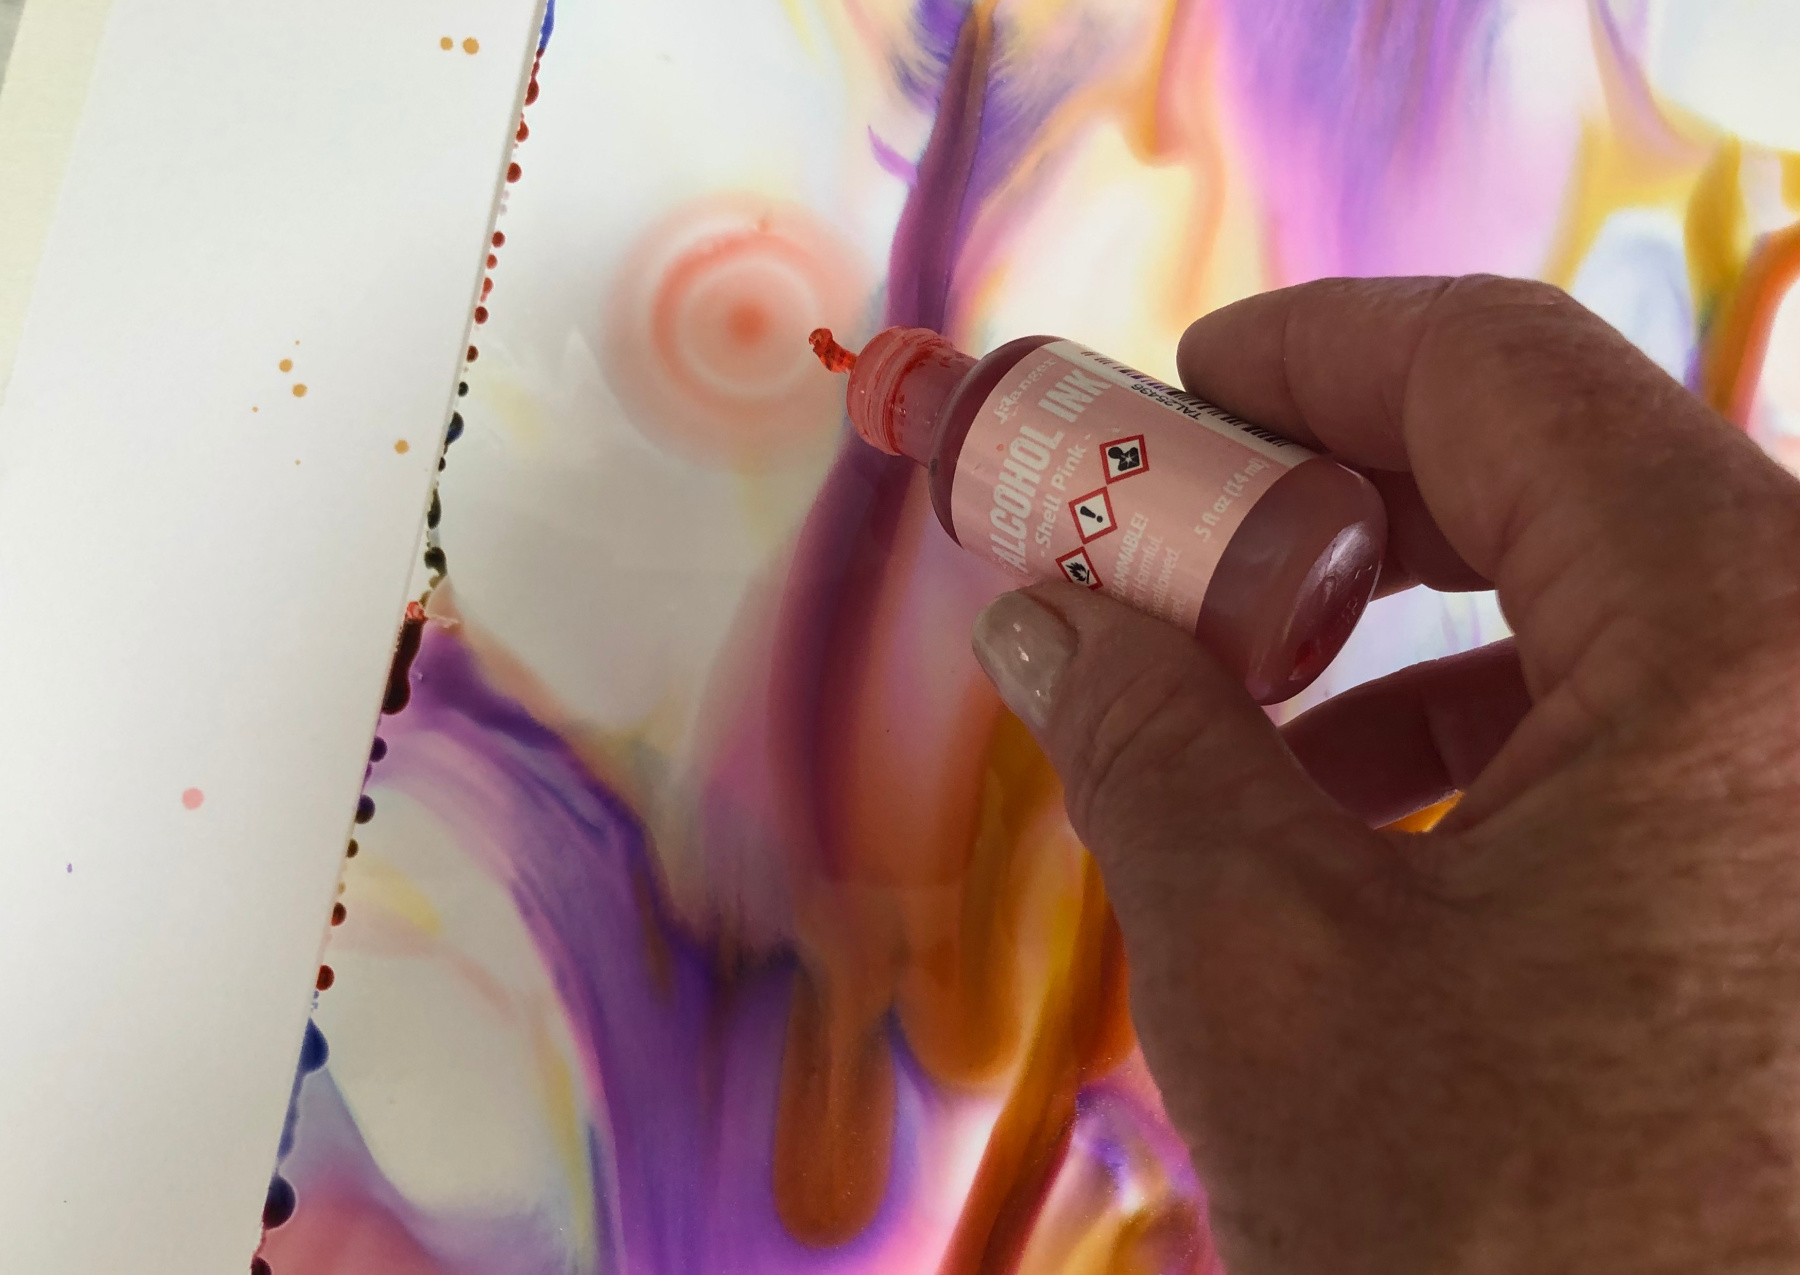
1. Apply the alcohol inks, one color at at time to one sheet of the opaque white Grafix Craft Plastic.
Let the inks blend and flow over the sheet to create a colorful background.
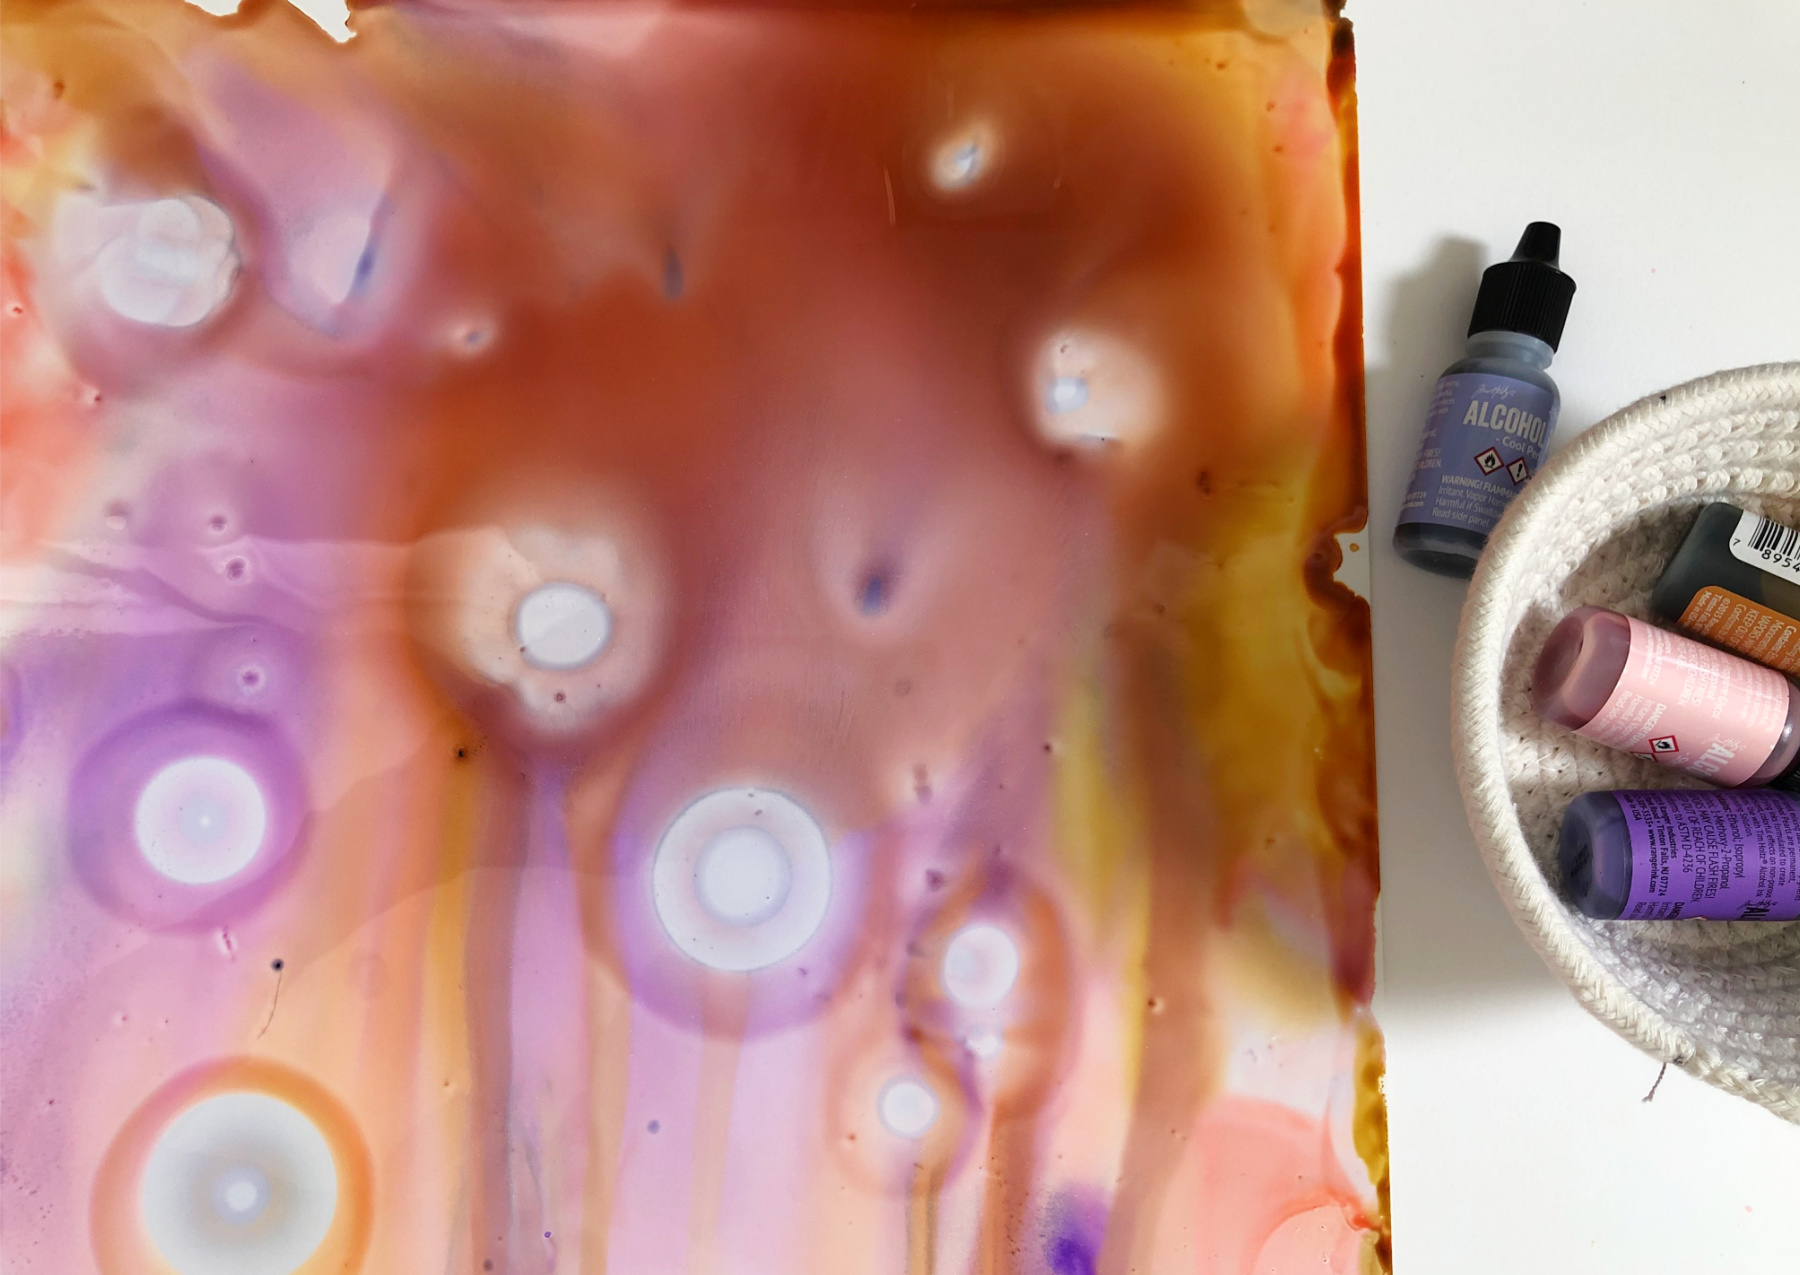
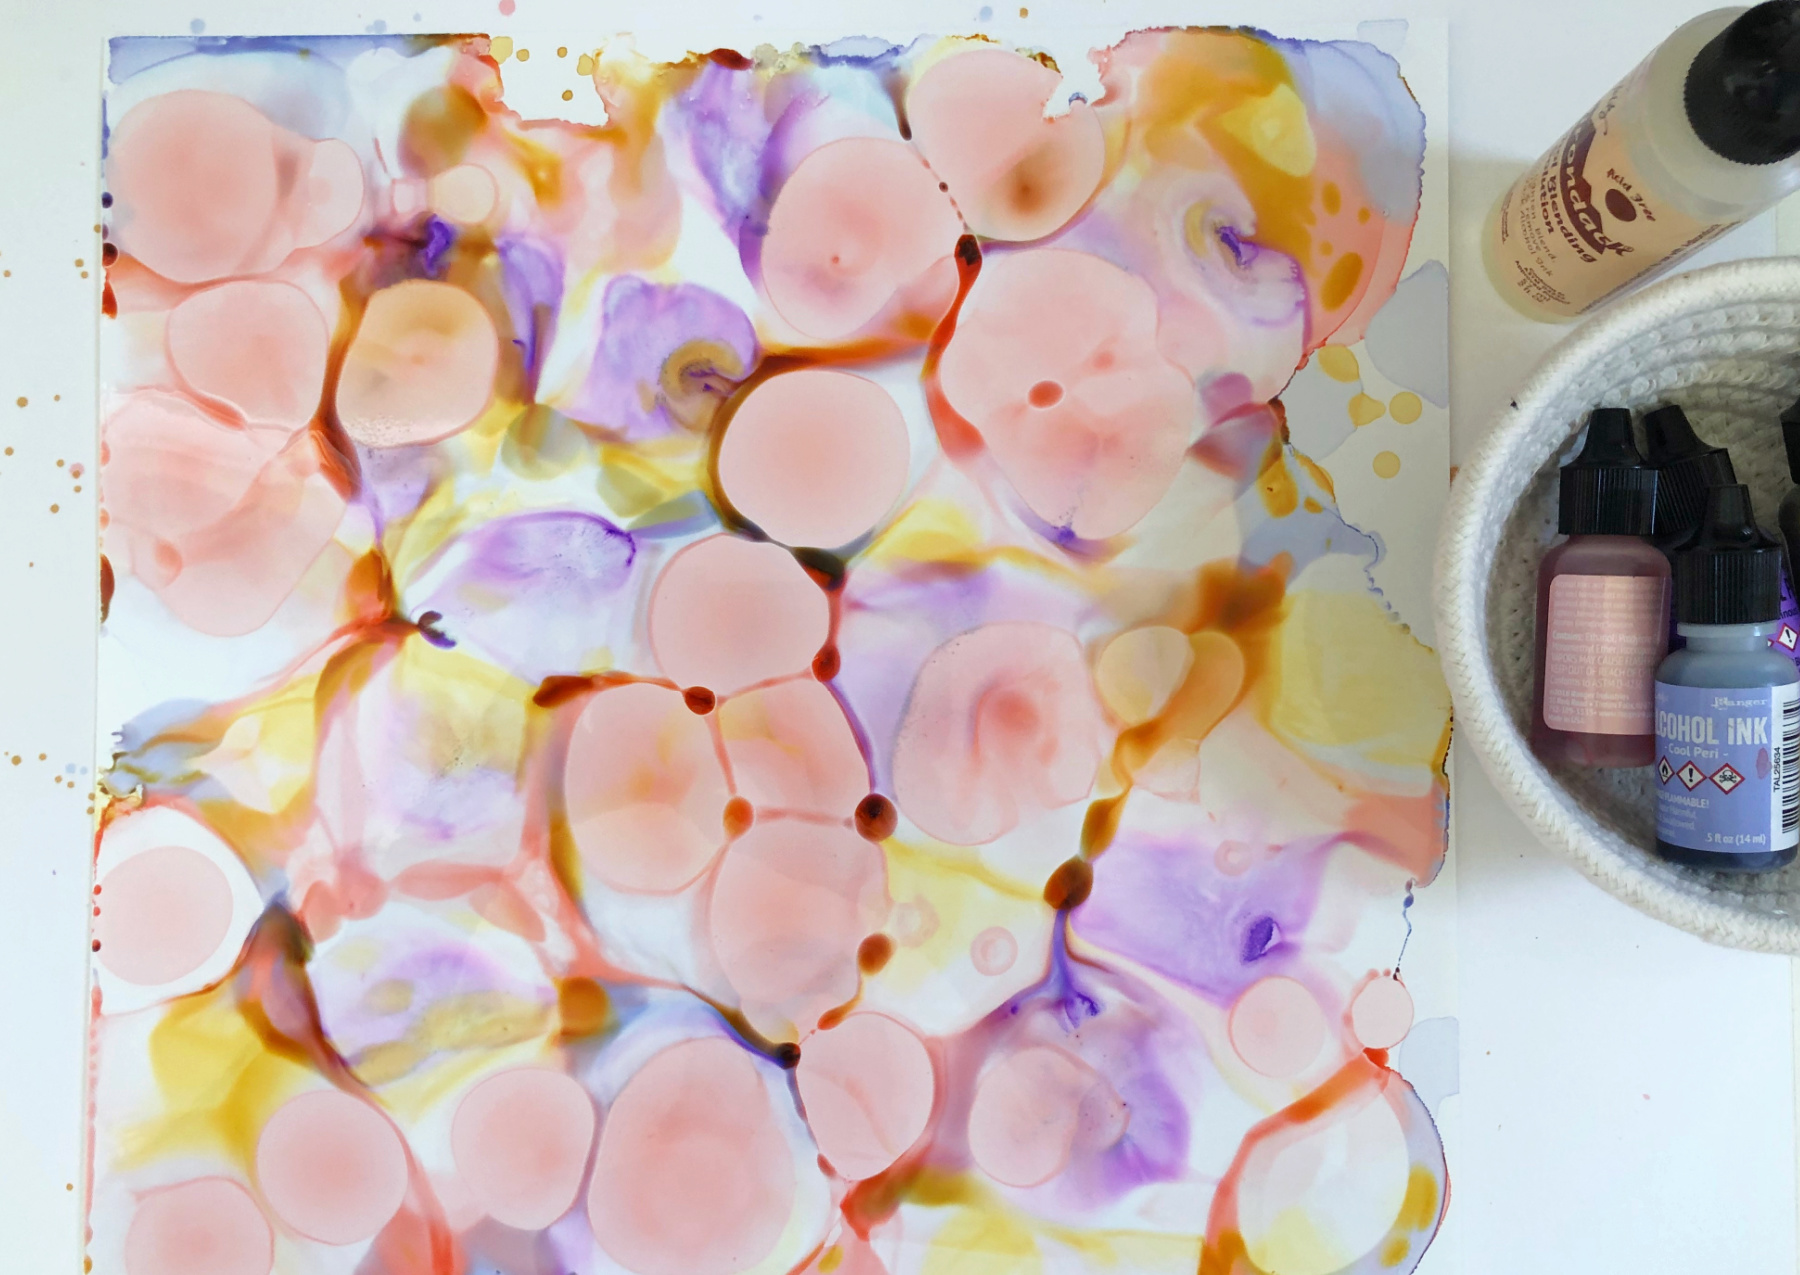
2. You can add blending solution once you’ve added all of the colors, let it flow by moving the Craft
Plastic sheet. You can also add the blending solution to “clear” space on the colored sheet, and
then add more color to these cleared areas. Just play, have fun with it. It can be a mess! You
can make more than one sheet if your first one isn’t turning out how you like, as well! This is just
the background part of the “sandwich.” Let the inks dry completely.
3. While the inks are drying, print out some typed words (in a large font that you like) onto the
Computer Grafix Matte Adhesive Backed Film for Inkjet, according to the package instructions.
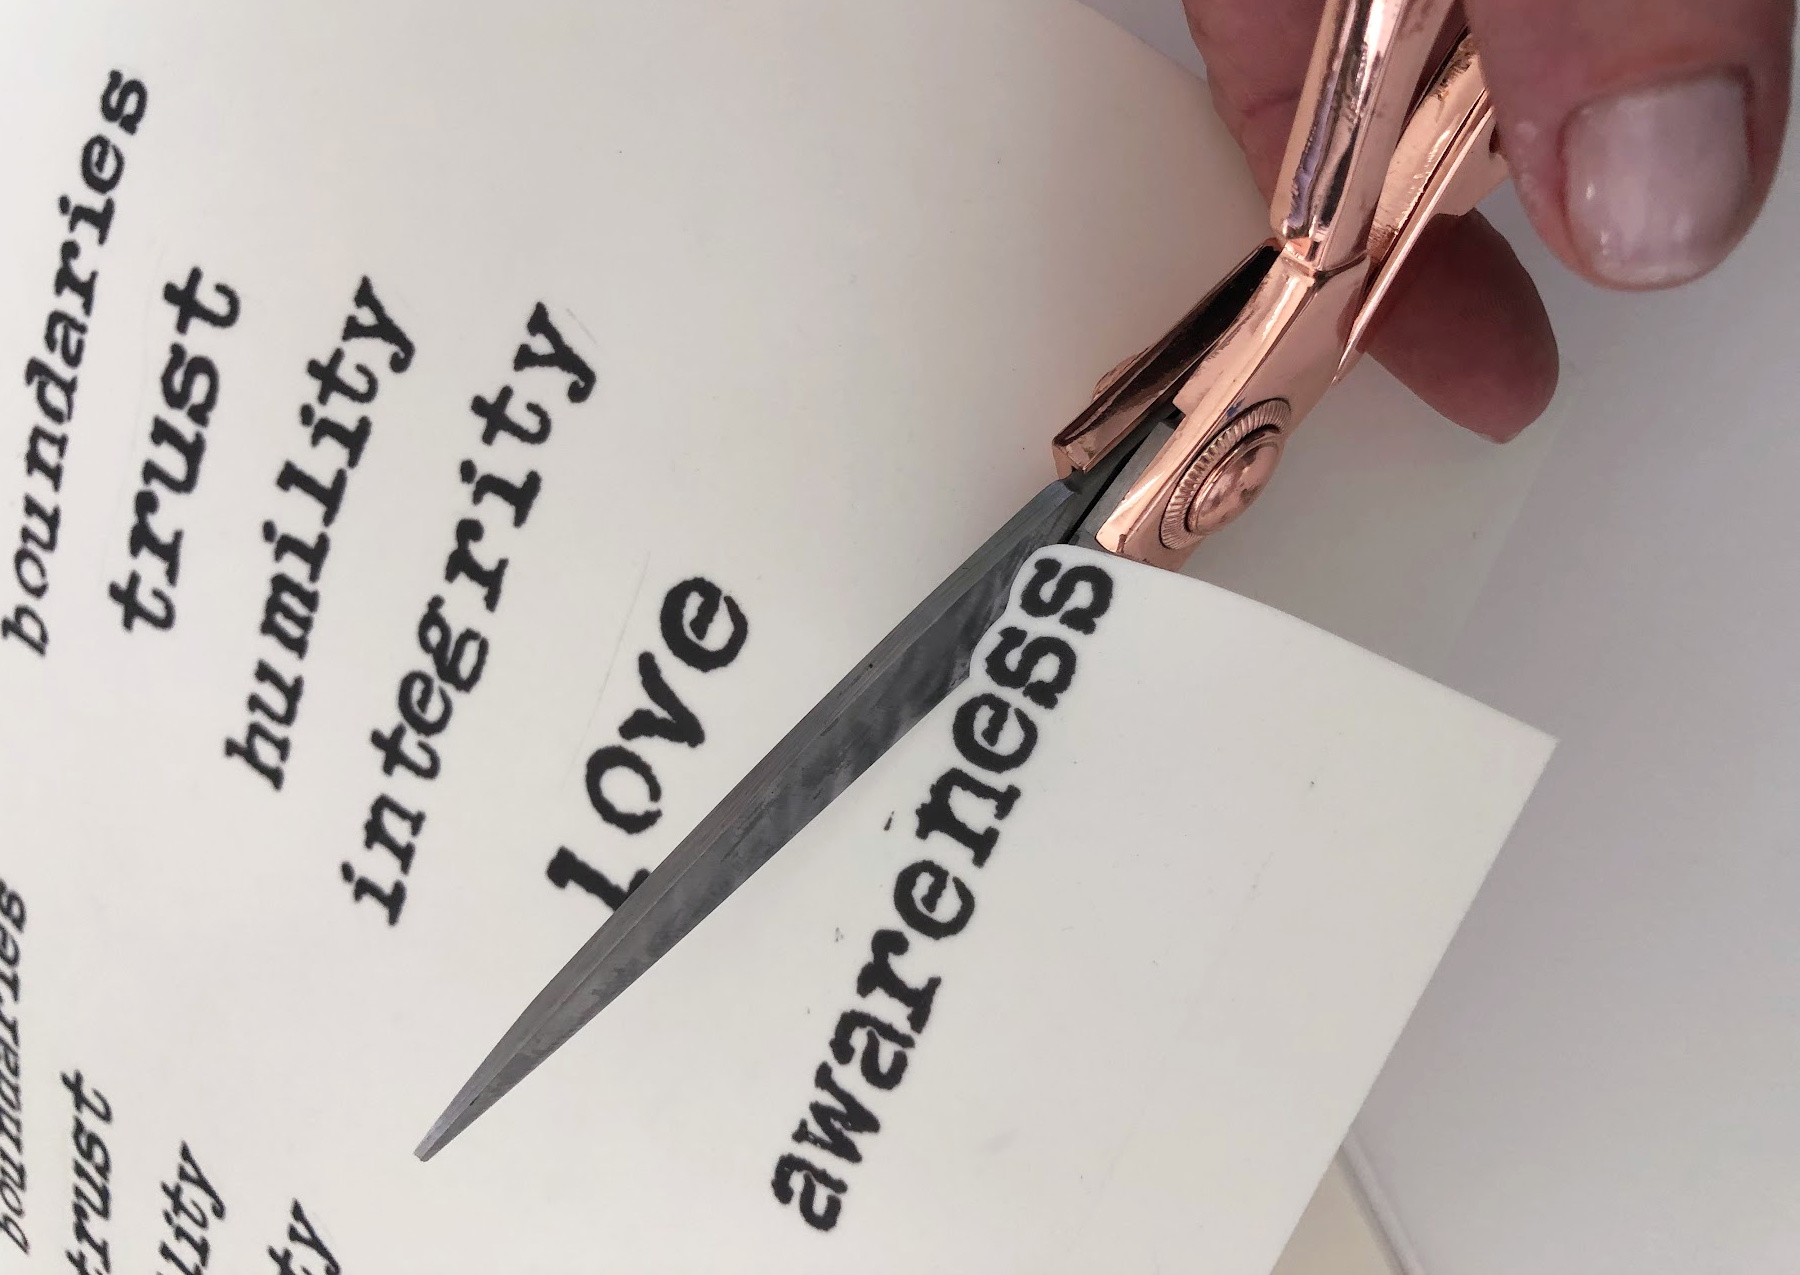
4. When the printer ink is totally dry, cut out the words as close to the lettering as possible. This is
called “fussy cutting” in the mixed media world!
5. TIP: Fussy cutting is easier, I’ve found, with bigger scissors. Move the object you’re cutting
instead of trying to maneuver the scissors around curves and edges.
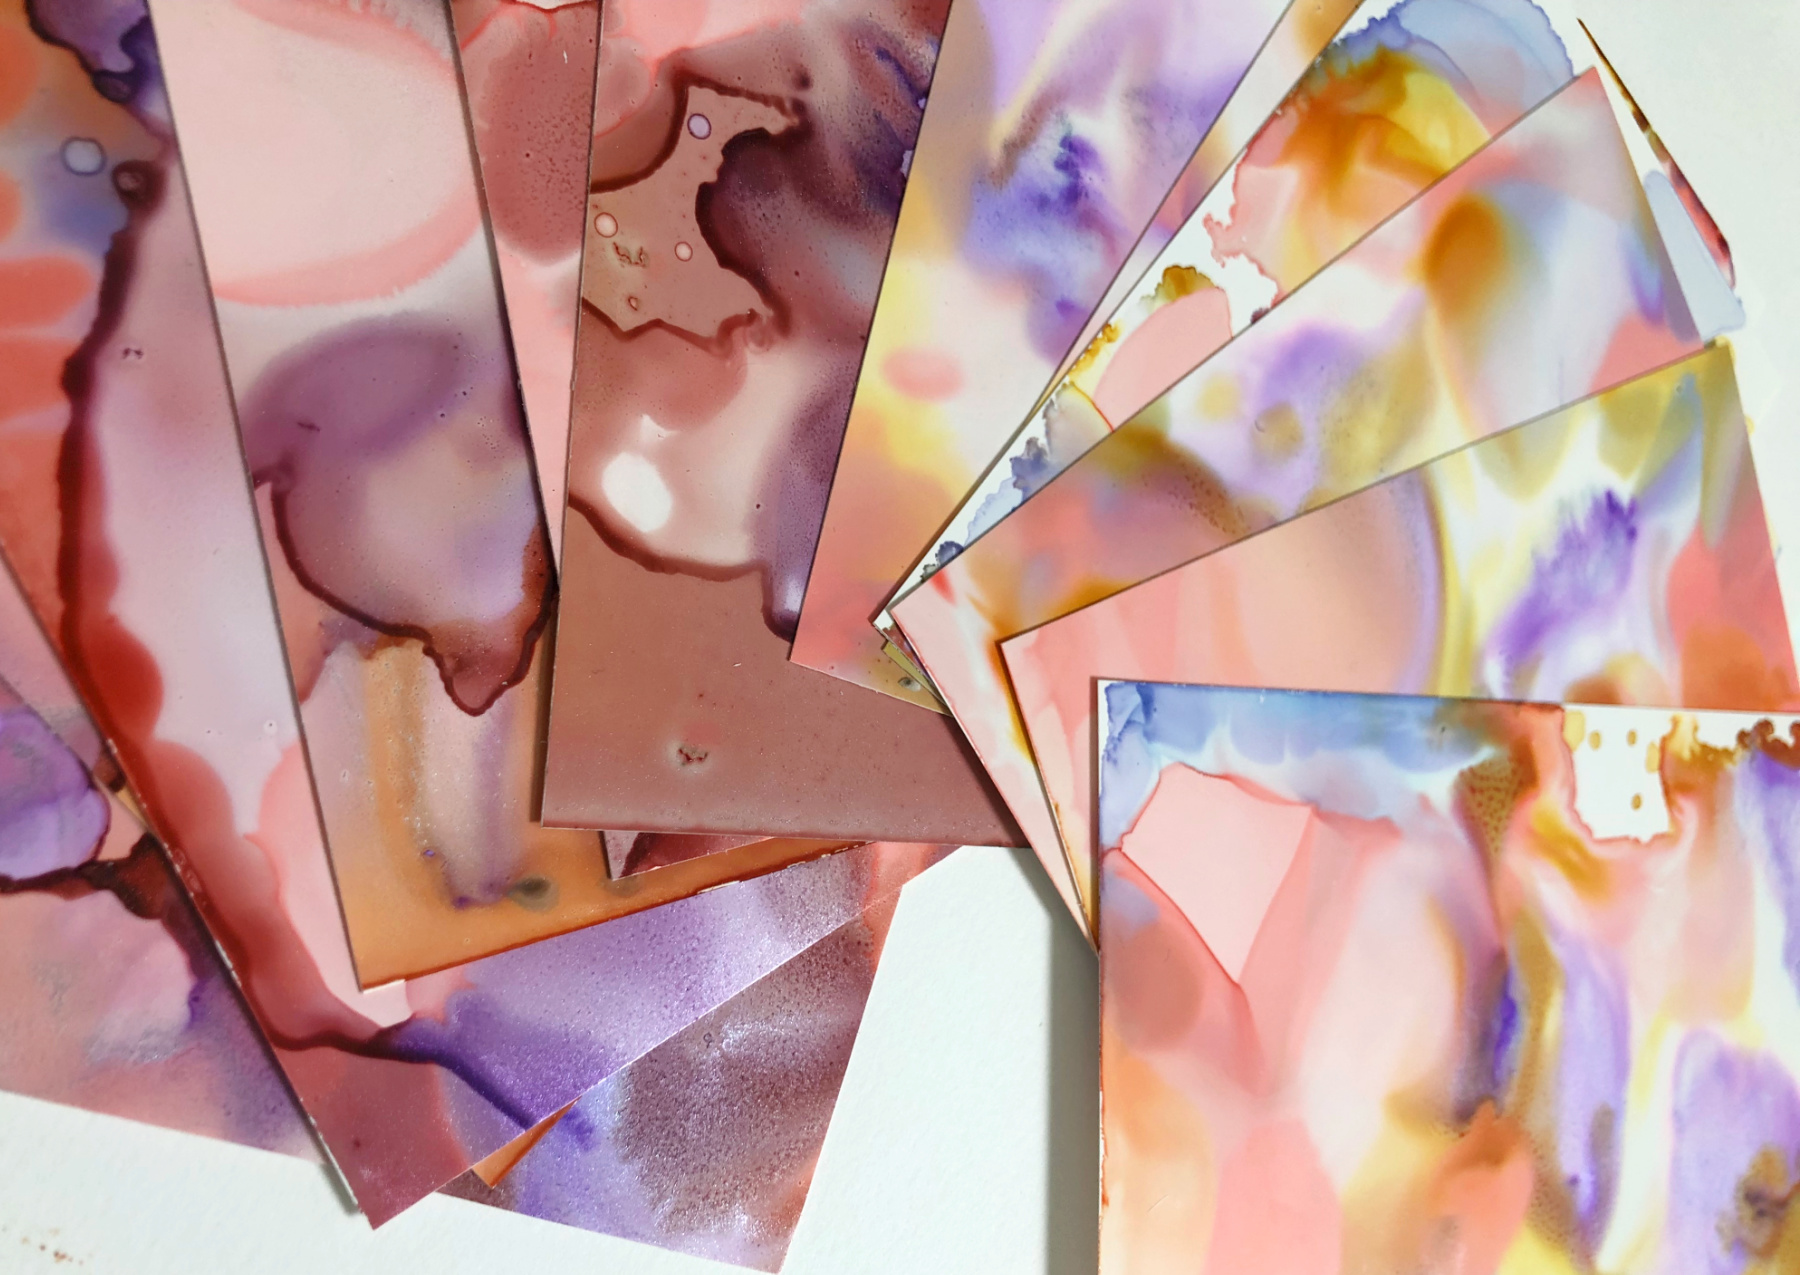
6. Use a paper trimmer or a ruler, pencil and scissors to measure and cut the Craft Plastic (with
the now-dry alcholol ink) into 4 x 6 inch postcard-sized cards.
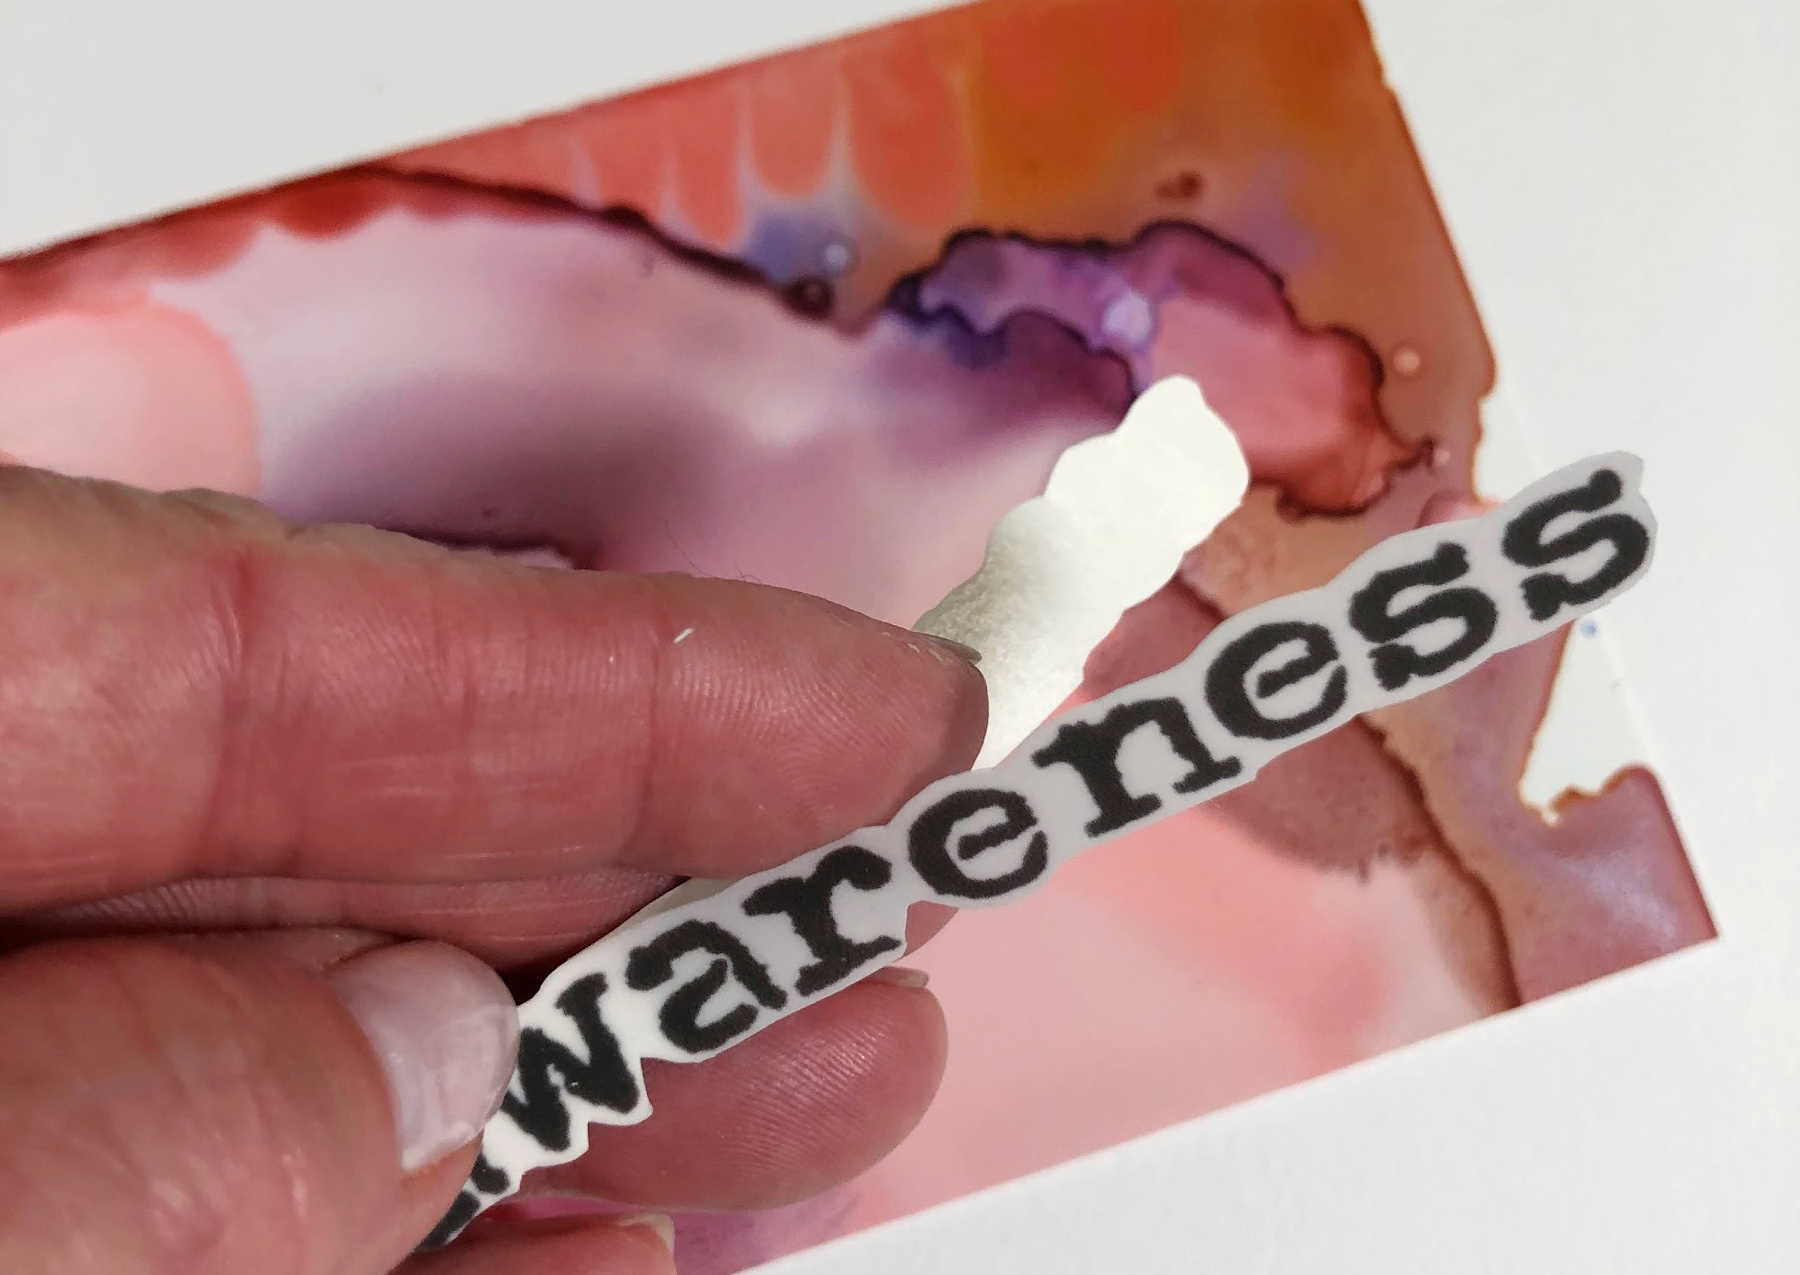
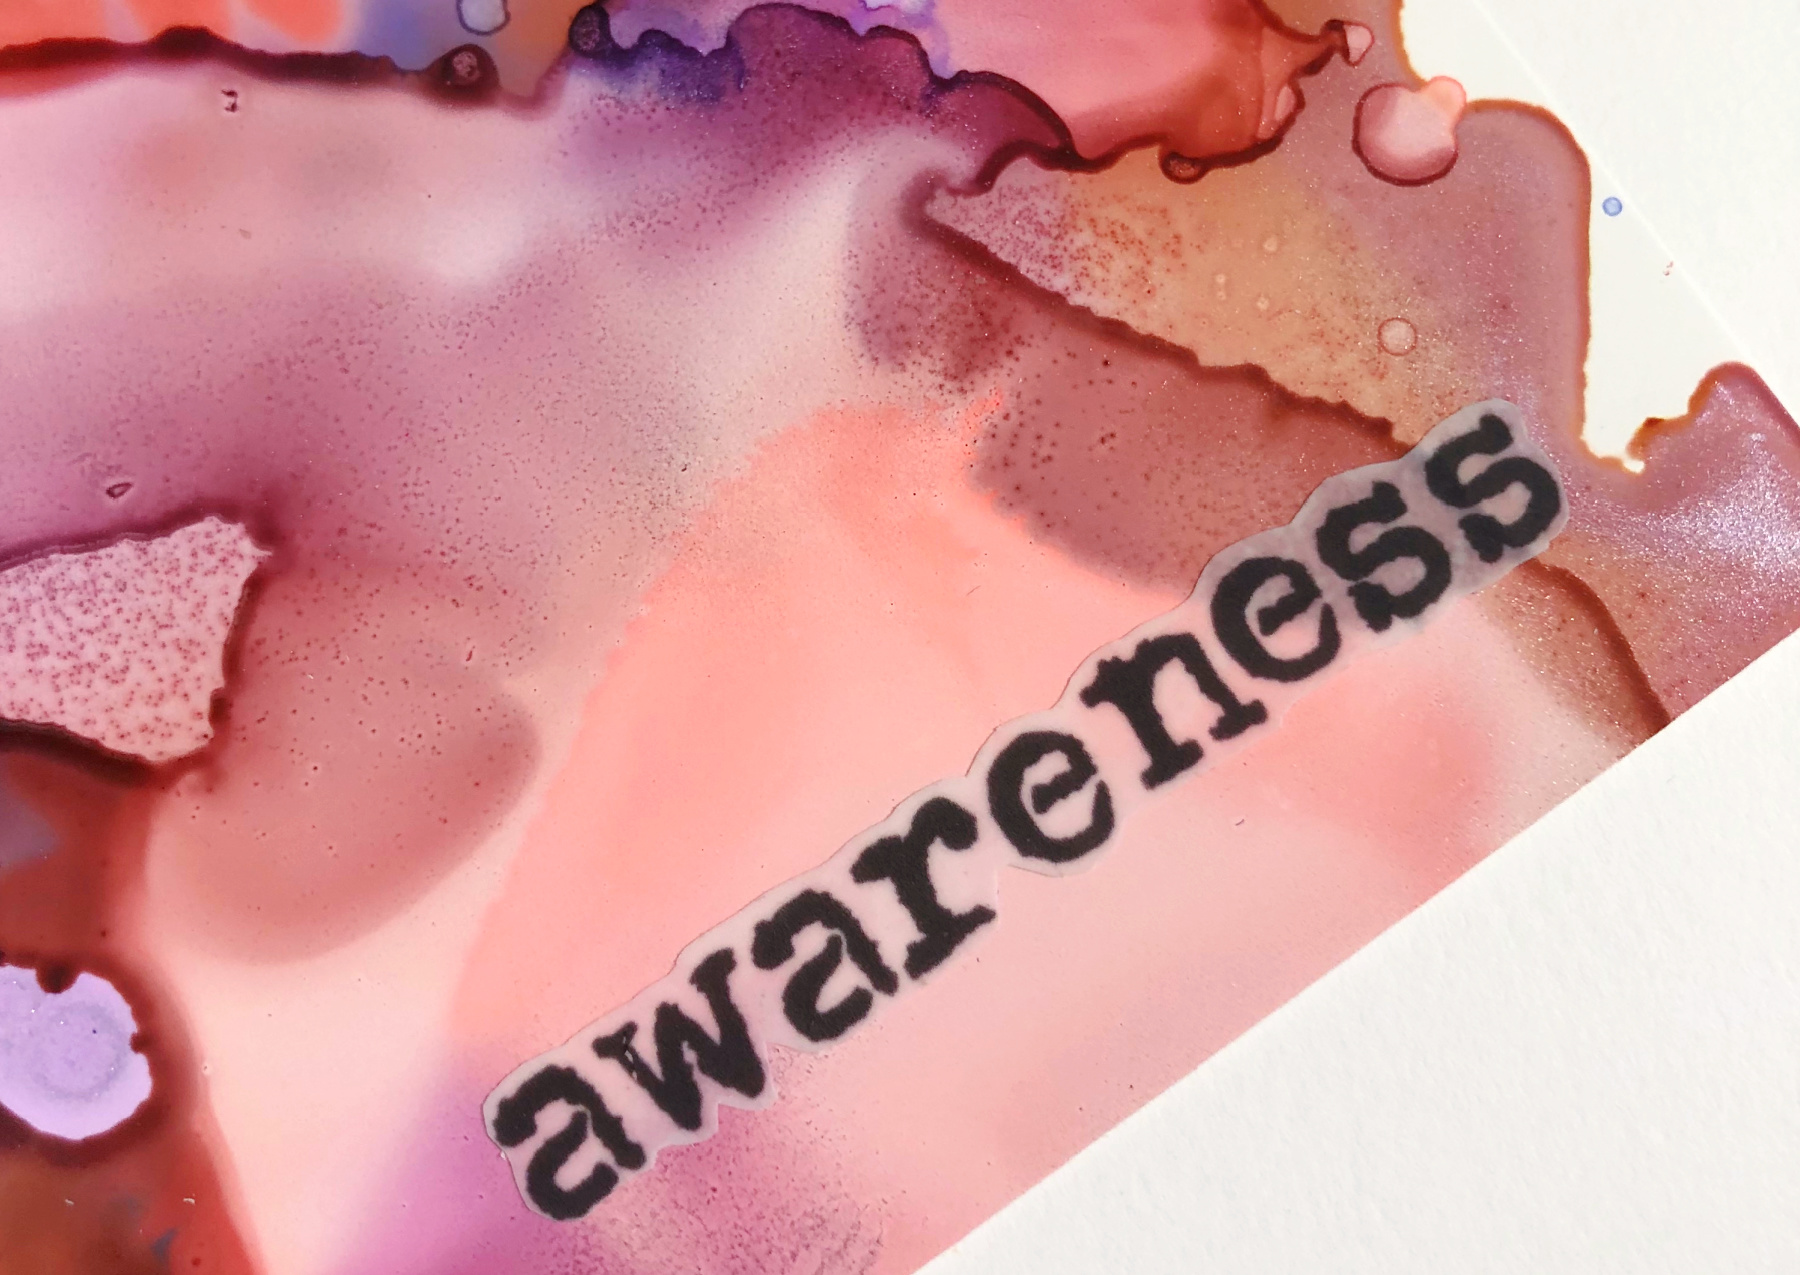
7. Remove the backing from the adhesive backed words and adhere them to your cut alcohol
inked cards. Set this sandwich layer aside to work on the next layer.
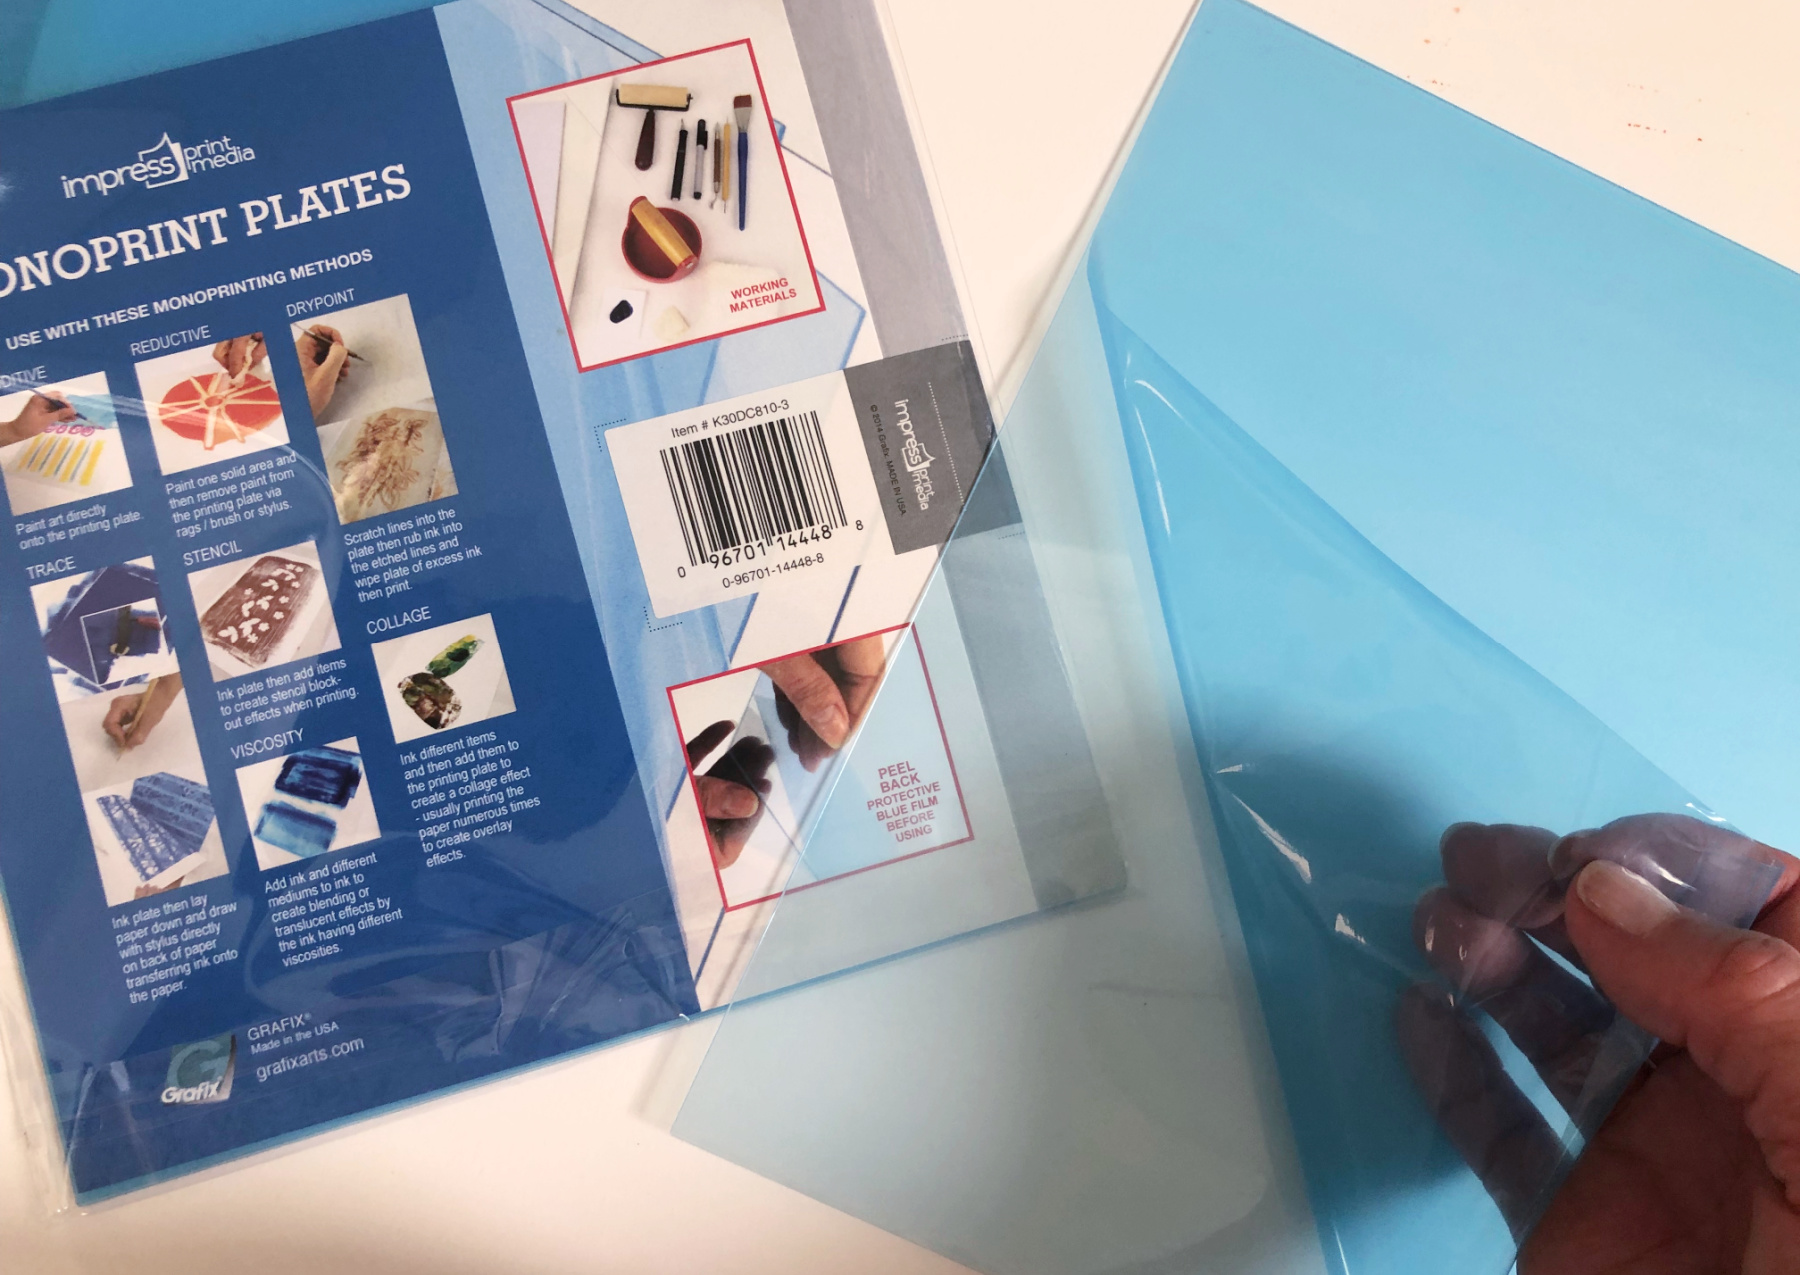
8. Following the package directions, remove the protective film from a Grafix Impress Print Media
Monoprint Plate.
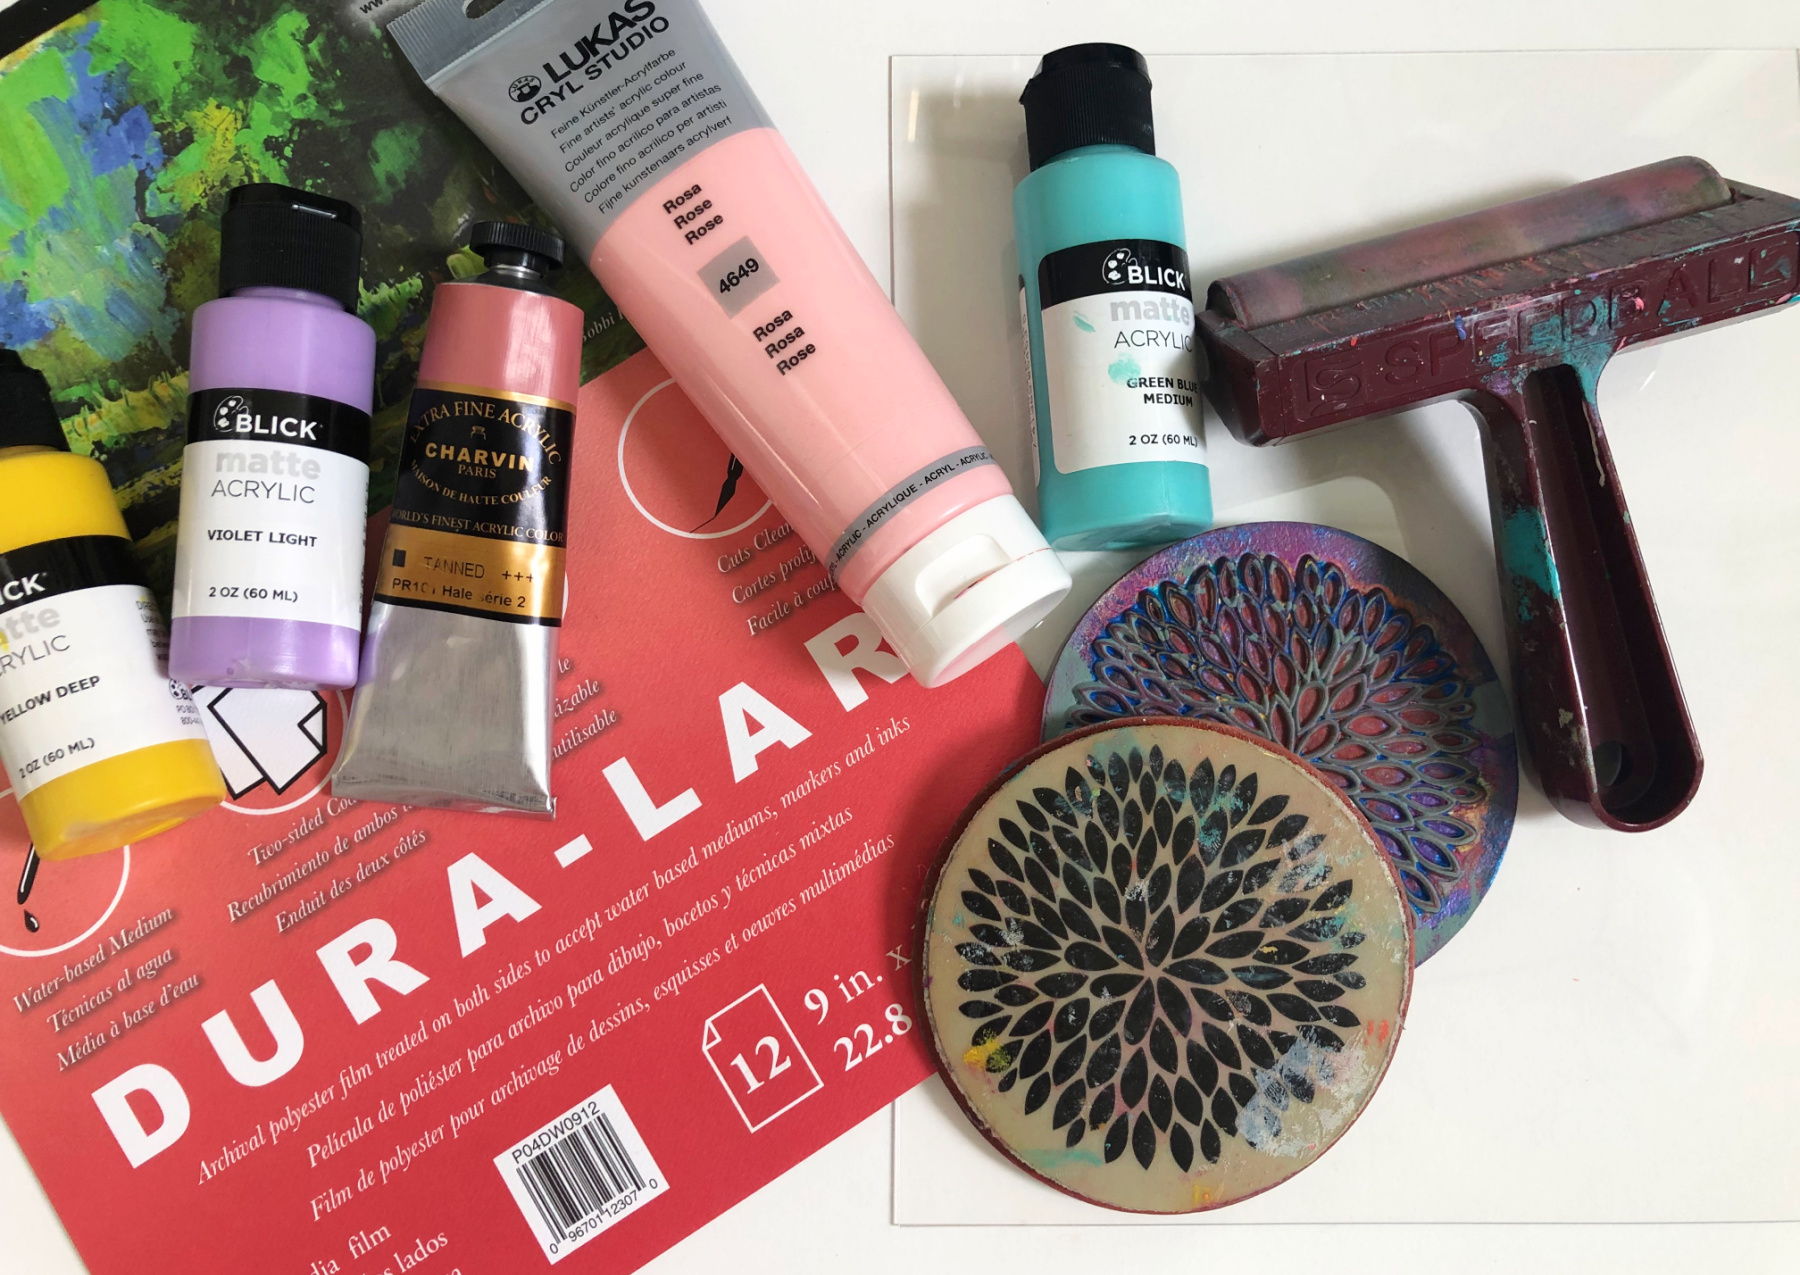
9. Gather your printing supplies. Your Monoprint Plate is to one side, along with your acrylic paints,
the brayer and your stamps. Your substrate, or surface you’ll be stamping onto is the Dura-Lar
Wet Media Film. You’ll need to create at least two of these stamped sheets of Dura-Lar, since
the dimensions are 8.5 x 11 inches and the Craft Plastic is 12 x 12.
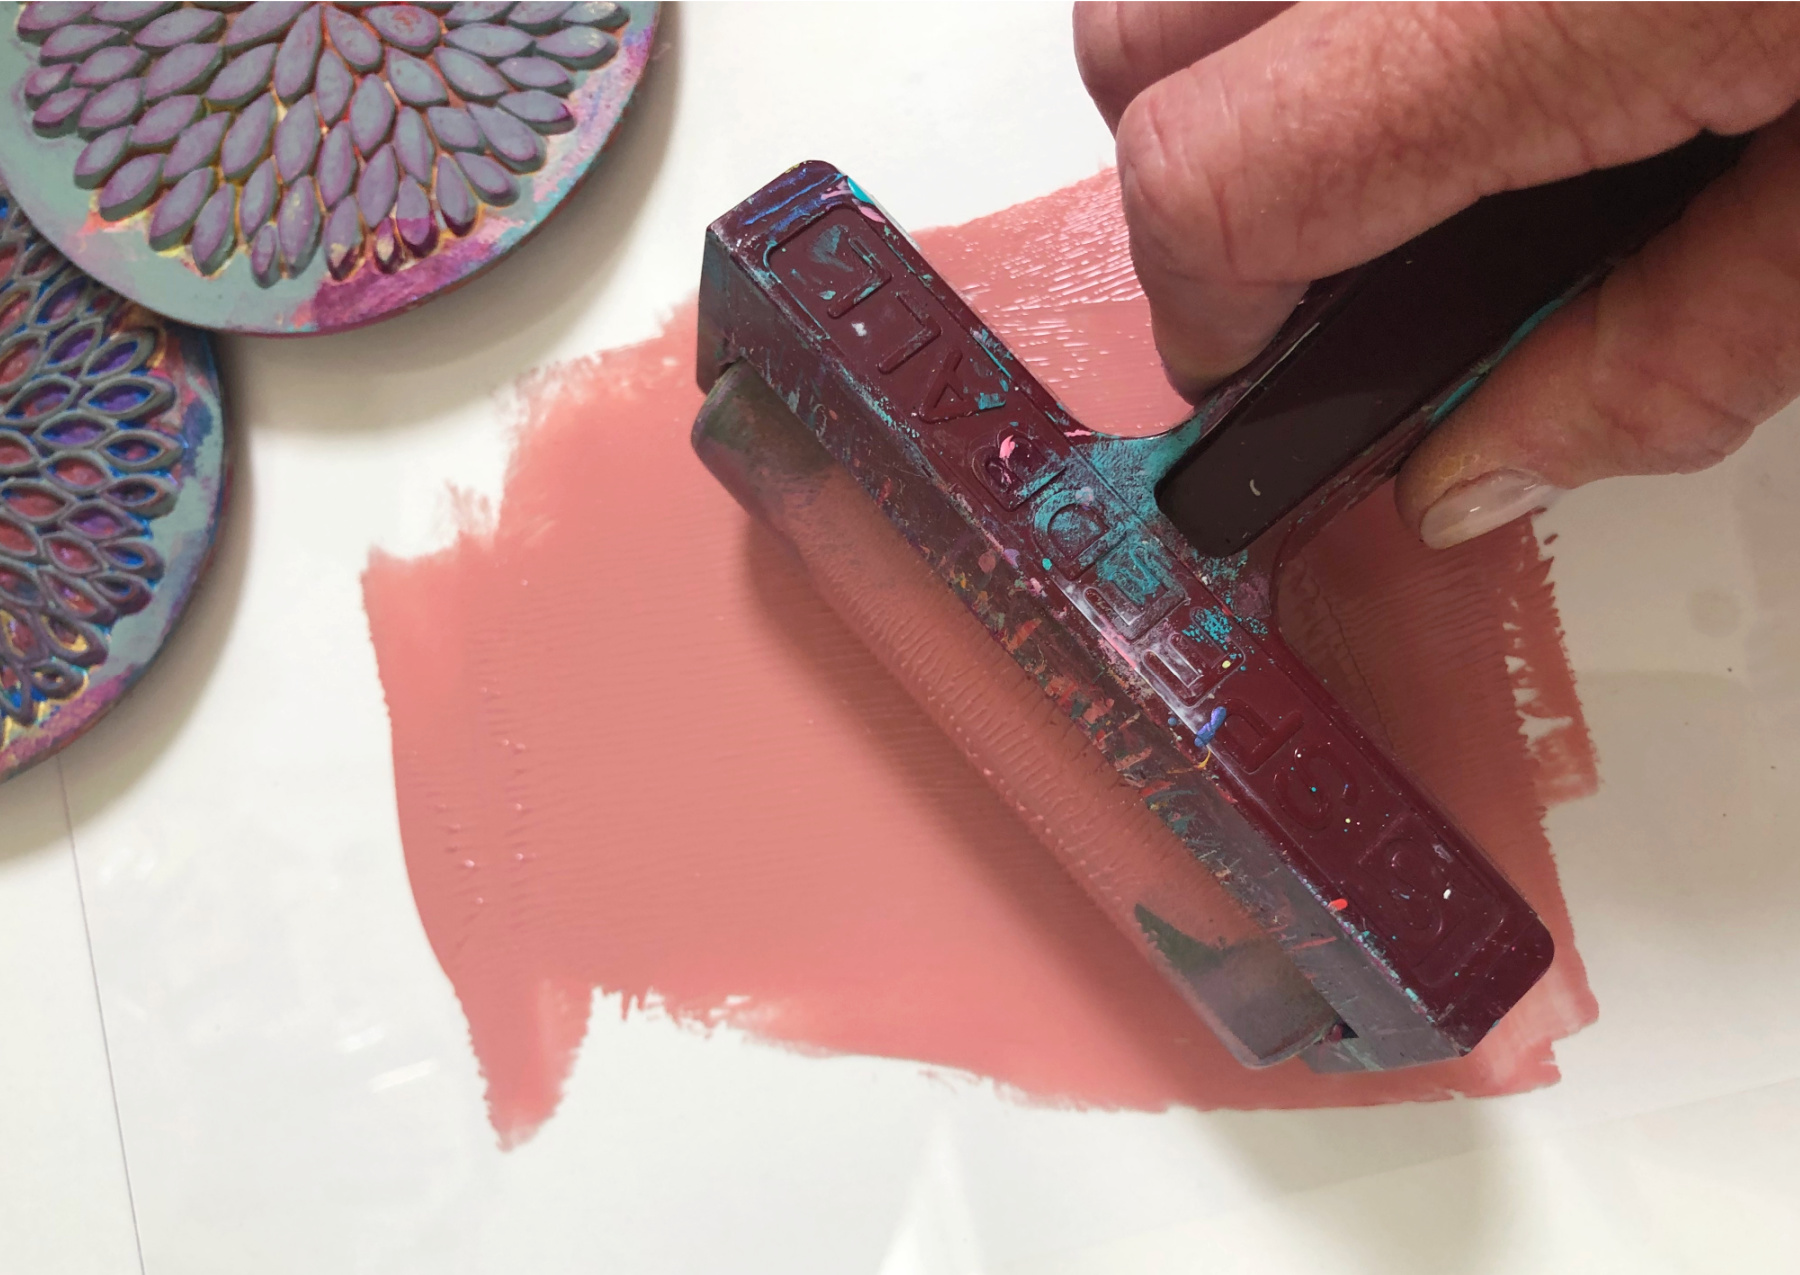
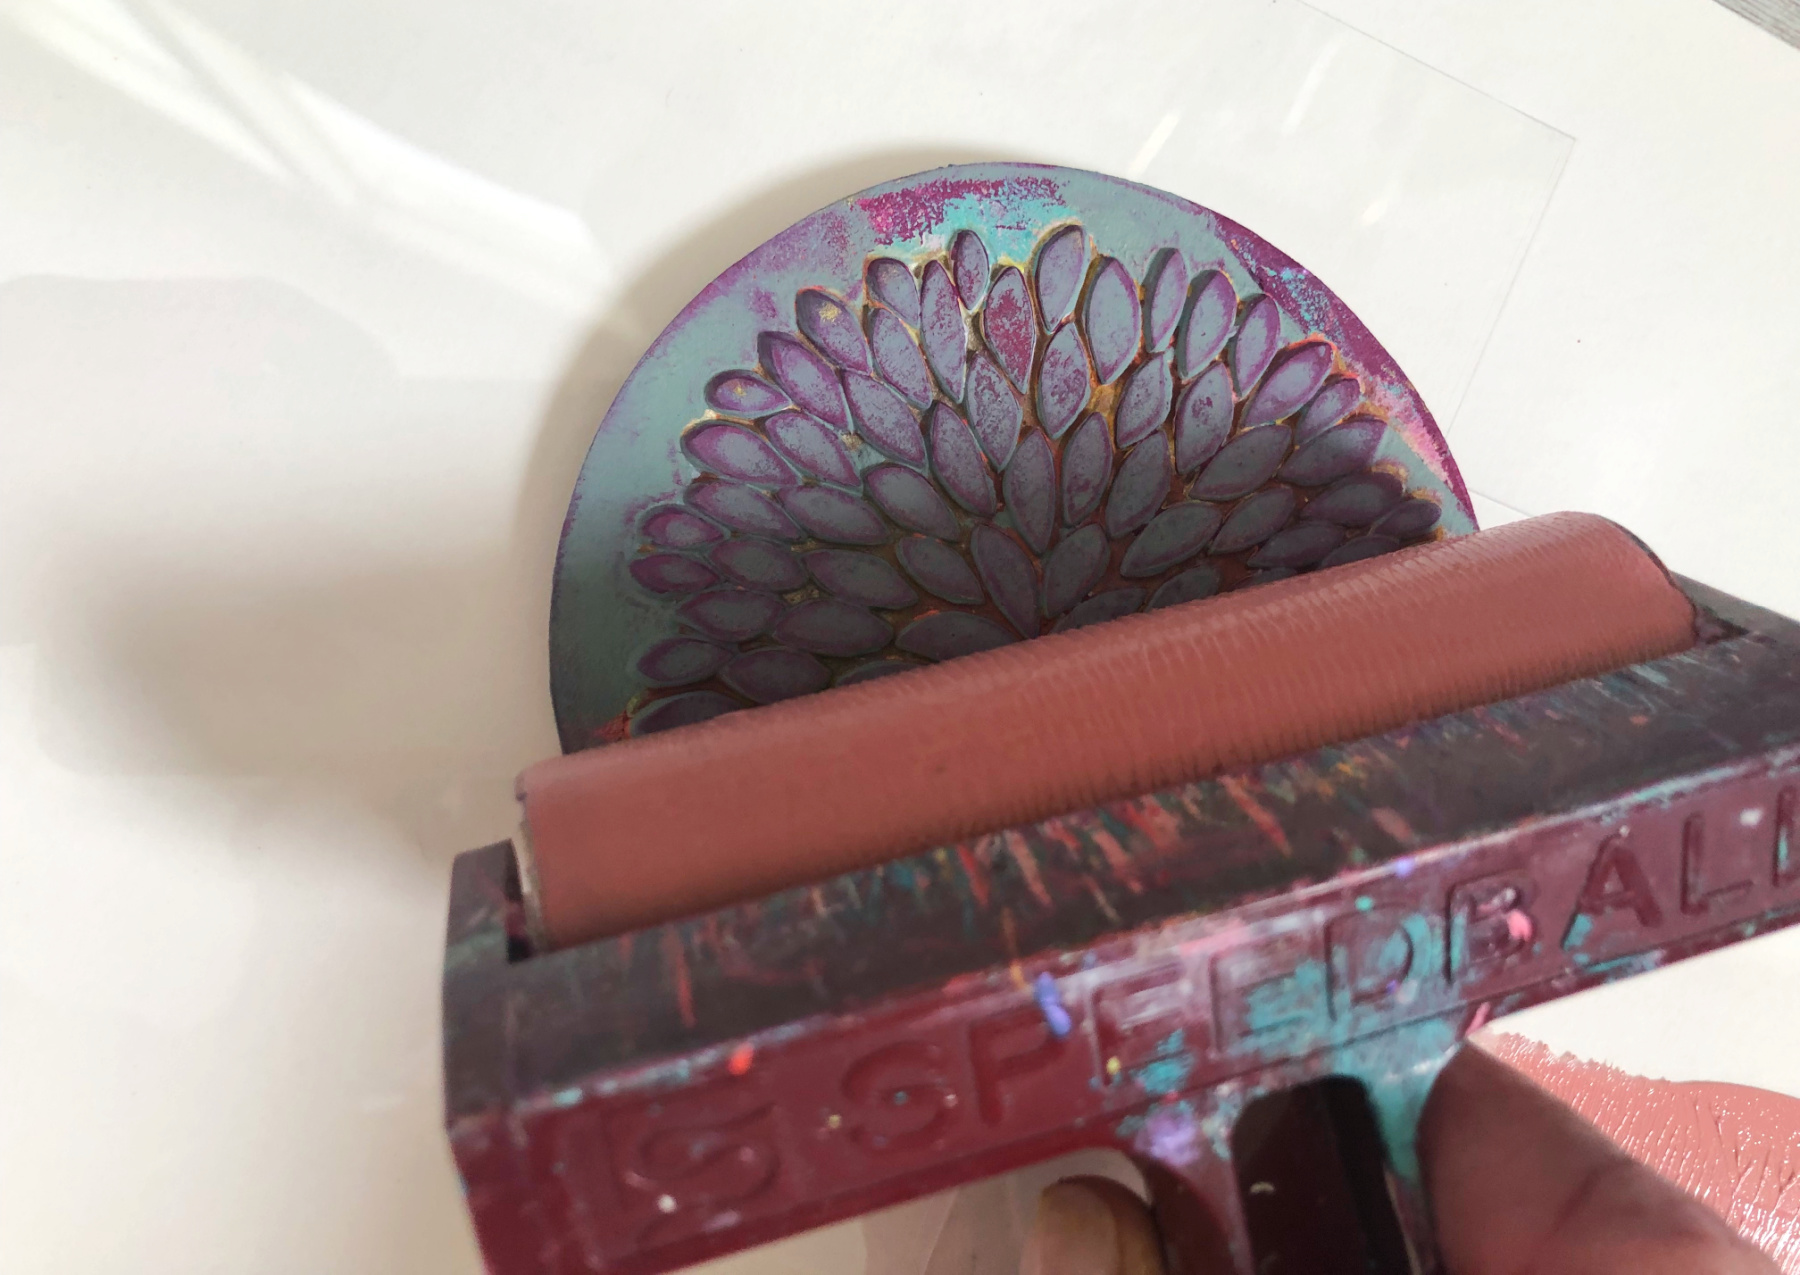
10. Apply one color of paint onto the Monoprint Plate and brayer through it to spread it onto the
plate; you’ve got paint on your brayer you can apply to your stamp. Roll the painty brayer over a
stamp to get the stamp covered in paint.
11. Gently press the stamp onto the Dura-Lar sheet. It may be slippery, so try not to let it move so
that you get a clean stamped image.
12. You can also get paint onto your stamp by pressing it into the paint that is on the Monoprint
Plate; stamp a few more images in this color onto the Dura-Lar sheet.
13. Repeat this process with a different stamp and a couple more colors. Overlap the stamps and
stamp some off the edge of the Dura-Lar sheet. Leave some space between stamped images.
We need some “see-through” areas, so don’t cover the entire Dura-Lar sheet with stamping.
14. Let the paint on the Dura-Lar sheets dry completely and then cut the sheets into 4 x 6 pieces.
15. With the painted side down, fasten the stamped Dura-Lar pieces to the alcohol inked card
backgrounds. I used my sewing machine, stitching around the edges of the cards with a wide
straight stitch. You can hand sew them, but you will need to poke some holes around the edges
with an awl first. Then, using a needle and thread will be a lot easier. Or, you can staple around
the edges. Colored staples would be fun! Finally, you could just use a glue runner to apply a line
of glue around the edges of the painted side of the Dura-Lar pieces, and then sandwich the
Dura-Lar to the Craft Plastic pieces.
16. You can see your word and your lovely inky background through the stamped Dura-Lar! You
can write directly onto the Craft Plastic on the back of the cards to send a message and some
beautiful happy mail to someone you love!
[/efsrow]

