Grafix Chipboard and Computer Grafix Sticker Box
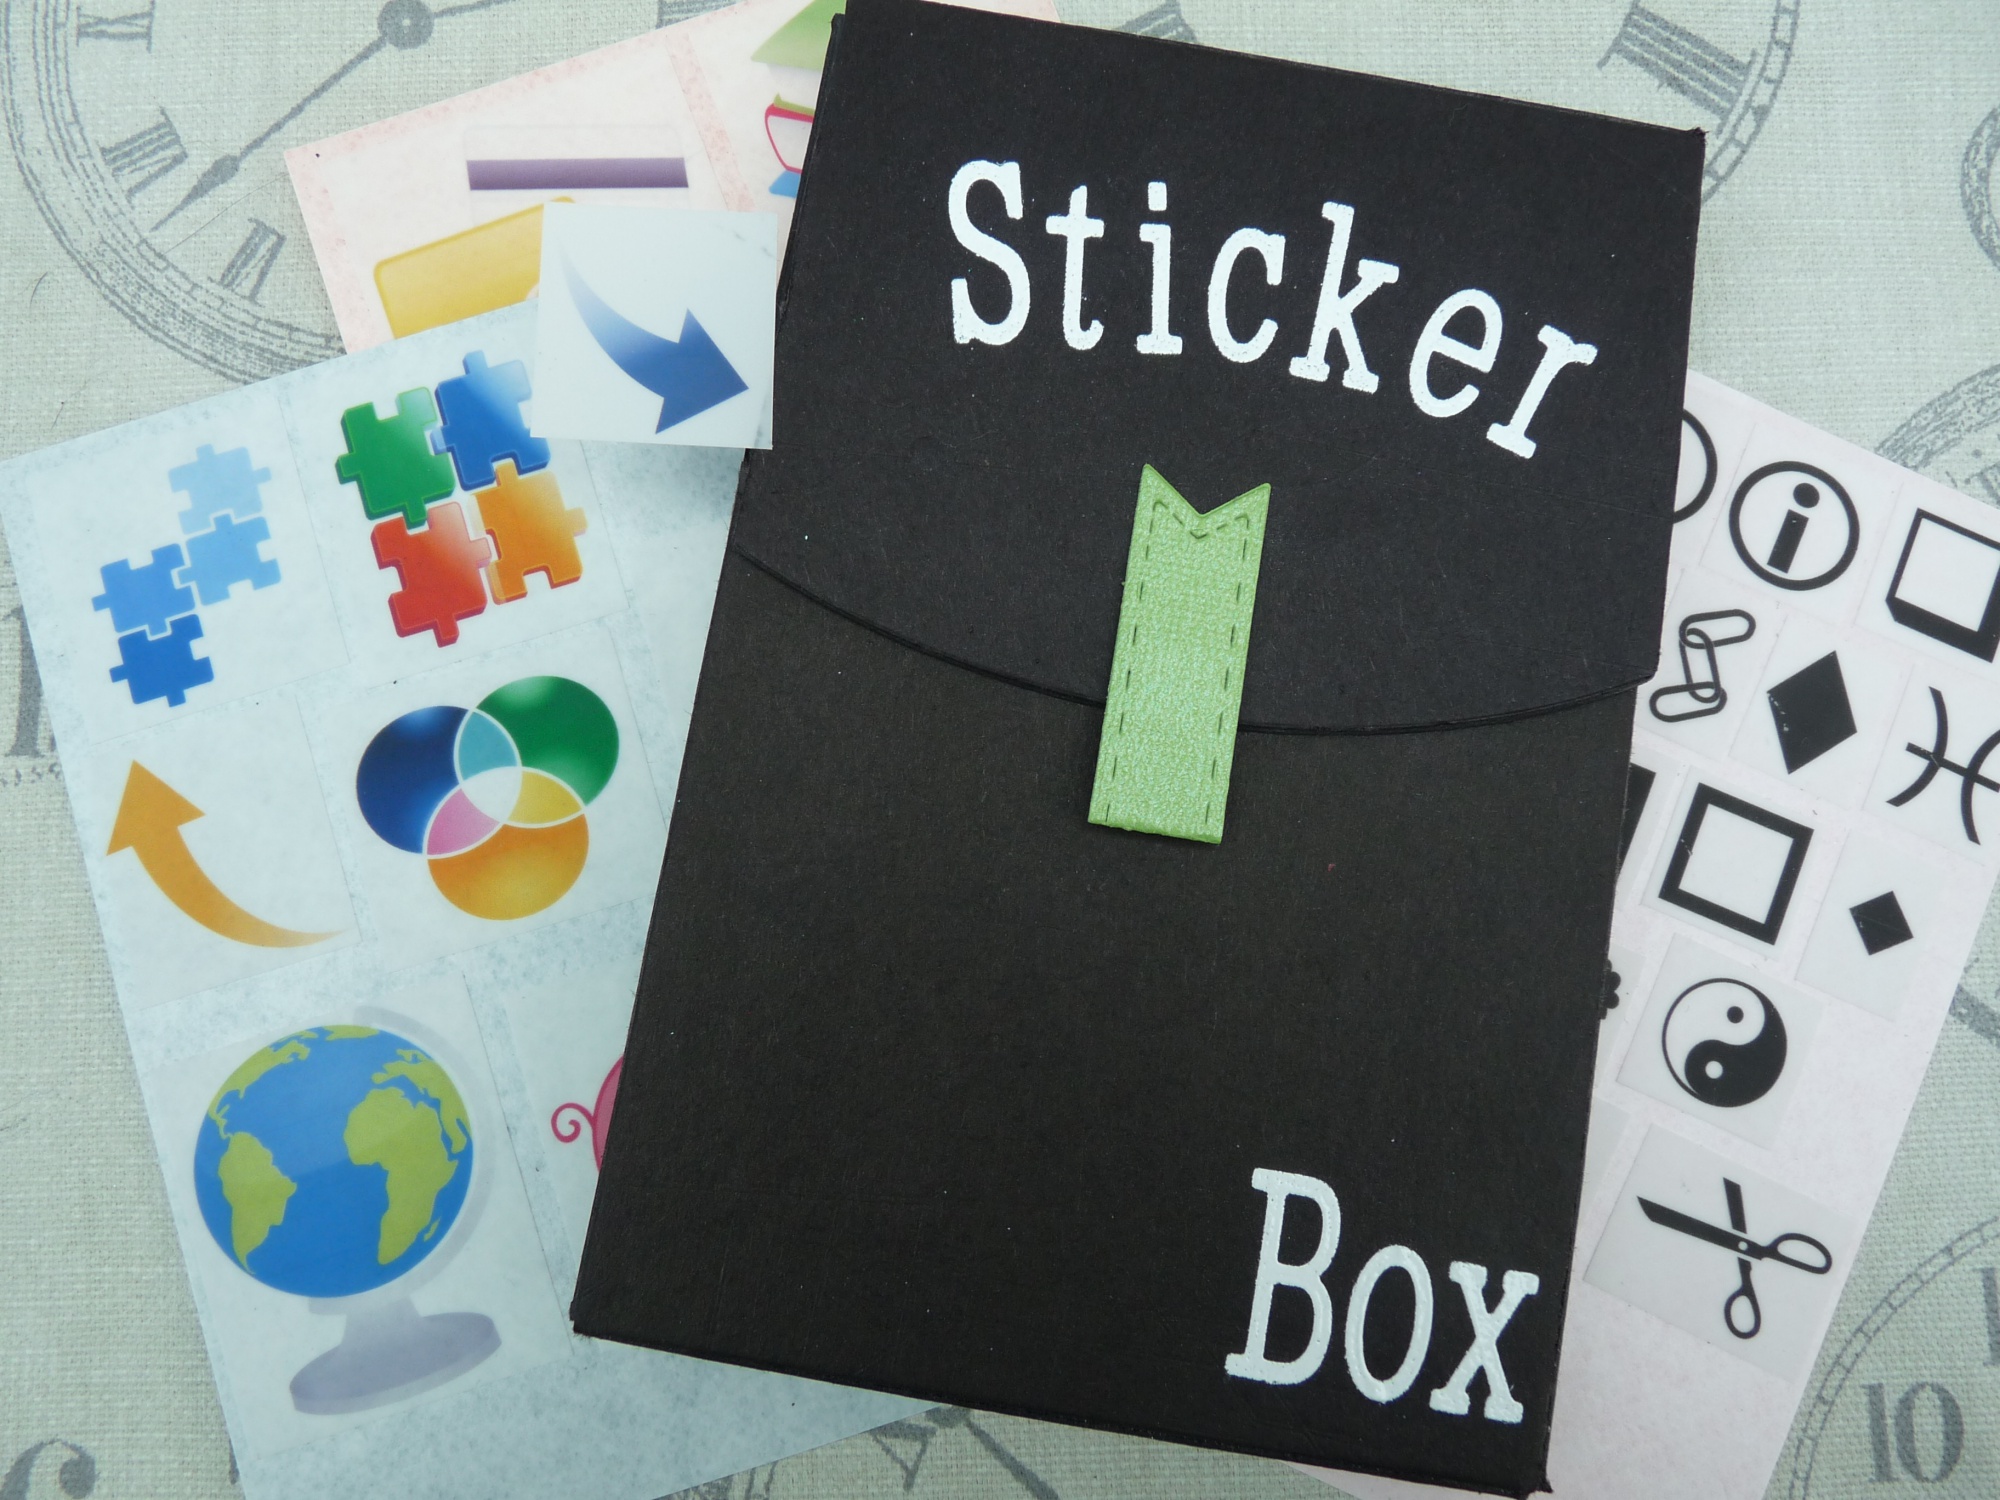
Project Description: Make your own flip box with Grafix black Chipboard and Computer Grafix Film to store your planner or journal stickers. This box would also make a great gift for friends and family!
Designed by: Kay Molyneux
Difficulty: Moderately Challenging
Materials:
- Computer Grafix Matte Adhesive-Backed Film
- Computer Grafix Clear Adhesive-Backed Film
- Grafix Black Chipboard
- Grafix Artist-tac
- Grafix Double Tack Mounting Film
- 2 Small Flat Magnets
- 4”x6” Colored Card Panels
- Bright Colored Die Cut Banner Shape
- Sharp Craft Knife
- Computer/Laptop with Compatible Ink Jet Printer
- Alphabet Dies with a Compatible Die-Cutting Machine
- 3-D Card, CD storage & Die storage Sizzix die (662359)
- White Embossing Powder
- Craft Heat Tool
Steps to Make This:
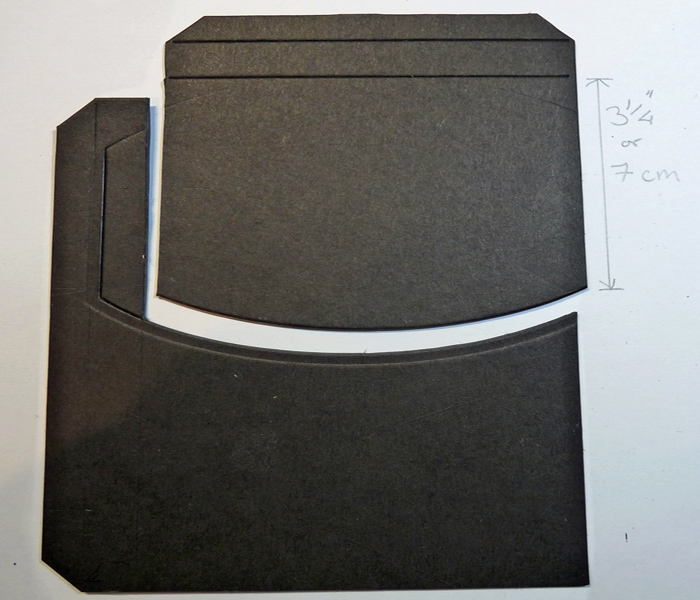
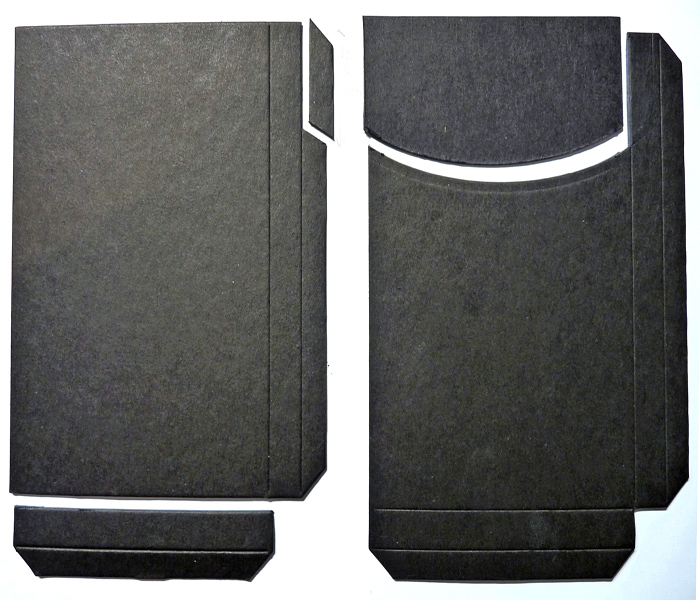
- Cut three of the 3-Die from the black Chipboard and trim each with a craft knife, smooth any rough edges with a fine sandpaper. (You can use a die or a plate to achieve the curve look).
- Fold and crease the score-lines.
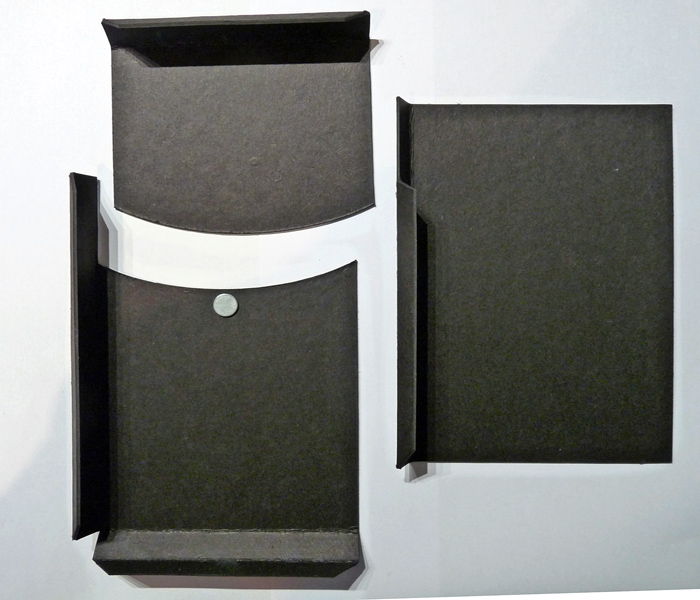
- Adhere the magnet onto the inside of the front panel with a Double Tack Mounting Film. You can cover the magnet with a strip of washi tape.
- Then make up the box by adhering the tabs with Double Tack Mounting Film.
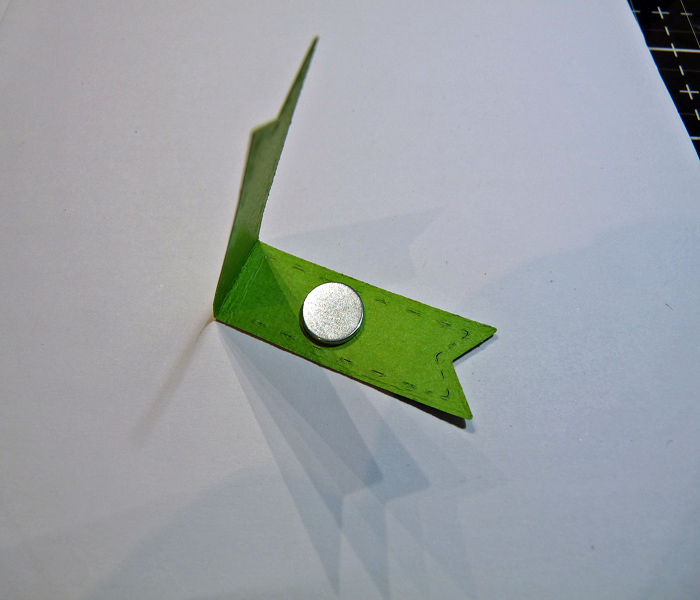
- Fold the colored banner in half and adhere together with the magnet inside.
- Then add Double Tack Mounting Film to one side, put the lid of the box in the closed position and carefully position over the magnet on the box, the magnets will ‘lock’ together. Press to form a bond.
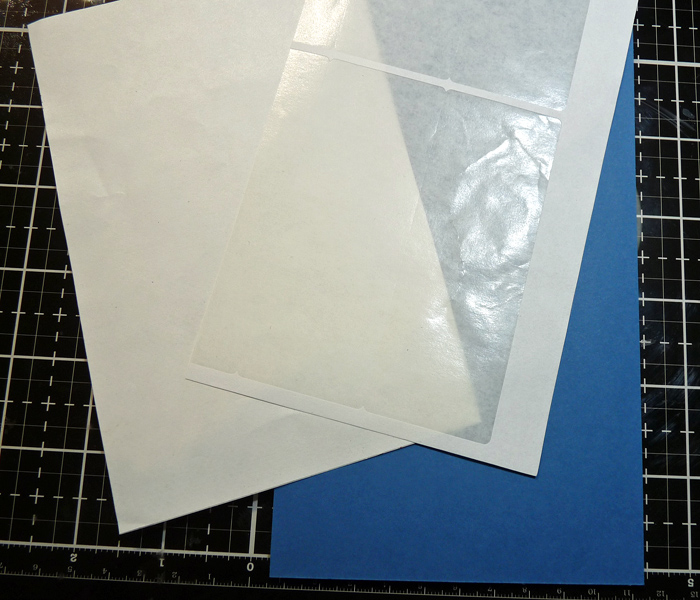
- Adhere Artist-tac to the colored card panels and attach the backing sheets to them with the non-stick surface face up. (Trim as necessary).
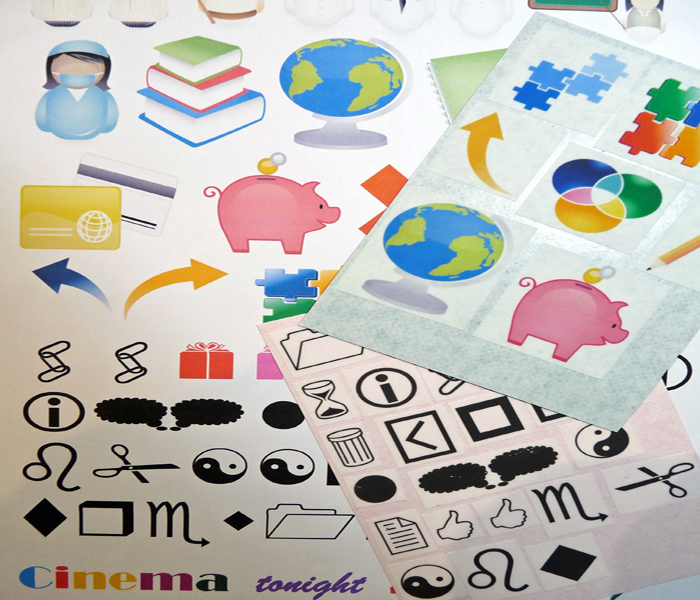
- On your computer add non-copyright shapes, icons, sentiments, and ClipArt onto an A4 page. Print out onto the Computer Grafix Adhesive-Backed Film following the pack instructions. Cut out individual items to make stickers, peel the liner off, and place onto the non-stick card sheets.
- Die cut a title for your box from Double Tack Mounting Film using the alphabet dies. Stick onto the front of your box, expose the adhesive and cover with the white embossing powder, remove any excess and heat to melt.

