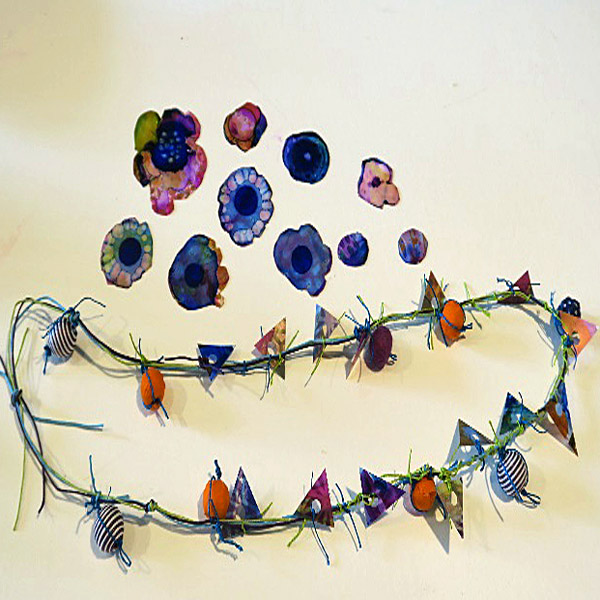
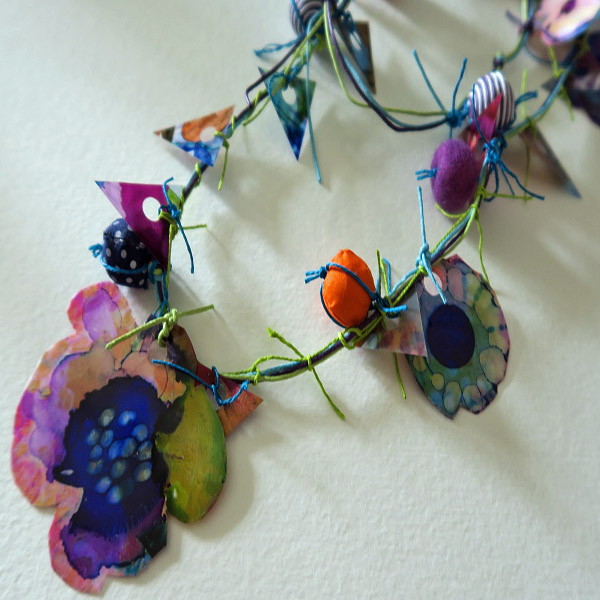
Grafix Clear and Matte Dura-Lar Film Necklace with Alcohol Ink
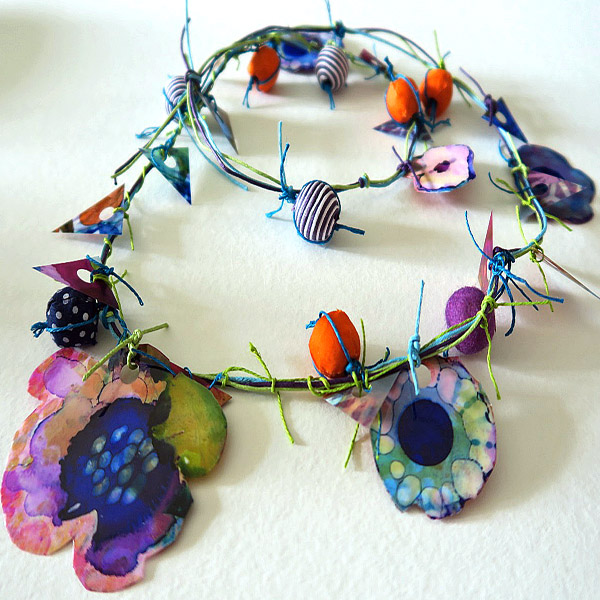
Project Description: Why leave your creative Dura-Lar Film Alcohol Ink designs framed on the wall when you can wear them out? Follow this creative project guide to make your own Dura-Lar and Alcohol Ink necklace.
Designed by: Chris Cozen
Difficulty: Easy
Materials:
- Grafix Matte .005 Dura-Lar Film 1 Sheet
- Grafix Clear .005 Dura-Lar Film 2 Sheets
- String or Threads in Various Colors
- Various Lightweight Beads with Large Holes
- Ranger Alcohol Inks in Colors of Choice
- Golden Artist Colors and Lumiere: Metallic and Iridescent Paints in Colors of Choice
- Small Tip Paint Brush
- Wide Paint Brush
- Old Credit Card
- Alcohol
- Hole Punch
- Silicone Wedge Tool
- Soft Cloth
Steps to Make This:
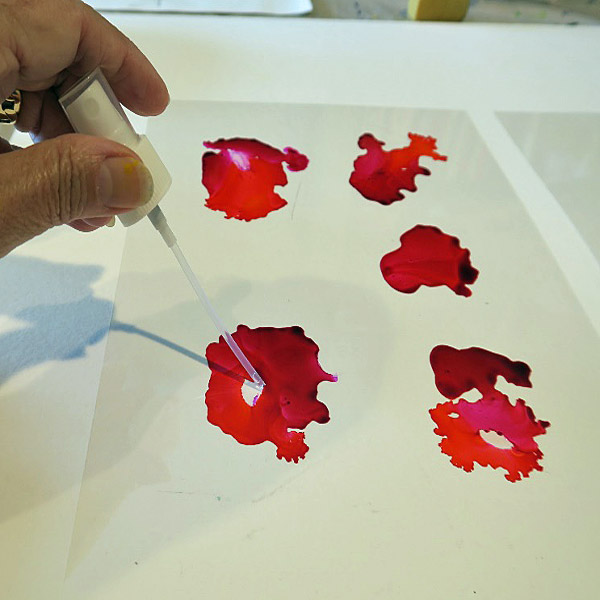
- This necklace will be a two-sided flat embellishment. Start by dropping warm colors (red, yellow, orange) of alcohol ink onto a Grafix Clear .005 Dura-Lar Film sheet.
- Then drop a bit of pure alcohol into the center of the colors to open up a space creating a “flower” shape.
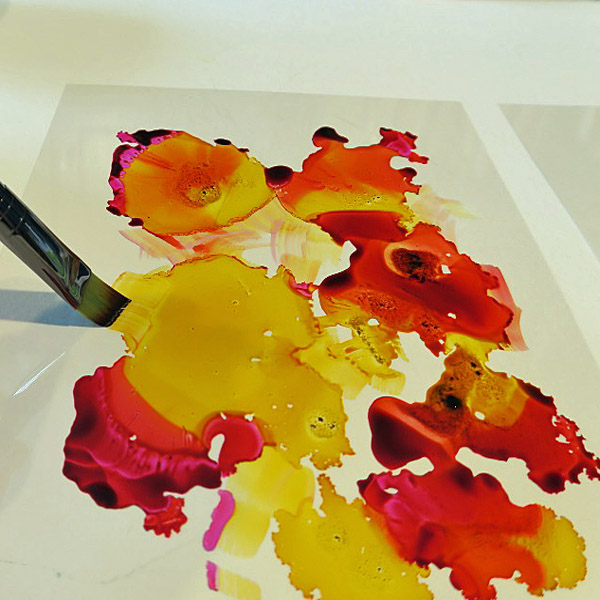
- Add in the yellow and used a brush to move the alcohol ink to create different shapes and strokes to fill up the entire surface of the sheet.
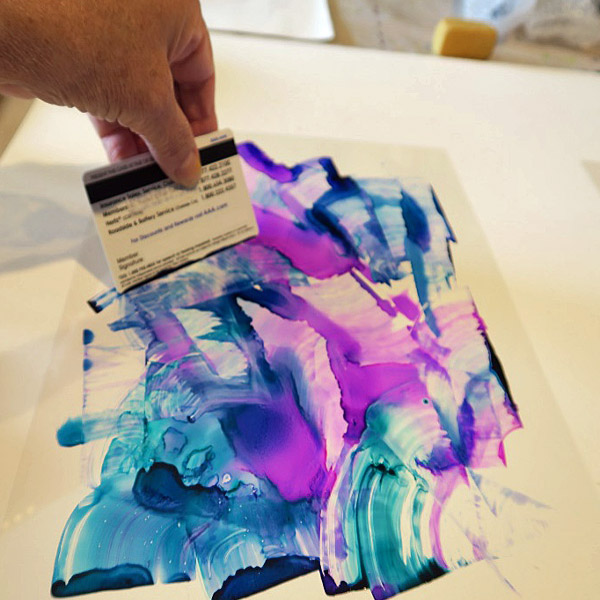
- For the second Clear Dura-Lar Film sheet, switch colors to the cooler colors (blue, purple, and aqua) and utilized an old credit card to move the paint for different effects on the surface. This gives more elongated shapes.
- Add drops of alcohol to create more flower shapes.
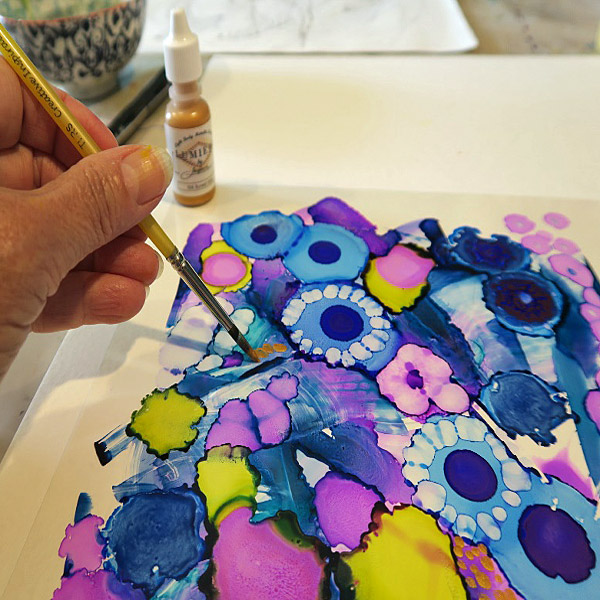
- Then use a small brush to open spaces on the alcohol which creates dots to fill up the entire sheet.
- Add small touches of Lumiere gold metallic paint to the surface of the Clear Dura-Lar Film for a little shimmer as well as Golden Interference Violet.
- Repeat this on the first sheet utilizing Golden Interference Red paint with a wide brush.
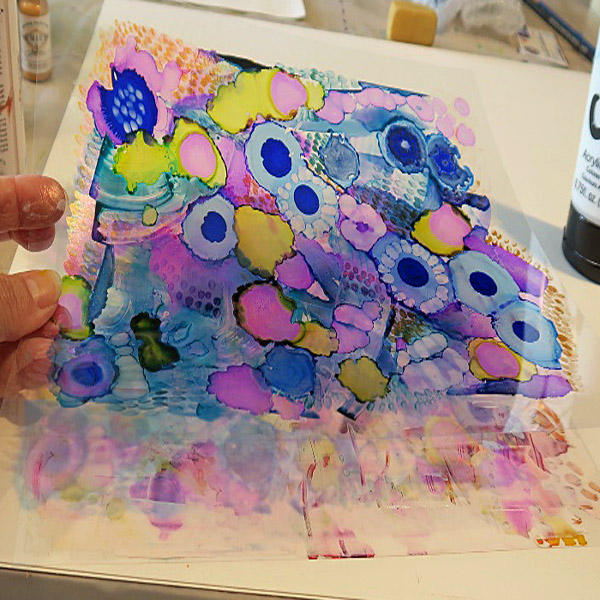
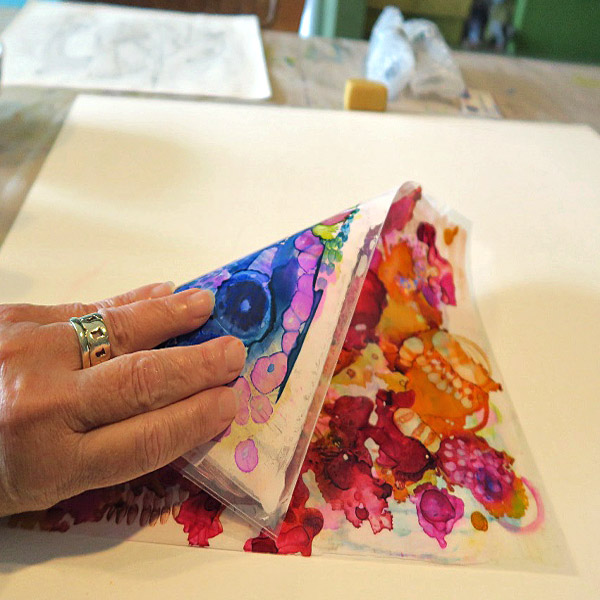
- In order to achieve the look of shine on both sides and no sign of paint, sandwich the two sheets together.
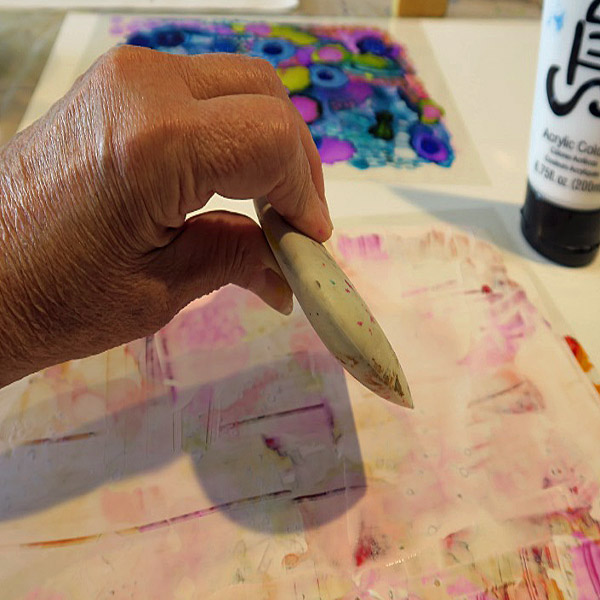
- Then use white soft-bodied paint and apply it to the painted side of the red sheet with a silicone tool.
- While it was wet, placed the blue sheet paint side down on the wet paint and quickly line it up.
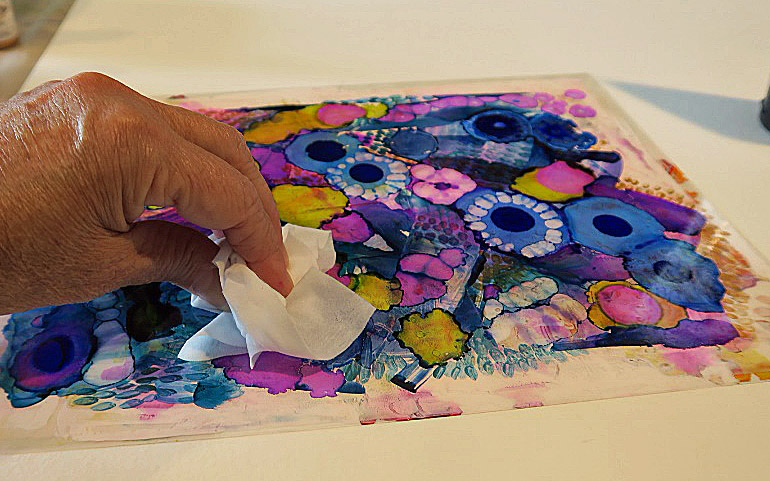
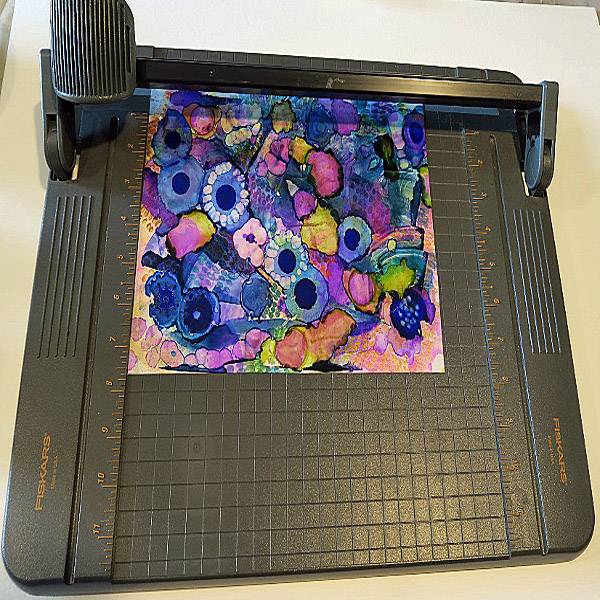
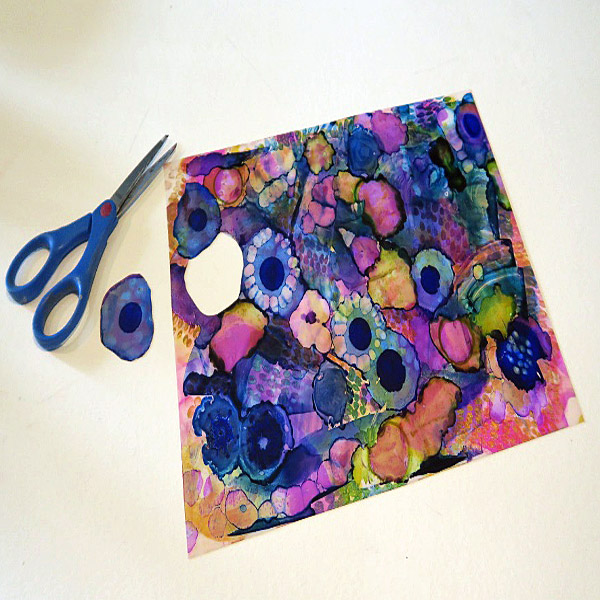
- Use a soft cloth to lightly burnish the two sheets in order to ensure that every inch is in contact with the wet paint in the center. (Note: This takes some time to dry as both surfaces plastic. Once the paint dries the two sheets become one and can be cut with scissors, trimmed with a paper cutter, or hole-punched quite easily. You can trim away all the excess with a paper cutter).
- Use the same techniques discussed in this lesson to add paint to one side of a sheet of the Grafix Matte .005 Dura-Lar Film.
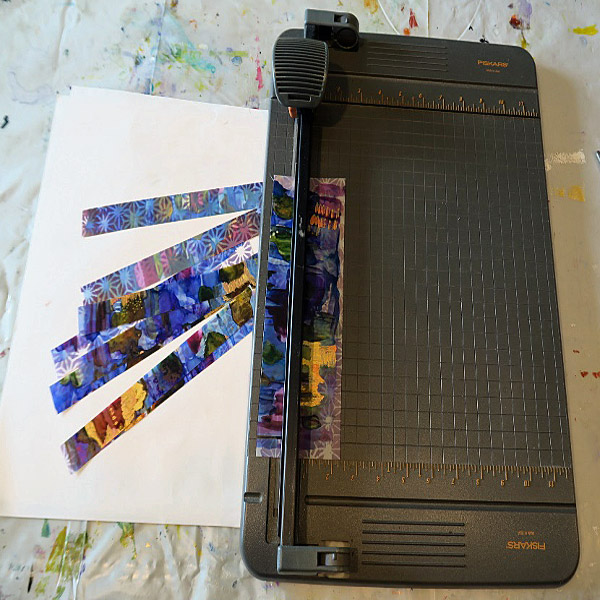
- When dry, flip the sheet over and stencil a small pattern onto the backside. Use a paper cutter or scissors to create long strips. These strips will be cut into little triangles and flower-like shapes then hole-punched to add to the necklace.
- Start building the necklace by cutting three strands of string or thread long enough to fit over the head plus a few more inches for knotting.
- Tie knots in the length of strings every 4-5 inches. This makes it easier to handle.
- Attach the Dura-Lar triangles, beads and the larger lightweight beads using smaller pieces of the string and leaving the ends showing after knotting them securely. Space the triangle pieces away from the face.
- Punch holes in your larger flat elements.
- Attach the flower embellishments to the remainder of the necklace with similar knotting styles. It’s easiest to place these flat ‘beads’ under the necklace and then bring the string up from behind. This allows the pieces to lay flatter when worn.

