Grafix Lesson Plan: Lesson 1
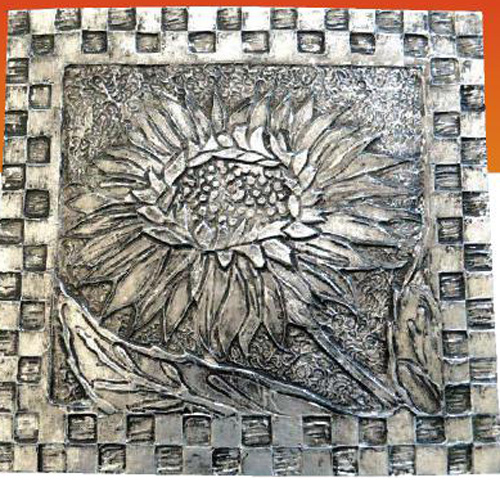
Project Description: Bas-relief (bah-relief), also referred to as low relief, is a form of sculpture in which objects project slightly from a background. This is an ancient technique which has been used in many cultures. Examples of bas-relief are not freestanding meaning that they are usually attached to a structure or carved into a structure. Examples of bas-relief can also be found on decorative boxes and other objects. While bas-relief sculpture is frequently associated with a carved surface, it can also be created in other ways.

Designed by: Kirby Meng
Difficulty: Moderately Challenging
Materials:
- Grafix Chipboard
- Paper and pencil for planning
- Grafix Chipboard scraps to cut and glue to base to create images and designs
- Additional low-relief collage materials such as buttons, netting, window screen, etc. that might add interesting textures
- Scissors and x-acto knives to cut and score Chipboard
- Glue or rubber cement
- Spray adhesive or glue and water mixture
- Heavy duty aluminum foil
- Cotton swabs or pencil eraser
- India Ink
- Paint brush or cotton balls
- Fine steel wool
- Clear coat polyurethane to protect finish
Steps to Make This:
- Begin by looking at examples of bas-relief sculpture from a variety of cultures and periods of time.
- Have students come up with ideas and plan their composition. Having some textured items and low relief collage items like buttons handy is helpful for students who want to work more abstractly.
- Each student will need a piece of Chipboard for the base of the sculpture. It can be square, rectangular, round or cut into a shape that relates to the image being produced.
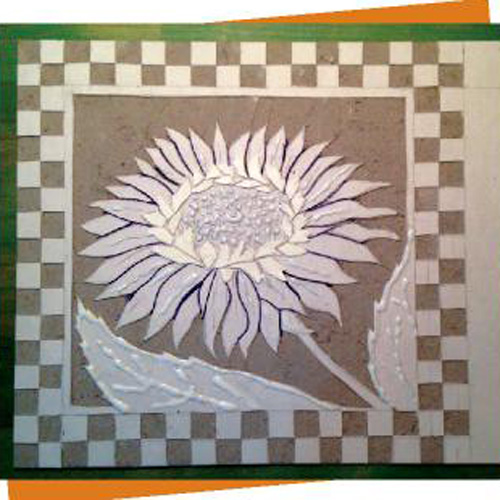
- Students will cut pieces to add to the Chipboard to create the planned picture or design. If students draw their idea full size, they can use the plan as a pattern to cut shapes from additional Chipboard. Chipboard can be scored to create interesting textures and some areas of Chipboard can be partially cut away to create even more relief. Have students cut about halfway through the Chipboard if they want to use this subtractive technique in addition to the additive methods. Glue can be used to add some details.
- Students should glue the cut pieces and/or other materials to the Chipboard base.
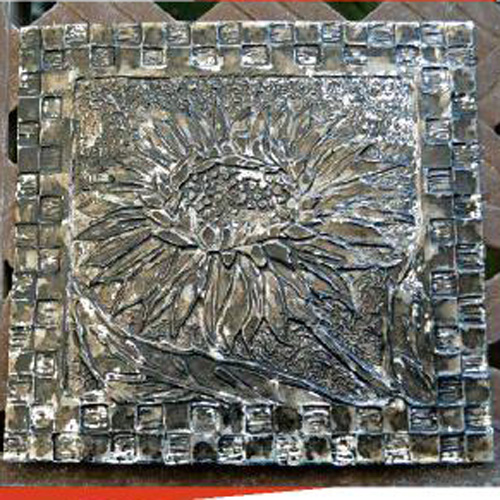
- Have students spray the collage with adhesive or brush a thin layer of glue/water mixture onto the collage. Cover the entire base and attached pieces in heavy duty aluminum foil and wrap it around the back of the chipboard. Use a soft tool such as a cotton swab or pencil eraser to smooth the foil down around the edges of the glued shapes. A rubber tipped painting tool or anything that is not too sharp or hard will also work for this. Be careful not to tear the foil.
- Cover the entire front of the artwork with India ink using a brush or cotton ball. Let dry. Use fine steel wool to burnish the raised parts of the composition.
- Spray with a clear coat polyurethane to protect the finish.
- Display completed artwork and critique as a group.