Grafix Lesson Plan: Lesson 9
Project Description: Make intaglio and Drypoint printed art with Grafix products.
Designed by: Kirby Meng
Difficulty: Moderately Challenging
Materials:
- Grafix Monoprint Plates
- Paper and pencil for planning and drawing of full size design
- Needle tool or scribe to scratch into the plate (even a nail will work for this)
- Ink (waterbased inks are easier to work with and give less wear to the plate)
- Small pieces of cardboard to apply ink
- Tarleton cloth or cheese cloth to wipe plate
- Soft cloth to clean plate edges
- Gloves to keep hands clean (optional)
- Printing paper – you can print on inexpensive paper, but the quality is a bit better on a higher quality paper
- Water to dampen paper, either by soaking and blotting or spraying and blotting (it doesn’t need to be very wet)
- Printing press or Pin press
Steps to Make This:
- Begin by looking at examples of intaglio prints from a variety of cultures and periods of time. Durer and Rembrandt are artists who used this technique, as well as a number of 19th century artists who were revolting against mass produced images. Many contemporary artists who prefer to work in small editions also work this way.
- Have students come up with ideas and plan their composition. The inclusion of texture is a good idea since drypoint lends itself to that.
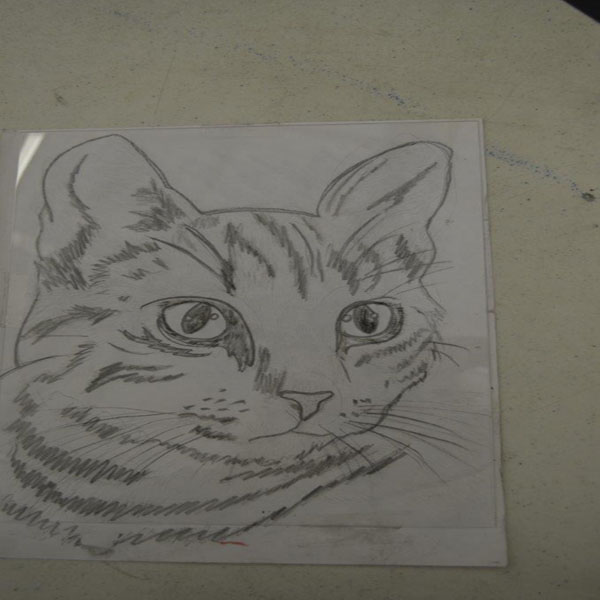
- Once the composition has been determined, students should draw it full size on a piece of paper. A full monoprint plate is 8″ x 10″, but the plates can easily be cut down and worked in a smaller format.
- Once drawn, place the monoprint plate on top of the drawing. It can be attached with a small piece of tape at the top and bottom if desired.
- A needle tool or scribe can be used to scratch into the plate surface, making marks closer together in darker areas and further apart in lighter areas. Encourage students to work directly over the plate so that there is no distortion from the thickness of the plate.
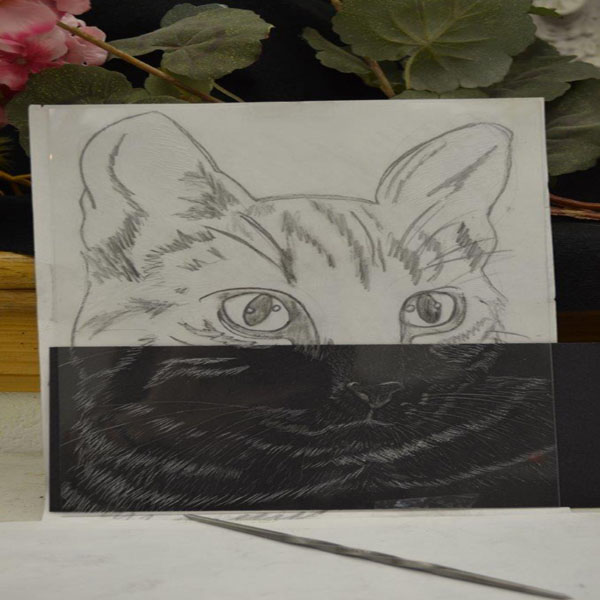
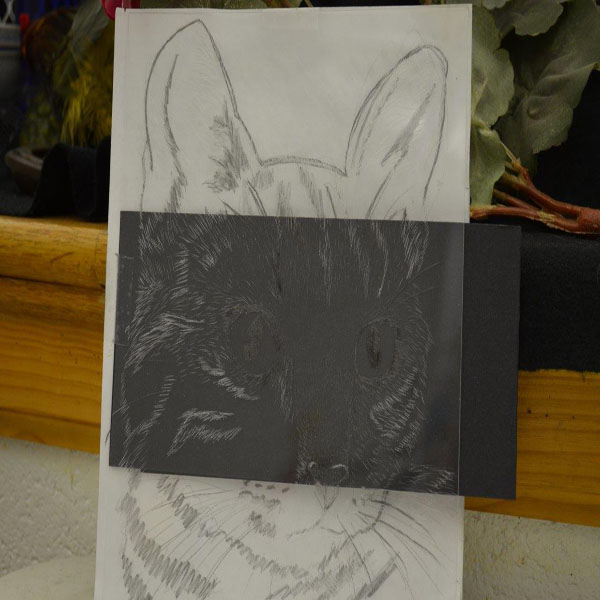
- It is sometimes difficult to see the scratched lines. Placing a scrap of black paper under the plate will make them easier to see.
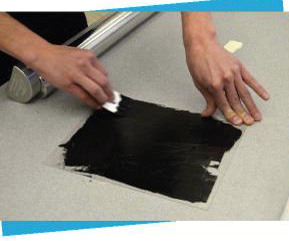
- Once the drawing is complete, apply ink using a scrap of mat board or cardboard. It does not take much ink.
- Use Tarleton cloth or cheese cloth to remove some of the ink and clean up the areas that are to stay white or have a light plate tone. Clean the edges of the plate with a clean soft rag.
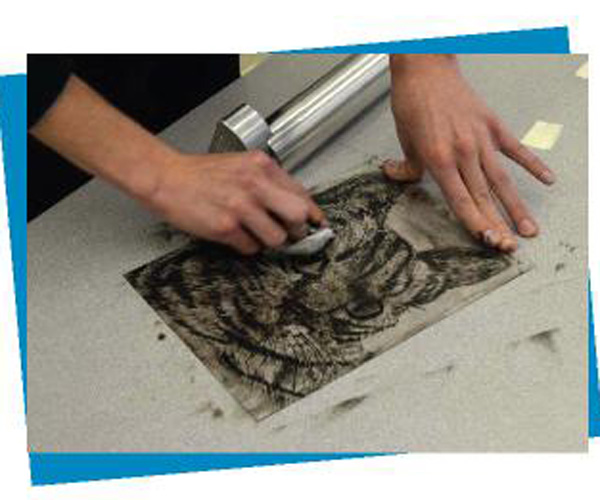
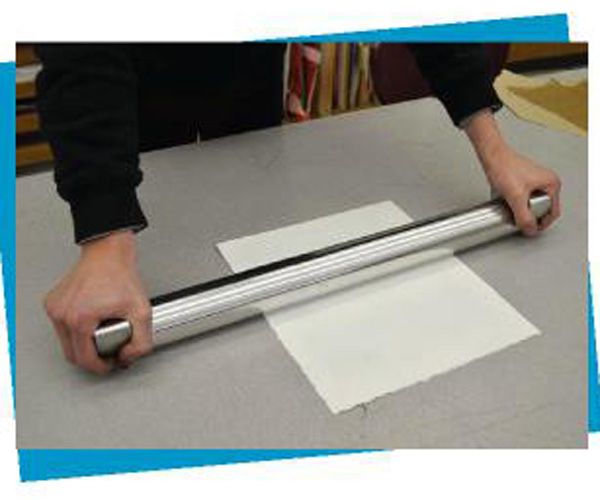
- Print plate using a traditional printing press and damp paper. Or using a pin press, place damp paper over plate and roll over with press. Be sure the paper isn’t moving during the printing process.
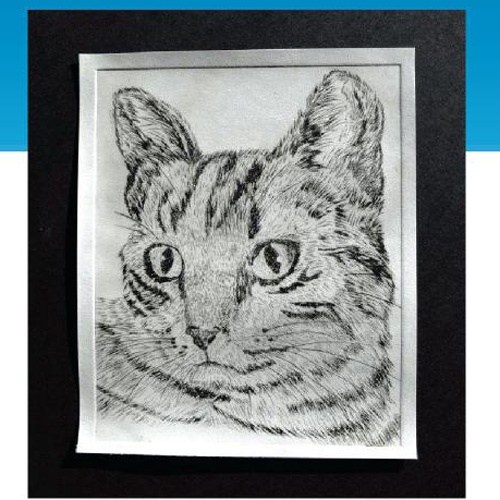
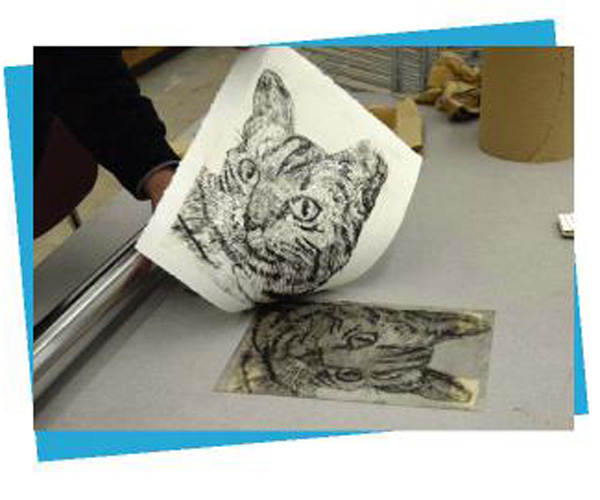
- Pull completed print off the plate. After you have pulled the first print, re-ink and pull another or wash off the plate to ink and print another day. Plates should be good for about 10–12 prints if there is not too much pressure when inking and rubbing the ink off or in the press. Each print will be slightly different. Waterbased inks are easier to work with and give less wear to the plate.
- Sign and number prints.
- Display completed artwork and critique as a group.