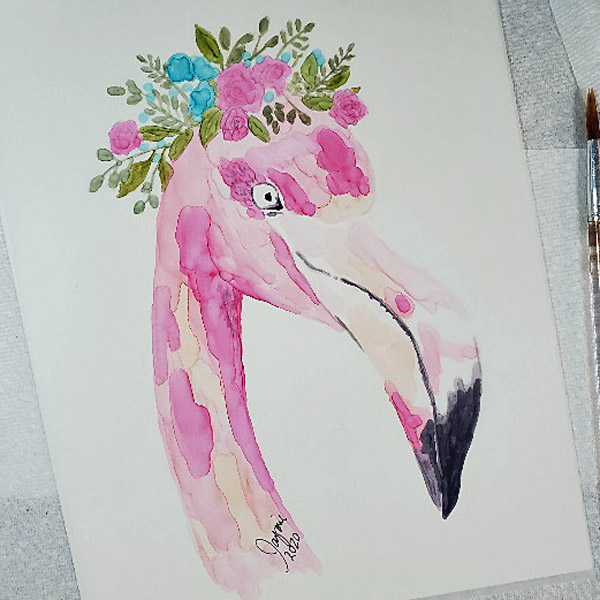
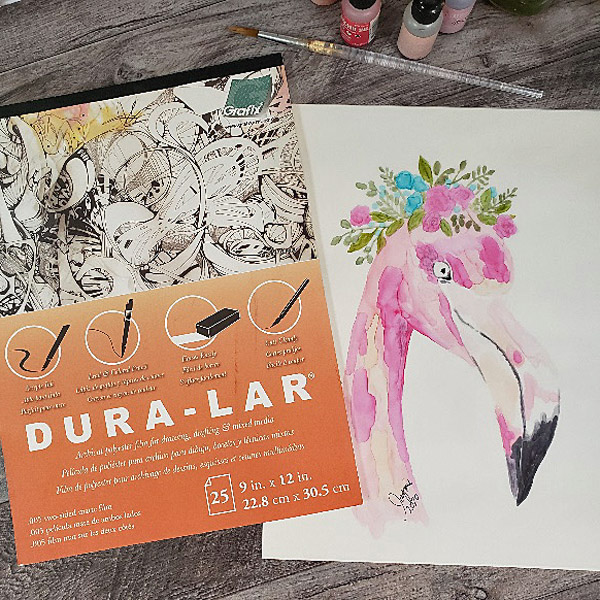
Grafix Matte Dura-Lar Alcohol Ink Flamingo with a Floral Crown
Project Description: Create a gorgeous flamingo in alcohol ink using Grafix Matte Dura-Lar Film.
Designed by: Jaymie Mitchell
Difficulty: Moderately Challenging
Materials:
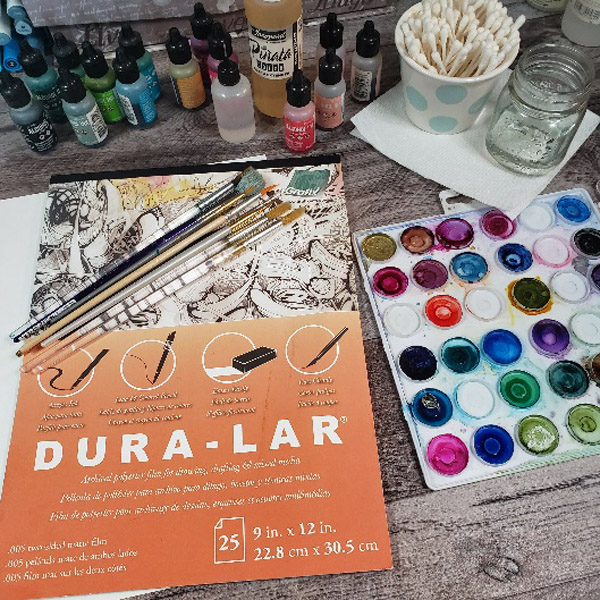
- Grafix Matte Dura-Lar Film 9”x 12”
- Pencil to sketch your design
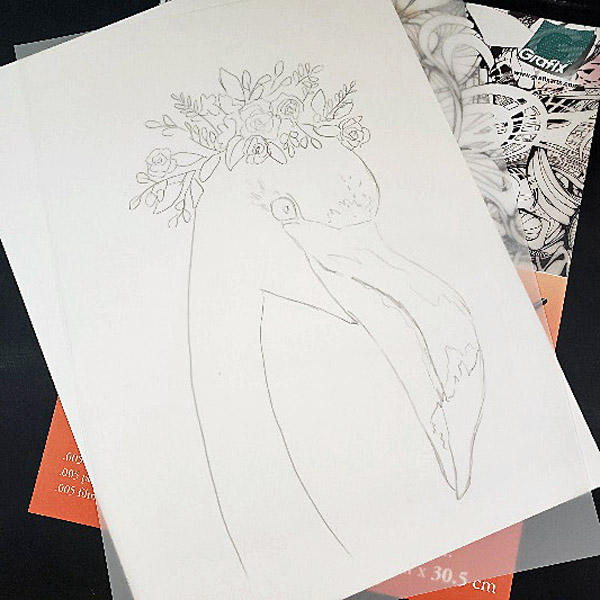
- A sheet of bright white paper to place under your Grafix Film (this helps your pencil lines stand out more, and also, once you have finished your painting, you will want to keep this skeet behind your piece to maximize the brightness of your piece. (Grafix Matte Film is translucent)
- 99% Isopropyl alcohol (anything above 96% will work)
- Small glass or ceramic container – fill with an inch or so of alcohol so you can clean your brushes between colors.
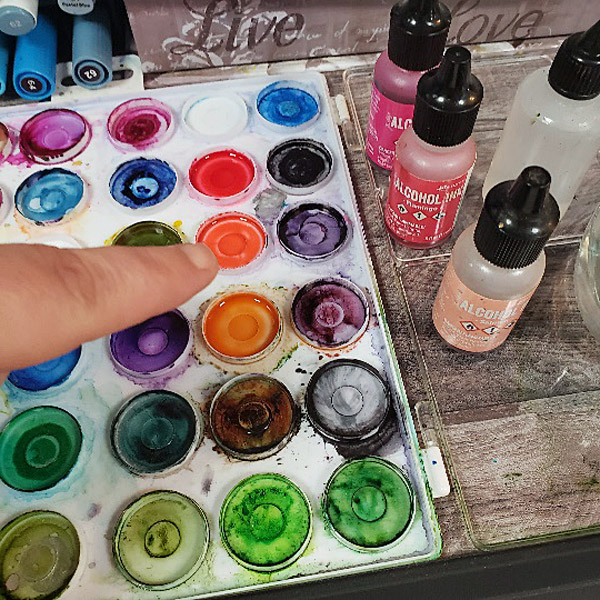
- Ranger Brand Alcohol Inks: Salmon, Pink Sherbet, Flamingo, Pitch Black, Meadow, Moss, and Turquoise
- Several small to medium-sized paintbrushes dedicated to alcohol ink projects (the ink is very hard on your brushes!) small paintbrushes (choose whatever kind you’re most comfortable using) and one fine liner –a round #6 and #4 are used along with #1 fine liner
- Paper towels and/or baby wipes for cleanup and dabbing excess ink off your brush
- Pallet for your ink colors like Grafix Impress Print Media Inking Palette
- Kamar Varnish and UV Sealant to seal your finished piece
- Optional: Q-tips are great to fix any “oops” – dip it in some alcohol (not too much!) and just carefully wipe away the mistake
Important: When using alcohol inks, ALWAYS paint in a well-ventilated area – the ink contains dangerous vapors which can be harmful to your health!
Steps to Make This:
- Gather all your material before you begin so they are easy to find when you need them.
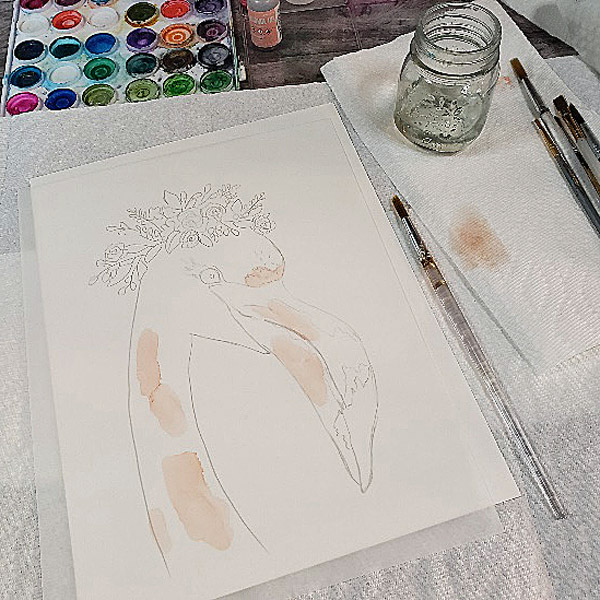
- Place a few drops of your chosen colors into your palette. (Don’t worry about the ink drying (it will!) – You can always reactivate it with a drop or two of alcohol.
- Using a light touch, sketch your flamingo design with a pencil on your Grafix Matte Dura-Lar Film.
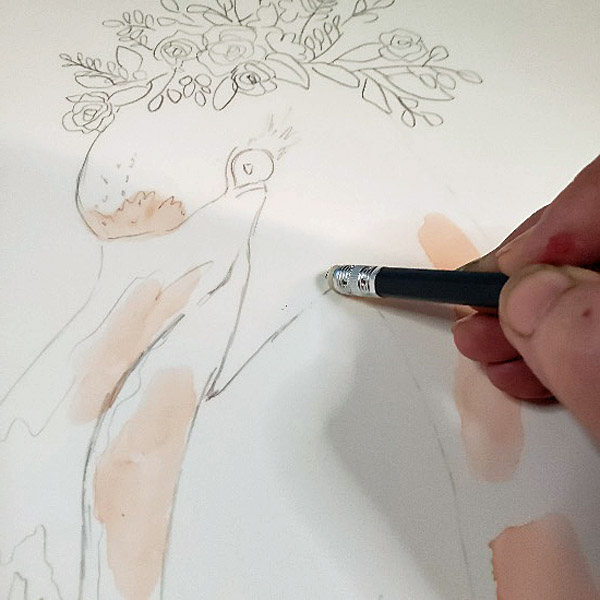
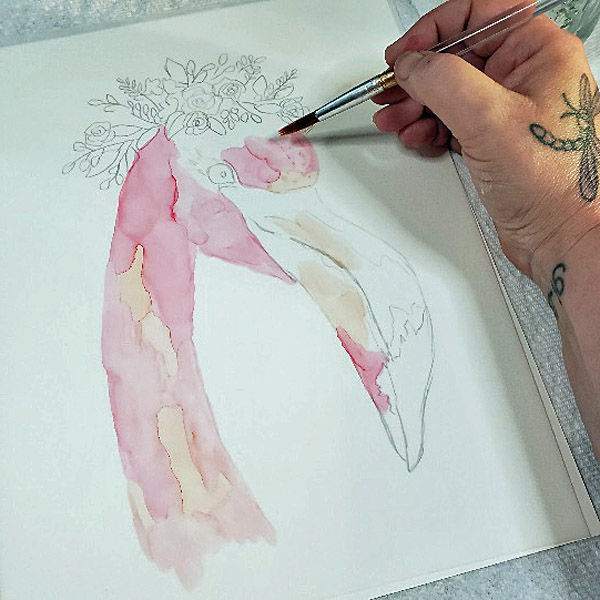
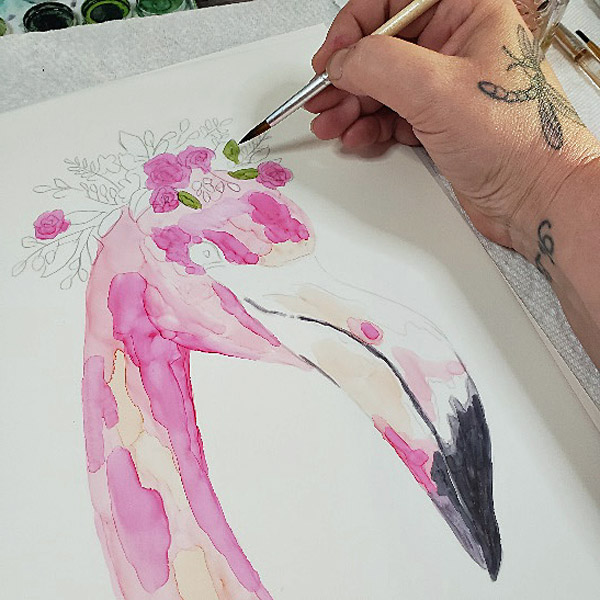
- Once you are happy with your sketch, choose your brush and start lying in your pinks. Choose random spots where you want your flamingo to have “highlights.”
- At this point, you can lighten your outline with an eraser.
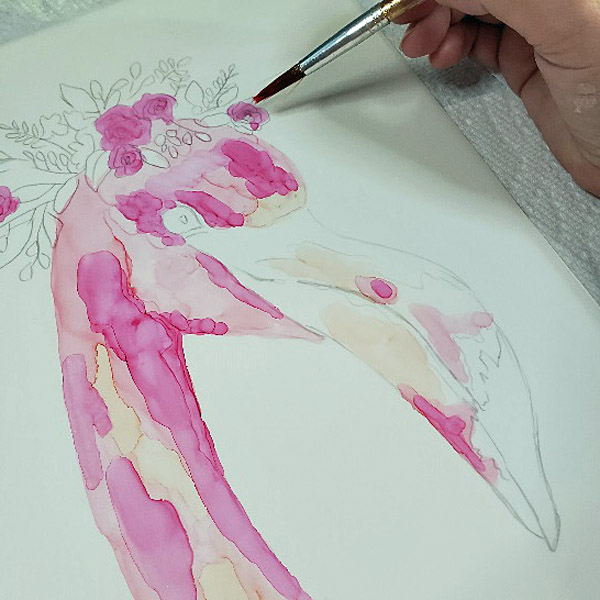
- Next, add your medium shade of pink (Pink Sherbet) and again, add some streaks of color.
- Then, add in your darkest shade “Flamingo.” Finish filling in your bird as well as your roses (if you chose to include them). If certain areas feel too dark, simply clean your brush, dip it in some alcohol, dab off the excess, and remove or lighten some of the colors. (Alcohol inks are VERY forgiving!)
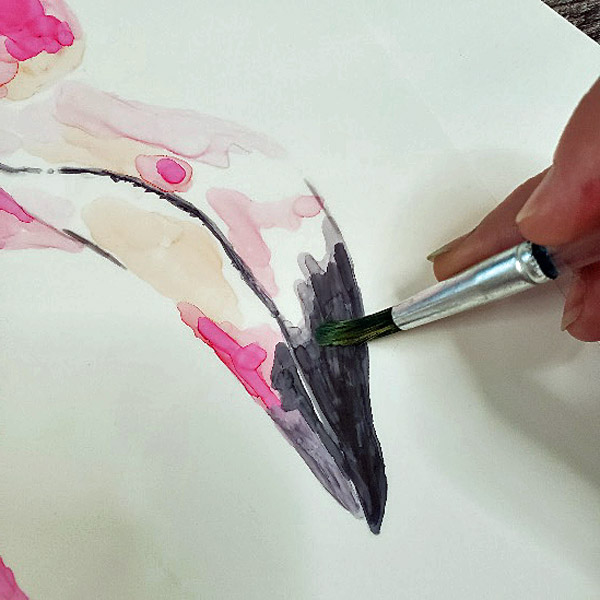
- With your fine line brush, grab some black (dab off the excess) and start shading in the beak tip and “smile line.” Use a very light touch.
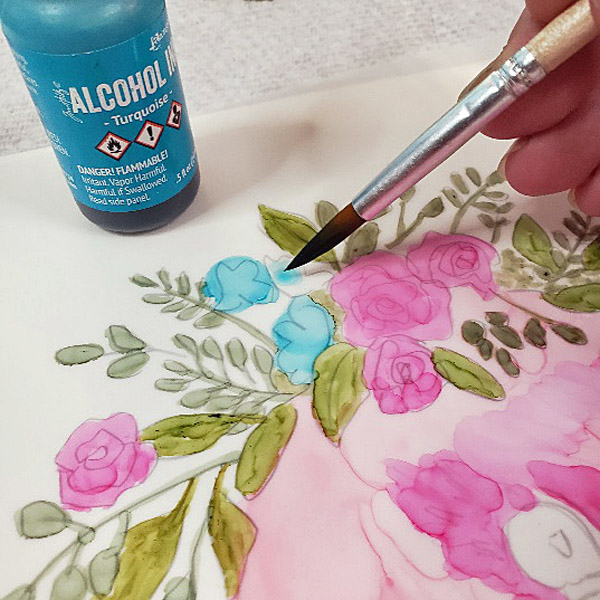
- Fill in the greenery in your flamingo’s “crown” –Meadow was used for the rose leaves and Moss for the remaining greenery.
- Paint the remaining flowers in the crown, by adding in some pops of turquoise.
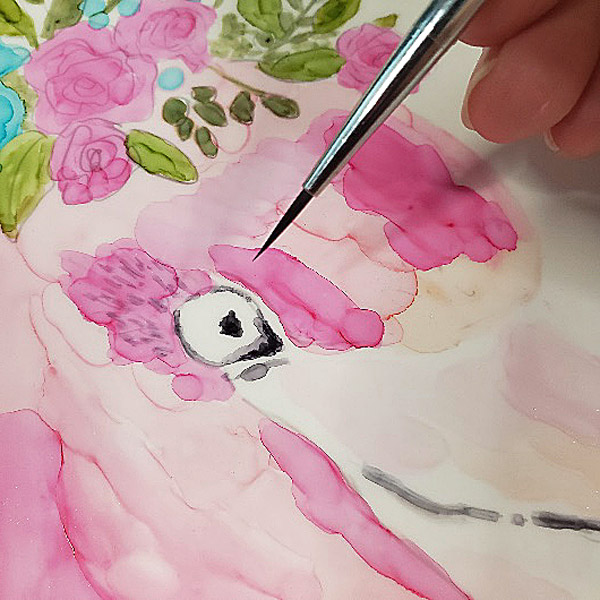
- Using your fine line brush, grab a small amount of black and dab off the excess. Start filling in your eye. Use a very light touch – it’s easier to add more color than to remove it.
- Seal your finished artwork by spraying your page using a sealant and a UV protector.
- First, spray 2 coats of the Kamar Varnish Sealant, then add 1 coat of the UV Sealant spray. (Remember to ensure that your piece is dry in-between applications. It is also very important to use the Kamar varnish first as the UV sealant WILL reactivate your ink and ruin your piece.)
- Finally, don’t forget to sign your masterpiece!

