Grafix Steampunk Journal
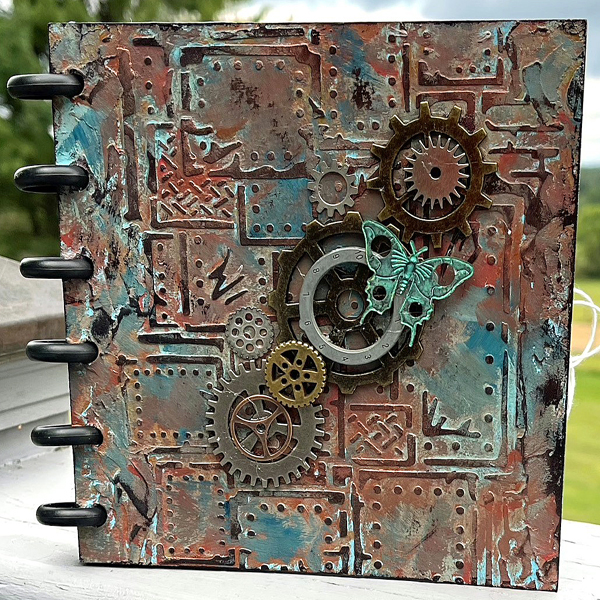
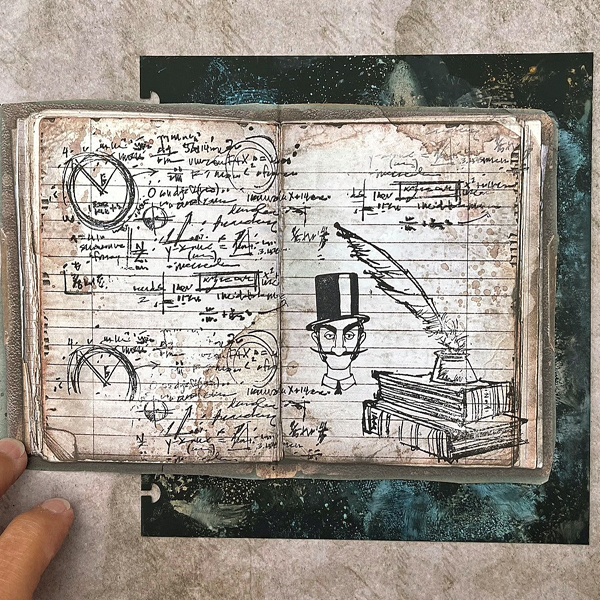
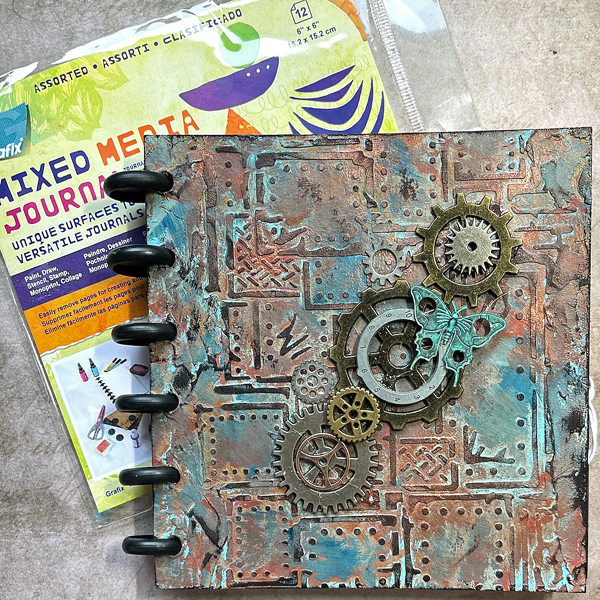
Project Description: Create an imaginative steampunk journal using the Grafix 6”x6” Mixed Media Journal and Grafix Opaque Black Craft Plastic Film.
Designed by: Maura Hibbitts
Difficulty: Moderately Challenging
Materials:
- Grafix 6”x6” Mixed Media Journal
- Grafix Opaque Black Craft Plastic Film
- Stampers Anonymous/Tim Holtz – The Professor, Inquisitive, Observations, and The Chemist Stamps
- Simon Says Stamp – Old Letter 1878 Stamp
- Stampers Anonymous/Tim Holtz – Harlequin, Grime, Code, Bubble, and Gears Stencils
- Stamperia – Steampunk Stencils
- DecoArt/Andy Skinner – Industrial Elements Stencils
- Stamperia – Lady Vagabond, and Sir Vagabond (8”x8”) Paper
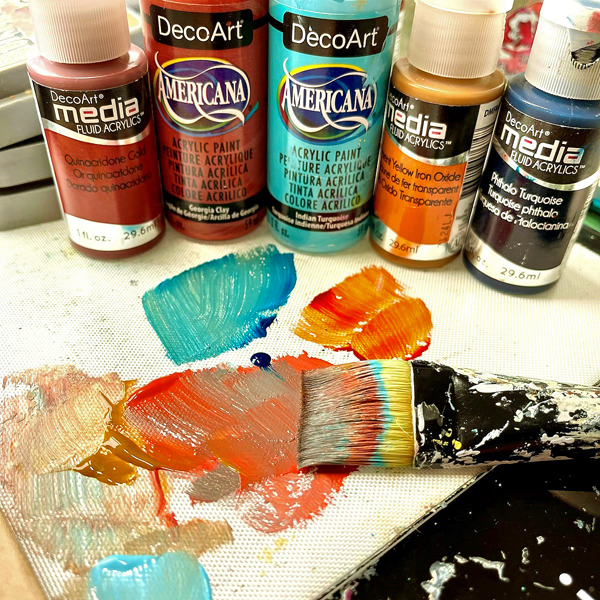
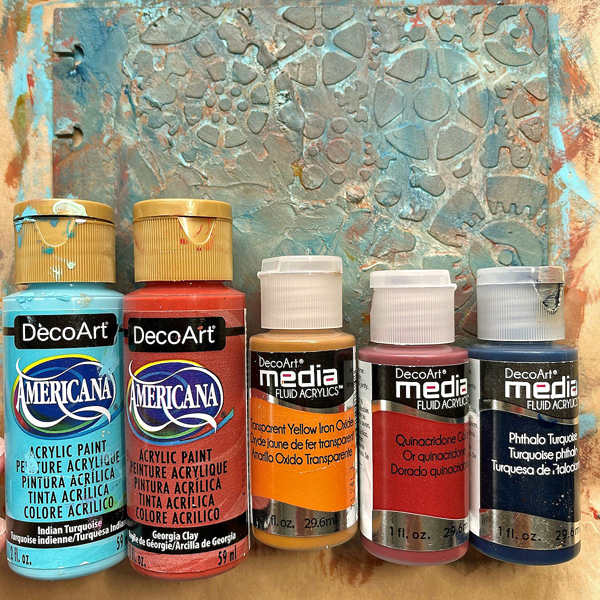
- DecoArt Americana Acrylic – Indian Turquoise, Lamp Black, Georgia Clay, and Snow-White Paint
- DecoArt Media Fluid Acrylic – Transparent Yellow Iron Oxide, Phthalo Turquoise, Quinacridone Gold, and Burnt Sienna Pain
- Ranger/Tim Holtz Distress Oxide ink – Rusty Hinge, Salty Ocean, and Salvaged Patina Inks
- Simon Says Stamp Black Premium Dye ink
- Metal embellishments – Tim Holtz/Idea-ology: cogs, gears, sprockets, and Prima – butterfly small shipping tags
- Ranger Texture Paste Opaque Matte
- Beacon 3 in 1 Glue
- Prima Art Alchemy Rich Copper Wax
- Square Punch
- Palette Knife
- Brush – 1/2-inch Acrylic
- Ranger Blending Tool
- Cosmetic Sponges
- Craft Sheet or Silicone Mat
- Heat Tool
- Scissors
- Mister Bottle
Steps to Make This:
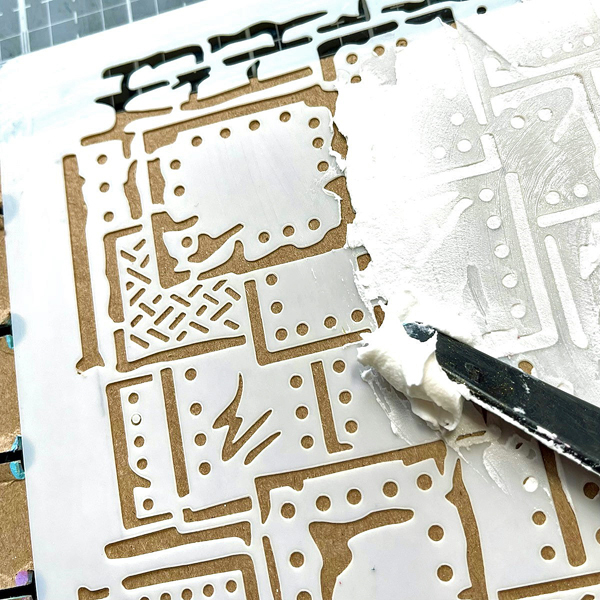
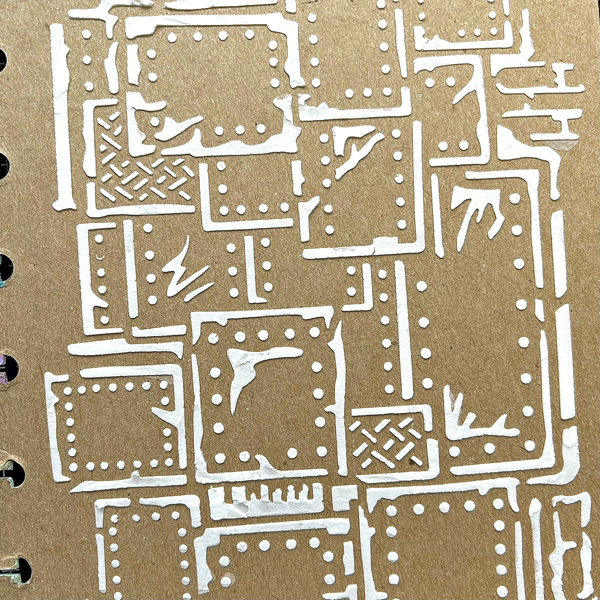
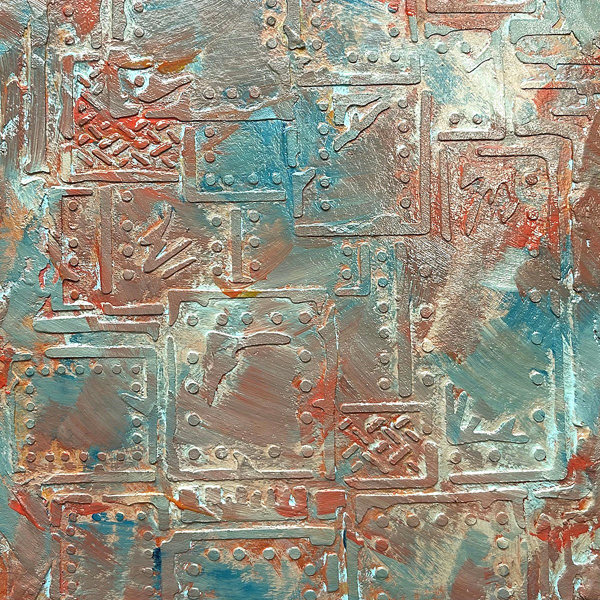
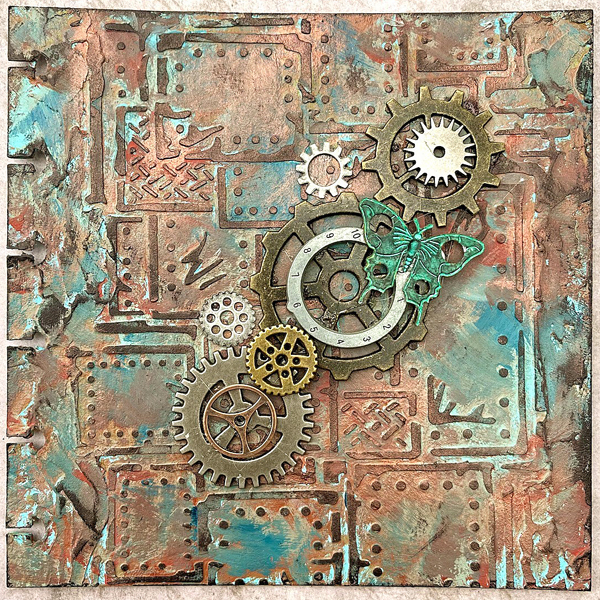
- Begin the project with the Chipboard included in Grafix Mixed Media Journal by applying texture paste through a stencil with a palette knife and let dry completely.
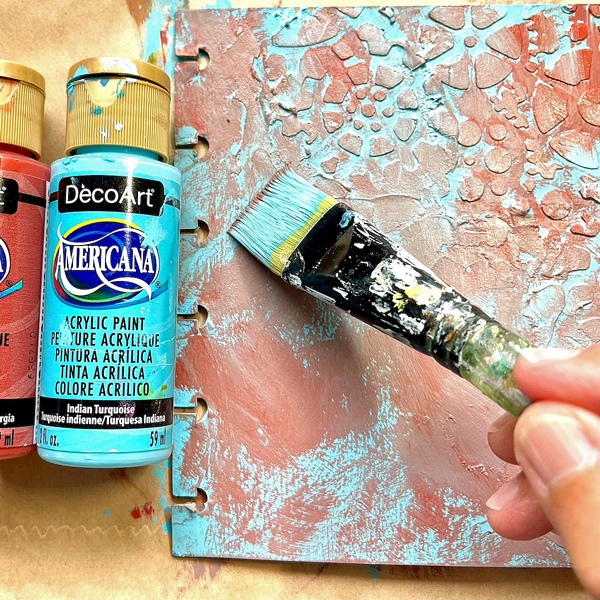
- Use an acrylic paintbrush to blend the colors over the Chipboard.
- Start with a base layer of opaque paint, then blend fluid acrylics over Chipboard until you like your results. Let dry completely.
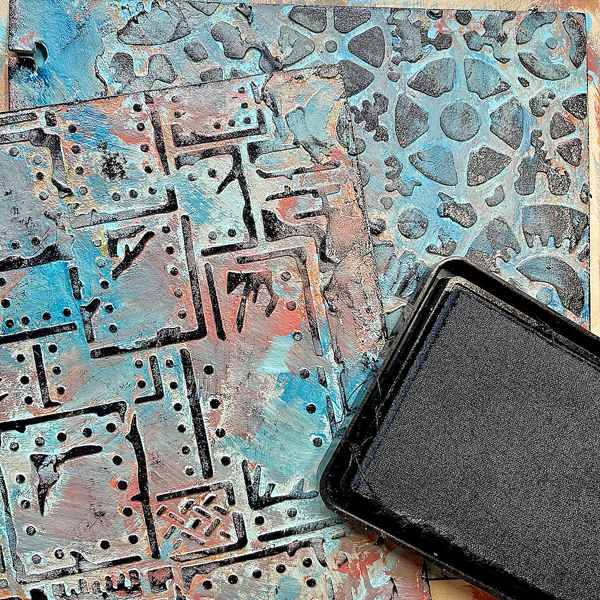
- Rub the black ink pad over the raised surface of the covers. (You can also dry brush black paint over the textured area.)
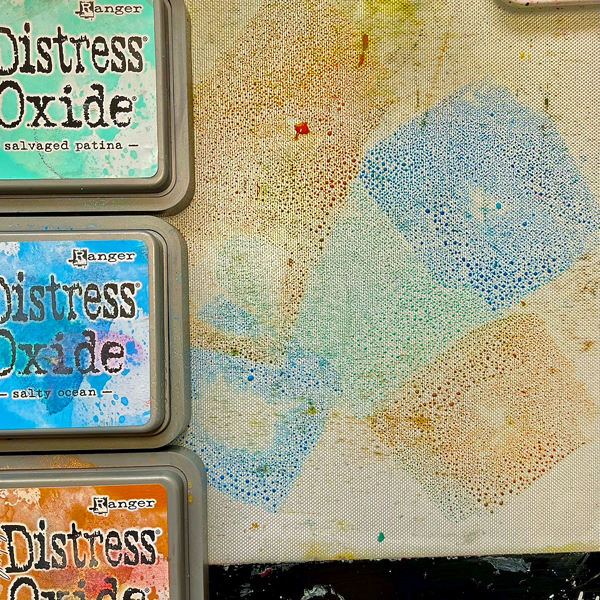
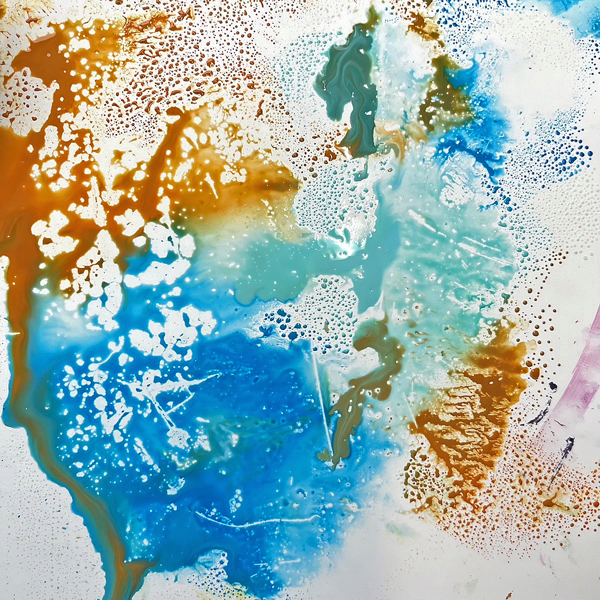
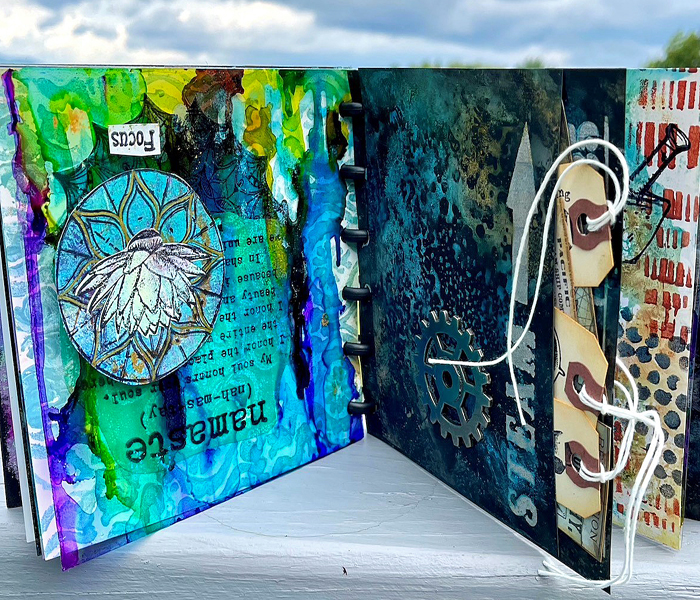
- Next, do some ink “smooshing” on the Opaque Black and White Film, and Clear Dura-Lar Film from Grafix Mixed Media Journal. You can use any water-reactive ink for this method (Distress Oxide inks were used in this project).
- Rub the ink pads onto a separate craft sheet, mist with water, then press Clear Dura-Lar Film onto the ink.
- Then lift the film, repeat if you want to add more color, and set it aside to dry. (Note: some inks take a long time to dry depending on humidity. (The oxide inks took a couple of days to dry.))
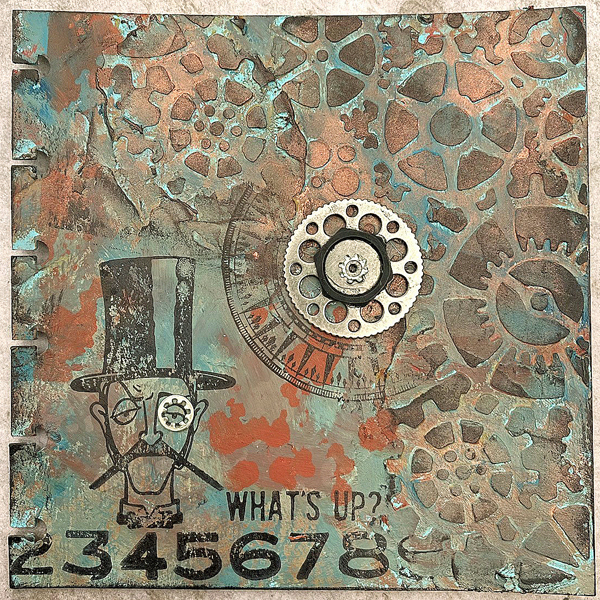
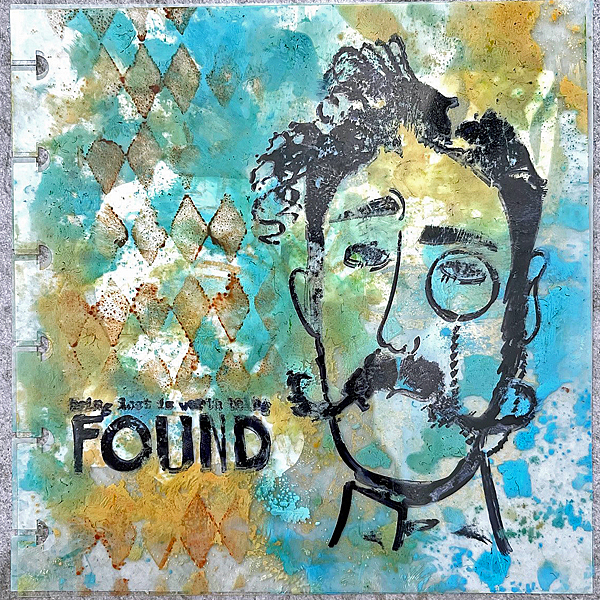
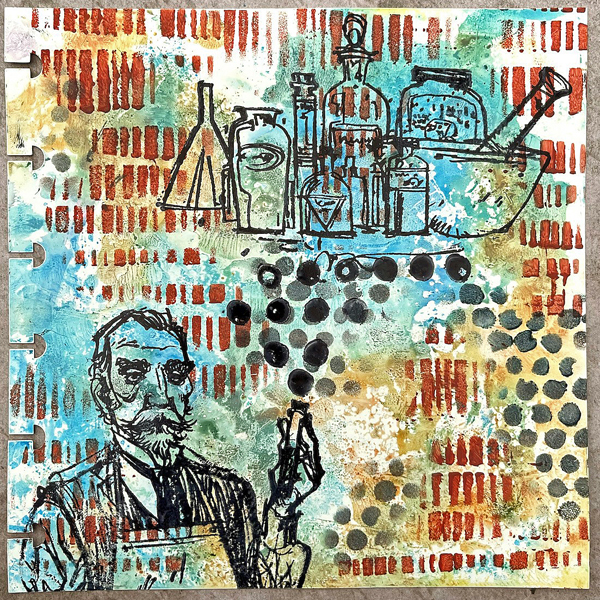
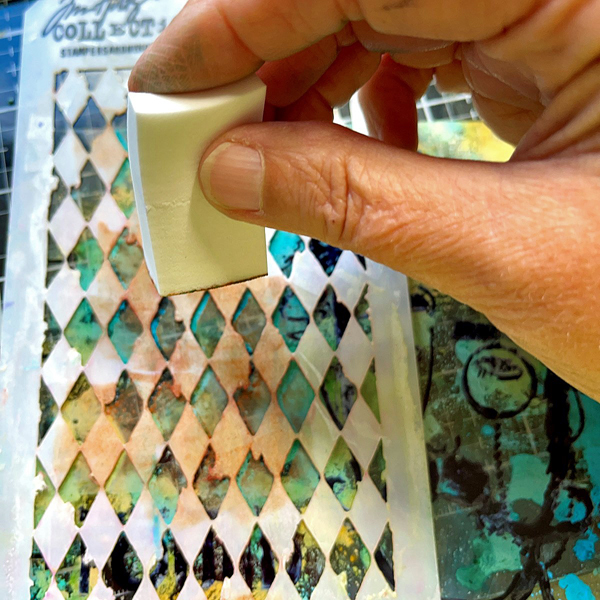
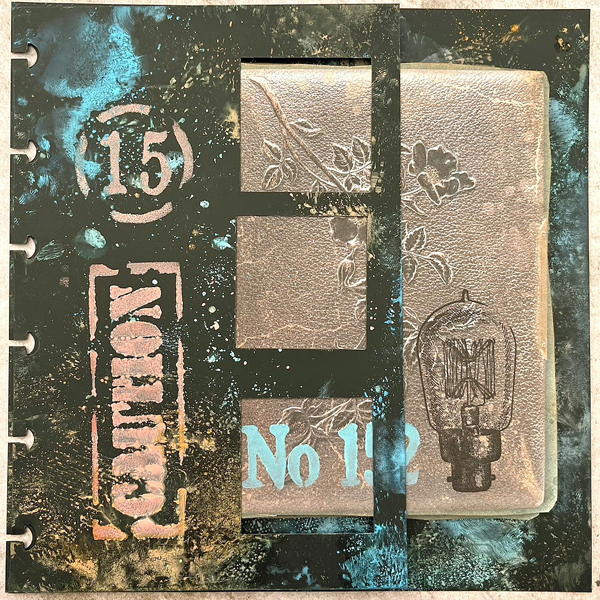
- Now that the backgrounds are ready, it is time to layer. Start by adding stenciled layers, using acrylic paint, and a cosmetic sponge. (Note: Use a very light touch with the paint, to get a clean image.
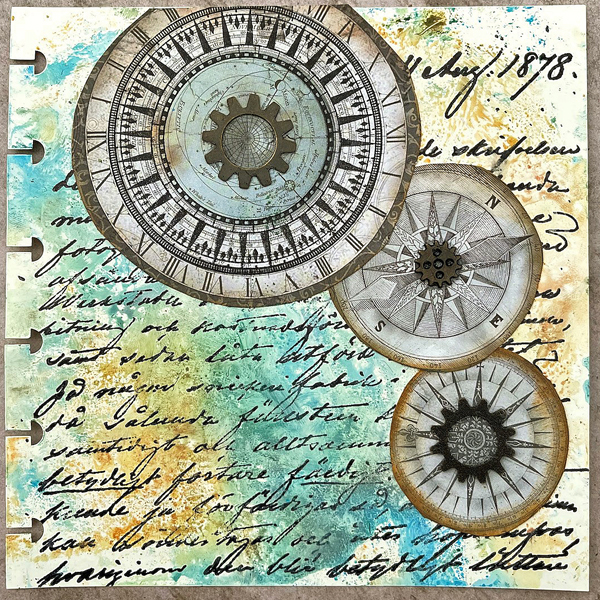
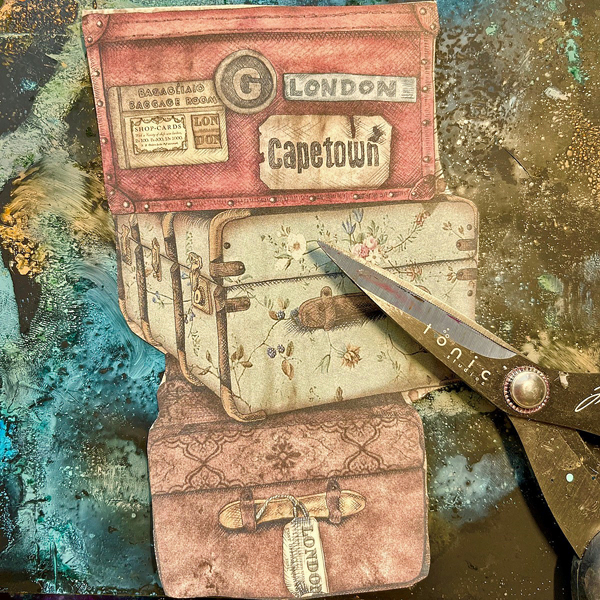
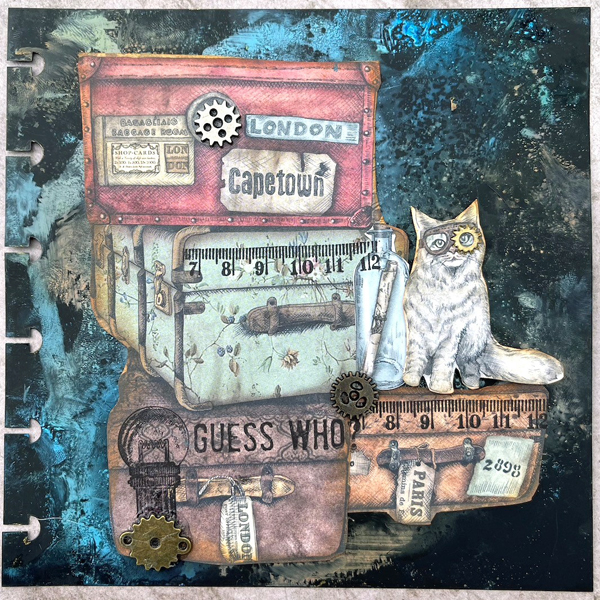
- Fussy cut images from patterned papers to add to some of your pages.
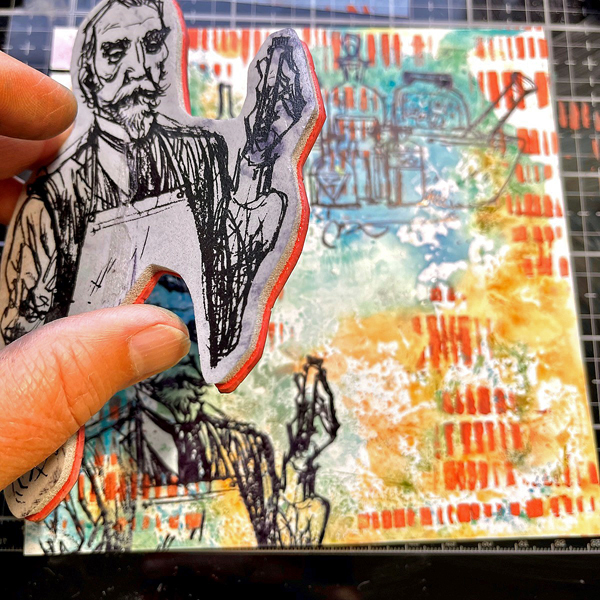
- Stamp images on some of your pages with black archival ink.
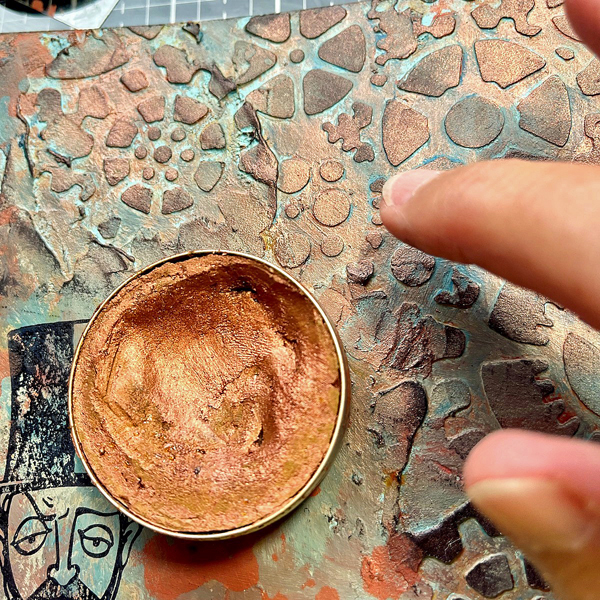
- Rub copper wax over the textured covers.
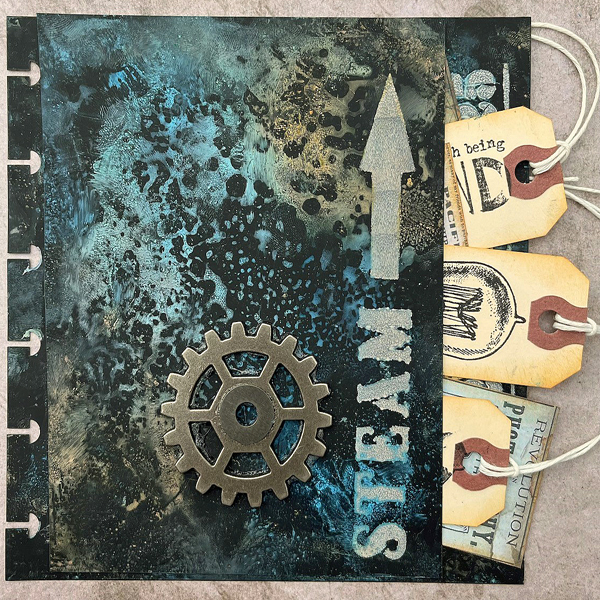
- Glue cogs, gears, and metal embellishments to the covers, and onto some of the pages.
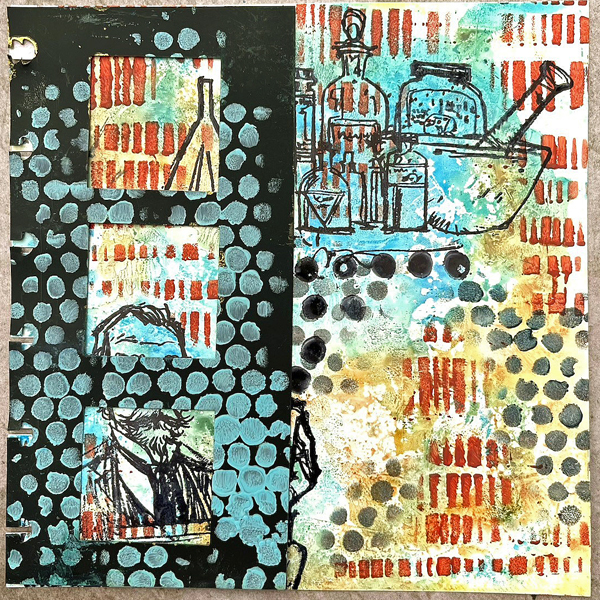
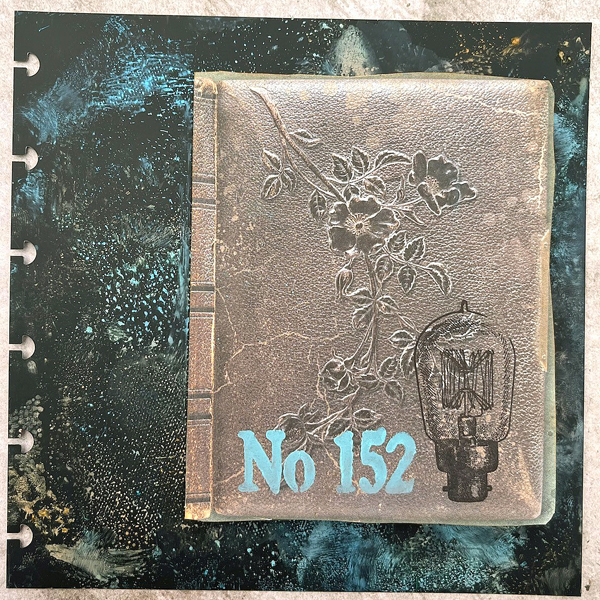
- Have fun designing each layered page. Make it interactive by adding in windows, overlaps, include a little book, and make pockets you can fill with tags.
- This journal was inspired by flipbooks that have two stories in them. When you read from front to back, you get one story, and when you flipped it upside down and read from the “back”, with a different story. (The Zen Meditation Journal is the flip side of this journal!)

