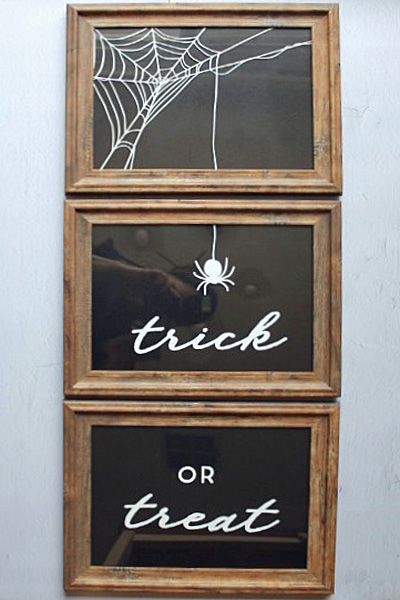
Halloween DIY Trick or Treat Framed Grafix Cling Vinyl Art
Project Description: DIY your own chic Halloween decorations this year with only a few simple tools and Grafix Cling Vinyl Film and Chipboard. This project would make for a great gift too!
Designed by: Maritza Garcia
Difficulty: Easy
Materials:
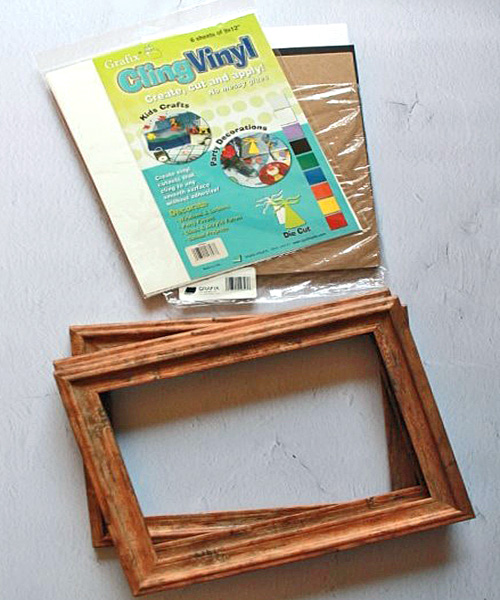
- Grafix White Cling Vinyl (size 9×12”)
- Grafix Black Chipboard (size 8.5×11”)
- Picture Frames (size 8.5×11”)
- Cutting Machine
- Scraper
- Transfer Paper (optional)
Steps to Make This:
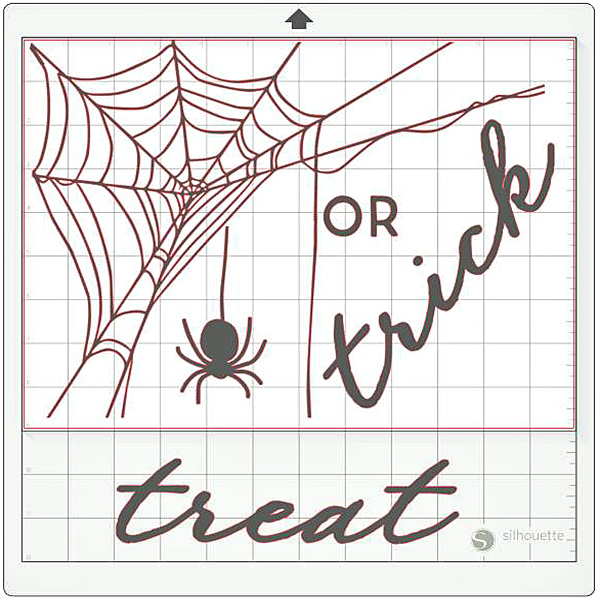
- Decide what design you want to display on your DIY frame(s).
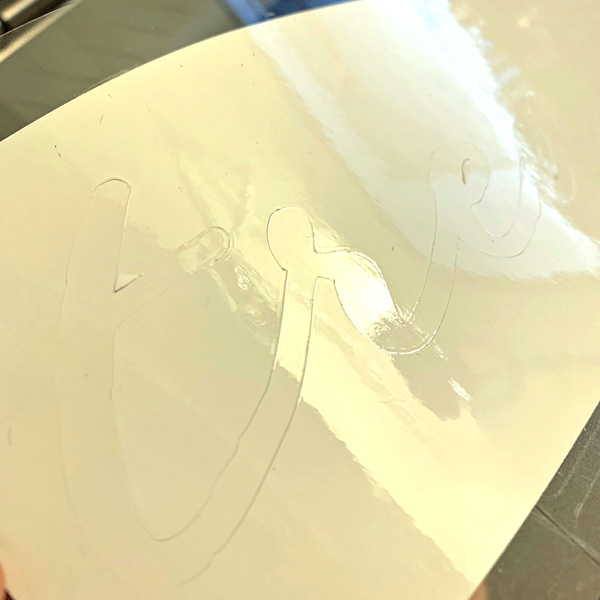
- Then take a sheet of Grafix White Cling Film and place onto a cutting mat and cut out your design. NOTE: Here are the sizes we used for our Framed Vinyl Art. Spider web: 8.650” H x 11.151” W, Spider: 4.075” H x 1.977” W, Trick: 2.146” H x 7.311” W, Or: 0.946” H x 1.610” W, Treat: 1.949” H x 7.427” W.
- Once all your pieces are cut-out, prep your glass frames by wiping the glass clean on both sides.
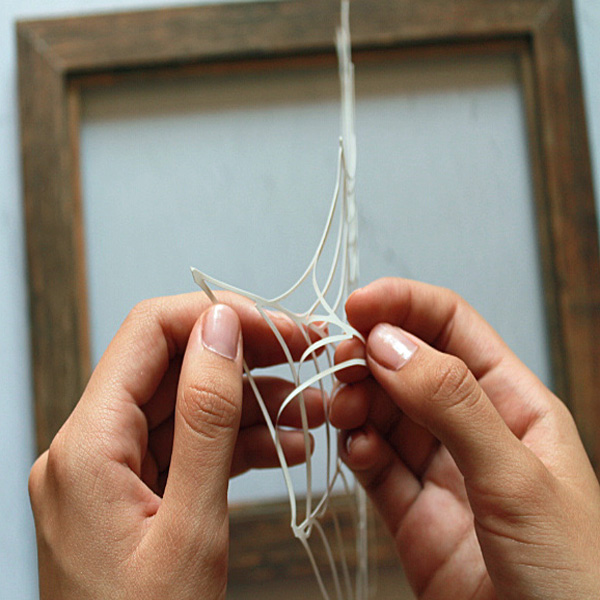
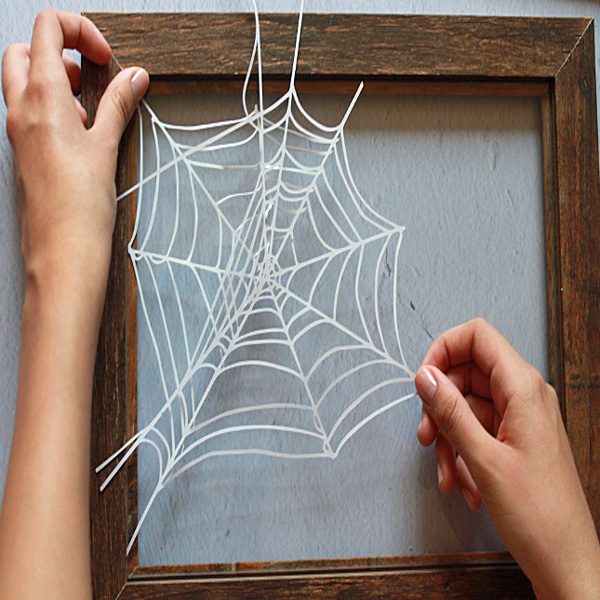
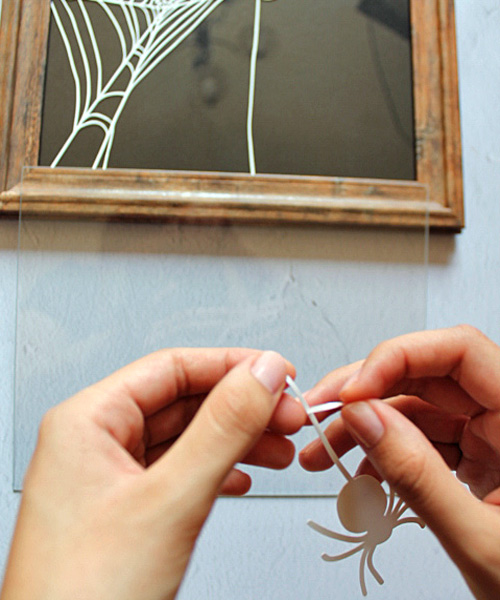
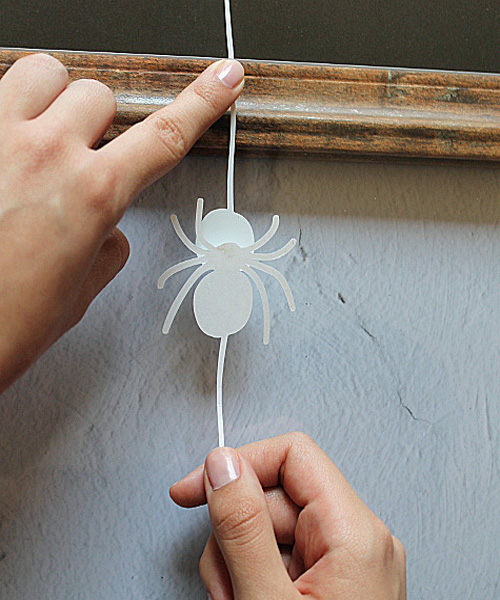
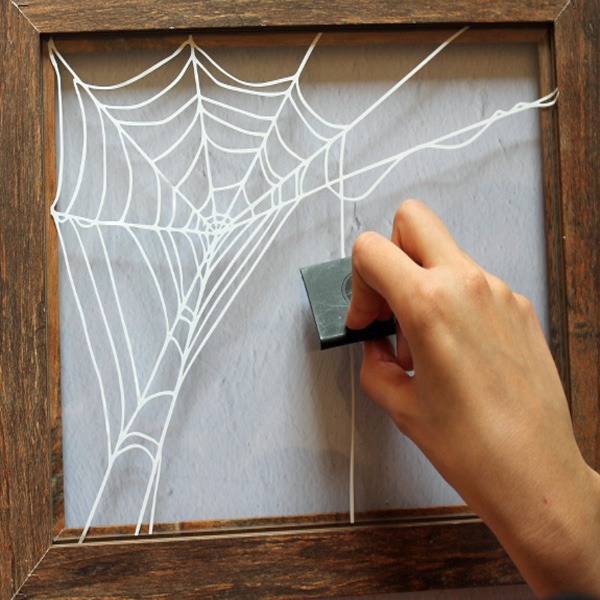
NOTE: This project used water and applied the Cling Film design to the outside of the frame. - Slowly peel away Cling Film from the backing while placing your design directly onto the glass. (Due to the intricate web design the film might get a little tangled. But, don’t worry it’s easily untangled and is quite easy to work with).
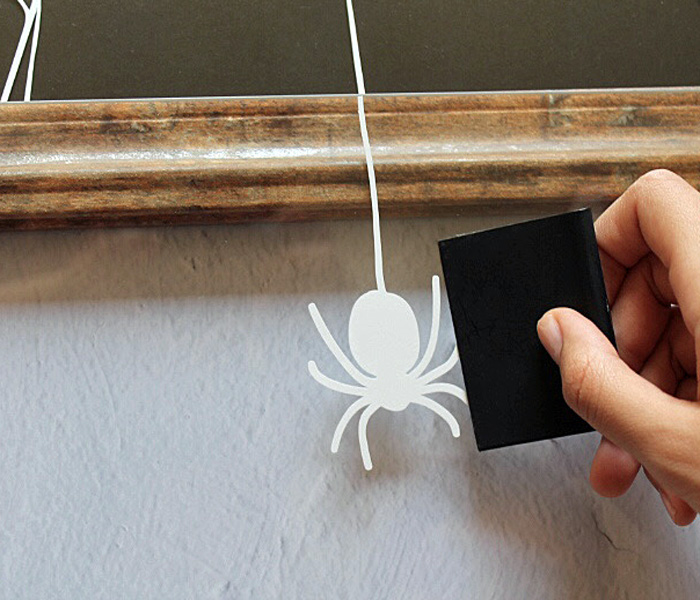
- Take a scraper and remove any trapped bubbles by pressing down on the Cling Film until smooth.
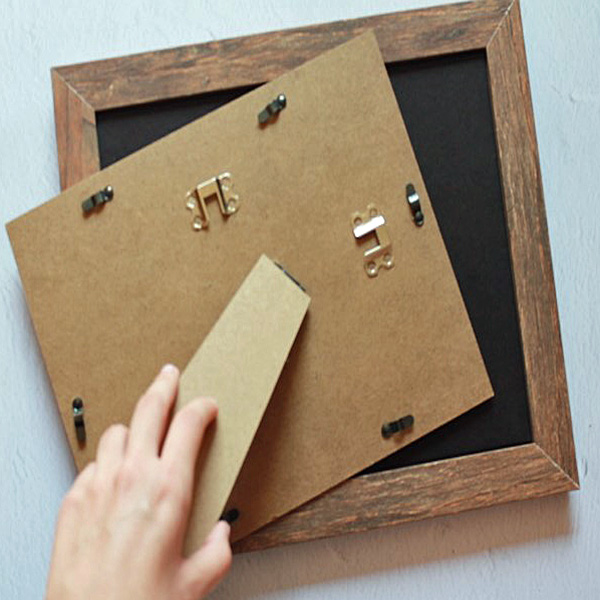
- Take a piece of Grafix Black Chipboard and place it onto the back of the glass.
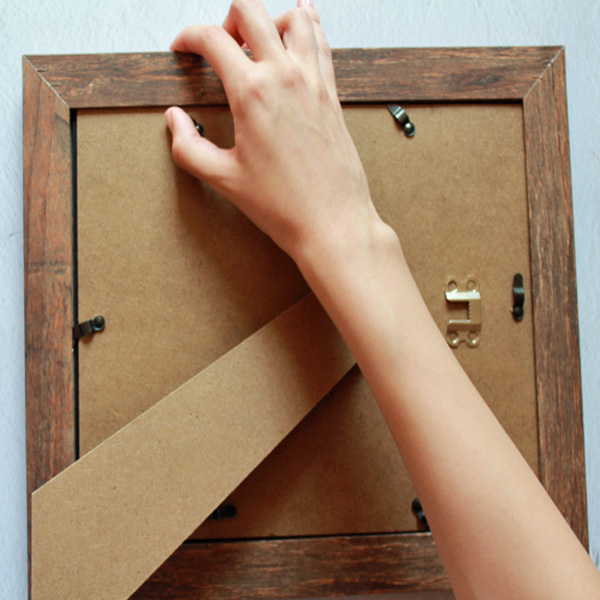
- Finish by fully assembling the backing of the board securely to the frame.
- Repeat steps 4-7 for the remaining frames and designs.
- Lastly, hand your new creation on a wall or give as a gift!

