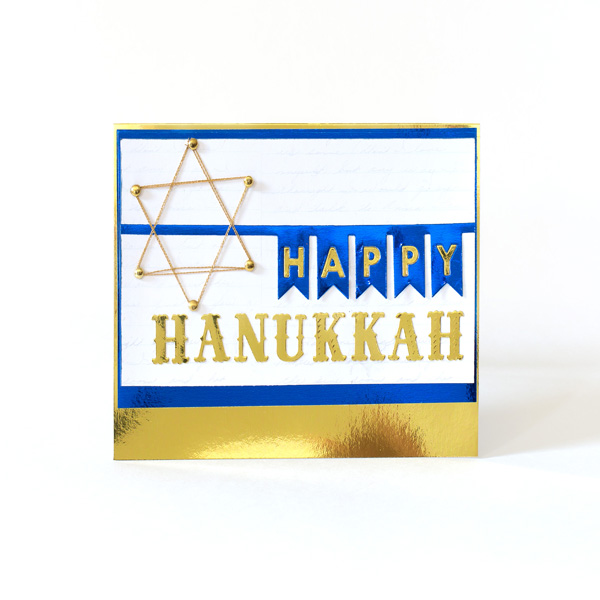
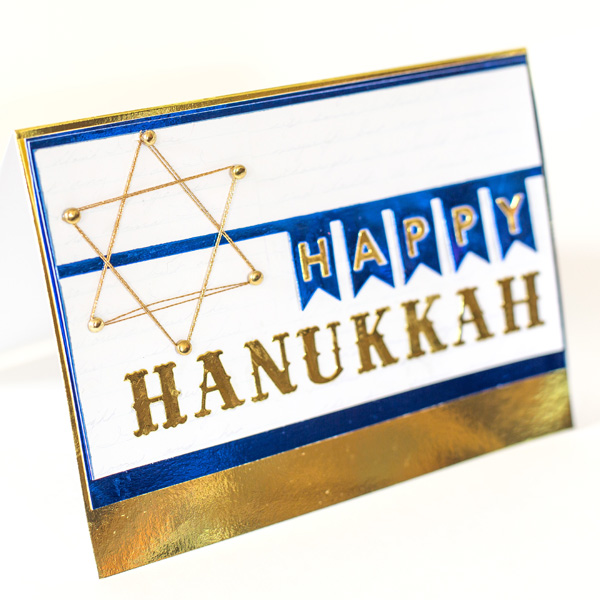
Hanukkah Card
Project Description: Create your own Hanukkah Card for family and friends.
Designed by: Alice Golden
Difficulty: Easy
Materials:
- Grafix Gold Metallic Foil Board
- Card stock: DCWV Cardstock Matstacks Brights, Jewels; Me & My Big Ideas Vintage Birdcage Mambi Sheets
- Gold brads, six
- Gold metallic thread
- Scissors
- Paper trimmer
- Paper piercer
- Scoring tool
- Scrap paper
- Sewing needle
- Die-cutting machine with dies: Papertrey Ink One Liners Happy, WPlus9 Design Studio Folk Art Alphabet
- Ranger Tim Holtz Faded Jeans Distress Ink
- Adhesives: Therm O Web iCraft Easy-Tear 1/8” Tape, Sticky Tape Mini Runner, Small Zots; ZIG Memory System 2-Way Liquid Glue Pen
Steps to Make This:
- Make 6-1/2″x5″ Metallic Gold top-fold card from foil board.
- Cut script paper to 6-1/4″x3-3/4″ panel; ink edges. Mat panel with 6-3/8″x4-1/4″ blue panel, leaving wider edge at bottom as shown.
- Die cut banner from both gold and blue card stock. Adhere blue banner across script paper as shown. Adhere gold letters to blue pennants using liquid glue. Secure edges of pennants to panel using Zots. Reserve remaining die cuts for another use.
- Die cut “Hanukkah” from gold card stock using alphabet dies. Adhere to panel below banner using liquid glue.
- Cut triangle from scrap paper. Using triangle as template, mark Star of David on panel by piercing hole at each corner.
- String star, working one triangle at a time. Thread needle; insert through one piercing from back. Attach three brads to form triangle. Wrap thread once around brad before advancing to next brad in triangle. Wrap two full times around previous triangle before tying to last brad. Secure thread end with glue pen; trim again if necessary. Repeat with second triangle.
- Adhere panel to card front as shown.


