Hardcover Book Making
Project Description: This is part 2 of how to make a hardcover book. In part 1, I demonstrated how to make the text block. In part 2, I’ll show you how to create the cover, and share ideas for embellishing your journal.
Designed by: Maureen Wilson
Difficulty: Moderately Challenging
Materials:
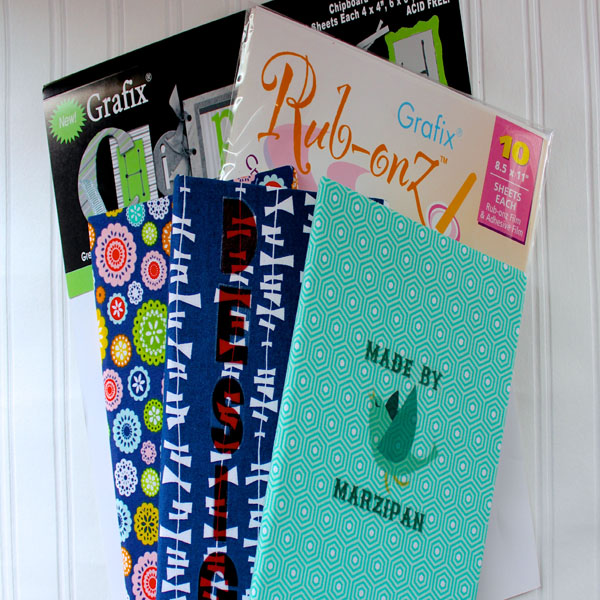
- Grafix Chipboard 12 x 12
- Rub-Onz film
- Fat quarter of cotton fabric
- Foam brush
- Iron
- Ruler
- Sheet scrap card stock (1)
- Pencil (Sumo Grip®)
- Scissors
- Lightweight fusible interfacing
- Aleene’s Acid-Free Tacky Glue
- Clothespins -or book press
- Sakura Gelly Roll® pens
Steps to Make This:
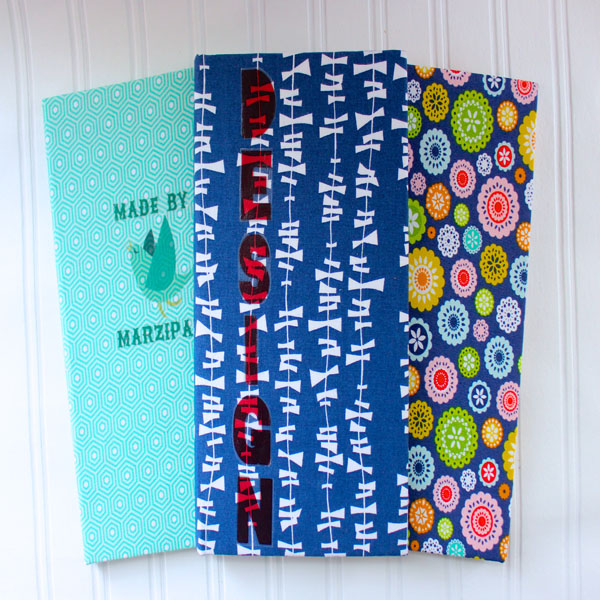
- I’m using a fat quarter of cotton fabric and lightweight fusible interfacing to create a book cloth. Iron the interfacing to the back of the cloth. This step prevents a lot of issues people experience with book-covering, such as wrinkling, warping, and fraying.
- I use Grafix brand chipboard for my covers. You can use medium or heavyweight. One 12×12 piece is enough for a book this size.
- Trace the sides of the text block on the chipboard. Add a half-inch to the height. Cut two of these for covers. Also cut as a piece of chipboard that is the text block height plus a ½ inch, with the width being the same as the thickness of the text block. This will be the spine piece. You can use a craft knife or a heavy-duty paper cutter for this.
- Add glue to one cover piece, and adhere to the fabric, leaving at least a 1-inch border around the edges.
- Measure ¼ inch from the side of the glued cover and mark. Adhere the spine piece along this mark.
- Measure ¼ inch out from the edge of the spine piece and mark, and then adhere the second cover piece along this mark.
- Trim the fabric to about 1 inch on all sides. Trim the corners at an angle, leaving a little excess at the tip of the corner.
- Add glue to the fabric border, and then fold up around the cover. Tuck in the excess fabric at the corners.
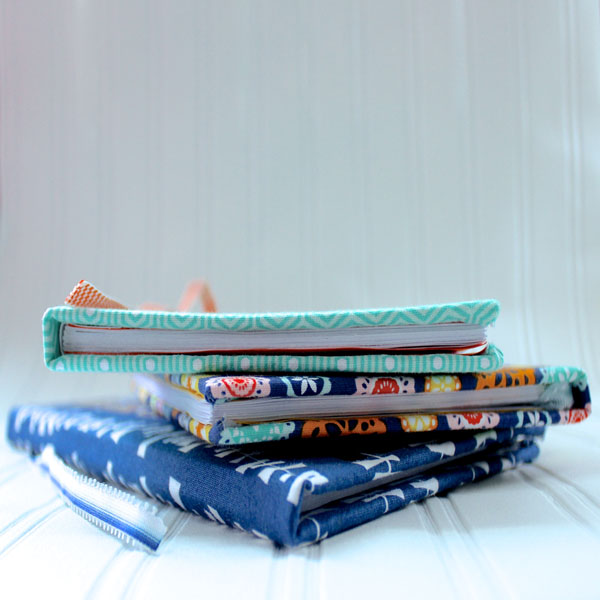
- Now we can add the text block. Slide a piece of scrap cardstock between the layers of the colored endpapers to protect them. Add glue to the endpaper, then smooth onto the cover. Repeat for the back.
- Place in a book press or underneath a heavy, flat object for a couple of hours.
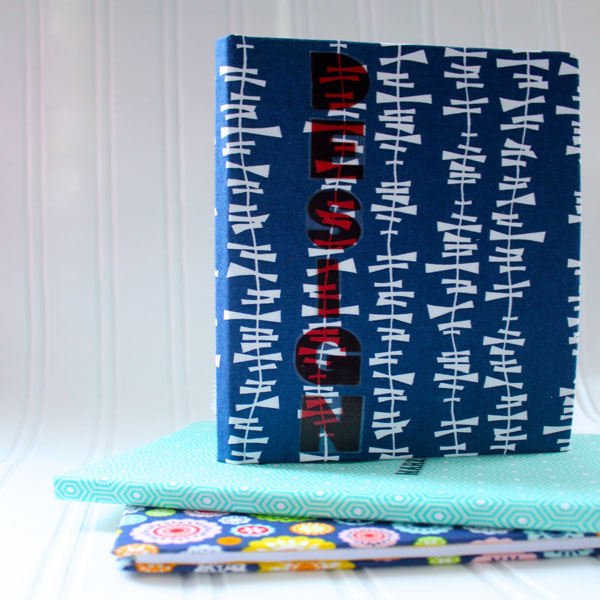
- That’s it! You’ve made a book! You can further personalize your book by printing your own rub-on title using Rub-Onz transfer film.
- The great thing about these books is that they can become anything you want. Try using Sakura Gelly Roll® pens to create colorful drawings and journaling.