How To Create Custom Cookie Stencils
Project Description: Learn how to create your own custom cookie stencils with Grafix Food Safe Craft Plastic Film and a Cricut die cut machine.
Designed by: Nancy Westfall
Difficulty: Easy
Materials:
- Grafix Food Safe Craft Plastic Film .005” or .0075”
- Stencils file from The Colorful Cookie click HERE to download
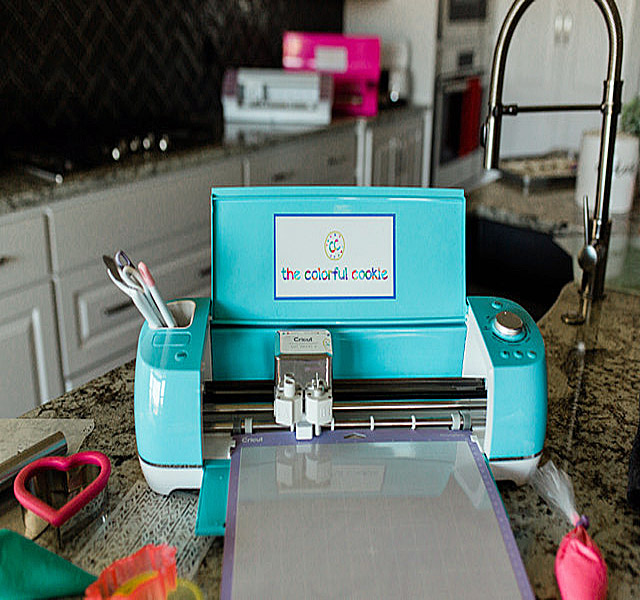
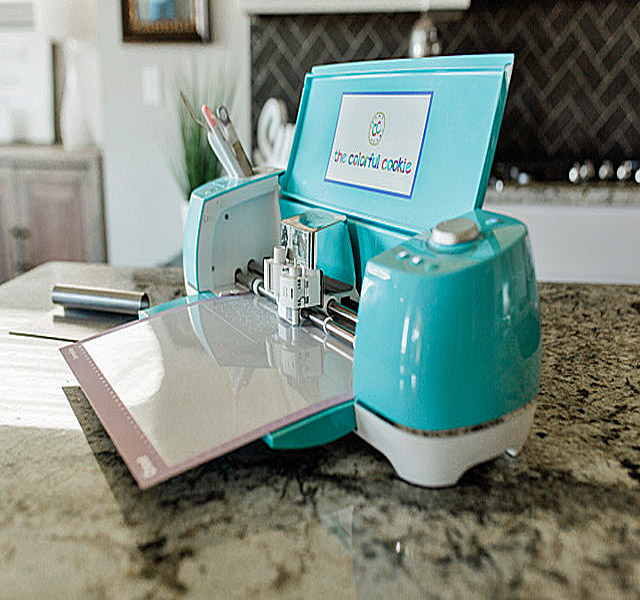
- Cricut Die Cut Machine
- Cricut Mat
- Computer
- Airbrush Gun
- Sugar Cookie
- Variety of Airbrush Colors
Steps to Make This:
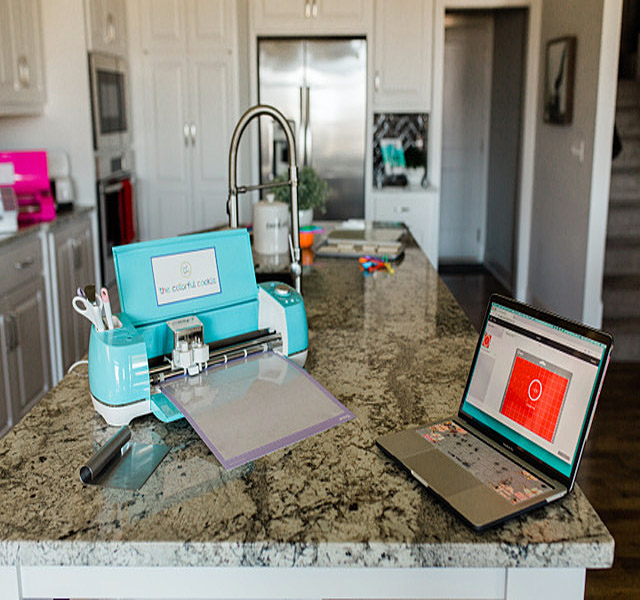
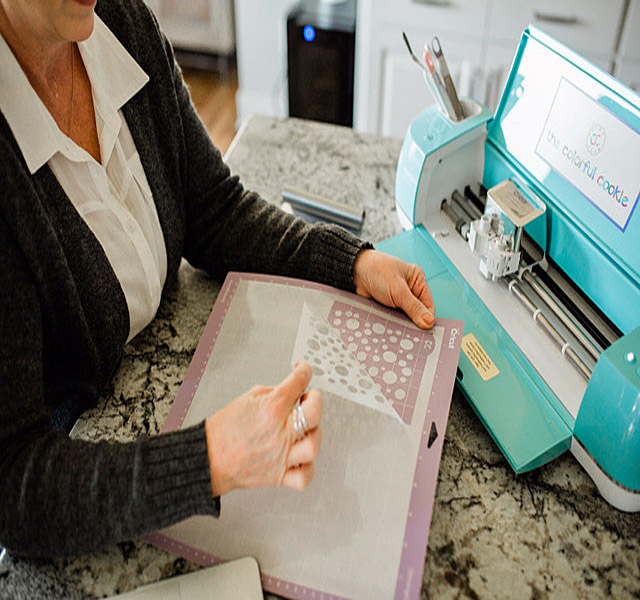
- After designing your stencil, place Grafix Food Safe Craft Plastic Film on the Cricut mat.
- Next, load the mat into the Cricut machine.
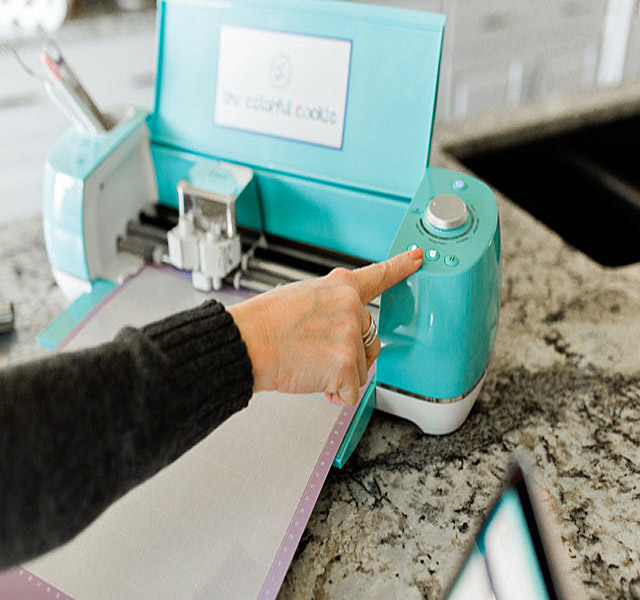
- Click “Make It” in Cricut Design Space and choose proper cut settings for the thickness of the material you are using.
- Watch the stencil cut quickly and easily!
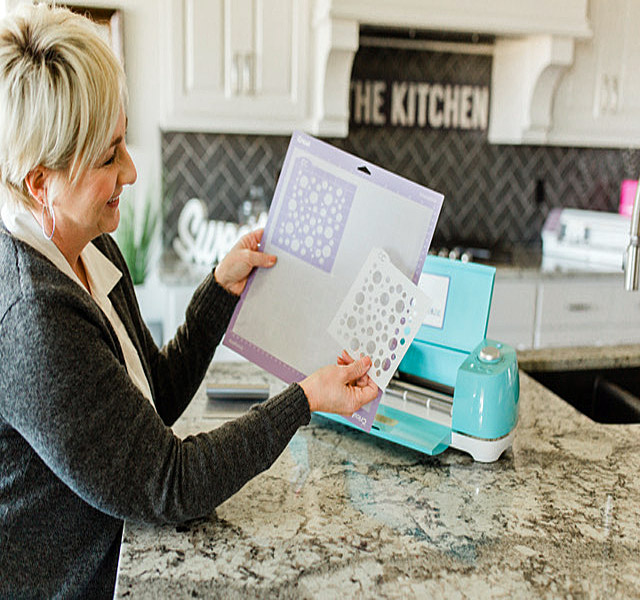
- Remove the stencil from the mat slowly or remove the mat from the stencil if you prefer by flipping it over face down.
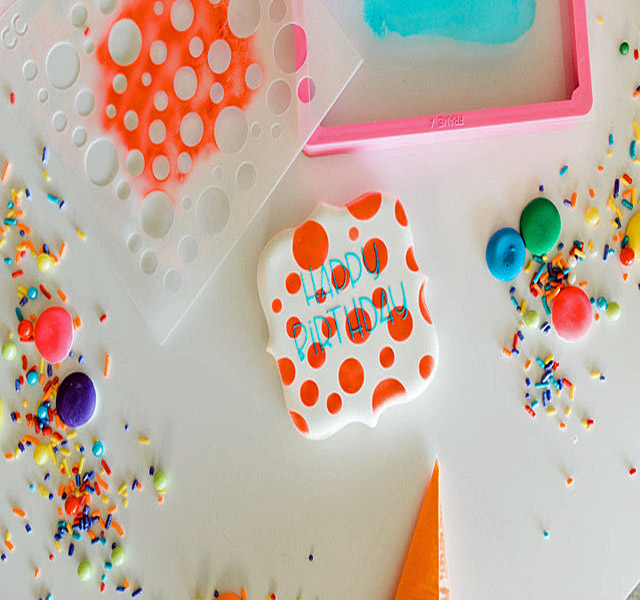
- Take a look at your cookie stencil!
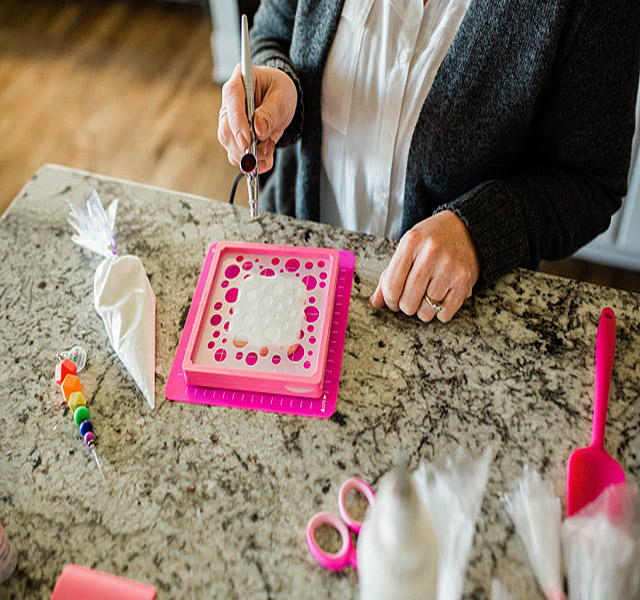
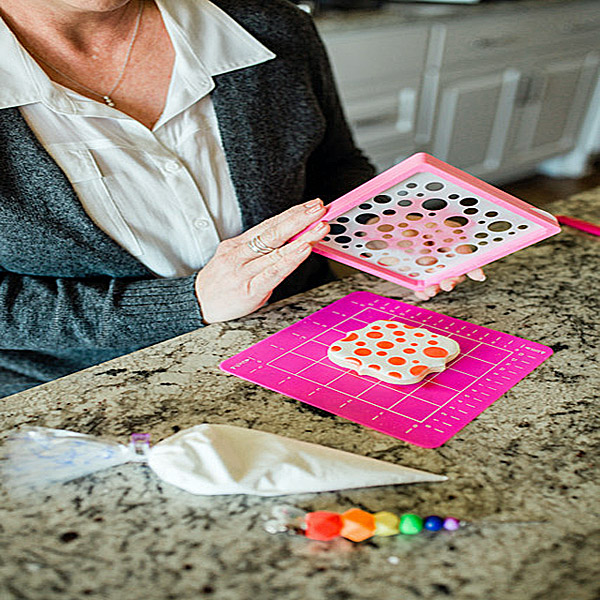
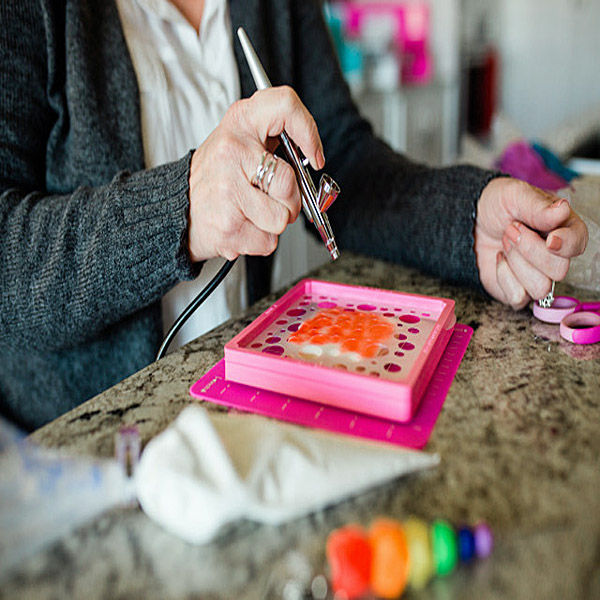
- Place the stencil on the cookie and airbrush over the stencil.
- Be sure to use low pressure and move across the cookie making a few or several passes to achieve desired coverage.
- Remove the stencil to reveal your perfectly airbrushed cookie!
Design another stencil to add more cuteness to your cookie! Be sure to make it COLORFUL!! If you need help learning to design custom cookie stencils using the Cricut or Silhouette Cameo cutting machines, join The Colorful Cookie Club

