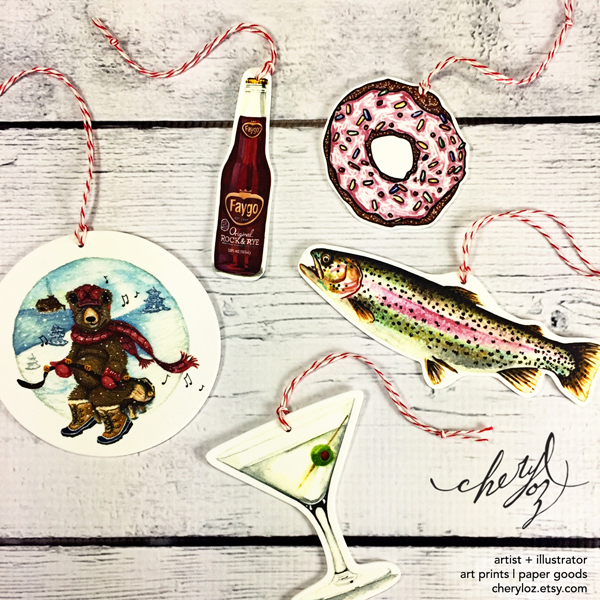
Inkjet Shrink Film Christmas Ornaments
Project Description: Shrink Film Ornaments make great holiday gifts and also make a nice gift topper too!
Designed by: Cheryl Oz
Difficulty: Easy
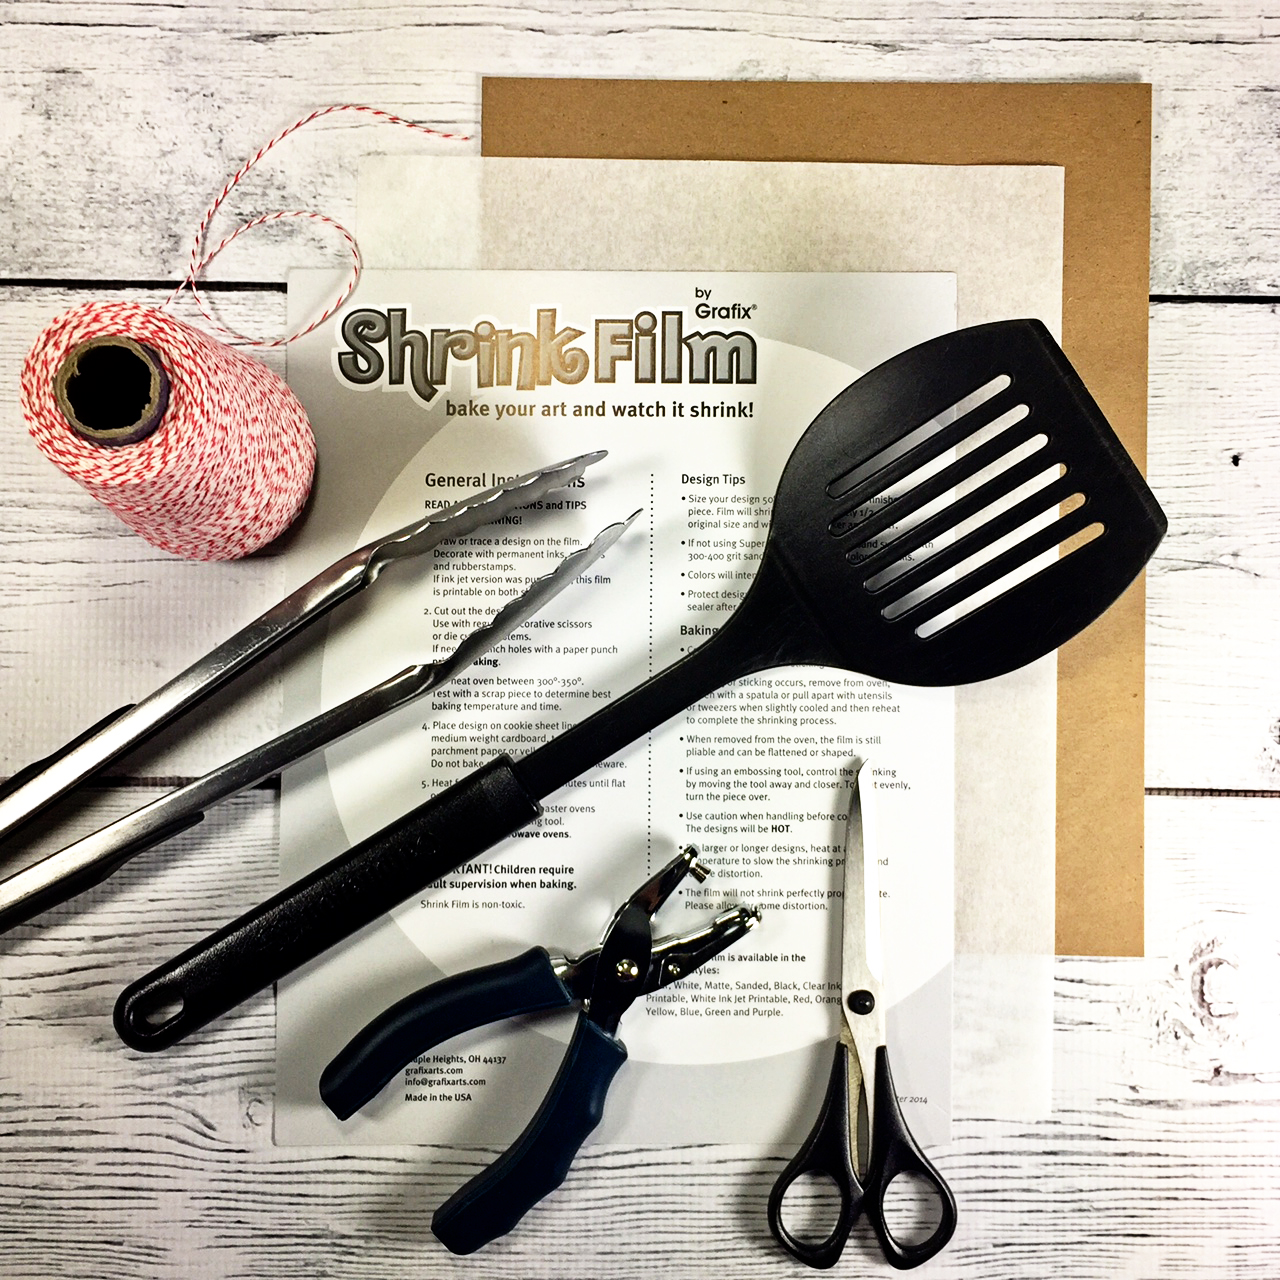
Materials:
- Grafix White Inkjet Printable Shrink Film
- Original Artwork
- Computer & Software (I use Adobe Software and iMac Apple computer)
- Scanner (I use an Epson scanner)
- Inkjet Printer (I use an Epson Stylus R1900)
- Standard Size Hole Punch
- Scissors
- Baker’s Twine or Ribbon
- Cookie sheet
- Parchment Paper
- Heat – Resistant Spatula
- Heat – Resistant Tongs
Steps to Make This:
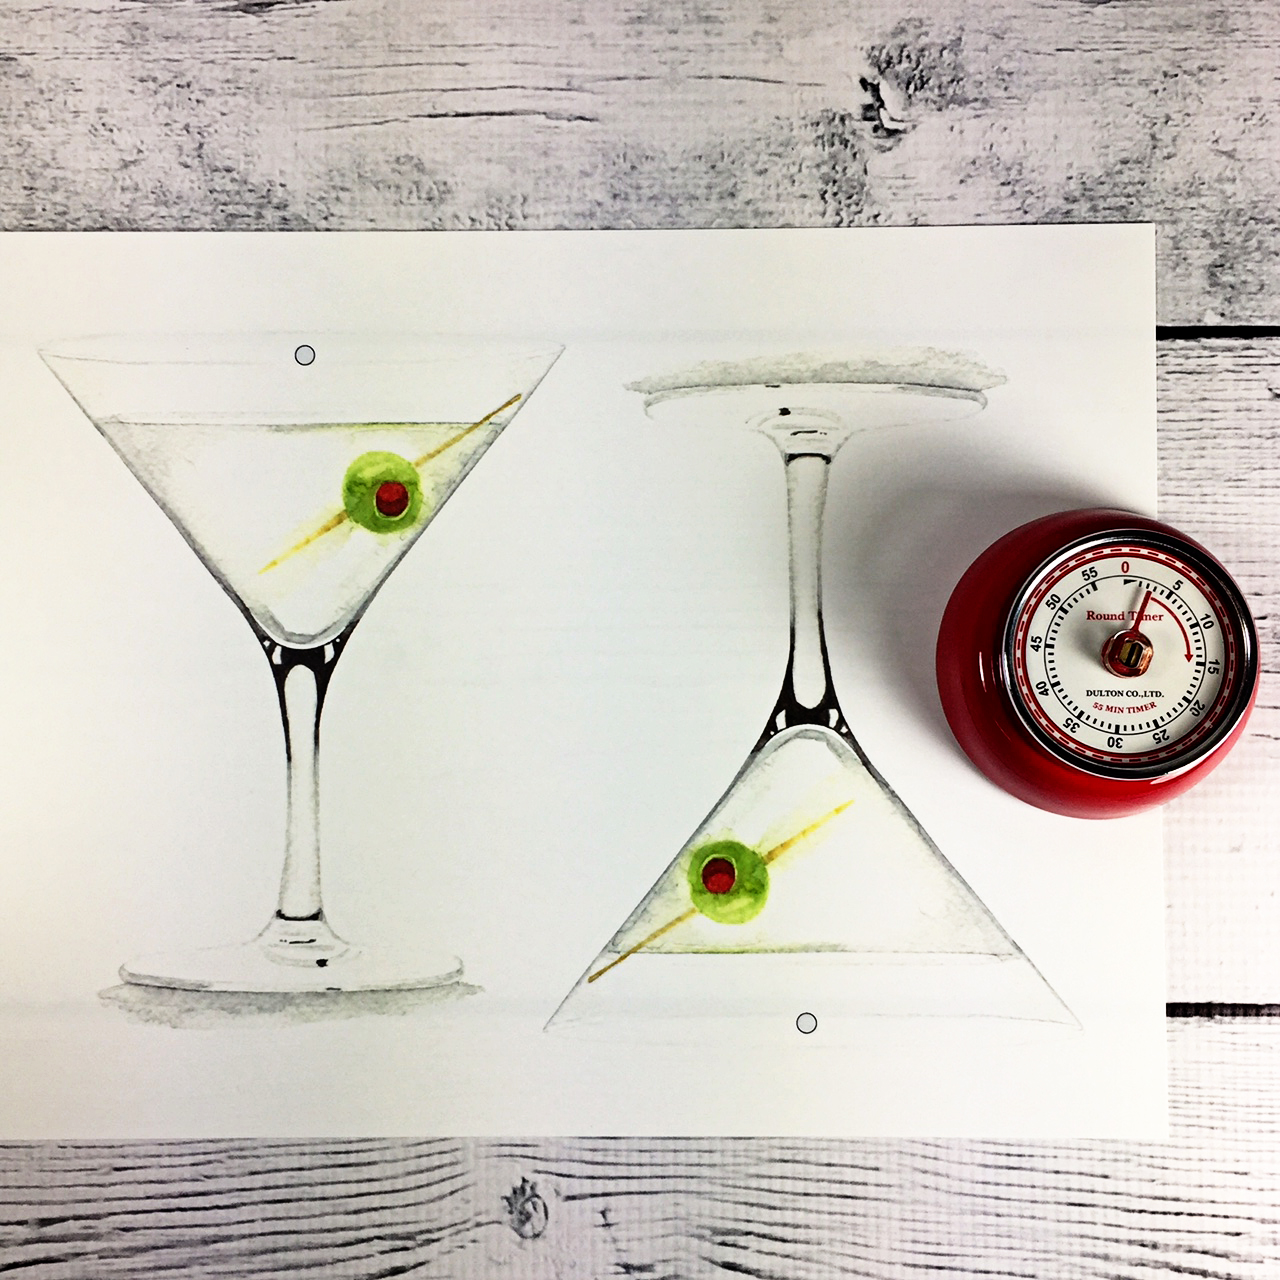
- Once you have your original artwork completed you’ll need to scan it. I always scan my illustrations at a minimum of 300 dpi of the original size for the best resolution and clarity of your image. Most scanners will have the capability to select the resolution. I use an Epson Scanner and I scan thru the program, Adobe Photoshop. If you don’t have a photo-editing program that’s no problem, you can scan directly from your computer with the software that came with your scanner.
- Once your artwork is scanned, bring your image into whatever program you would normally use to set up a document where you could place an image or photo. I use a layout program called Adobe InDesign. Once I’ve added my piece of art to my document, I’ll then resize it, being mindful of the shrinking process. Typically whatever your original artwork size is, the oven will shrink the image down to about half. Tip: Depending on the original size of the artwork, you can put 2 images on a sheet of inkjet to make a nice size ornament, however, for some of my illustrations because of their proportions, I can only do one. It’s best to try out a few sizes. Sometimes I’ll do the size I need for the ornament and because there’s still open space I’ll do a few smaller sizes too so that I’m not wasting the inkjet shrink film sheet. The smaller ones can be used for something else, like maybe a magnet, a cute key-chain charm, earrings, necklace pendant, or even a tag for your dog. The possibilities are endless with shrink film!
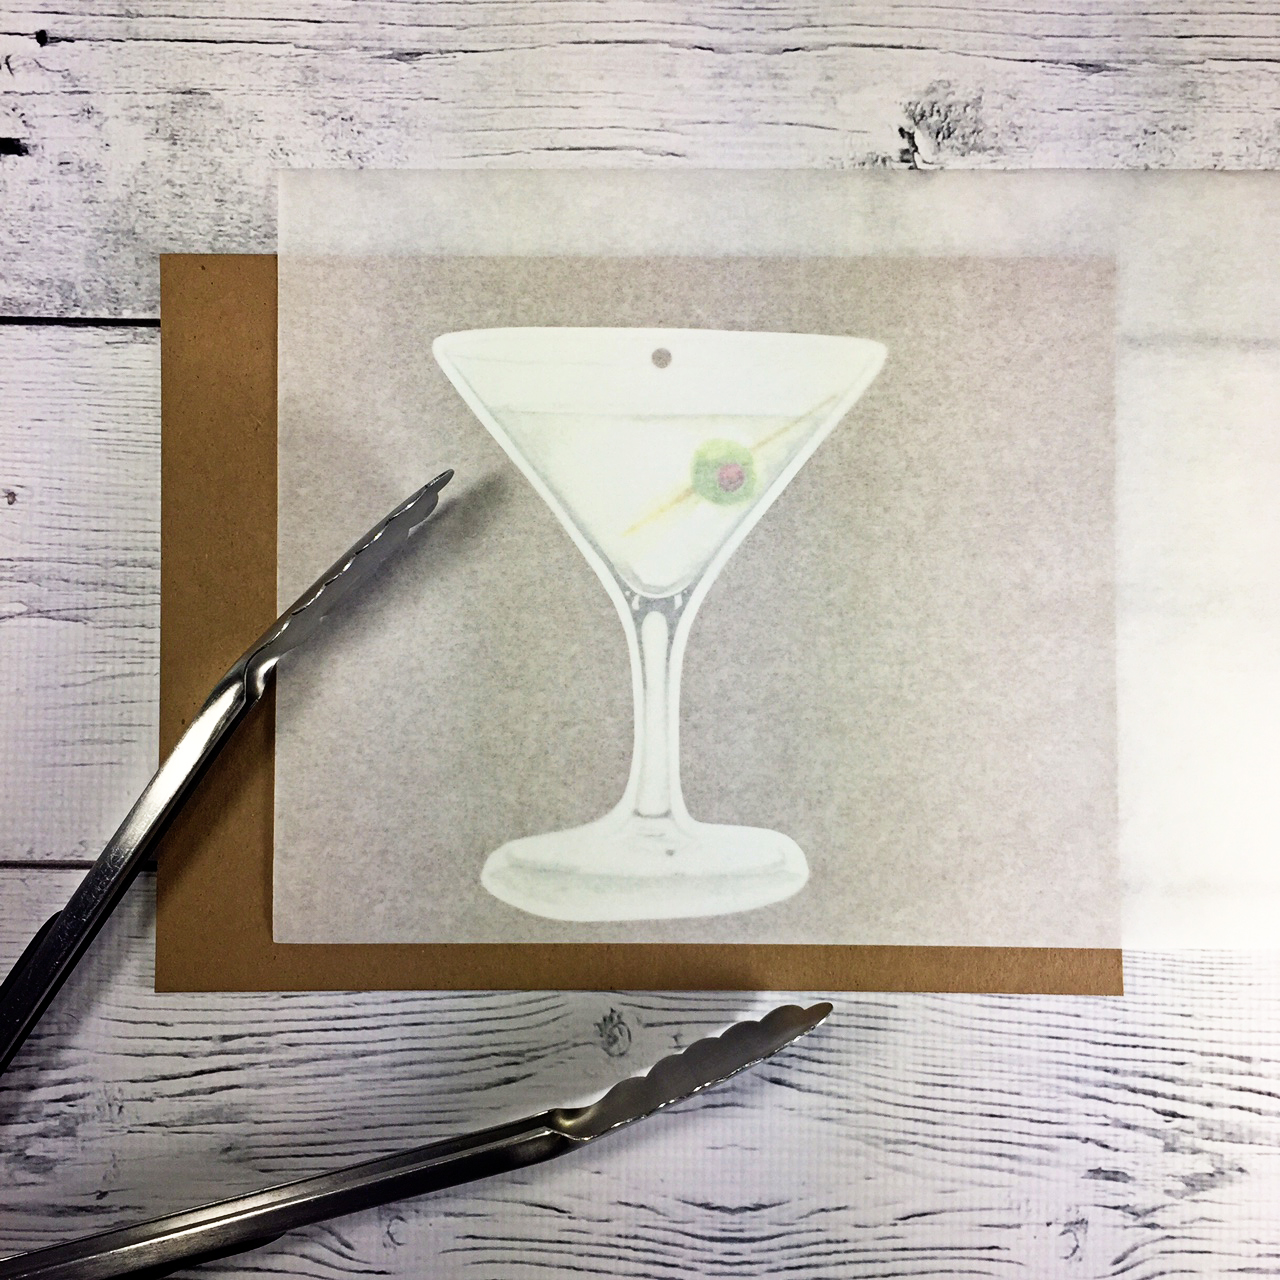
- Before hitting print, you’ll want to go to your Settings and adjust the brightness of your image. Most printers will have custom settings; your printer manual will help you with this if you are unsure. Make the image brighter. It’s important to follow this step because in the shrinking process, the artwork once shrunk will be much darker. I use a matte professional paper setting (it is also a thicker paper like the film and the printer will perform the best if it thinks it has a similar weighted material) since typically printers do not have a paper selection for shrink film. Print the inkjet film. Tip: You may have to have a little trial and error with this process. Once you figure out the brightness that you like, make sure to save your file and your printer setting will also be saved. Also, it never hurts to write down the brightness amount you used to because it will be the same from this point on with all of your art that you want to create into ornaments.
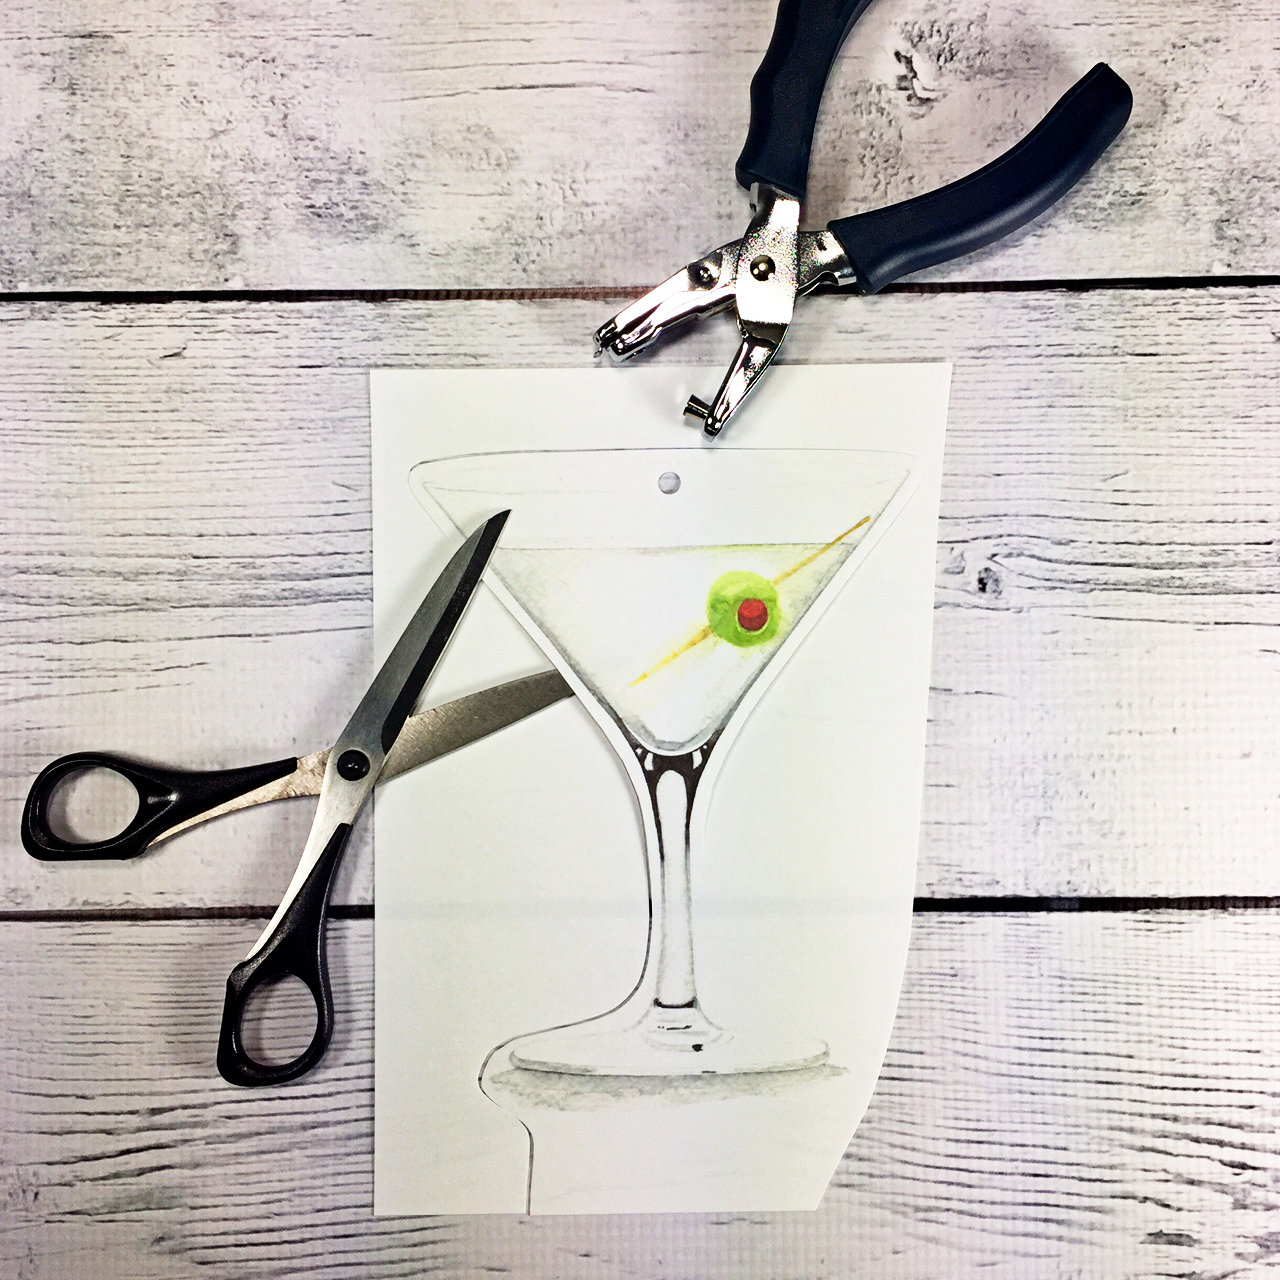
- Once the film is printed, let it dry for a few minutes until you can tell the image is dry to the touch and the ink will not smear – especially if it’s larger. Preheat your oven to 350˚.
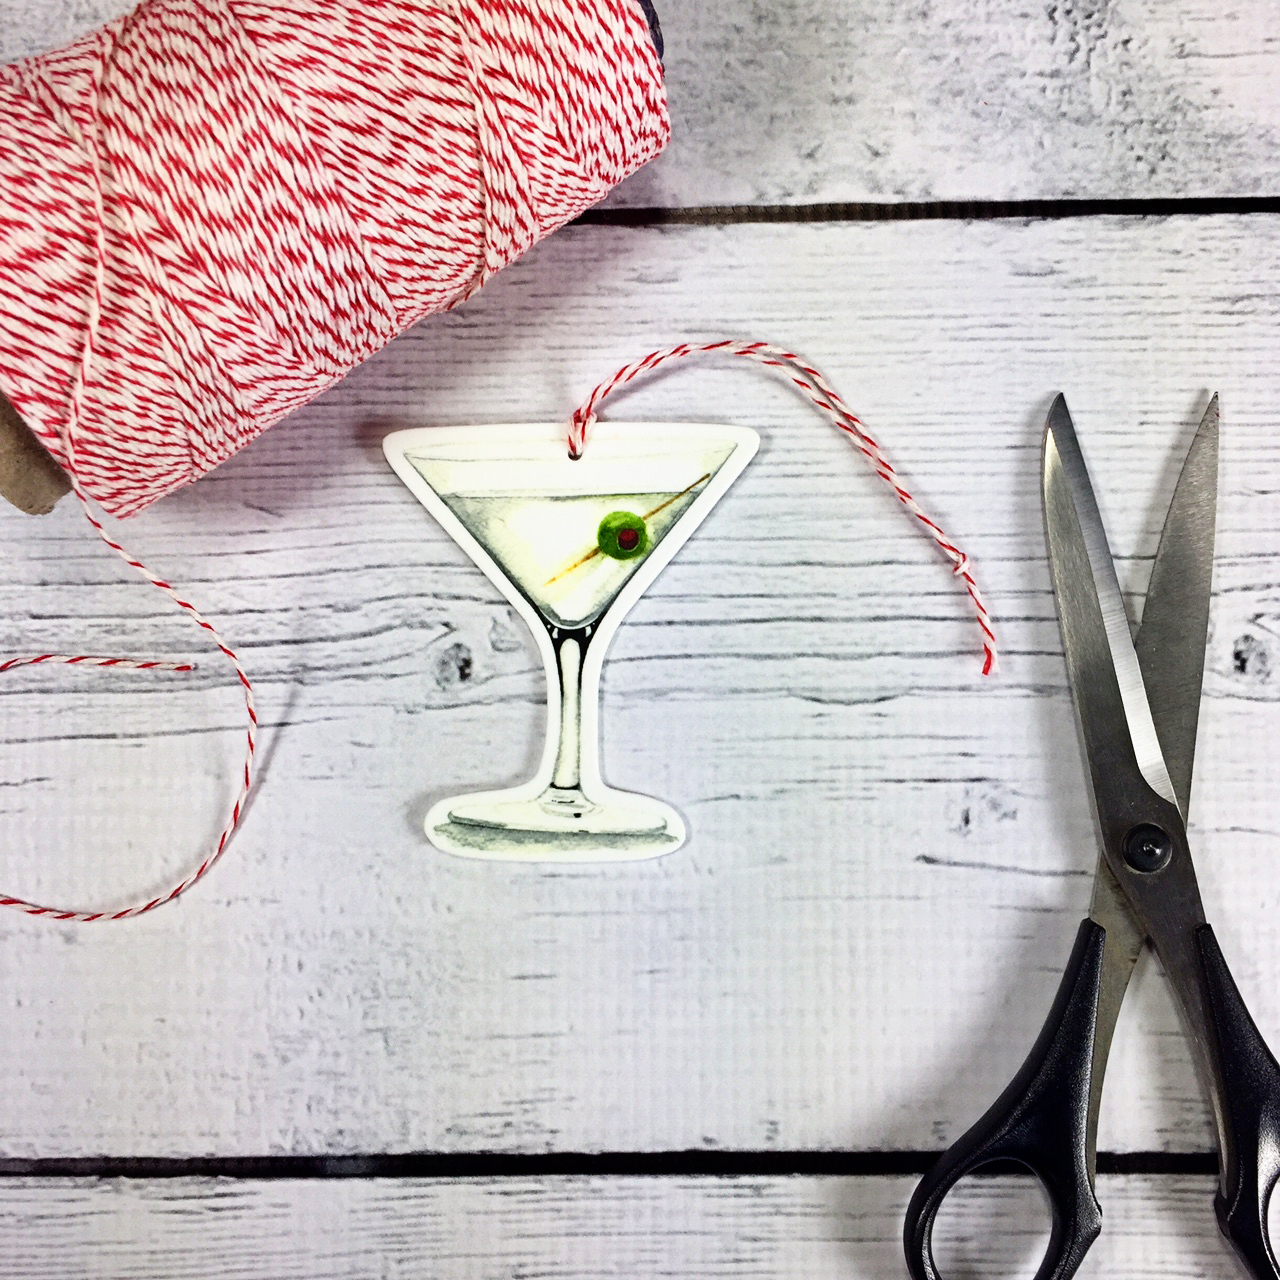
- Now that the film is dry, you can cut out your images. I like to leave 1/8 to ¼” of white film around my images. Punch a hole for hanging the ornament. Make sure it’s a standard size hole punch or larger because the hole size is going to shrink by half, which can make it difficult to string depending on the width of your choice of hanging material. I use baker’s twine so this size hole is perfect for my ornaments.
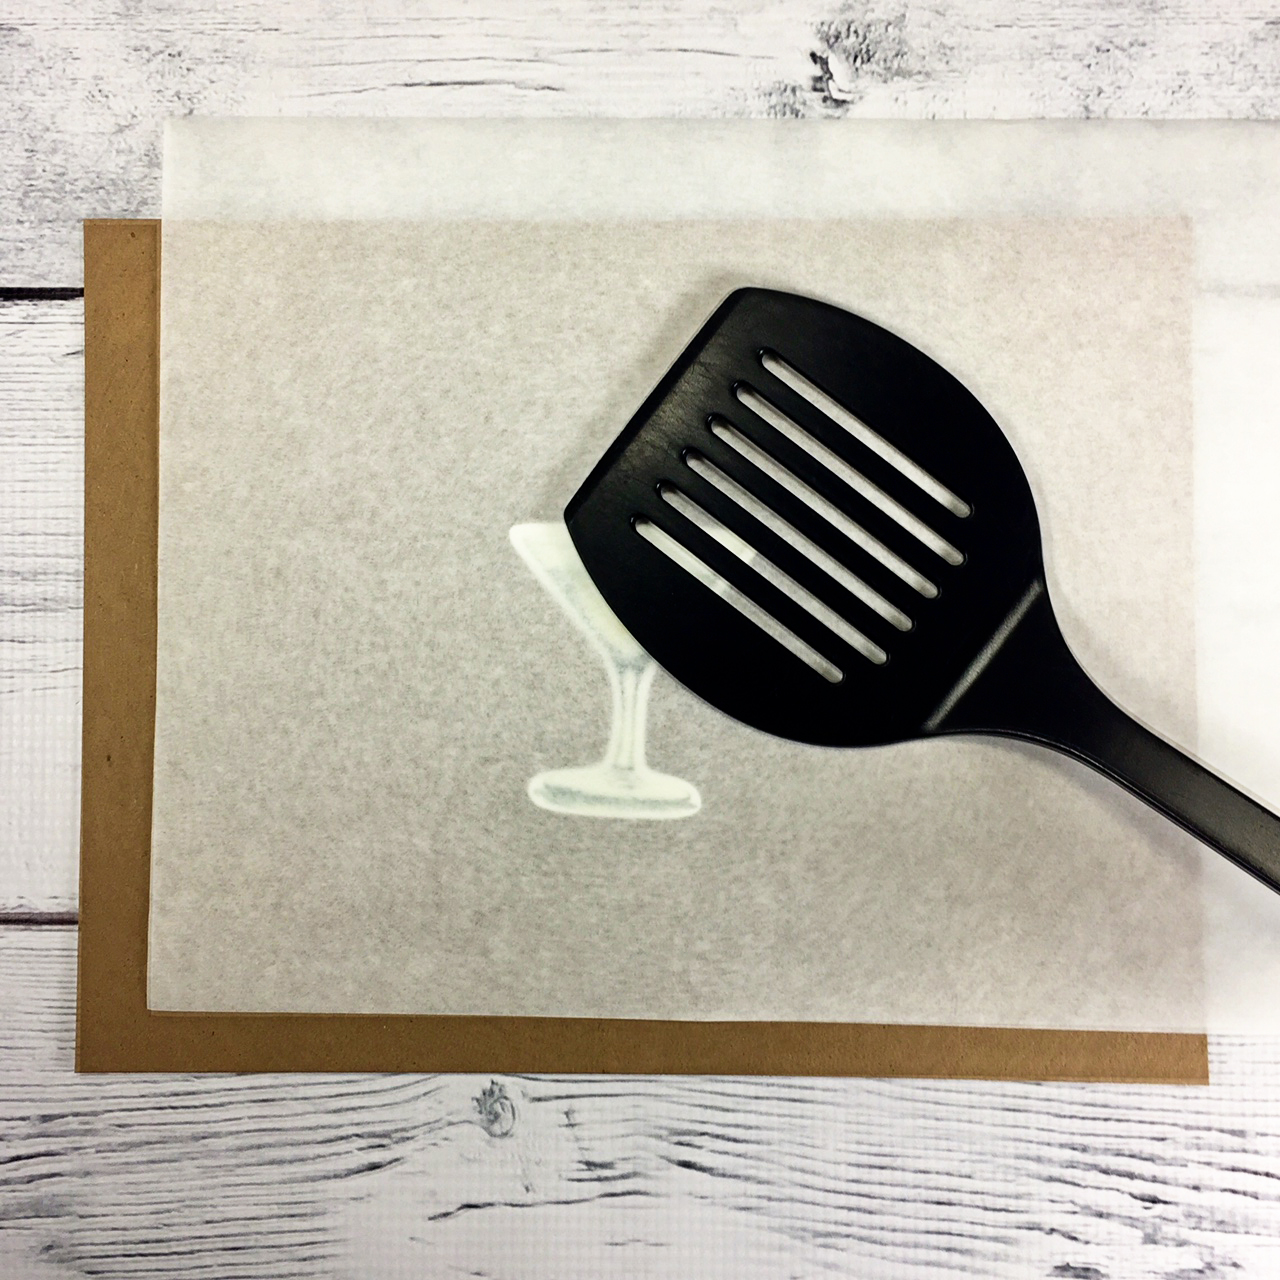
- Set an oven rack to the middle shelf. Place the cut-out printed film onto the cookie sheet. Make sure there are few inches around each piece of printed film so that there is room for the shrinking process. The images will curl and move a bit as they shrink. This is normal and a fun process to watch thru the oven window, so be sure to turn on the oven light too. Before placing in the oven, put a sheet of parchment paper on top of the printed film pieces so that they are completely covered.
- Using the tongs, place the cookie sheet on the middle rack and set the oven timer for 2 minutes. Oven times will vary, so keep an eye on your project during the first time you shrink the film. The ornaments are done shrinking when they appear to be flat and much smaller.
- Using the tongs remove the cookie sheet from the oven and put it on a surface that is acceptable for heat. Use your spatula and rub over the ornaments with the parchment paper on top still, to make sure they are completely flat, and then transfer them to a flat cool place. They will cool fast tie with some baker’s twine or your desired thin ribbon.