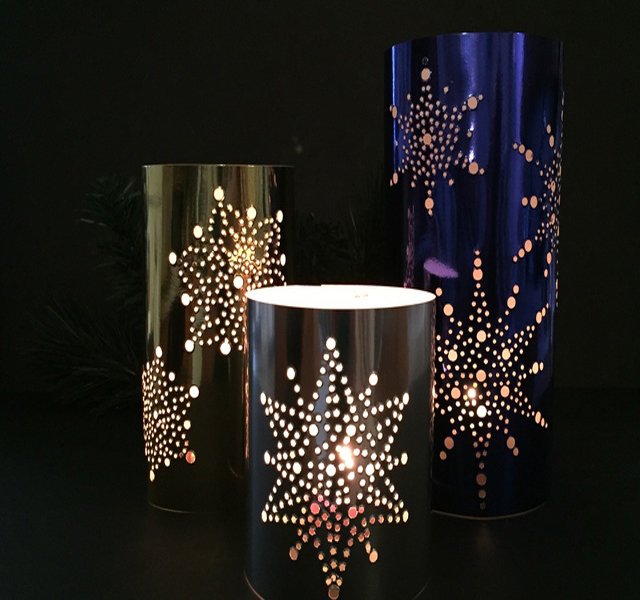
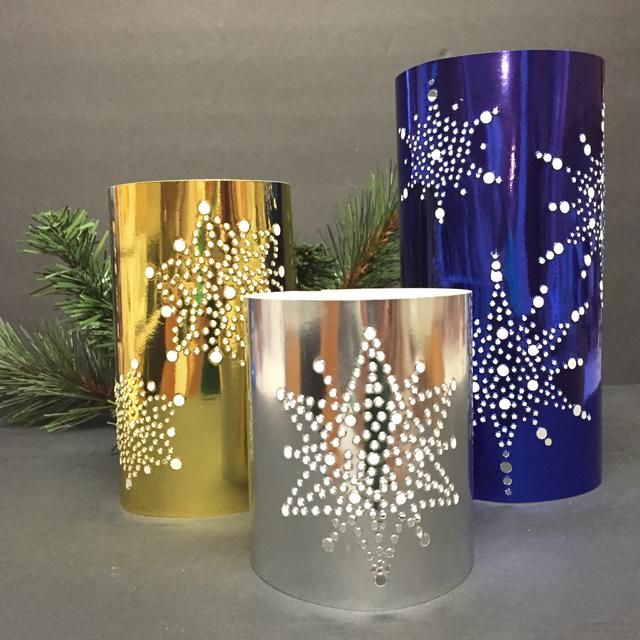
How To Make Snowflake Luminaries with Grafix’s Metallic Foil Board
Project Description: Use metallic foil board to create unique gifts or incorporate in your everyday crafting.
Designed by: Tami Sanders
Difficulty: Easy
Materials:
- Grafix Metallic Foil Board
- Hammer
- Paper Trimmer
- Masking Tape
- Paper Punch with Tips
- Self-Healing Mat
- Double Sided Tape
- Scissors
Steps to Make This:
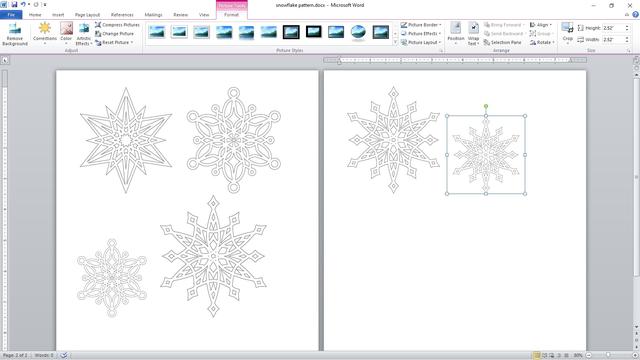
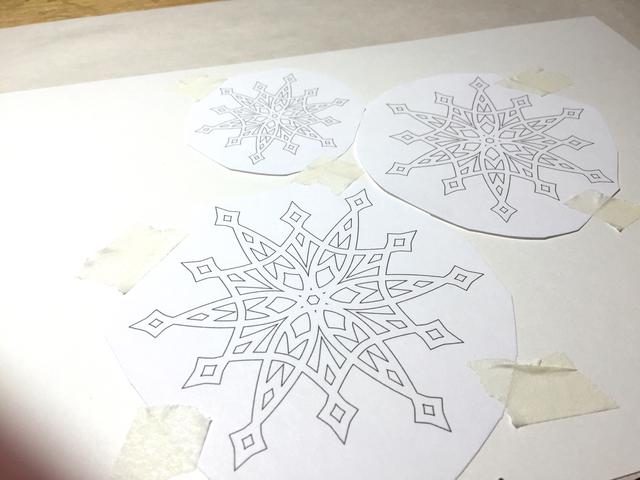
- Scan in designs or cut and paste patterns from the web into a word processing program. Resize as needed.
- Cut a 4 X 11 piece of silver foil a 6 X 11 1/2 piece of gold foil and an 8 X 12 piece of blue foil. (The graduated lengths will allow your luminaries to nest for storage.)
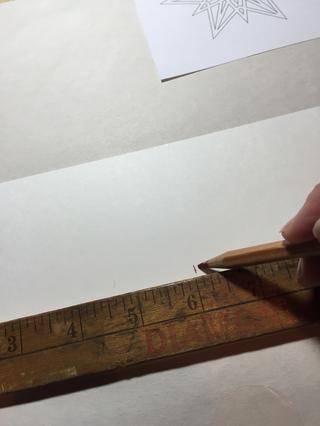
- On the back, measure and mark the center of the silver foil.
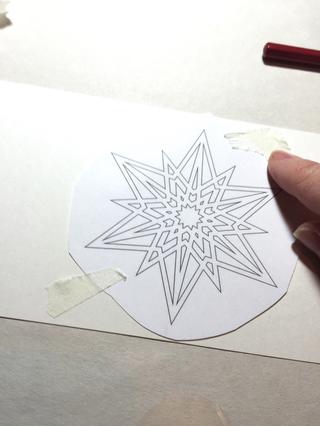
- Arrange your snowflake pattern on the back, lining it up with the marks, and then tape down your template.
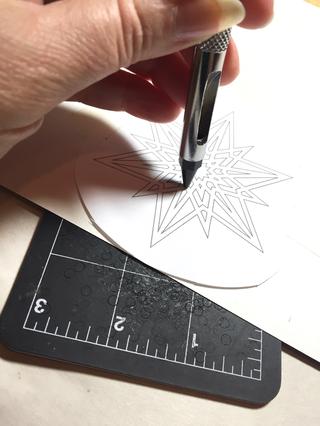
- Place foil, pattern side up on mat and begin punching the holes along the pattern lines.
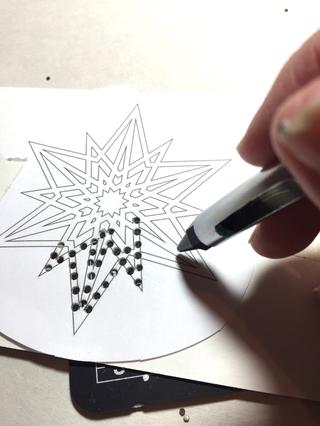
- Continue following pattern and punching holes in the pattern.
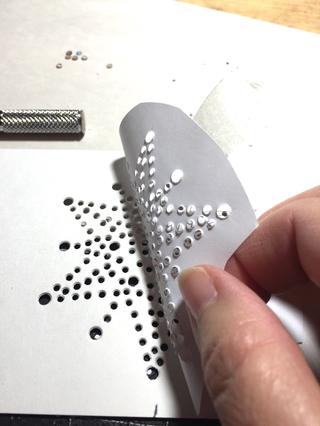
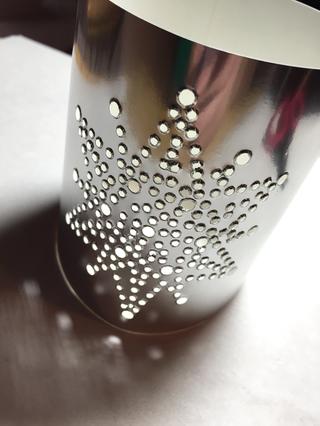
- When you have punched holes in all the lines, carefully take off the pattern to see how you did.
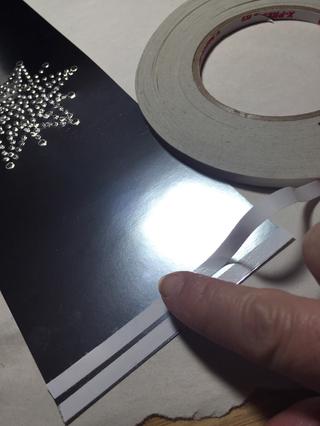
- Place 2 strips of double sided tape on one end of the silver foil.
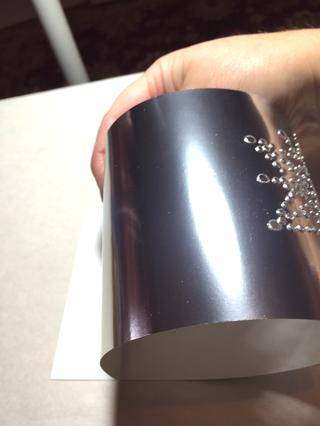
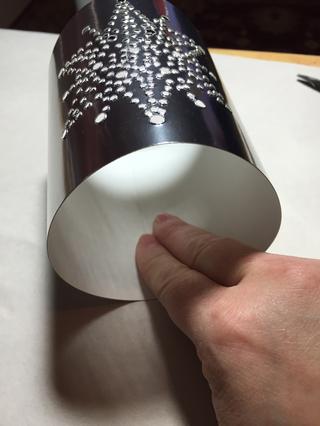
- Wrap foil around to back, remove liners from tape and adhere.
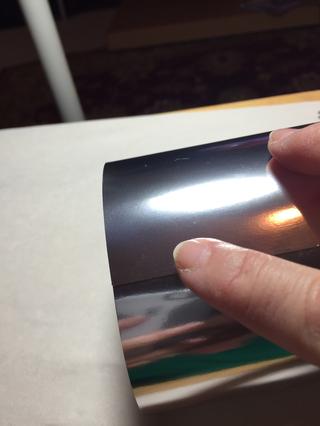
- Press your thumb or finger over the seam to be sure it is secure.
- Also rub the seam from the inside of the piece.
- Repeat with gold foil and 2 more snowflakes.
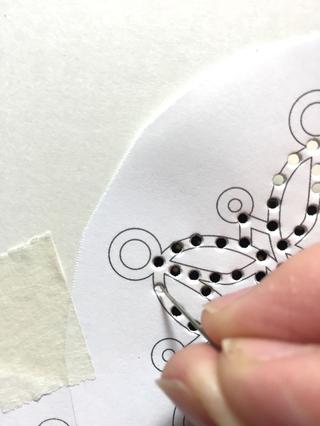
- If a dot gets stuck in a hole, try poking it through with a pin.
- Finally, repeat the process with 3 snowflakes and blue foil.

