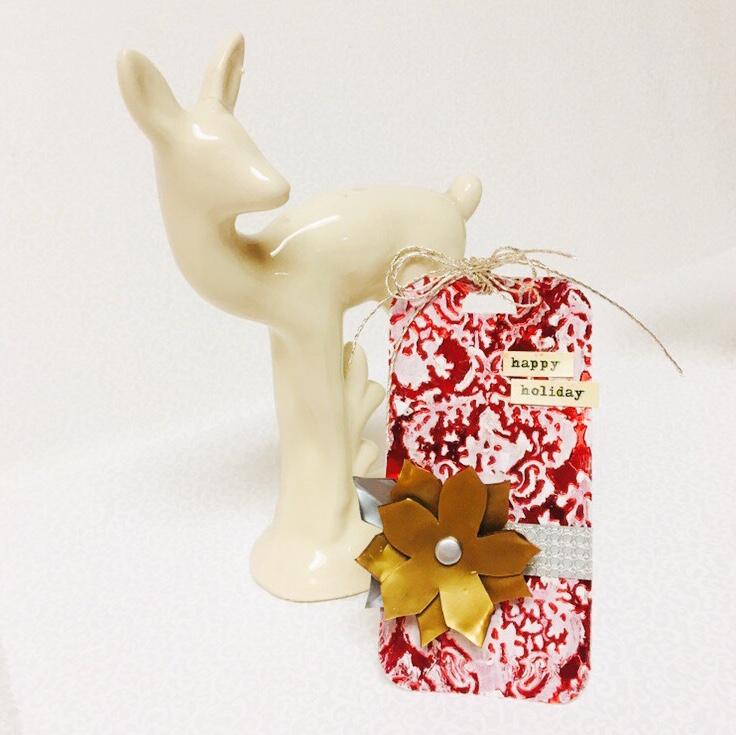
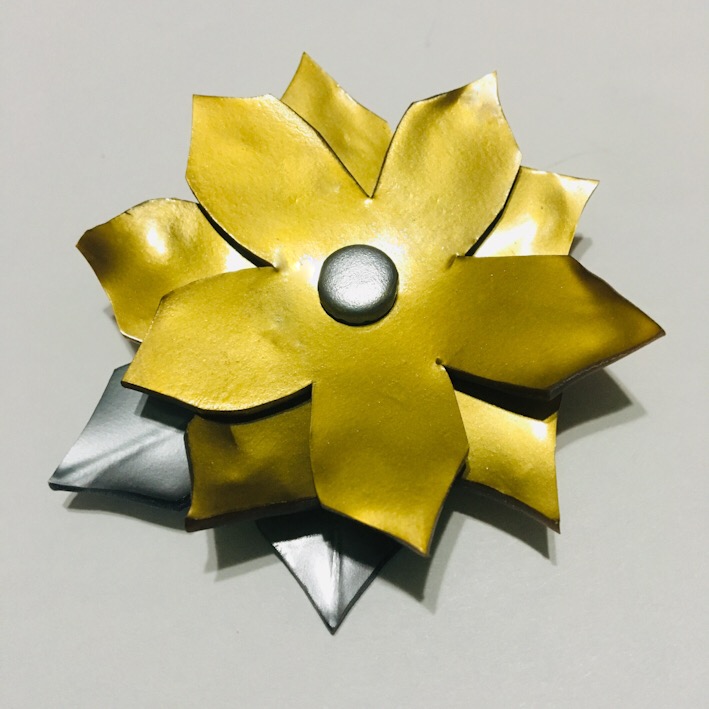
Metallic Shrink Film Poinsettia
Project Description: Create your own magical shrink film tags just in time for the holidays!
Designed by: Tami Sanders
Difficulty: Moderate
Materials:
Poinsettia
- Grafix Metallic Gold and Silver Shrink Film
- Grafix Chipboard
- Silver Brad
- Pencil
- Scissors
- Cornstarch
- Wooden Skewer
- Baby Wipes
- Paper Towels
- Heat Gun
Tag
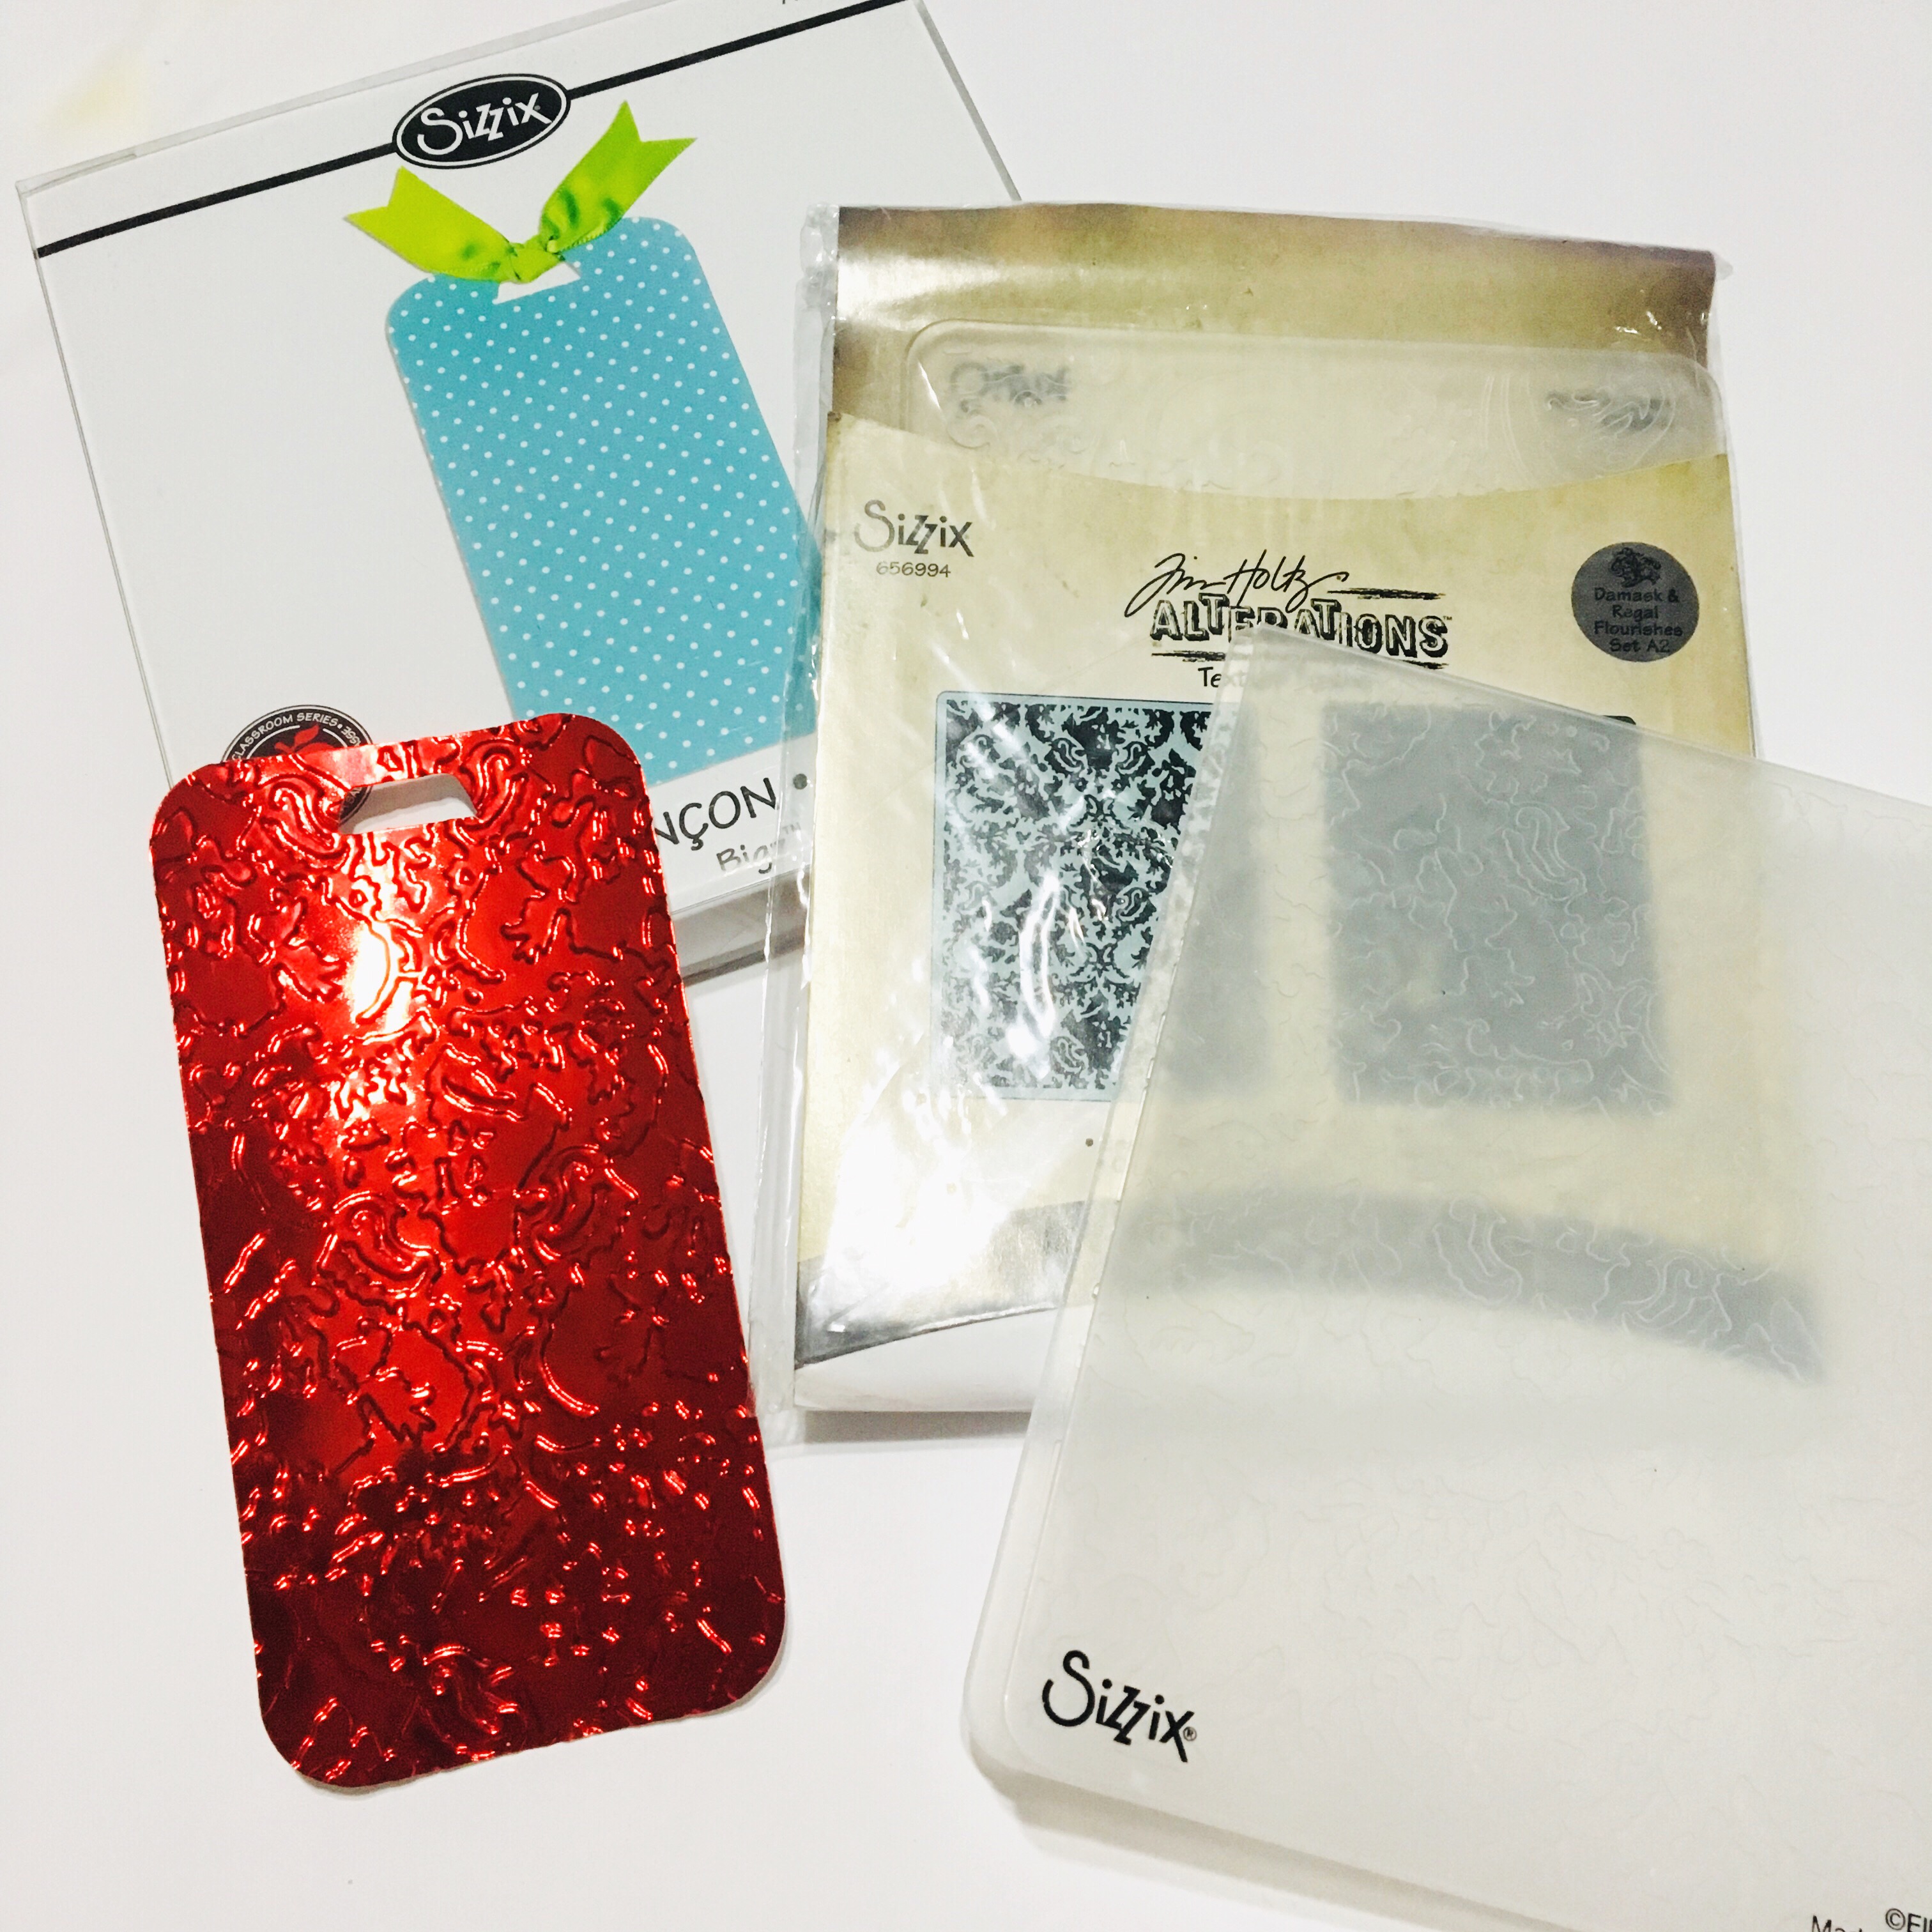
- Grafix Red Metallic Foil Board
- Sizzix: Bookmark-Plain Die
- Tim Holtz Texture Fades – Damask Embossing
- The Crafters Workshop Heavy Body Acrylic Paint – Spun Sugar
- Silver Washi Tape
- Silver Cording
- 3D Foam Squares
- Diecut Machine
- Scissors
- Sand Paper
Steps to Make This:
Poinsettia
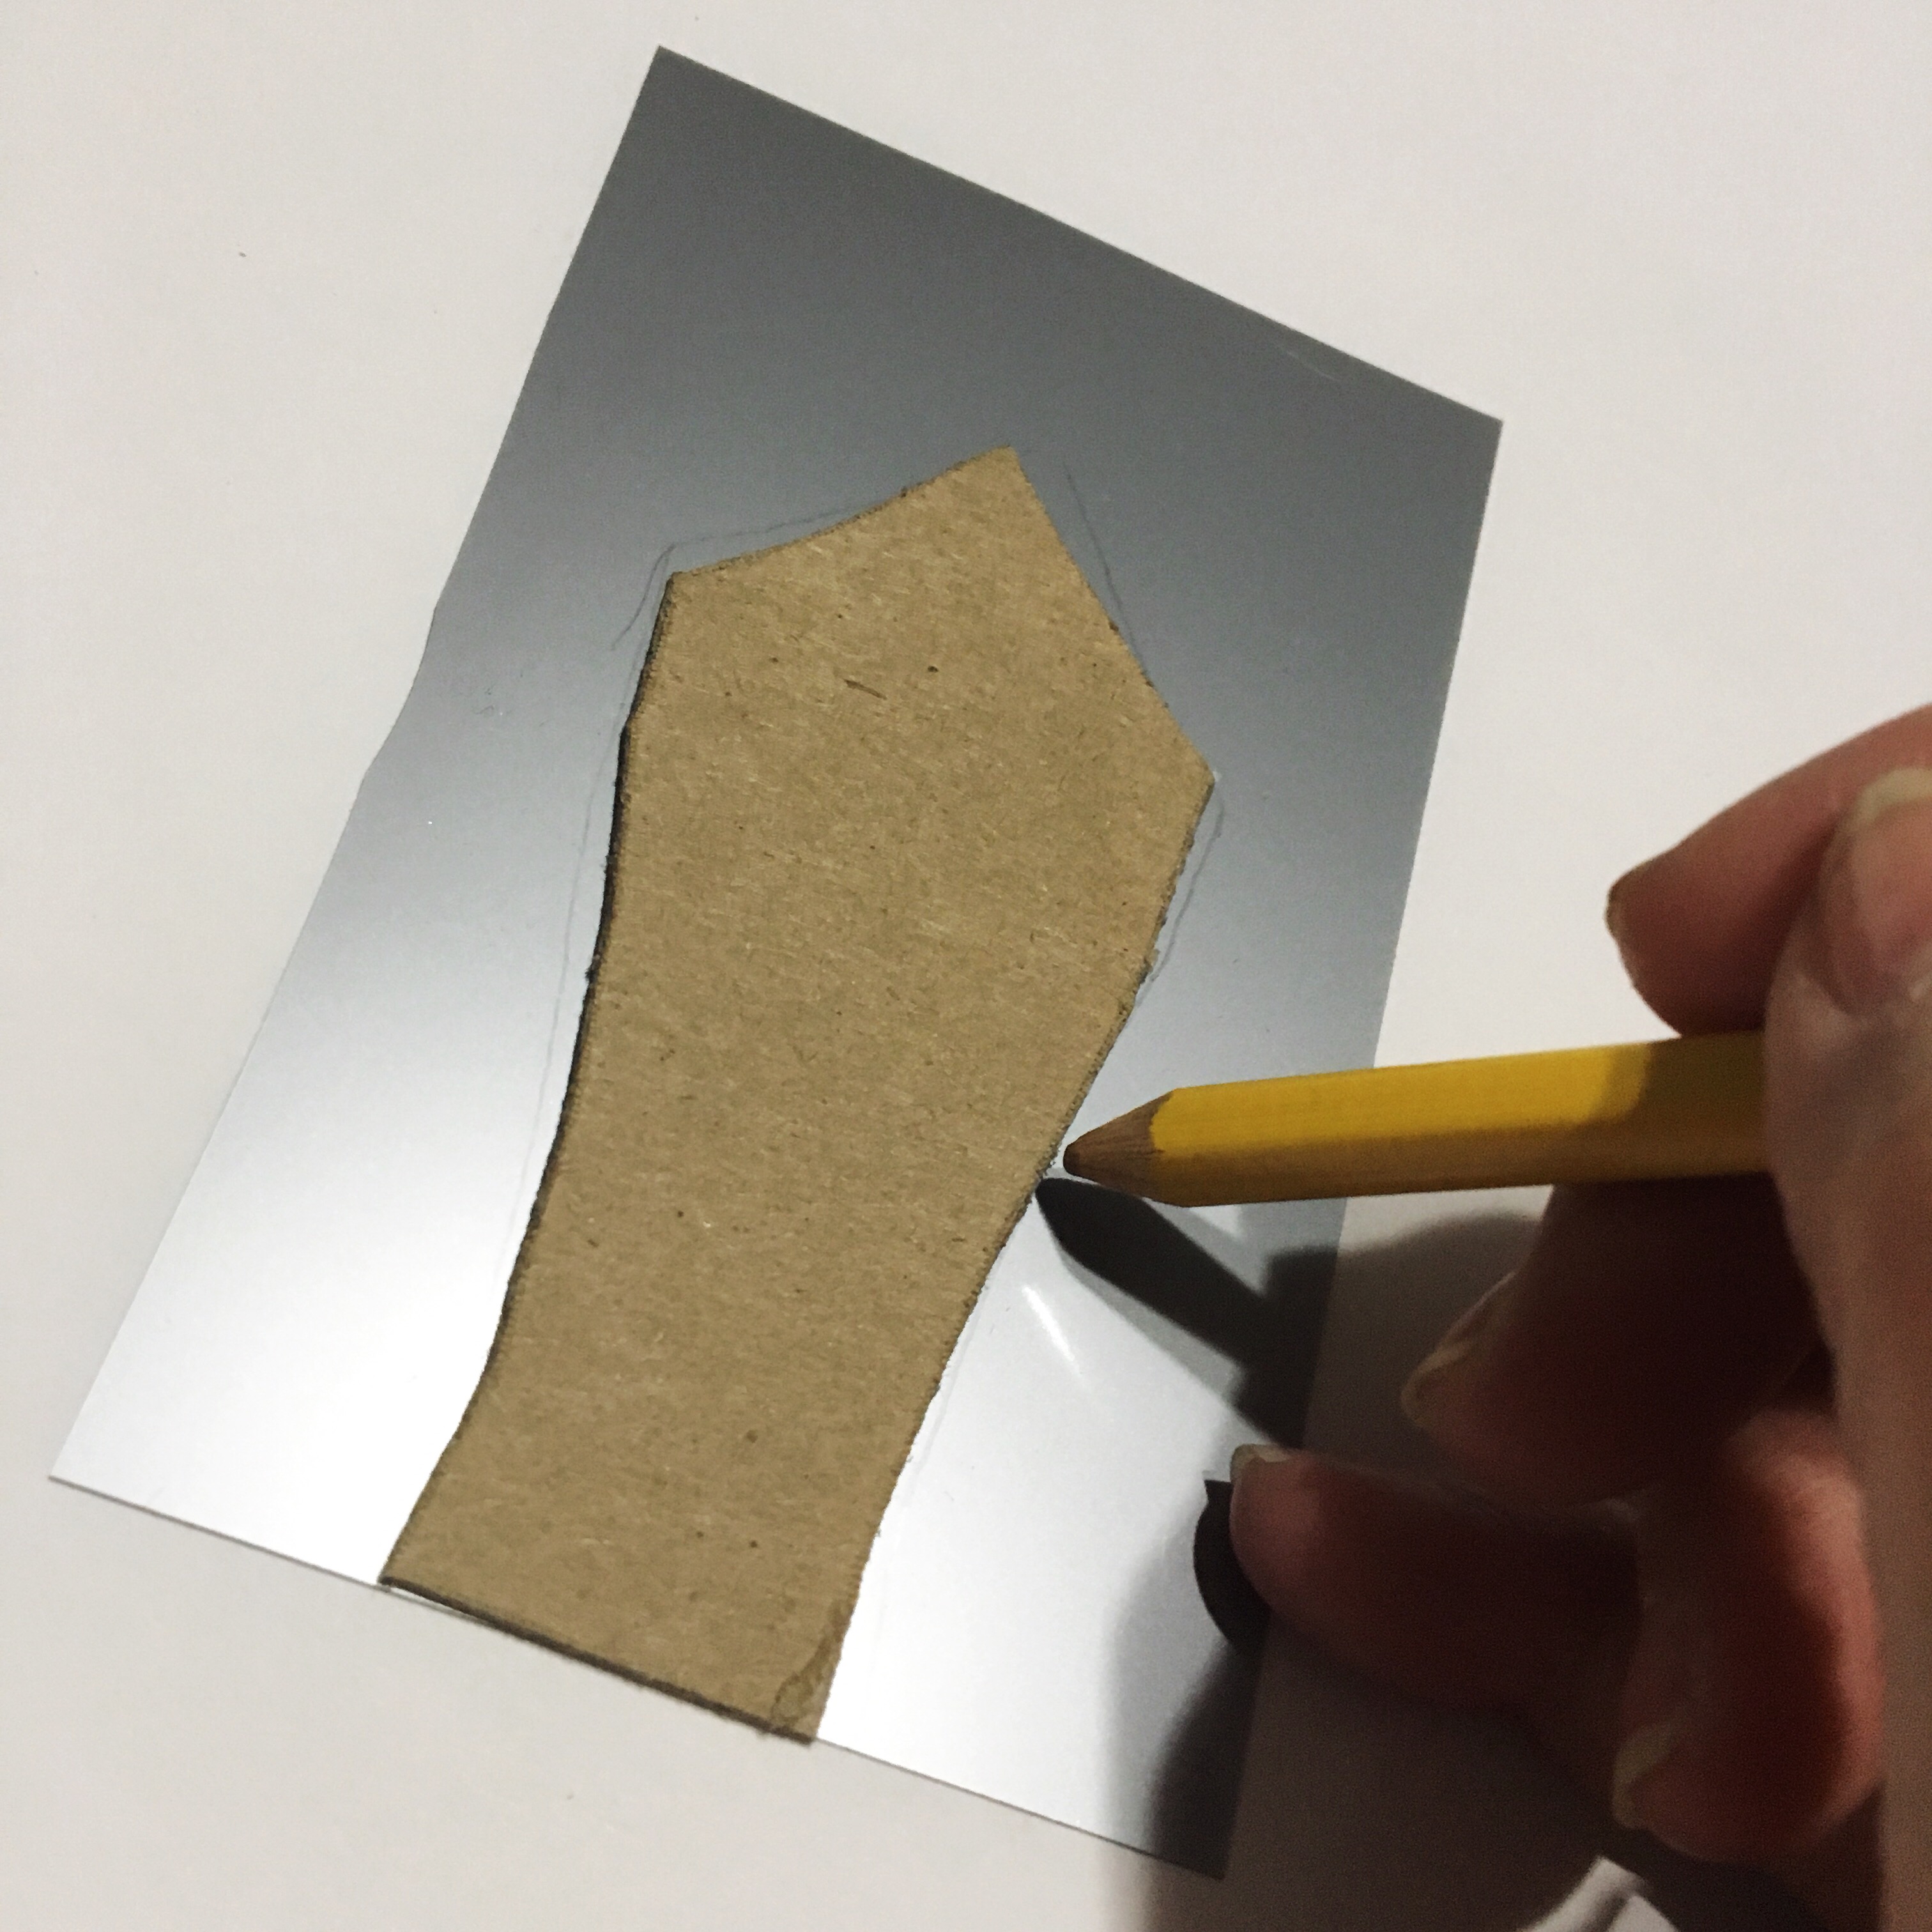
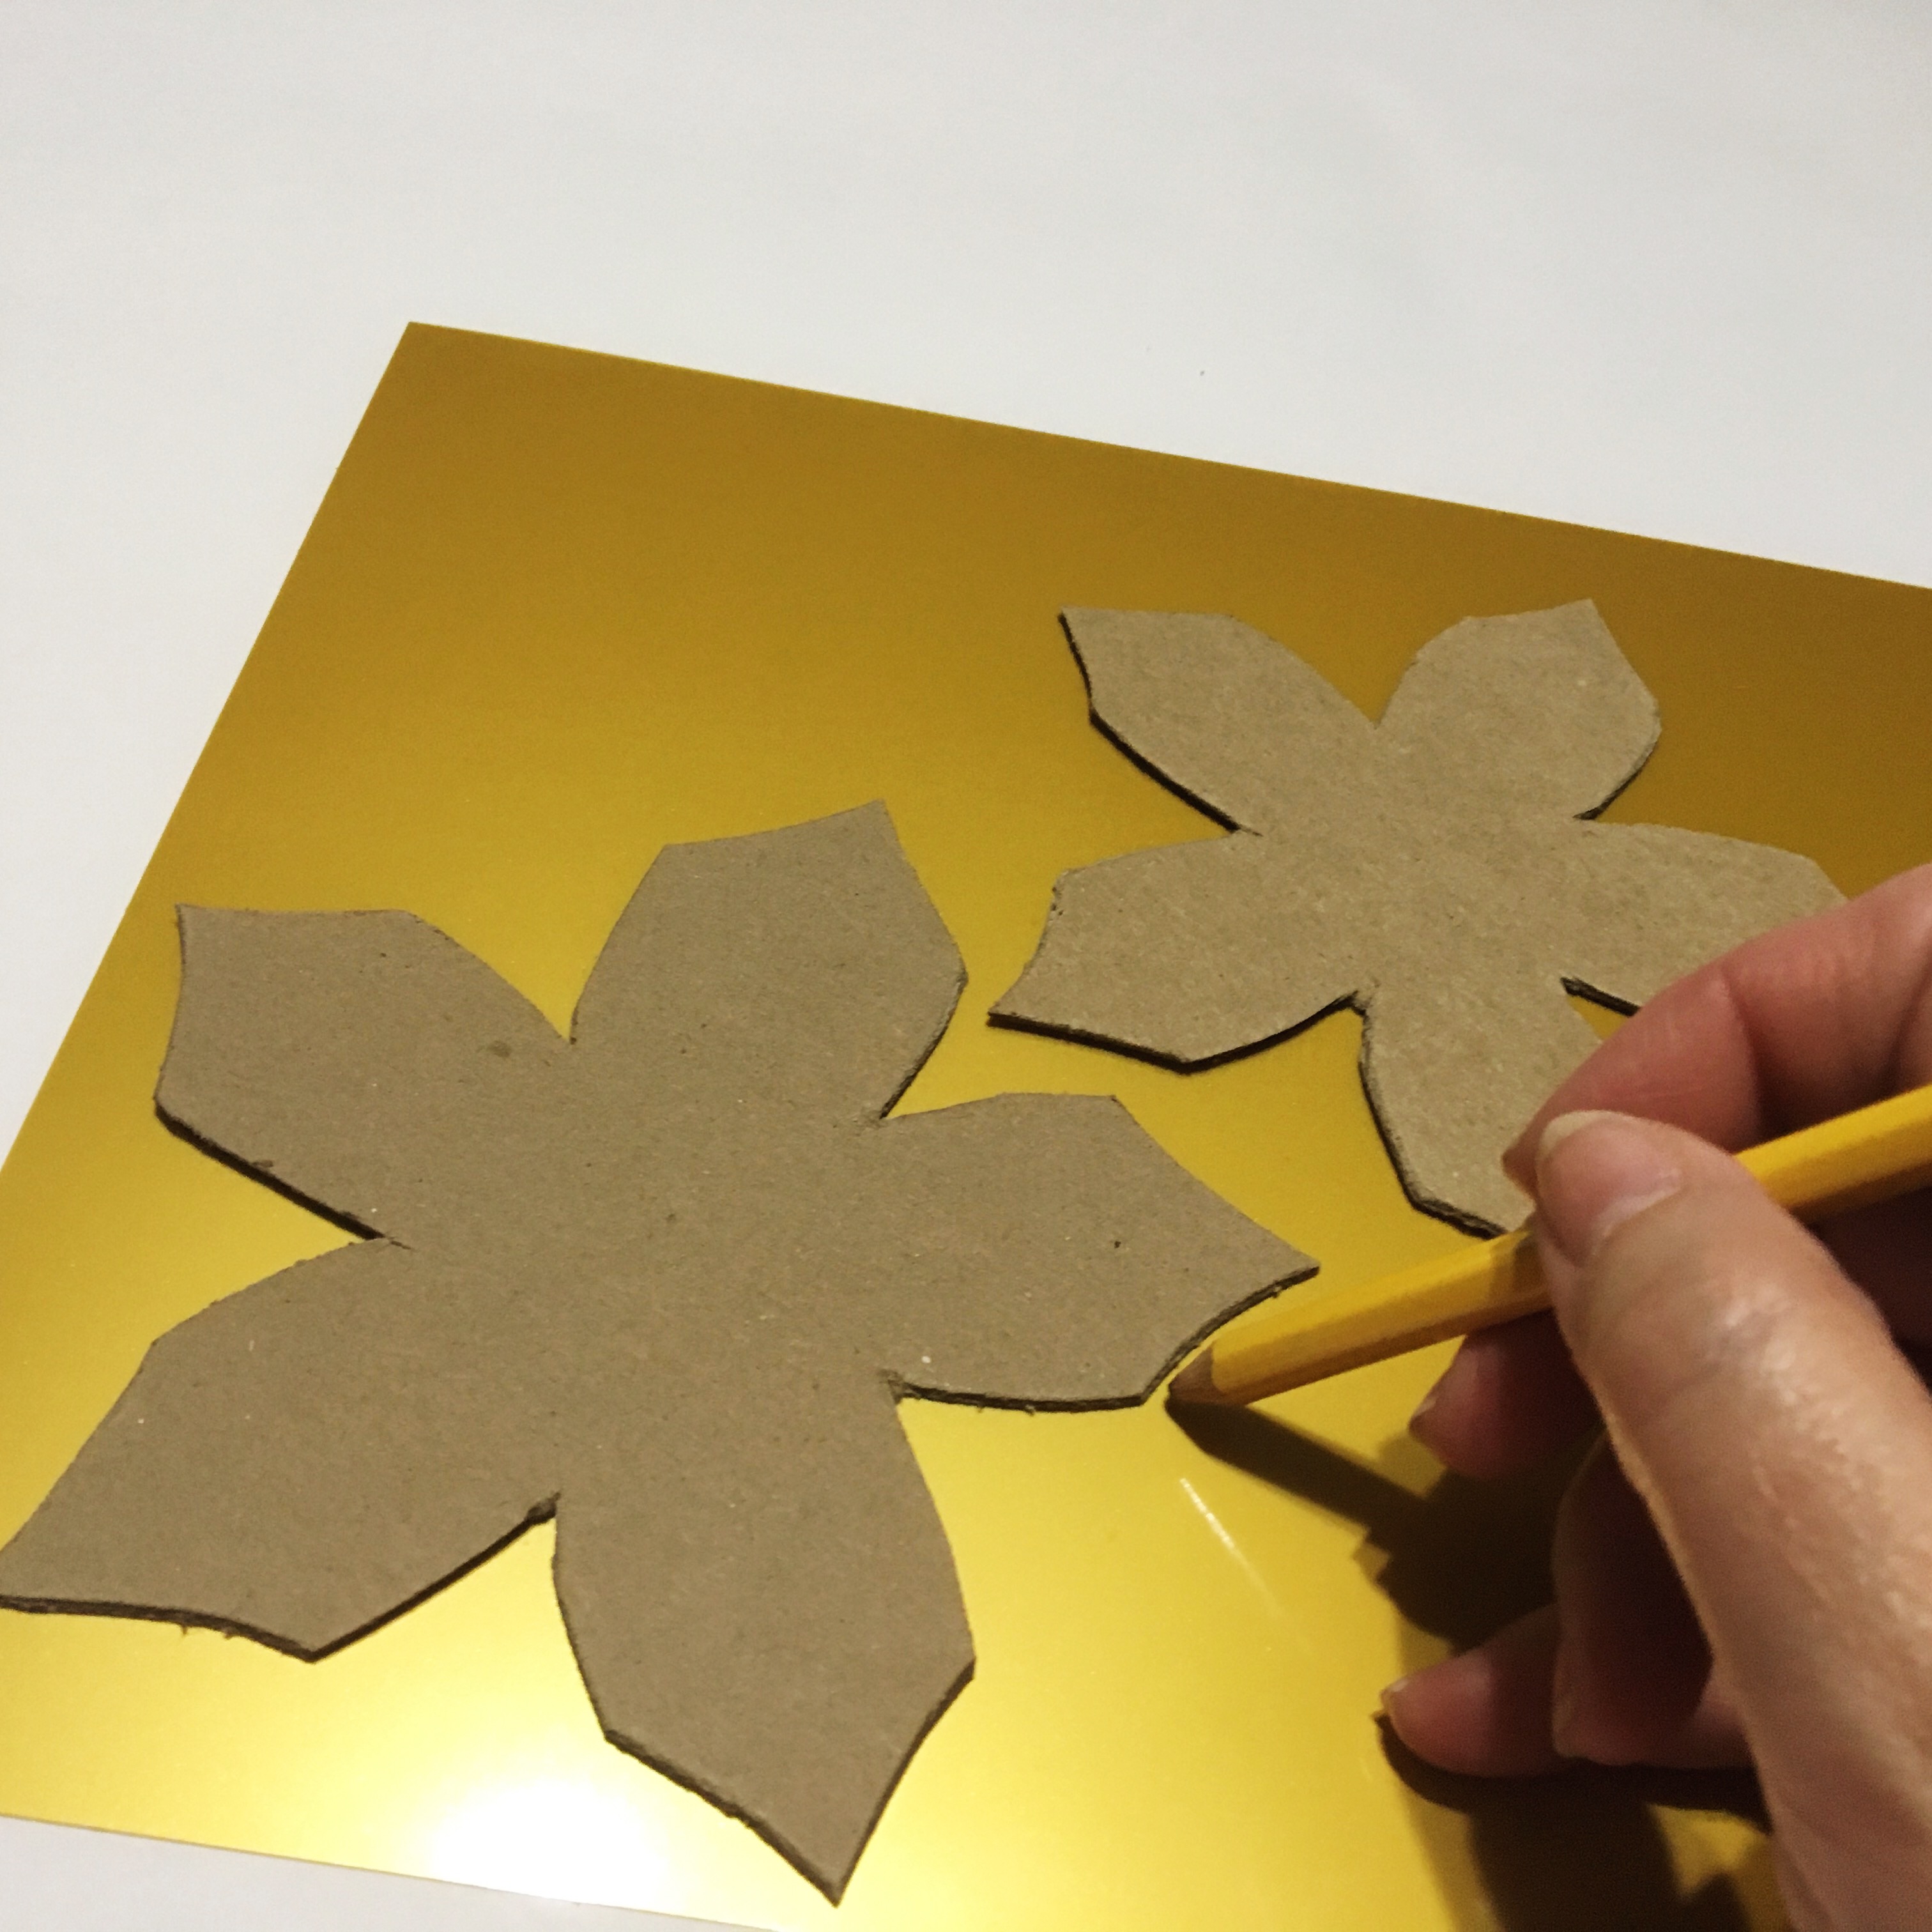
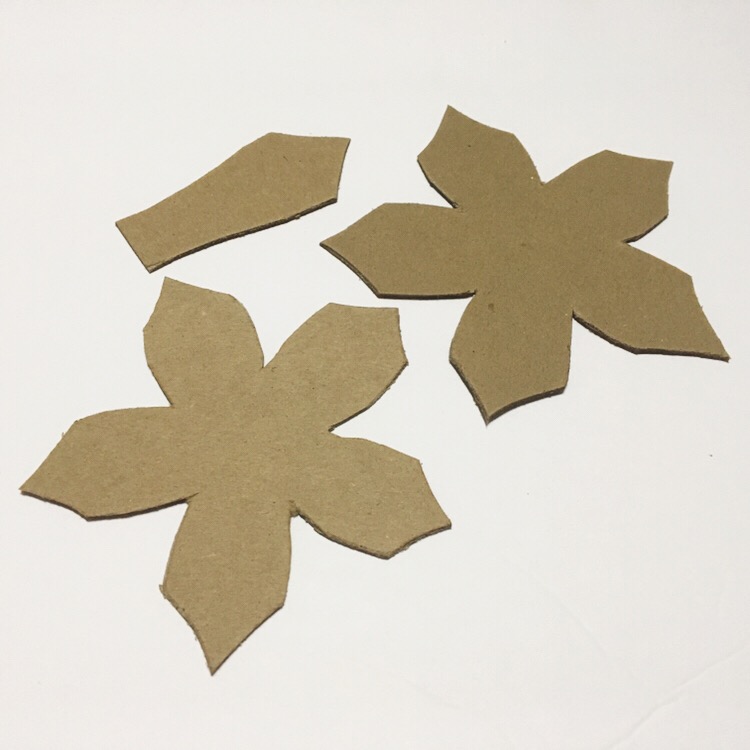
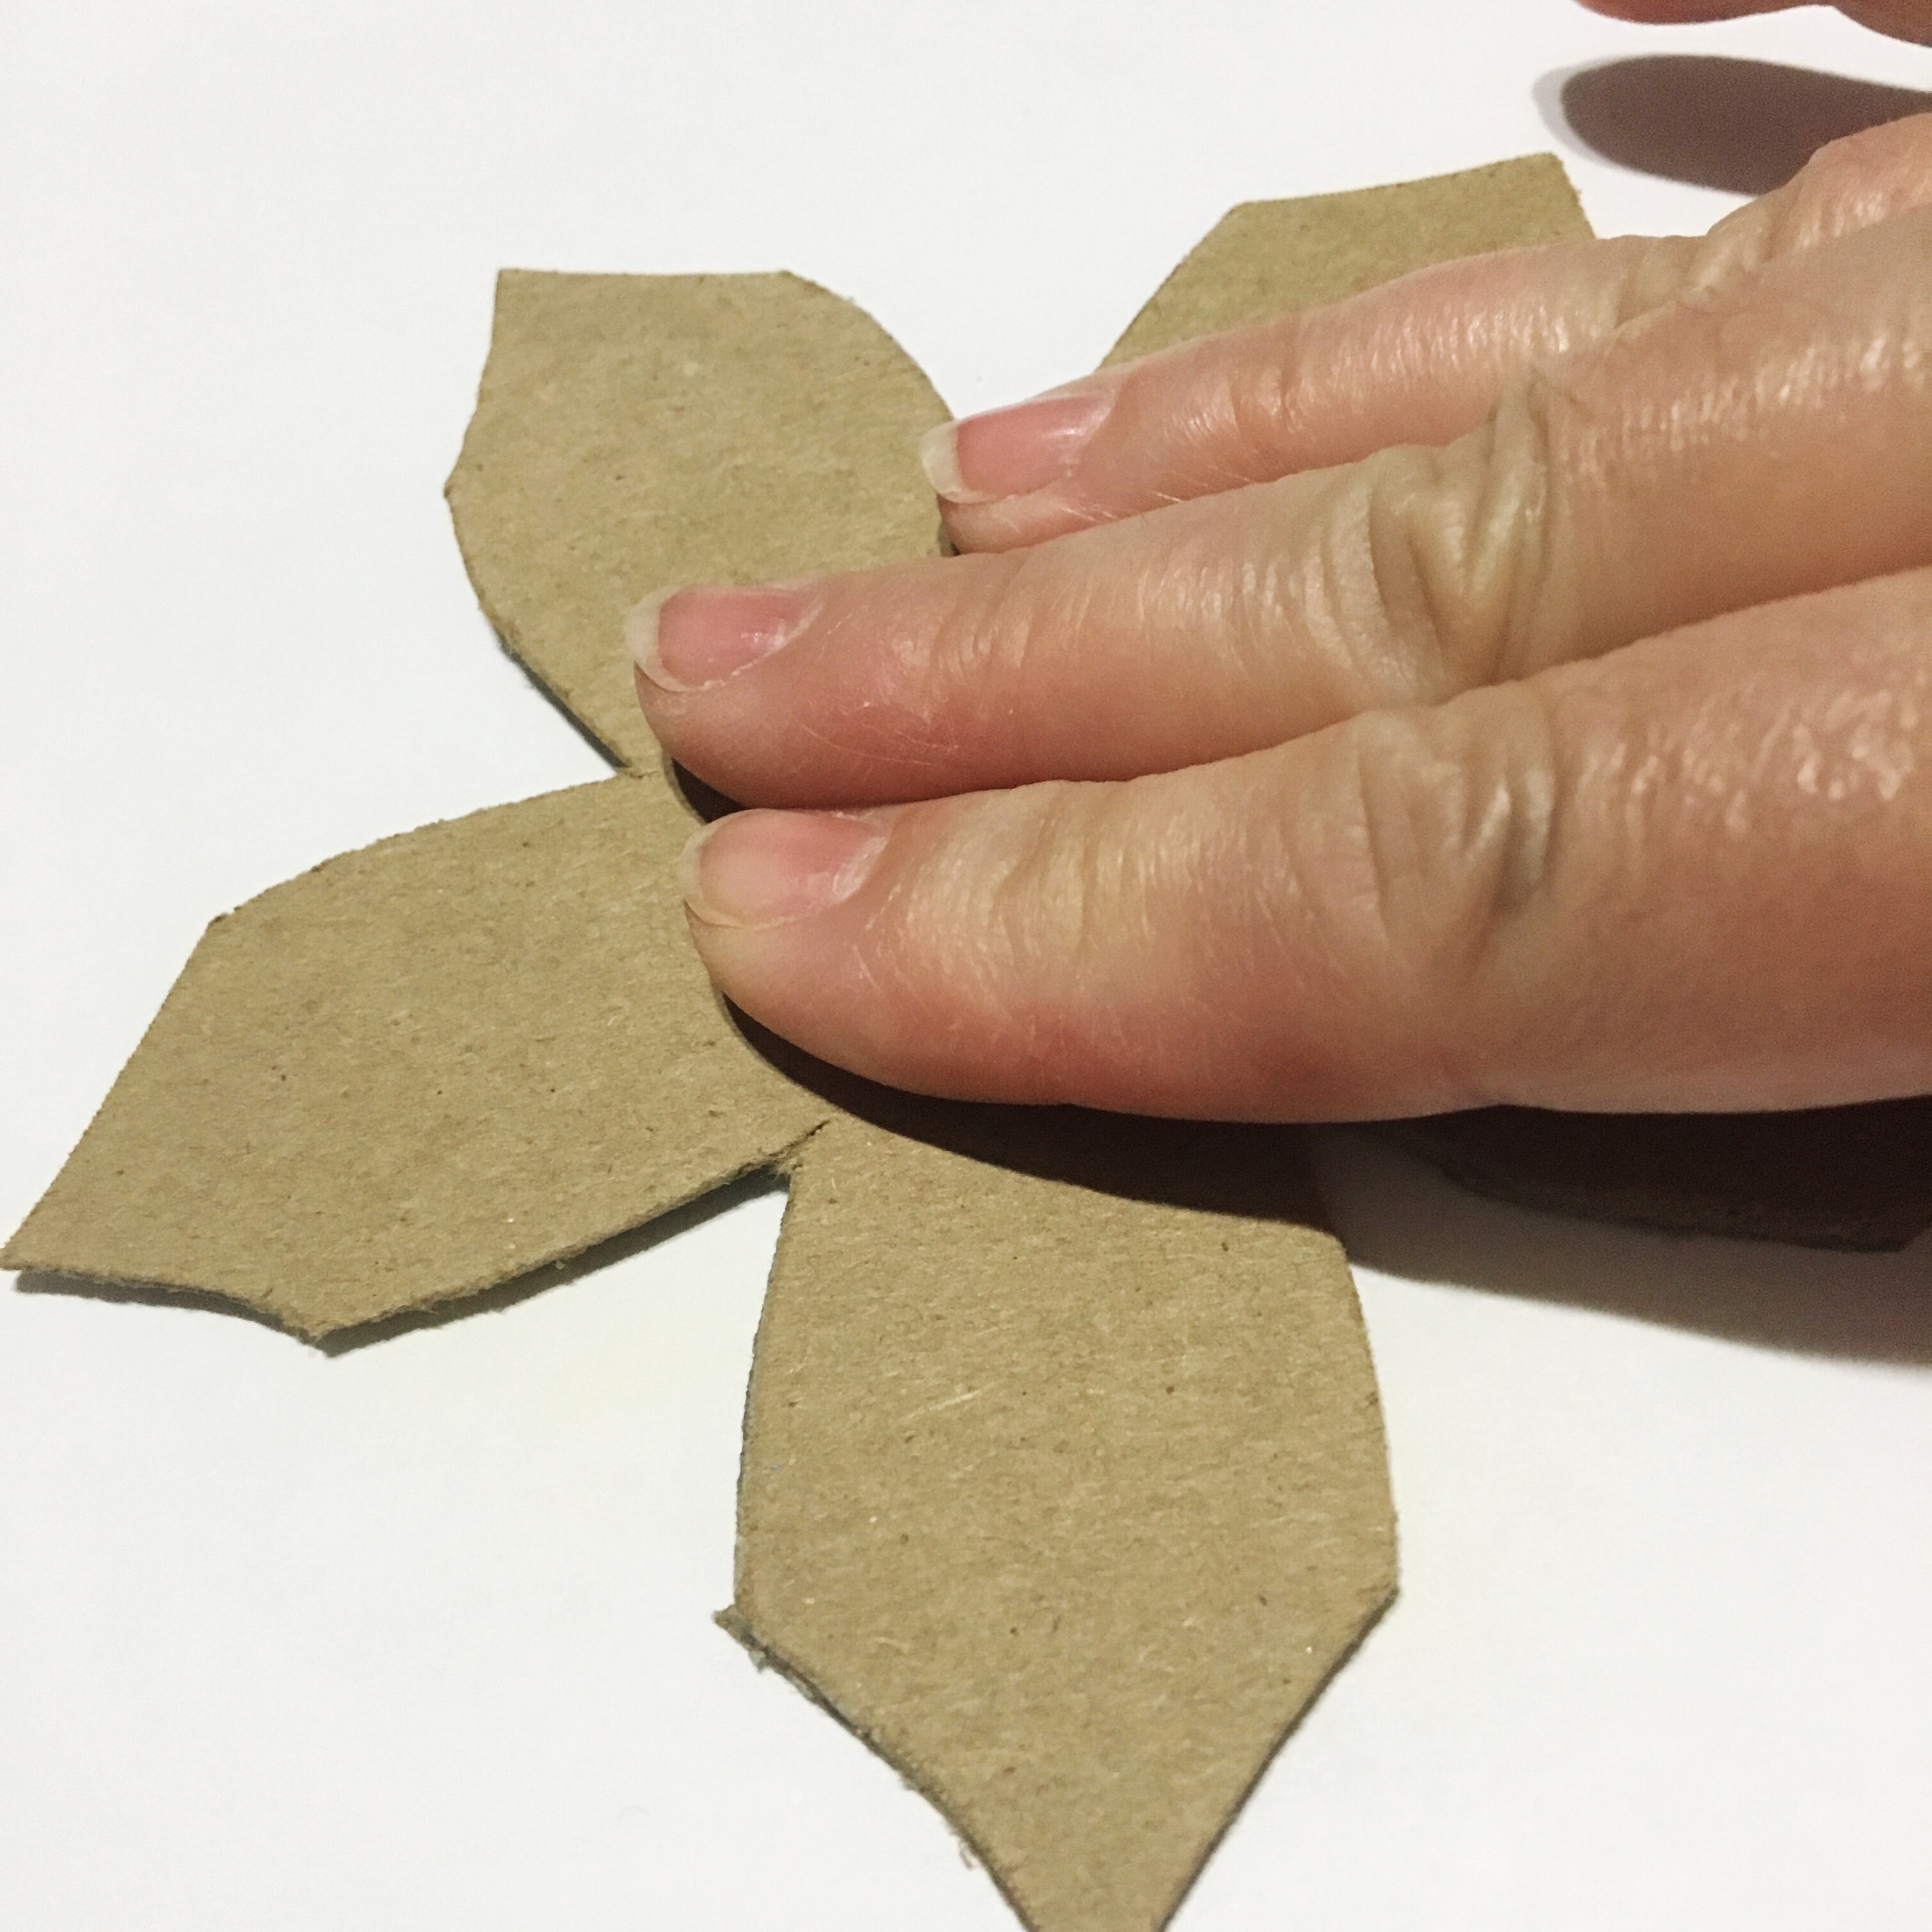
- Trace templates onto chipboard and cut out. Also cut a 4 X 4 square of chipboard to use as a press when you shrink your pieces.
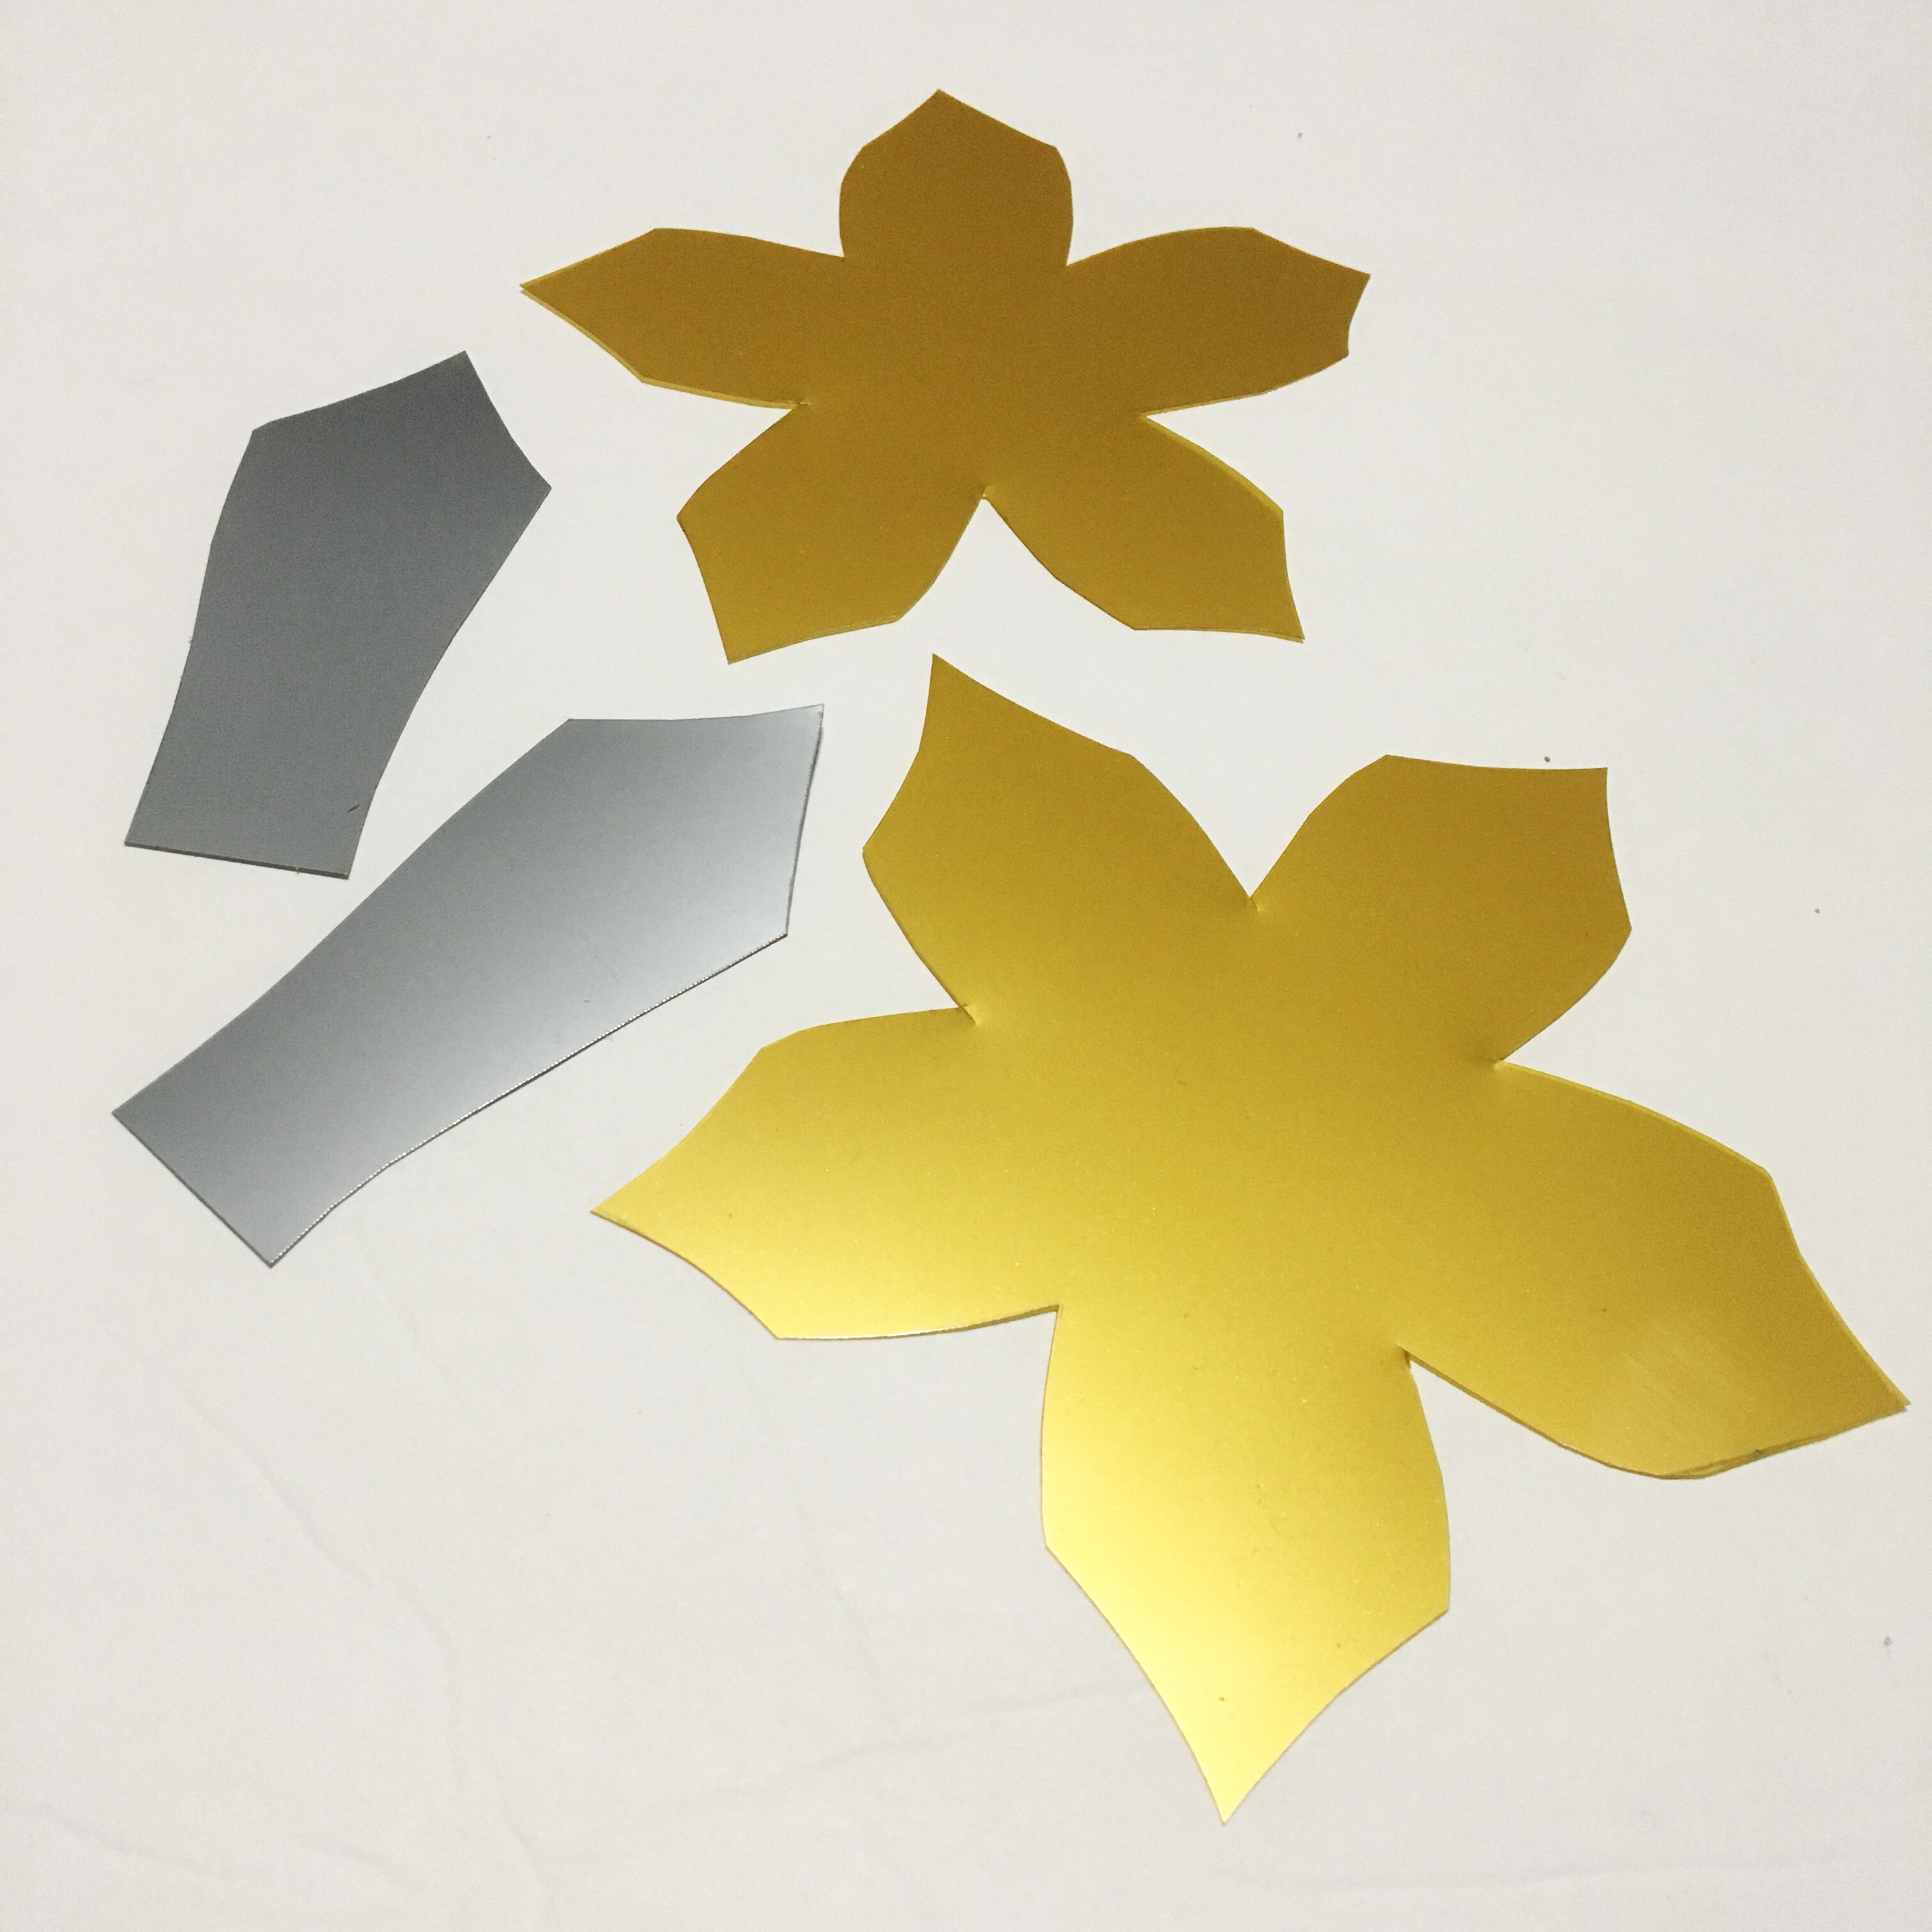
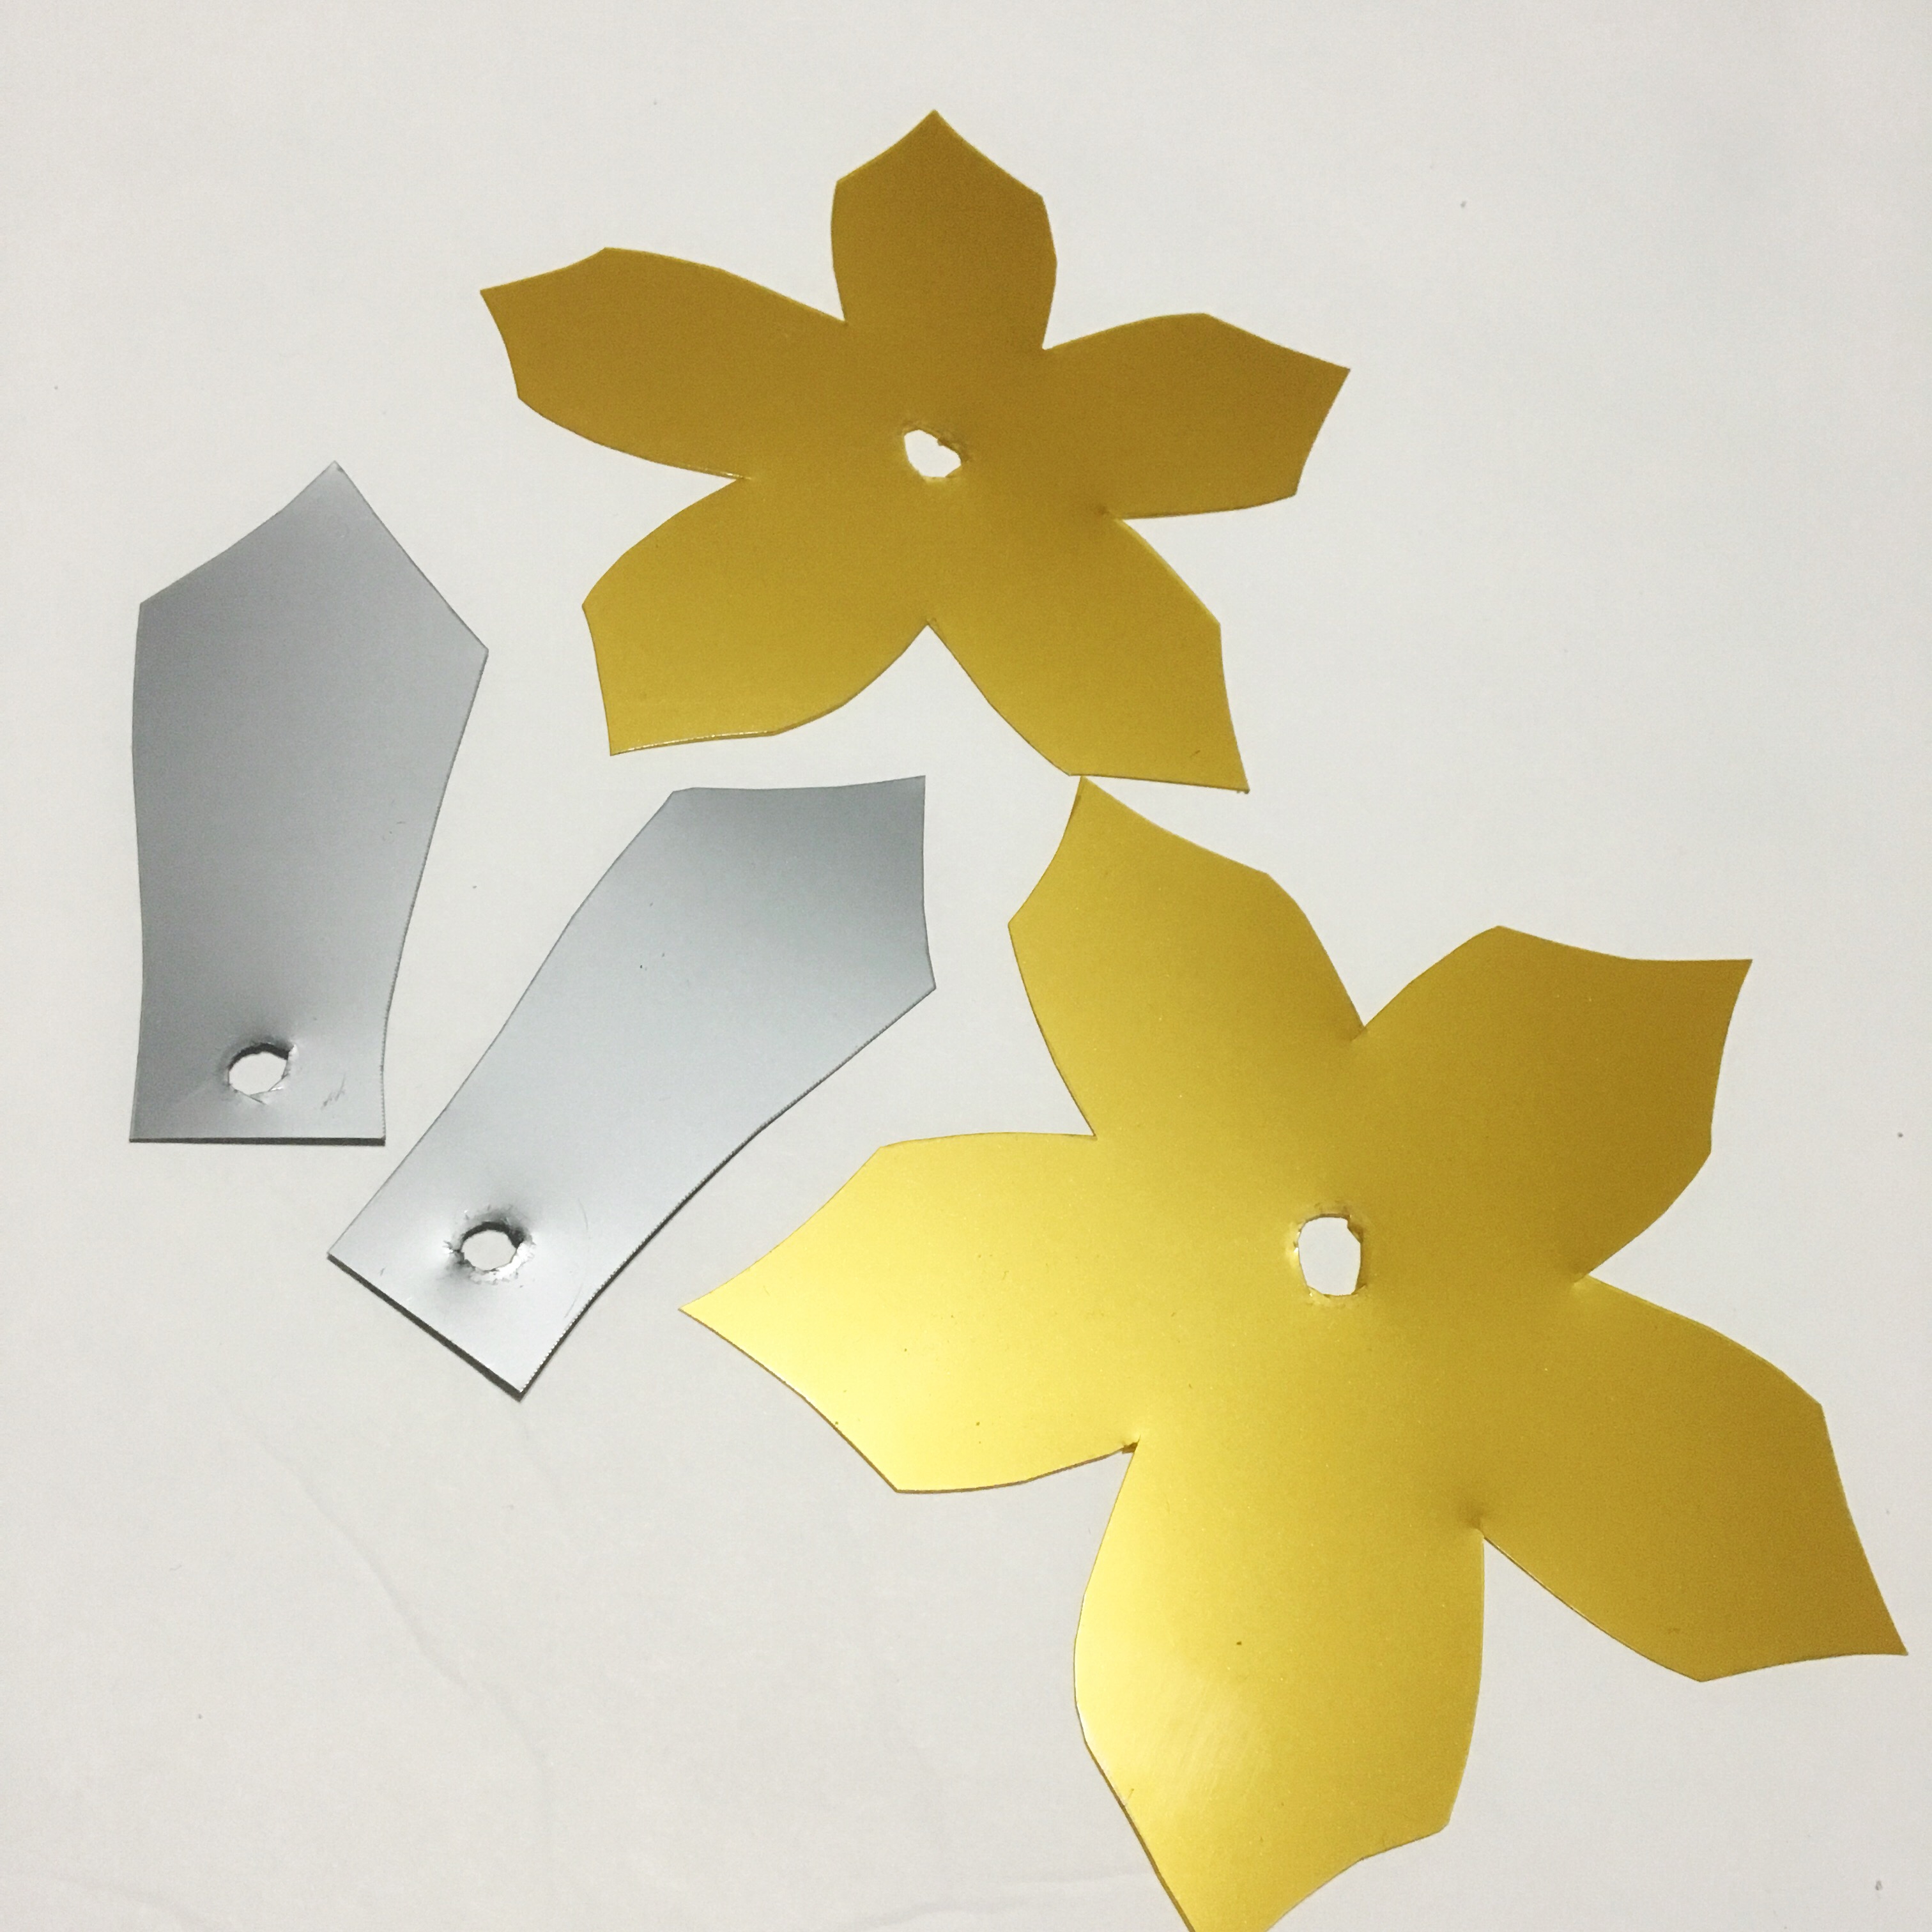
- Use chipboard templates to trace small and large flower on a sheet of Gold Shrink Film, and 2 of the leaf pattern on a sheet of Silver Shrink Film.
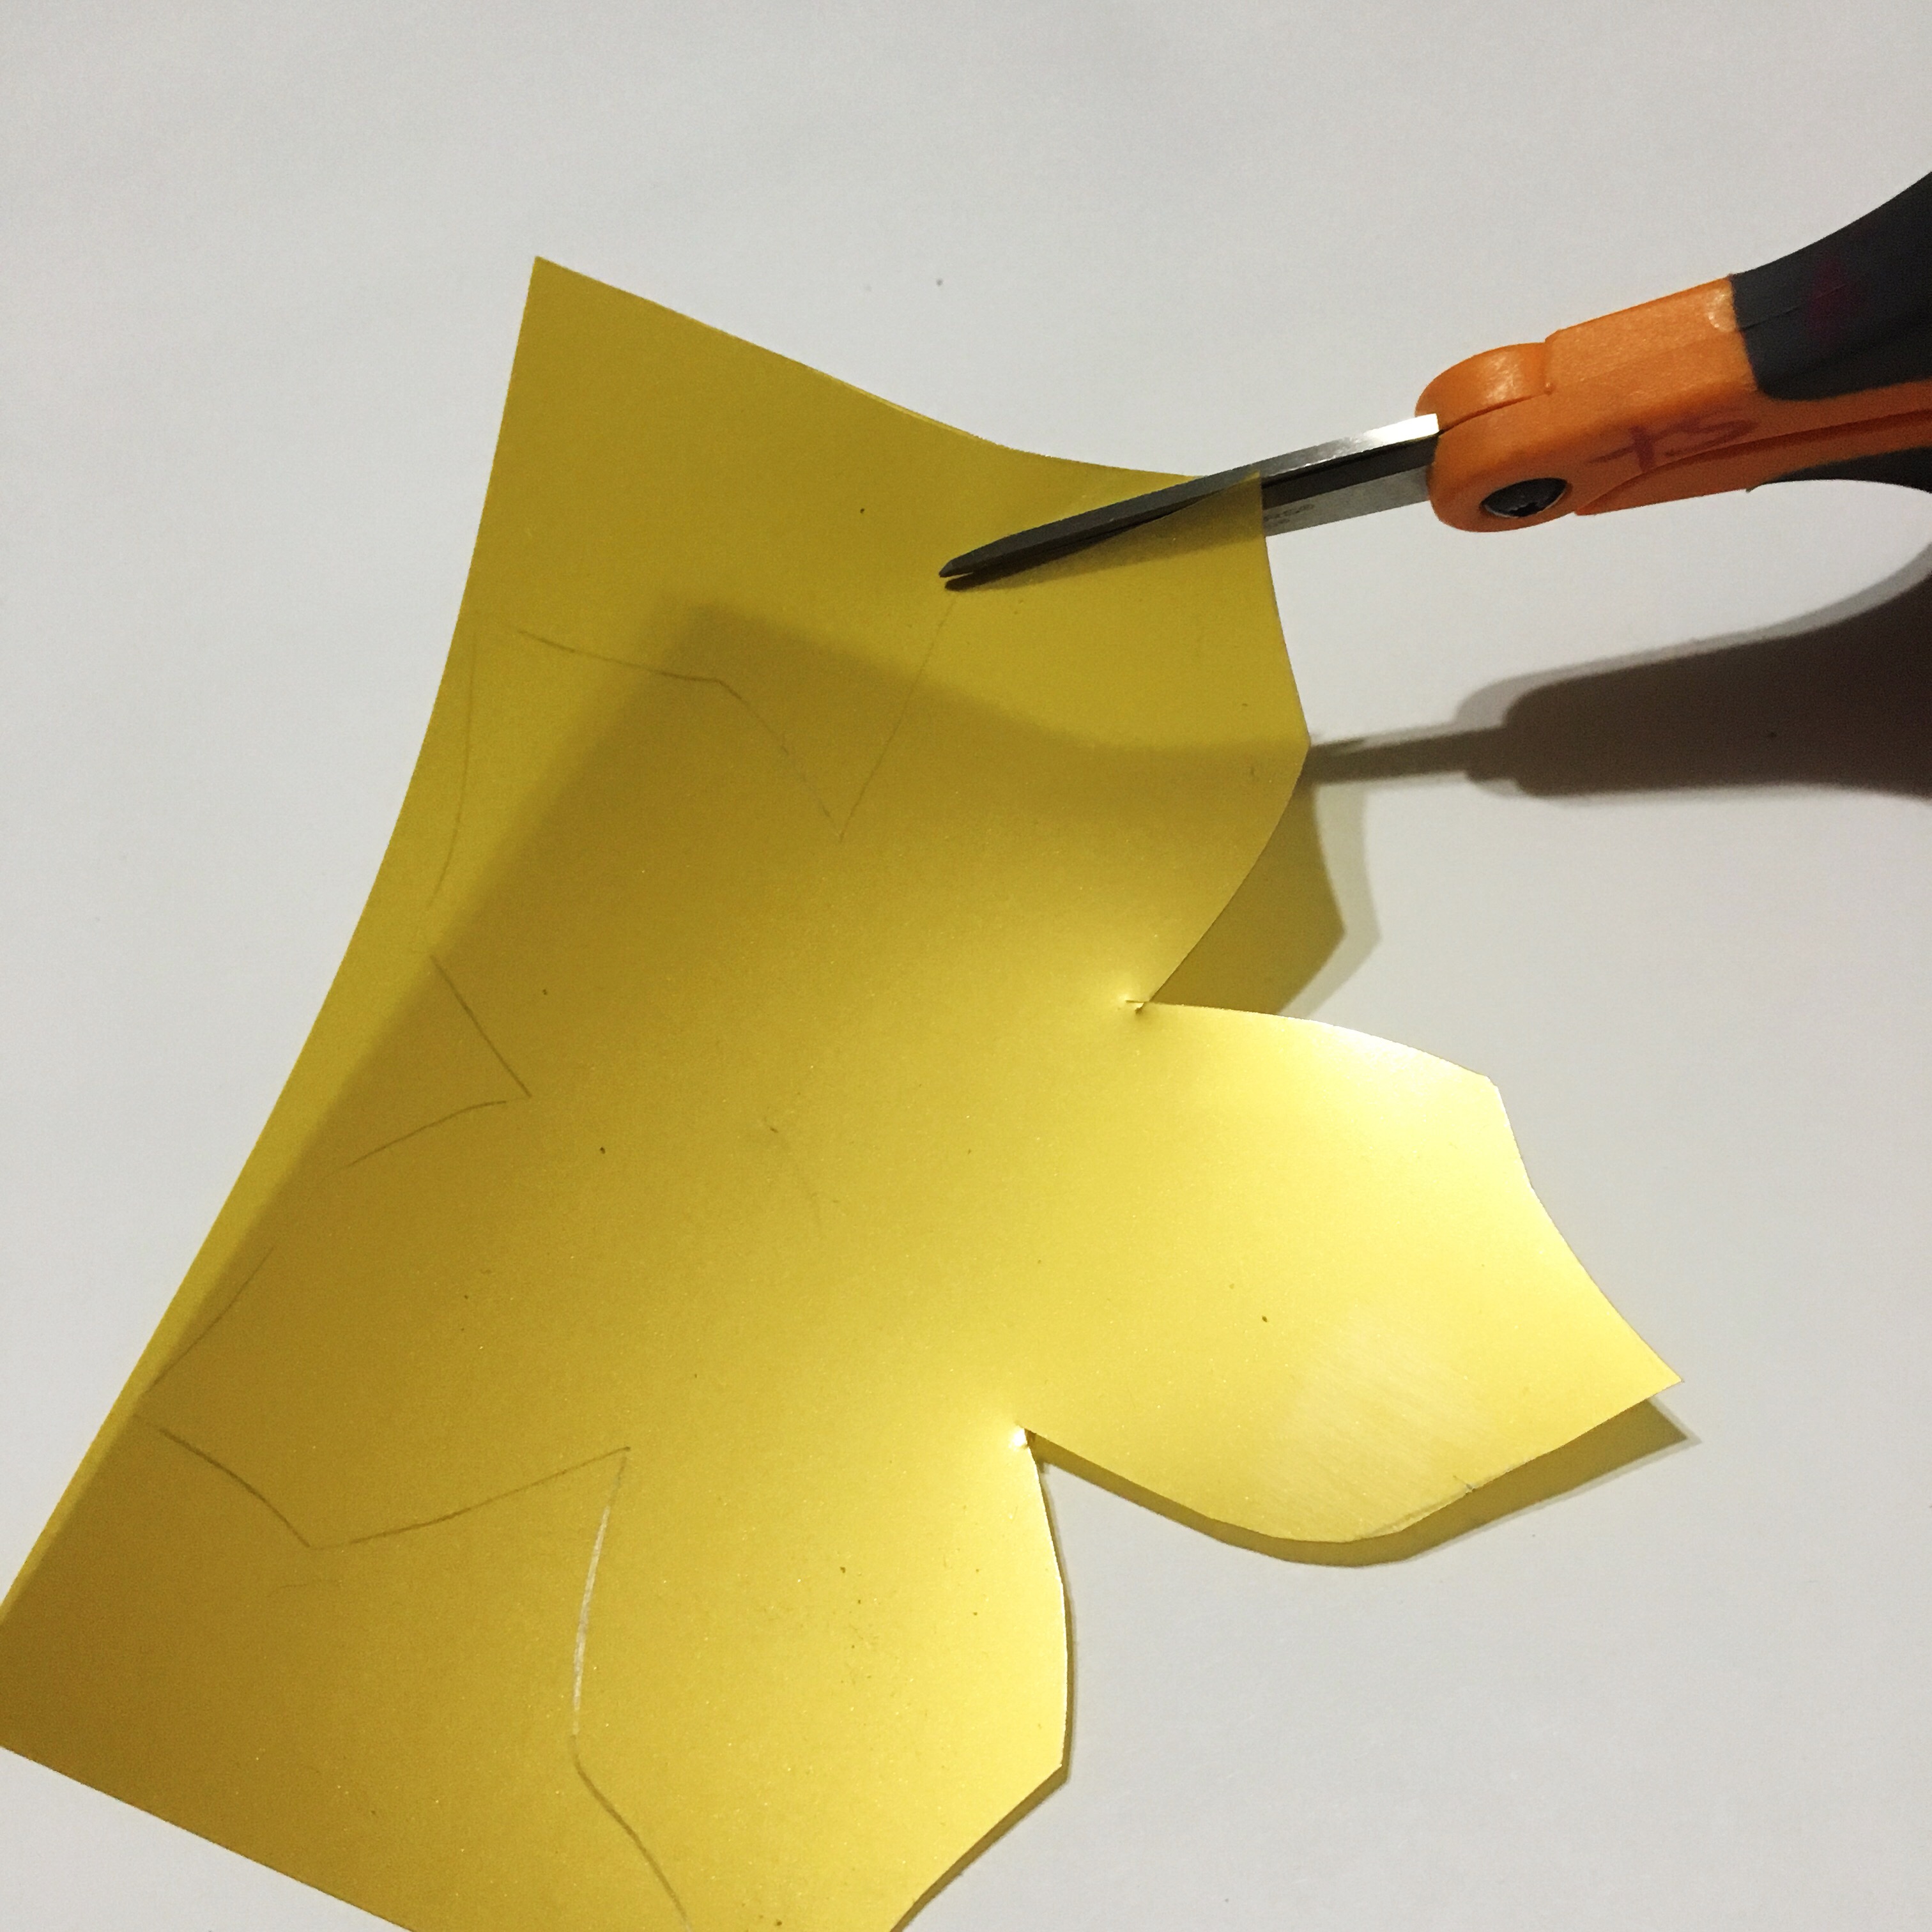
- Cut out all four pieces. *HINT: to prevent shrink film from cracking, cut into the “v’s” between the petals.
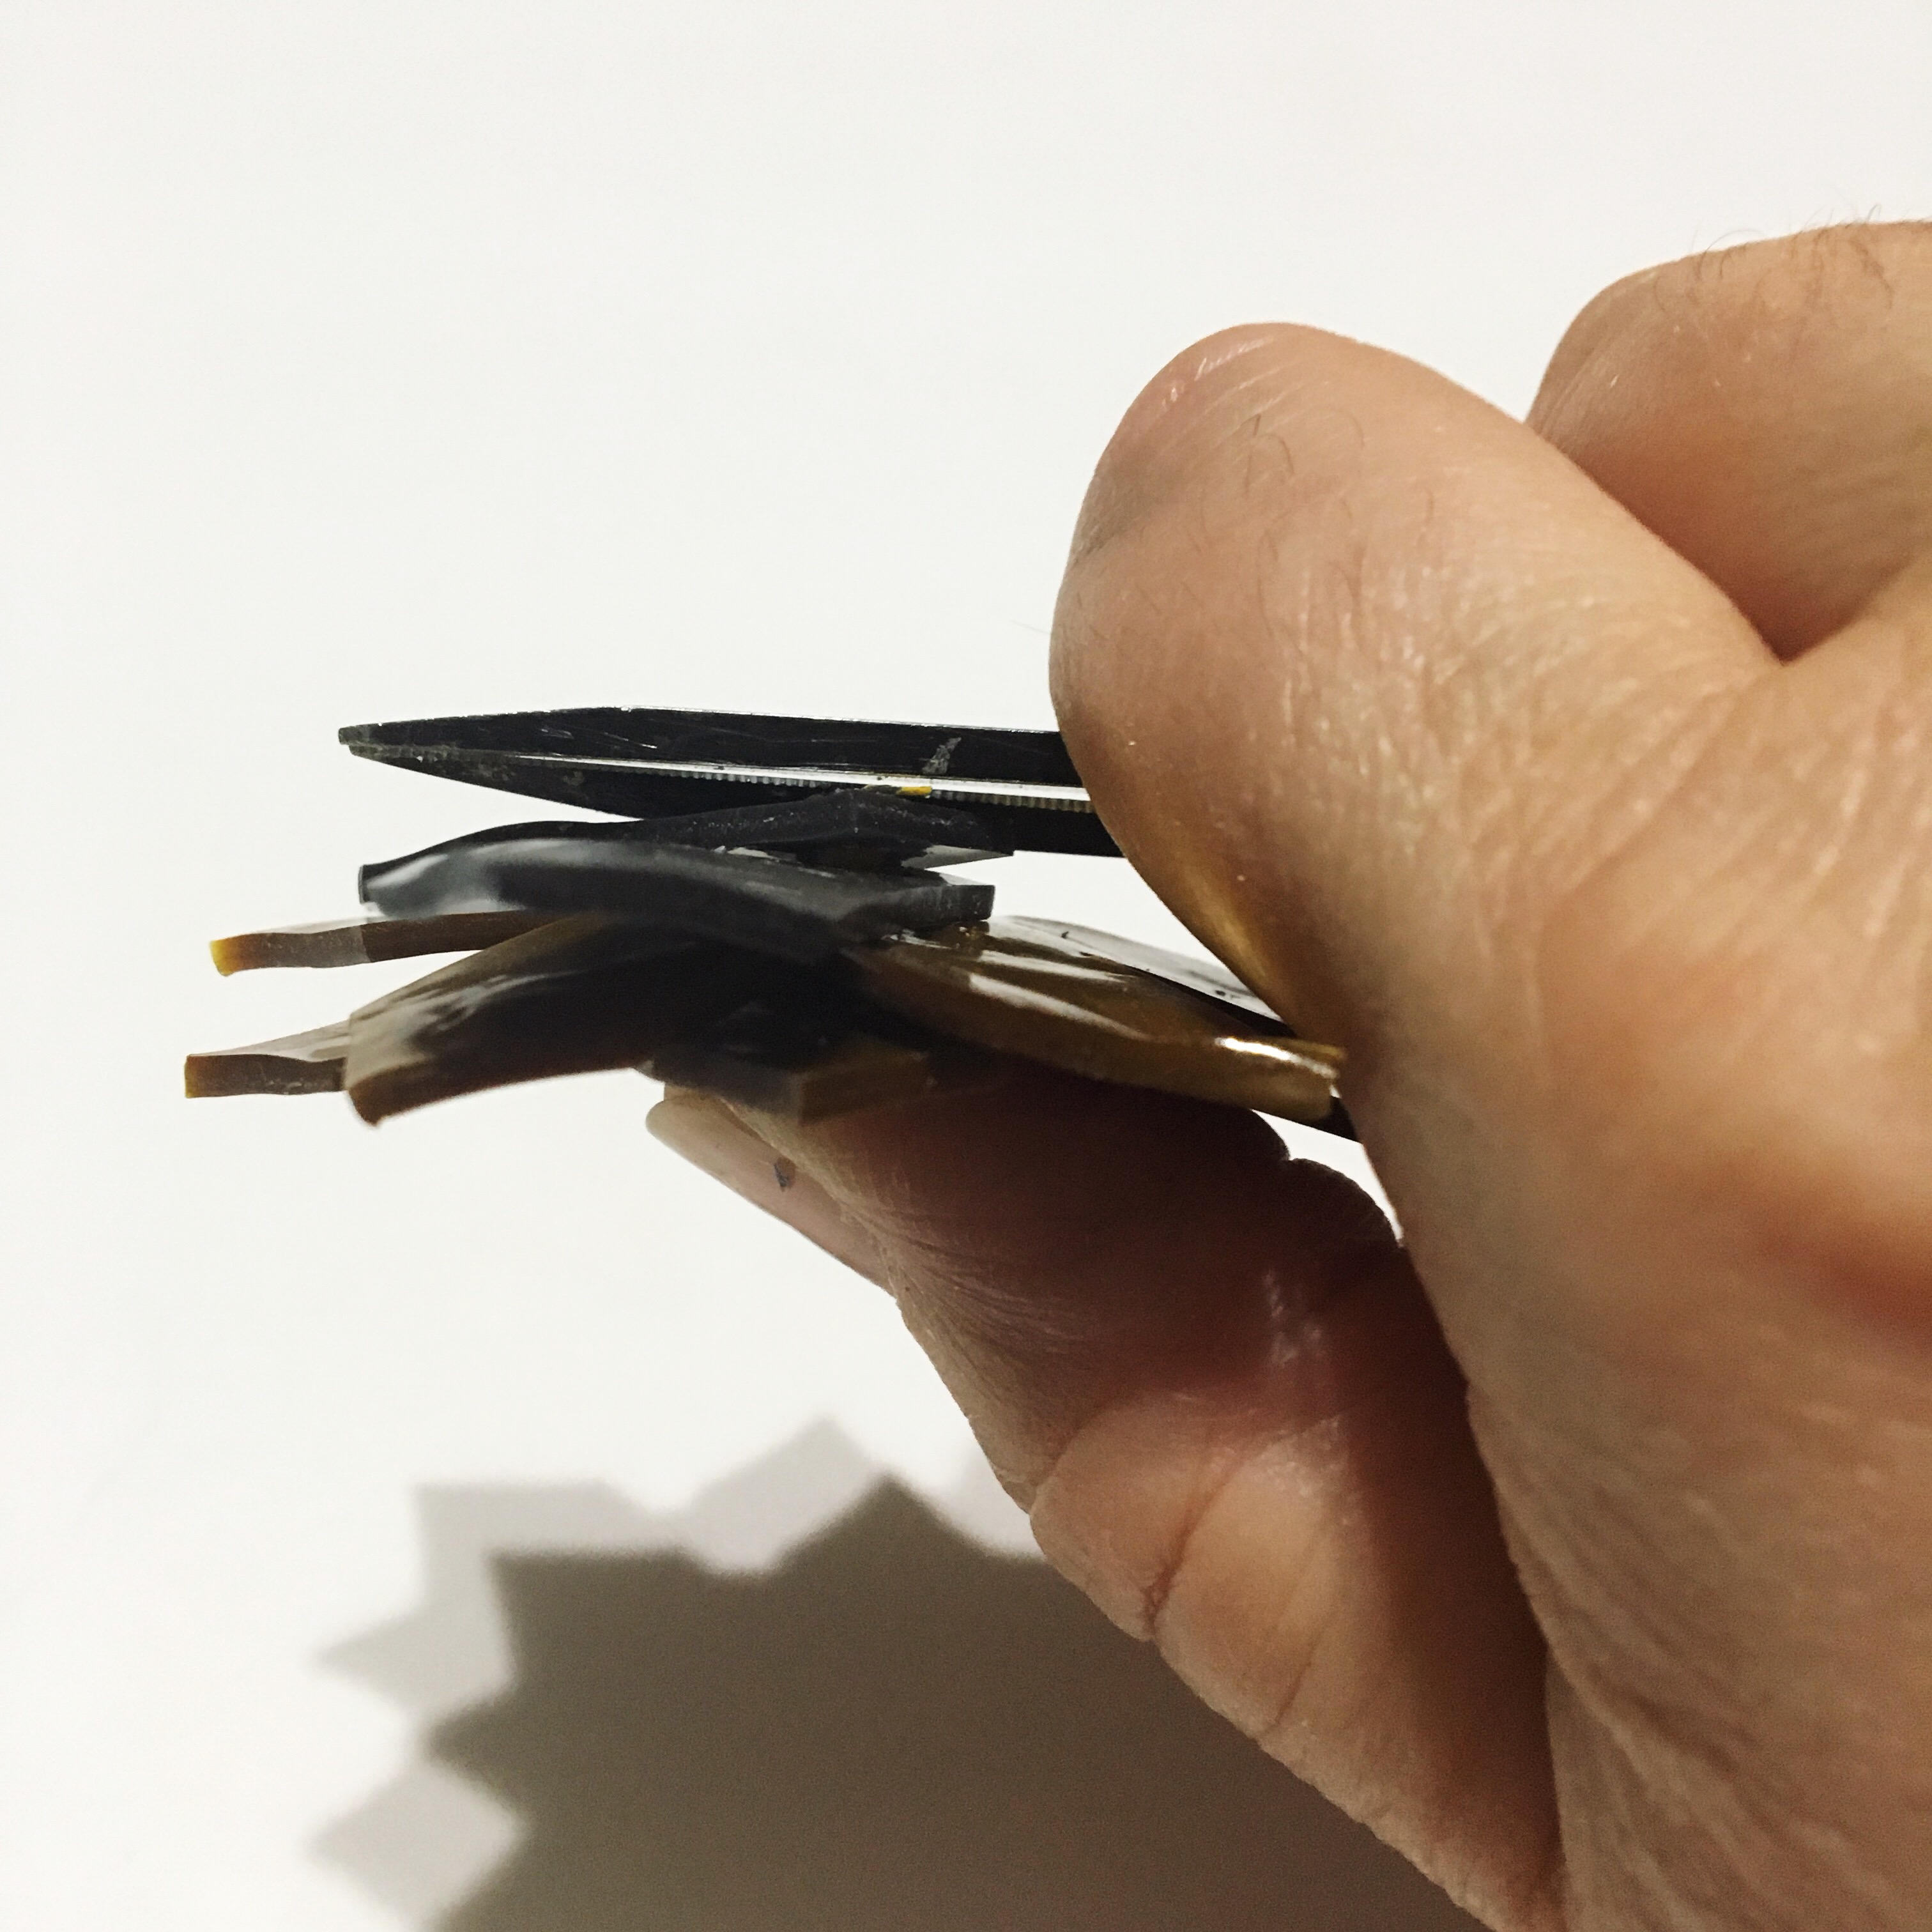
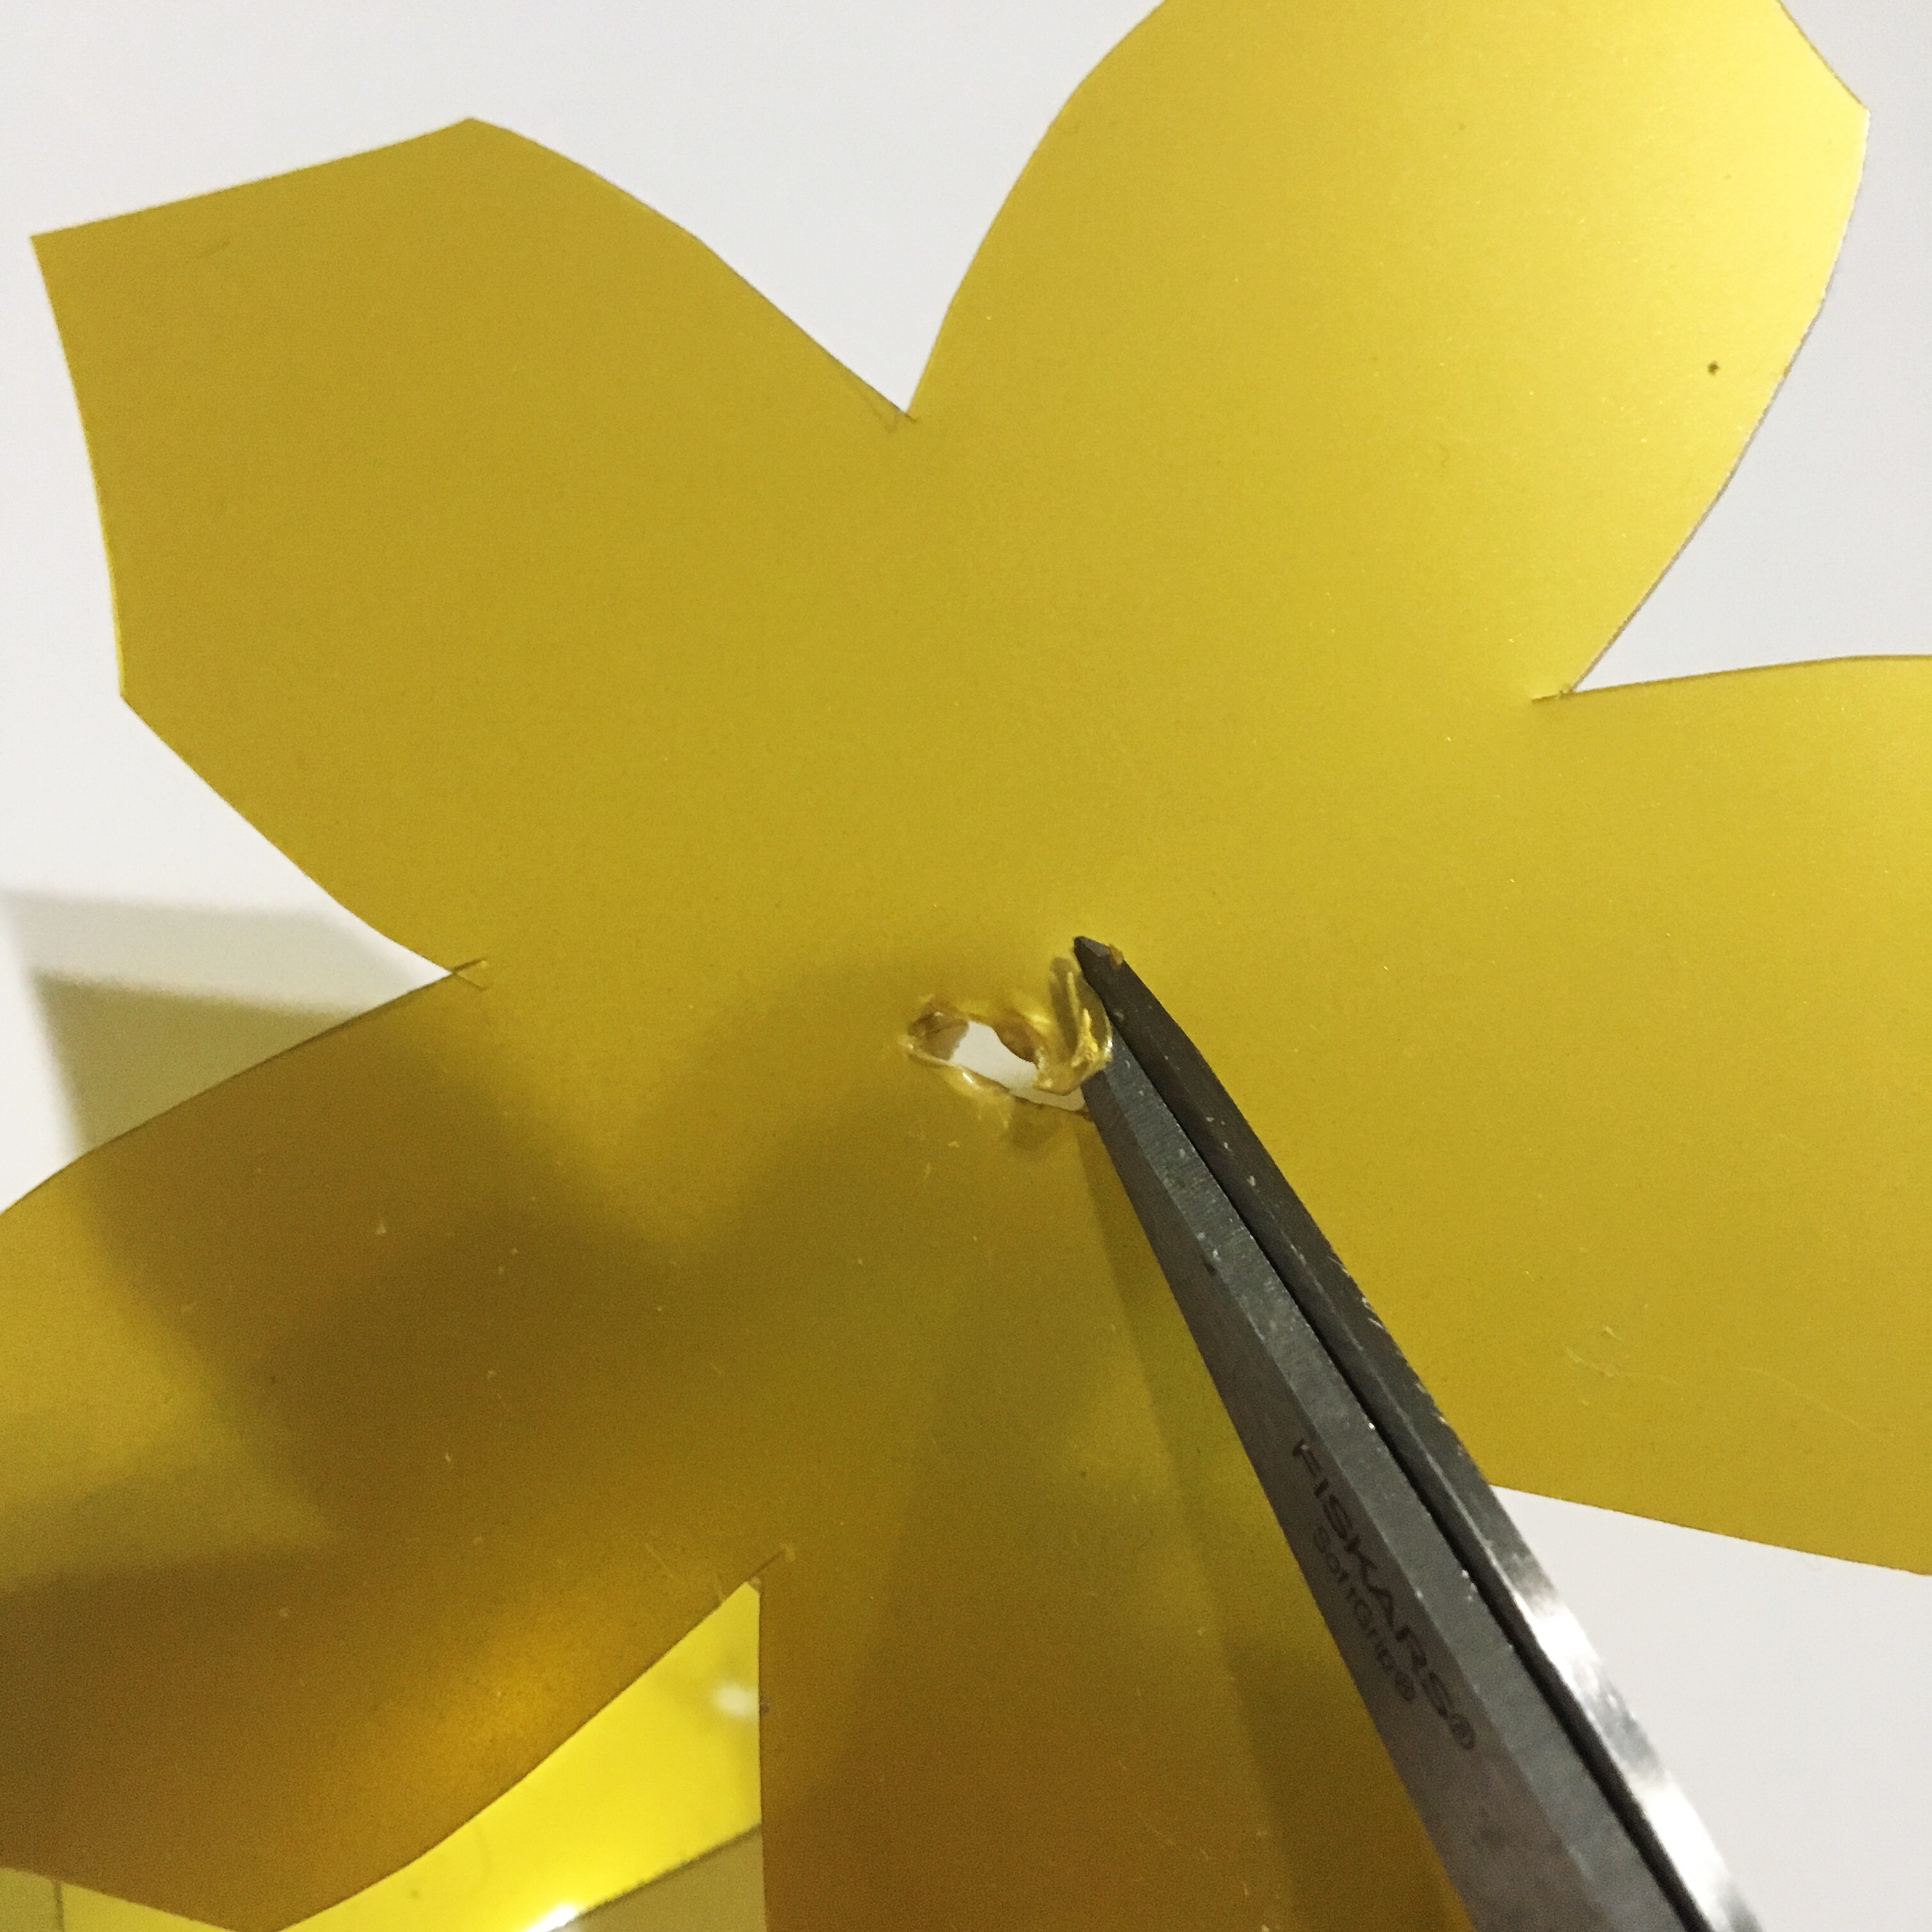
- Use tip of scissors to poke a small hole in pieces as shown on template, then cut out a small circle about 3/8” in diameter.
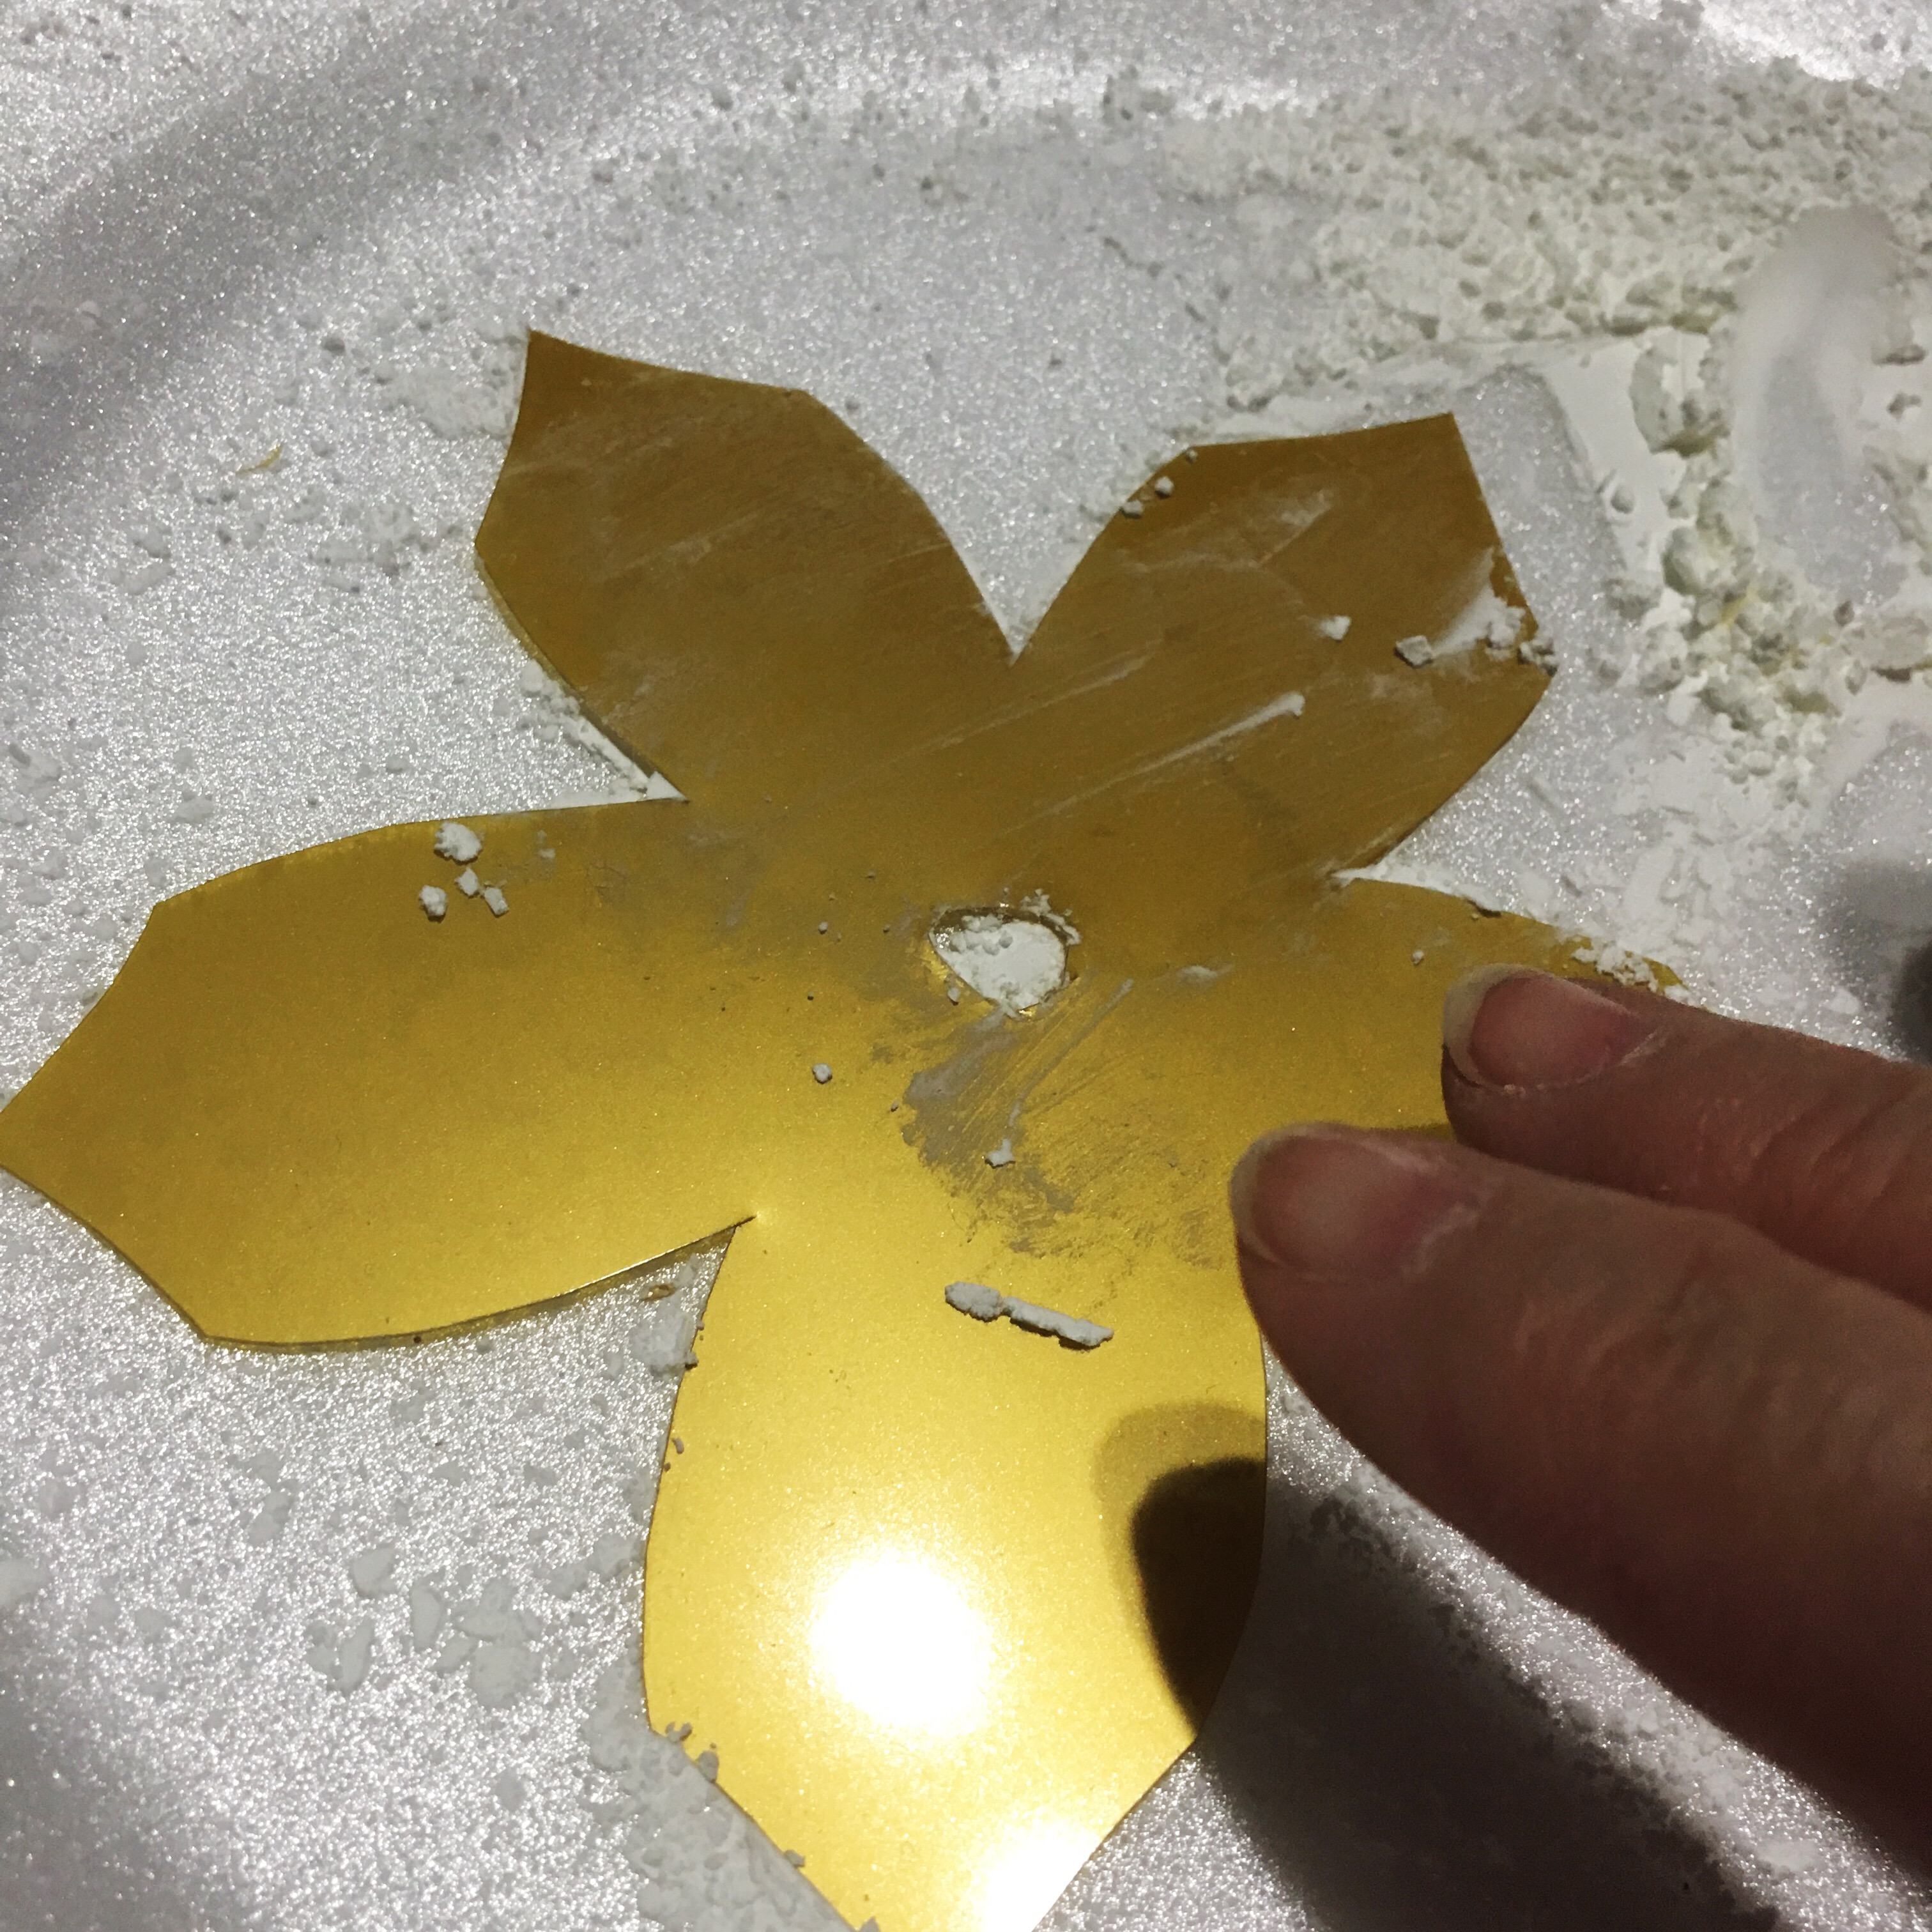
- Dust all pieces lightly with cornstarch; use a paper towel to remove any excess. *HINT: you can feel the cornstarch on the pieces, it’s not necessary to apply enough to actually see it.
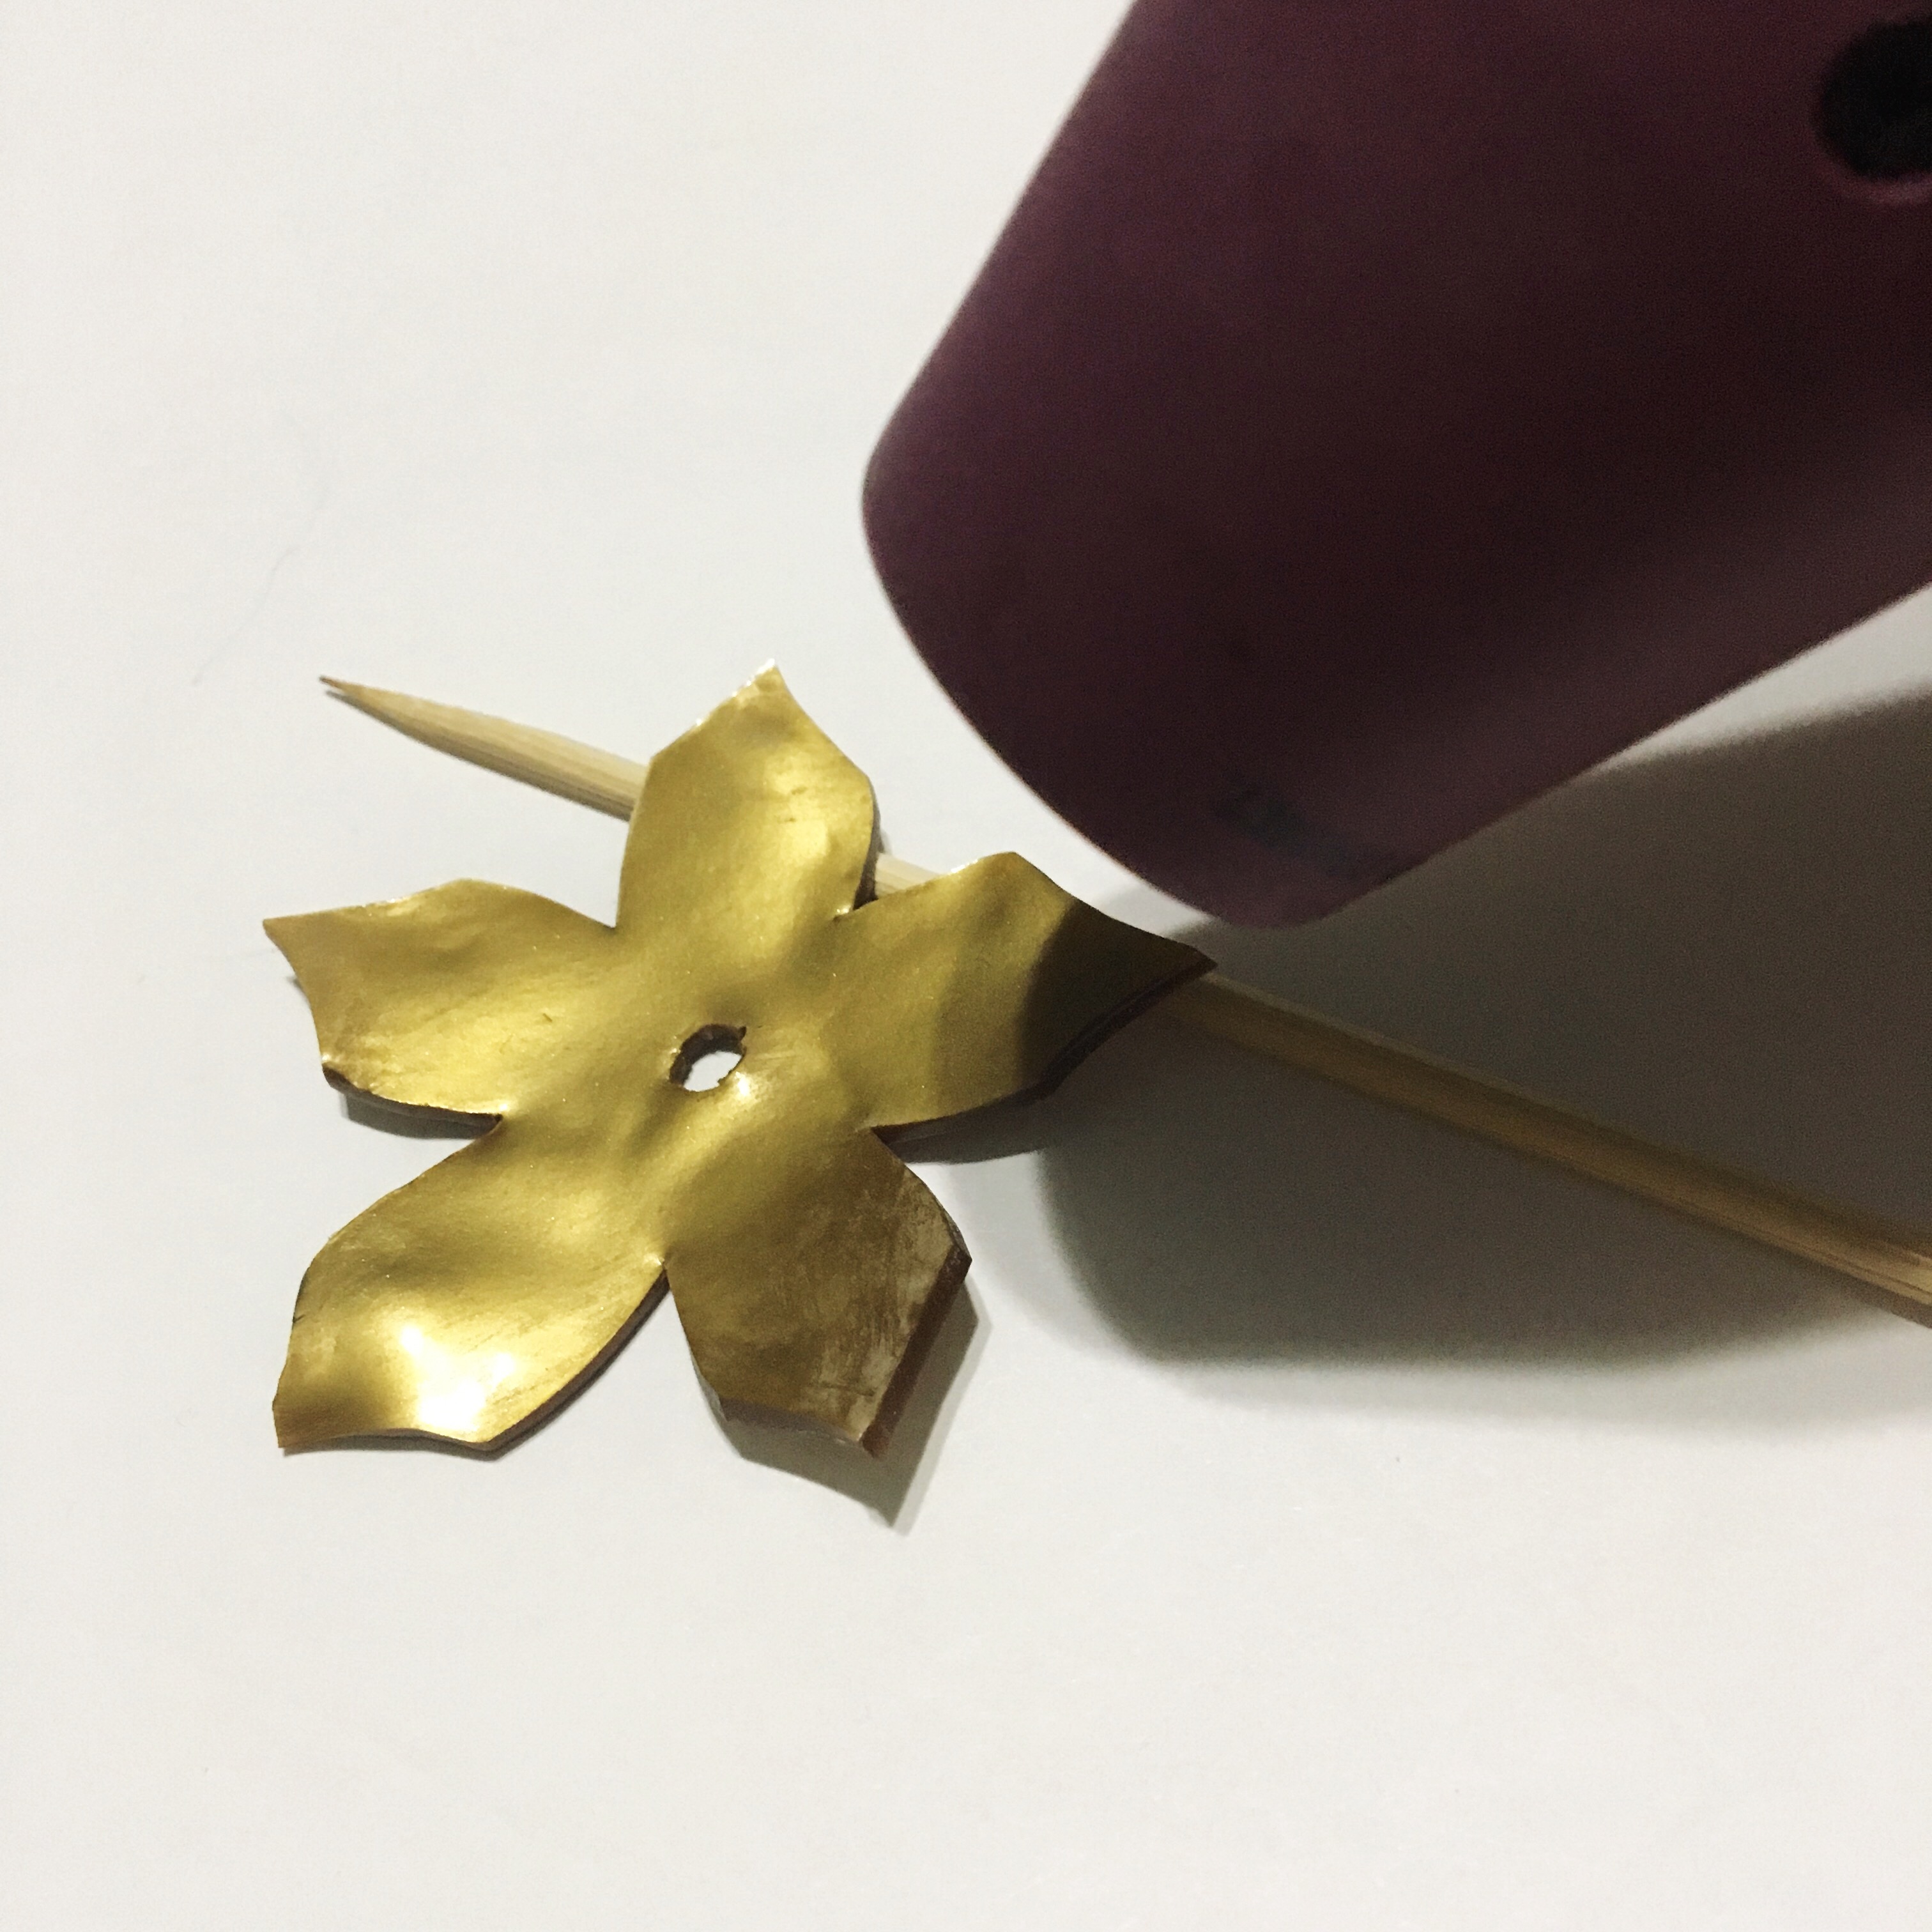
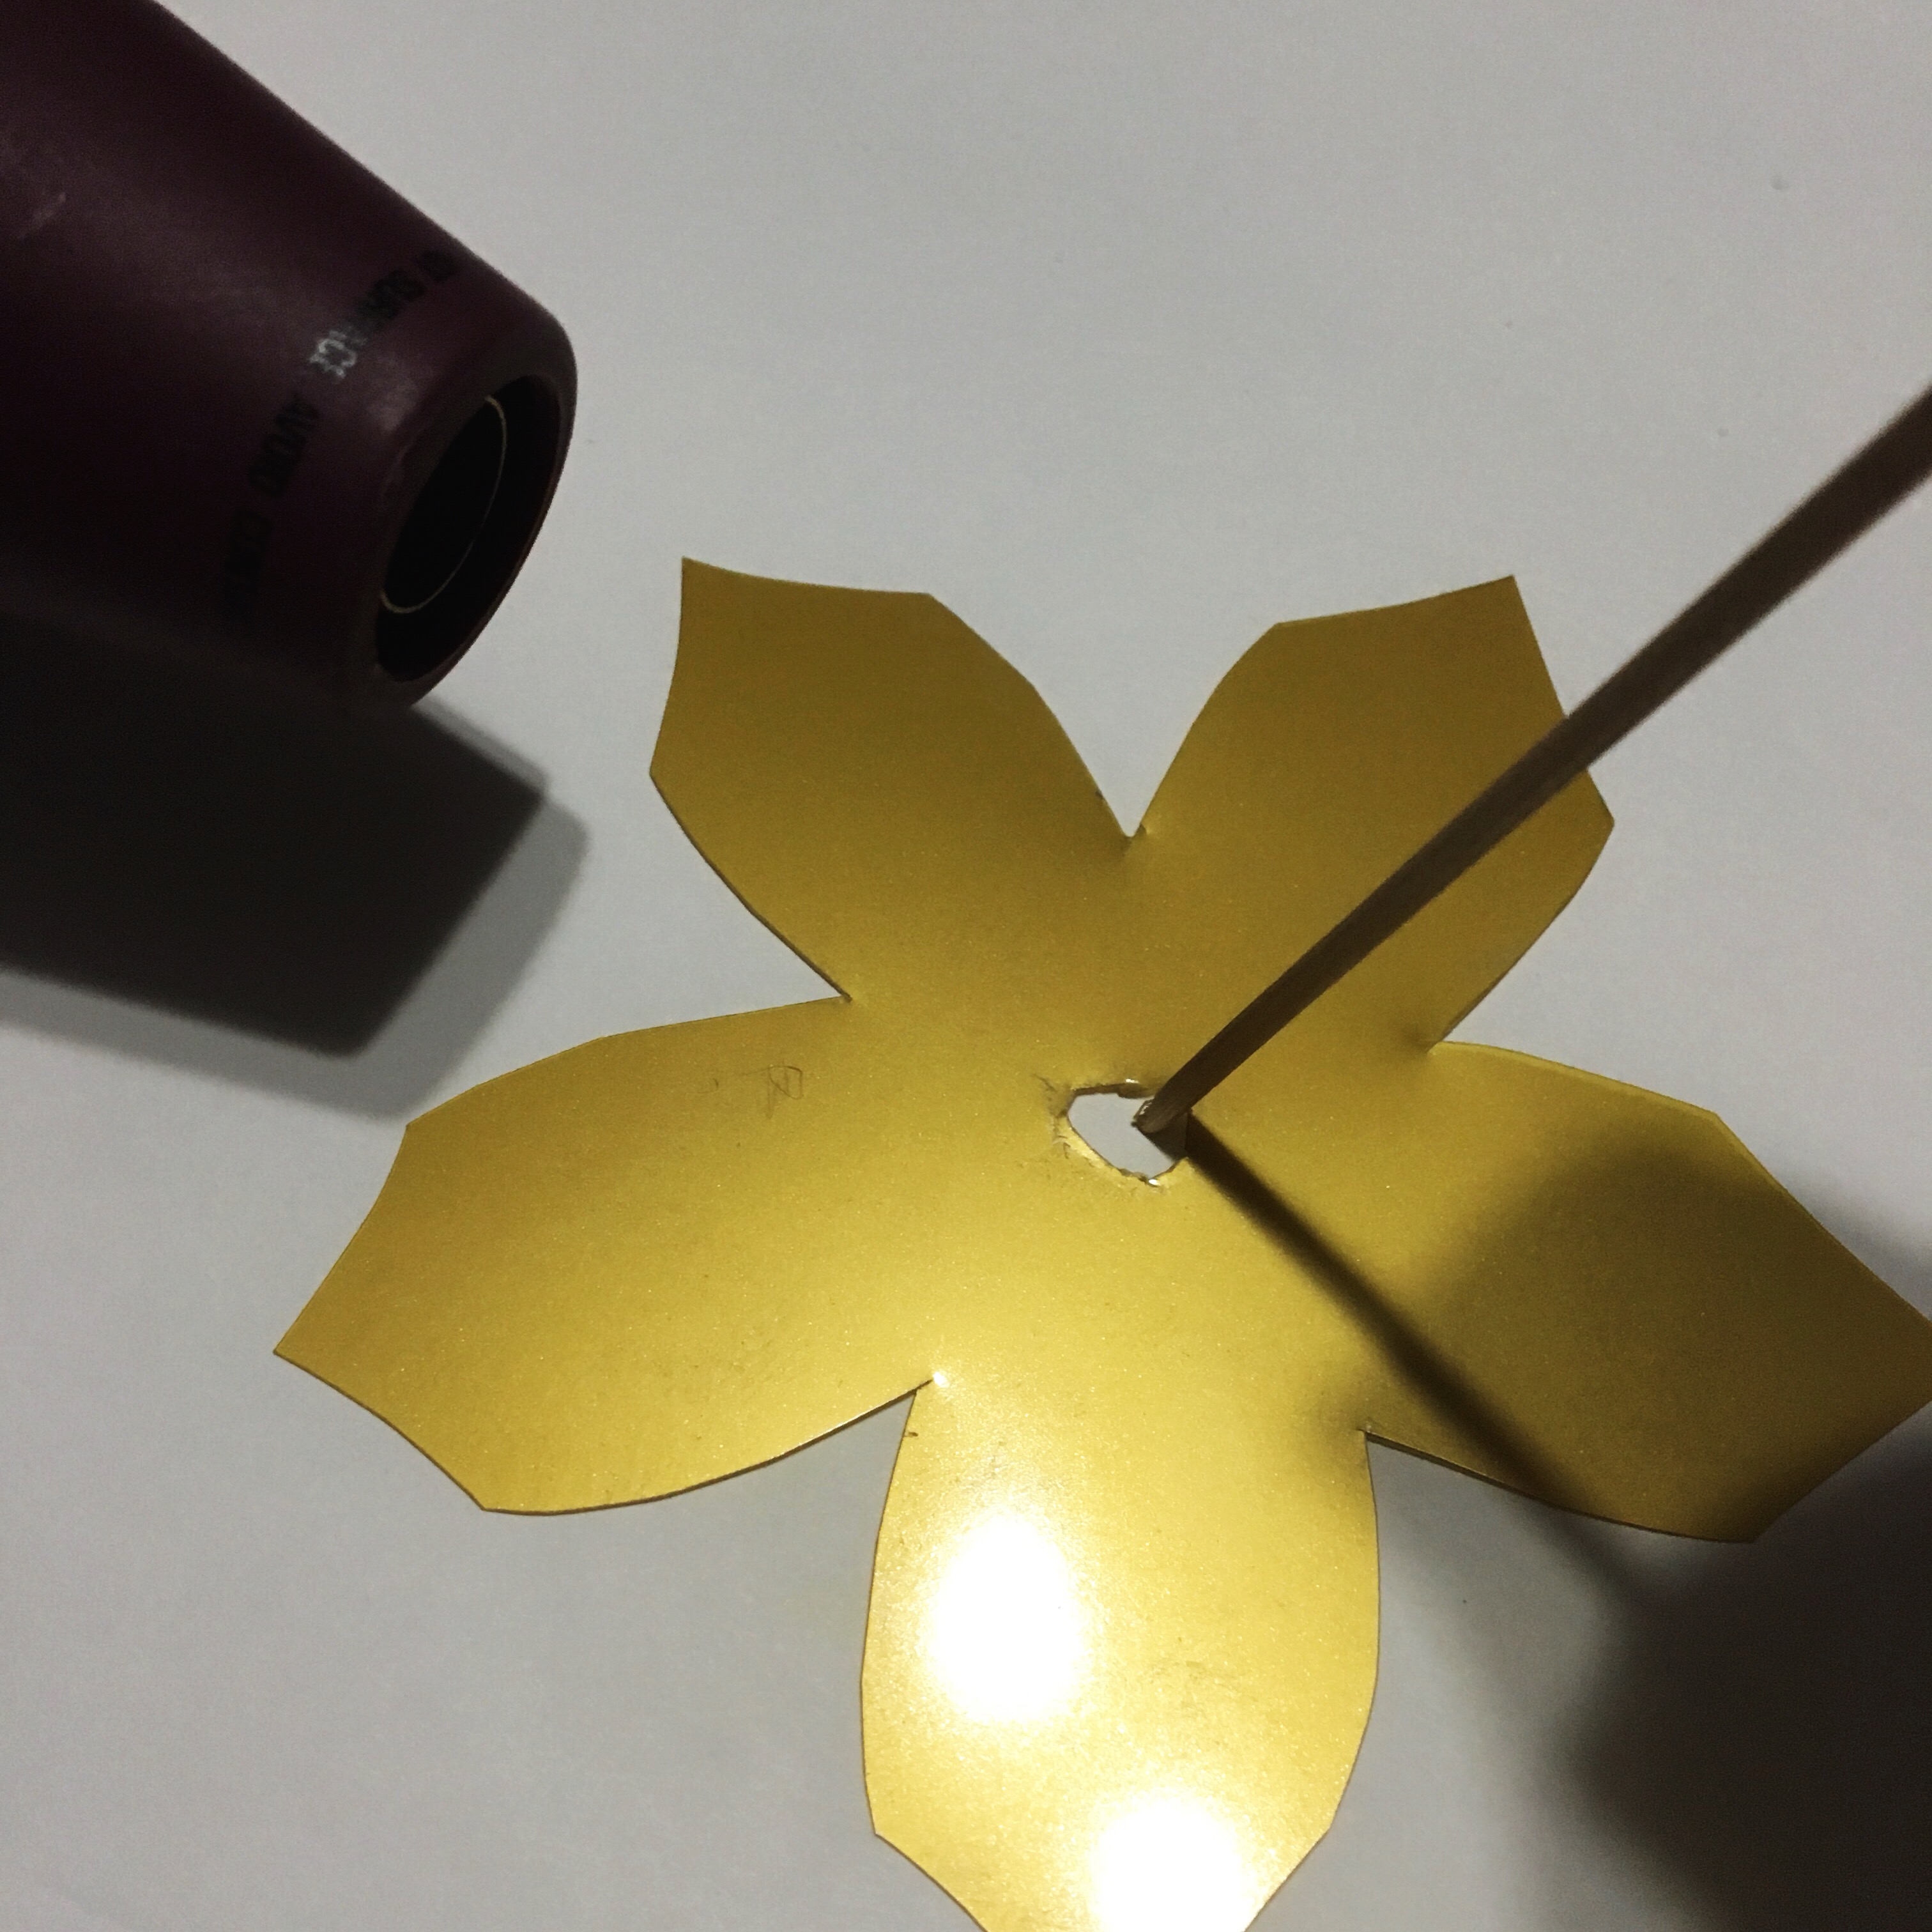
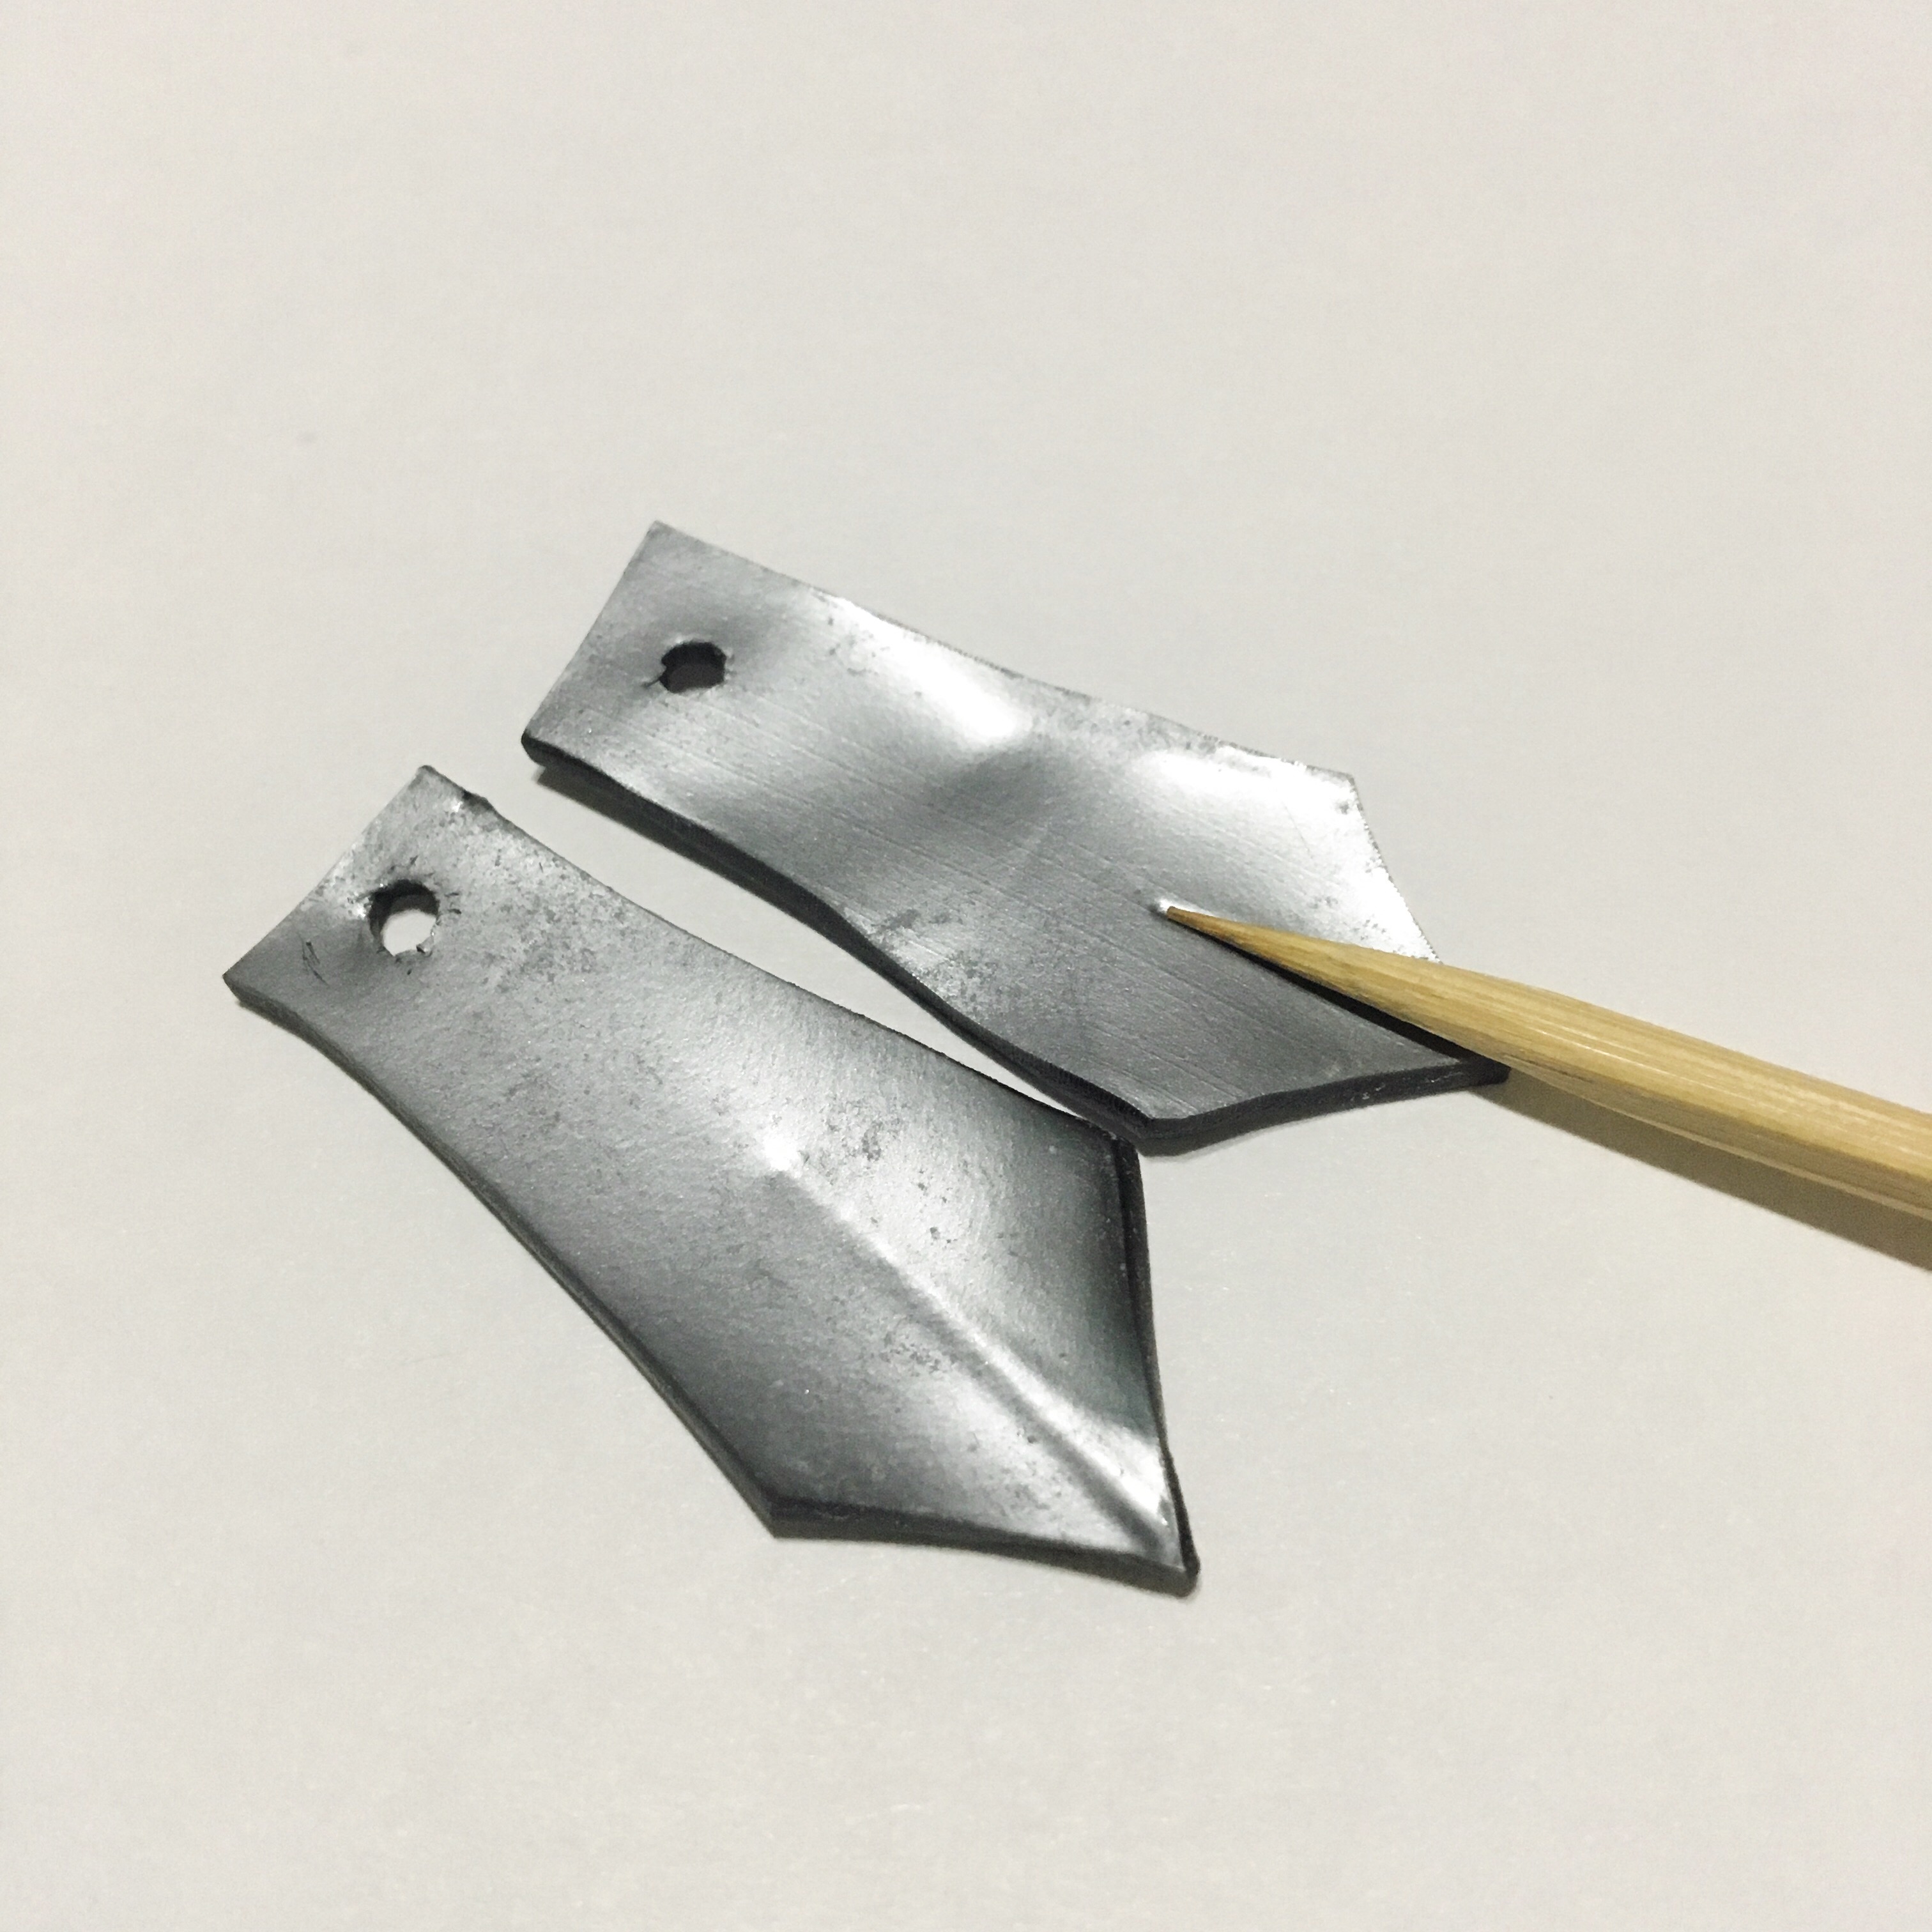
- Use heat gun to shrink each piece, one at a time. Place the skewer in the holes to keep them in place. *HINT: the pieces will curl up, but will flatten as you continue to heat. Keep the heat gun moving, and continue to heat until the piece flattens.
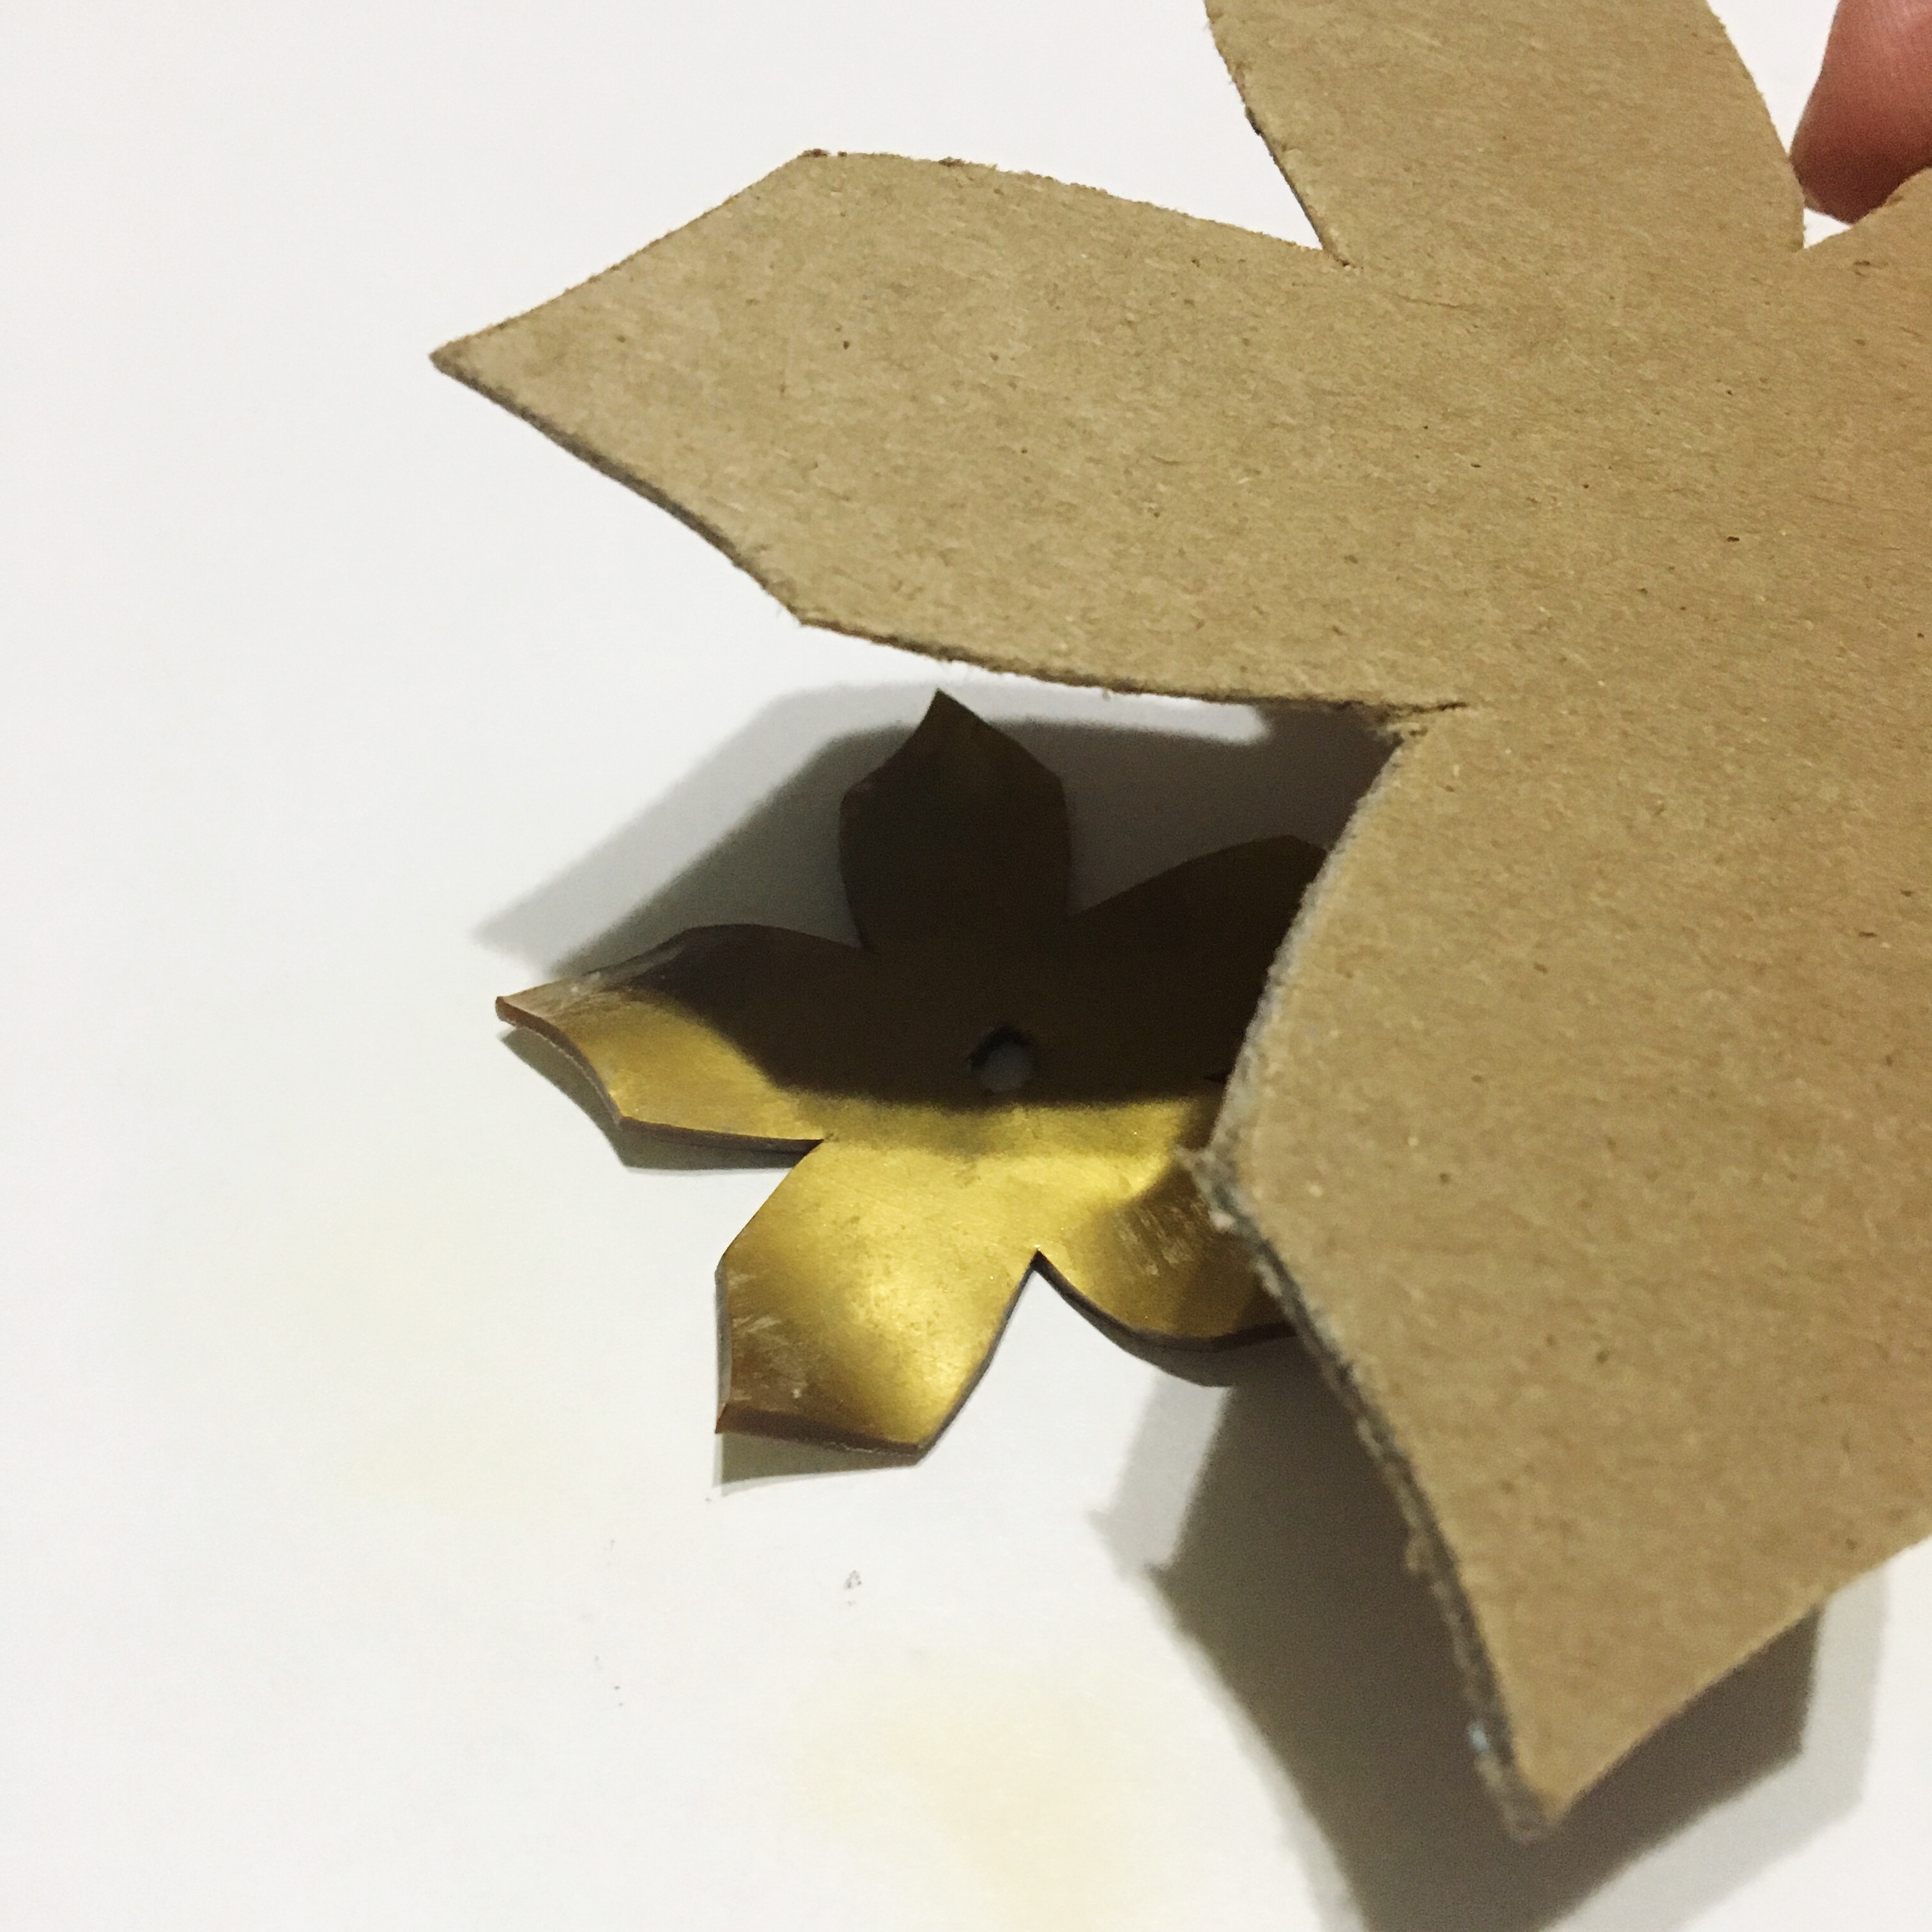
- Once piece is mostly flat, place the chipboard square on top and press gently to flatten.
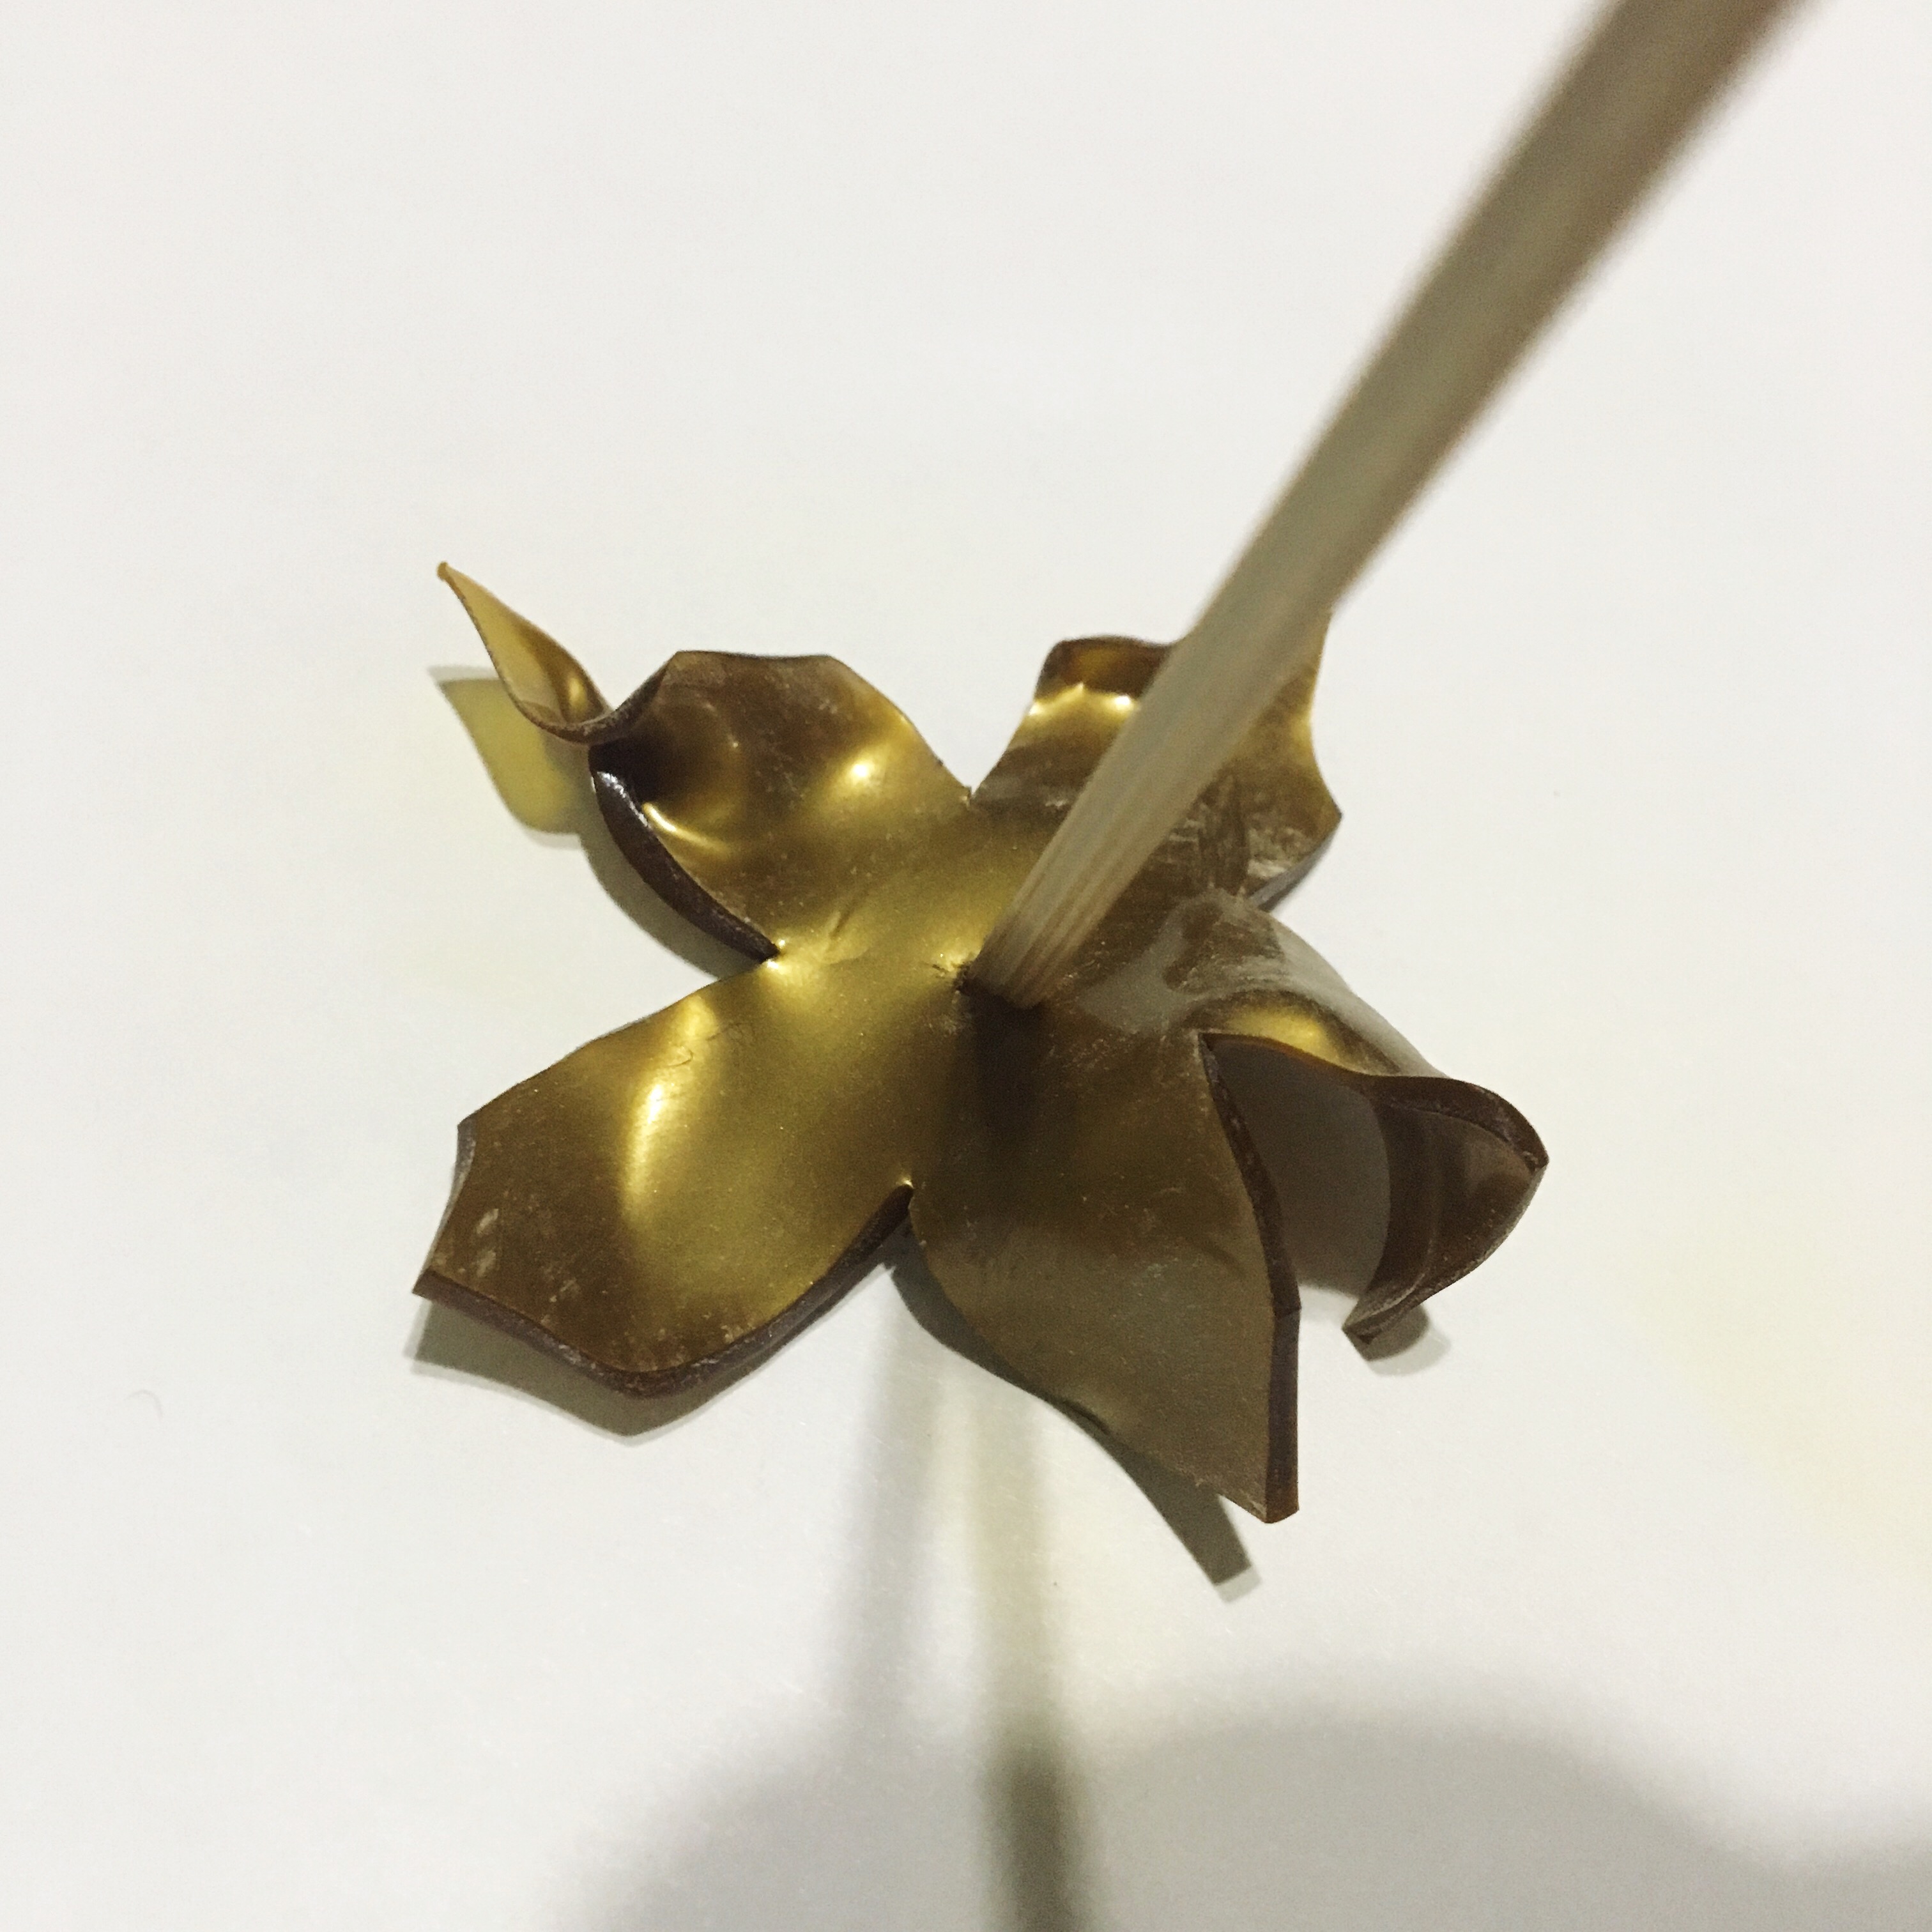
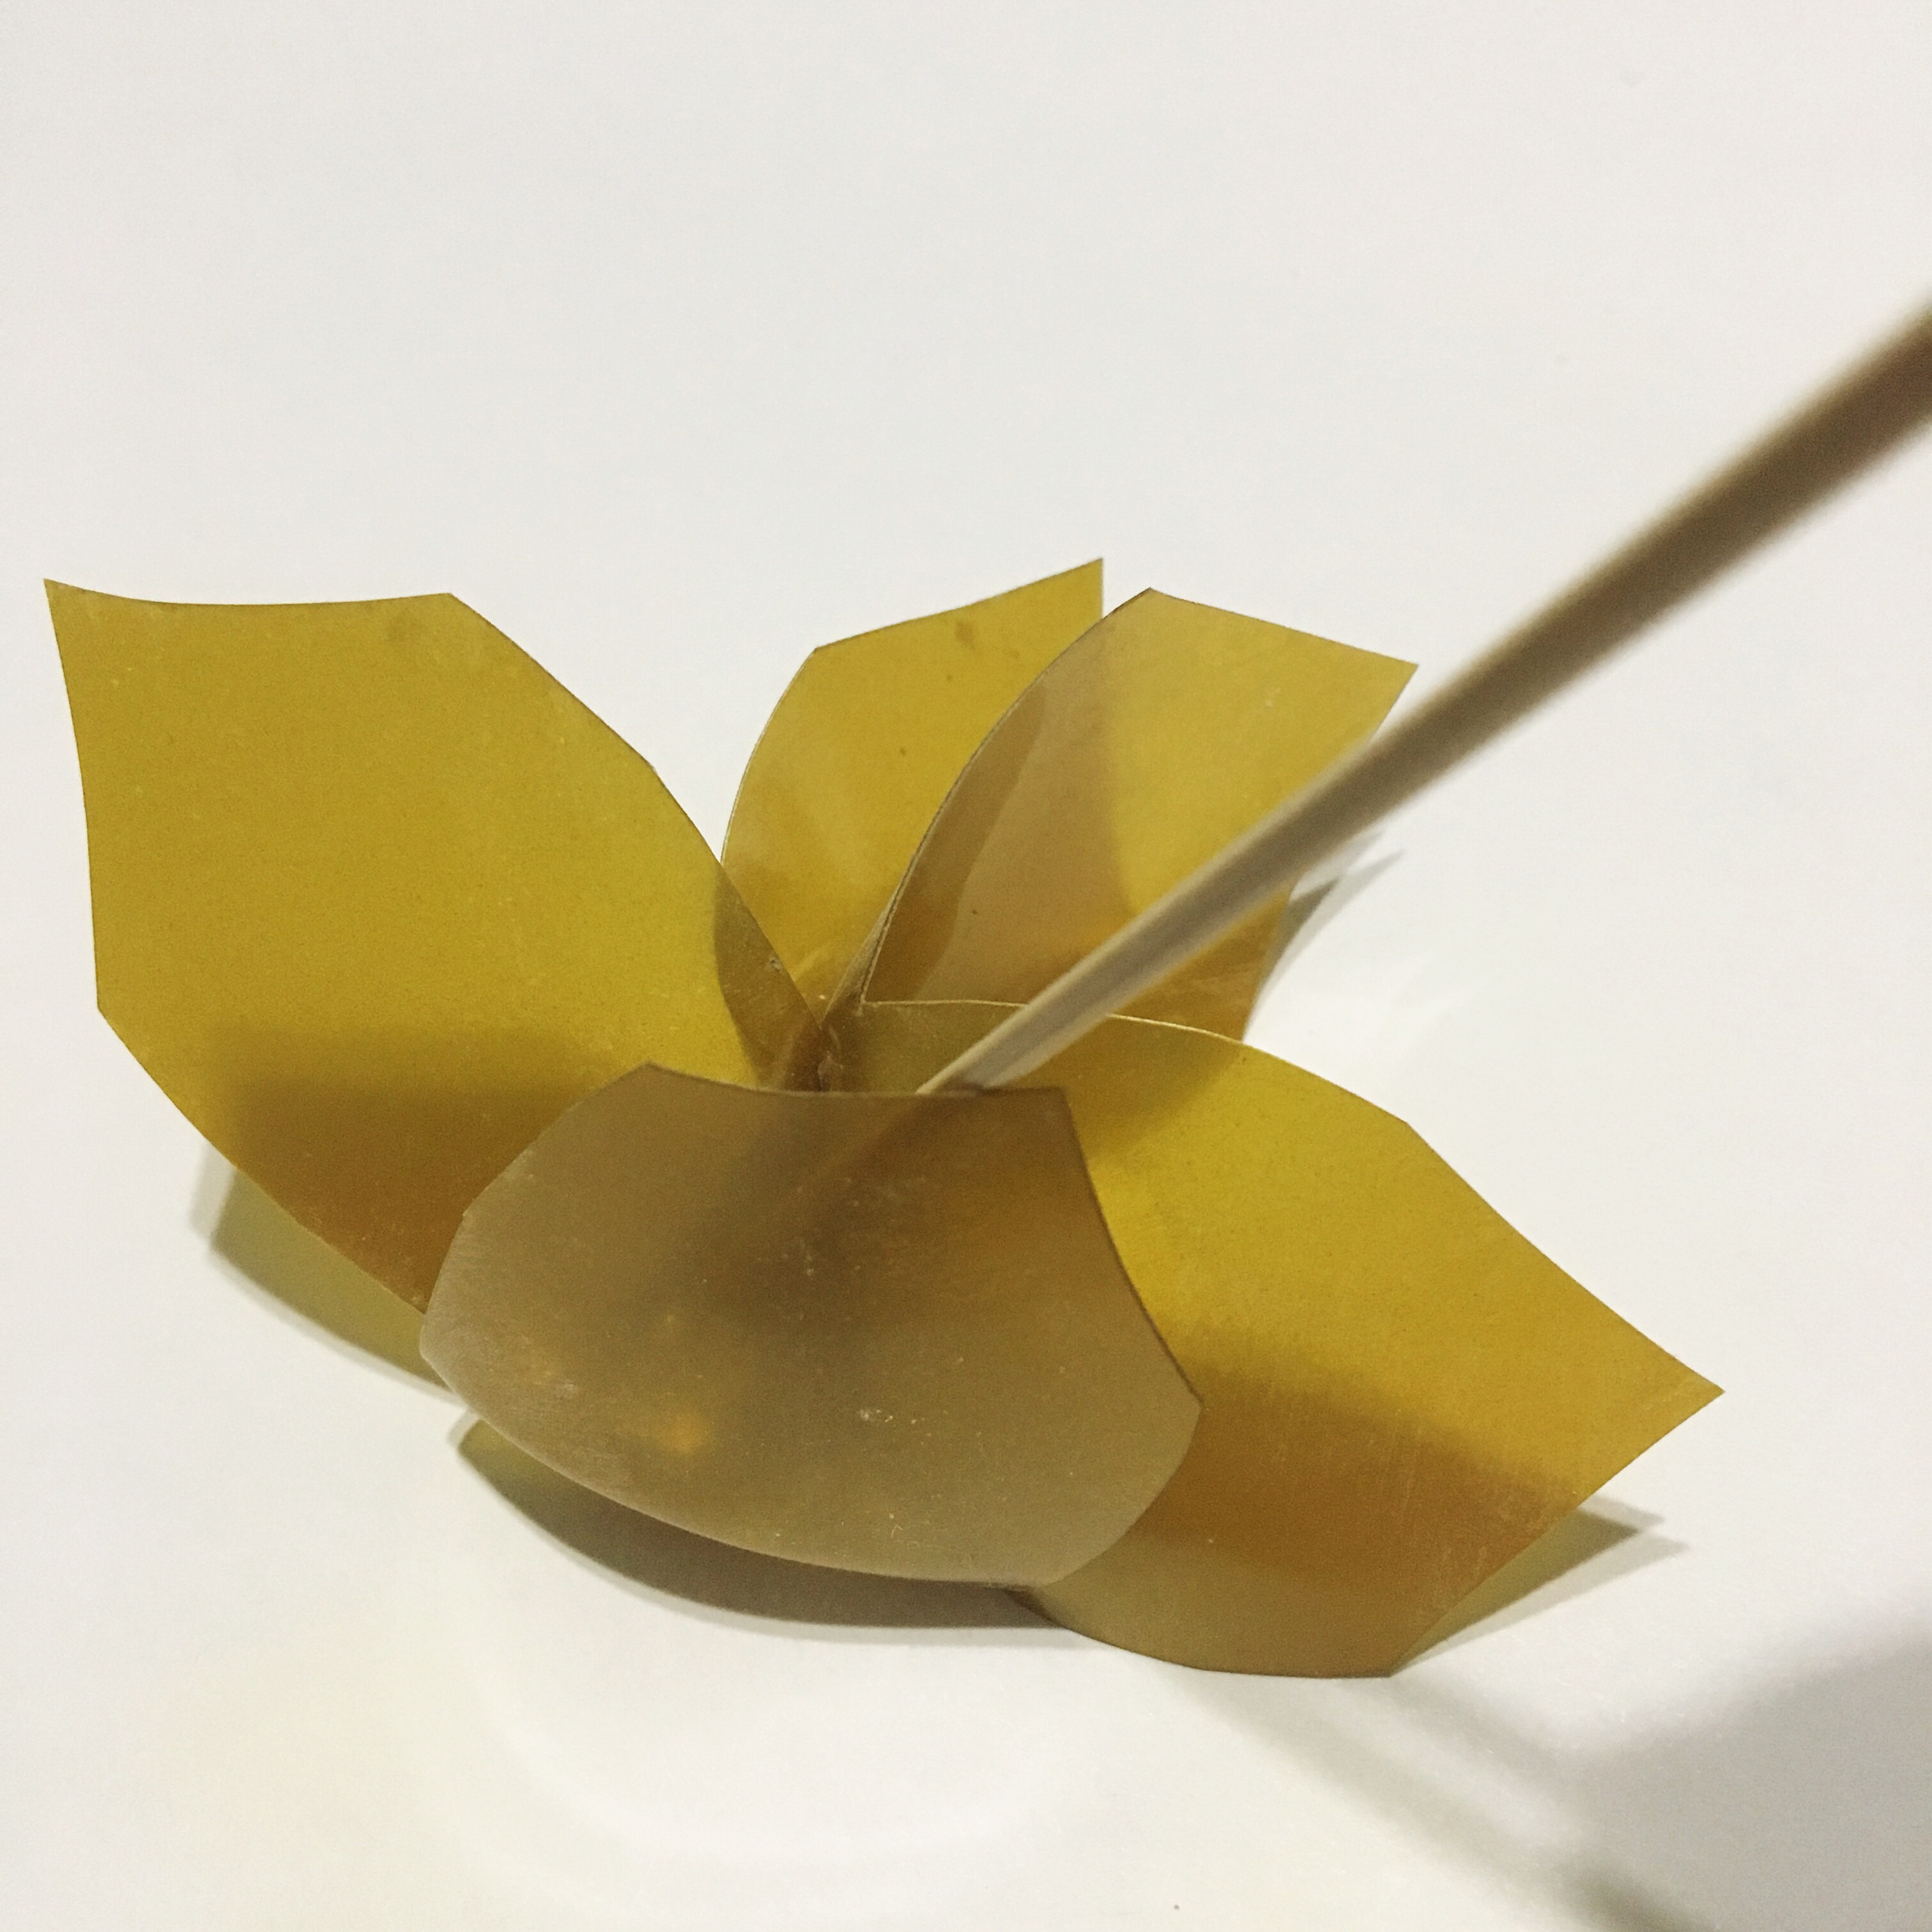
- If you want the petals of the flowers to curl upwards, you can reheat the petals over the skewer, then use it to raise and hold the petals until they cool. PLASTIC WILL BE HOT!
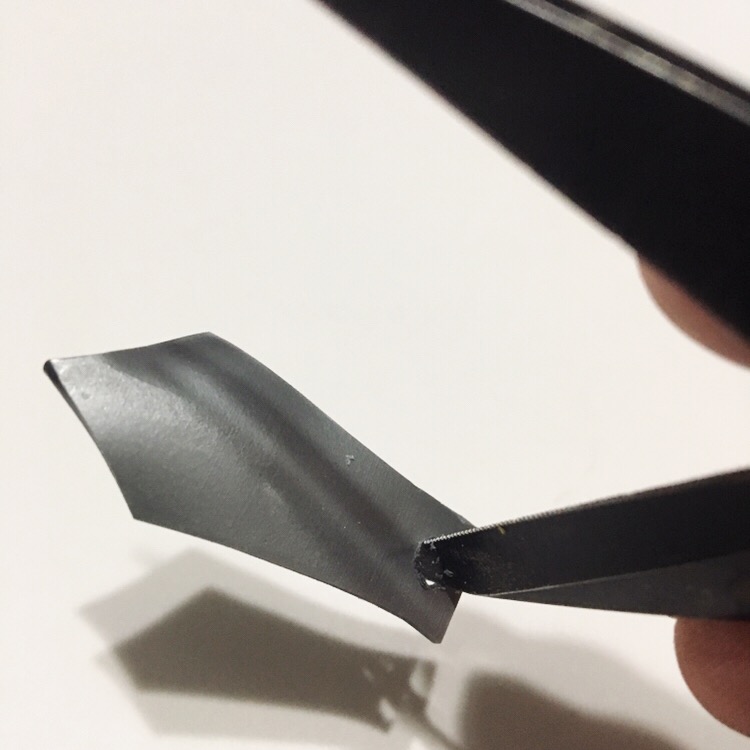
- If you want to create a “vein” down the center of your leaves, reheat leaves and press the tip of the skewer into the pointed end.
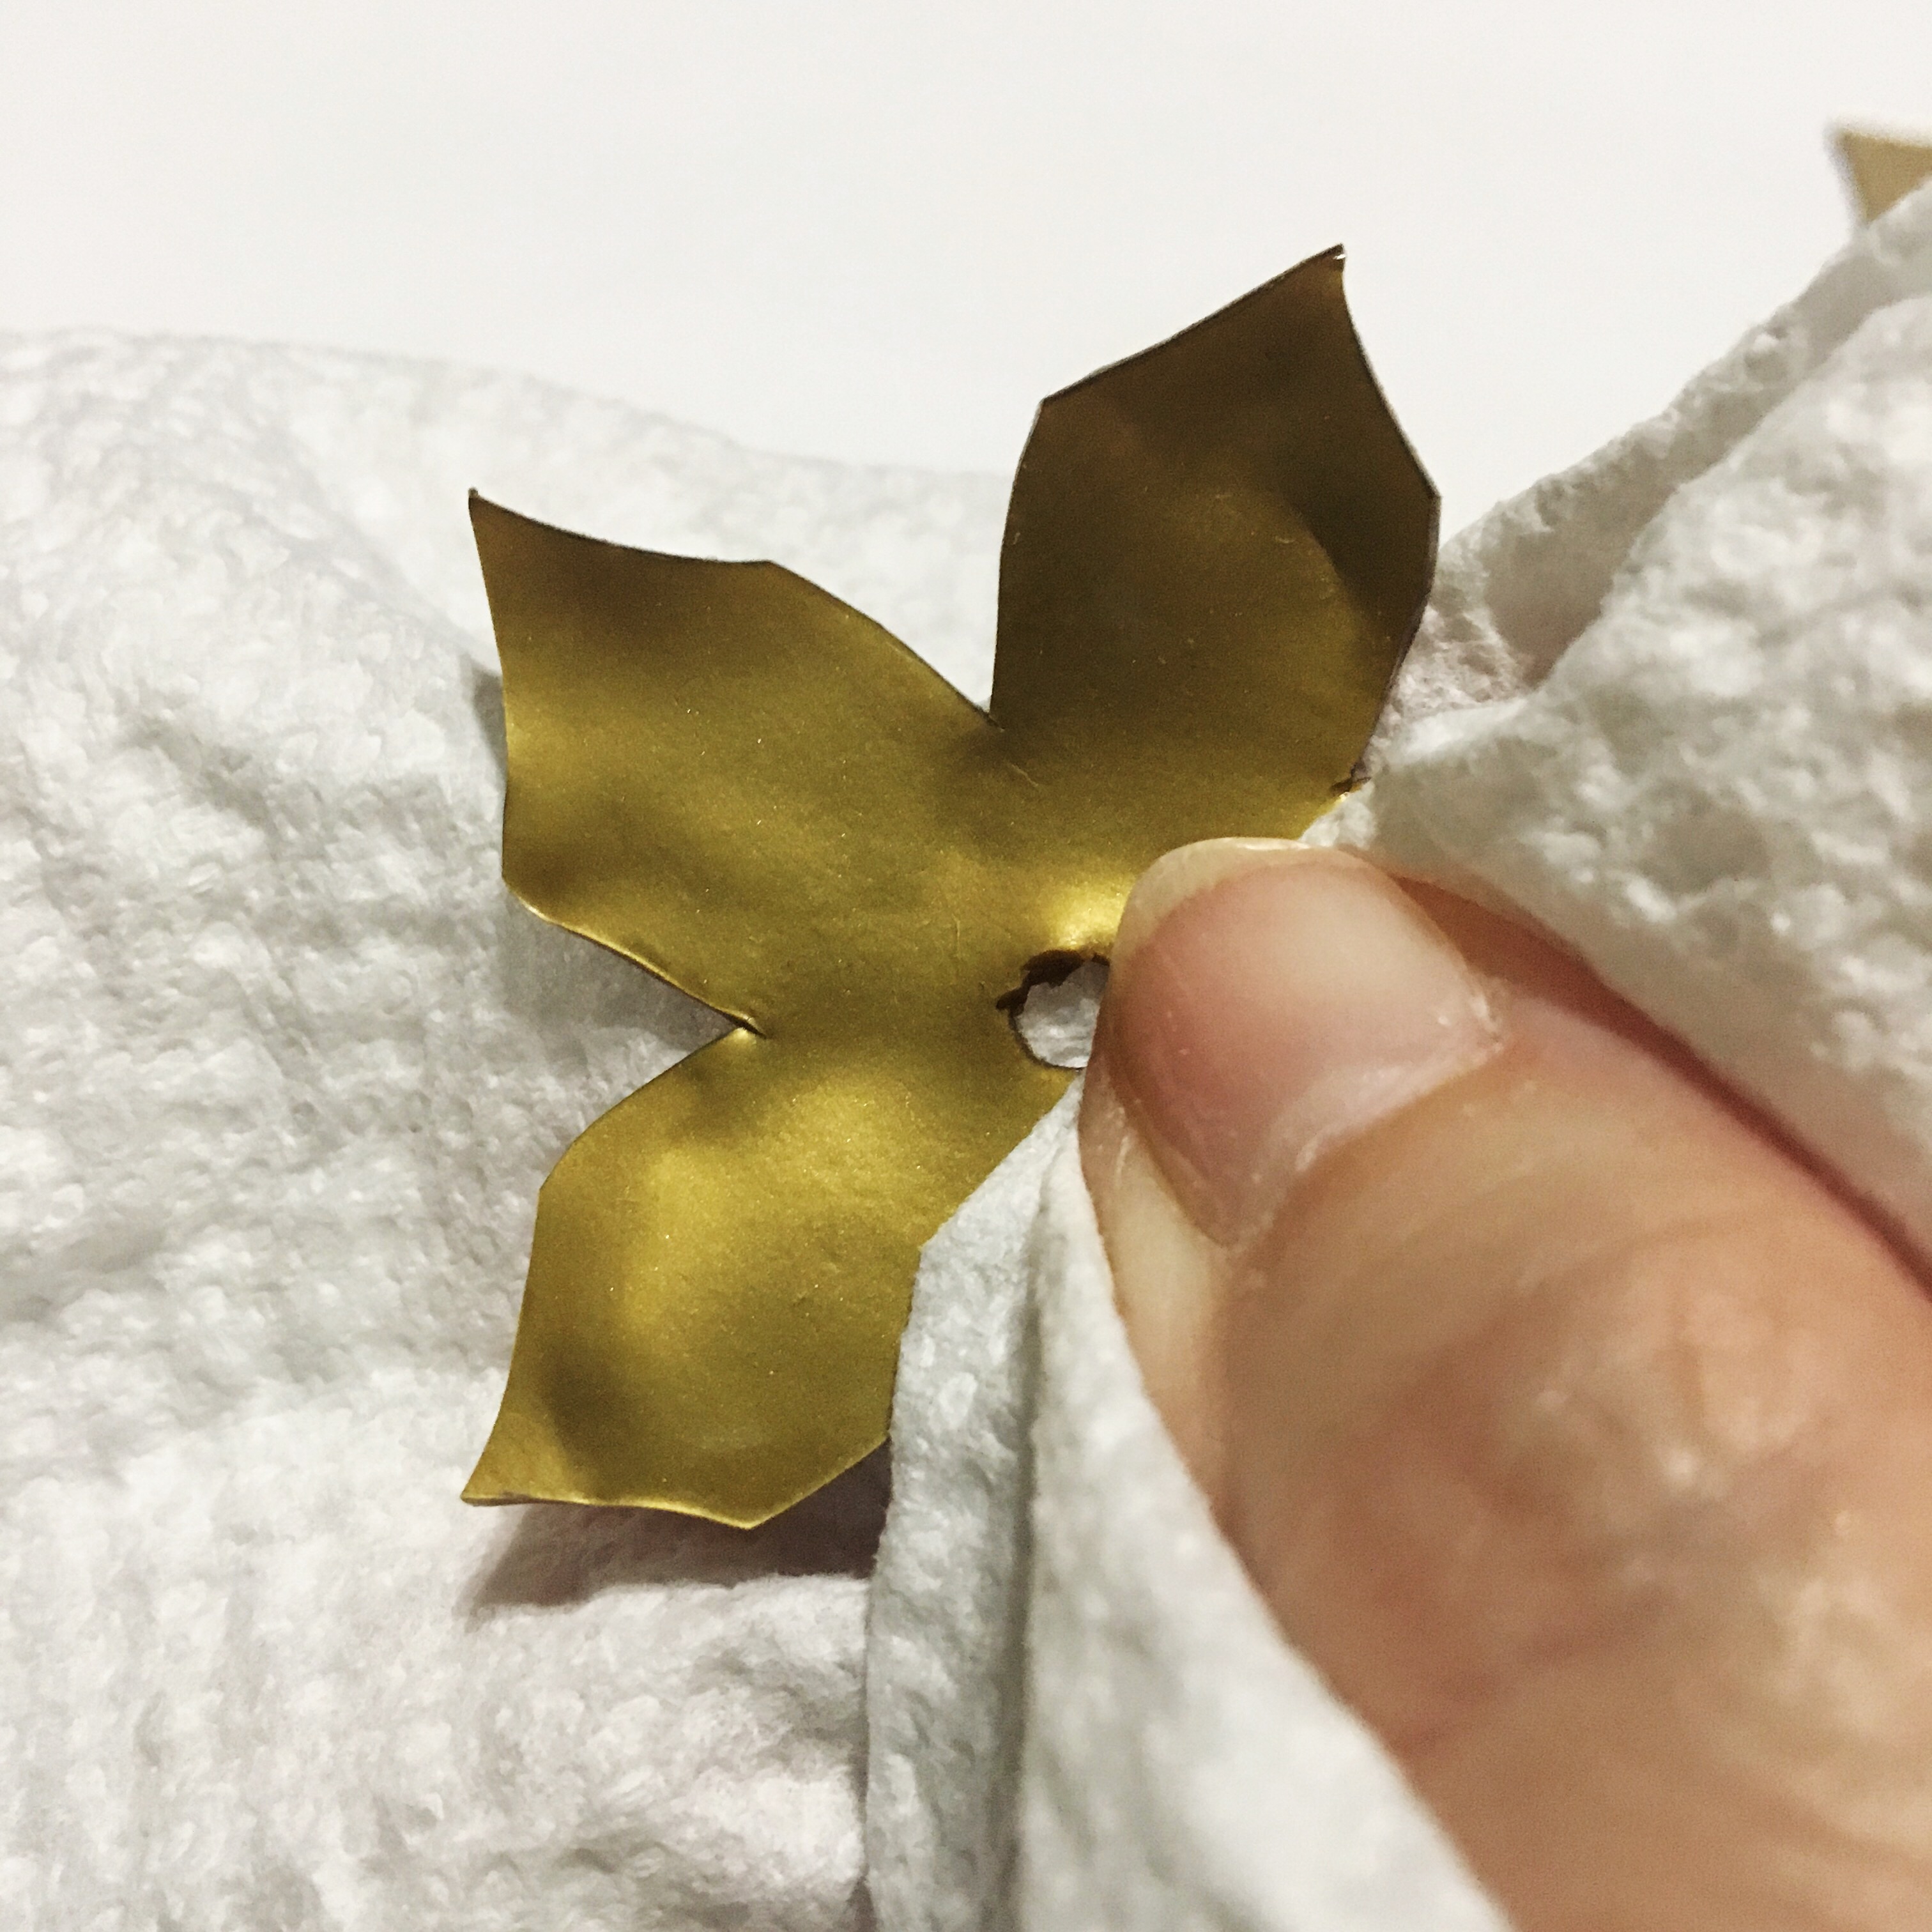
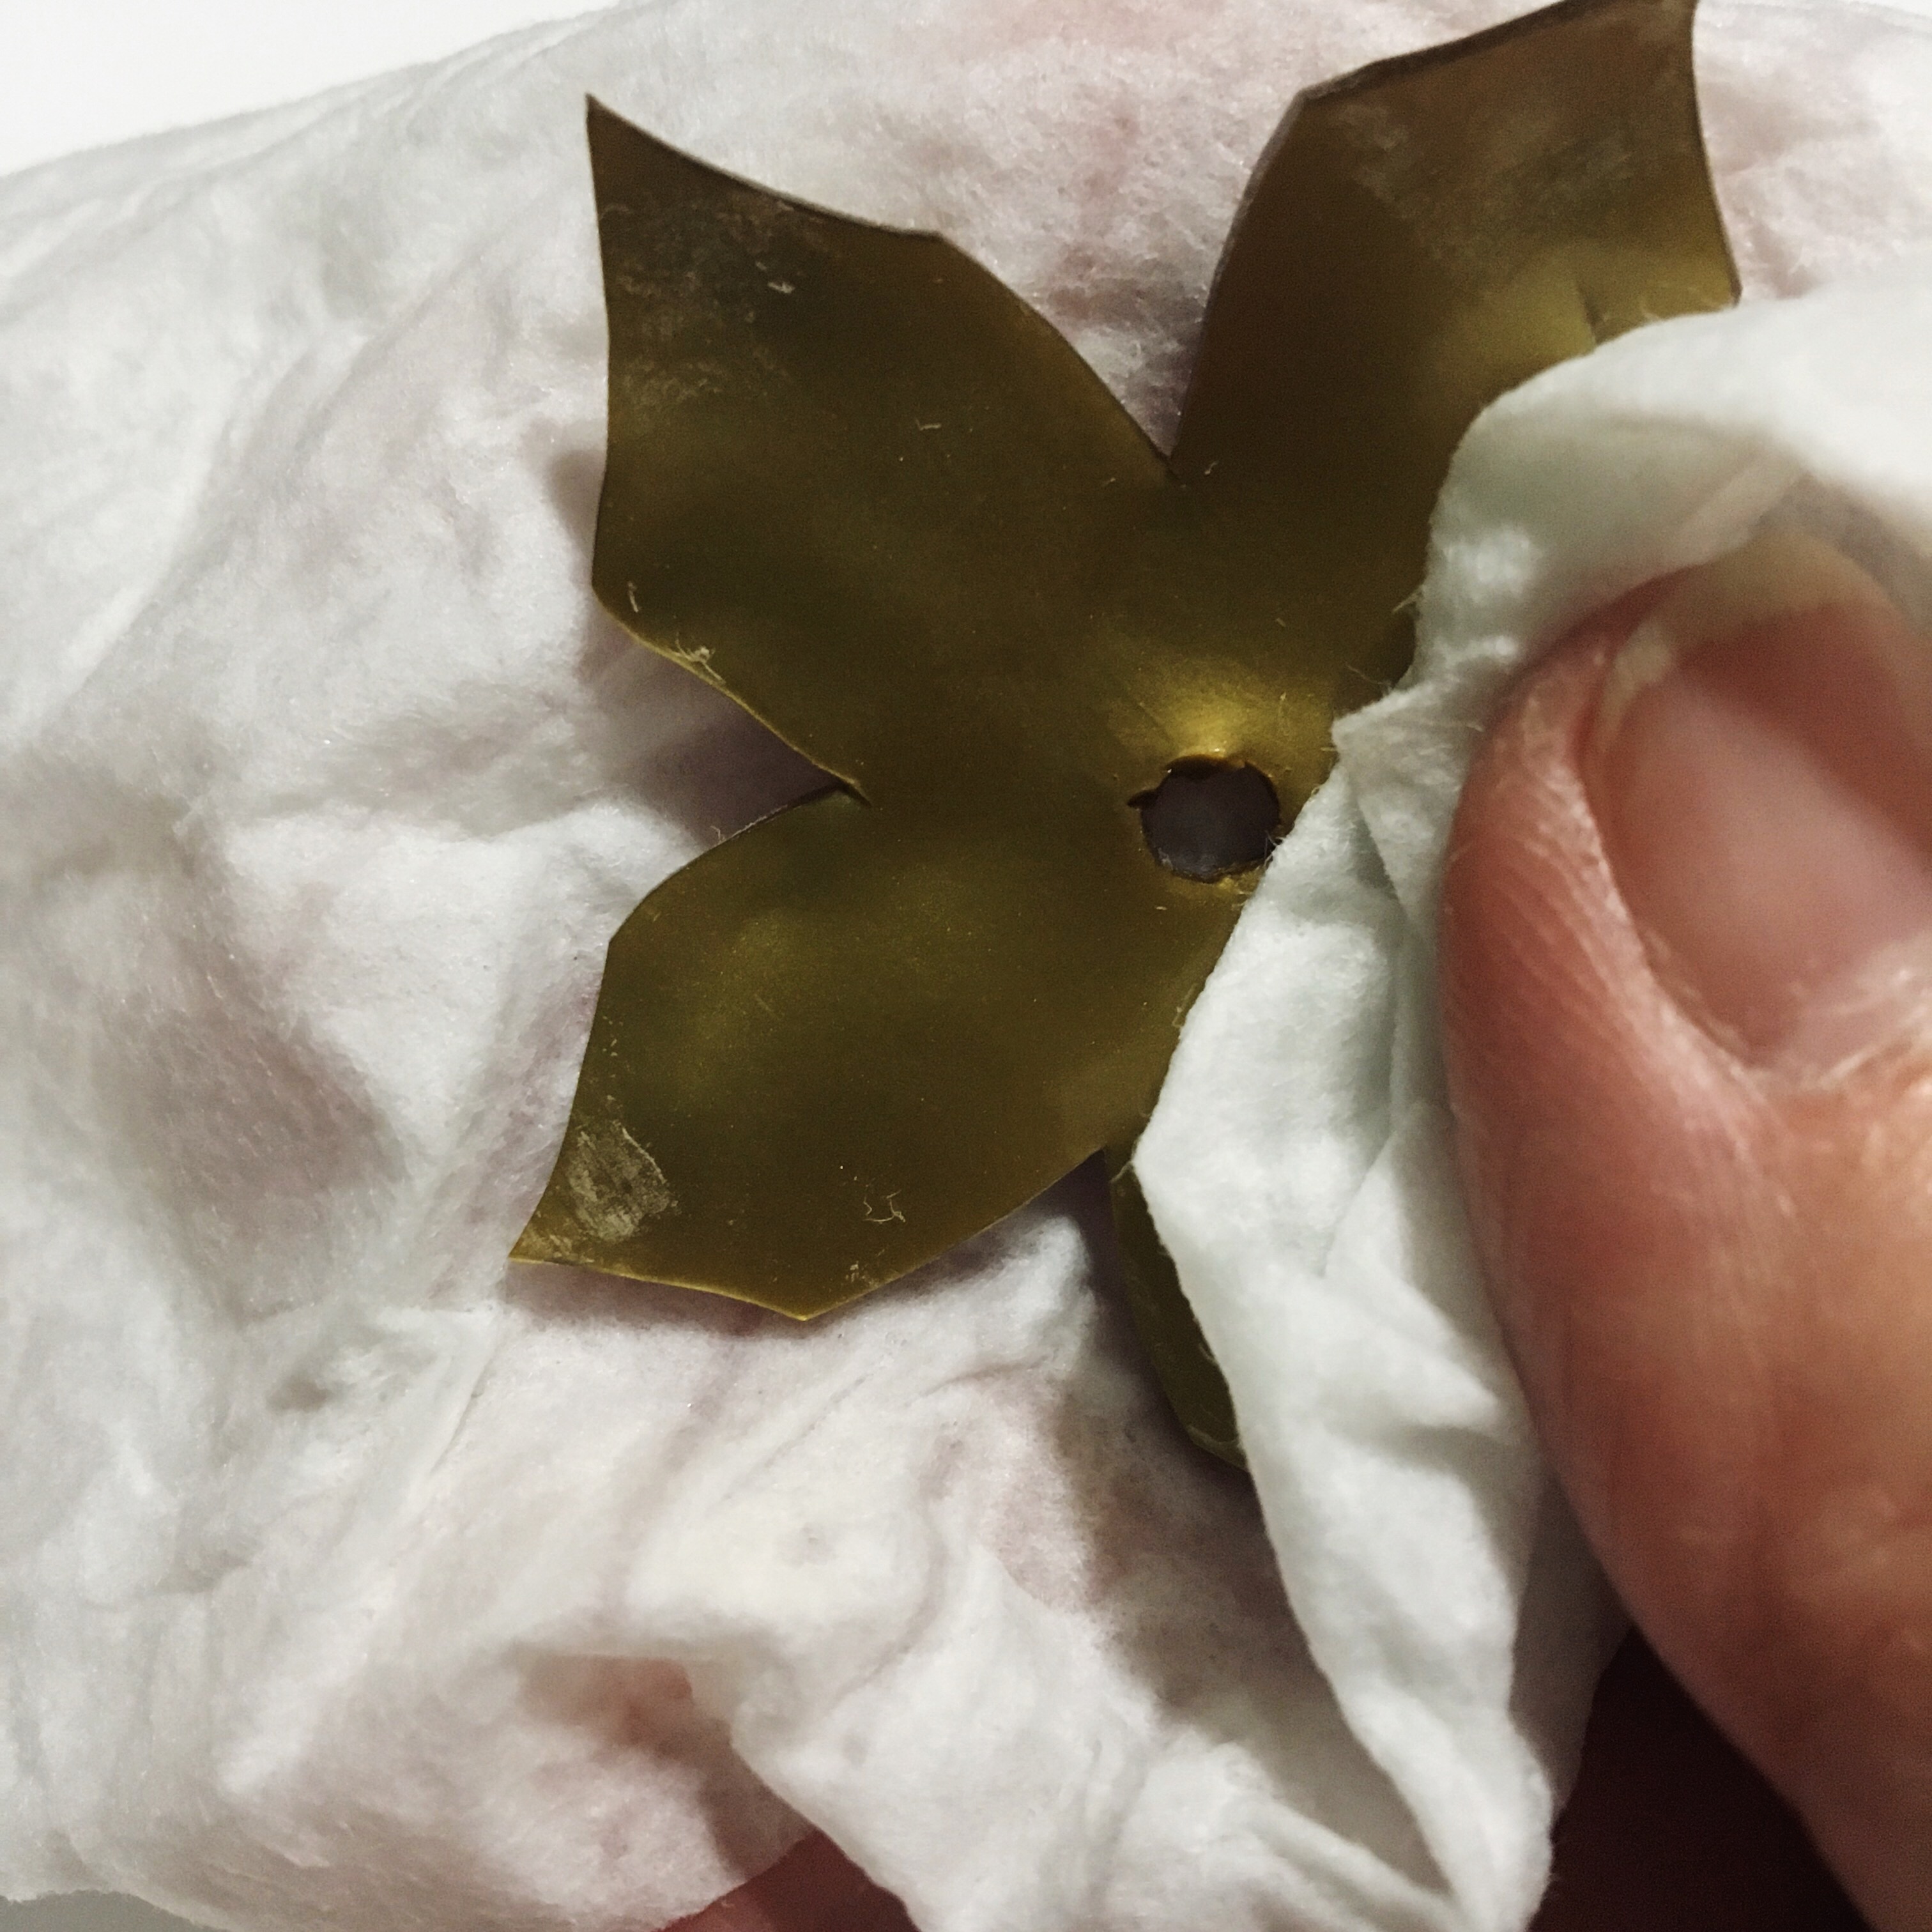
- Wipe all pieces with a baby wipe to remove any cornstarch residue and buff dry with a paper towel.
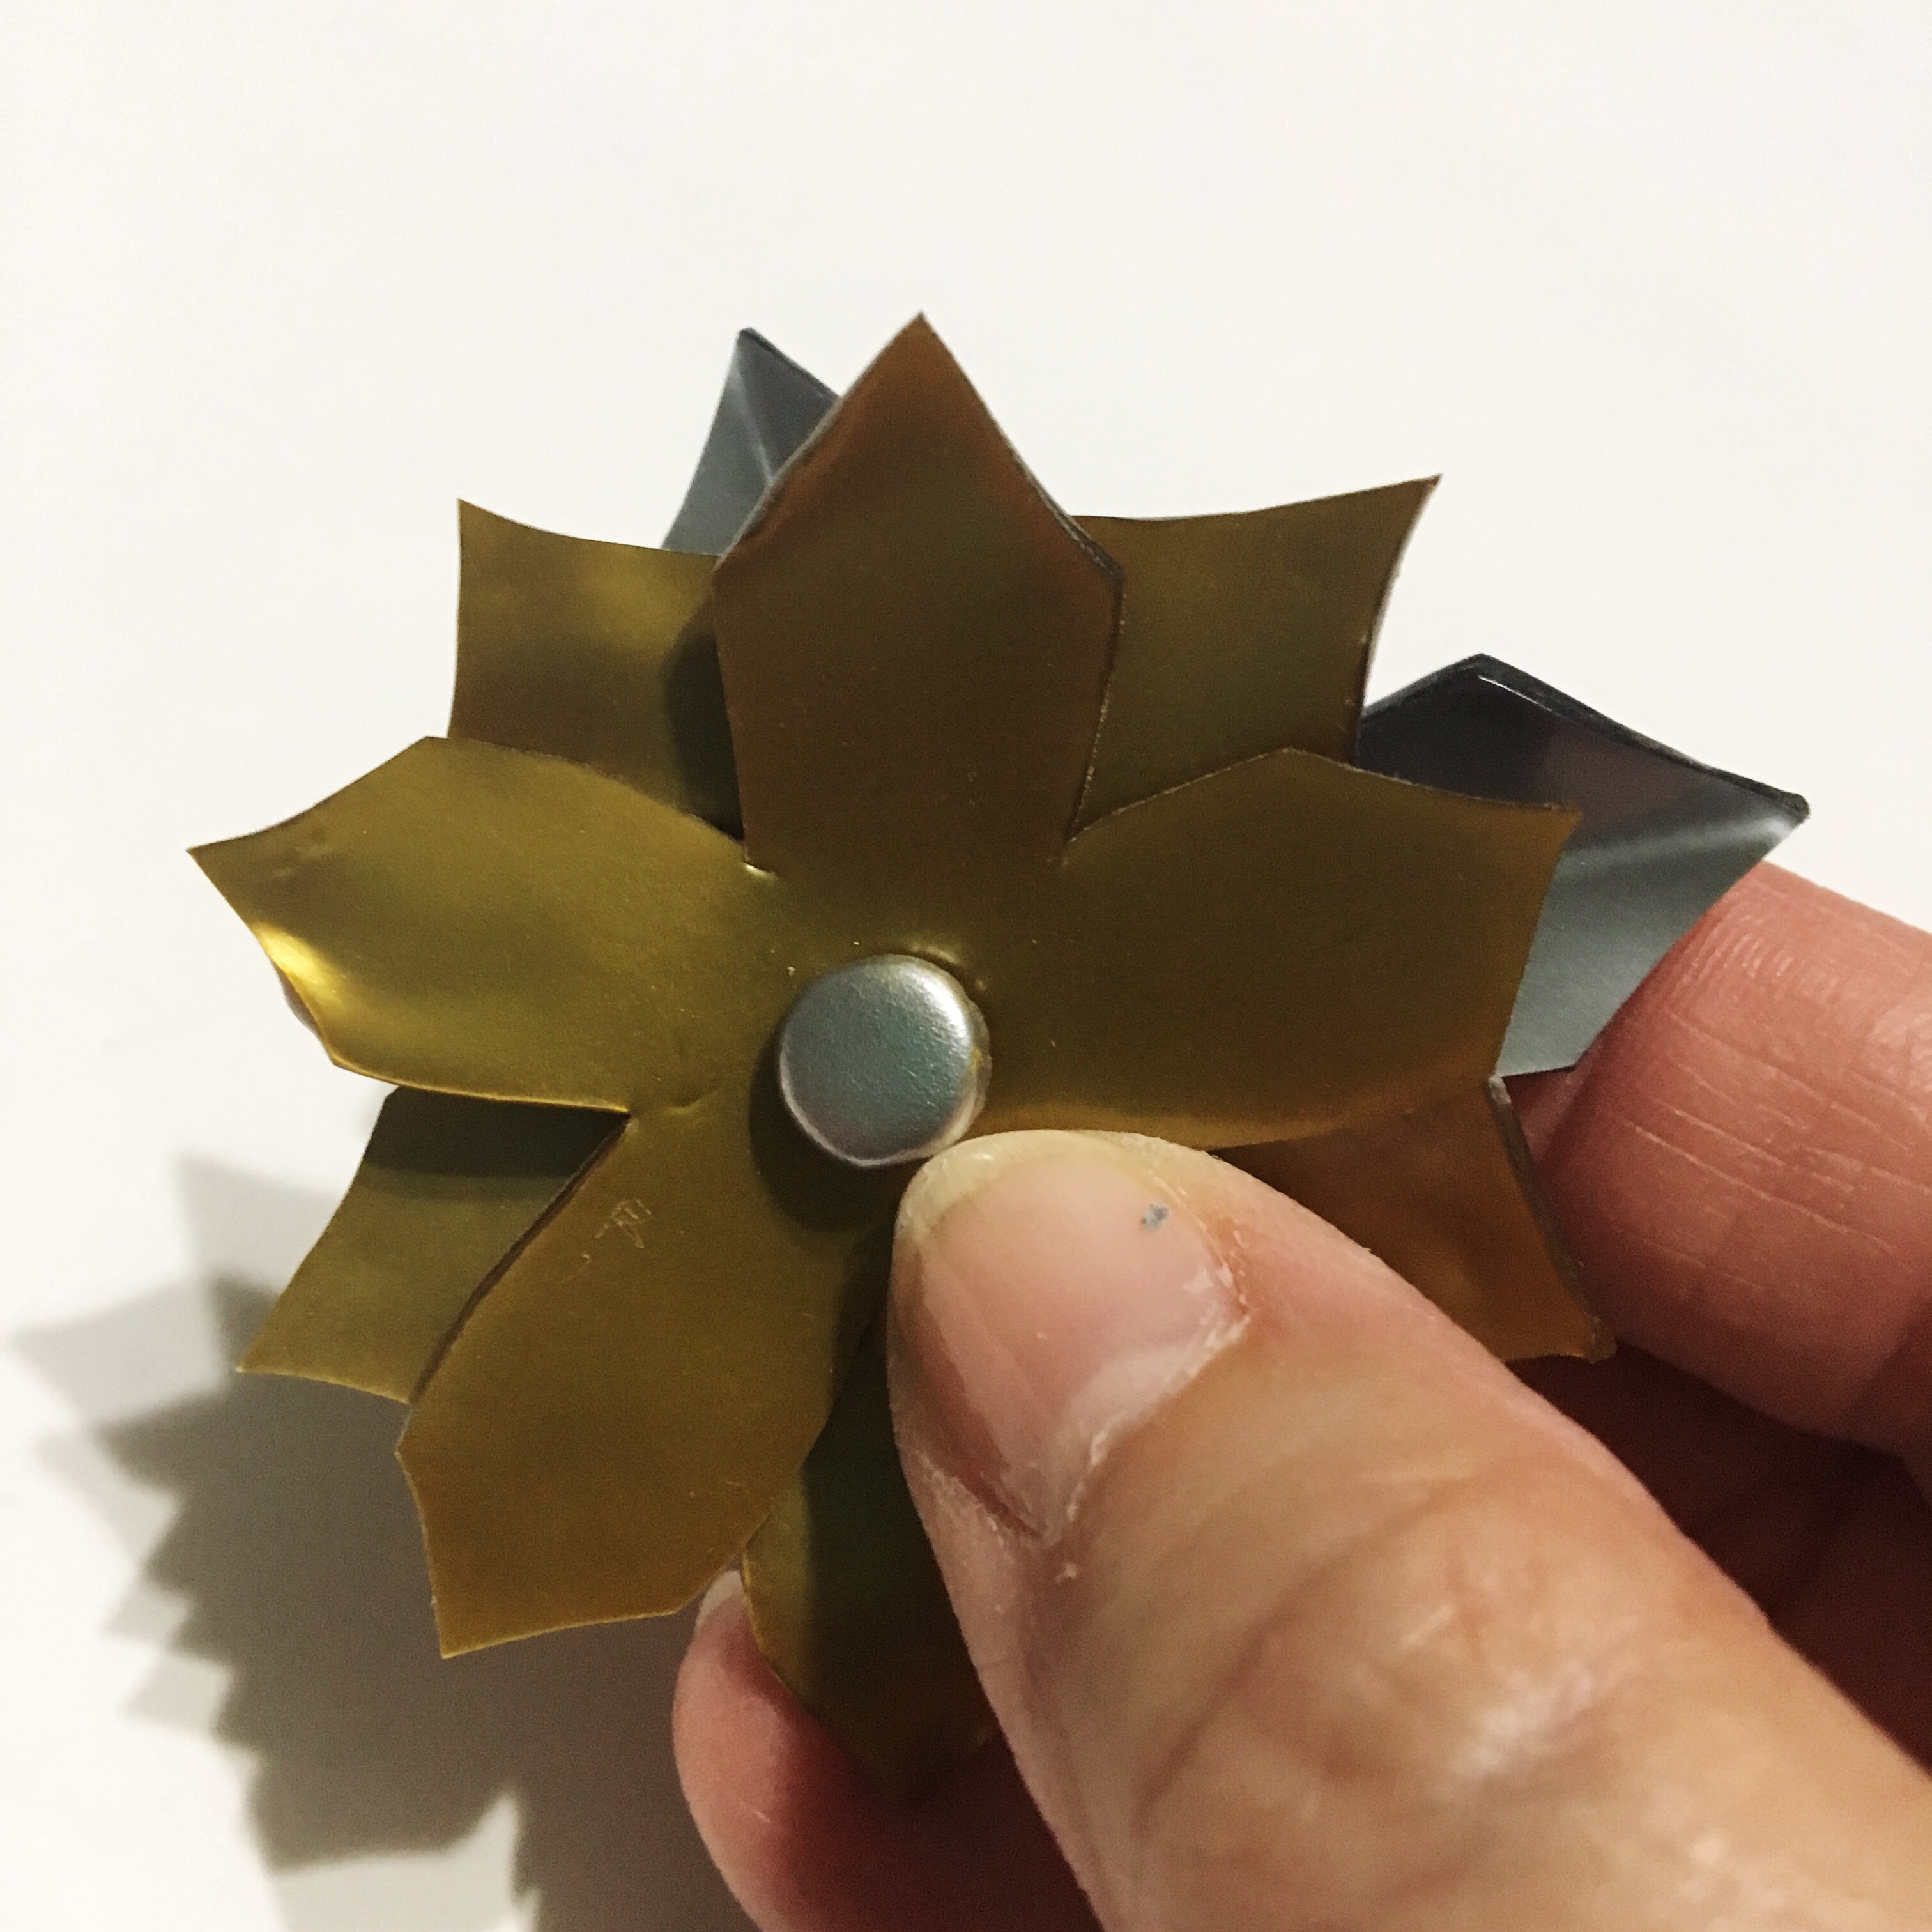
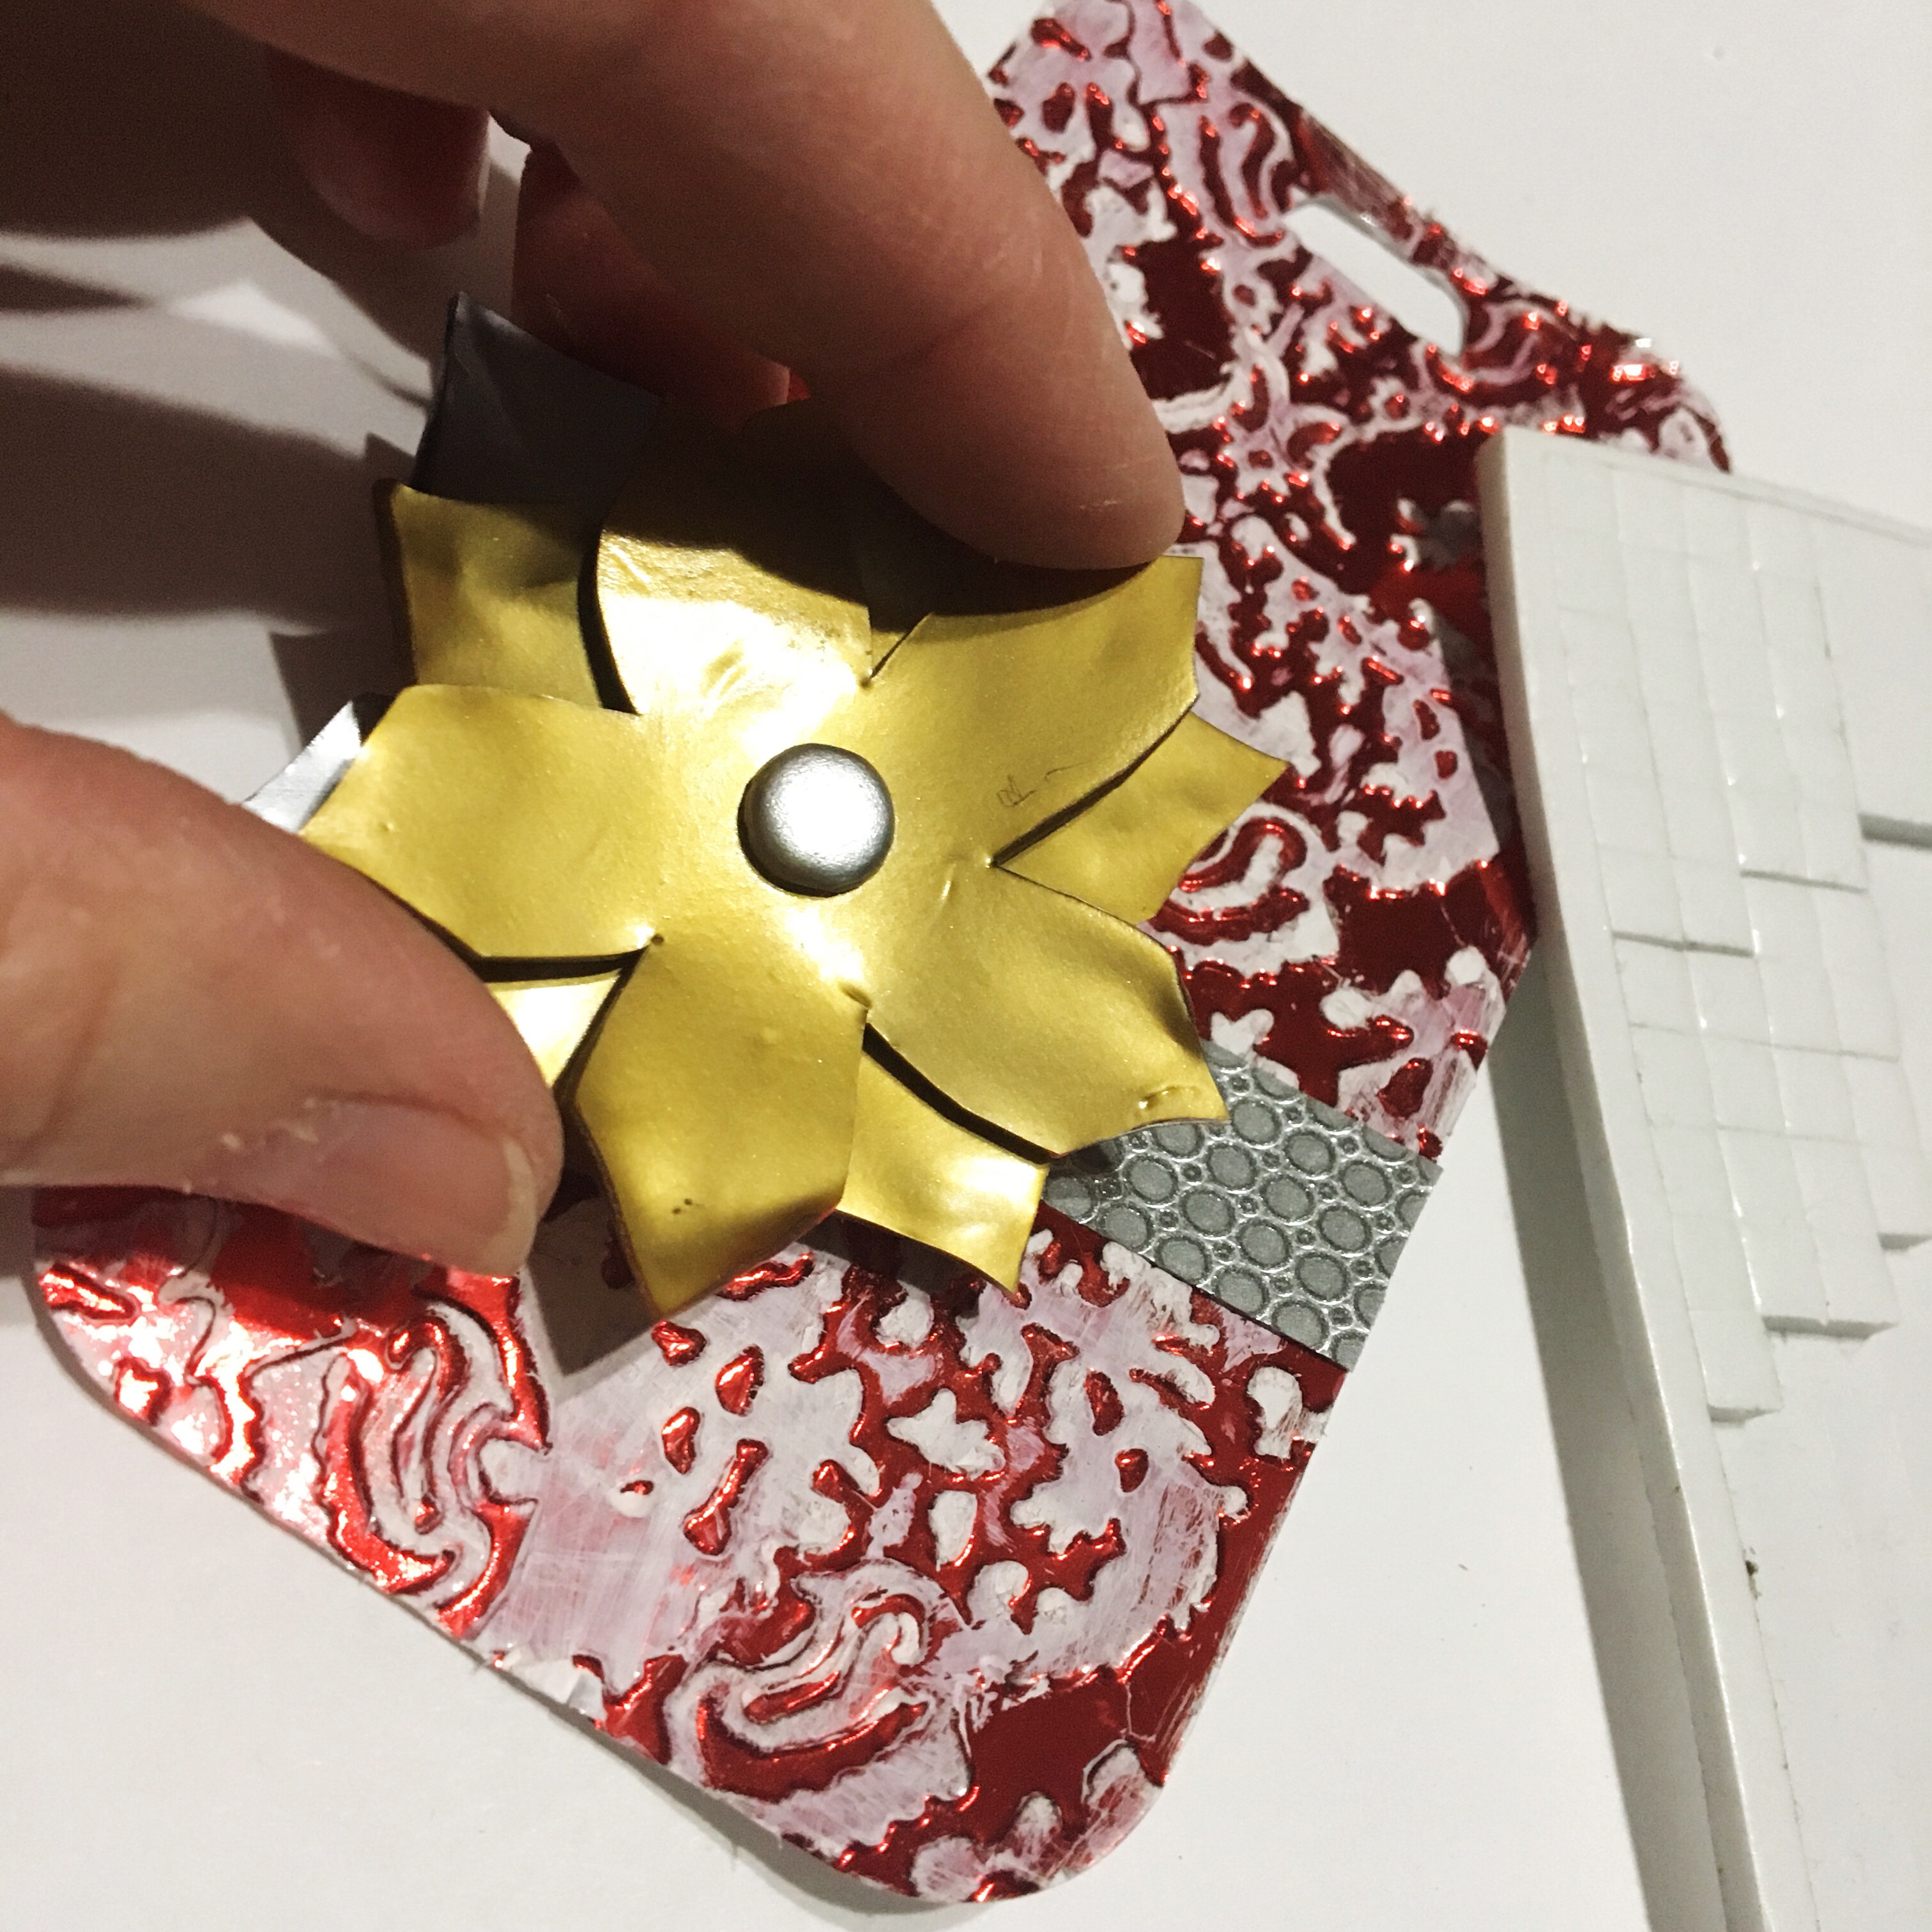
- To assemble, place the head of the brad through the small flower, then large flower and the 2 leaves, and secure brad on back. HINTS: if any of your holes are too small for the brad, you can use the tip of the scissors to enlarge it. Place tip of one blade in the hole and carefully turn a few times to enlarge the hole. If you curled your petals, you may need to hold the head of the brad with your thumb while you press the brad ends open.
Tag
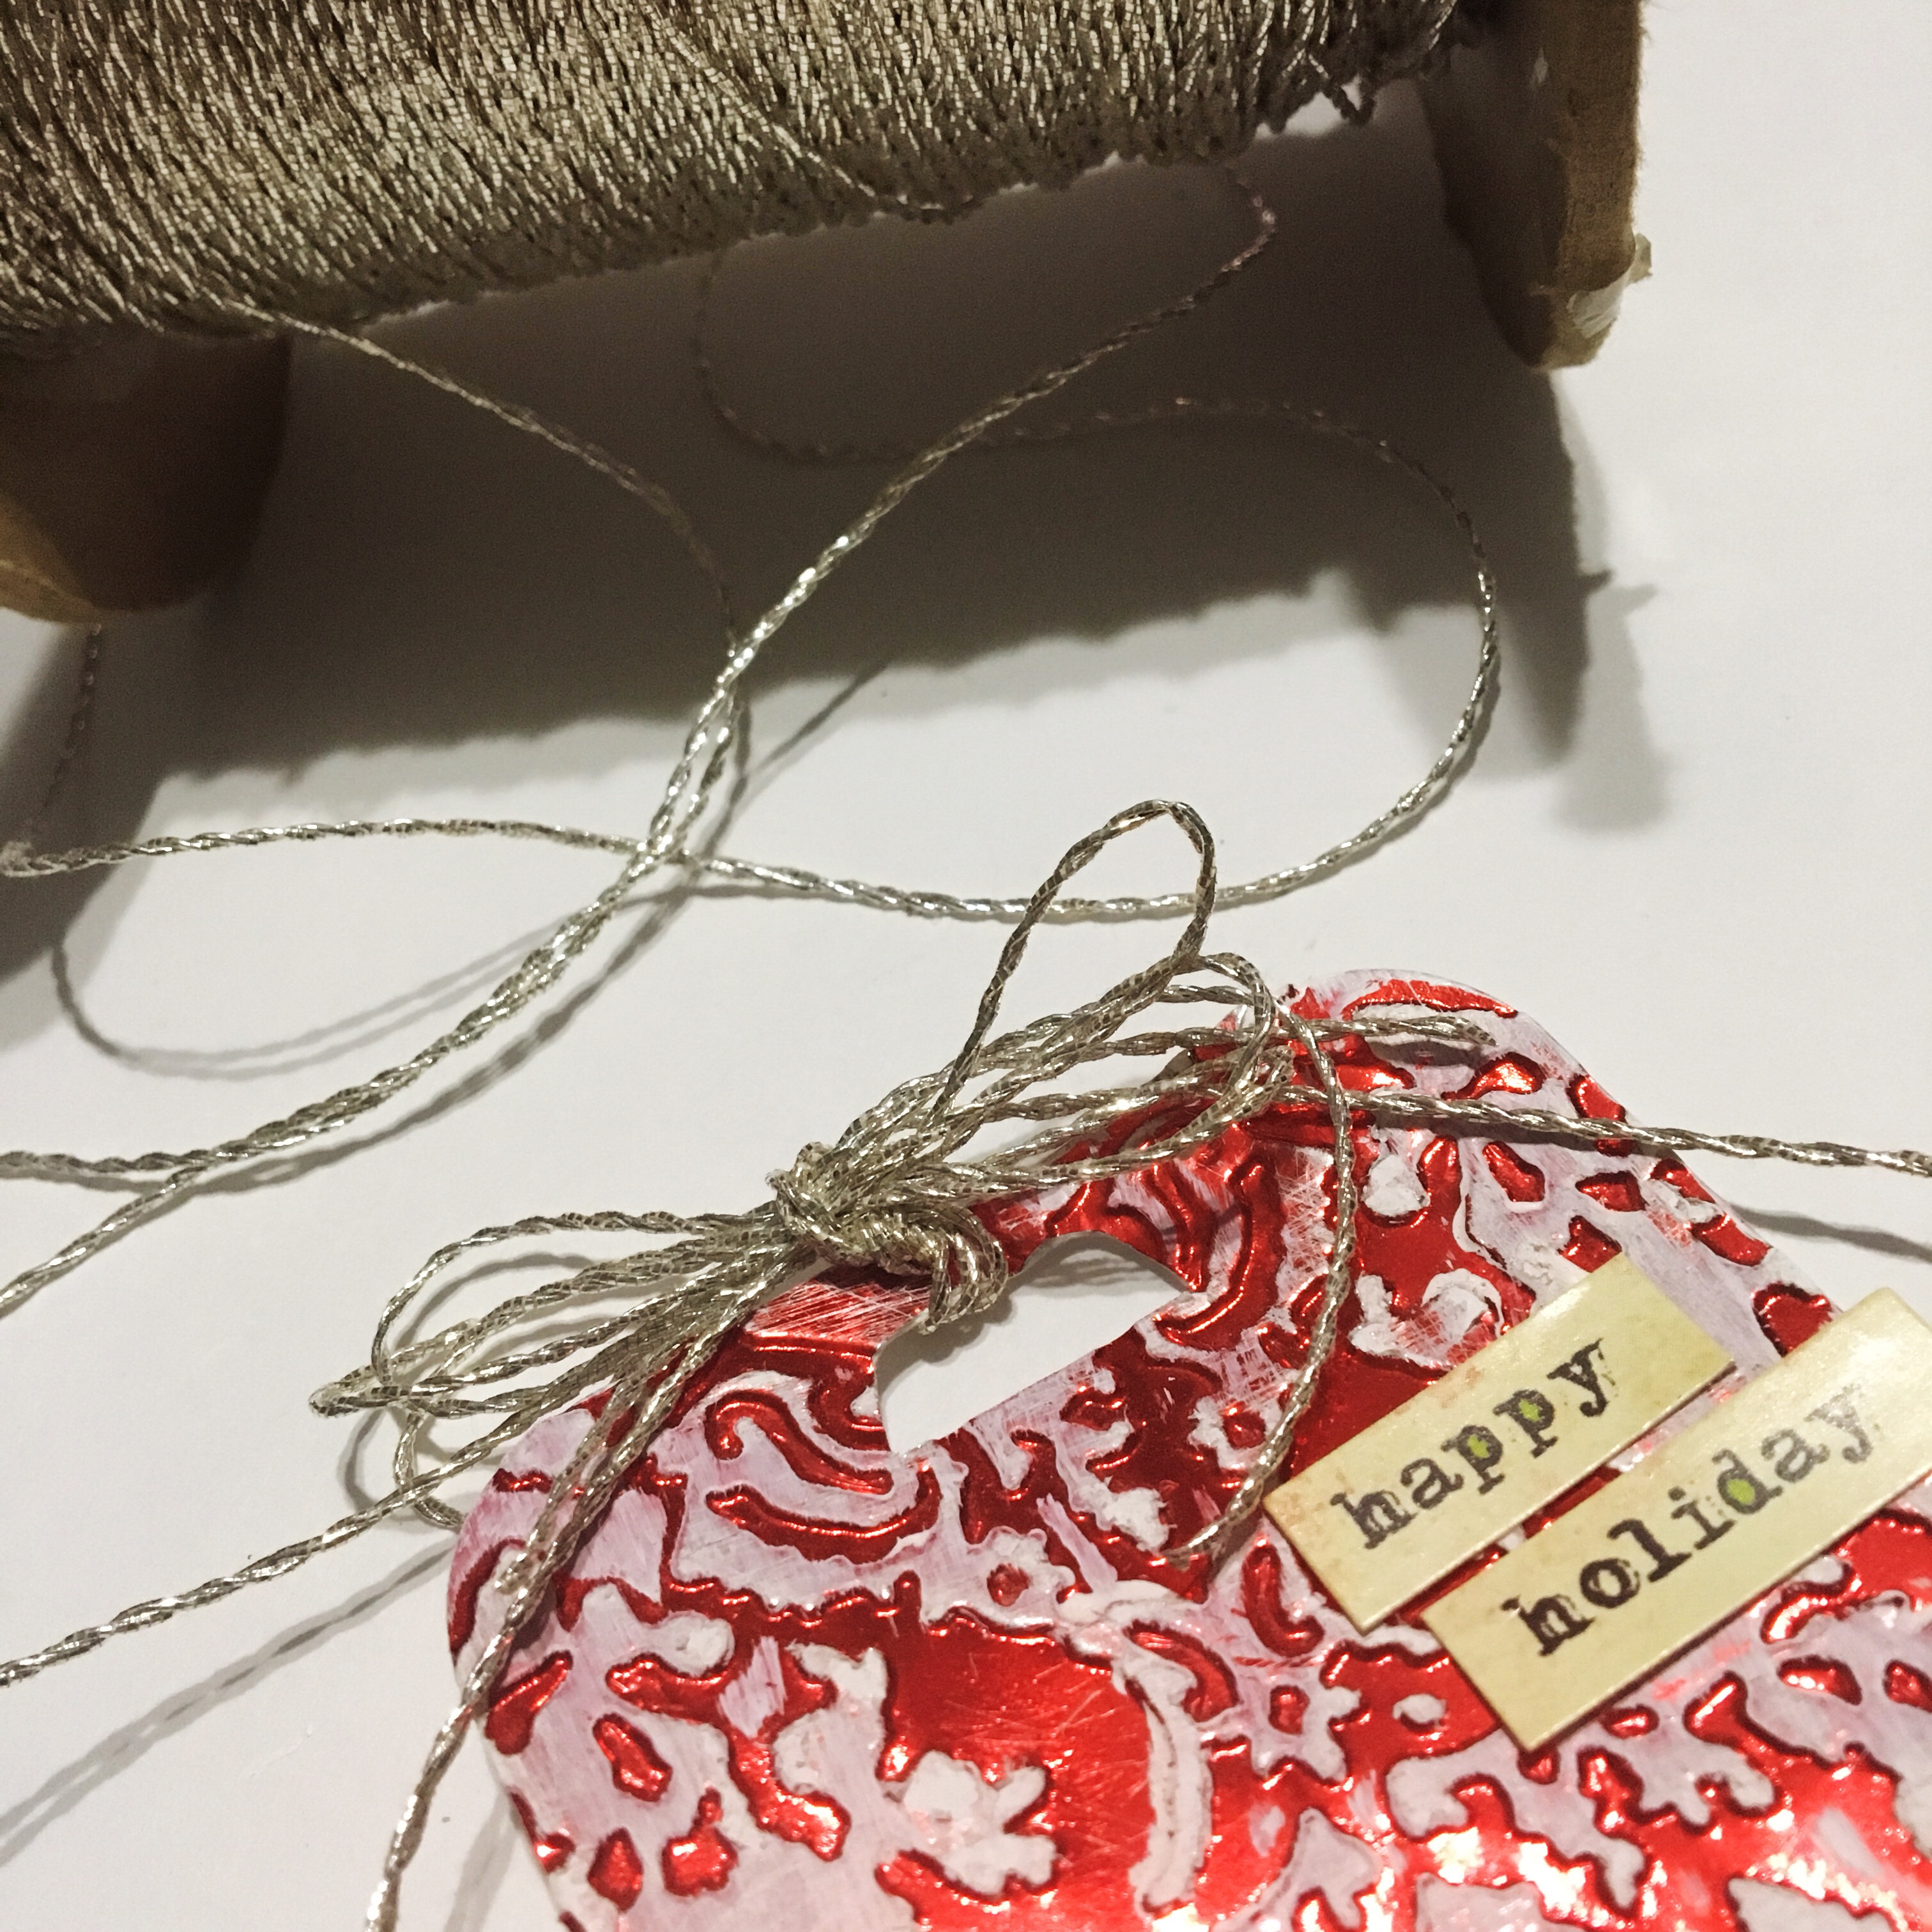
- Diecut tag from Red Metallic Foil Board, then emboss.
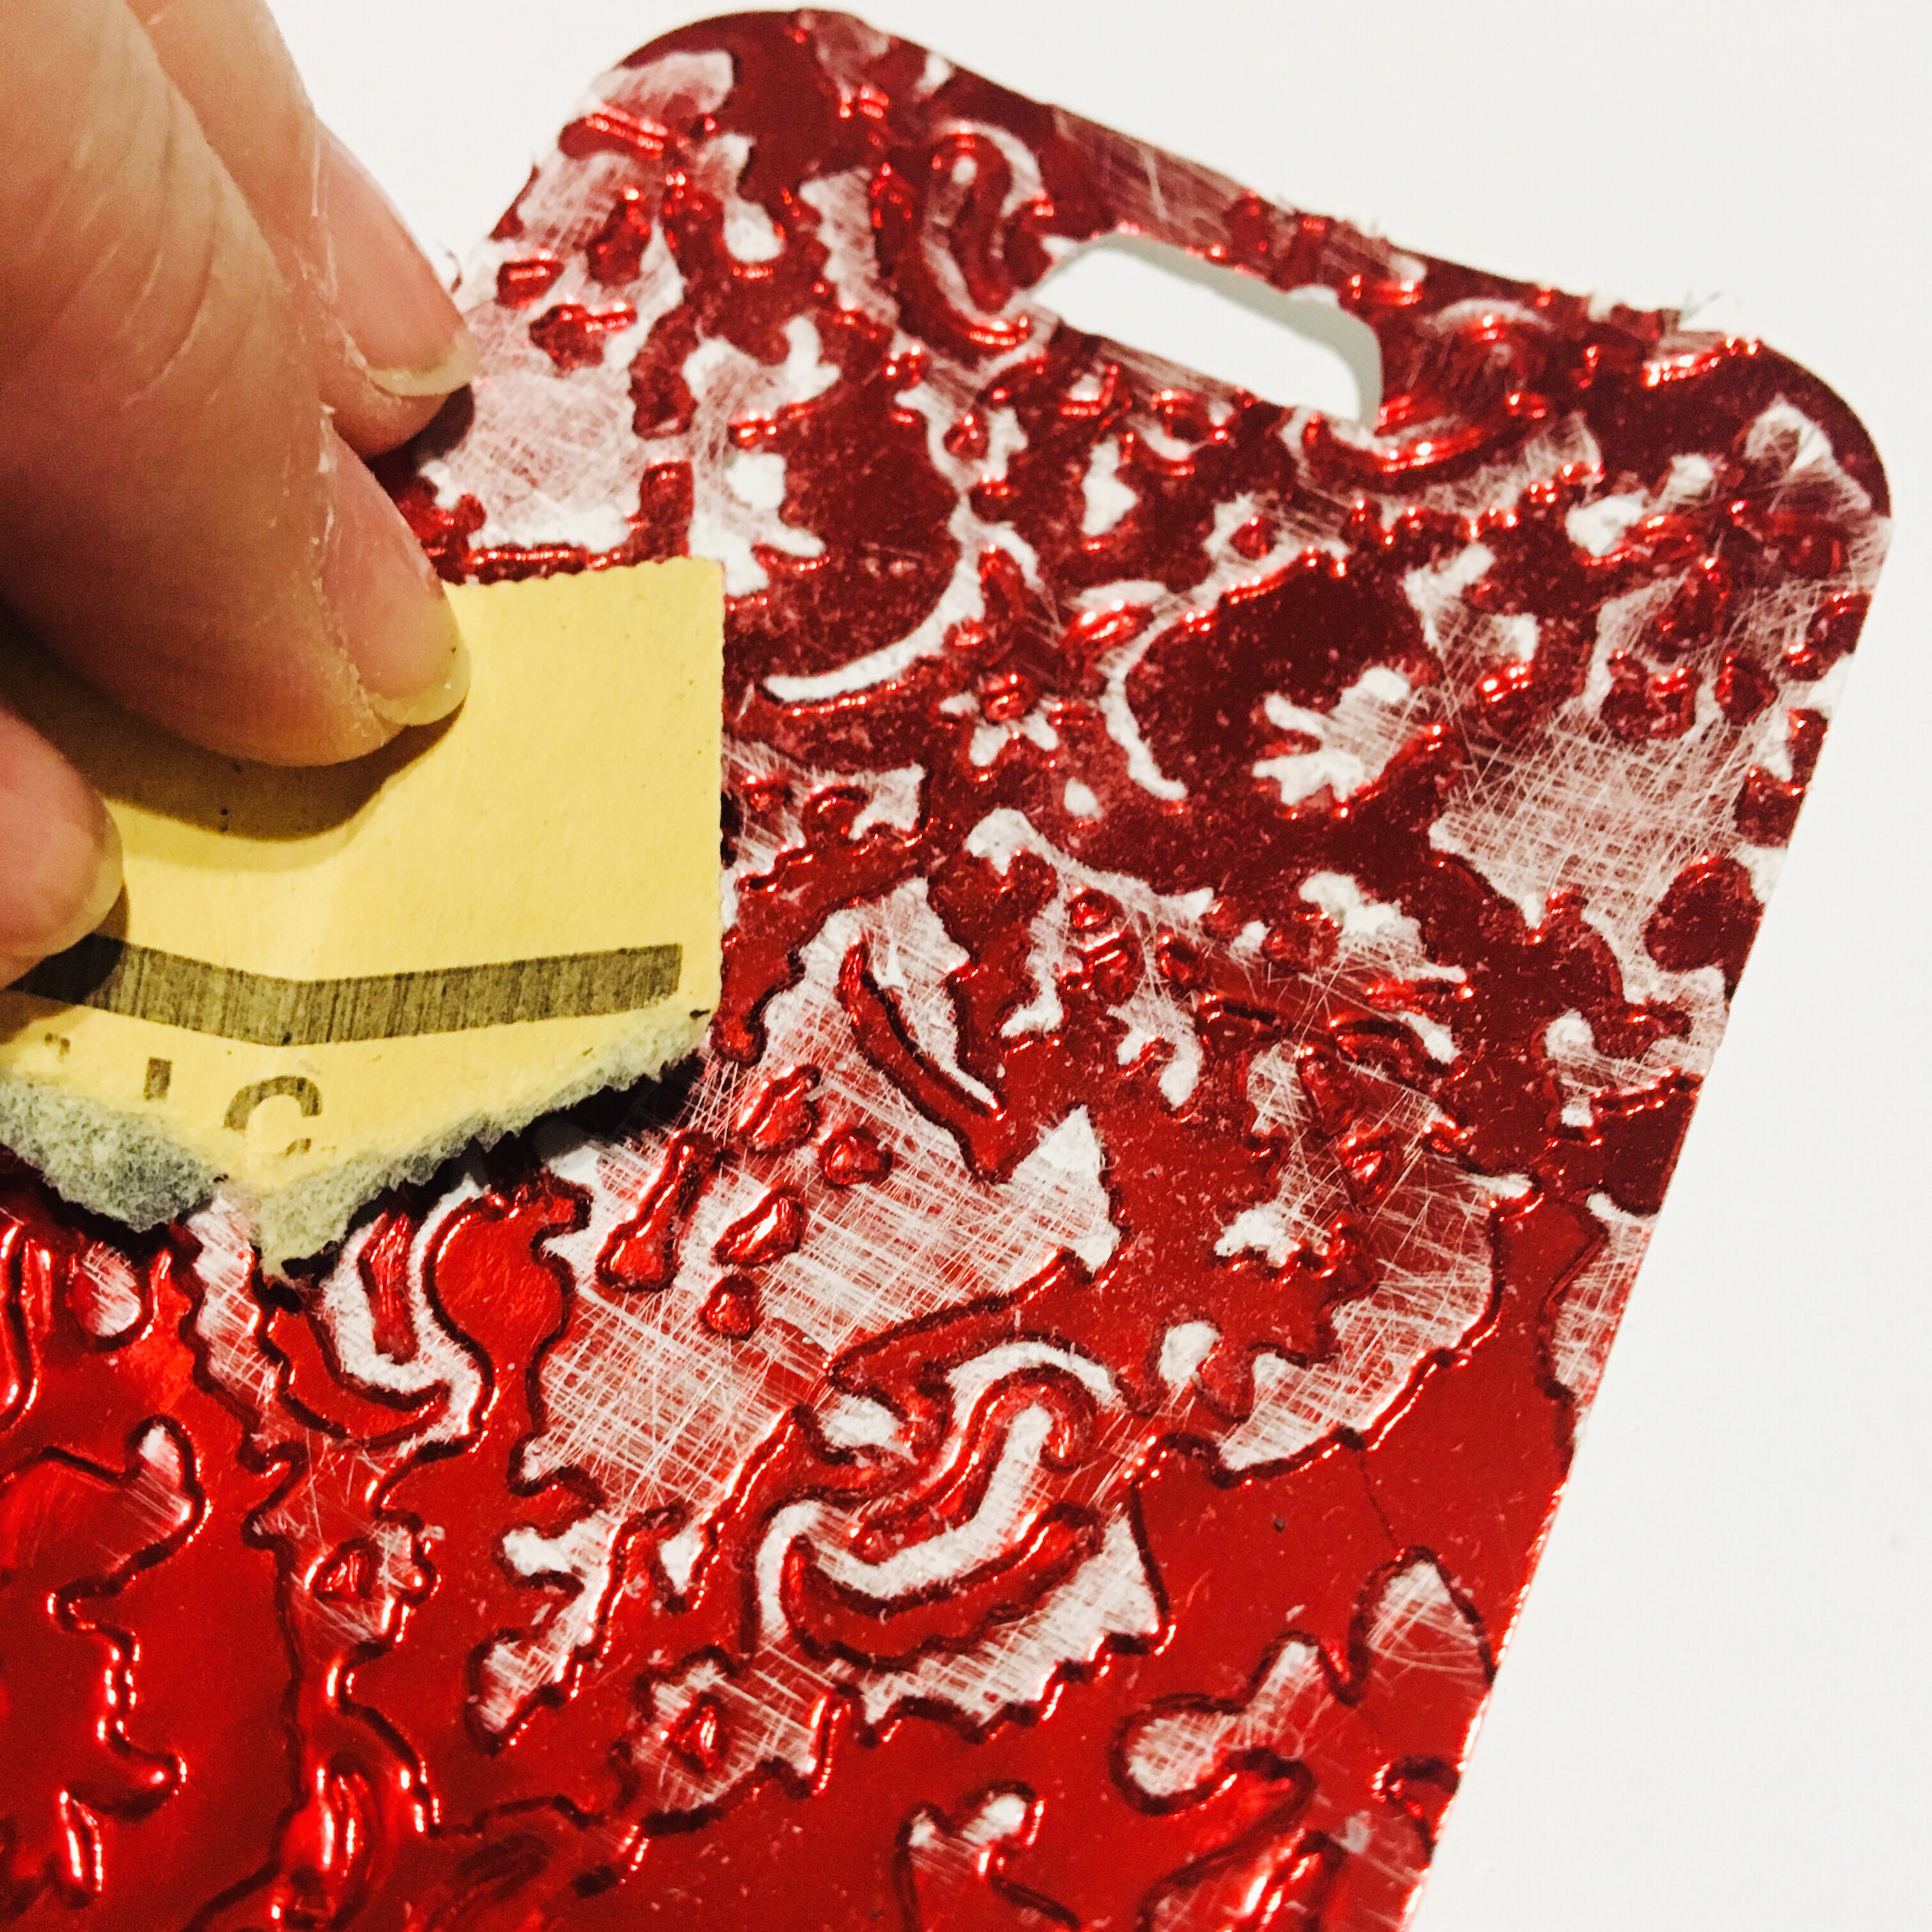
- Lightly sand the tag to distress the embossed areas.
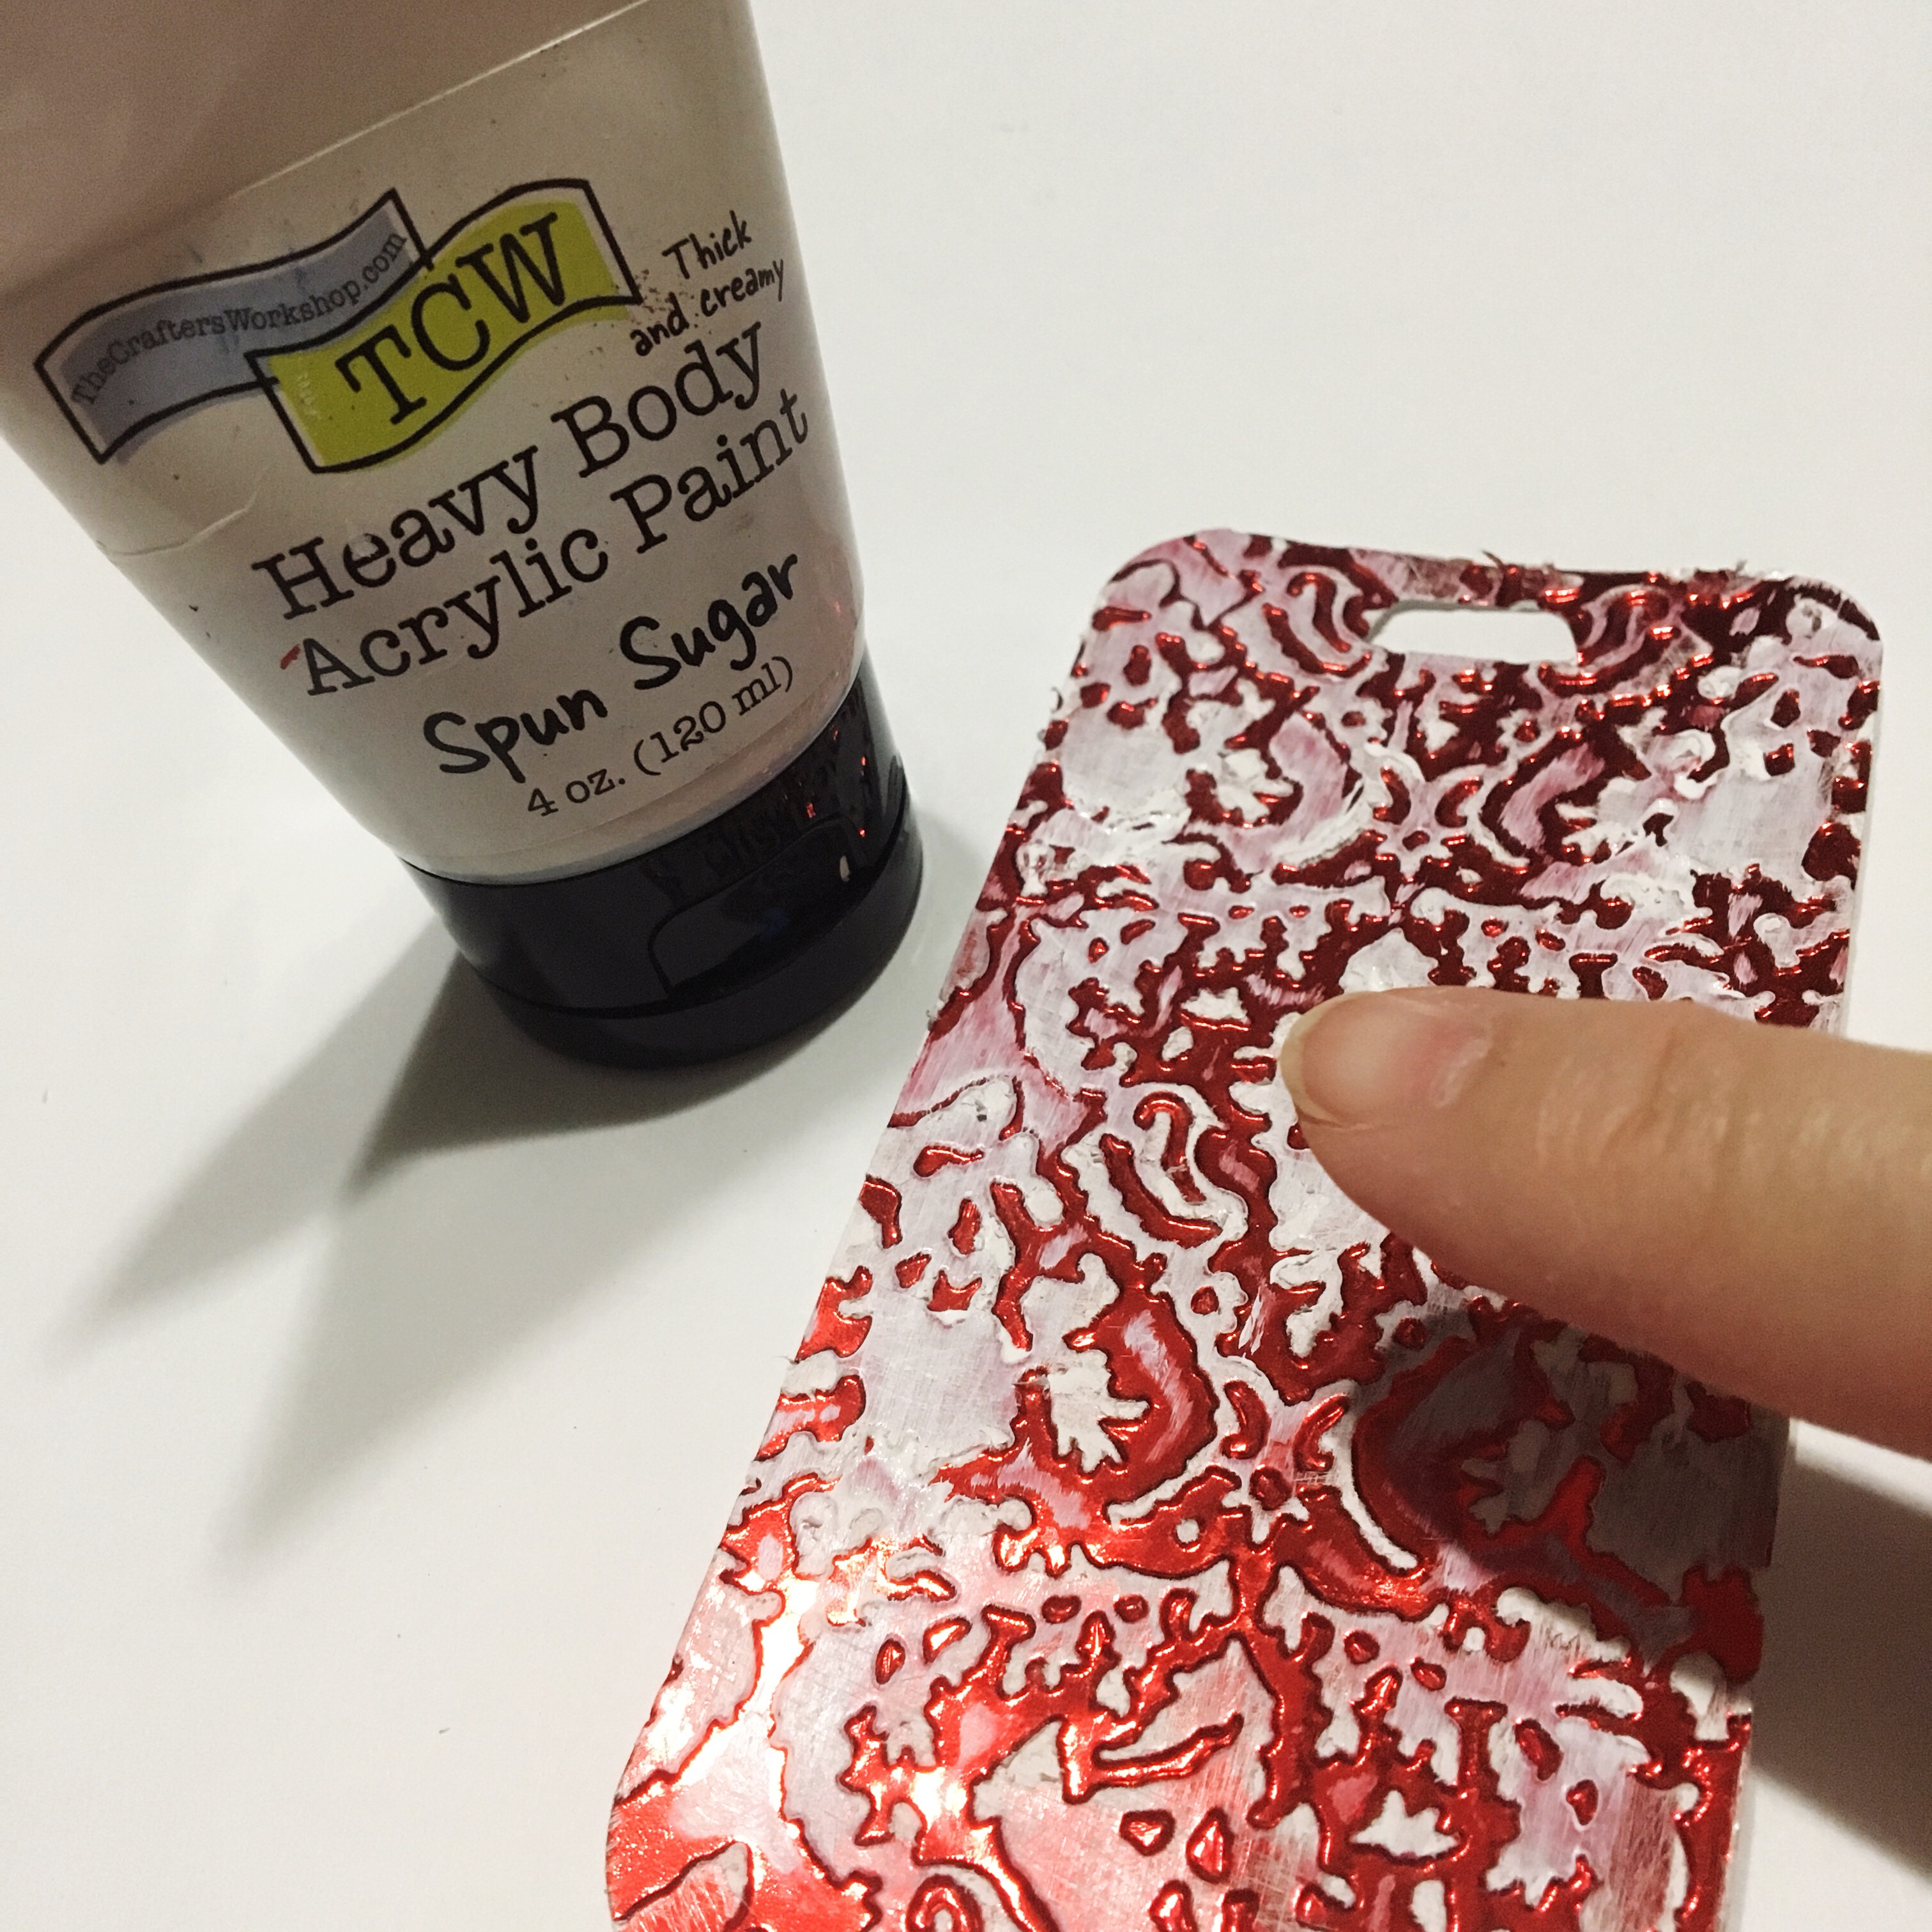
- Use your finger to apply a light coat of white paint to embossed areas.
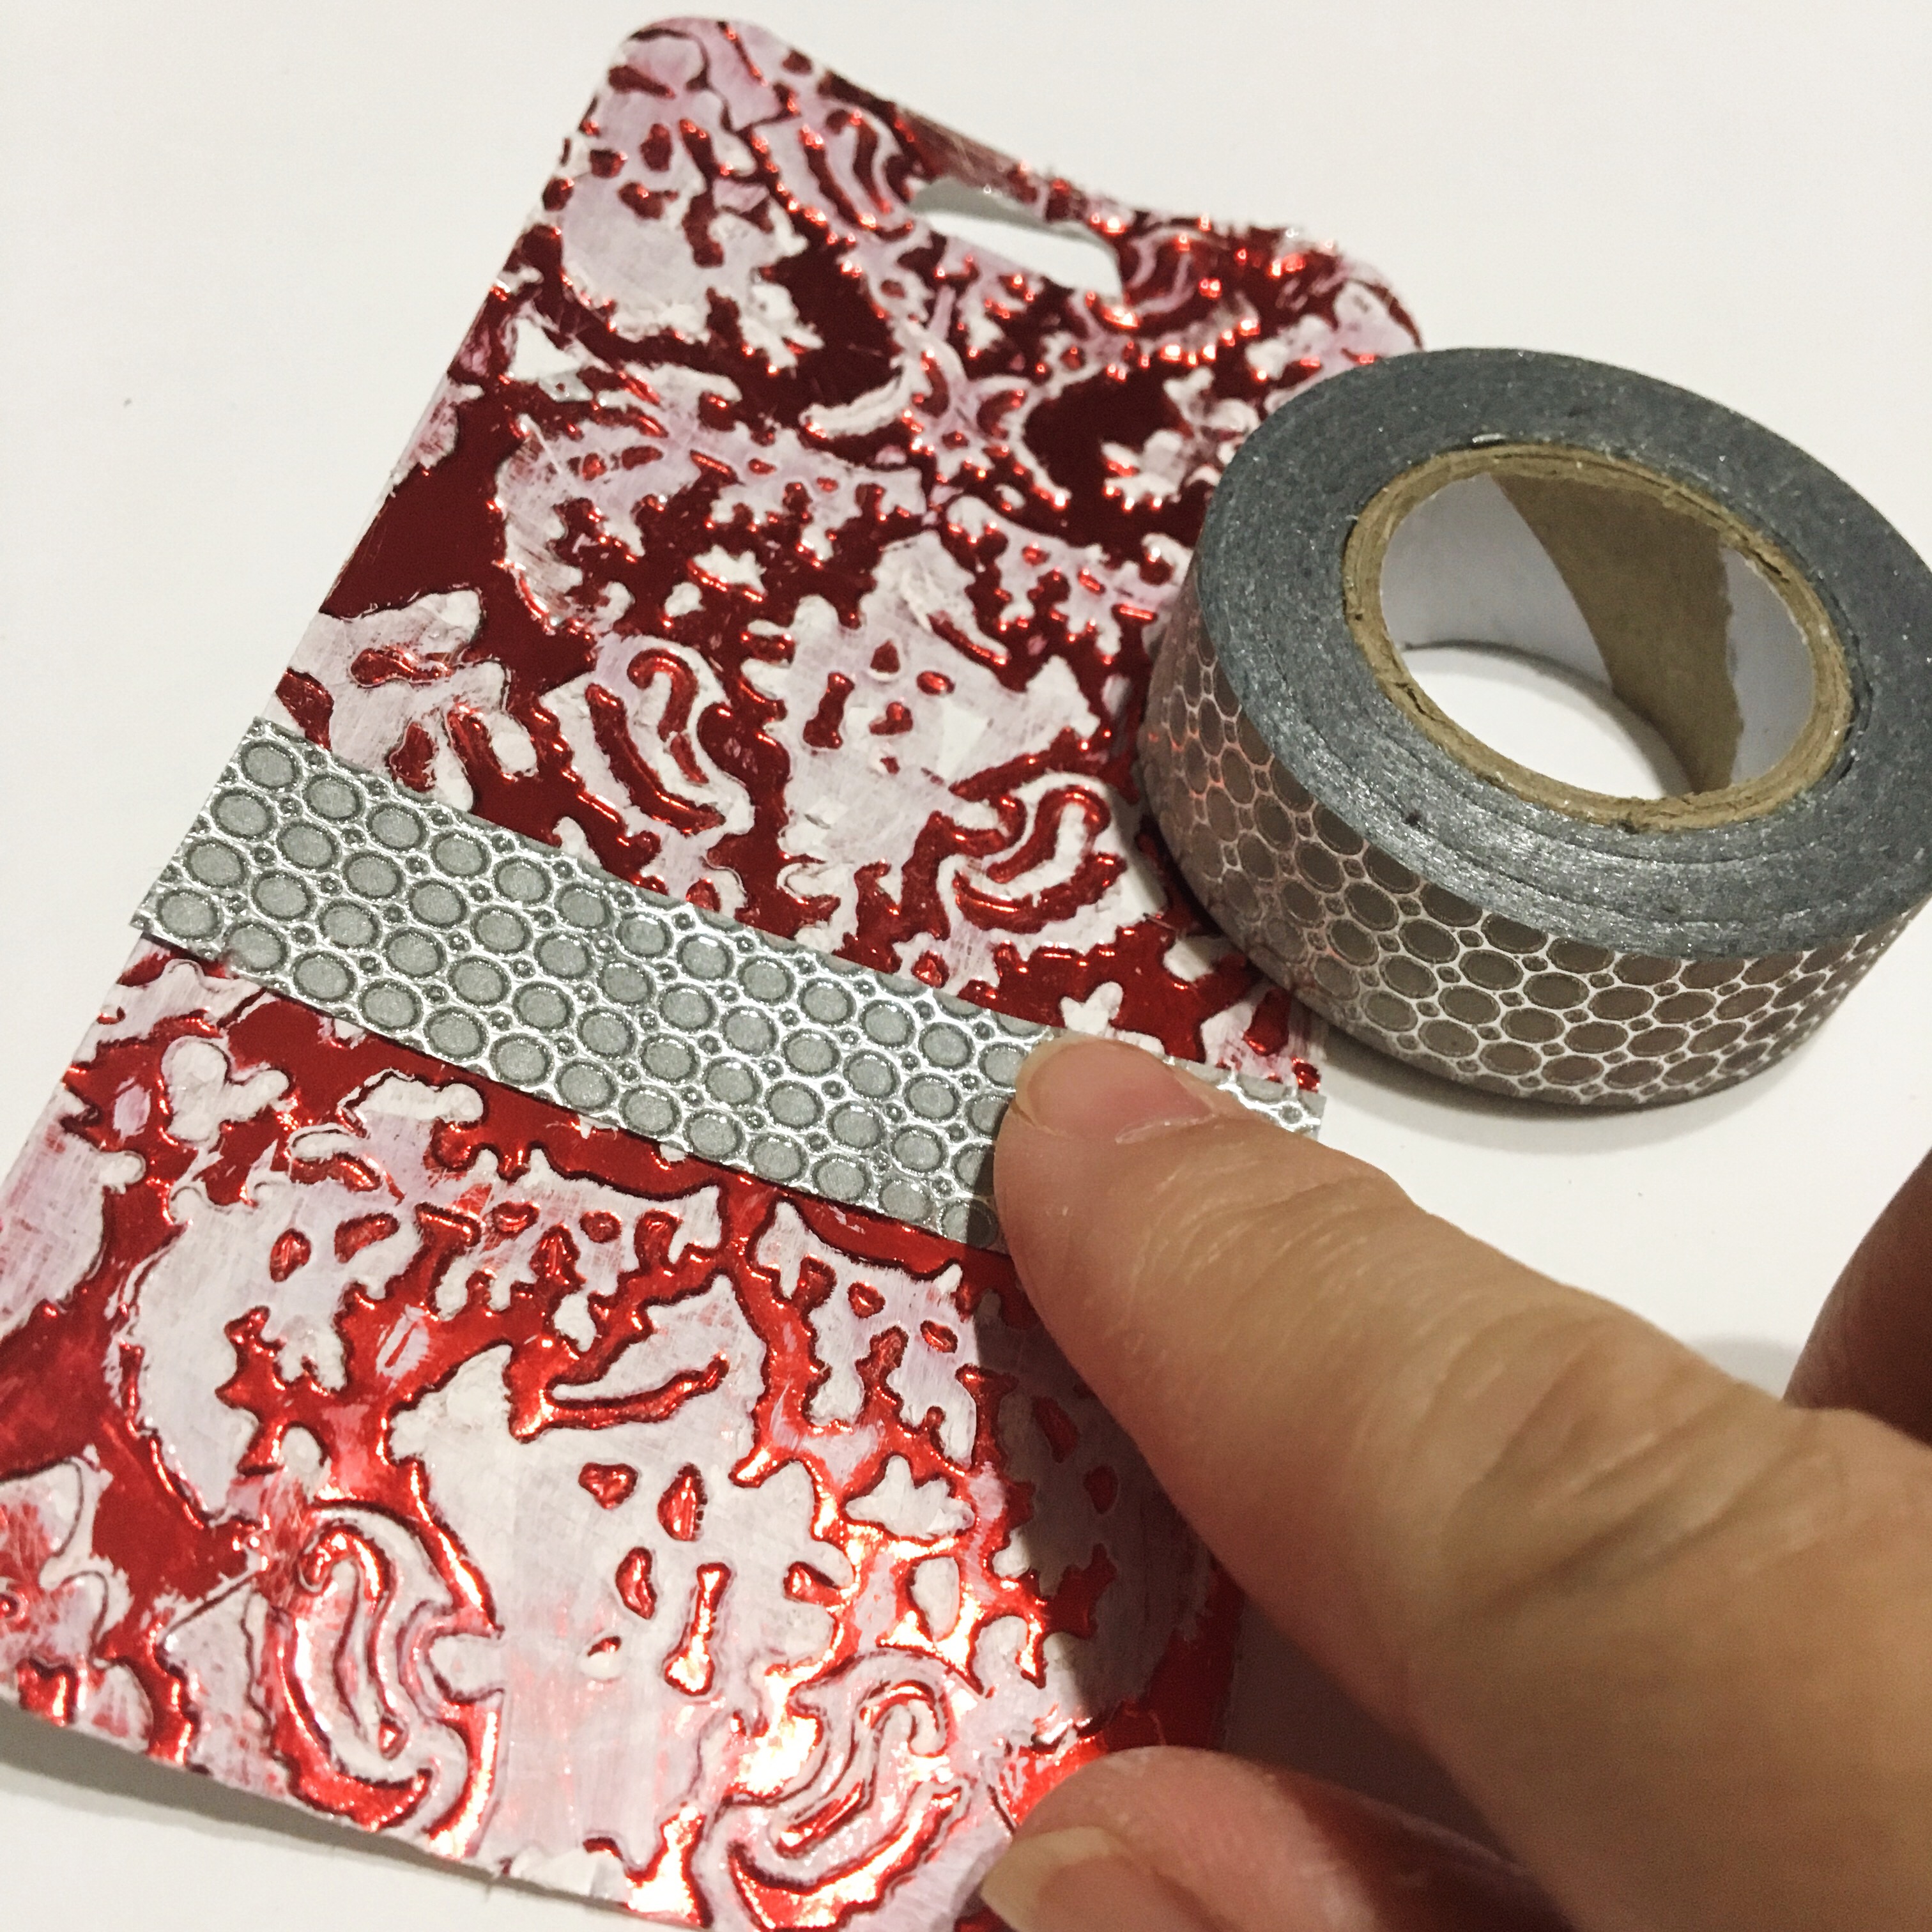
- Add a strip of washi tape about 1 ½” up from bottom of tag.
- Use 3D Dots to adhere shrink film poinsettia towards left side of washi tape.
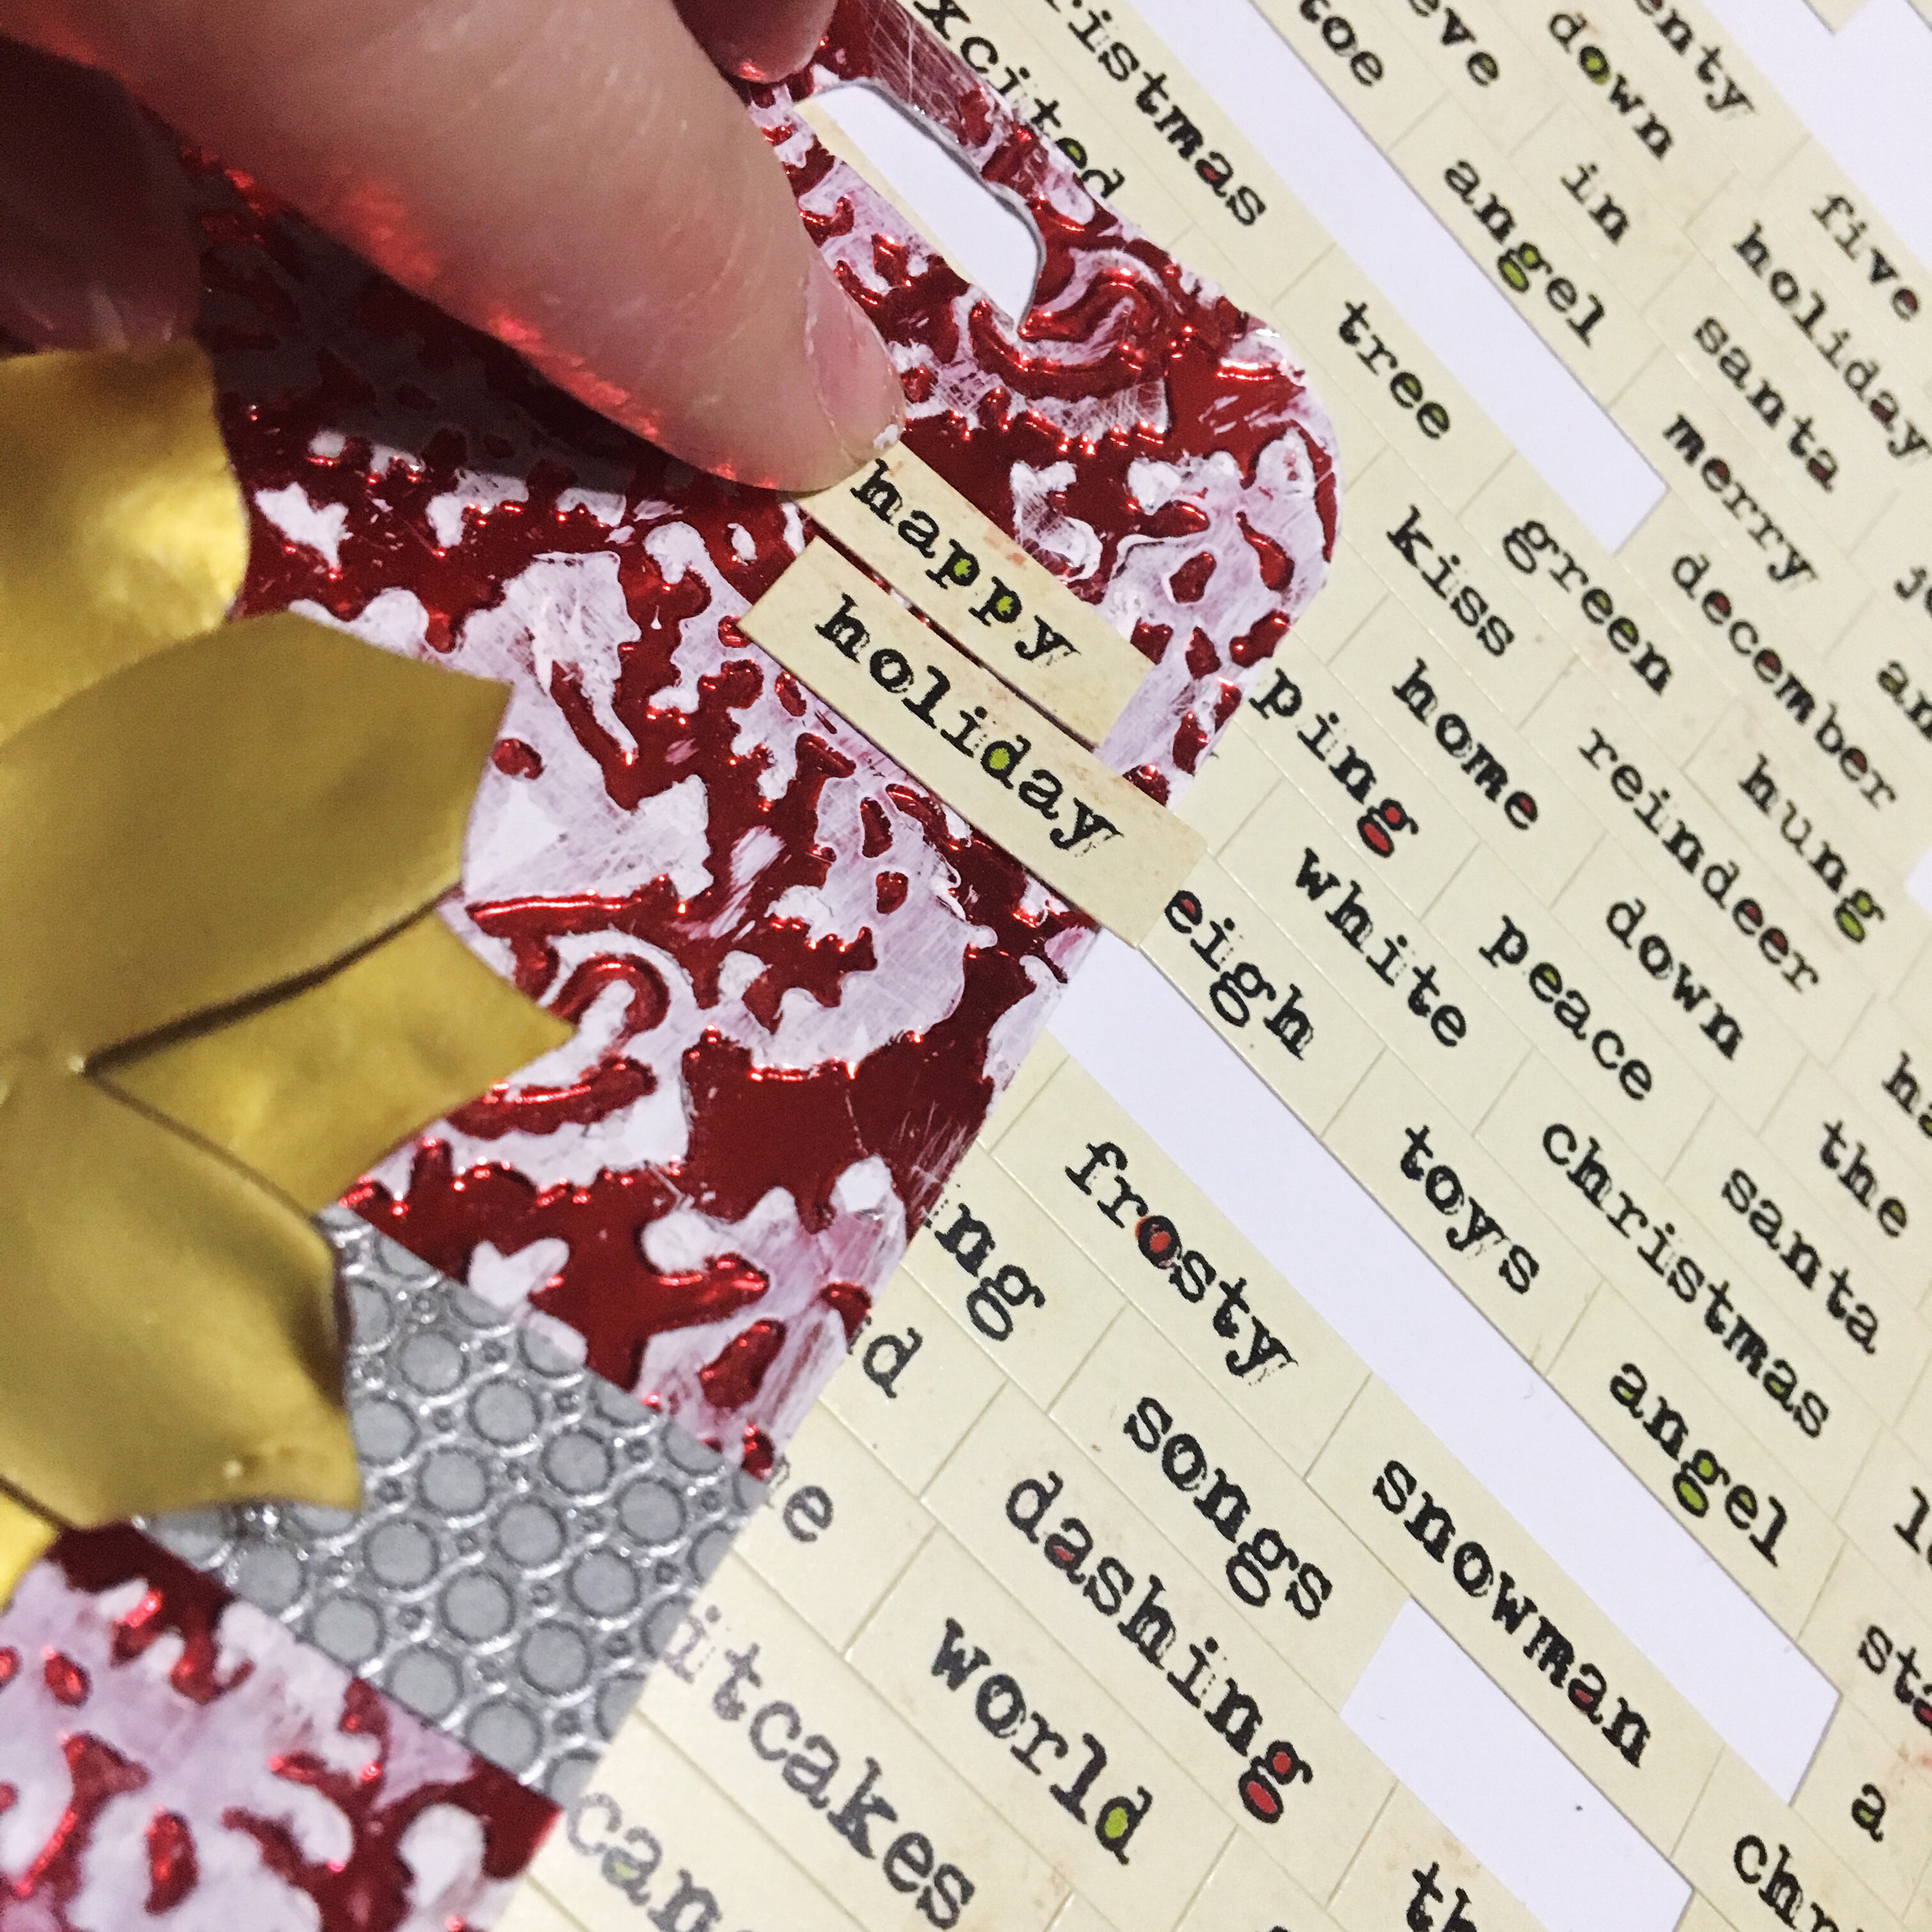
- Add holiday word stickers toward upper right of tag.
- Use 3 strands of silver cording to tie a bow at top of tag.

