Mixed Media Card
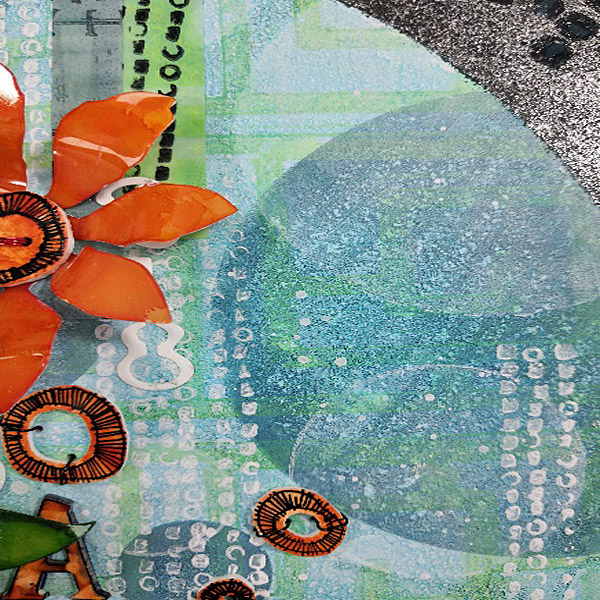
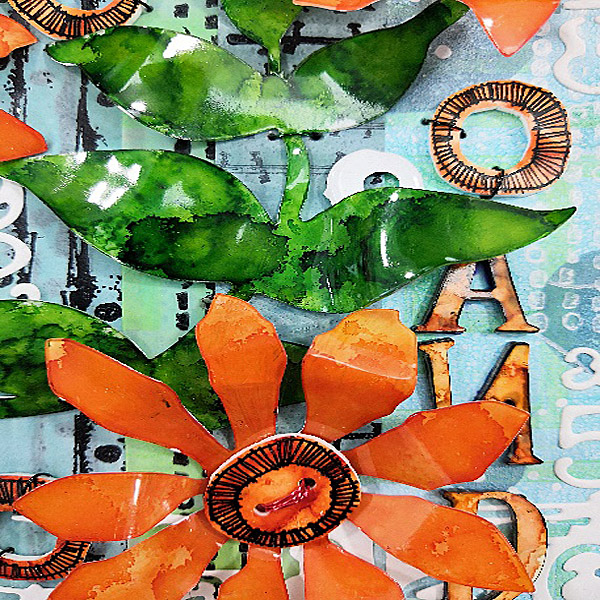
Project Description: April showers bring May flowers with this fun mixed media floral card using Grafix Films.
Designed by: Kay Molyneux
Difficulty: Moderately Challenging
Materials:
- Grafix Matte Dura-Lar Film
- Grafix .020” Clear Craft Plastic Film
- Grafix Opaque White Craft Plastic Film
- Grafix White Shrink Film
- Grafix Artist-tac
- Gelli Art Plate
- Gelli Arts Stencils
- Gelli Arts Mini Tools
- Dina Wakley Media Acrylic Paint
- Deco Art Acrylic Paint
- Ranger Patina Alcohol Inks
- StazOn Black Ink
- Step Apter Stamp
- Indigo Blu Black Gesso
- Sizzix Die Cutter
- Leaf and Flower Die
- AallandCreate 7” Circle Die
- Brayer
- Craft Sponges
- Copier Paper
- Heating Tools
- Scissors
- Buttonhole Punch
- Paper Cutter
- Craft Wire
- Hot Glue Gun
Steps to Make This:
Preparing the Card Shapes:
- Start by cutting Grafix .020” Clear Craft Plastic Film into two sheets of 8”x8” to use as the background panels.
- On another sheet of the Clear Craft Plastic Film uses your die-cutter to cut out a few leaf and flower designs.
- For both the panel and die cut leaves and flowers remove the liners on both sides of the film.
Adding Color and Printing:
- Stamp one of the panels with a StazOn Ink with a background Step Apter Stamp.
- Add Dina Wakley Media acrylic paint to the background to add dimension. Do this in layers and allow each layer to dry.
- Then once the panel is dried sponge DecoArt Silver acrylic paint to highlight the stamp design followed by Indigo Blu black gesso.
- Cut a few 7” diameter circle out from Grafix Opaque White Craft Plastic Film with an AallandCreate metal die.
- Brayer Dina Wakley Media acrylic paint onto the Gelli plate.
- Place one of the Gelli Arts Stencils on the plate then use the Gelli Mini Tools to add texture.
- Take a print using one of the Opaque White Craft Plastic Film circles.
- Remove the circle to dry.
- Then remove the stencil from the plate and brayer the plate without cleaning it, add a lighter color.
- Add another stencil film on the plate and blot the ink with a sheet of copier paper.
- Remove the new stencil and add another circle on the plate to take a print.
- Remove the circle and the stencil from the plate.
- Then add another layer of paint to the uncleaned plate then add another stencil to the plate.
- Add white gesso then remove the stencil and make 2 more prints without adding any additional paint on the plate.
- You can add more interest to the print with a little texture by stamping background stamp with white gesso.
- Brayer more paint onto the plate and use the same stencils to make prints onto Grafix Matte Dura-Lar Film. (Since Grafix Matte Dura-Lar Film is translucent you can make prints on both sides).
- You can add extra interest by adding StazOn stamps.
- Use a paper cutter to cut strips of the printed Matte Dura-Lar Film.
- With the die-cut flowers and leaves, color them with Ranger Patina Alcohol Inks on one side.
- Once the ink is dried, use a craft heating tool to reshape the flowers and leaves.
- Paint over the alcohol ink with white gesso.
Shrink Designs:
- Then color the Grafix White Shrink Film lightly with alcohol inks.
- Using the black ink stamp to add quirky shapes all over the sheet.
- Fussy cut-out the designs.
- Use a buttonhole punch out the centers of the quirky designs.
- Then die-cut the sentiment out on the Shrink Film.
- Add alcohol ink lightly to the sentiment.
- Follow the shrinking instructions on the back of the package.
Assemble Card:
- With all the finished pieces, arrange the layout the way you like best.
- Use Grafix Artist-tac to adhere to the Opaque White Craft Plastic and Matte Dura-Lar Film to the panel with a black background.
- Use colored craft wire to both secure and add interest to the shaped flowers and leaves.
- The shrunken sentiment will need to adhere to a hot glue gun.
- Attach the last 8”x 8” panel to the back of the background with brads.


