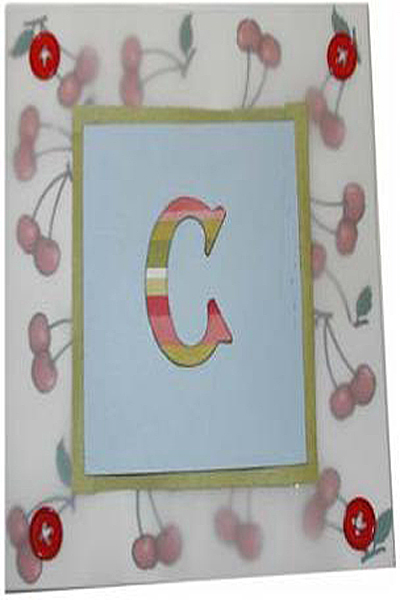
Monogrammed Cherry Card
Project Description: Customize your own cards with Grafix products.
Designed by: Grafix Designer
Difficulty: Easy
Materials:
- Grafix Double Tack
- Grafix Chipboard
- Rub-Onz Film
- Bazill Card stock – Green, Light Blue, White
- Buttons
- Embroidery thread
- KI Memories – Christmas Simple Stripe Paper
- Sizzix “C” Fun Serif Die and Cutter
Steps to Make This:
- Create Cherry Rub On decals using clip art. Here we have used clip art from Microsoft.com.
- Print onto the Rub-Onz Film according to the directions on the package.
- Cut white card stock to 10”x5” and fold in half to create a 5”x5” card.
- Apply the rub on decals to the front of the card, following the directions inside the package.
- Cut the green card stock to 3.25”x3.25” and the blue card stock to 3”x 3” and layer together using Double Tack.
- Cover a 2”x 2” square of Chipboard with striped paper and die cut the letter of your choice.
- Secure using Double Tack to the center of the card stock squares.
- Cut a square of vellum to 5”x 5” and secure to the decorated cards face with a small square of Double Tack placed just in the center of the vellum.
- Secure the card stock to the center of the card and vellum with Double Tack.
- Sew a button onto each of the 4 corners.

