Nightlight
Project Description: Illuminate your room with a DIY nightlight using Grafix Matte Dura-Lar & Double Tack Mounting Film.
Designed by: Mansi Bhatia
Difficulty: Easy
Materials:
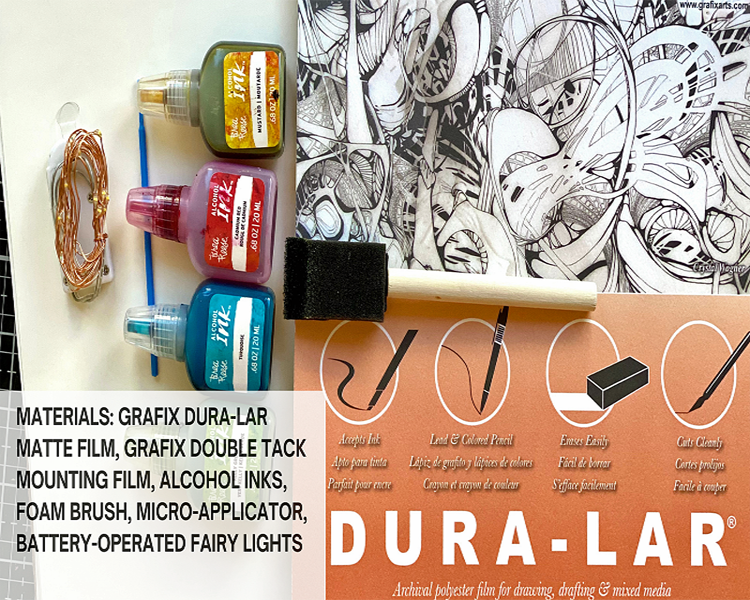
- Grafix Matte Dura-Lar Film
- Grafix Double Tack Mounting Film
- Alcohol Inks
- Isopropyl Alcohol
- Foam Brush
- Micro-Applicator
- Triangle Die
- Die-Cut Machine
- Scissors
- Fairy Lights
Steps to Make This:
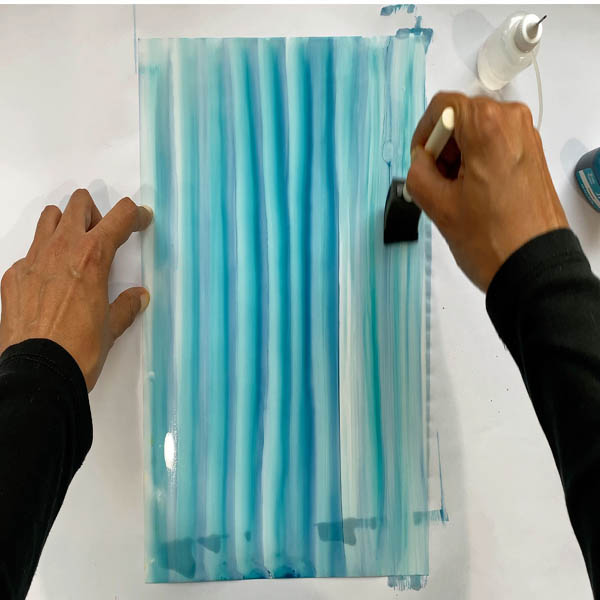
- Start by applying alcohol inks on the foam brush, just a few drops will do, on Grafix Matte Dura-Lar Film.
- Add a few drops of isopropyl alcohol to the film.
- Take the saturated foam brush and drag it across the Matte Dura-Lar Film. (You can add more alcohol if the brush starts drying up).
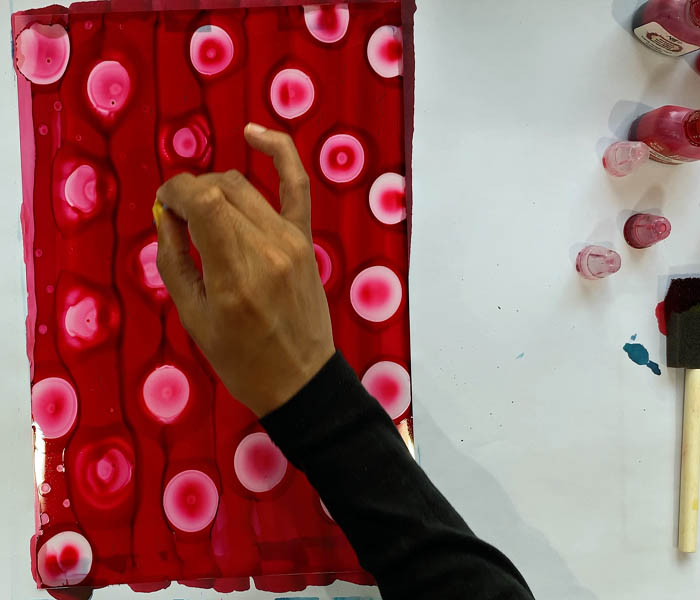
- Add additional drops of alcohol ink in random spots, use a micro-applicator to create smaller dots.
- Repeat the process with different colors.
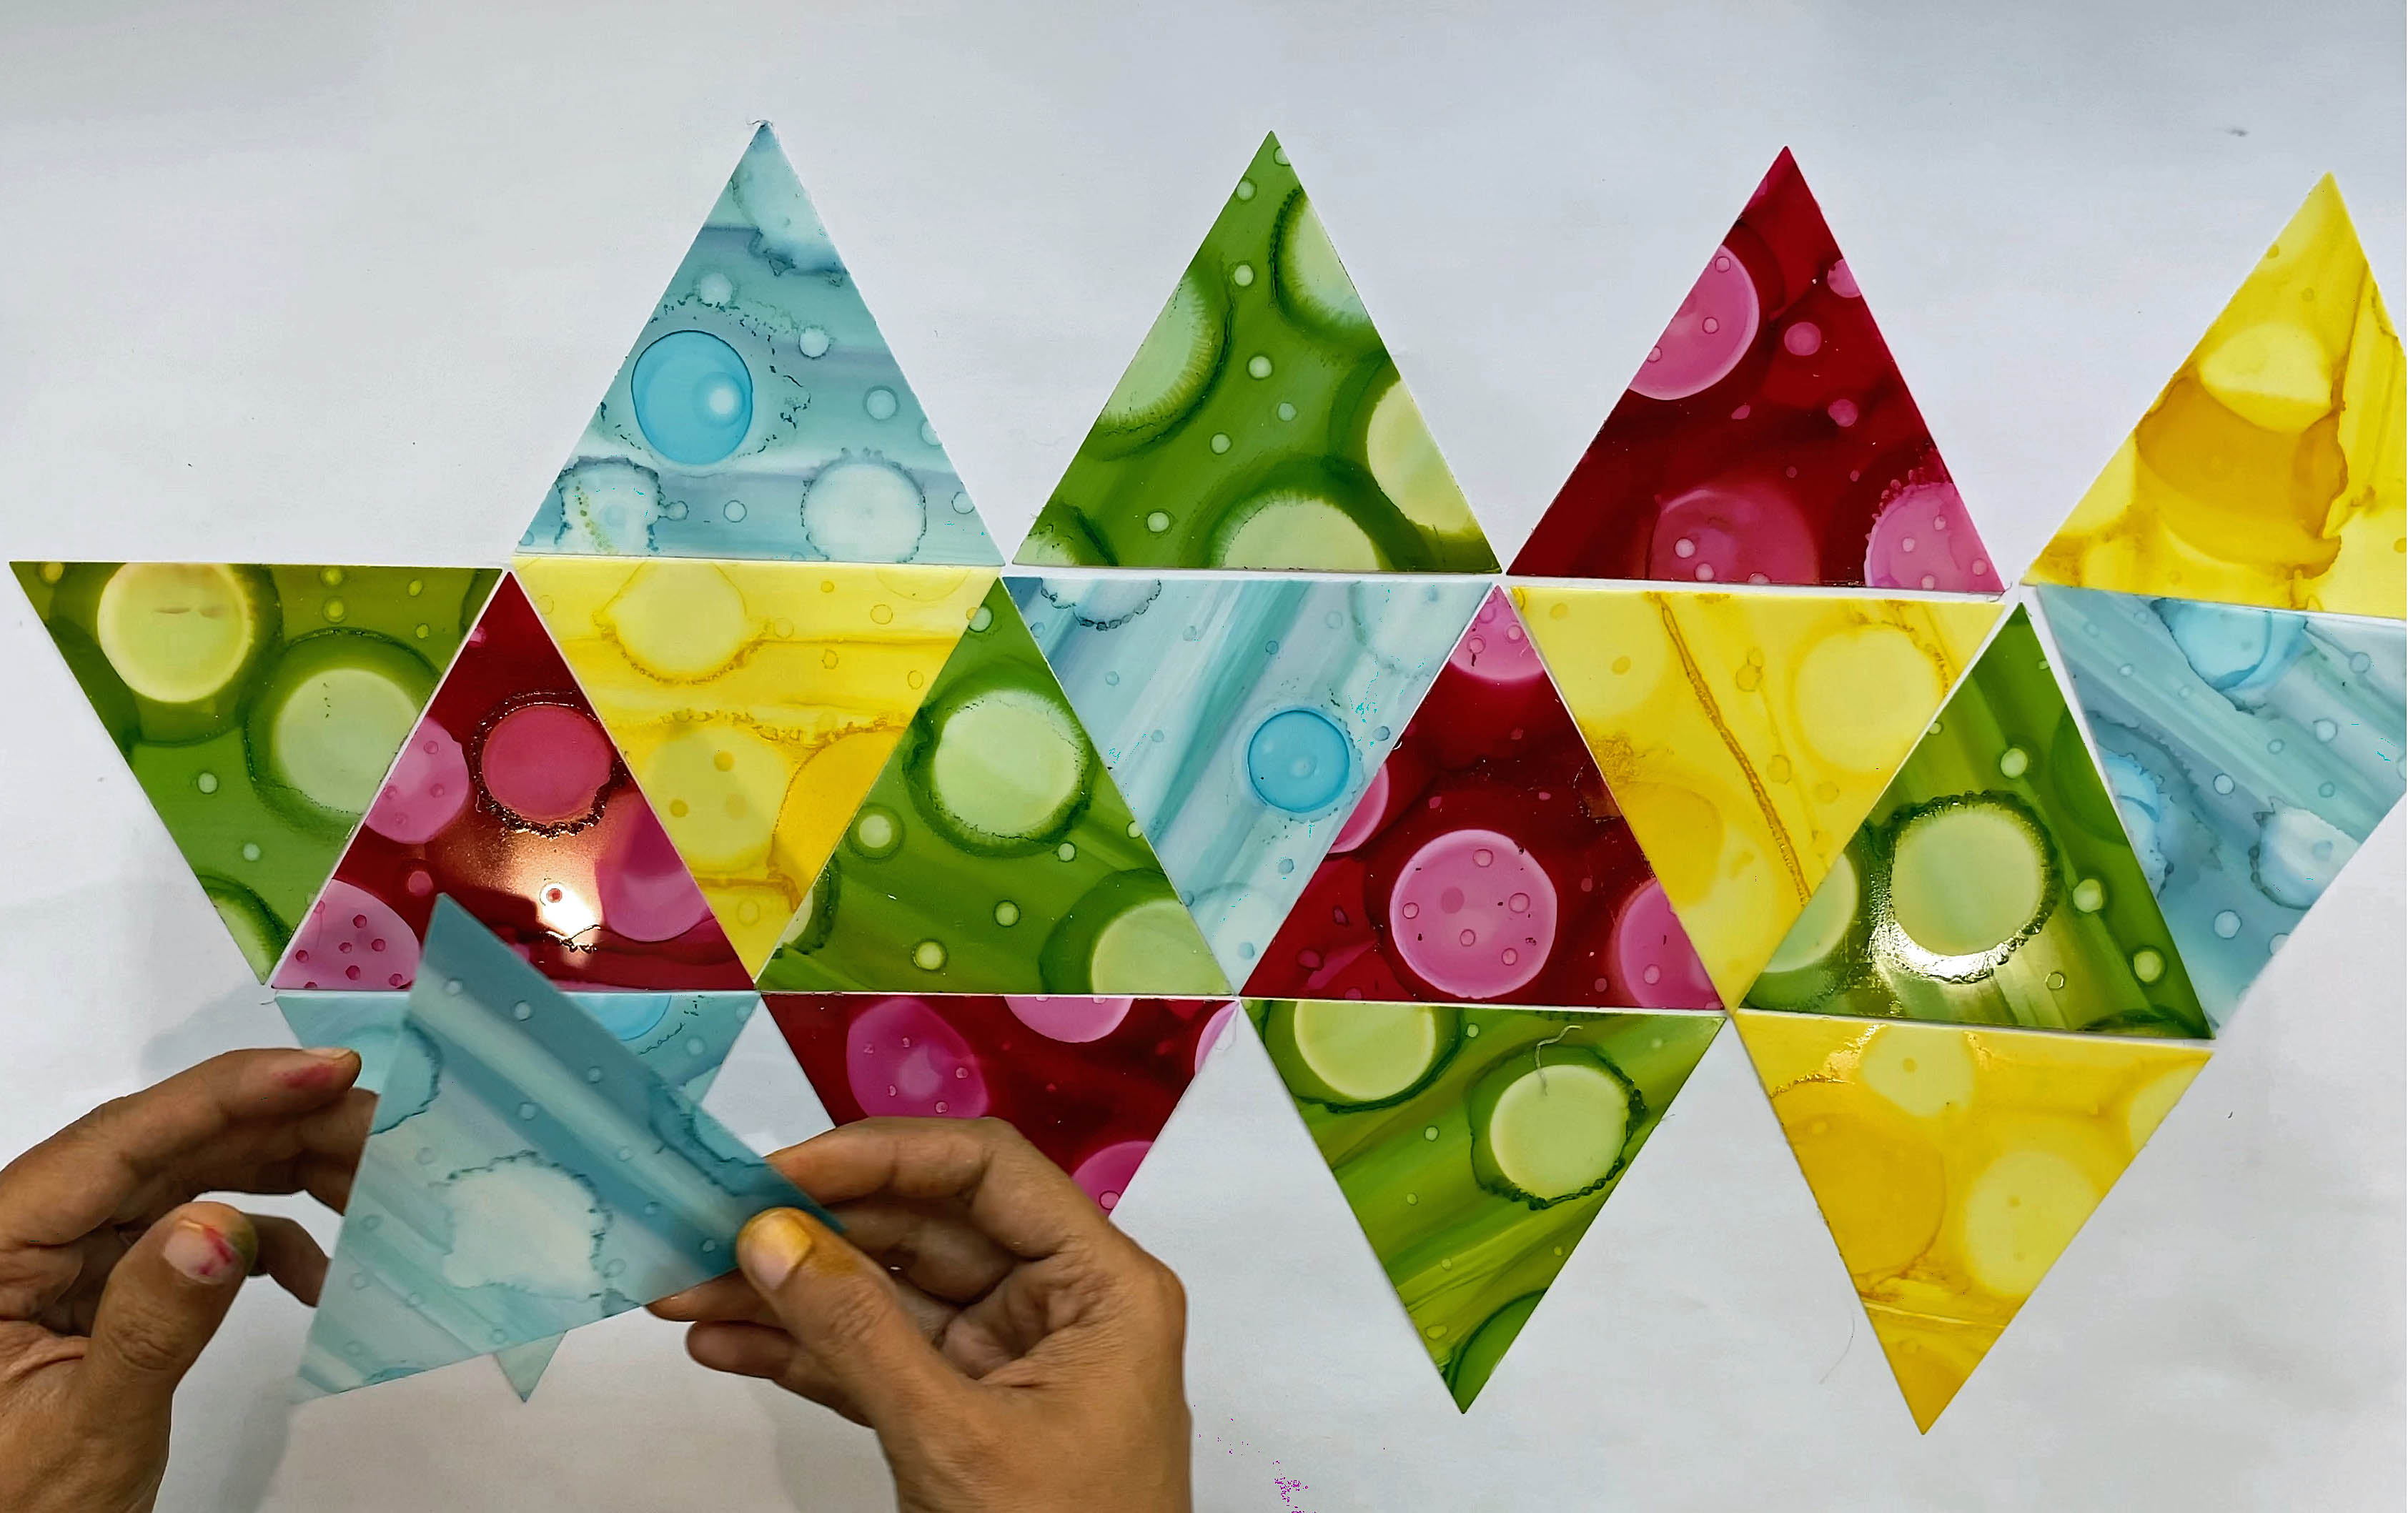
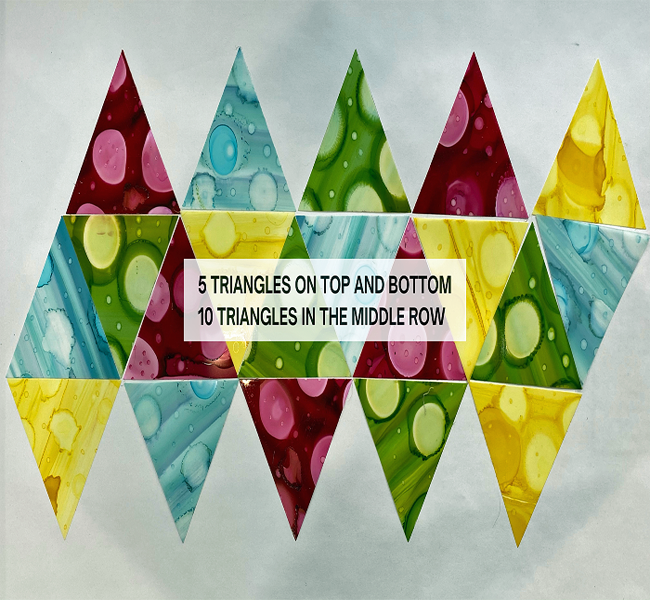
- Cut out triangles the same size, using a die or scissors. (There should be a total of 20 triangles. This project features four colors, five triangles in each color).
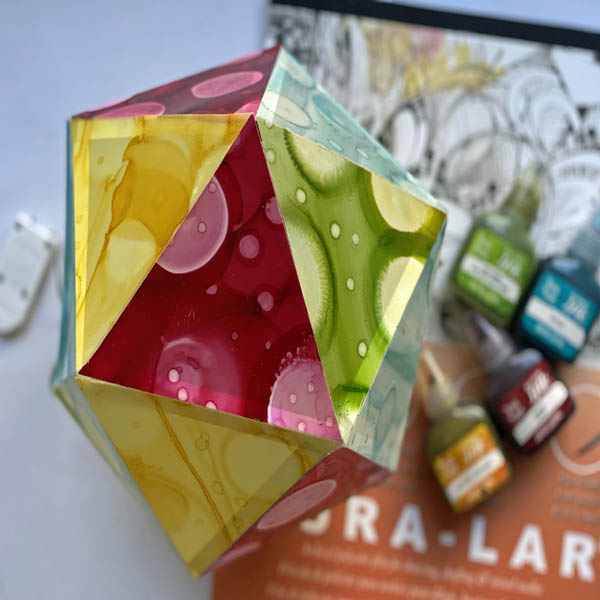
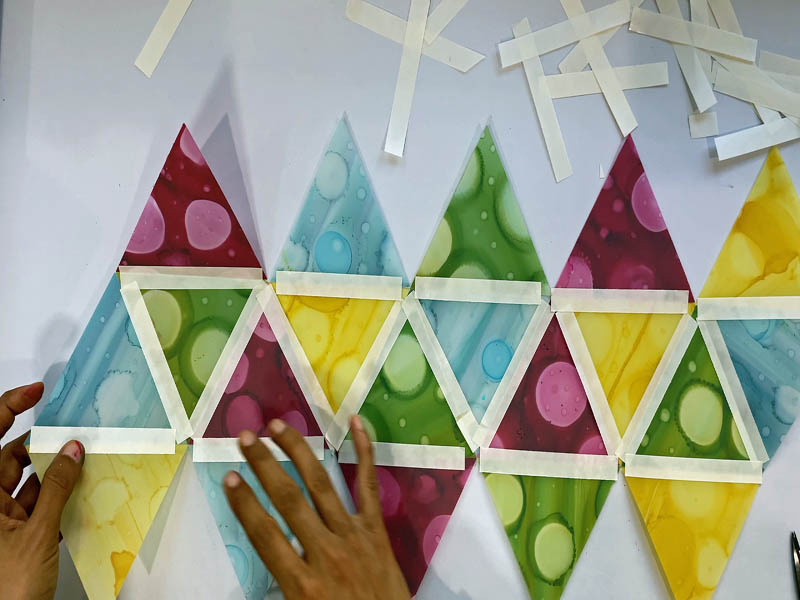
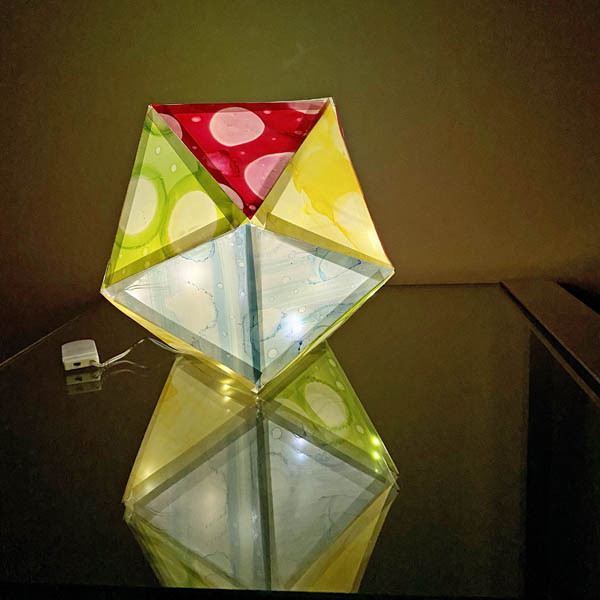
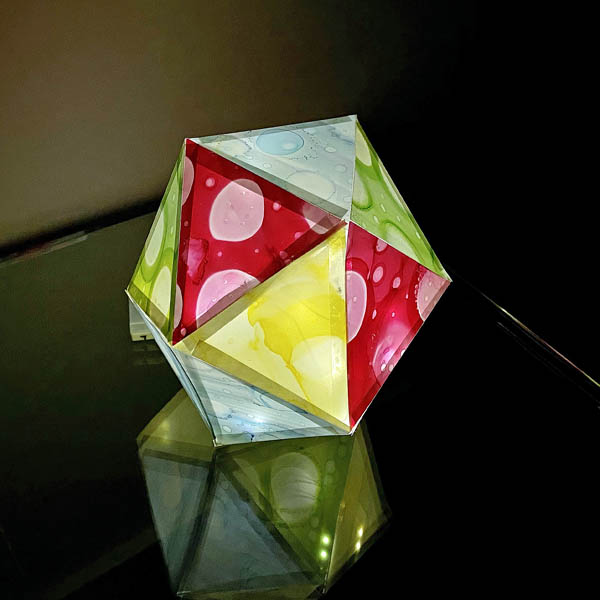
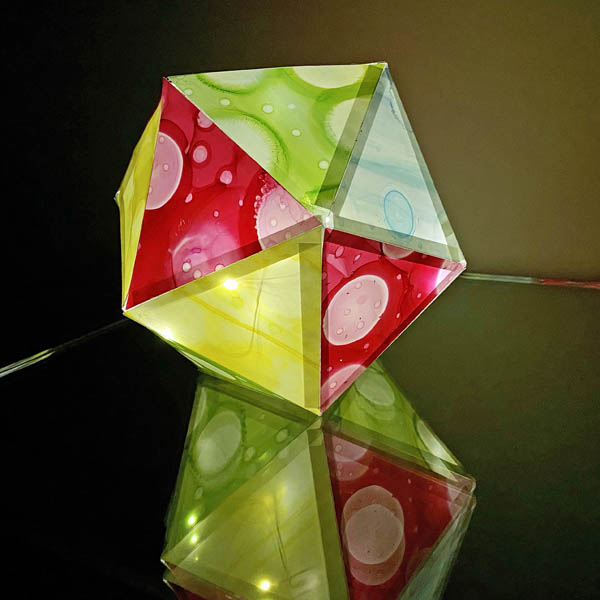
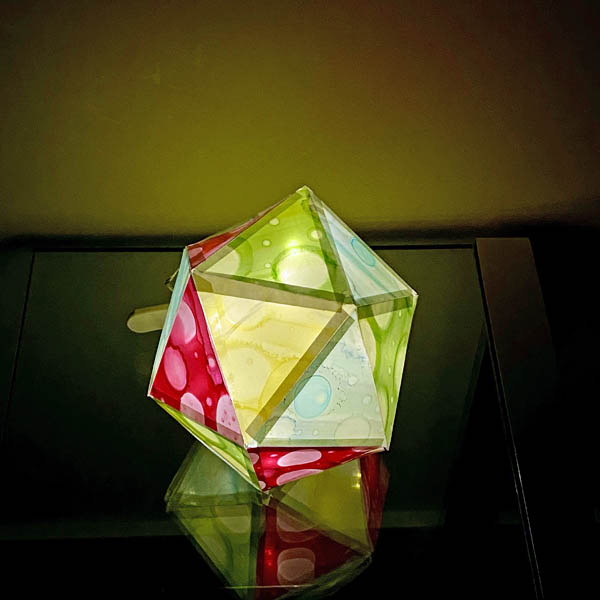
- Arrange the triangles to form this polyhedron pattern with 20 faces, see image. (This shape is called an icosahedron).
- Use Grafix Double Tack Mounting Film to stick all the triangle edges.
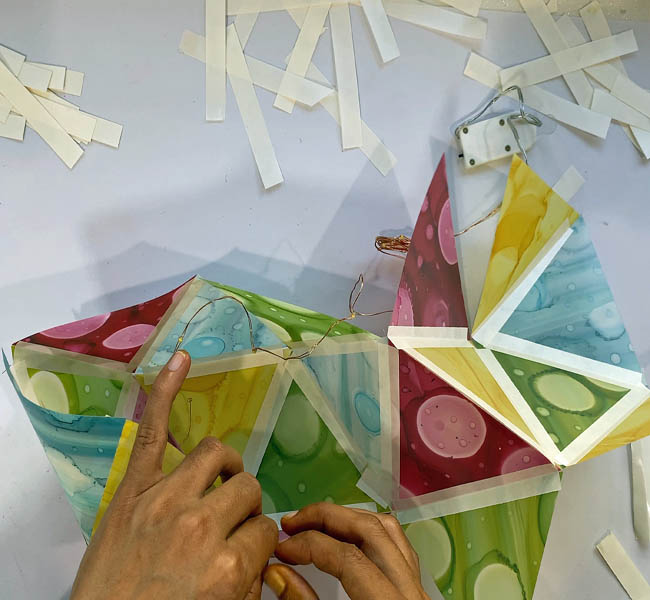
- Then fold each triangle inwards to score the adhesive.
- Next, stick the remaining triangle edges together.
- Before closing the icosahedron, place the fairy lights inside the design.
- Make sure to stick the fairy lights to the Double Tack Mounting Film on the inside of the icosahedron.
- Finish by closing the icosahedron.

