November 2024 Chipboard Card
Project Description: Its time to get ready for the holidays which includes finding the perfect one! Why not make your own with inspiration by Sara Ferret using Grafix Products!
Designed by: Sara Ferret
Difficulty: Moderate
Materials:
- Black chipboard
- White chipboard
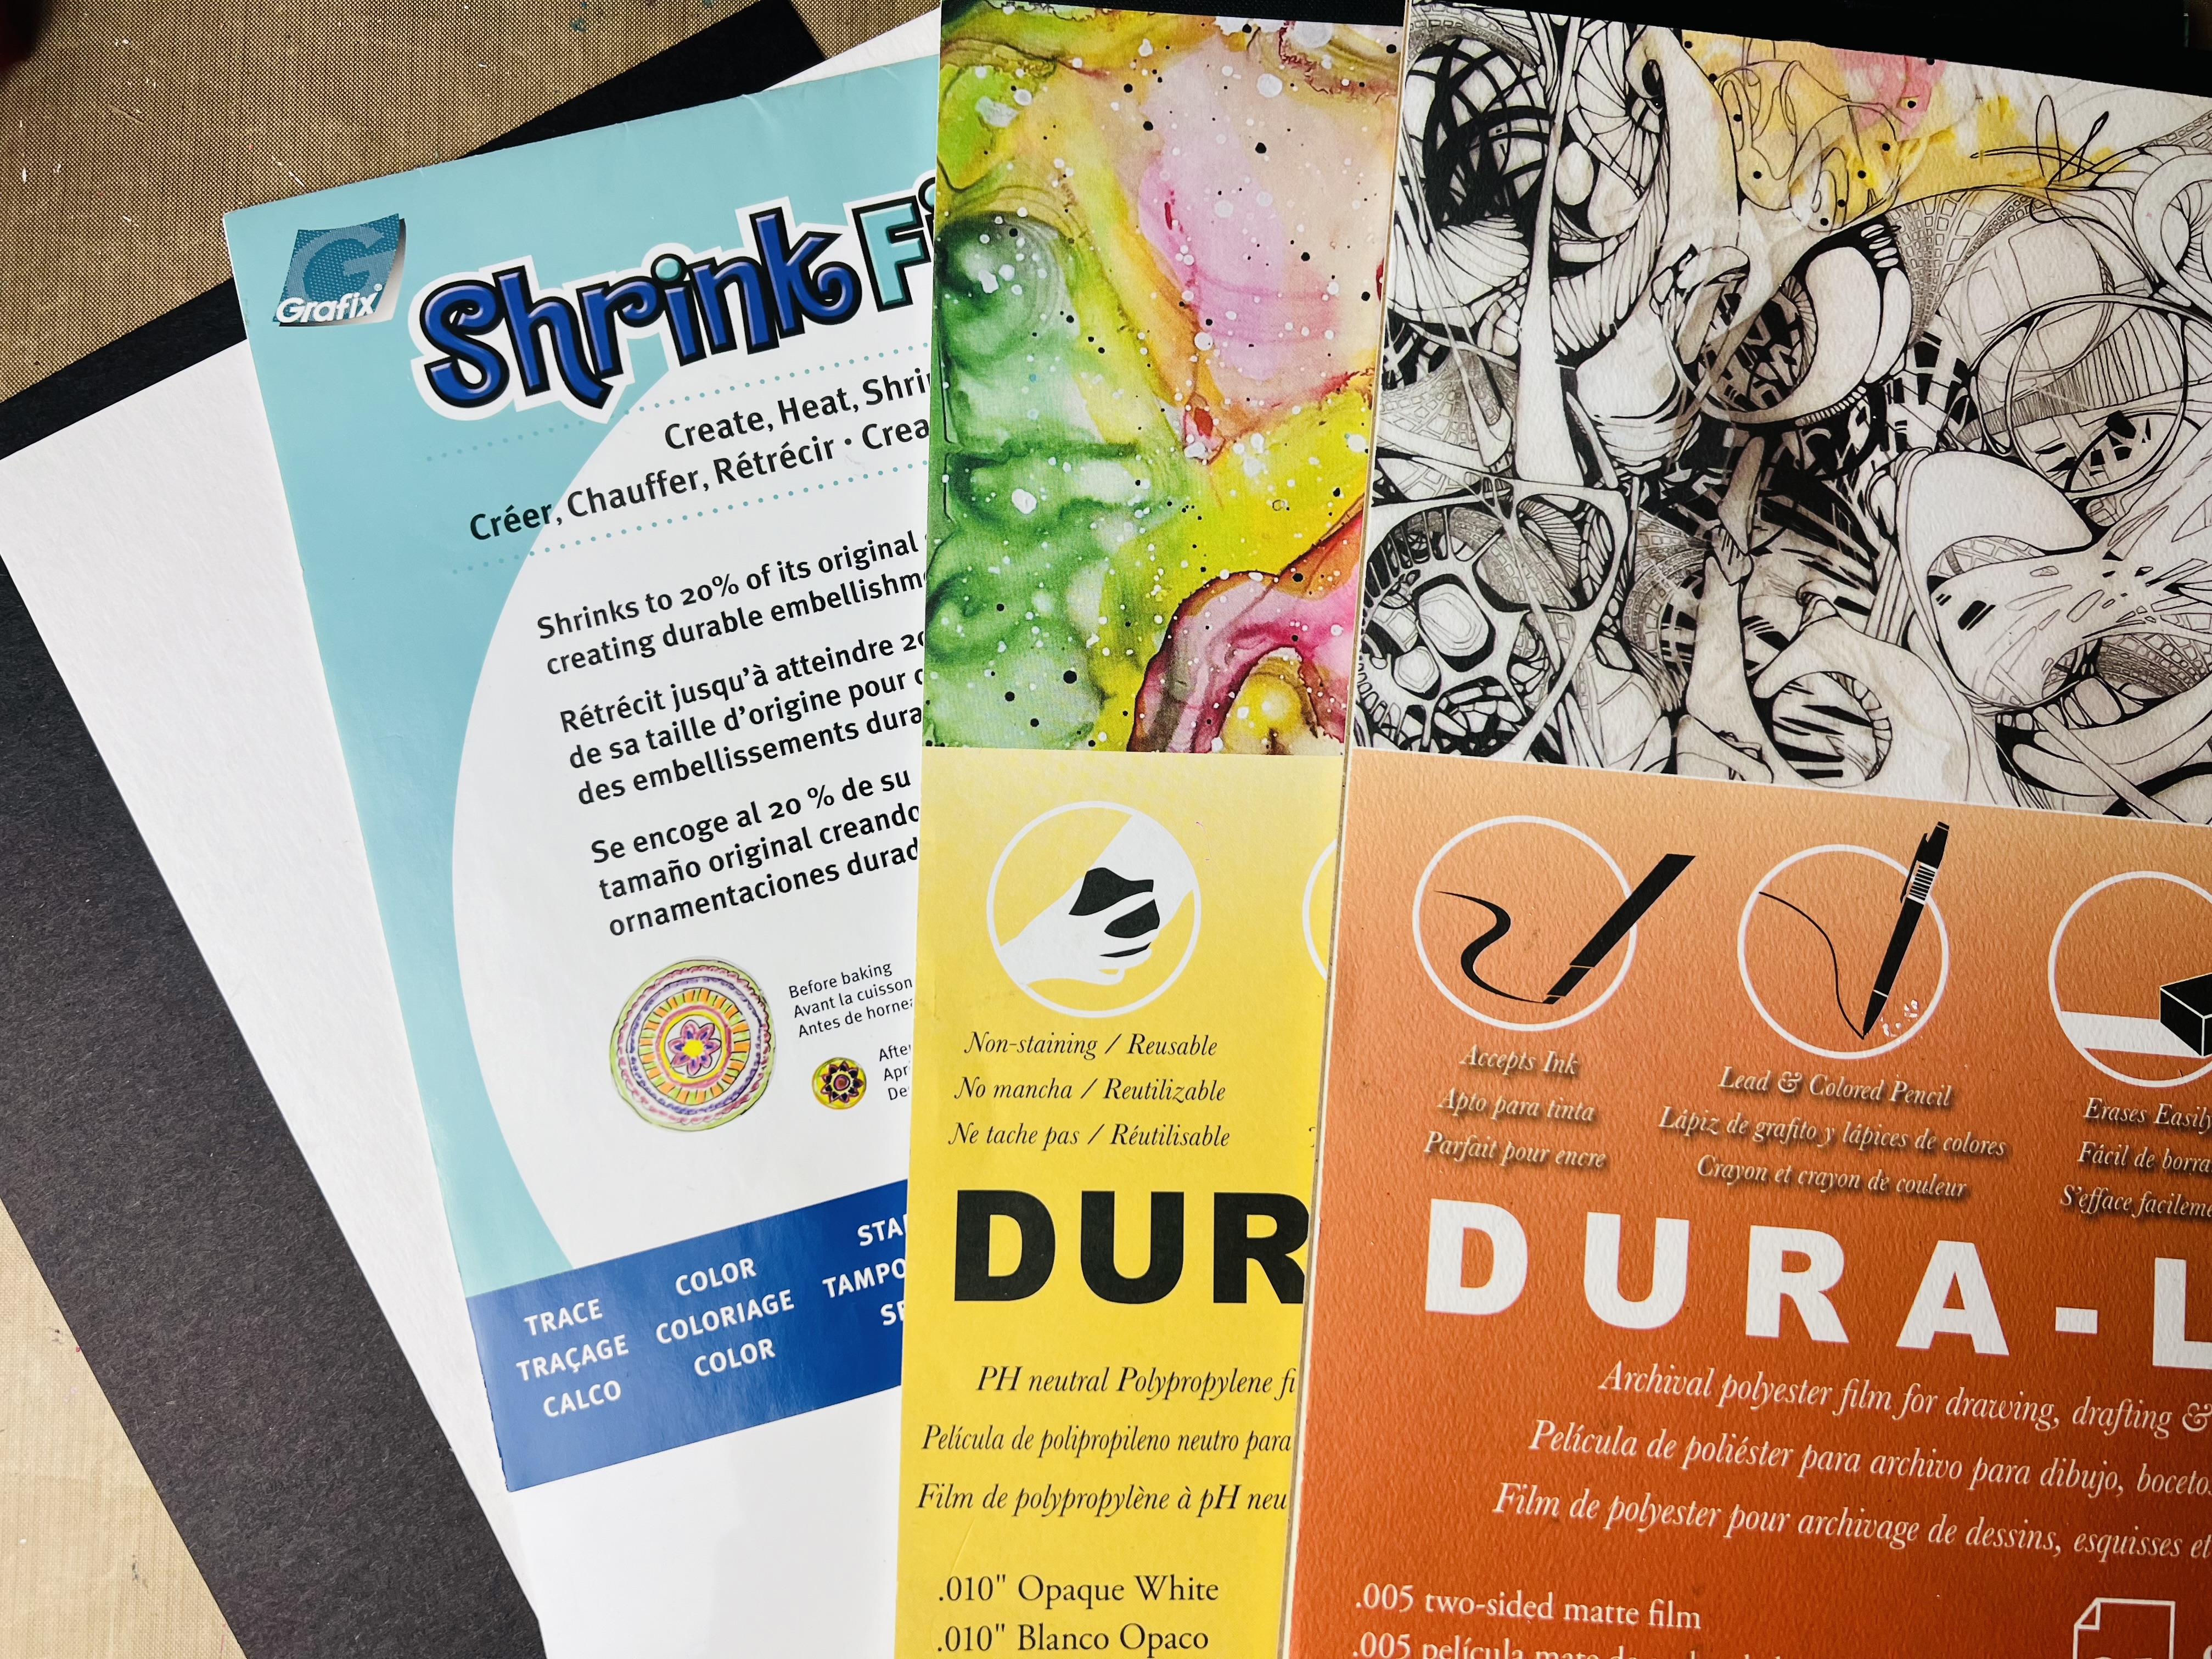
- Shrink white film
- dura-lar .005 two-side matte film
- dura-bright .010 opaque white
Other tools and products:
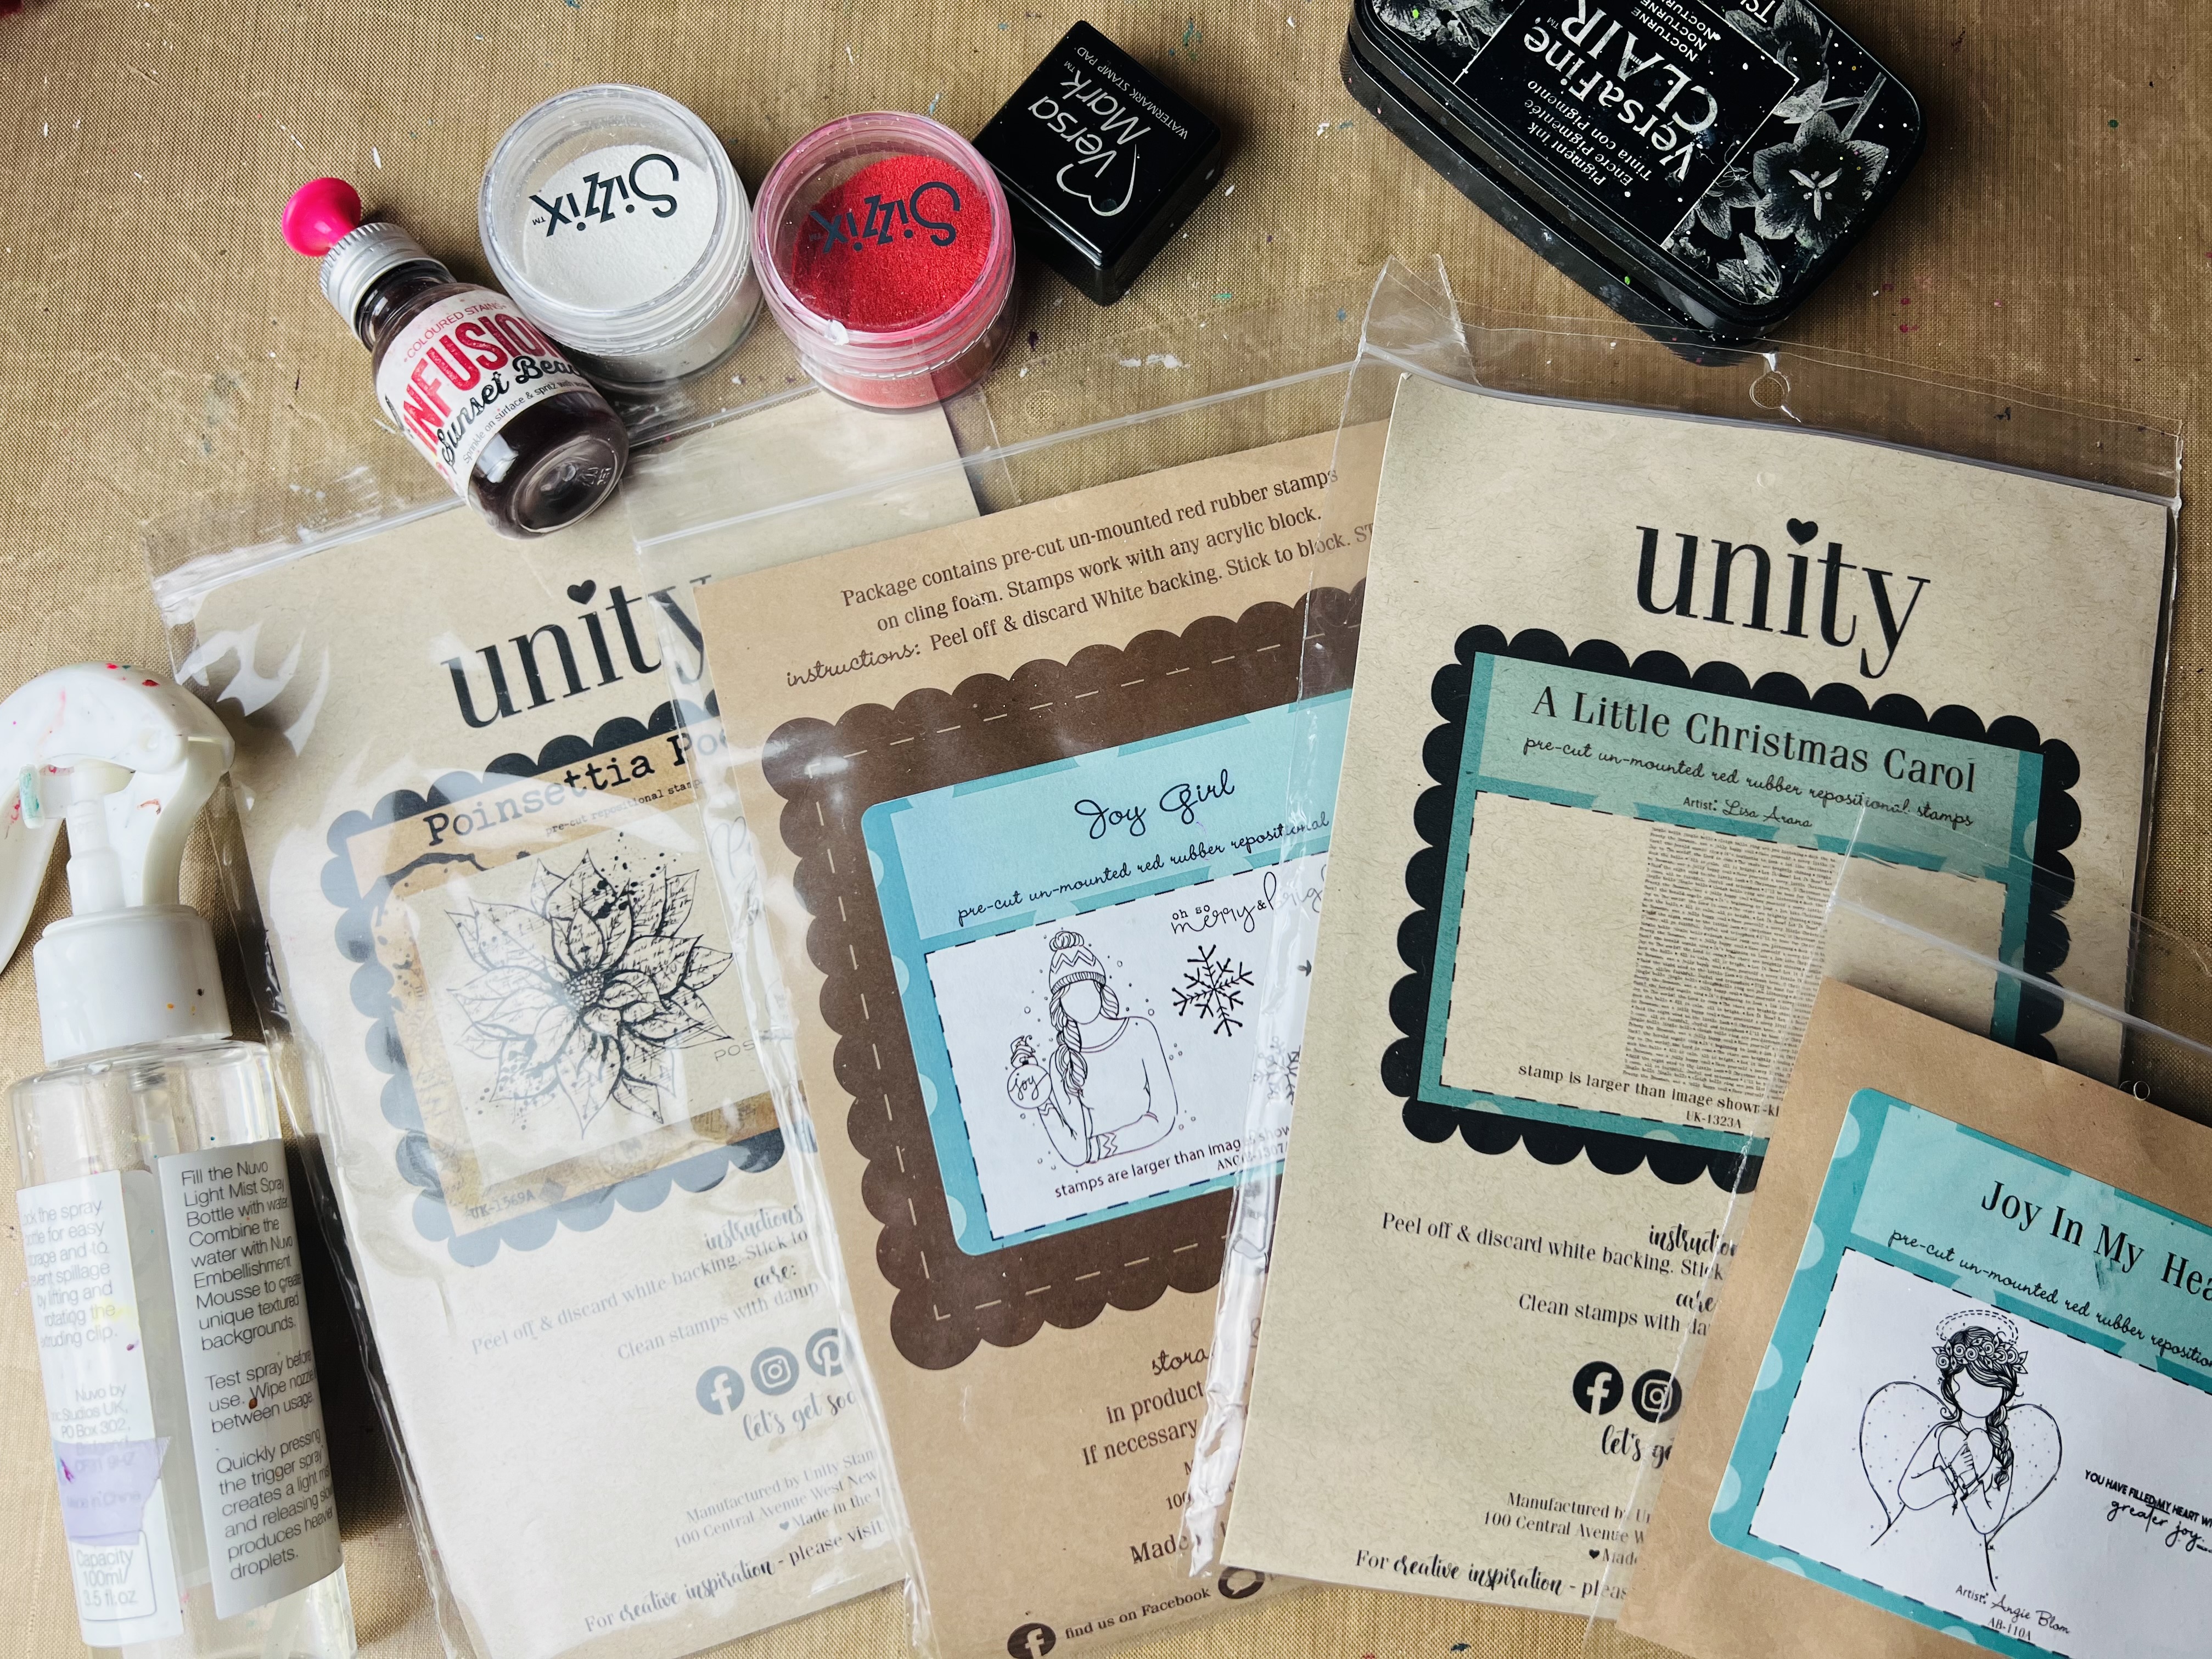
- Unity stamps
- Versamark ink
- Versafine black ink
- Red and white Embossing powder
- Red #sarisdesara sari ribbon
- Cinch
- Heat tool
- Acrylic block
- Scissors
- Pencil
- Hot glue gun
- Sewing machine
- Infusions red powder
- Water spray
- Thrimer
- Red colour pencil
- Cotton threads
Step by step process:
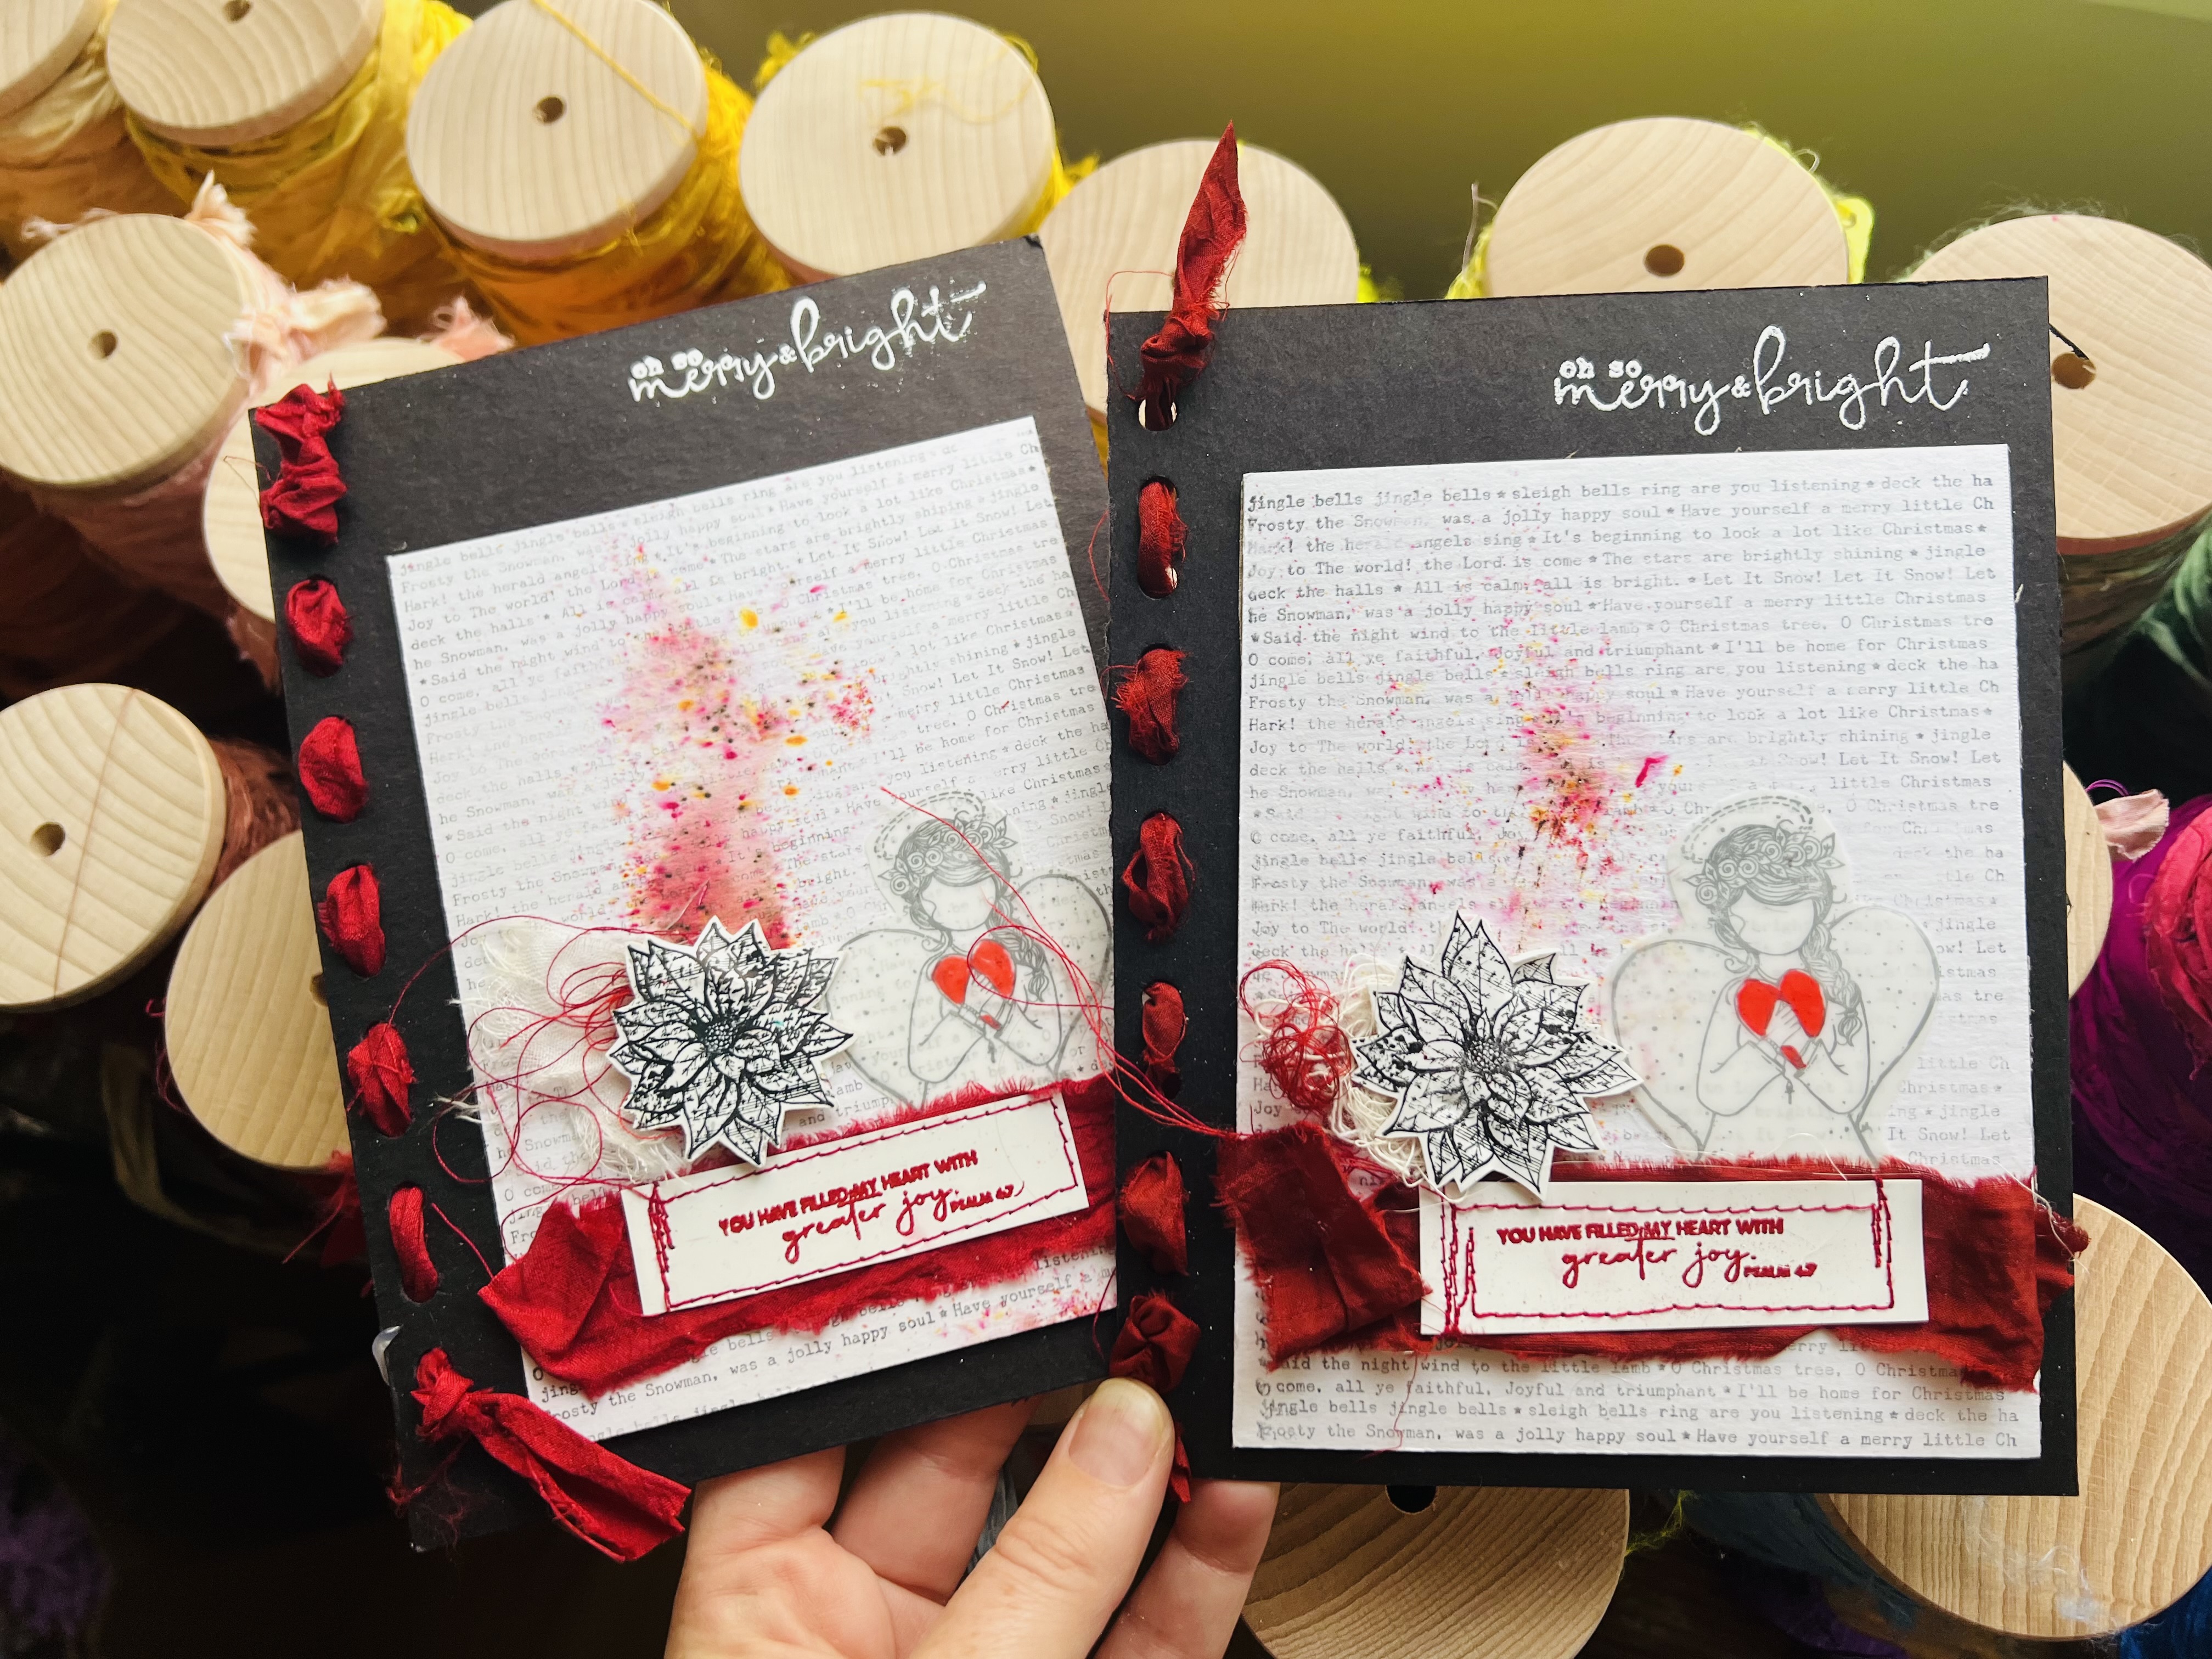
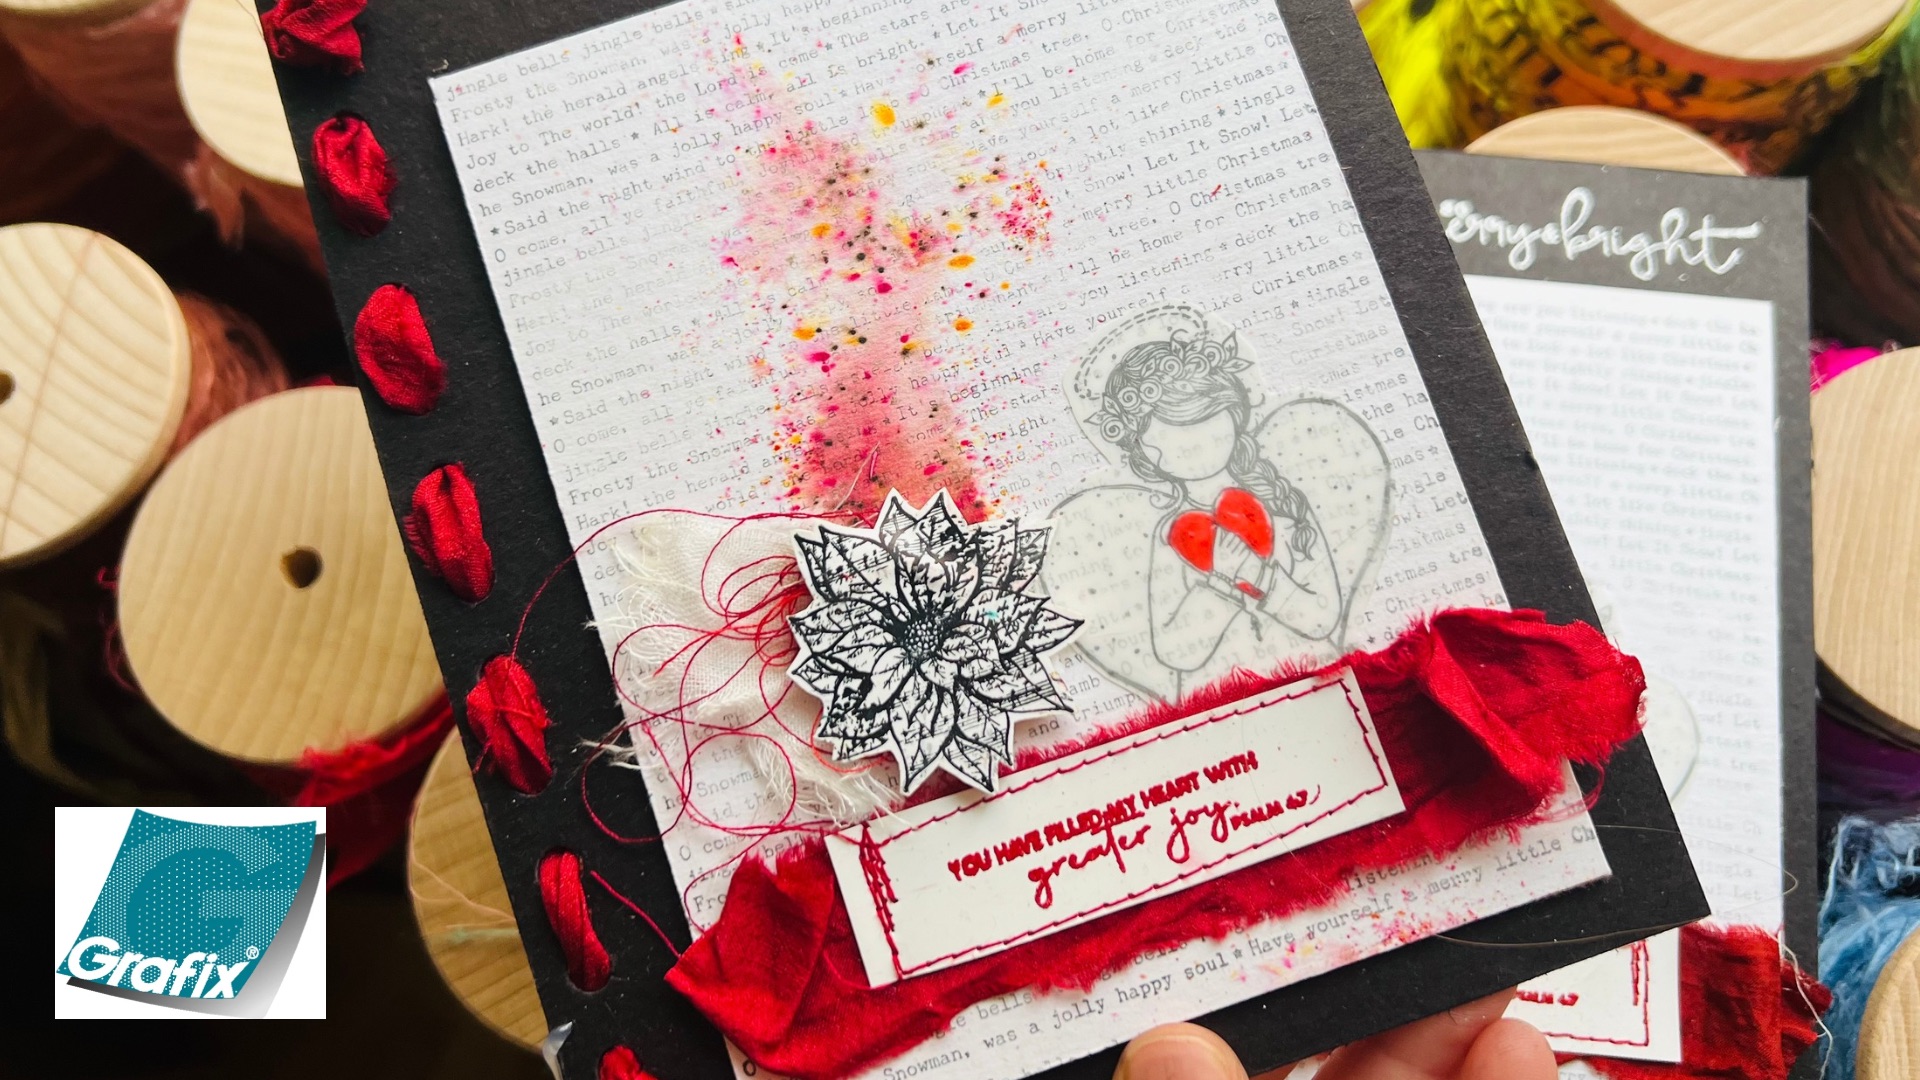
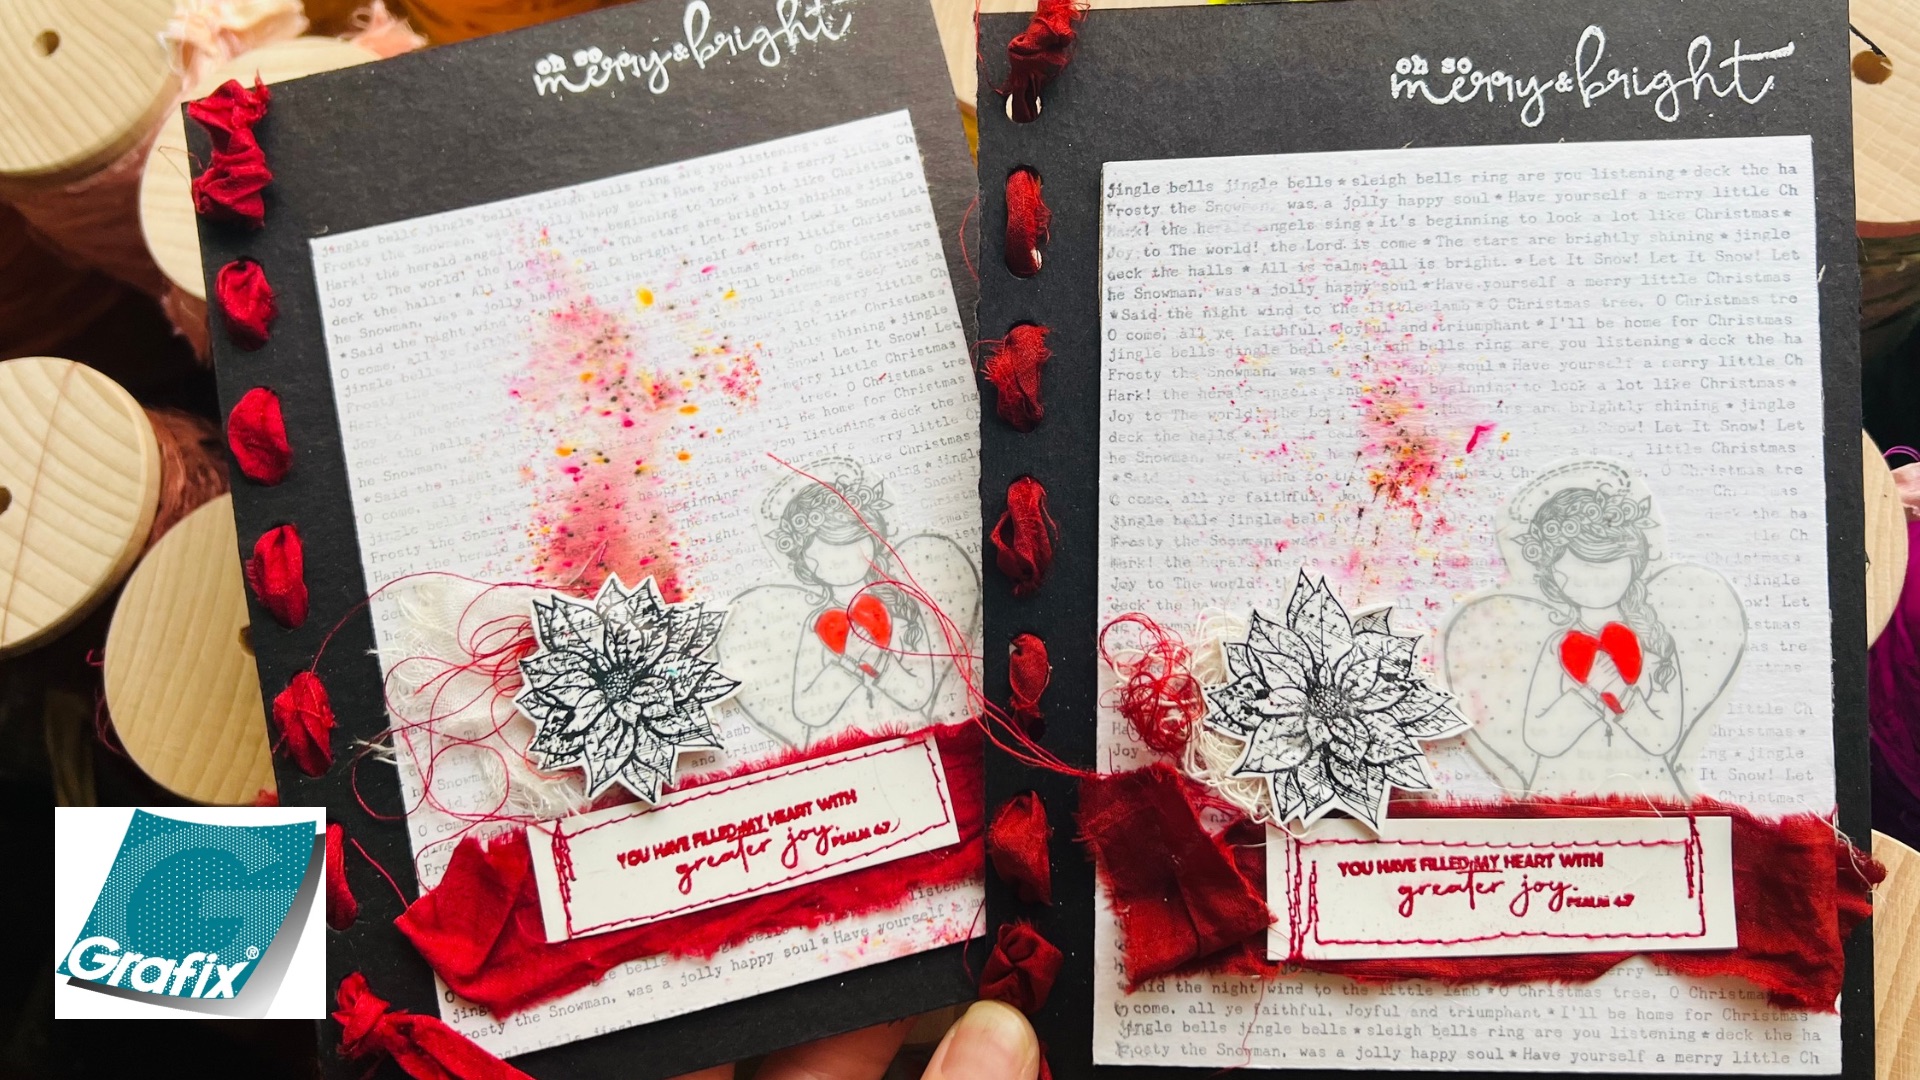
The first step I do is to stamp a Christmas sentiment with embossing ink on top of dura-bright .010 opaque white and I sprinkle red embossing powder on top, I use the heat tool to embossing it permanently. After cutting a rectangle around the sentiment with the scissors of the dura-bright .010 opaque white , I sew it with the sewing machine and red thread on top of a sari ribbon of the same color.
The second step is to stamp a background stamp with the text of a Christmas carol in black ink over the White chipboard. As always there is a less perfect part, that is where I have put the red infusion powders, and I have activated them with a water spray and then I have dried it with the heat tool.
The third step is to cut a black chipboard larger than the white one and I have pierced holes with the cinch machine on the left side, as if I was going to make a notebook and here I have passed red sari ribbon as if I was sewing. At the top I have put another Christmas sentiment with white embossing powder, following the same steps as previously.
The fourth step is to stamp the angel on top of dura-lar .005 two-side matte film with black ink and colour the heart with a red wooden pencil and then cut the figure with scissors.
The fifth step is to stamp the poinsettia flower over Shrink white film with black ink, and with the heat tool it reduces it’s size and becomes thicker, it makes a beautiful embellishment.
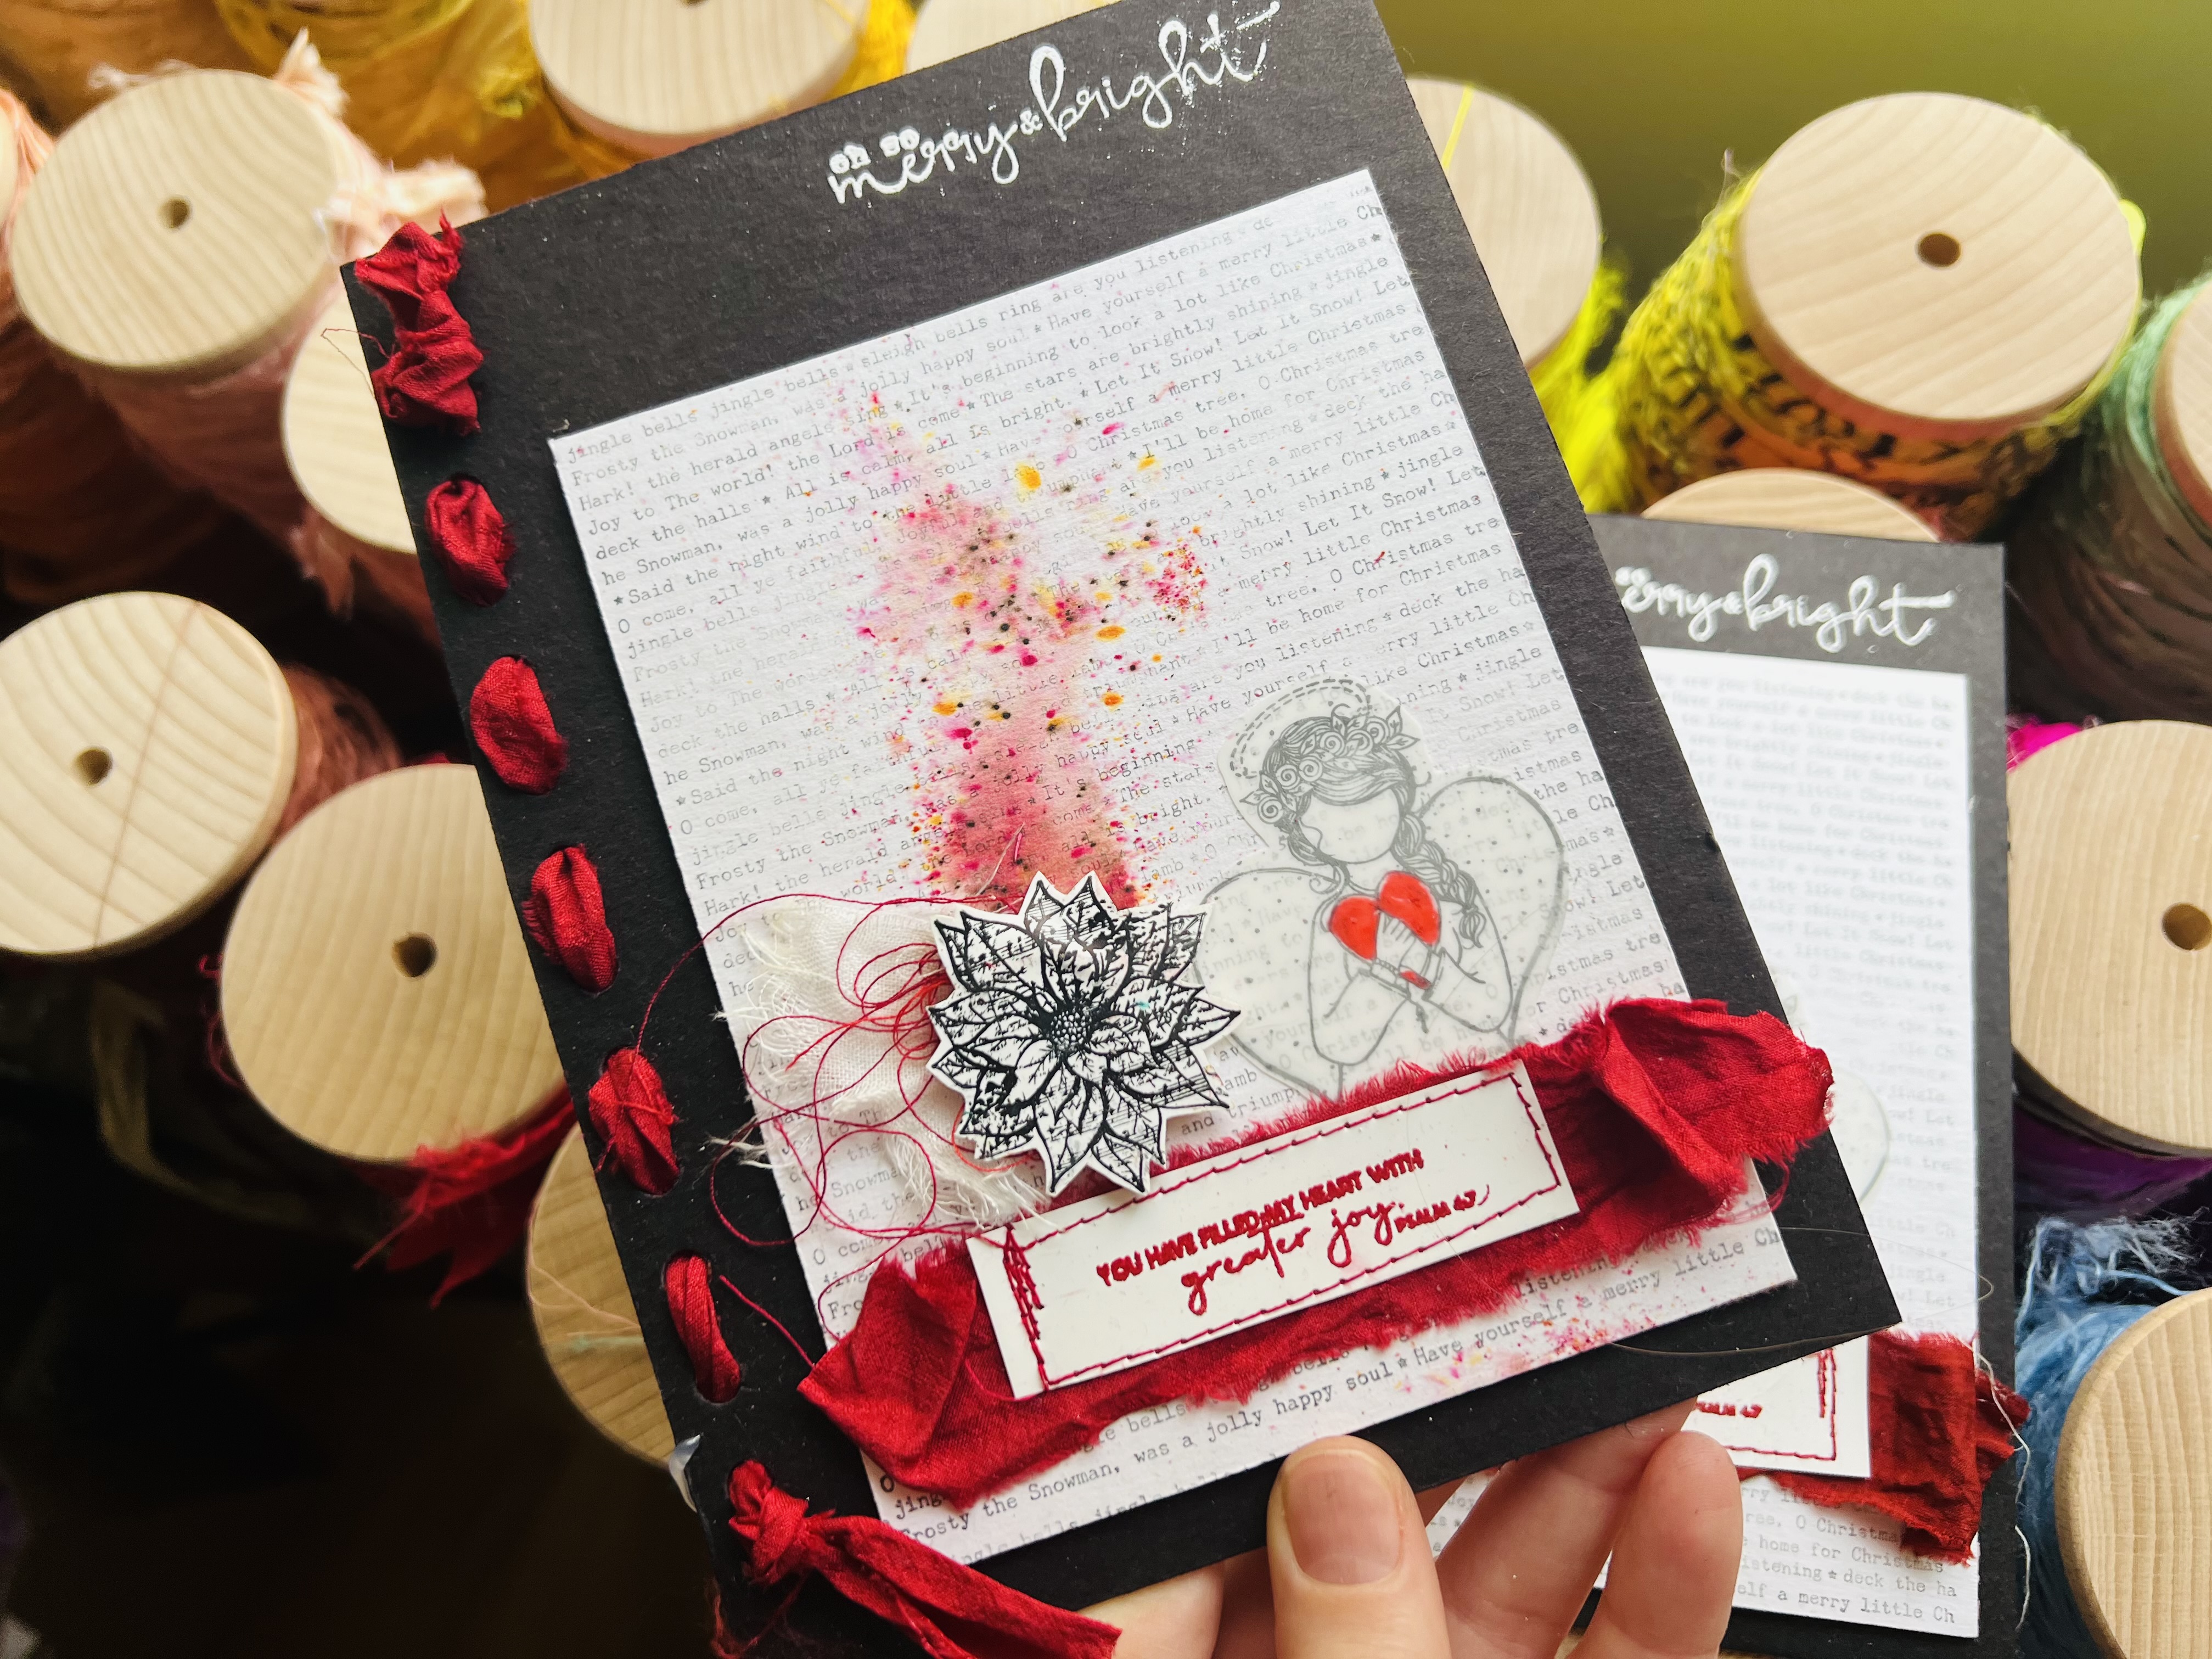
We only have to assemble the postcard, the bottom layer is the black chipboard and the white chipboard one on top. Then we glue the angel and the sentiment with the sari ribbon on the bottom part, and on the left side we put a little thread and the Christmas flower embellishment that we have made.

