Print Making Series Part 1: How to Make an Additive Monotype
Project Description: Monoprints are one-of-a-kind designs created by transferring paint or ink from one surface to another. There are many different ways of creating a monoprint.
Designed by: Maureen Wilson
Difficulty: Easy
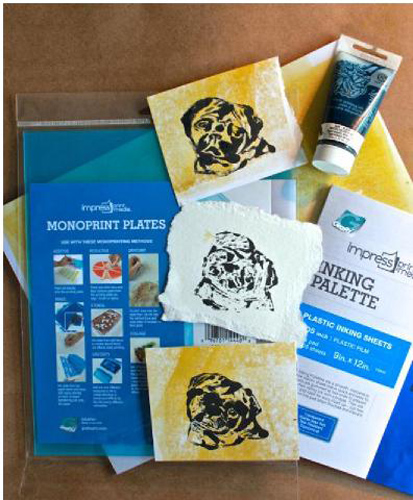
Materials:
- Grafix Monoprint Plates
- Grafix Inking Palette
- Print off a clip art image
- Thick paper, such as watercolor paper or card stock
- Block printing ink, made by Speedball. But you can also use acrylic paint, oil-based paint, or even tempera paint
- Paintbrushes
- Spray bottle to experiment with dampening your paper with water
- A brayer
Steps to Make This:
Inking the Plate
- I’m going to start by creating a colored background. I really like to use these Grafix Impress Inking Palette sheets to load my brayer. They are secured to the pad with adhesive so it won’t shift when your roll on it. Add paint to the center, then roll the brayer until the roller is evenly covered.
- Then move to the plate and ink the plate. Try to keep the paint thin and smooth.
- Press the paper down on the plate. Smooth firmly with your hand or roll with a clean brayer.
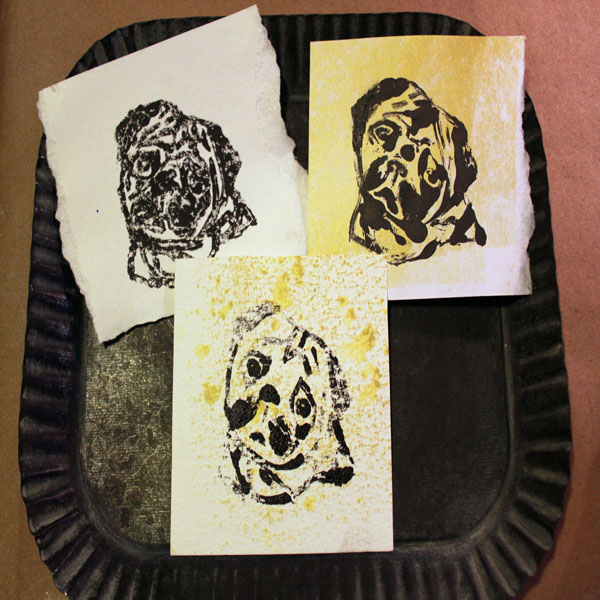
- Carefully peel the paper from the plate. You’ll see that the ink has not transferred perfectly, that’s okay, monoprints look somewhat distressed and that’s part of the charm.
Creating the Image
- Clean the plate so you can reuse it.
- If you are working from a picture, you can tape it beneath the plate using low-tack tape.
- Trace the image with your paintbrush. Acrylic paint dries fast, so you’re limited to designs you can make quickly. Block printing ink has a longer working time. Do your best to keep the paint thin and even. Try to avoid adding a lot of fine detail, as your design will likely have some degree of distressing or smudging.
- Lay the paper on top. Press with your hand or use a brayer. For best results, start at the center and work your way out.
- Carefully lift the paper.
- You’ll only be able to get one good printout of each painting; however, you can rinse the plate and try another. Experiment with different types of paper, and with dampening the paper. Other factors that influence your results include how much paint is on your brush, the type of paint you use, and how much pressure is applied.
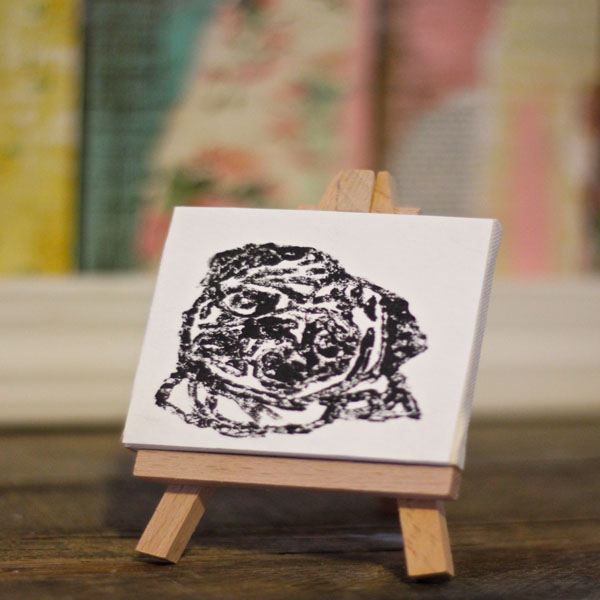
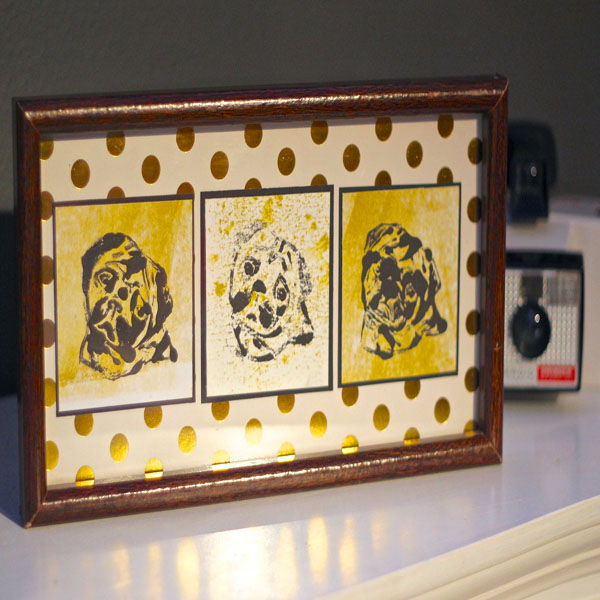
Every print you make will be slightly different and each is one-of-a-kind! This is just one way to create a monoprint! In future tutorials, we’ll be using the same supplies to create a variety of original artwork. Consider framing a series of prints together to create an interesting collection piece. Add a cardstock mat behind each print, then mount onto scrapbook paper and place in a frame.
Viola! You have a self-made work of art for your home or office.
For Print Making Series Part 2 click here.