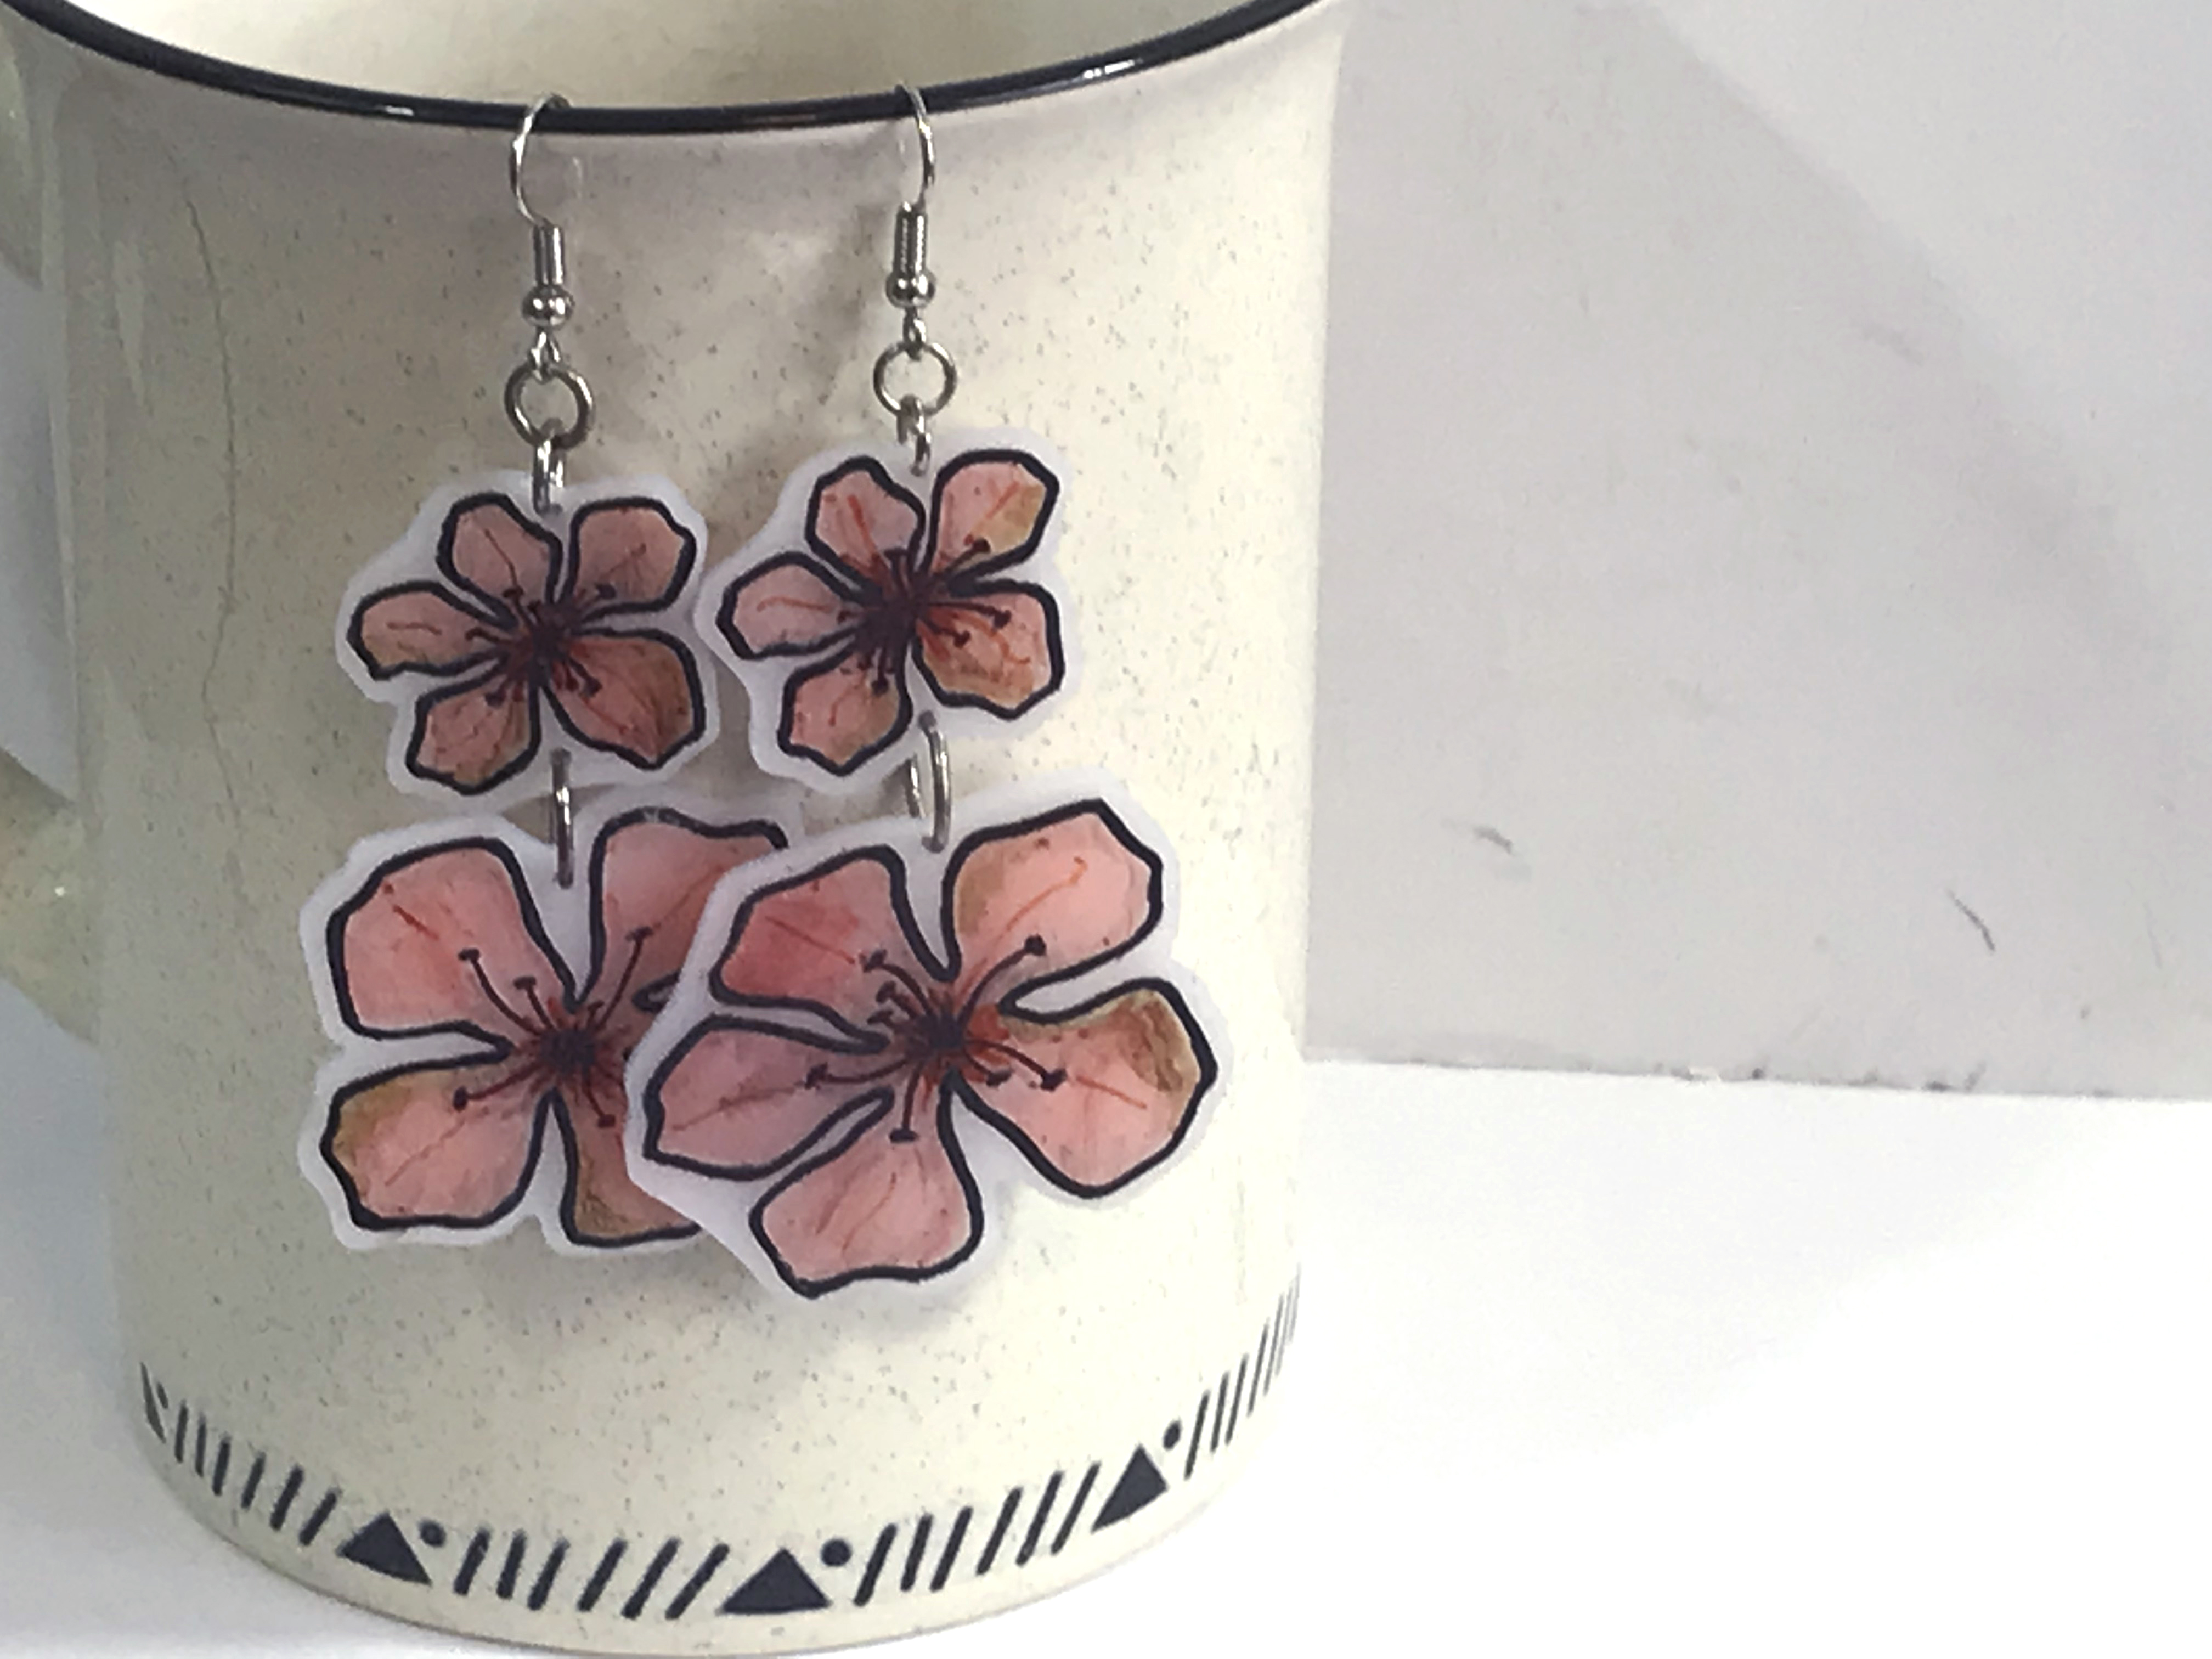
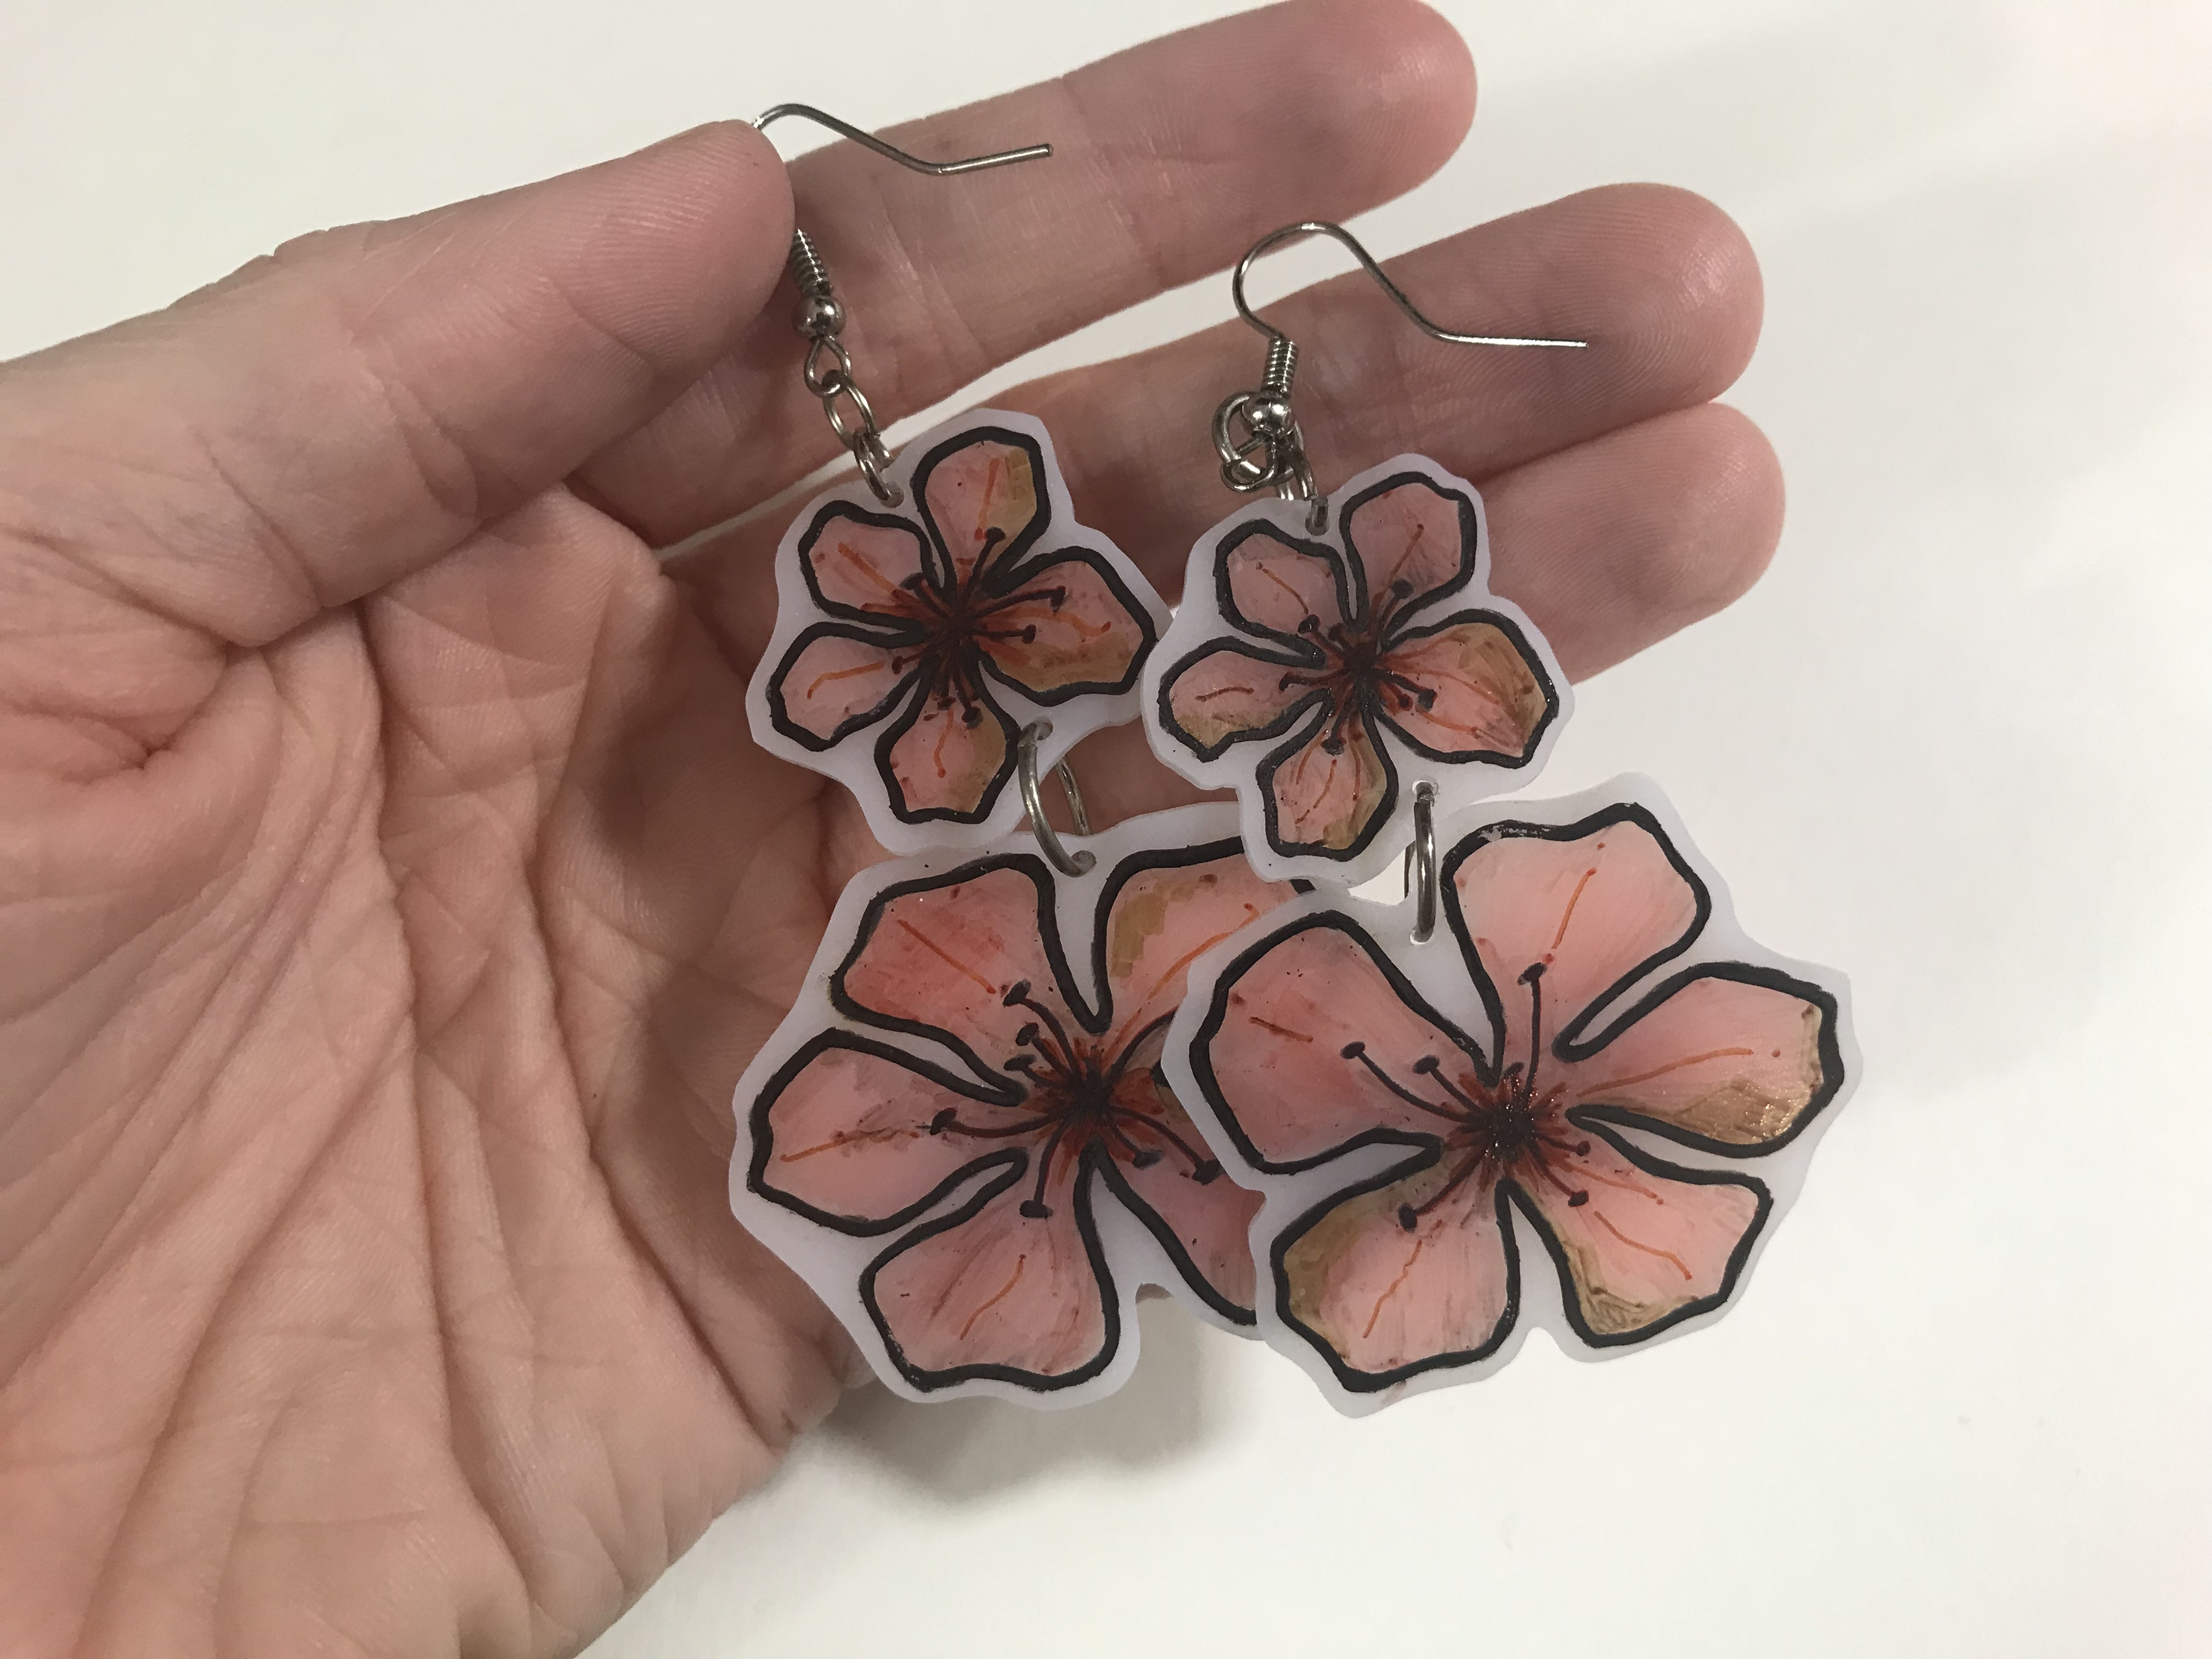
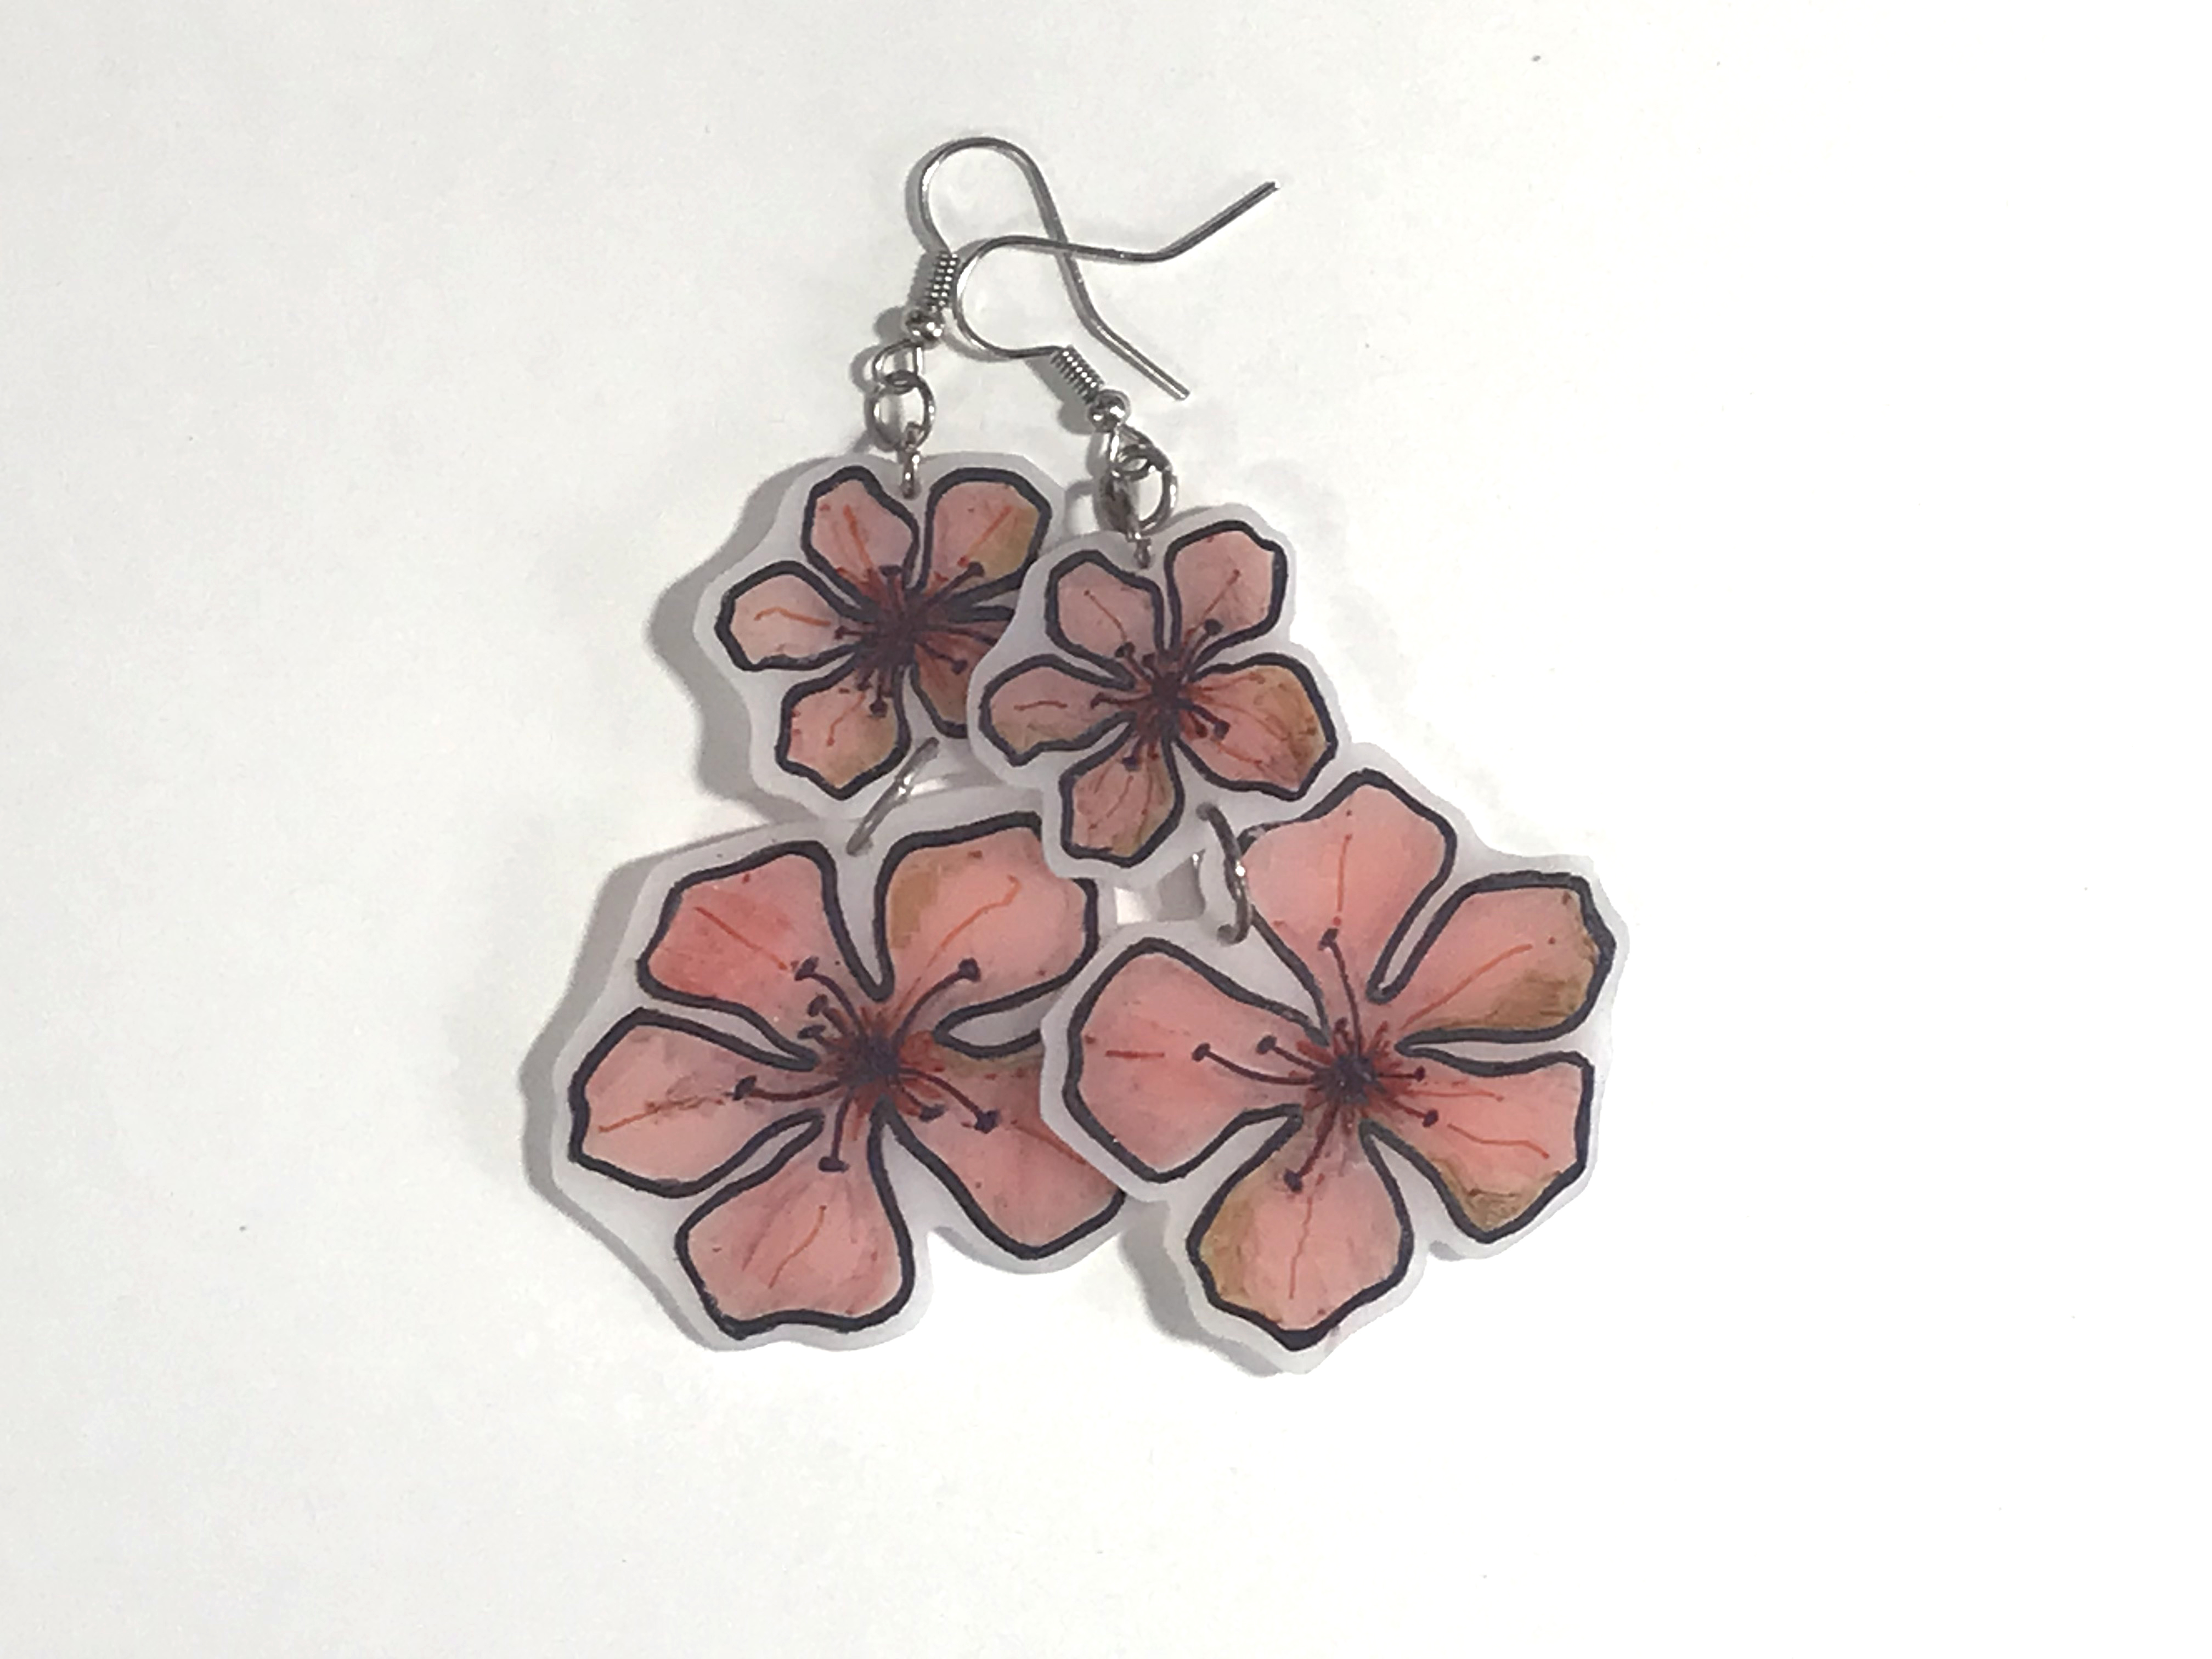
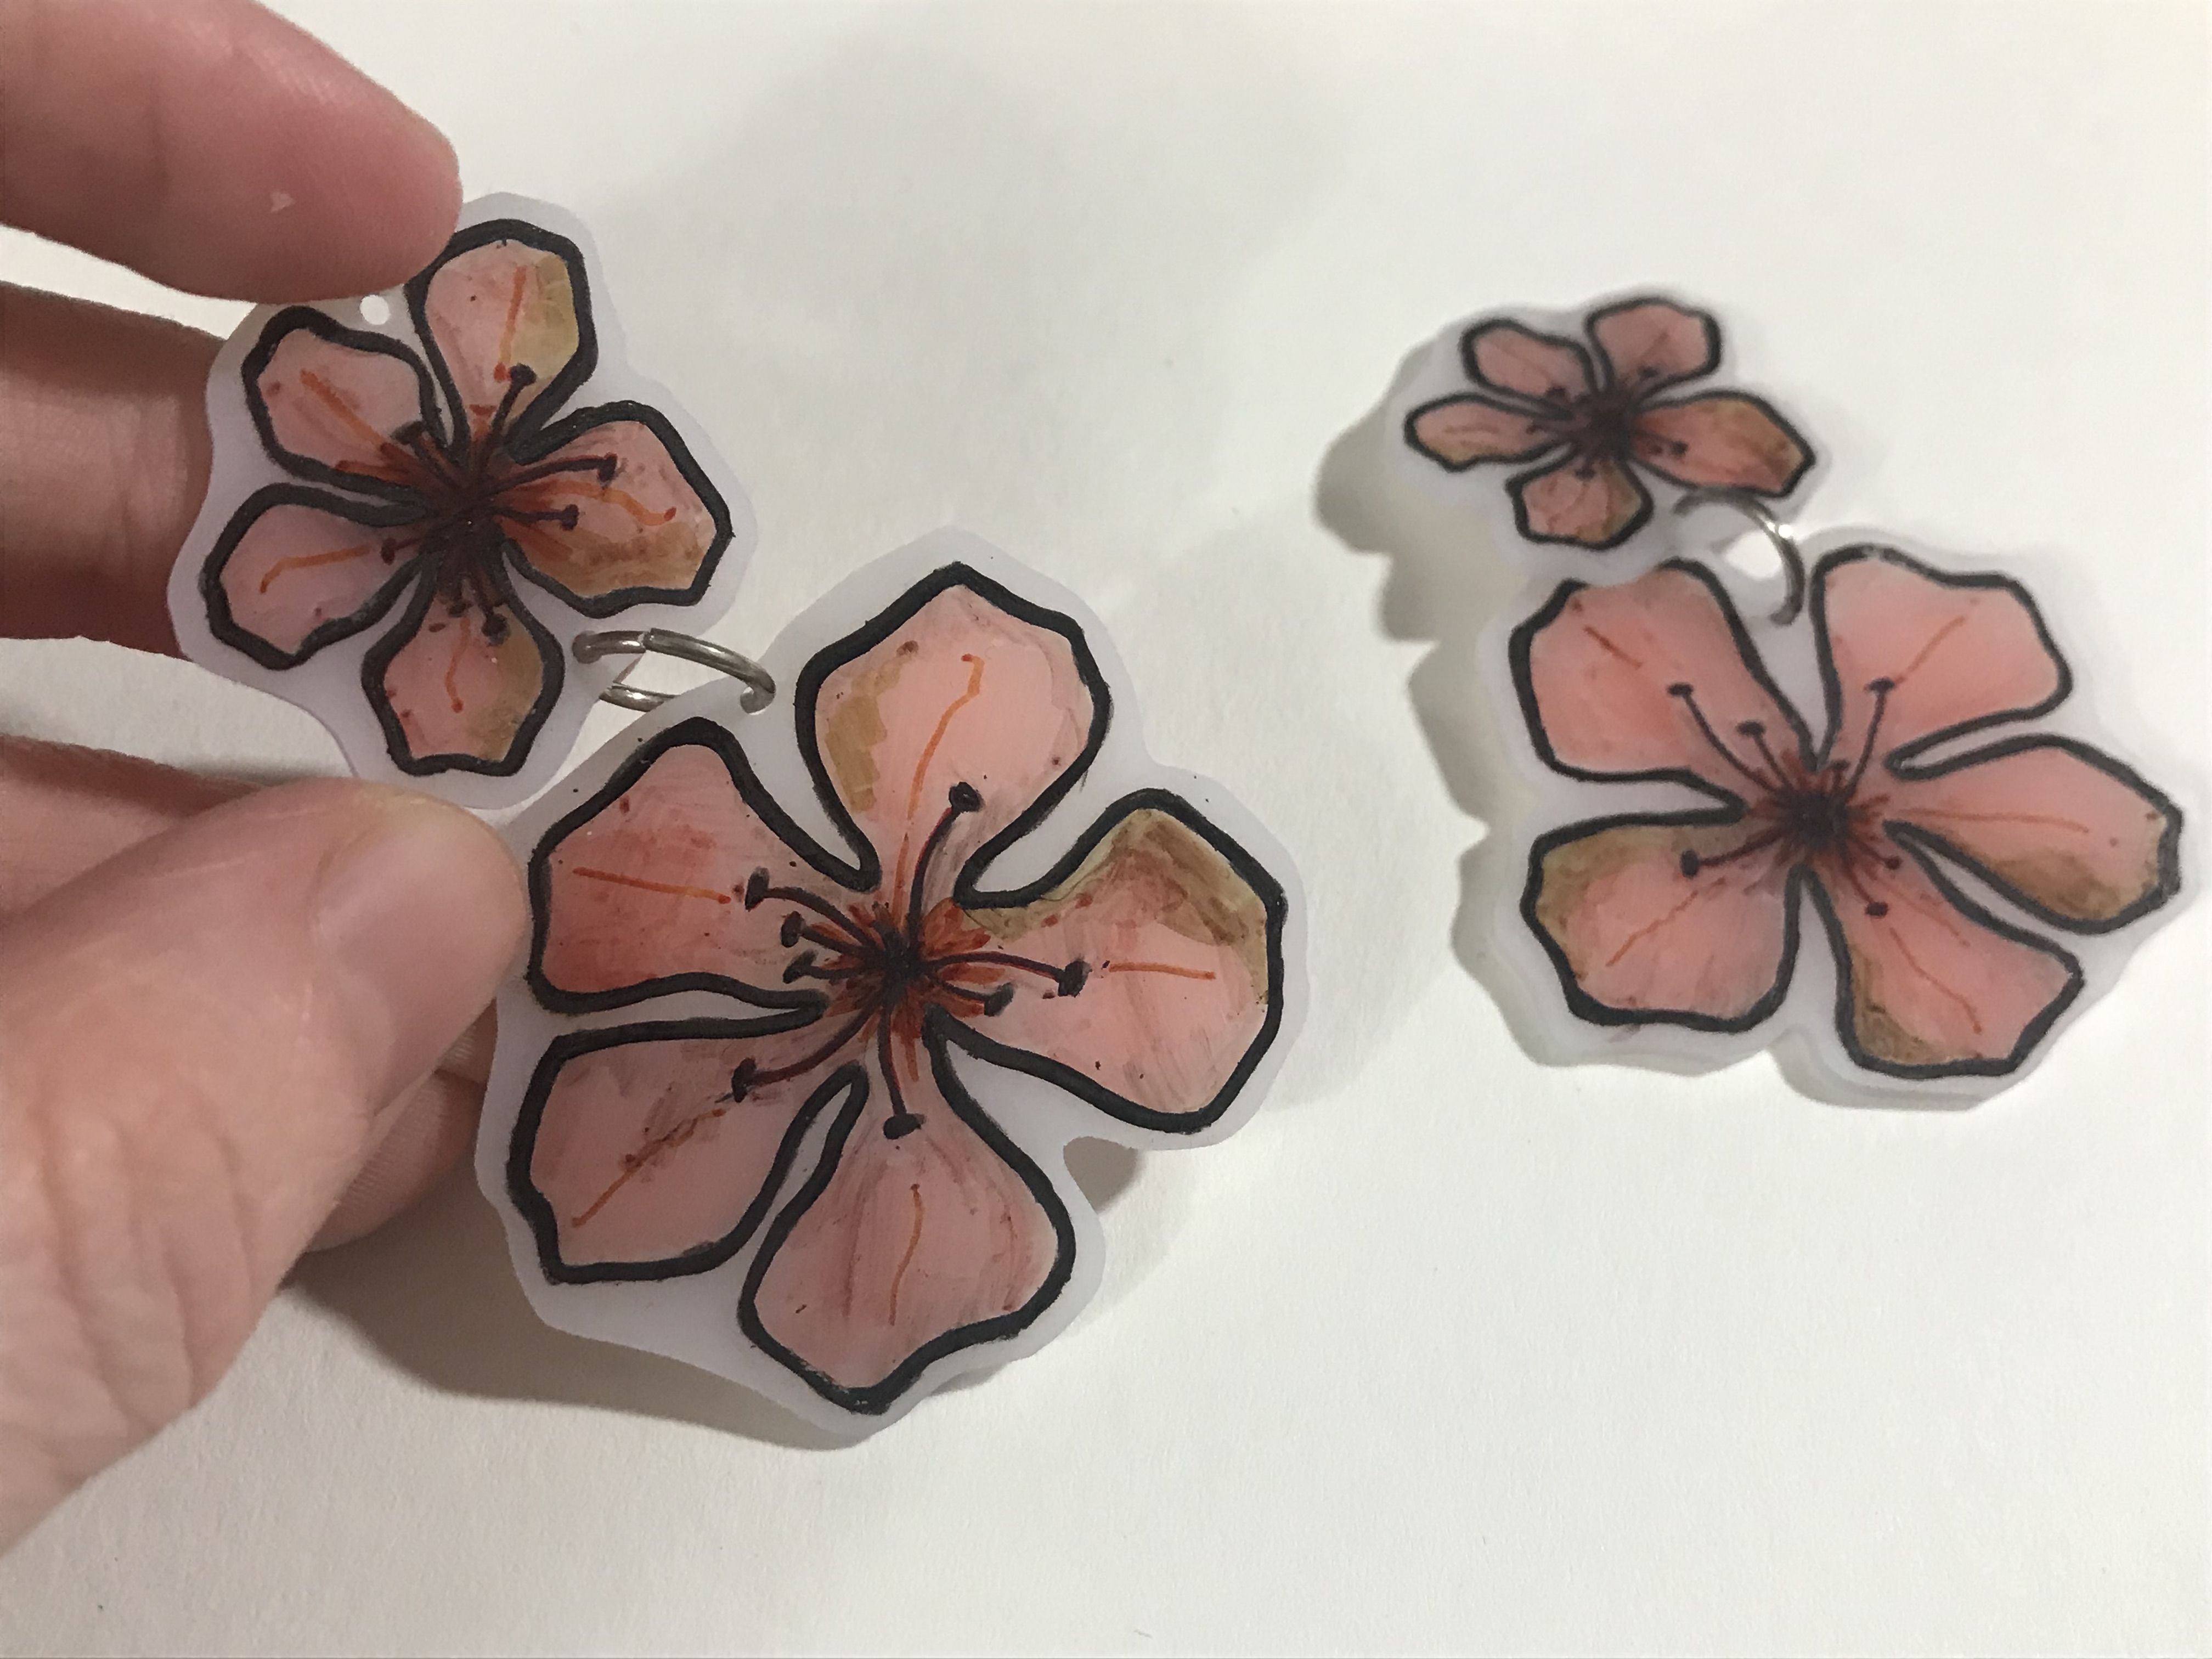
Shrink Film Cherry Blossom Earrings
Project Description: Use Grafix Shrink Film combined with permanent markers to create custom lightweight earrings, perfect for use as a gift!
Designed by: Jordan Hill
Difficulty: Moderate
Materials:
- Grafix Matte Shrink Film
- Bic Permanent Markers
- Crayola Colored Pencils
- Scissors
- Hole Punch
- Jump Rings
- Earring Hooks
- Jewelry Pliers
Steps to Make This:
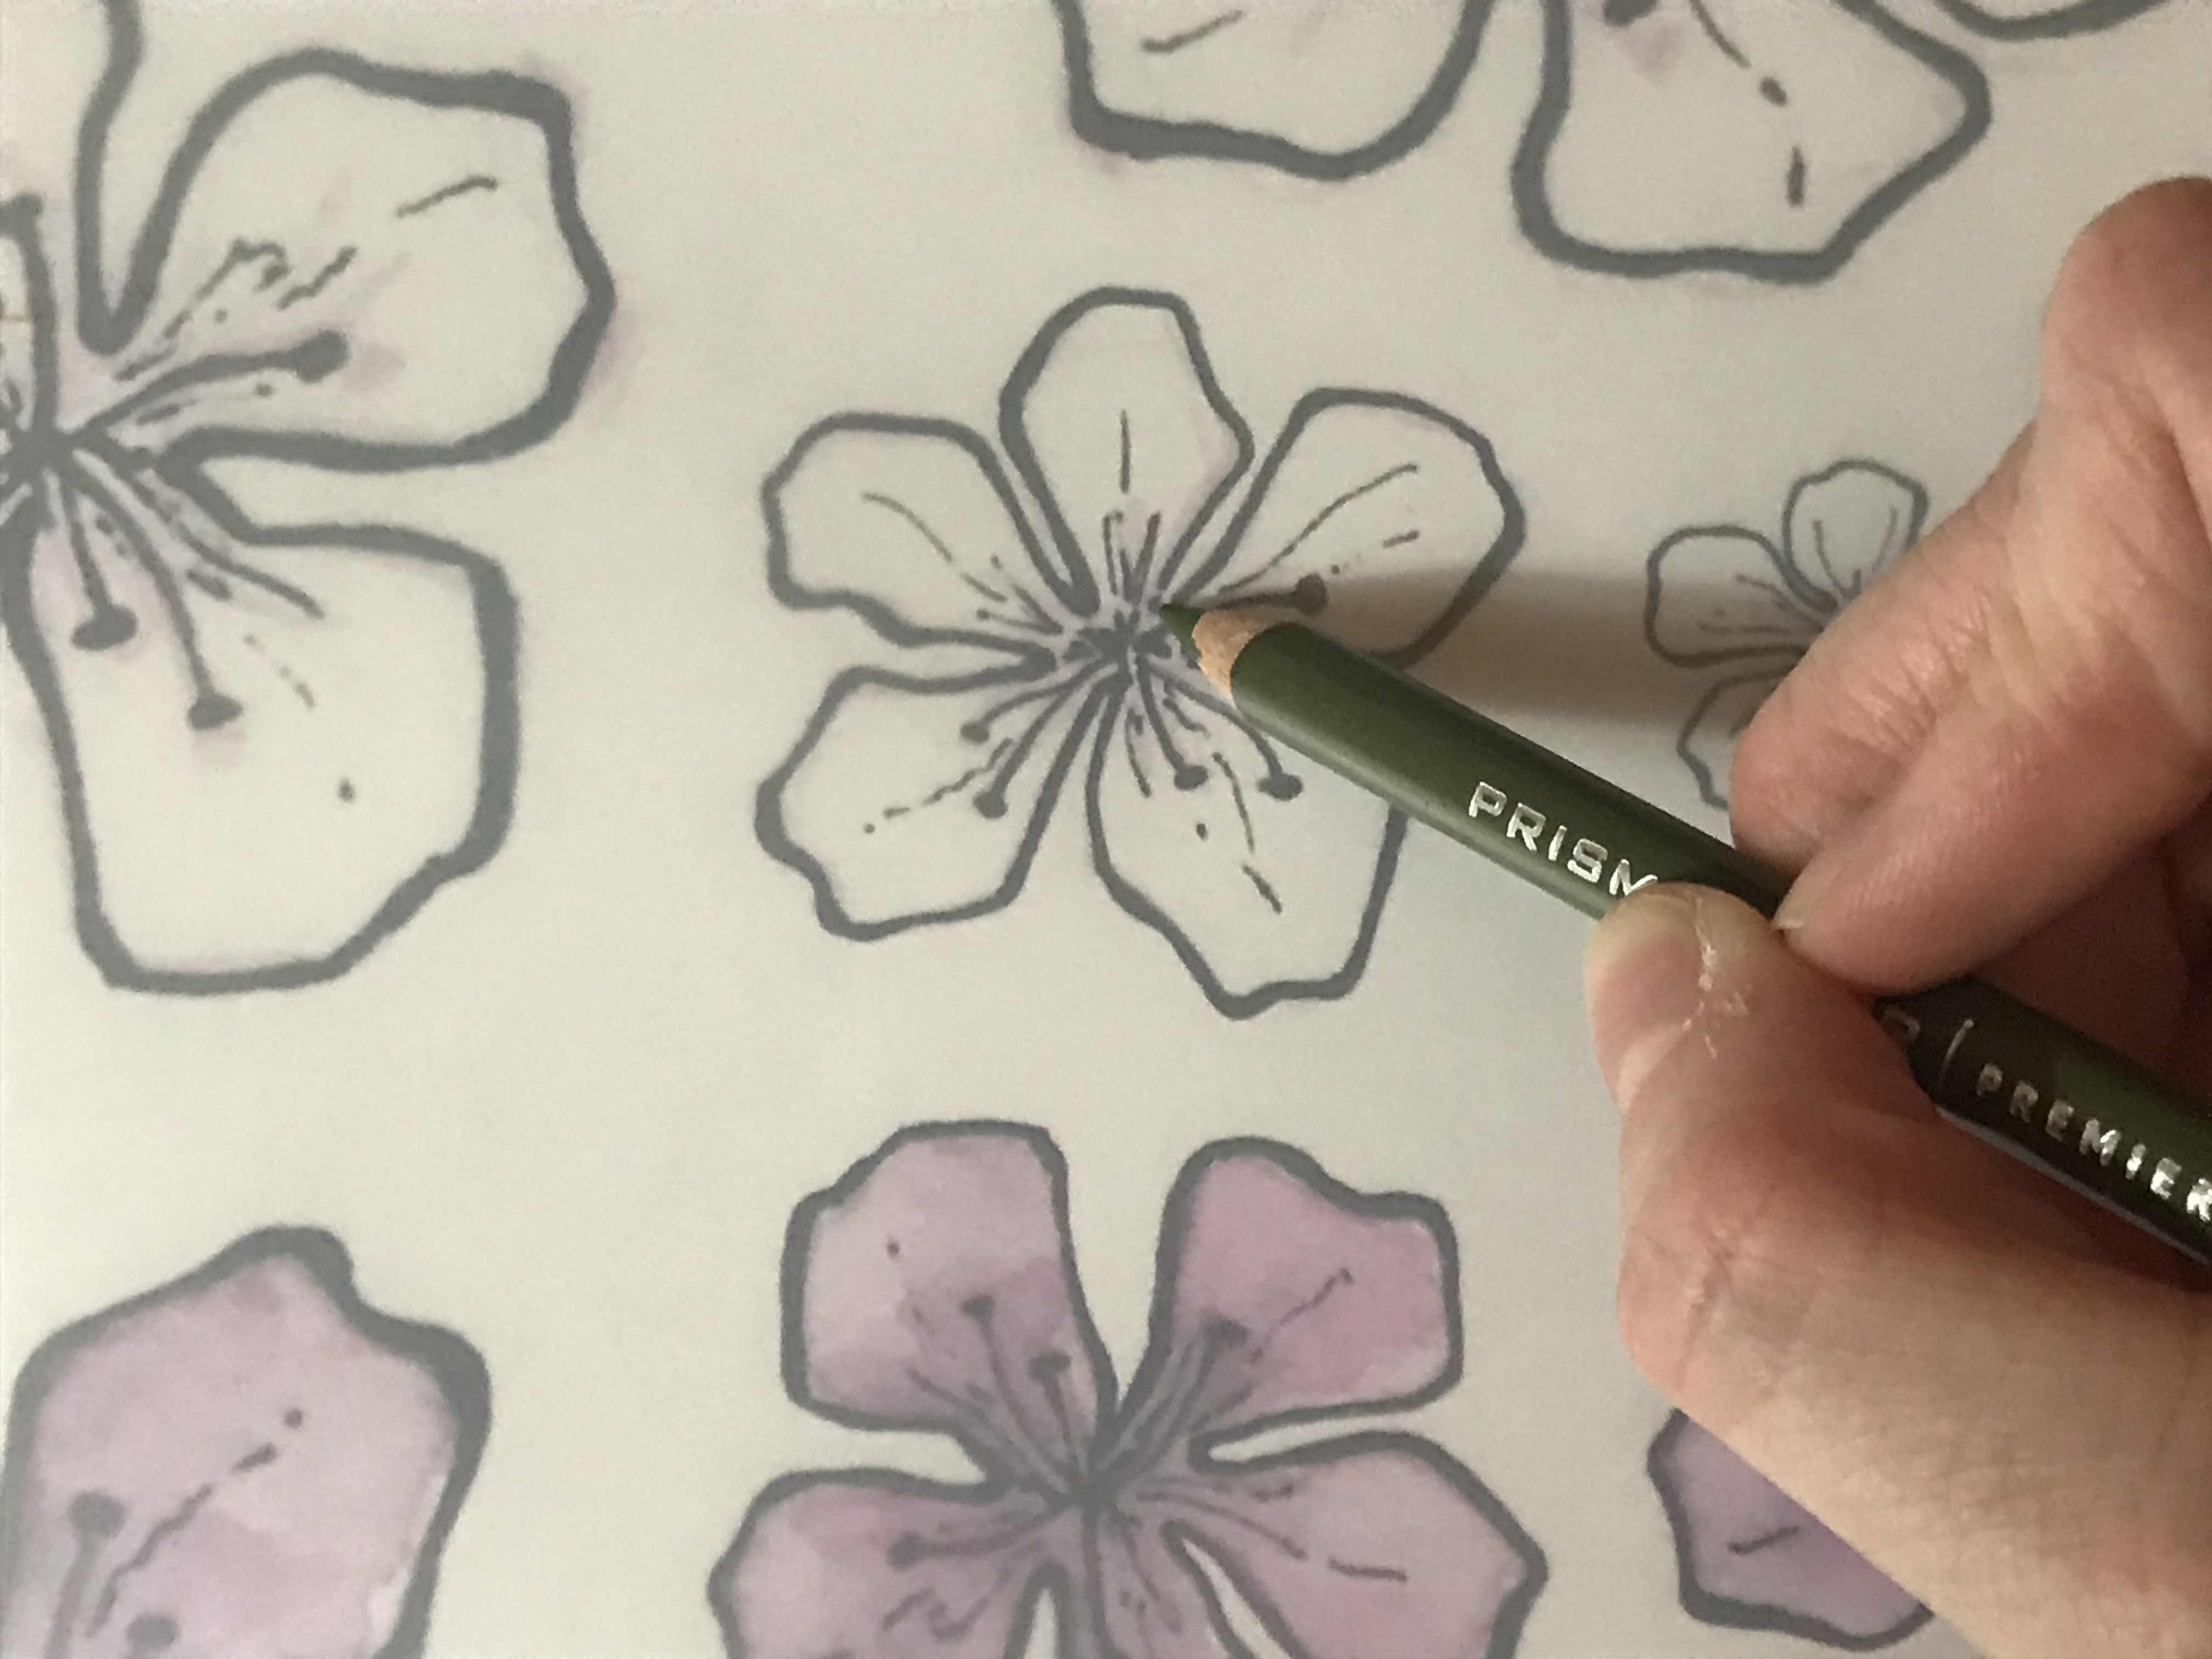
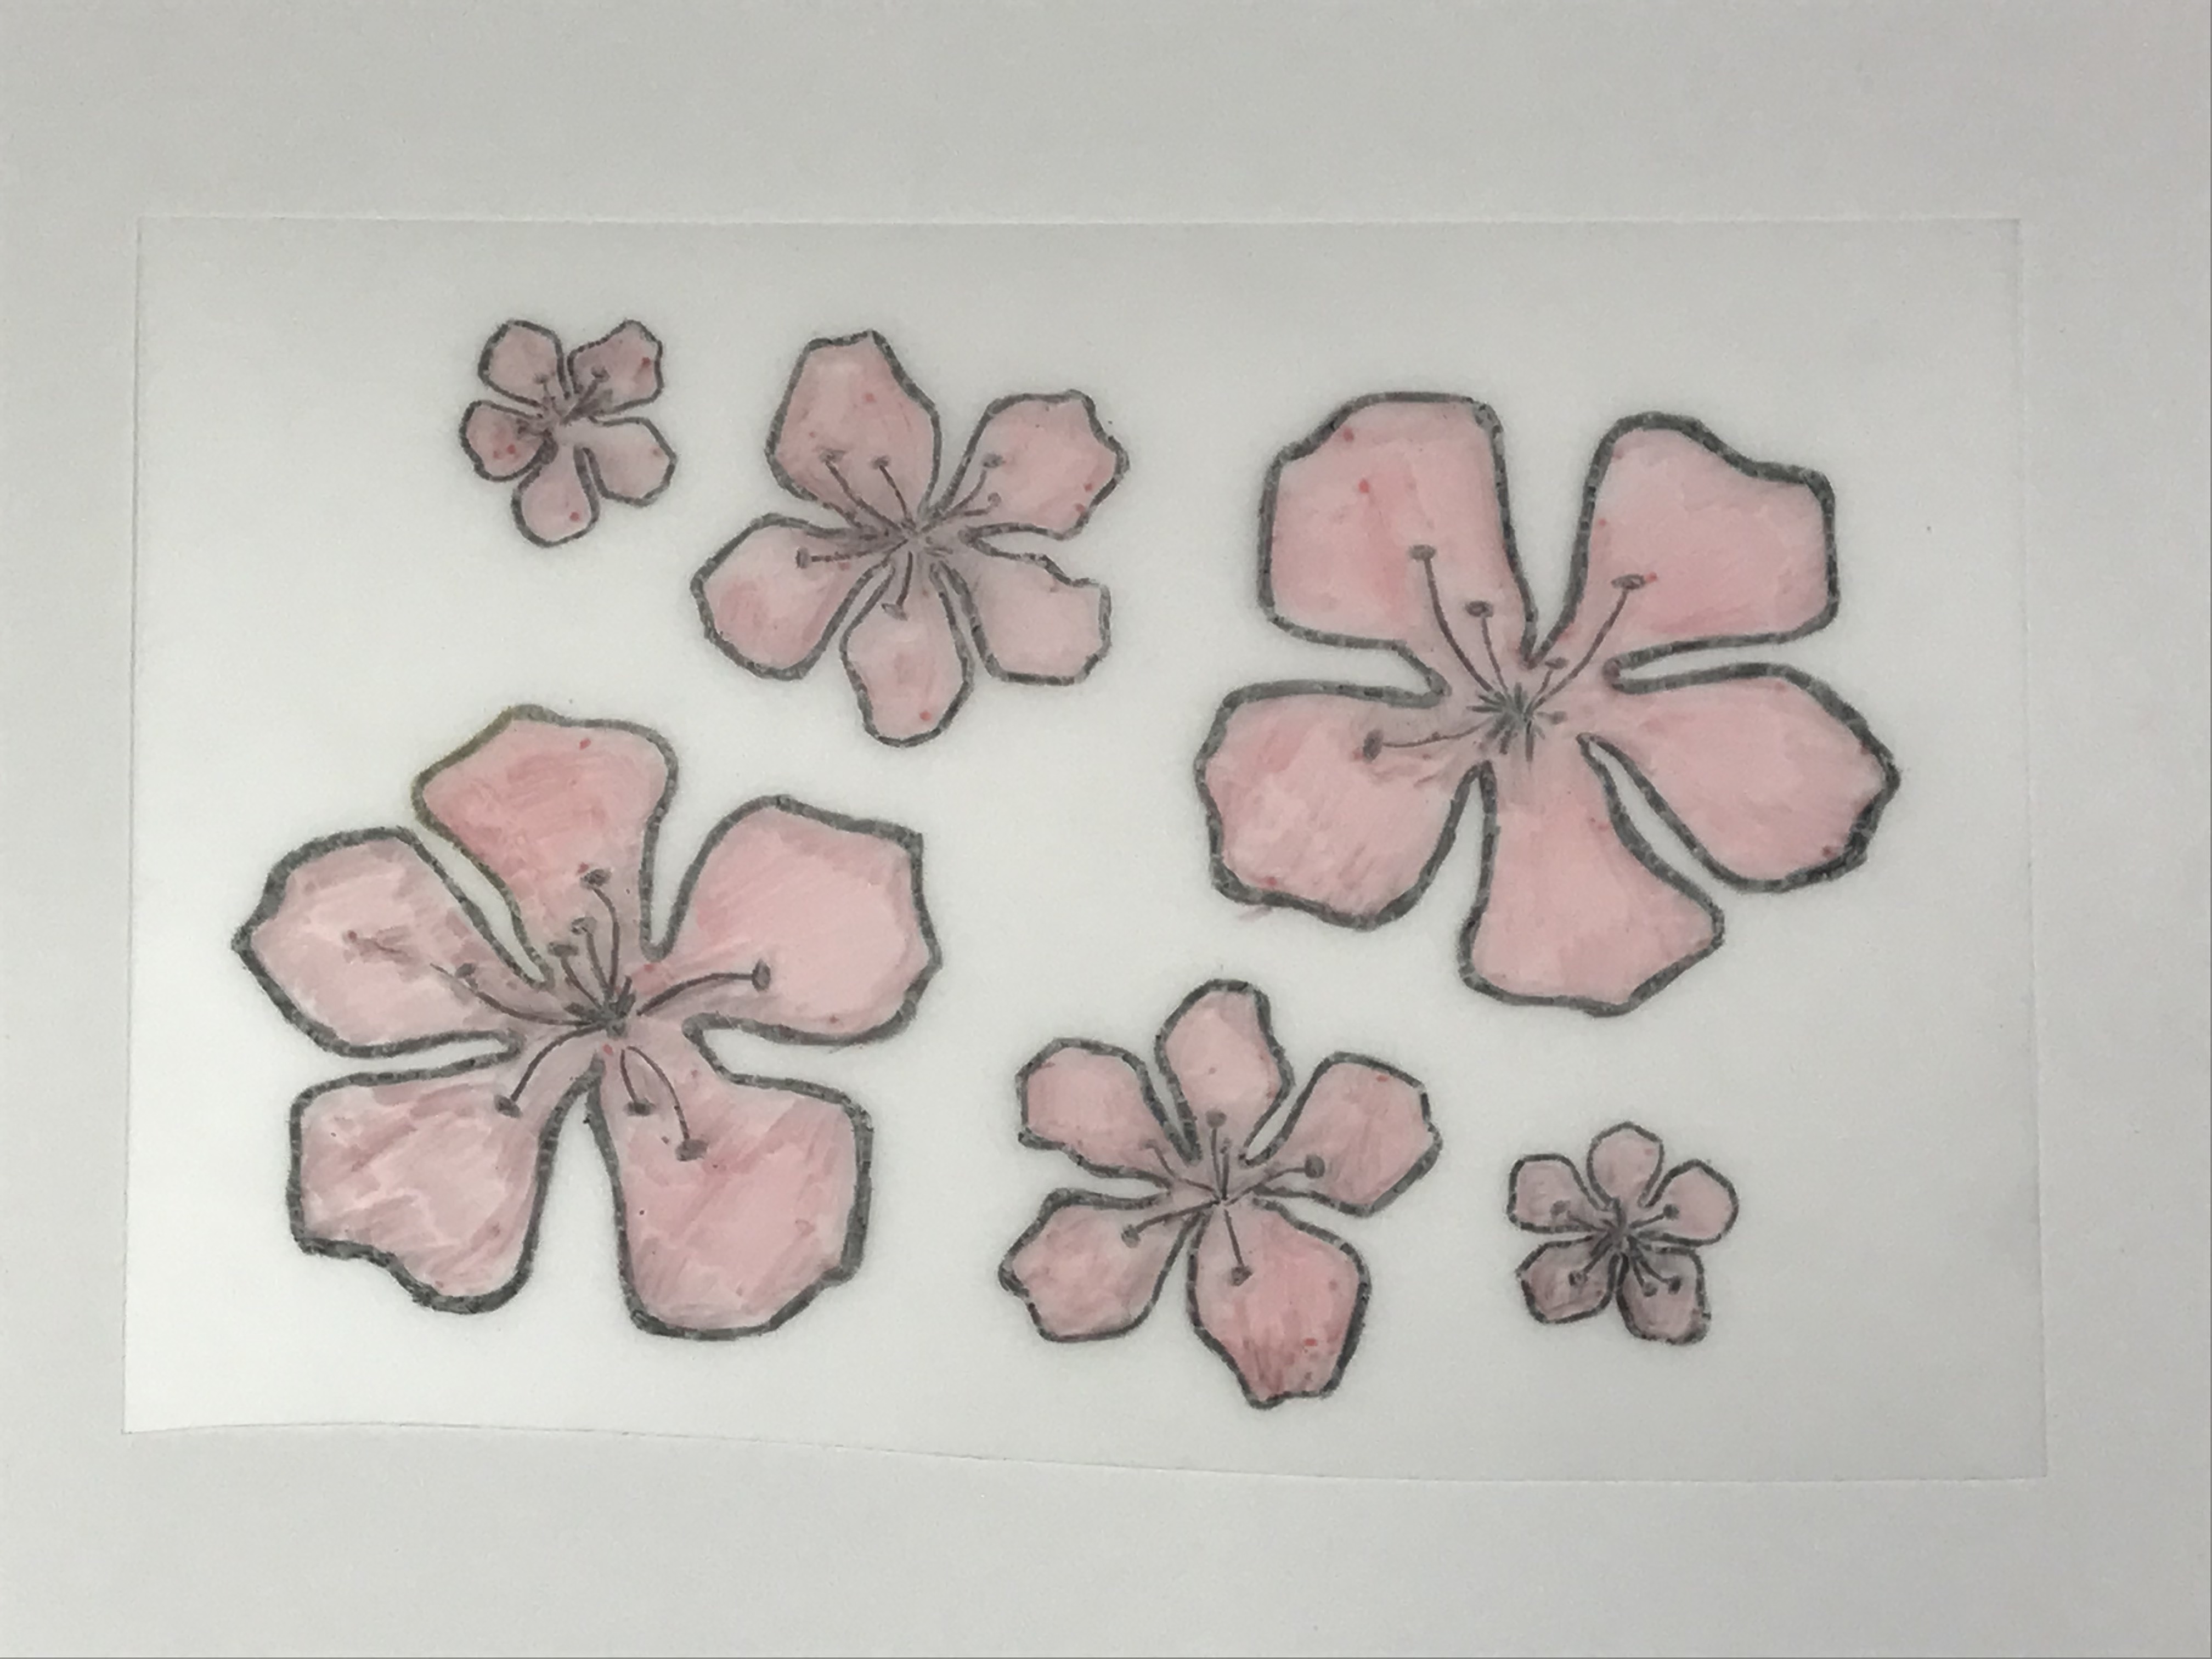
- Begin by tracing your desired design onto the Grafix Shrink Film using a colored pencil. I hand drew some cherry blossoms, but you may also place your Shrink Film over a photograph and trace your design if you are not as confident in your drawing abilities. Make sure to enlarge your illustrations to allow for shrinkage in the final design.
- Add a layer of permanent marker to your sketch, starting with a light color first. You can always build up the color, but it is much harder to take color away. This light color will serve as your base layer.
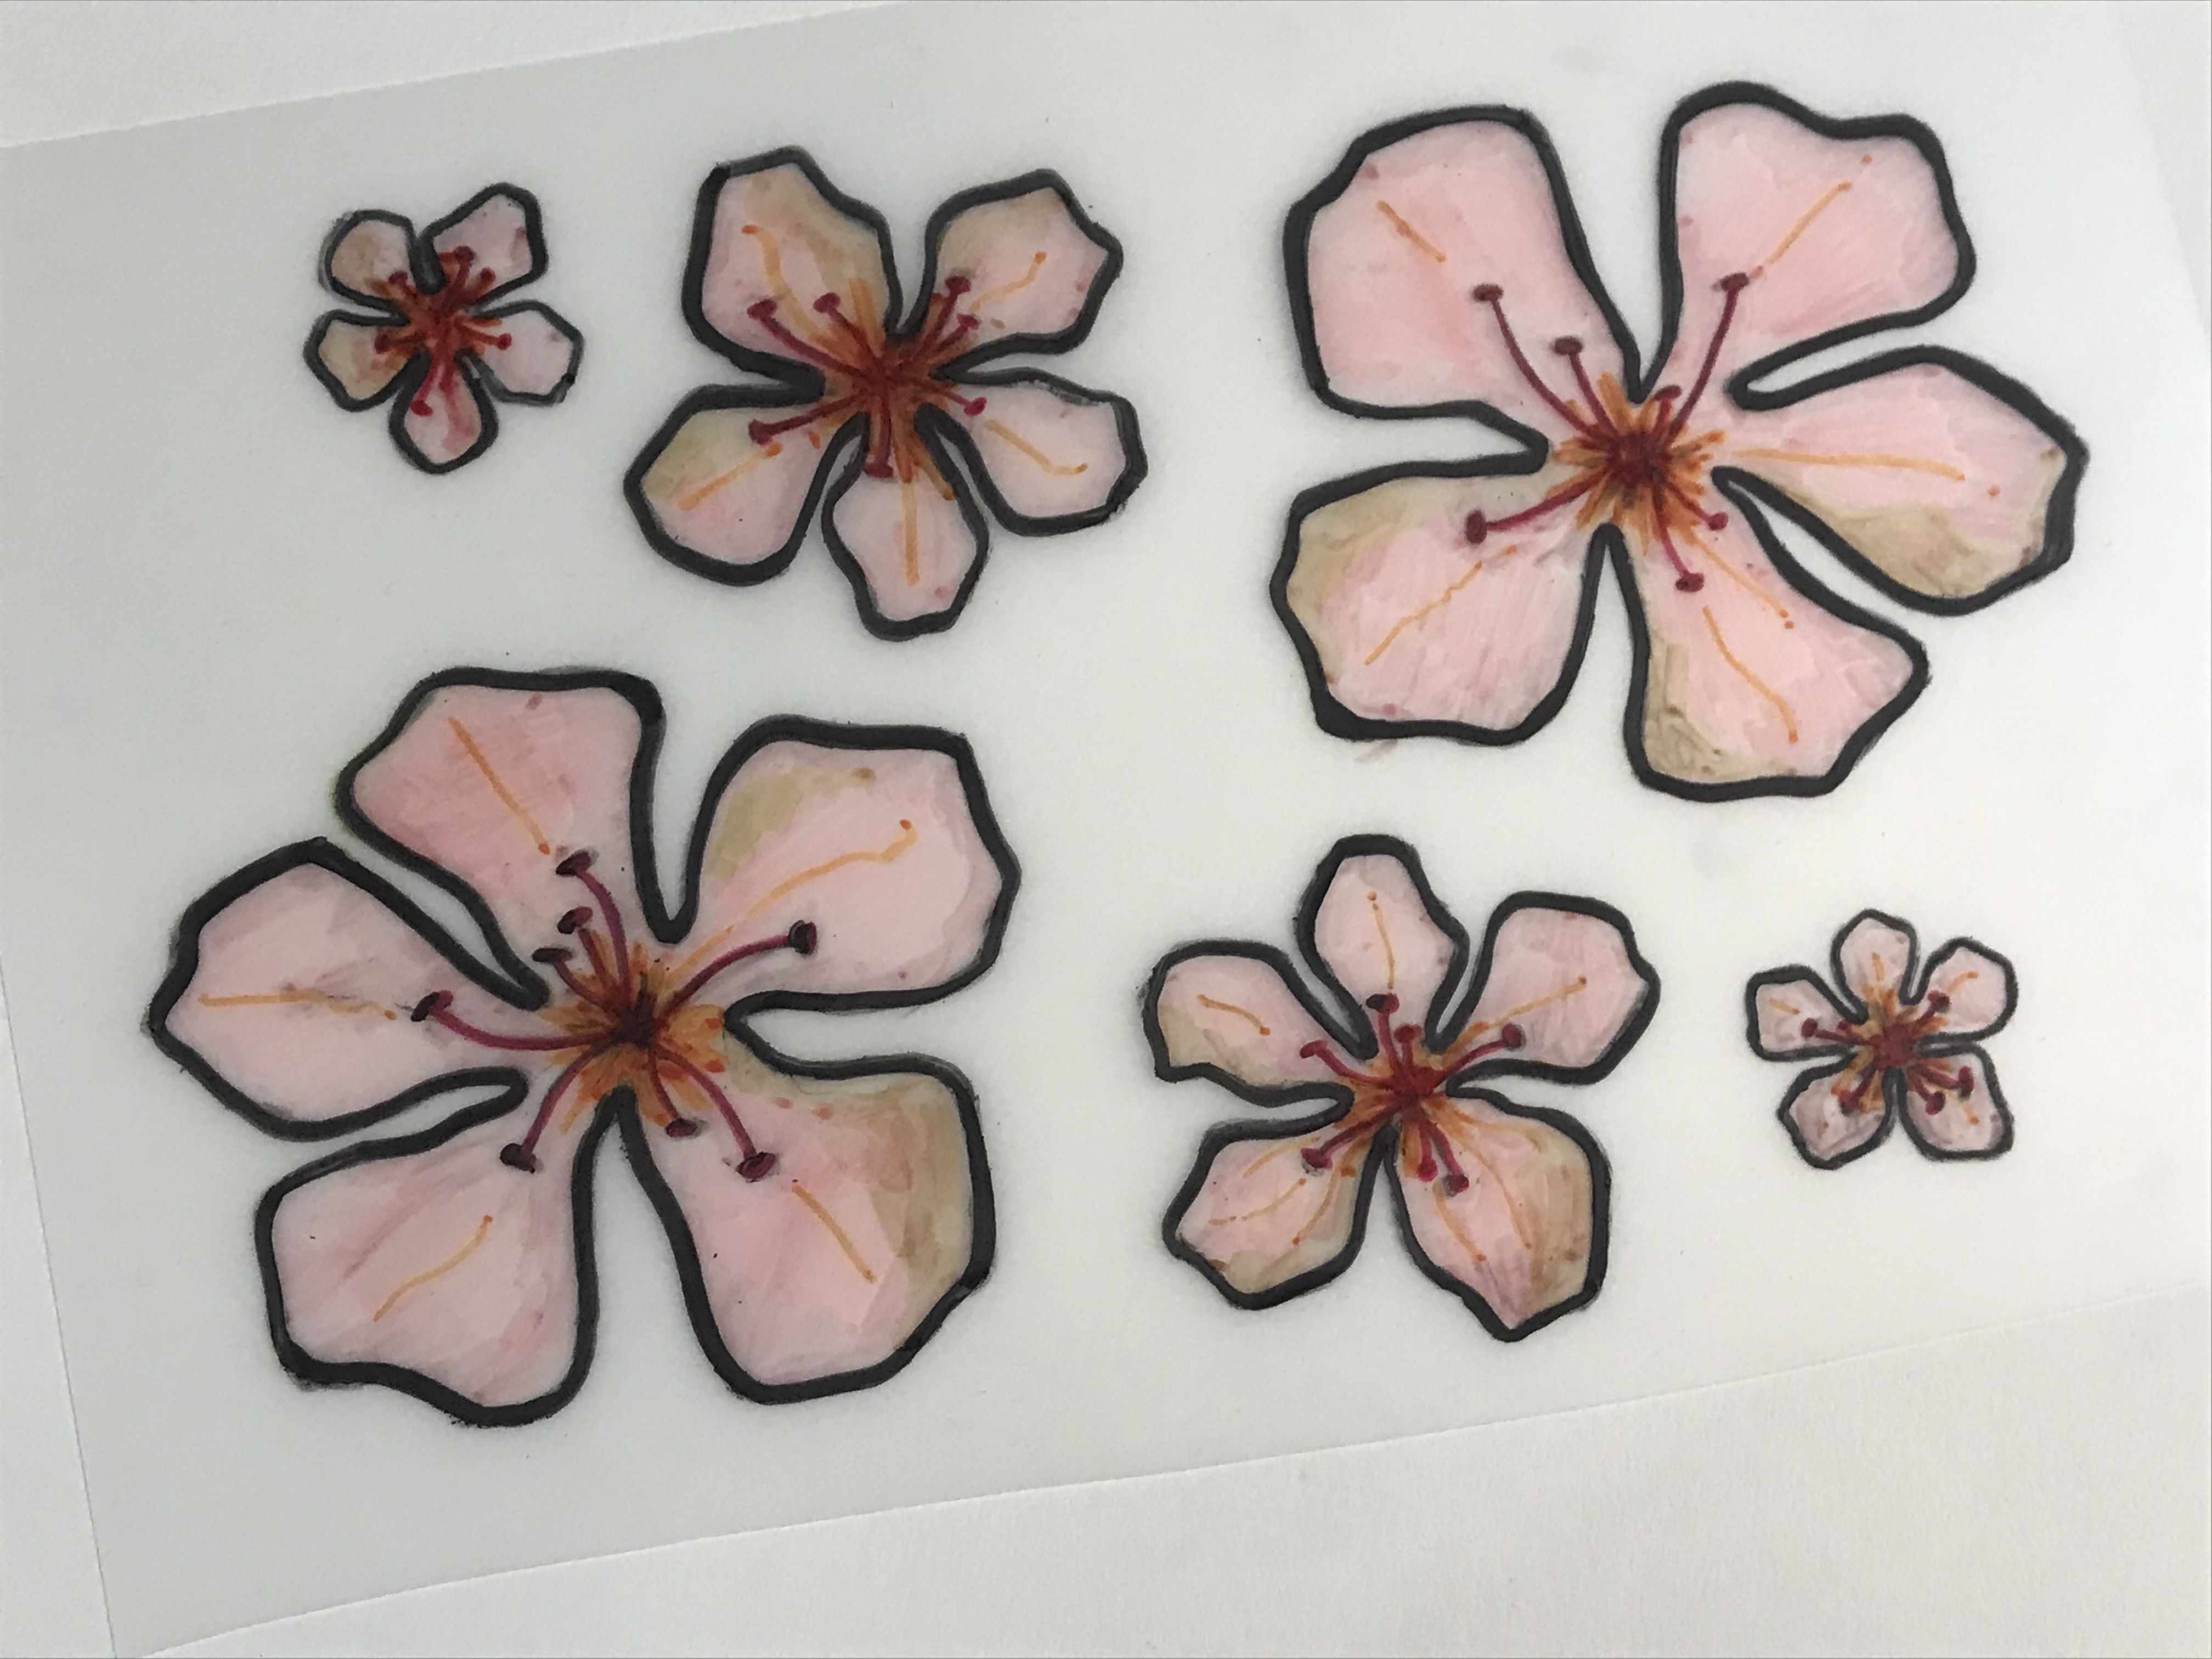
- Once your base layer is down, add depth to your sketch by incorporating a few darker colors of permanent marker. Then, using a thick black permanent marker, outline your design.
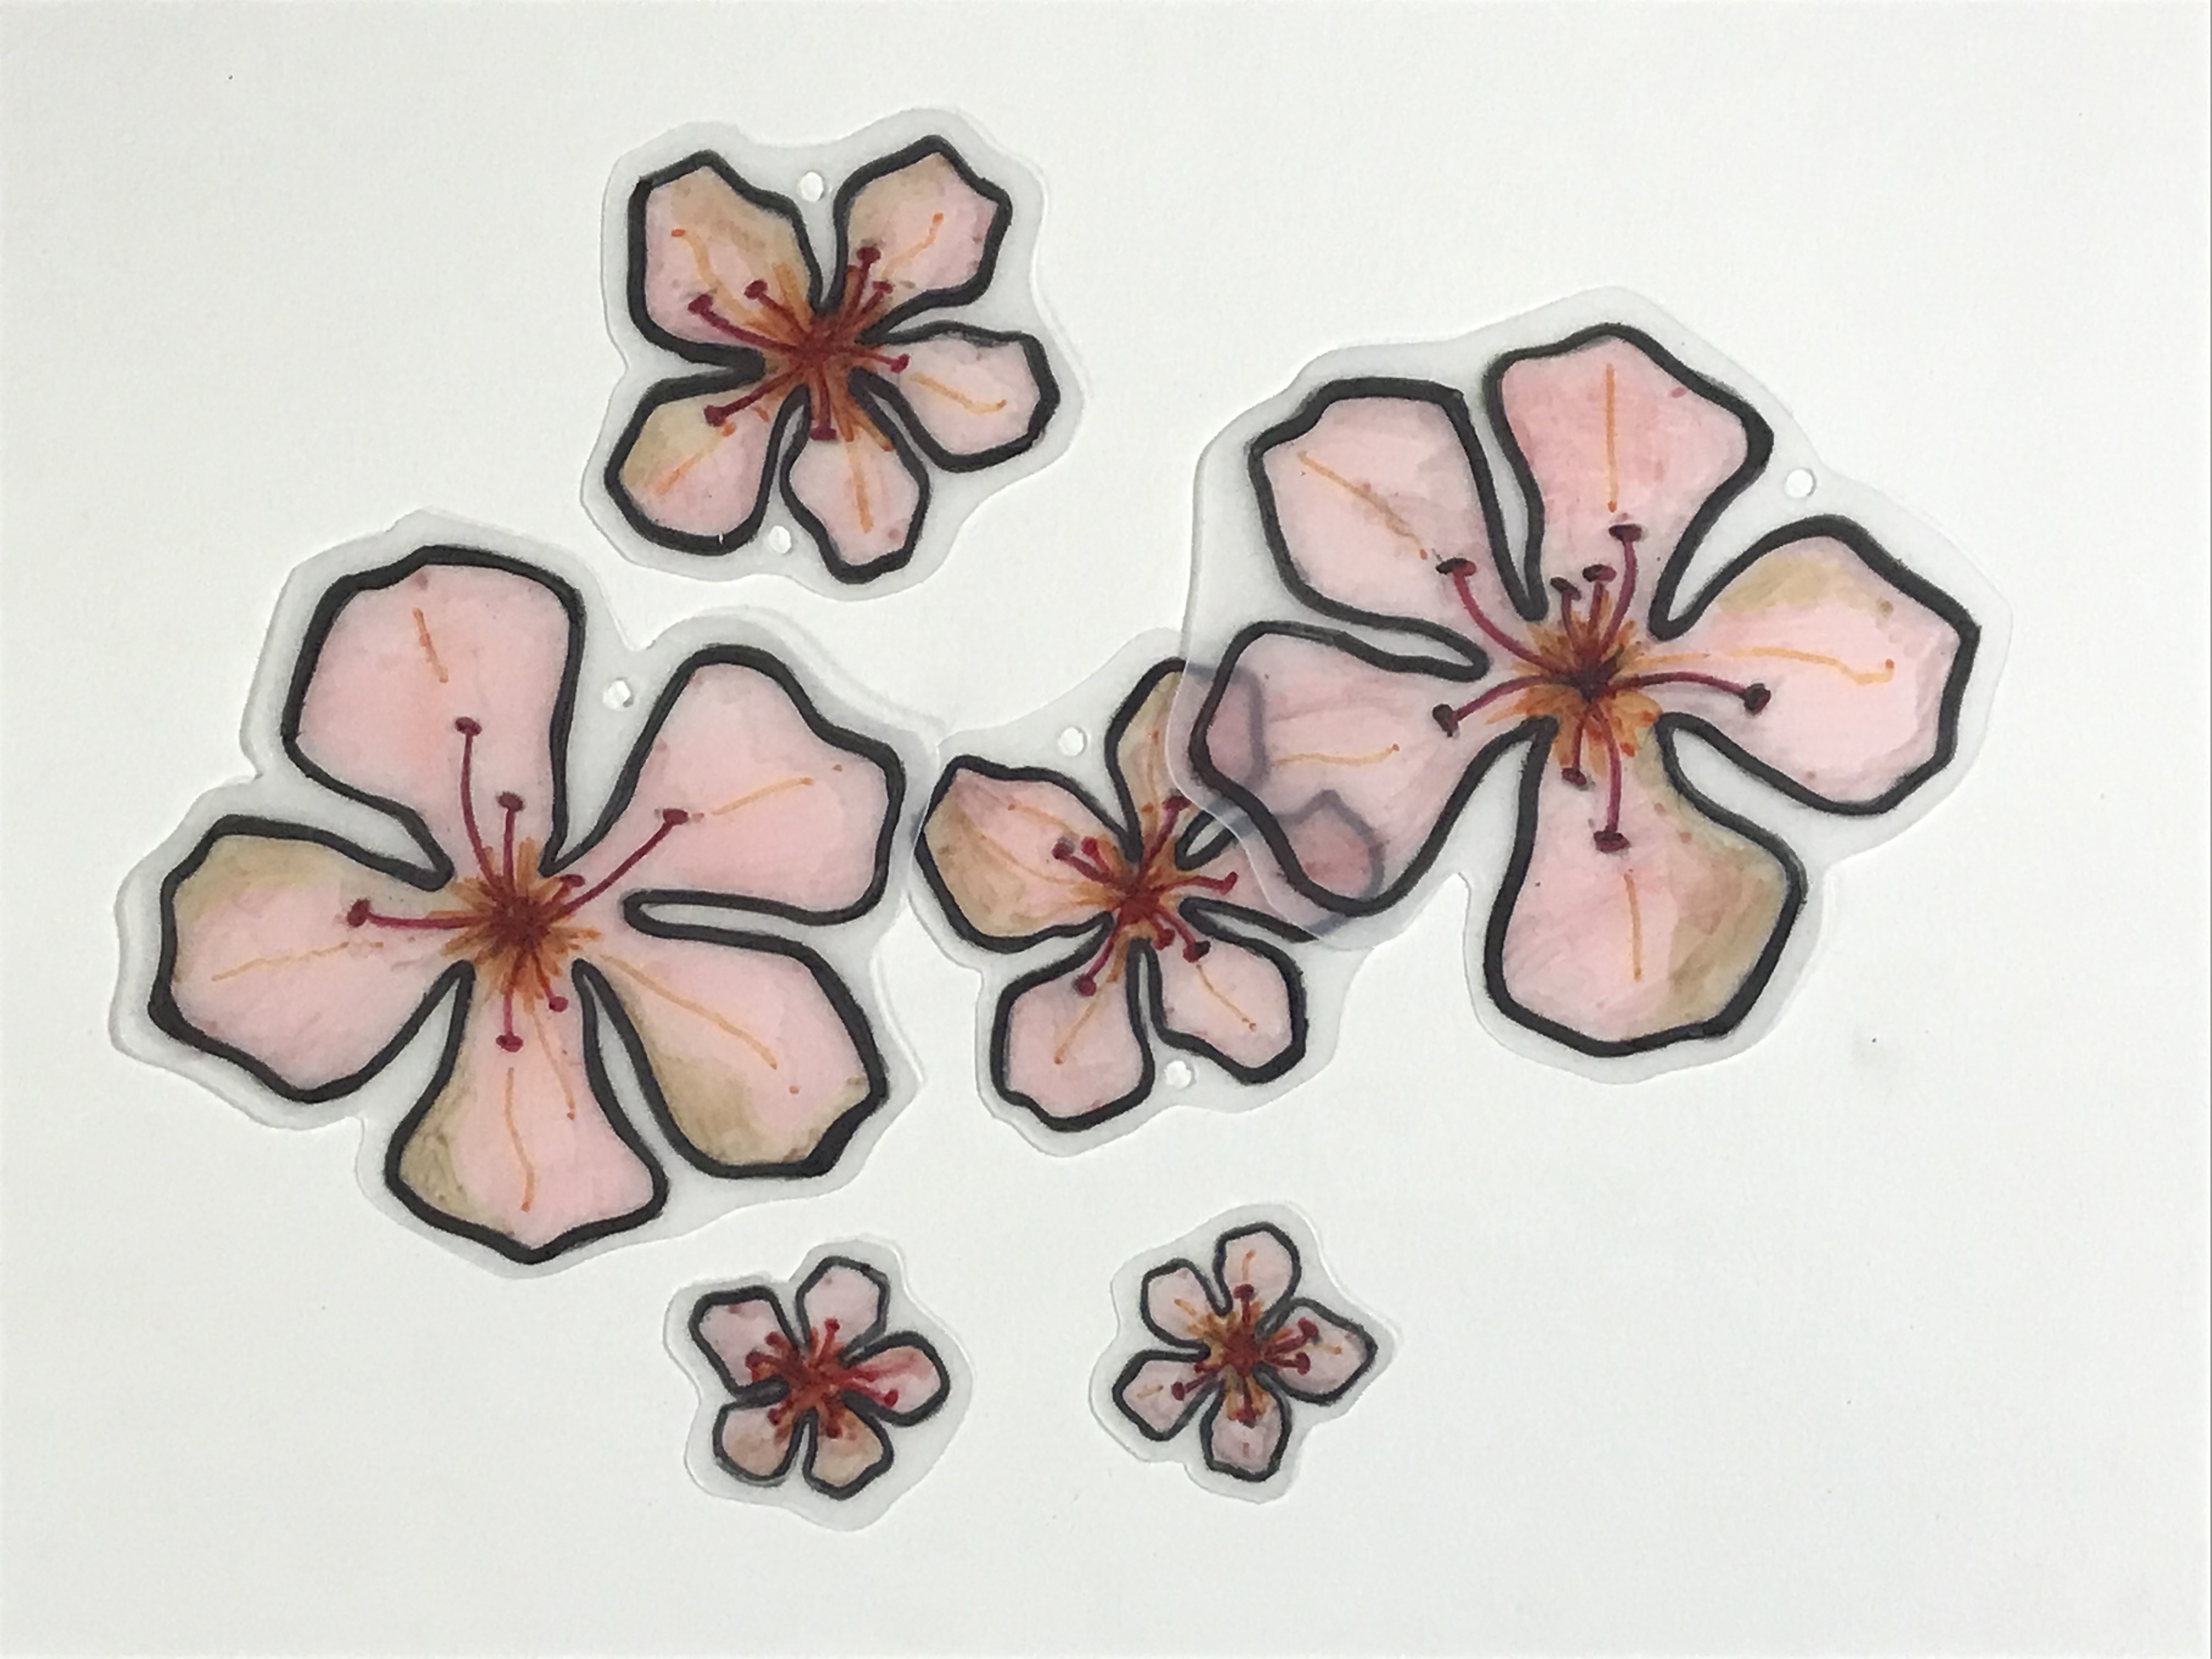
- Cut your design out with scissors, leaving a thin border around the outside. Then, using a small hole punch, add holes to allow you to assemble your earrings later. Here, I added a single hole to the larger flowers and two holes to the medium sized flowers.
- Shrink your Grafix Shrink Film according to the instructions on the package. You might also consider baking a few test pieces before shrinking your actual illustrations, to ensure that your oven’s settings are correct.
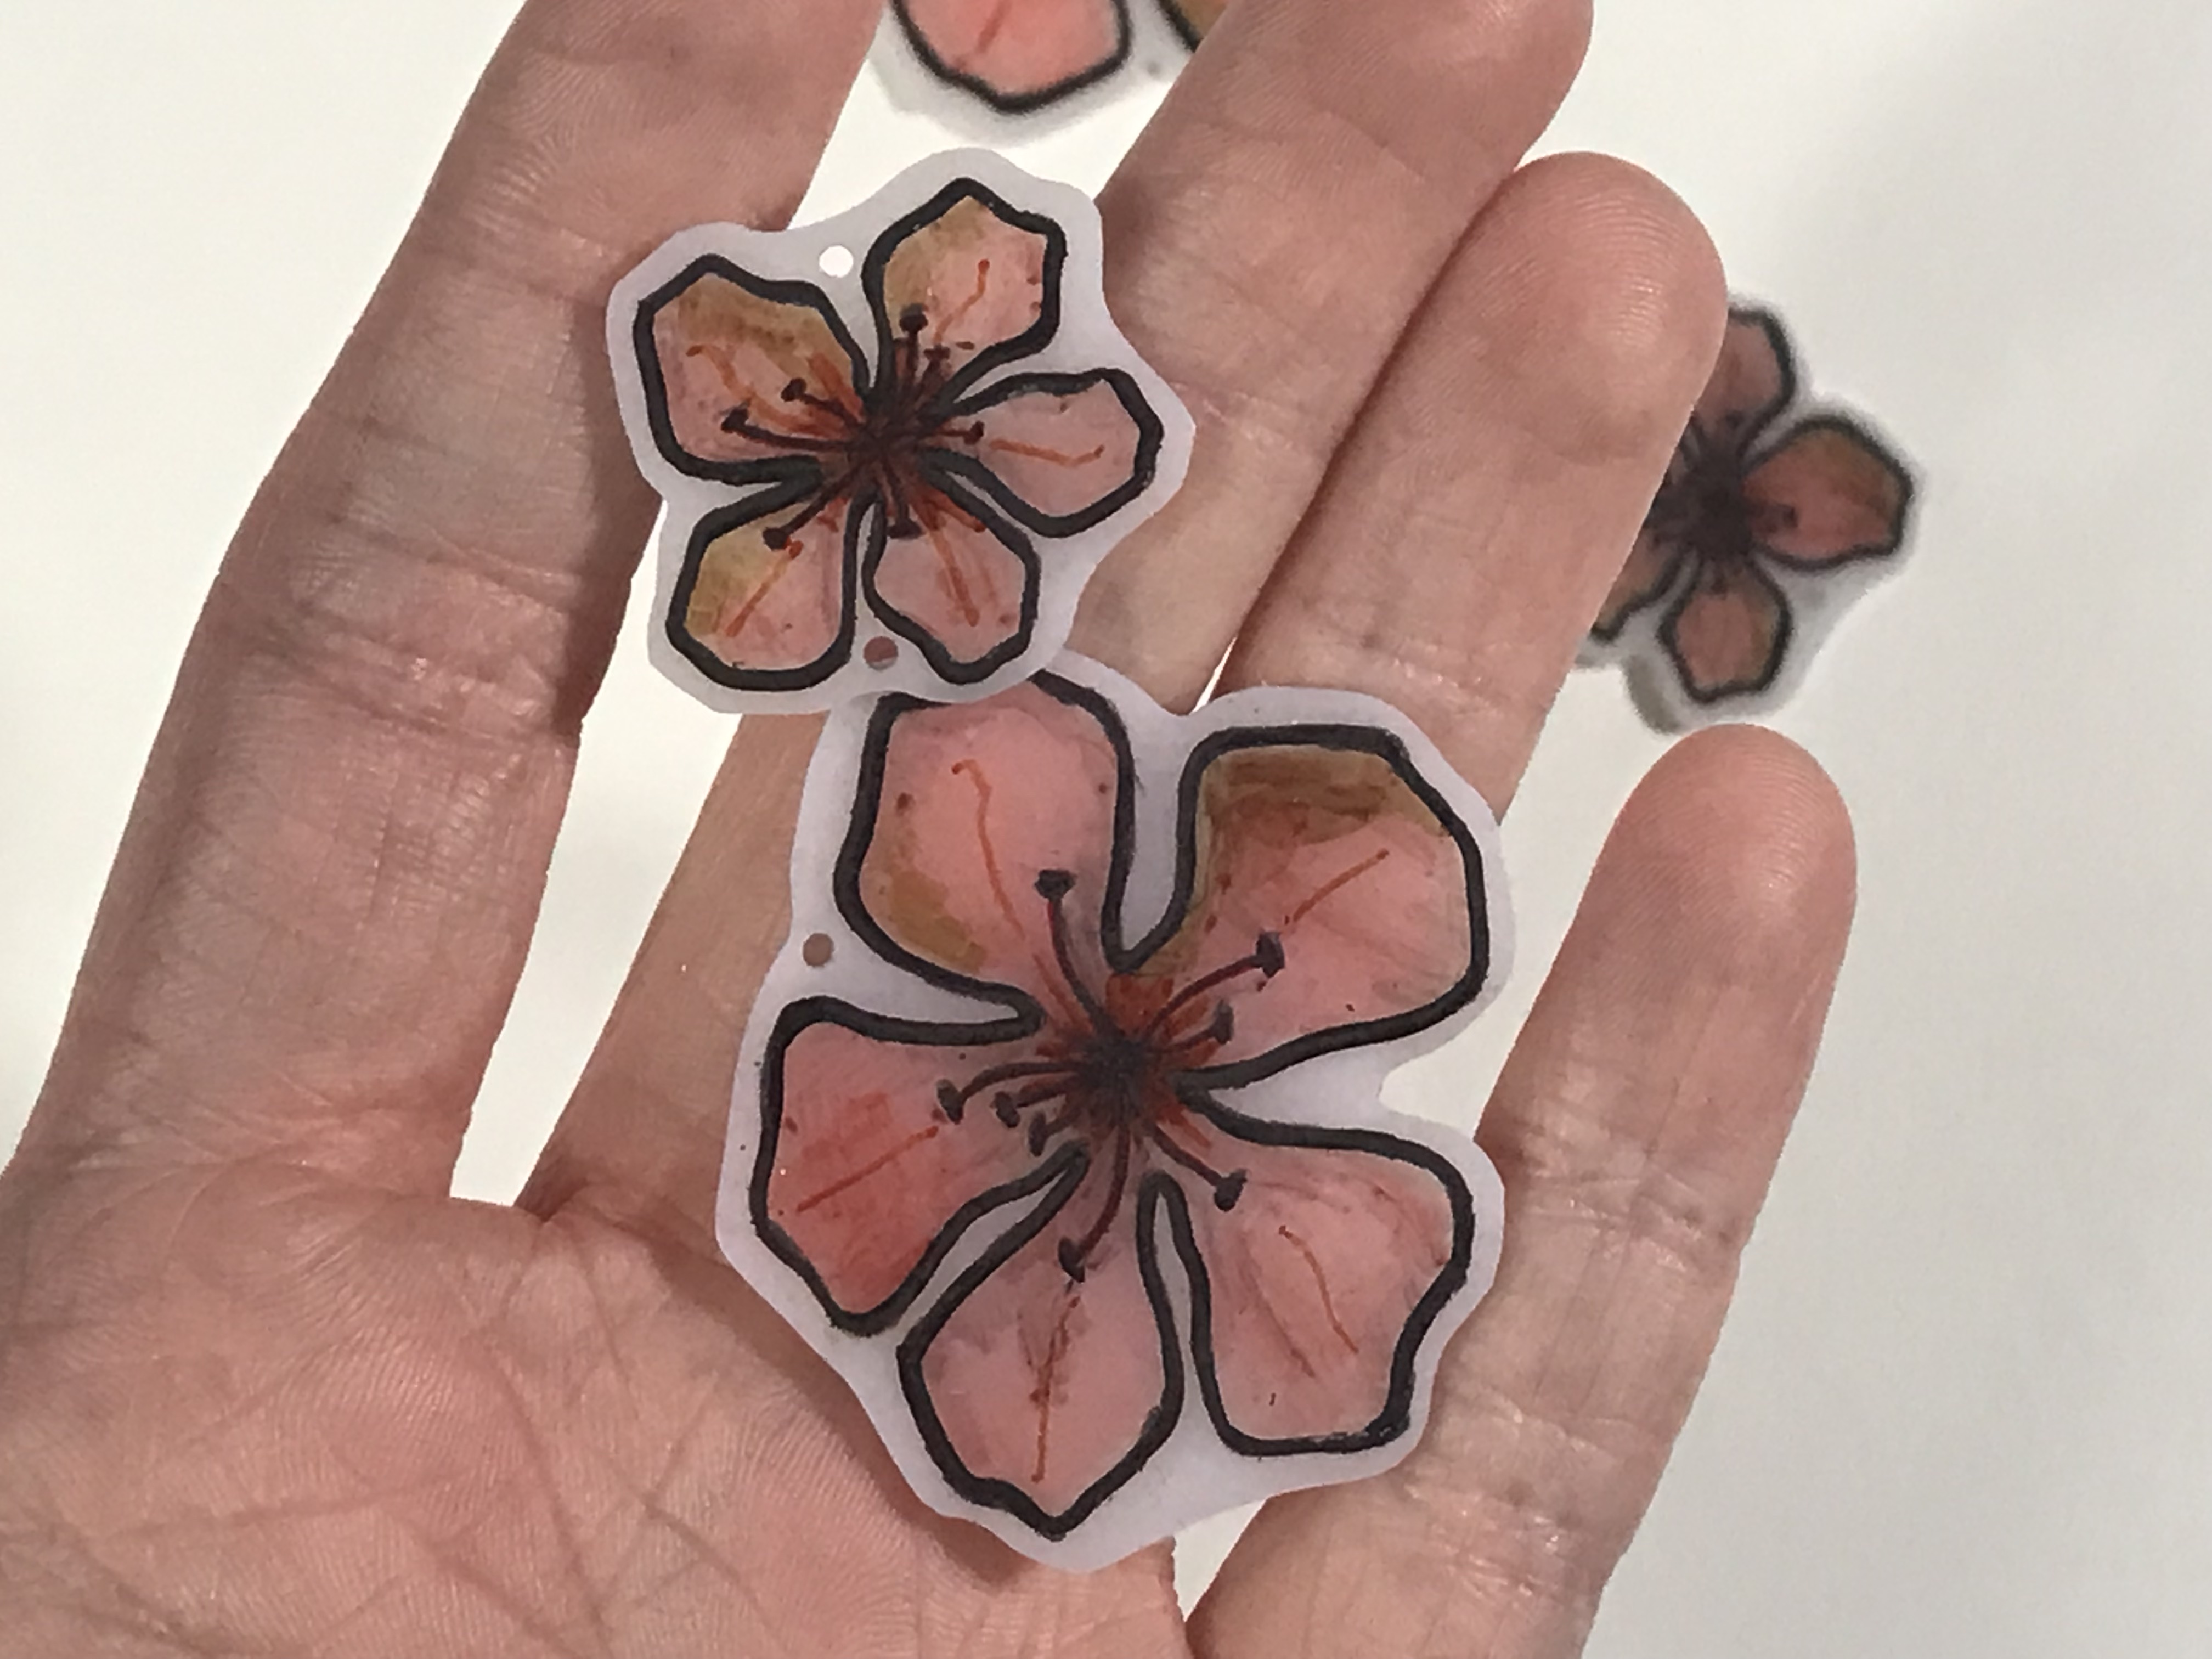
- Once the Grafix Shrink Film has cooled completely, use some large jump rings to connect the smaller flowers to the larger flowers. Then, using a few more jump rings, connect the second hole in the smaller flowers to your earring hooks to finish off your earrings.

