Shrink Keychain
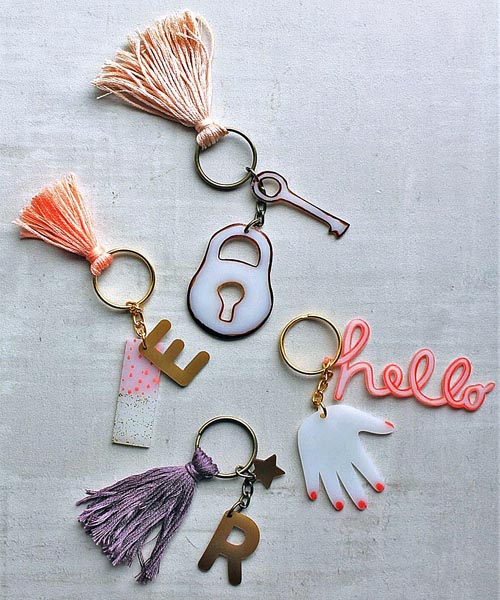
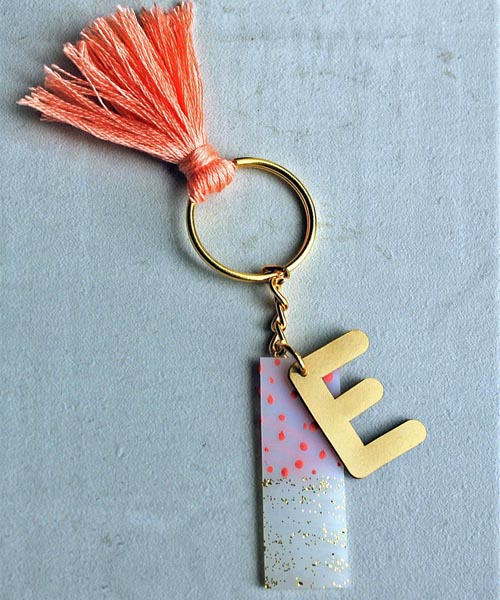
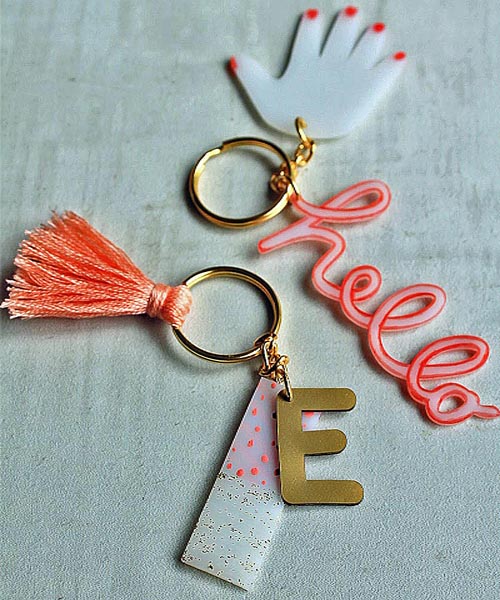
Project Description: DIY your own custom shrink keychain using Grafix Shrink Film!
Designed by: Maritza Garcia
Difficulty: Easy
Materials:
- Grafix Matte Shrink Film
- Grafix Clear Shrink Film
- Grafix Metallic Shrink Film
- Keychains
- Permanent Color Markers
- Hole Punch
- Craft Scissors
- Oven
- Optional: Cutting Machine
Steps to Make This:
- Take a sheet of Grafix Shrink Film (your choice of which type) and free-hand draw or trace a shape or design.
- Next, using your favorite craft scissors cut out your shape/design or if you have a cutting machine you can run it through your cutting machine. (Using a cutting machine is optional).
- Once all of your pieces are cut out. Fill in your shape/ design with color using your permanent markers.
- Then set aside and let the ink dry.
- Next, hole punch your cut-outs before baking/ shrink your designs.
- Pre-heat your oven and follow the Shrink Film baking instructions for the best results.
- Once the Shrink Film is out of the oven, let the cut-outs cool.
- Then take a keychain and attached the Shrink Film shape/design and include any additional embellishments to finish off your keychain.


