Snowflake Decor
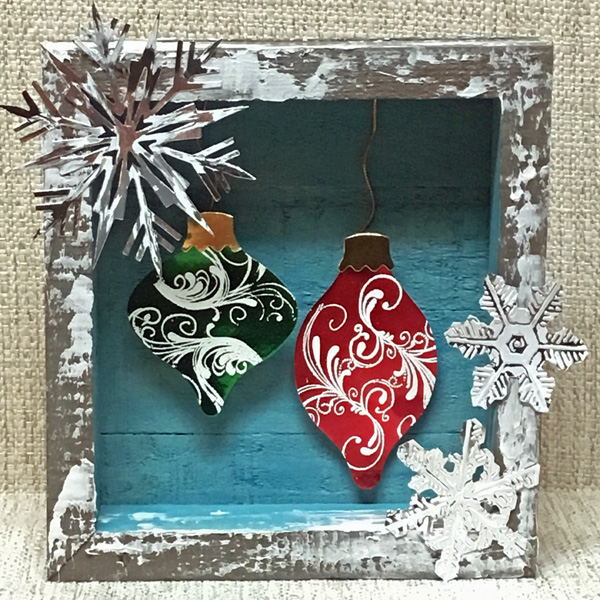
Project Description: Let it snow, with a creative winter snowflake décor using Grafix Metallic Foil Board and Artist-tac.
Designed by: Tami Sanders
Difficulty: Moderately Challenging
Materials:
- Grafix Metallic Foil Board: Silver, Red, and Green
- Grafix Artist-tac
- Sizzix Bigz Retro Bauble
- Sizzix Tim Holtz Texture Fades Snowflake Duo
- Sizzix Tim Holtz Alterations Ice Flake
- The Crafter’s Workshop White Modeling Paste
- The Crafter’s Workshop Heavy Body Acrylic
- Paint: Spun Sugar, Blue Jelly Bean, and Iridescent Gold
- Clearsnap White ColorBox Embossing Powder
- Clearsnap Top Boss Clear Embossing Pad
- Wood Pallet
- Swirl Stamp
- 3D Foam Tape
- Gold Wired Cord
- Die Cut Machine
- Heat Gun
- Palette Knife
- Small Paintbrush
- Scissors
- Pencil
- Beacon Adhesives Mixed Media Glue
Steps to Make This:
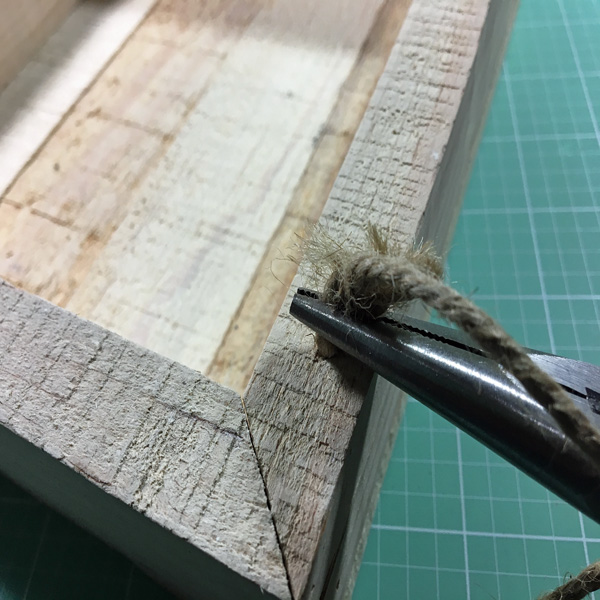
- Start by removing the twine hanger from the pallet.
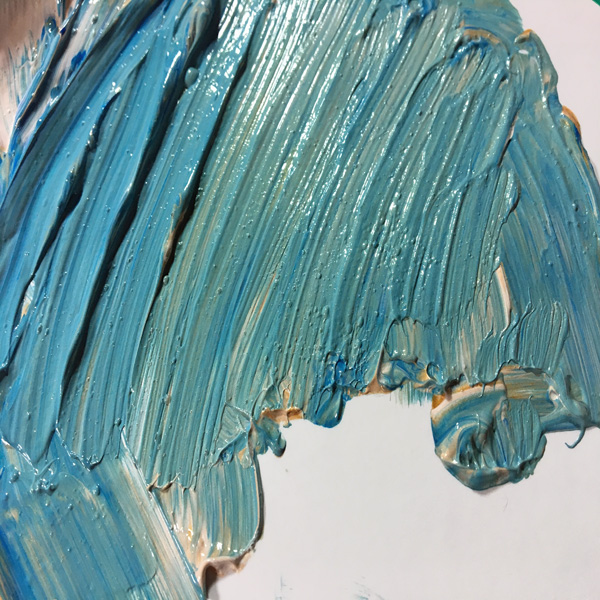
- Then partially mix gold, white, and blue paints together; don’t over blend.
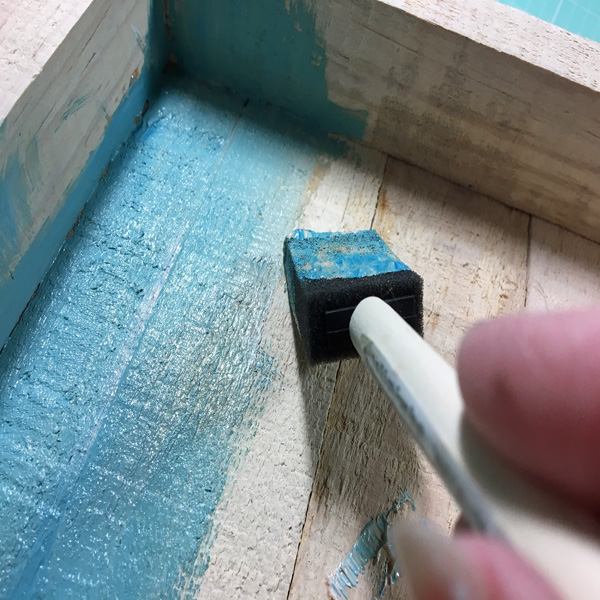
- Paint the inside of the pallet with the mixture.
- Add brown paint to the mixture and mix; don’t over blend.
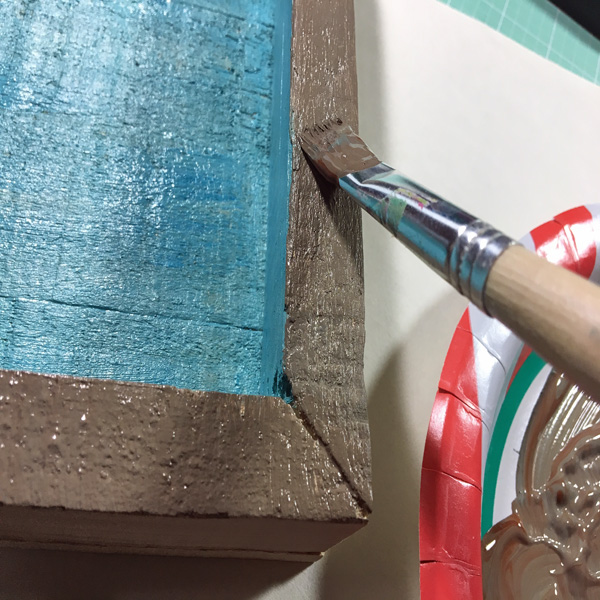
- Paint the edges and sides of the pallet with the mixture.
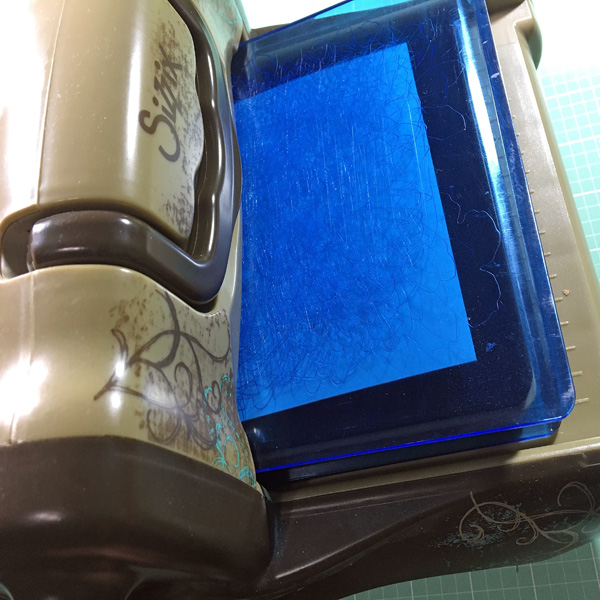
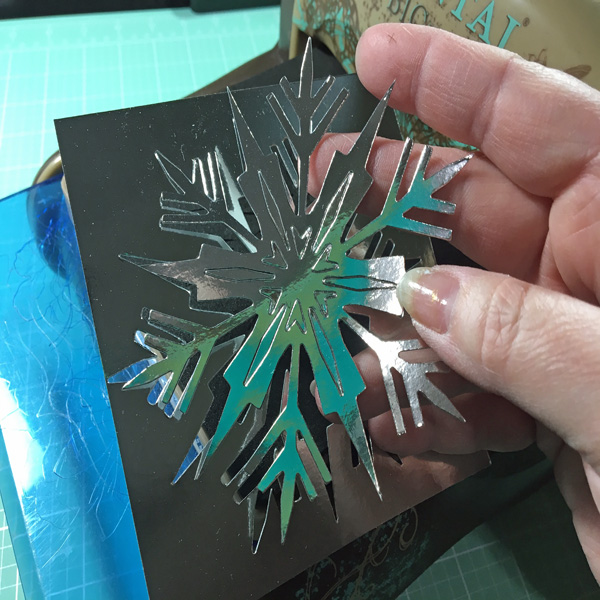
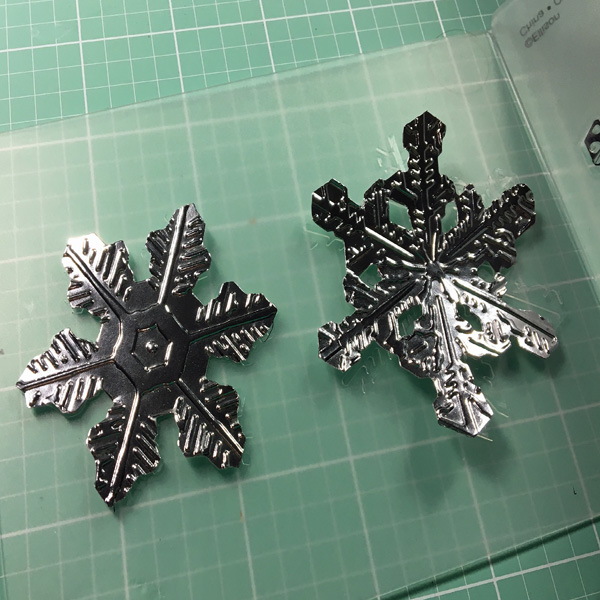
- Die-cut a large snowflake using Grafix Silver Metallic Foil Board.
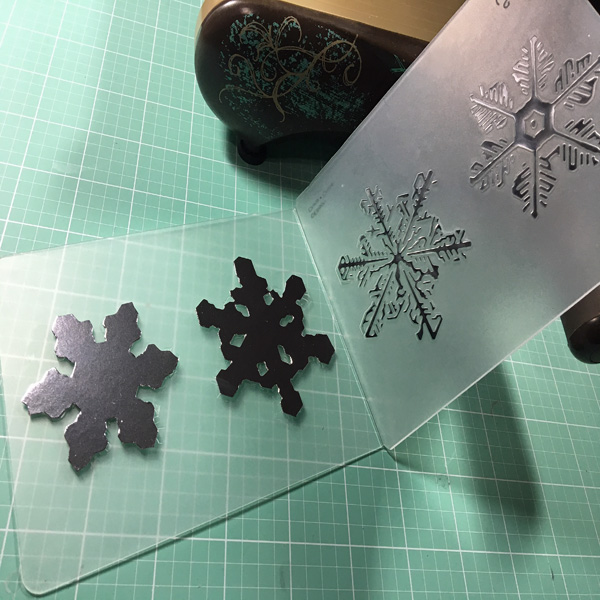
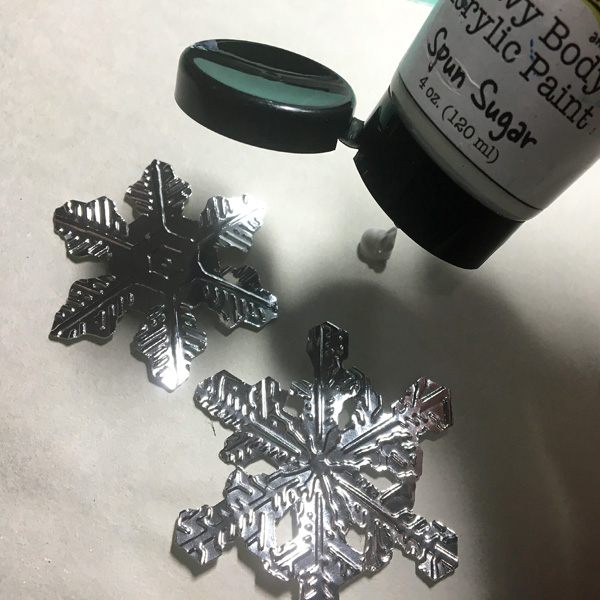
- Die-cut and emboss 2 smaller snowflakes using Silver Metallic Foil Board.
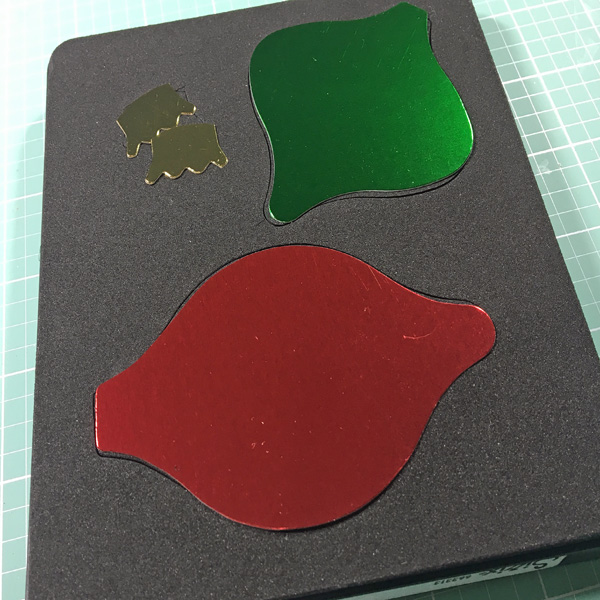
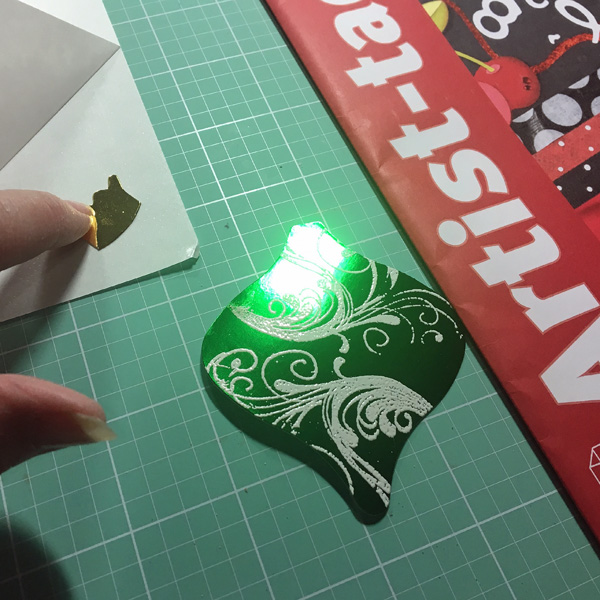
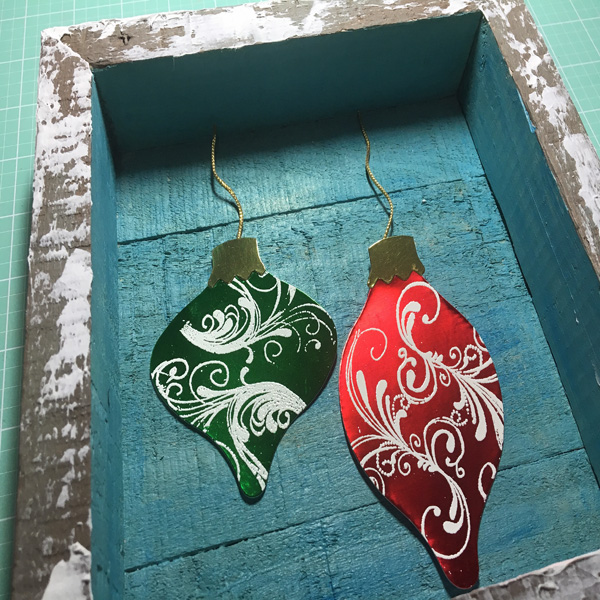
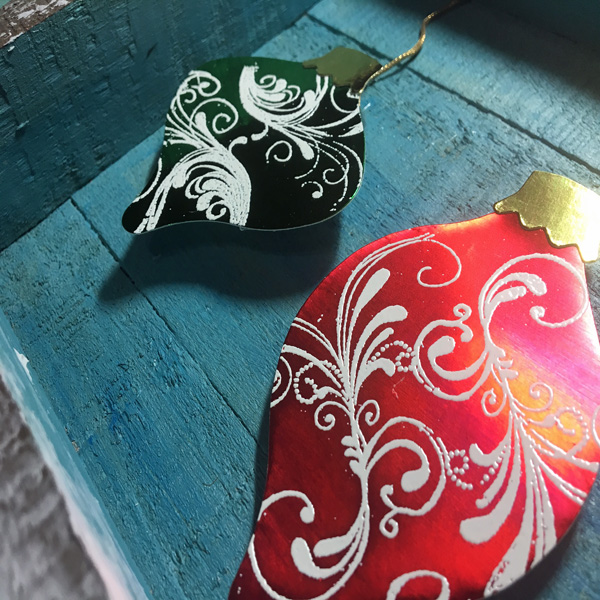
- Die-cut ornaments from the Grafix Red and Green Metallic Foil Board and 2 ornament caps from Gold Metallic Foil Board.
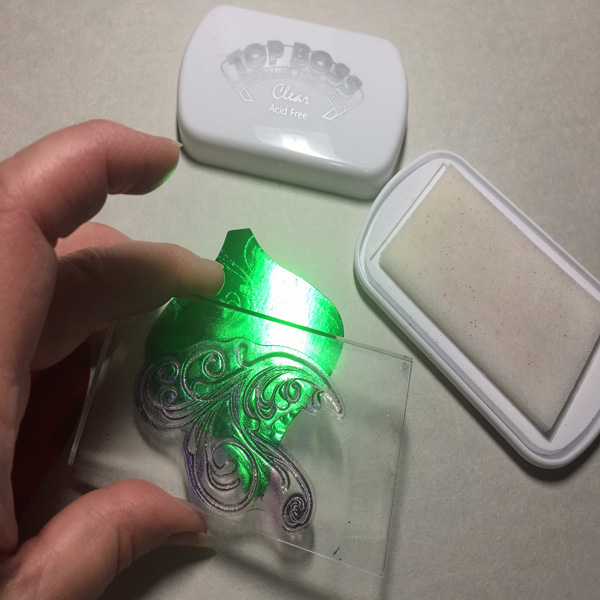
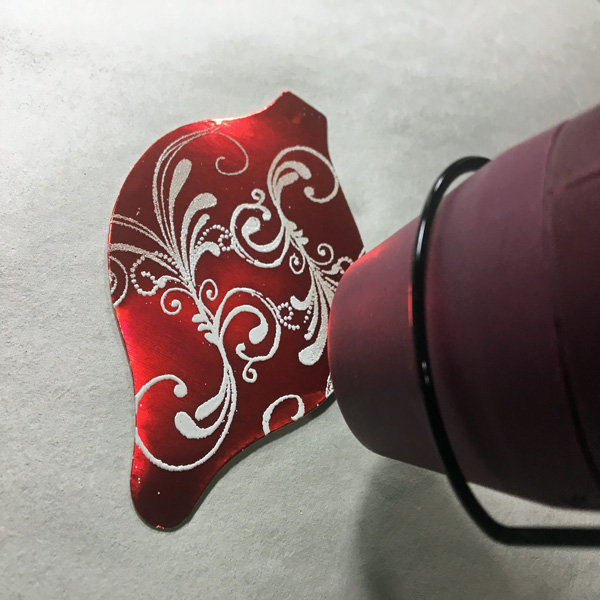
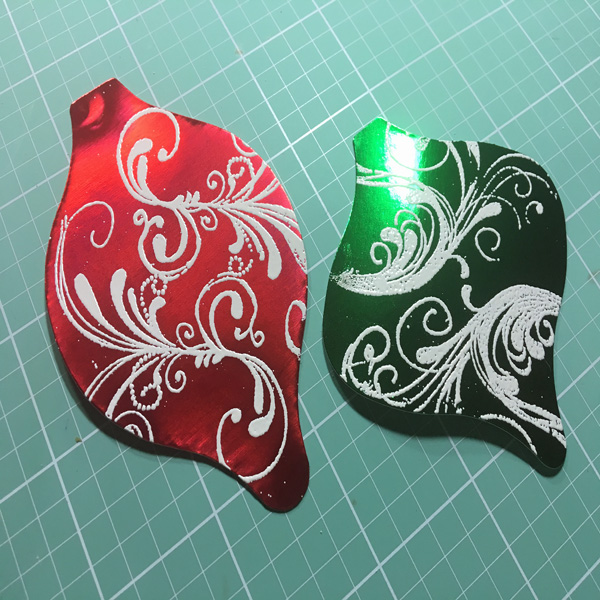
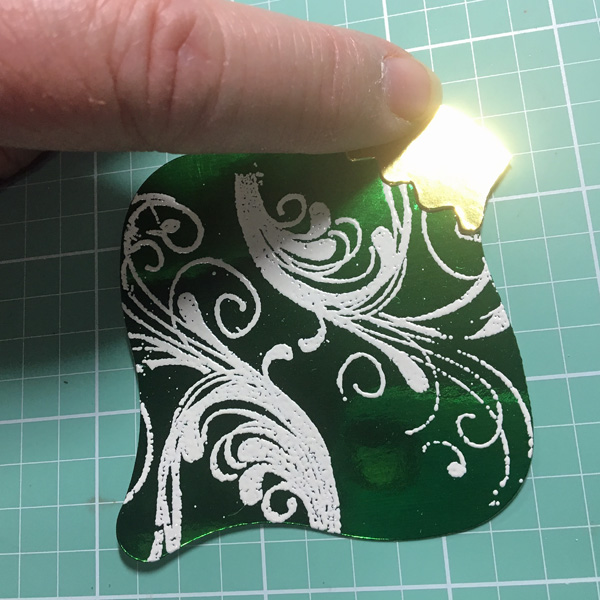
- Use the swirl stamp and embossing pad to add patterns to both ornaments.
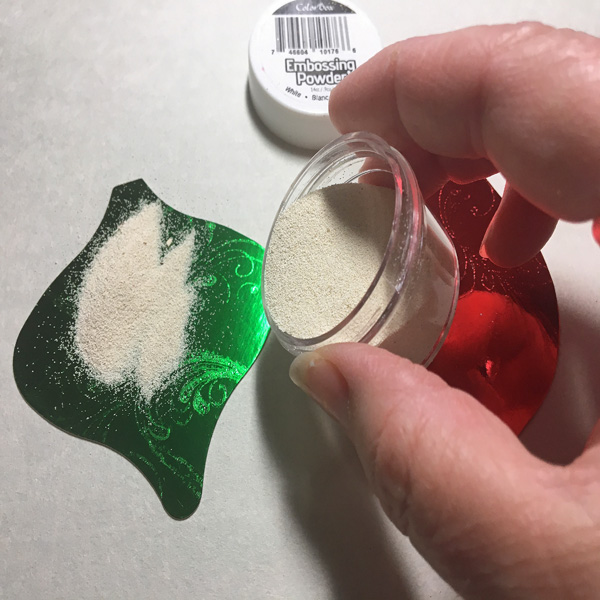
- Then emboss with the white embossing powder.
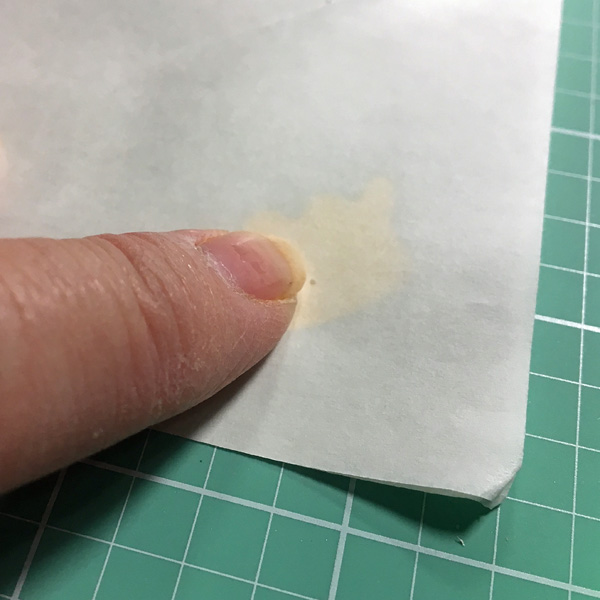
- Use Grafix Artist-tac to adhere to the caps to tops of the ornaments.
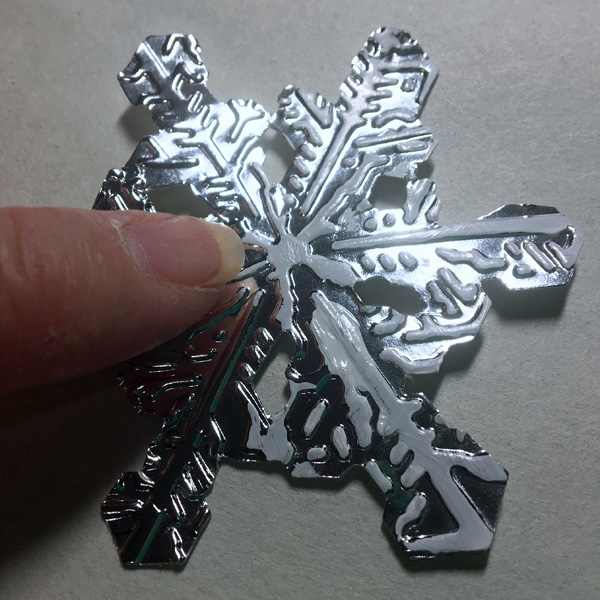
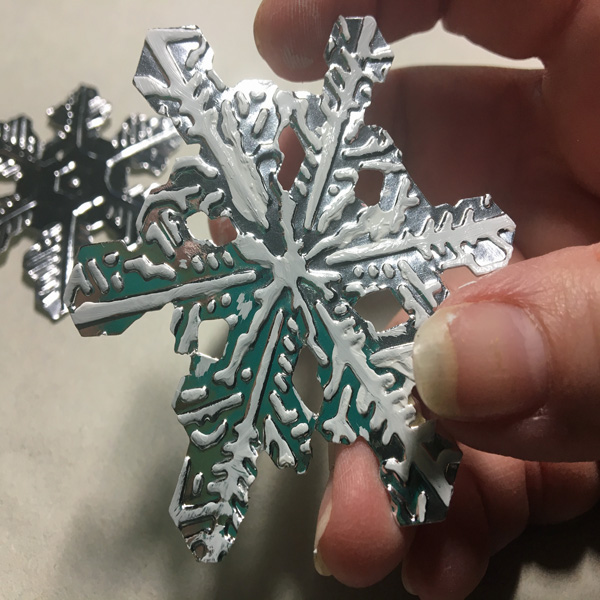
- Use your finger to gently rub the white paint over the raised portions of small snowflakes.
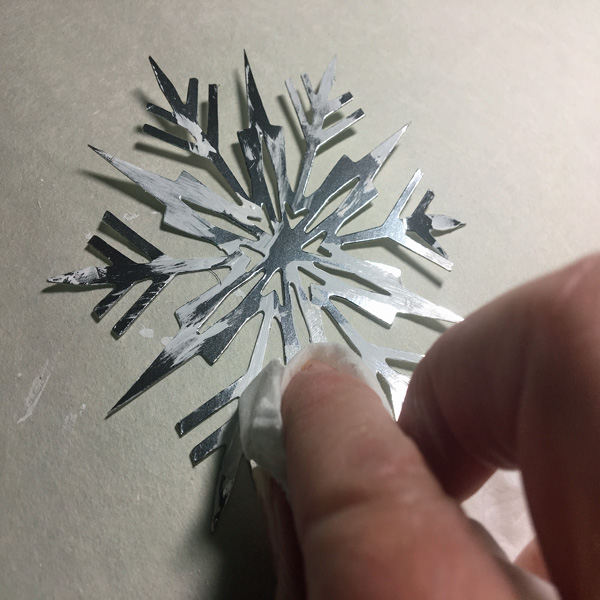
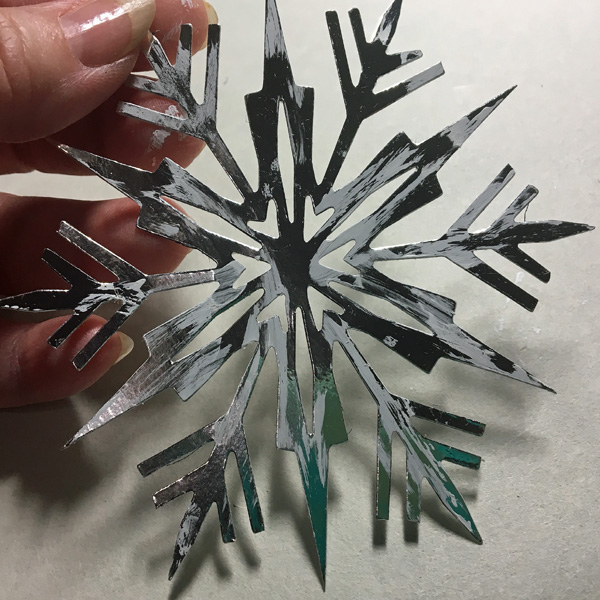
- Apply the white paint to portions on large snowflakes; use a tissue to remove some paint to leave it distressed.
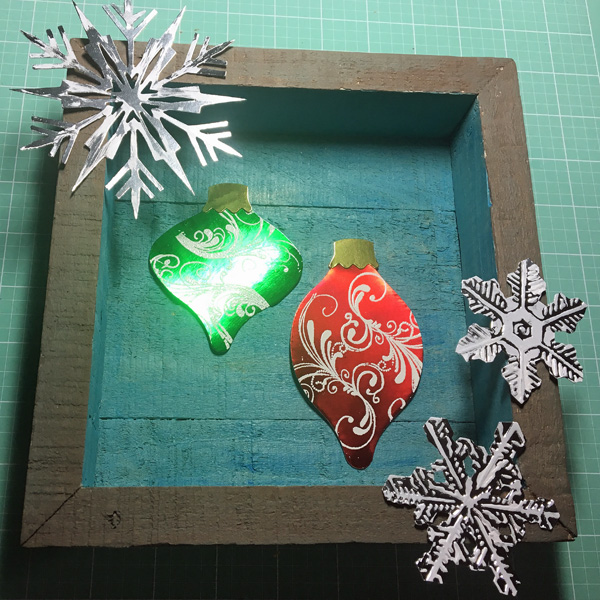
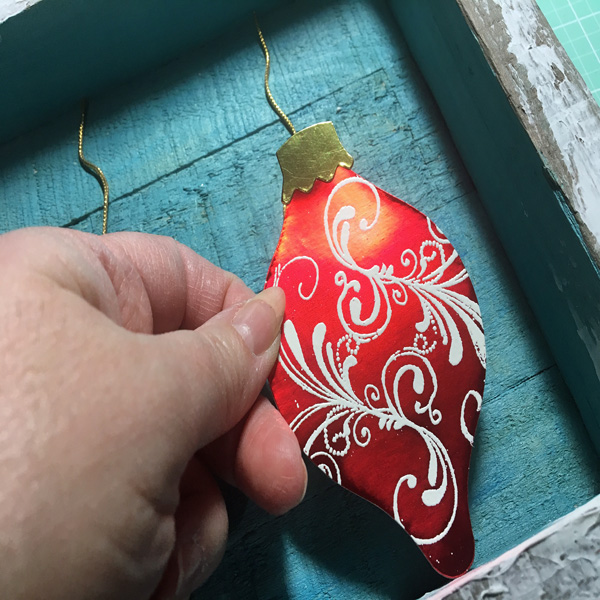
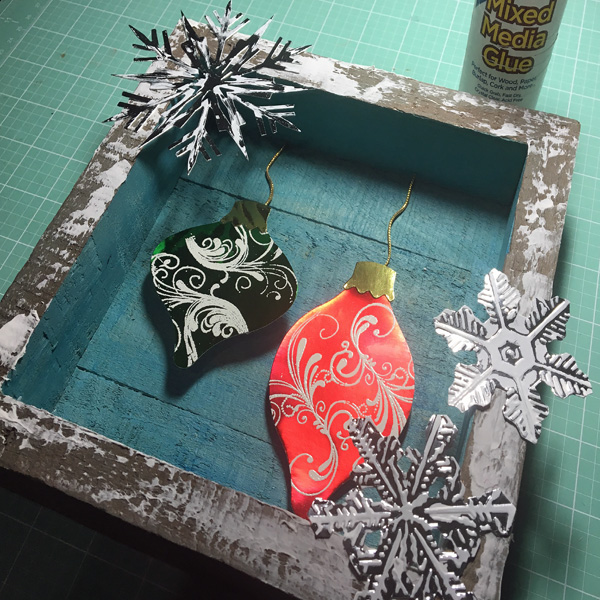
- Arrange the ornaments inside the pallet with green at the top left and the red a bit lower to the right.
- Place the large snowflake in the upper left corner and 2 smaller snowflakes at the lower right corner.
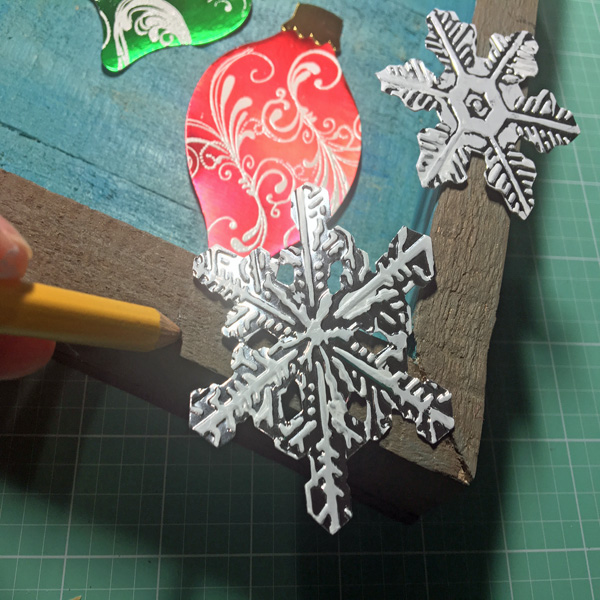
- Use a pencil to mark the placement of the pieces.
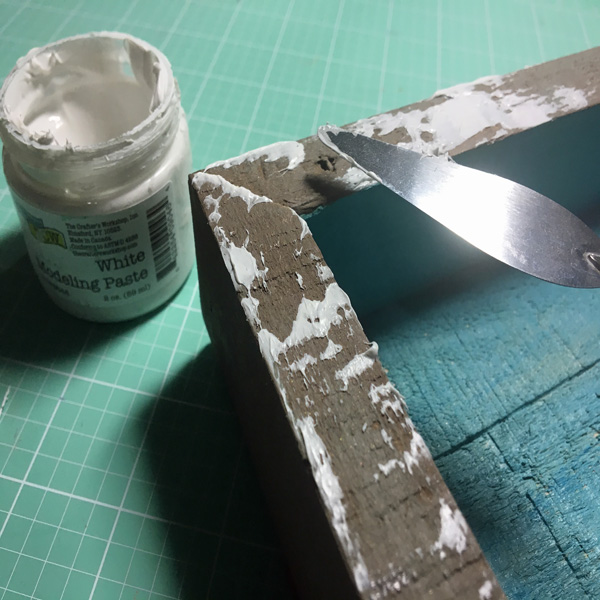
- Remove all the pieces and then use a palette knife to apply white molding paste as “snow” around the outer edges of the pallet, keeping the placement of snowflakes in mind.
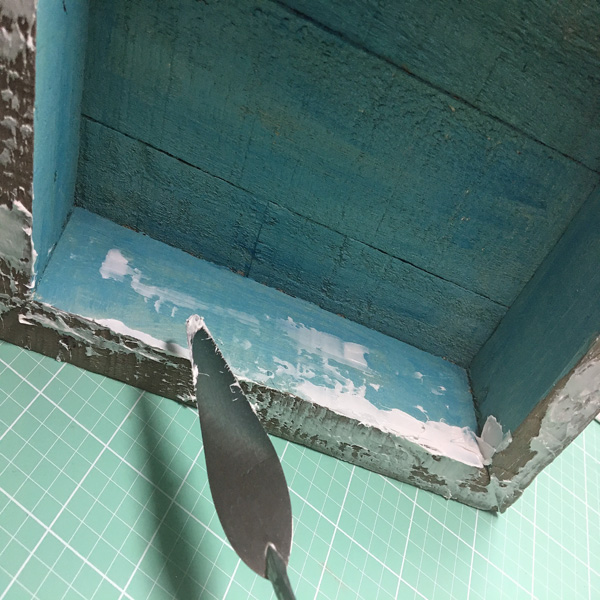
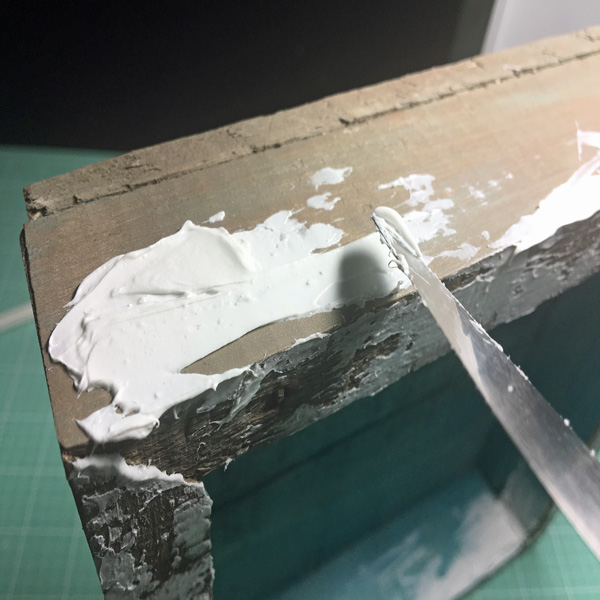
- Apply more modeling paste along the top and inside the bottom of the pallet.
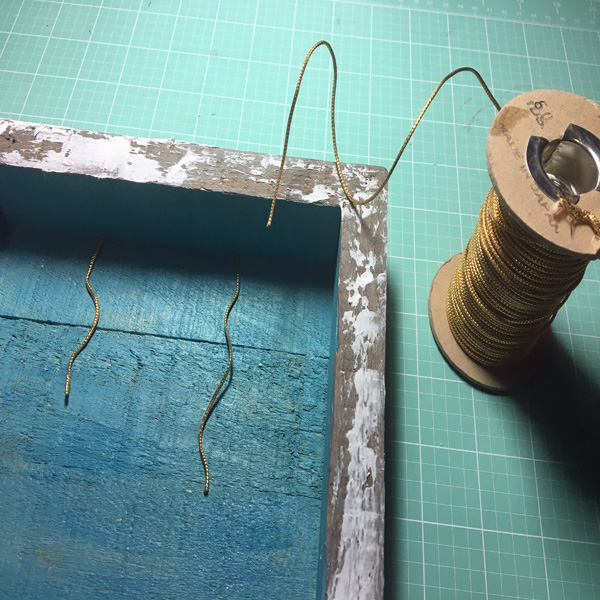
- Cut and bend pieces of gold wired cord to fit from the inside top of the pallet to run under the top of the ornaments.
- Check to make sure positioning is correct by adding the ornaments, make adjustments as necessary.
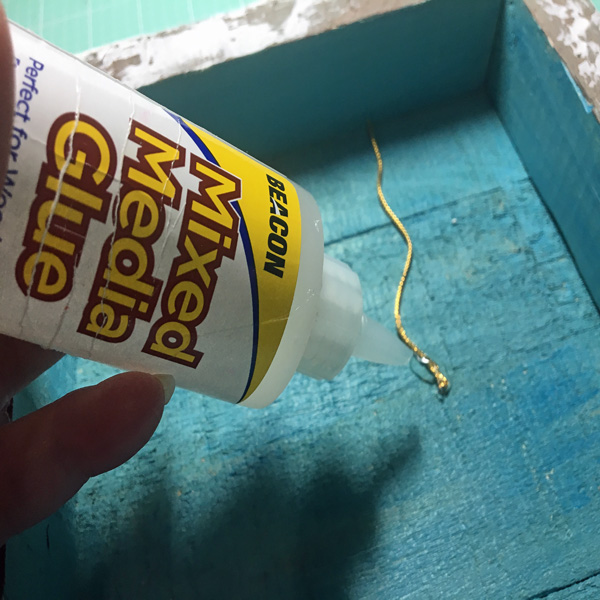
- Remove the ornaments and then glue down the bottom end of each piece of gold cord using Mixed Media Glue.
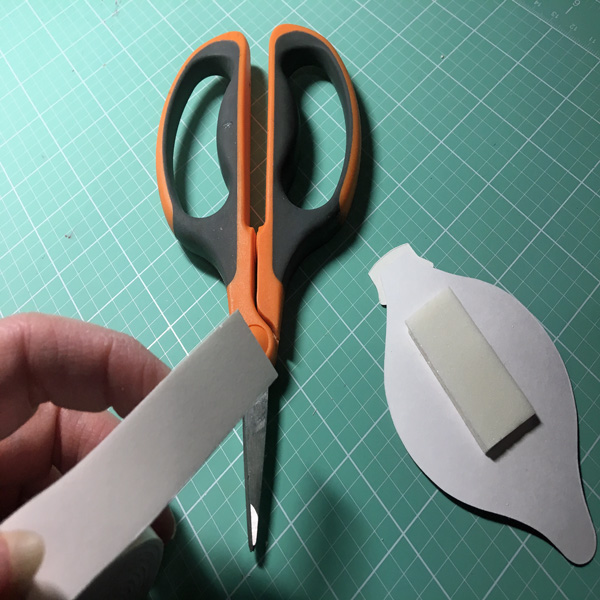
- Cut and layer pieces of foam tape to adhere to the ornaments inside the pallet, using more layers on the green ornament.
- Use Mixed Media Glue to adhere to the snowflakes around edges of the pallet.

