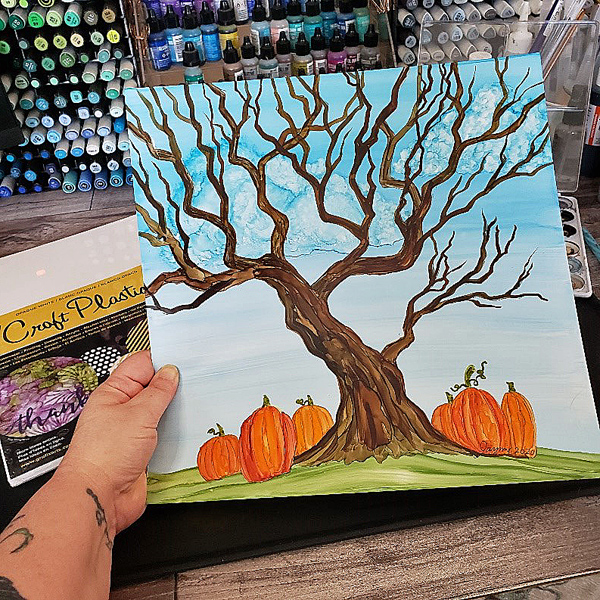
Spooky Tree and Pumpkins
Project Description: Say hello to autumn by creating a gorgeous tree and pumpkins scene in alcohol ink using Grafix
Opaque White Craft Plastic Film.
Designed by: Jaymie Mitchell
Difficulty: Medium Difficult
Materials:
- Grafix Opaque White Craft Plastic Film 12” x 12”
- 99% Isopropyl Alcohol
- Small Glass or Ceramic Container
- Ranger Alcohol Inks: Blue (Laguna, Cloudy Blue, and
Denim); Meadow and Botanical for the grass; various
browns for the tree (Teak, Espresso, Black and
Mushroom) and oranges for your pumpkins (Valencia,
Sunset, and Ember) - 1 Wide Wash Brush (I use a 1” by Royal and Langnickel)
- Several Small to Medium-Sized Paintbrushes dedicated
to alcohol ink projects (I use round brushes in nos. #6
and #4 but filberts or flat brushes work just as well) - 1 Fine Liner brush
- Paper towels and/or baby wipes
- Palette or Grafix Inking Palette
- Kamar Varnish and UV Sealant
- Q-tips.
Steps to Make This:
Important: When using alcohol inks, ALWAYS paint in a well-ventilated area – the ink contains
dangerous vapors which can be harmful to your health!
Note: If you aren’t comfortable with your own drawing skills, you can lightly sketch your tree design
onto the paper (once your background is complete) with a pencil (the ink should cover up most of your
lines).
Directions:
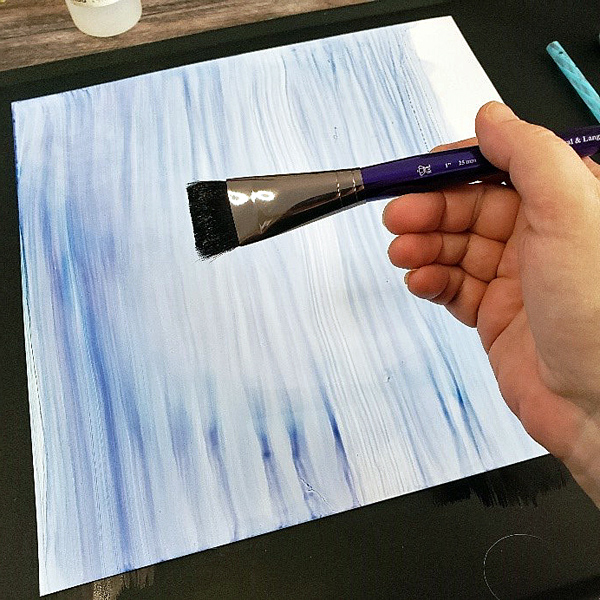
1. Drop some drops of blue ink on your Grafix Opaque White Craft Plastic Film and sprinkle some
alcohol on the sheet liberally.
2. Using your wash brush, create your sky using long strokes (back and forth) until you are happy.
*Remember: you can always add more color and/or alcohol if you aren’t happy and try again until you
are satisfied with your background. (TIP: Grafix Opaque White Craft Plastic Film will, in most
circumstances, wipe completely clean – just pour some alcohol onto the sheet and wipe off the ink
with a paper towel or baby wipe until your sheet looks brand new!)
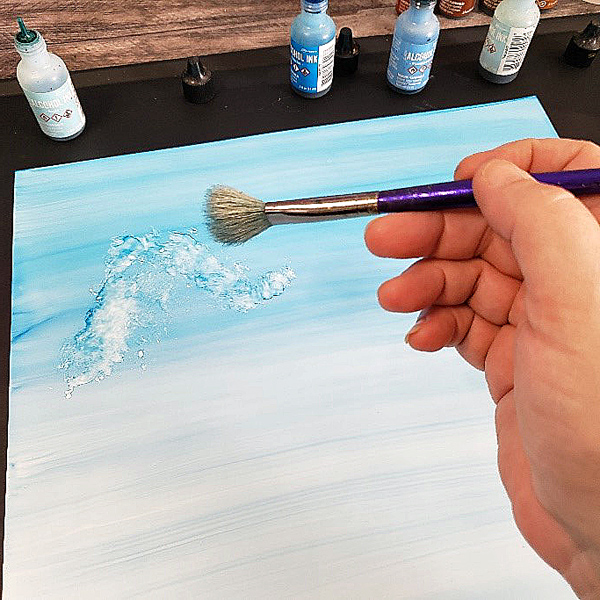
3. Once your background is complete, paint in some cloud by using a large round brush dampened
with alcohol. Use swirling motions to carve out your cloud shapes.
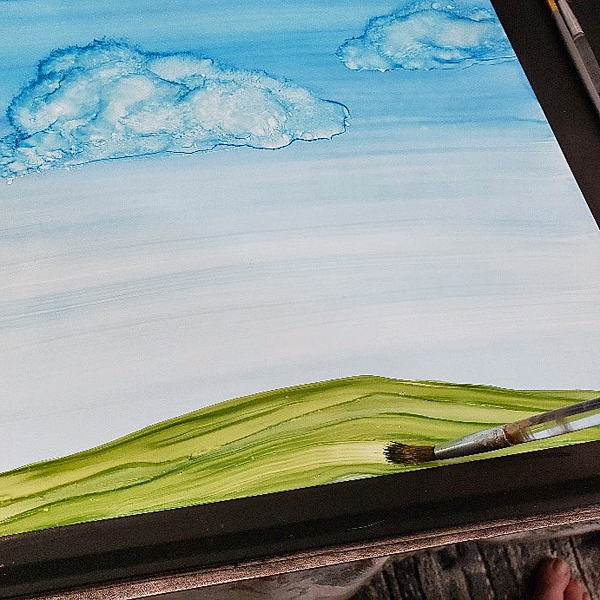
4. Once you are happy with your clouds, place a few drops of your chosen colors into your palette.
(TIP: You can always reactivate the ink with a drop or two of alcohol. Take your medium round or
filbert brush and add in your ground with your chosen green, using long back and forth strokes.)
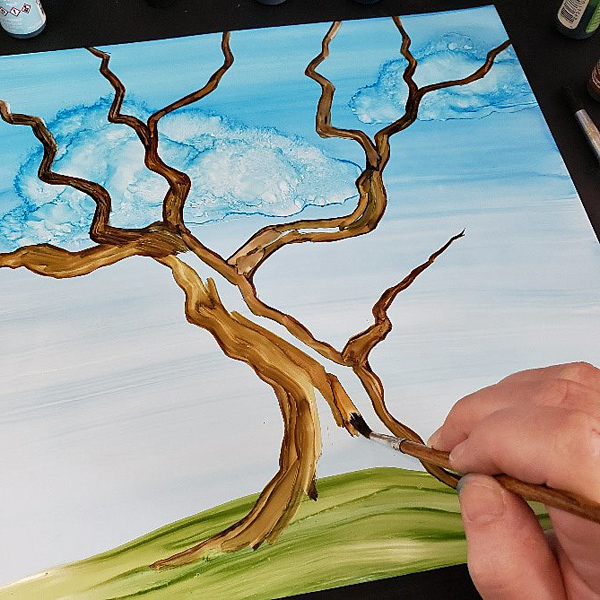
5. Using a medium round brush (and a light touch), pick up a small amount of one of your darker
brown inks onto your brush and remove the excess by dragging it on the palate well’s edge) and paint
in your tree outline. (TIP: Try and do this in one fluid motion and the ink will begin to feather out if
your brush stops on the page mid-stroke).
6. Once you are happy with your tree outline, take your fine liner and continue adding branches until
you are happy with the overall feeling of your tree.
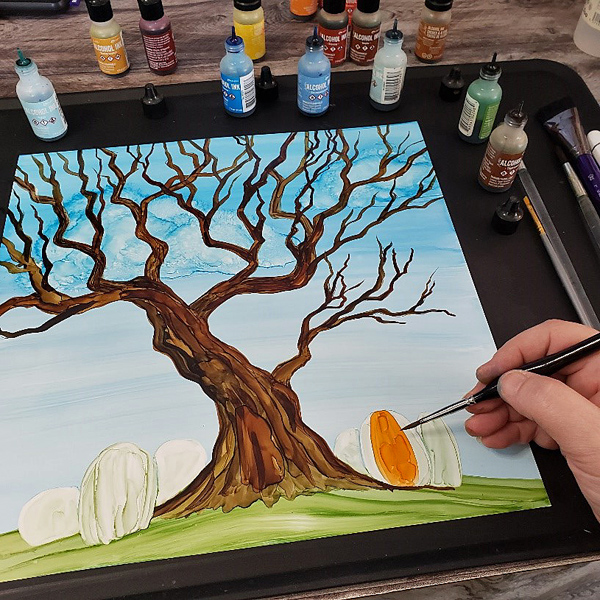
7. Now you need to carve out some white space for our pumpkins. Using a Q-tip (or brush) dipped in
alcohol (not too much!) lightly “draw” some pumpkins by lifting out some of the colors from the sky
and ground. Slowly turn the brush or Q-tip as you go, to create white ovals and circles (tall and round
pumpkins). (TIP: Carving out whitespace for your pumpkins helps to ensure the oranges stay vibrant
and doesn’t become muddy by messing them with colors from your sky, ground, and tree).
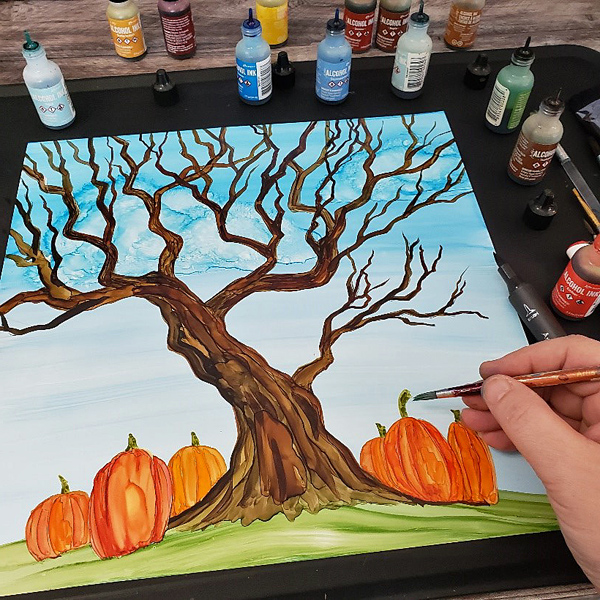
8. Using your smallest round brush and a small amount of color, start to fill in your pumpkins with your
chosen orange/s. Don’t forget to add some stems with your fine liner.
9. To seal your finished artwork, spray your page using a sealant and a UV protector. (First, spray 2
coats of the Kamar Varnish Sealant, then add 1 coat of the UV Sealant spray. Remember to ensure that
your piece is dry in-between applications. It is also very important to use the Kamar varnish first as the
UV sealant WILL reactivate your ink and ruin your piece).
10. Finally, don’t forget to sign your masterpiece!
Step 3 Step 6 Step
[/efsrow]

