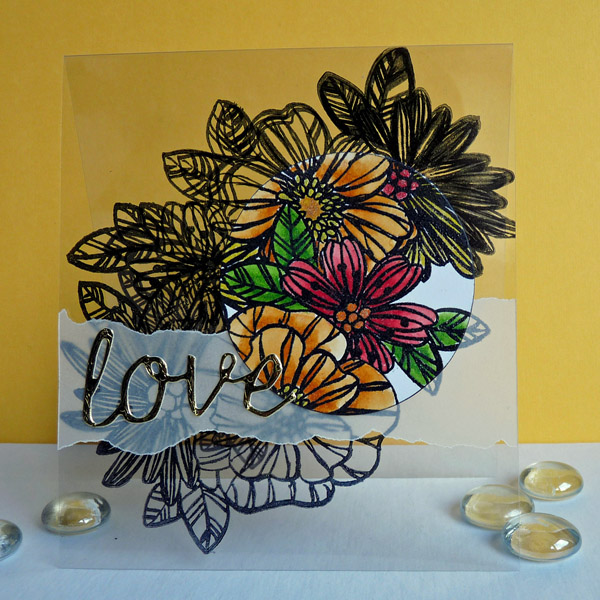
Spotlight Clear Card
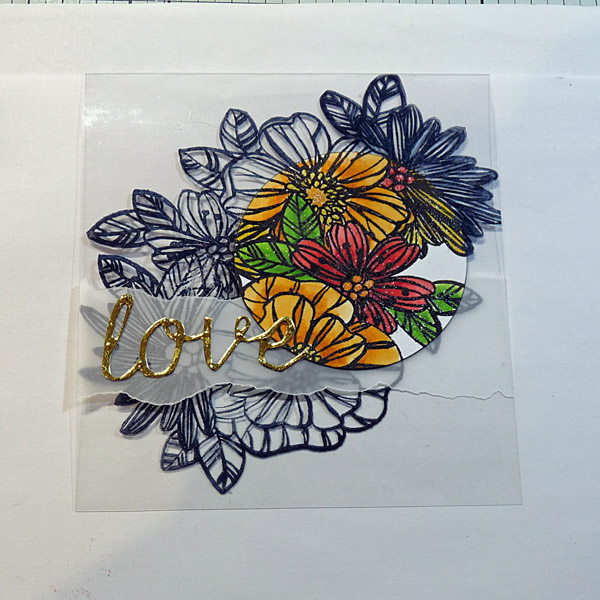
Project Description: The Spotlight technique is an easy way to add color and interest to a detailed stamped image without having to color the whole image, just an area of interest. I have placed the image on .007 Clear Craft Plastic for a unique card.
Designed by: Kay Molyneux
Difficulty: Easy
Materials:
- Grafix .007 Clear Craft Plastic Film, 10”x5”
- Grafix Essential Vellum
- Grafix Artist-tac Film, cut into a 2×2 ¼” circle
- Grafix Metallic Foil Board
- Sizzix 662684
- Stamping Card
- Flower Stamp
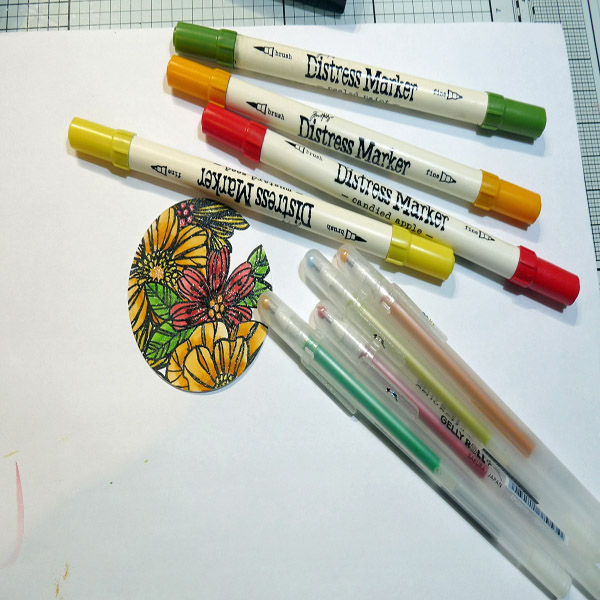
- Ranger Distress Markers and Corresponding
- Sakura Gelli Roll Pens
- Stamping Platform- Tim Holtz Tonic
- StazOn Black Inkpad
- Versafine Black Inkpad
- Clear Embossing Powder
- Masking Tape
- Craft Heat Tool
- Small Pain Brush
- Copy Paper
Steps to Make This:
- Score the .007 Clear Craft Plastic Film in half lengthwise to make a 5”x5” card blank.
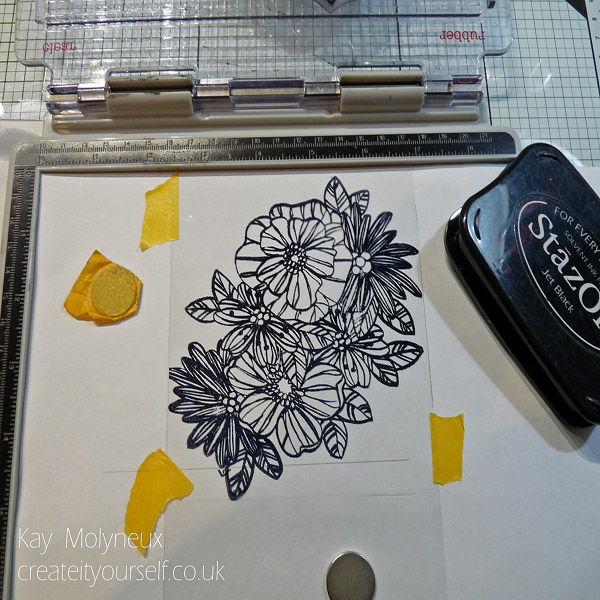
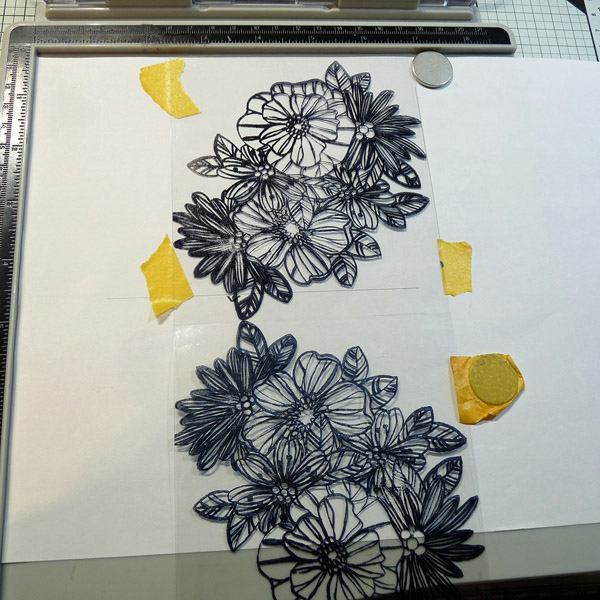
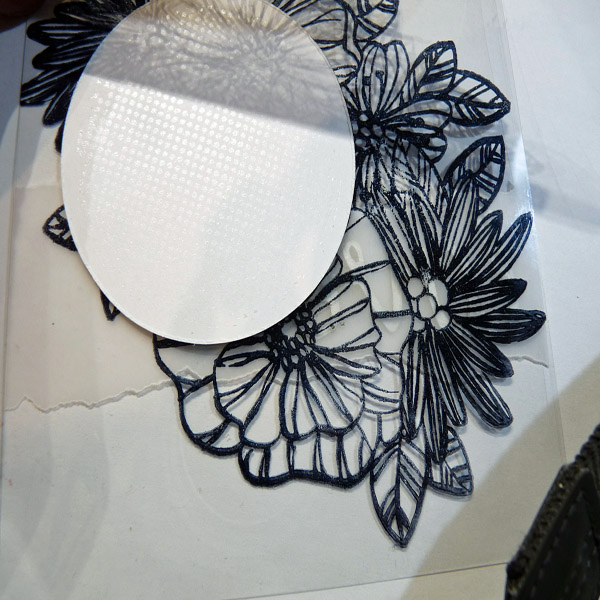
- Then place a sheet of copy paper onto the base of the stamping platform and tape the clear film card blank to stamping platform ensuring that the card front is uppermost, draw around with a pencil so that the clear blank can be repositioned accurately. Place, ink up with StazOn and stamp onto the center of the card.
- Reposition the card blank and stamp the image into the center of the back inside of the card blank, this image should be directly behind the first.
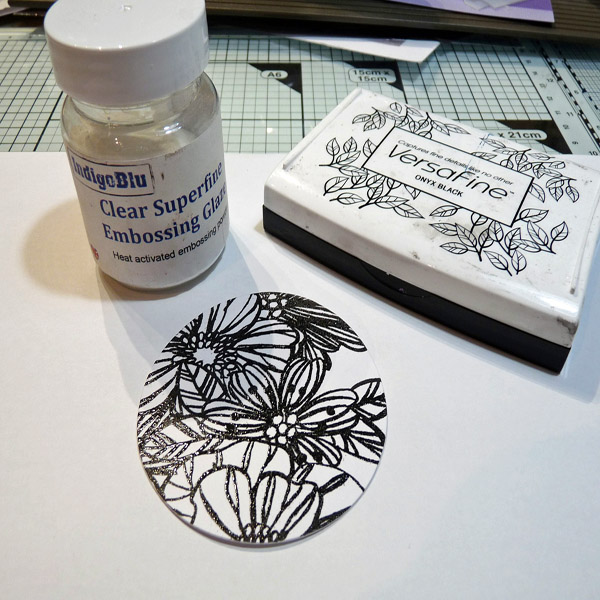
- Ink up the image with Versafine now and stamp onto the copy paper, place one of the stamping card blanks over the design where you want to spotlight, ink up the stamp again and stamp it.
- Cover the ink with clear embossing powder and heat until melted.
- Color with Distress Markers and add a little shimmer with the Gelli pens.
- Cut the Artist-tac Film into a circle with a 2×2 ¼” diameter using the Stamping Card.
- Also, tear the Vellum into strips about 1 ¼” wide.
- Use the Sizzix 662684 or another die cut machine to cut out a sentiment phrase from the Metallic Foil Board.
- Peel one side off and adhere one the Artist-tac circles to the back of the colored image, leave the other backing sheet on at this point. Add the elements to the front of the card by placing the Vellum strip 1/3 from the bottom of the card and then position the colored circle over the complete image so all the lines match. When happy with the position remove the backing sheet and adhere. Trim vellum if necessary and glue sentiment in place.
- Place the blank circle (this is to write your greeting) directly behind the front one. Do this by adhering the other Artist-tac circle to the back of it and remove the backing sheet. Place the card face down, open the card, position the circle directly over the front one, Artist-tac uppermost, then close the card. The blank circle should now have been picked up.

