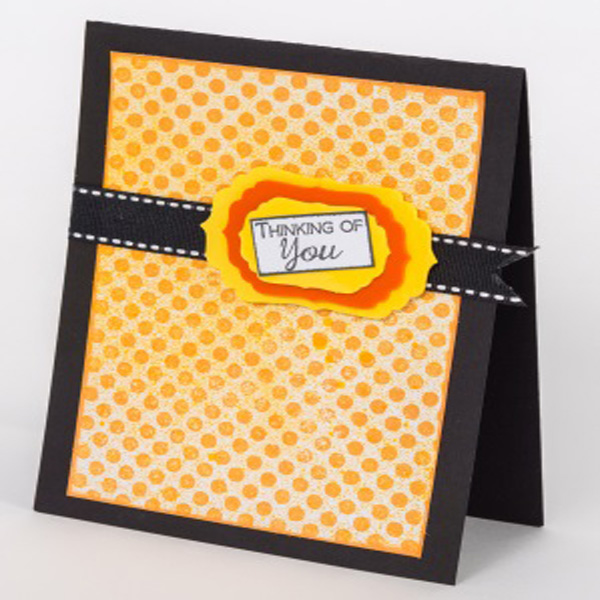
Stacked Bracket Thank You Card
Project Description: Learn how to create your own custom stacked bracket thank you cards with Grafix Shrink Film.
Designed by: Tami Sanders
Difficulty: Easy
Materials:
- Grafix Shrink Film in Orange and Yellow
- Clearsnap: ColorBox Premium Dye Ink Sprays! by Stephanie Barnard – Banana, ColorBox Archival Dye Ink: Pumpkin Pie and Wicked Black and Color Catcher
- Spellbinders: Nestabilities: Labels Four Die Set {Largest, Second Largest, and Fourth Largest}
- The {Stamps} Of Life: Labels4Cutting and Dots2Love Bazzill: Black and White Card stocks and Black Stitched Ribbon
- Beacon Adhesives: 3-in-1 and Zip Dry
- Paper Trimmer
- Scissors
Steps to Make This:
- Cut 4 ¼ X 11 pieces of black card stock and fold in half to make a card.
- Cut a 5 X 7 piece of white card stock, place in Color Catcher, and lightly spritz using Banana Spray; let dry.
- Stamp inked card stock piece with a polka dot stamp and Pumpkin Pie Dye Ink; trim to 3 3/4 X 5 and distress edges using Pumpkin Pie Dye Ink. Adhere to the card front.
- Adhere ribbon across the card front, slightly above center.
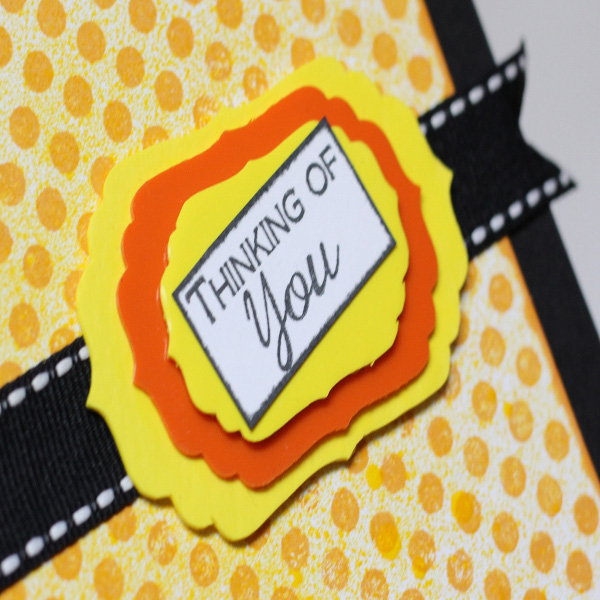
- Use the largest die to die cut a bracket piece from Yellow Shrink Film, use second largest die to die cut a piece from Orange Shrink Film, then use fourth largest die to die cut a piece from Yellow Shrink Film; bake according to package directions then let cool.
- Stack and adhere bracket pieces using 3-in-1 Glue; adhere to the card front along with ribbon towards the right side of the card.
- Stamp sentiment on a piece of white cardstock using Wicked Black Dye Ink. Trim close to sentiment and distress edges using Wicked Black Dye Ink and adhere on a slant to the center of stacked bracket pieces.


