“Thanks Mums Much” Card
Project Description: Create a unique card with this quick project guide using Grafix Artist-tac.
Designed by: Tami Sanders
Difficulty: Easy
Materials:
- Grafix Artist-tac
- Clearsnaps: ClearStamps Big Thanks and Wicked Black Archival Dye Ink
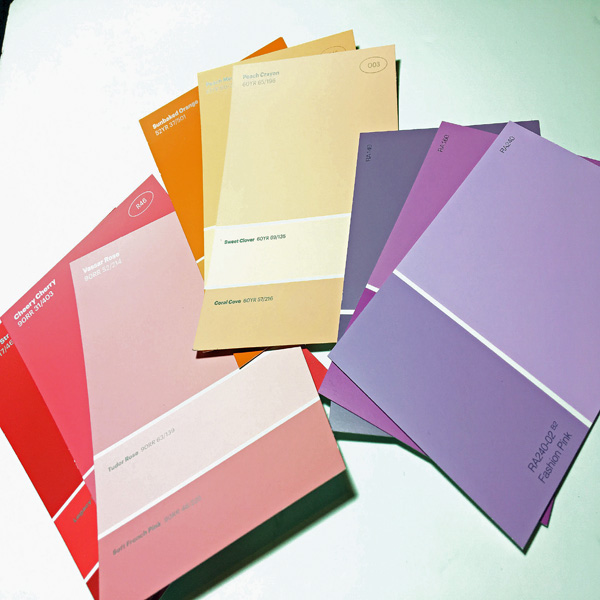
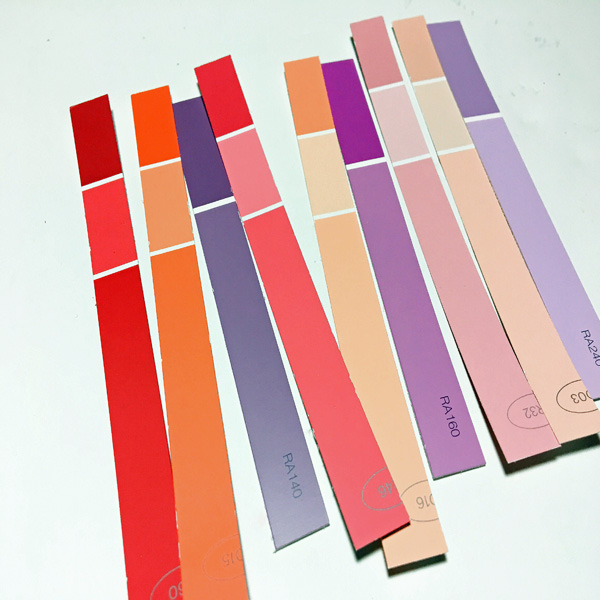
- Paint Chips in 3 Shades each of Pink, Orange, Purple and 4 of Green
- Punches in 3” and 2 1/2” Circles, 5/8” Teardrop and 2” Skinny Heart
- White Cardstock
- Black Rhinestones
- Scissors
- Paper Trimmer
- Pencil
Steps to Make This:
- Cut a 6 X 12 piece of cardstock and fold in half to make the card base.
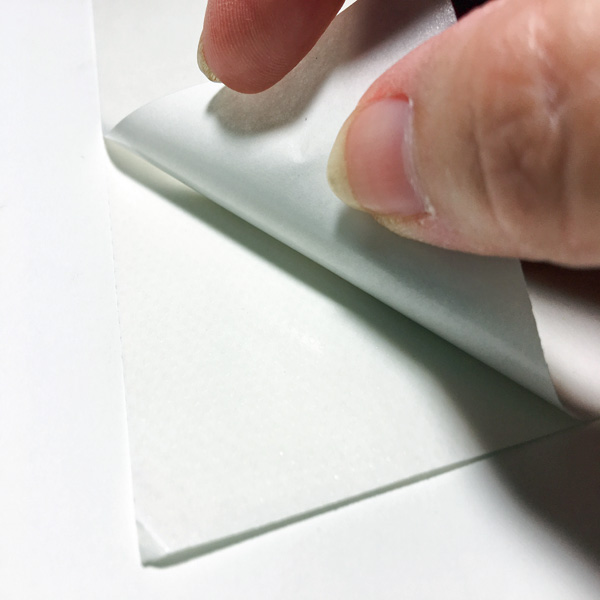
- Prep the Artist-tac by bending back a corner, then lifting and folding the cover sheet back to reveal about 5” of the adhesive.
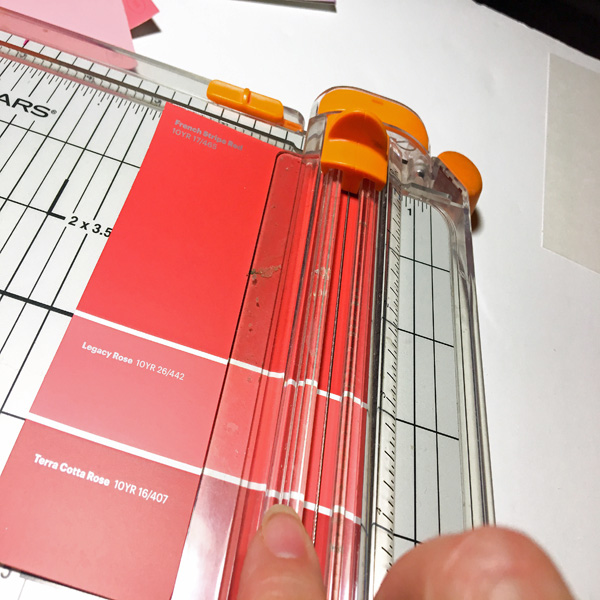
- Cut a ¼” strip off dark pink paint chip so that the strip has all the colors on the card.
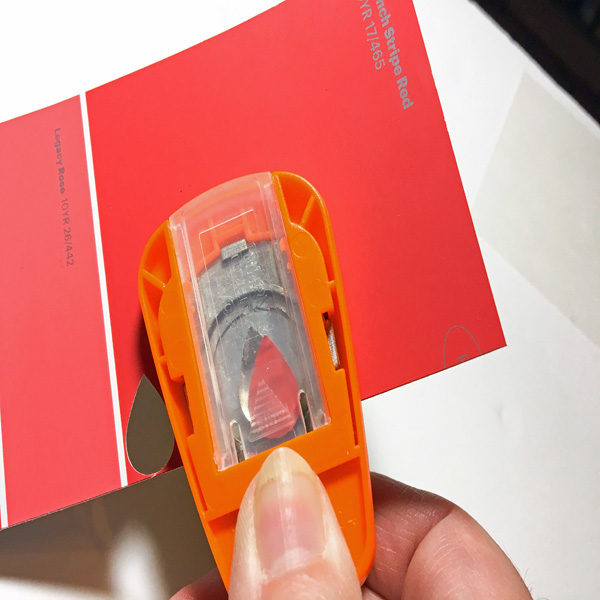
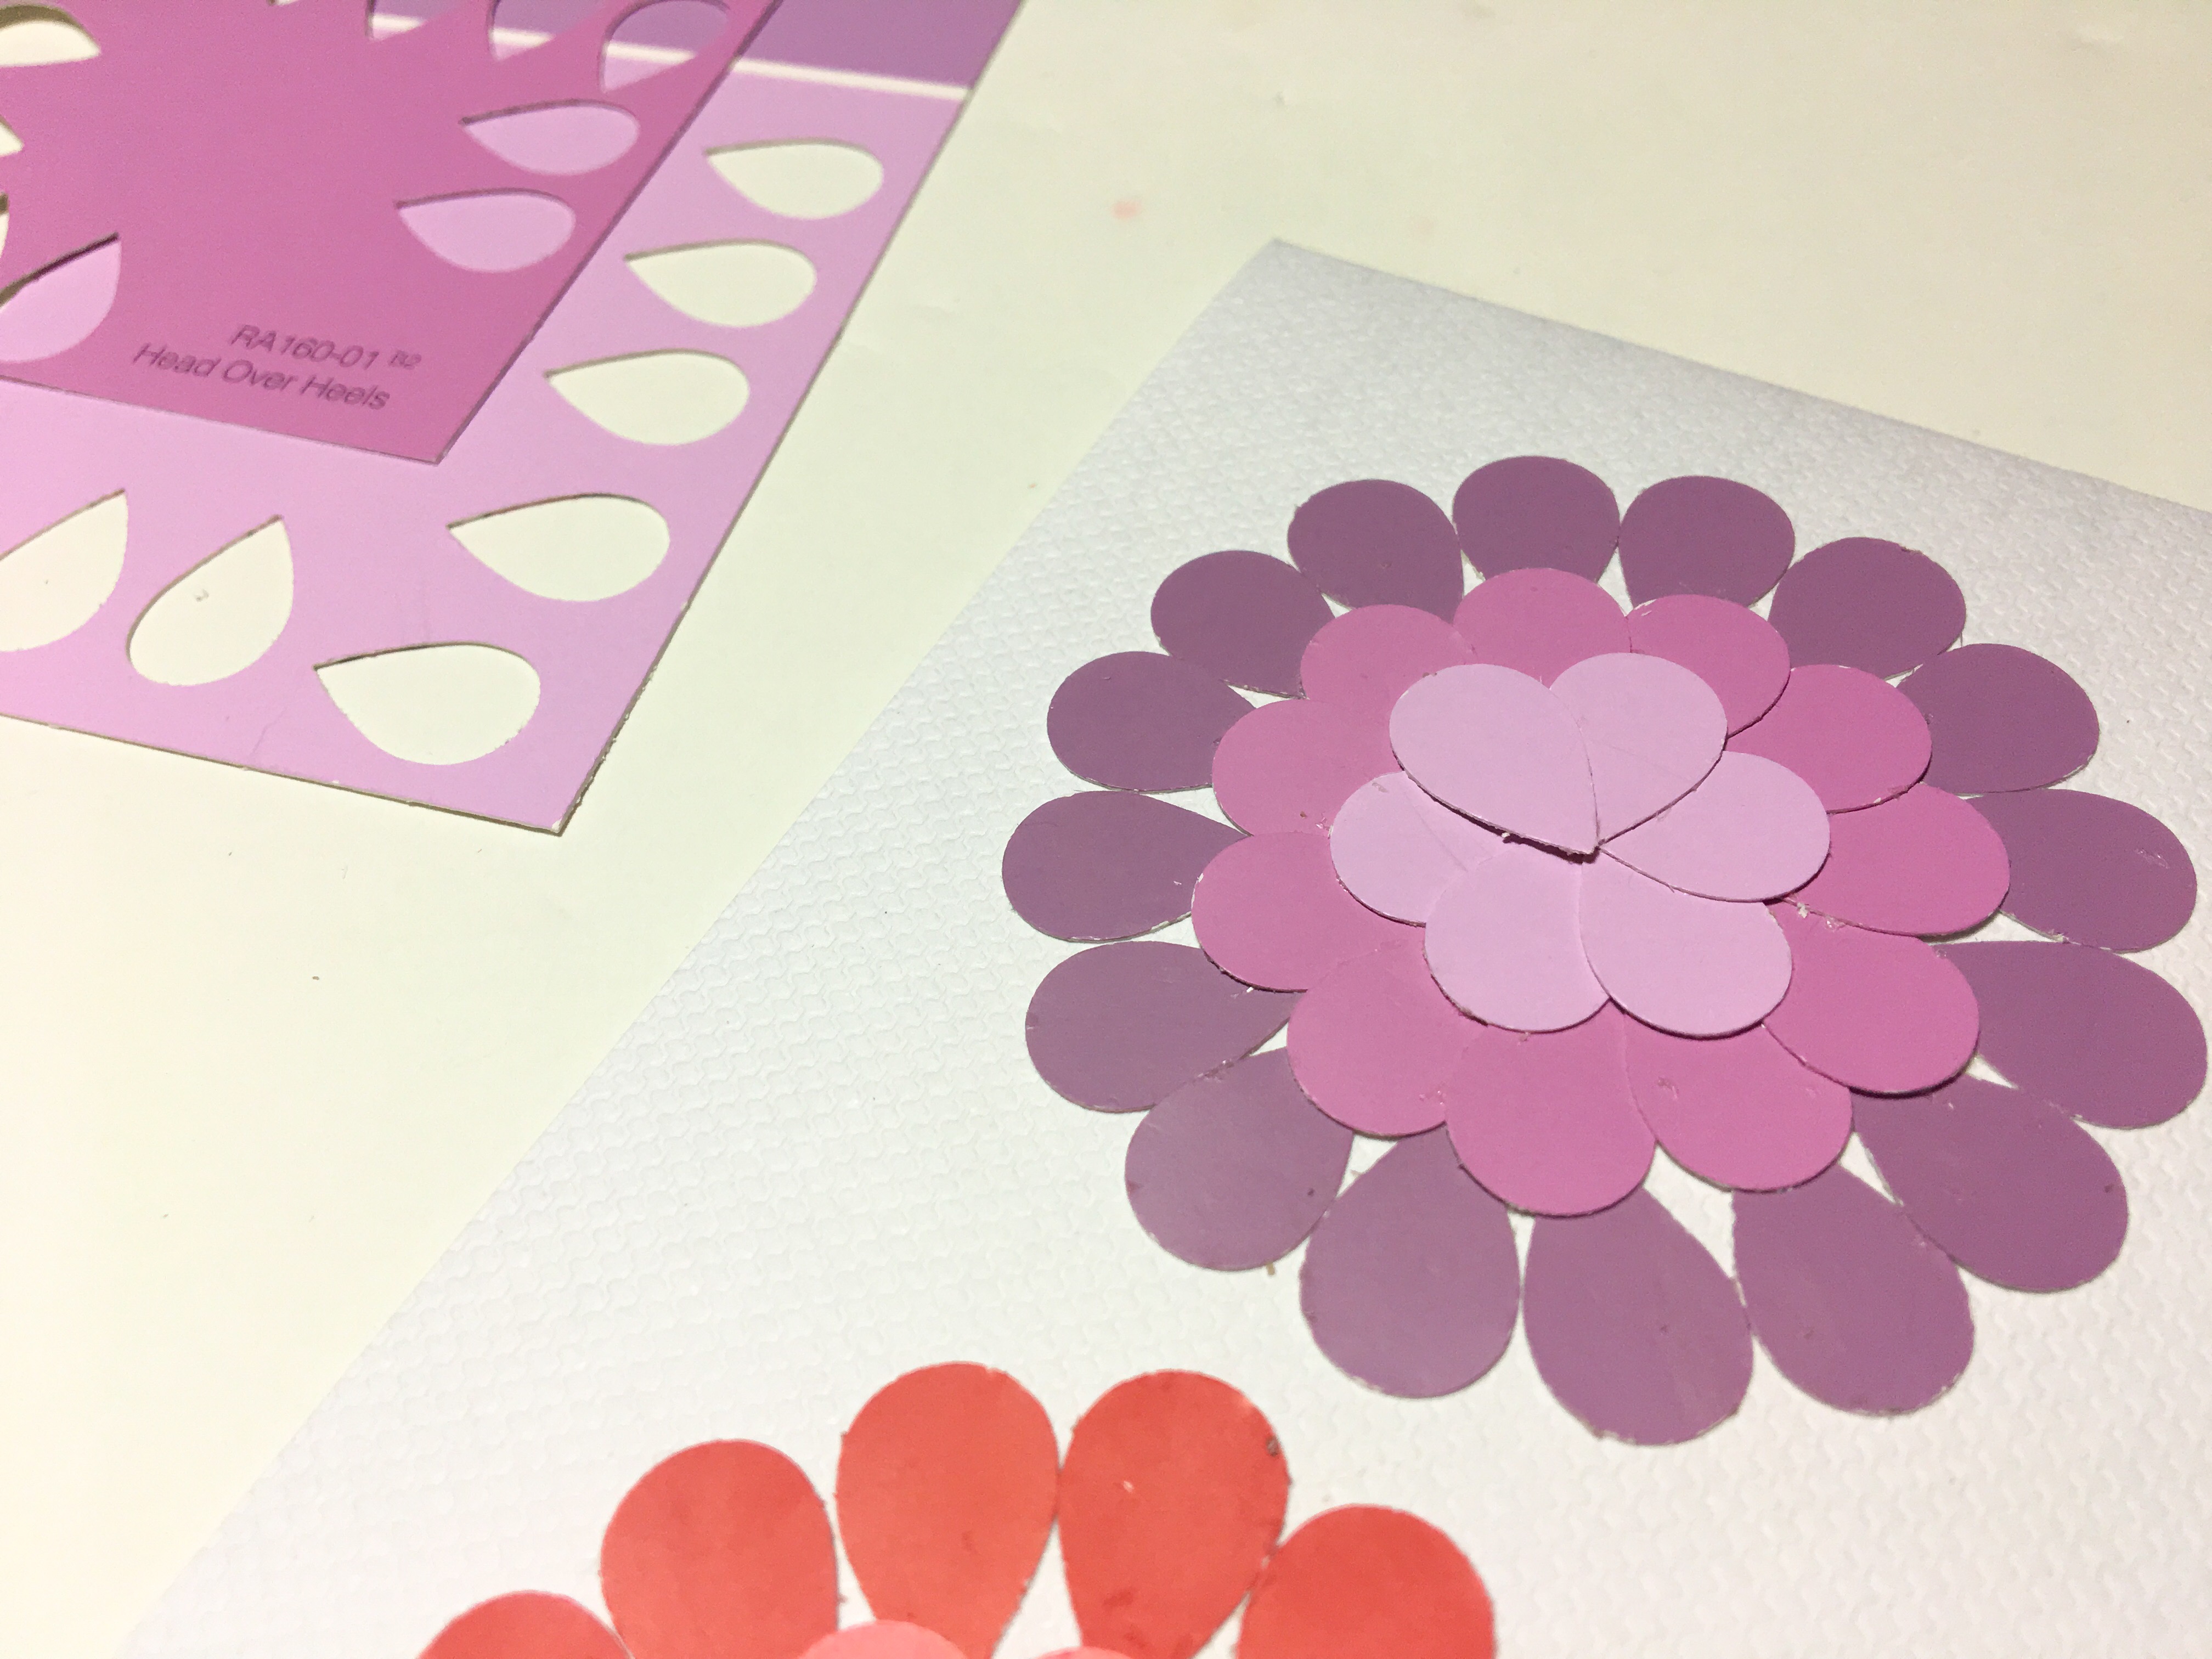
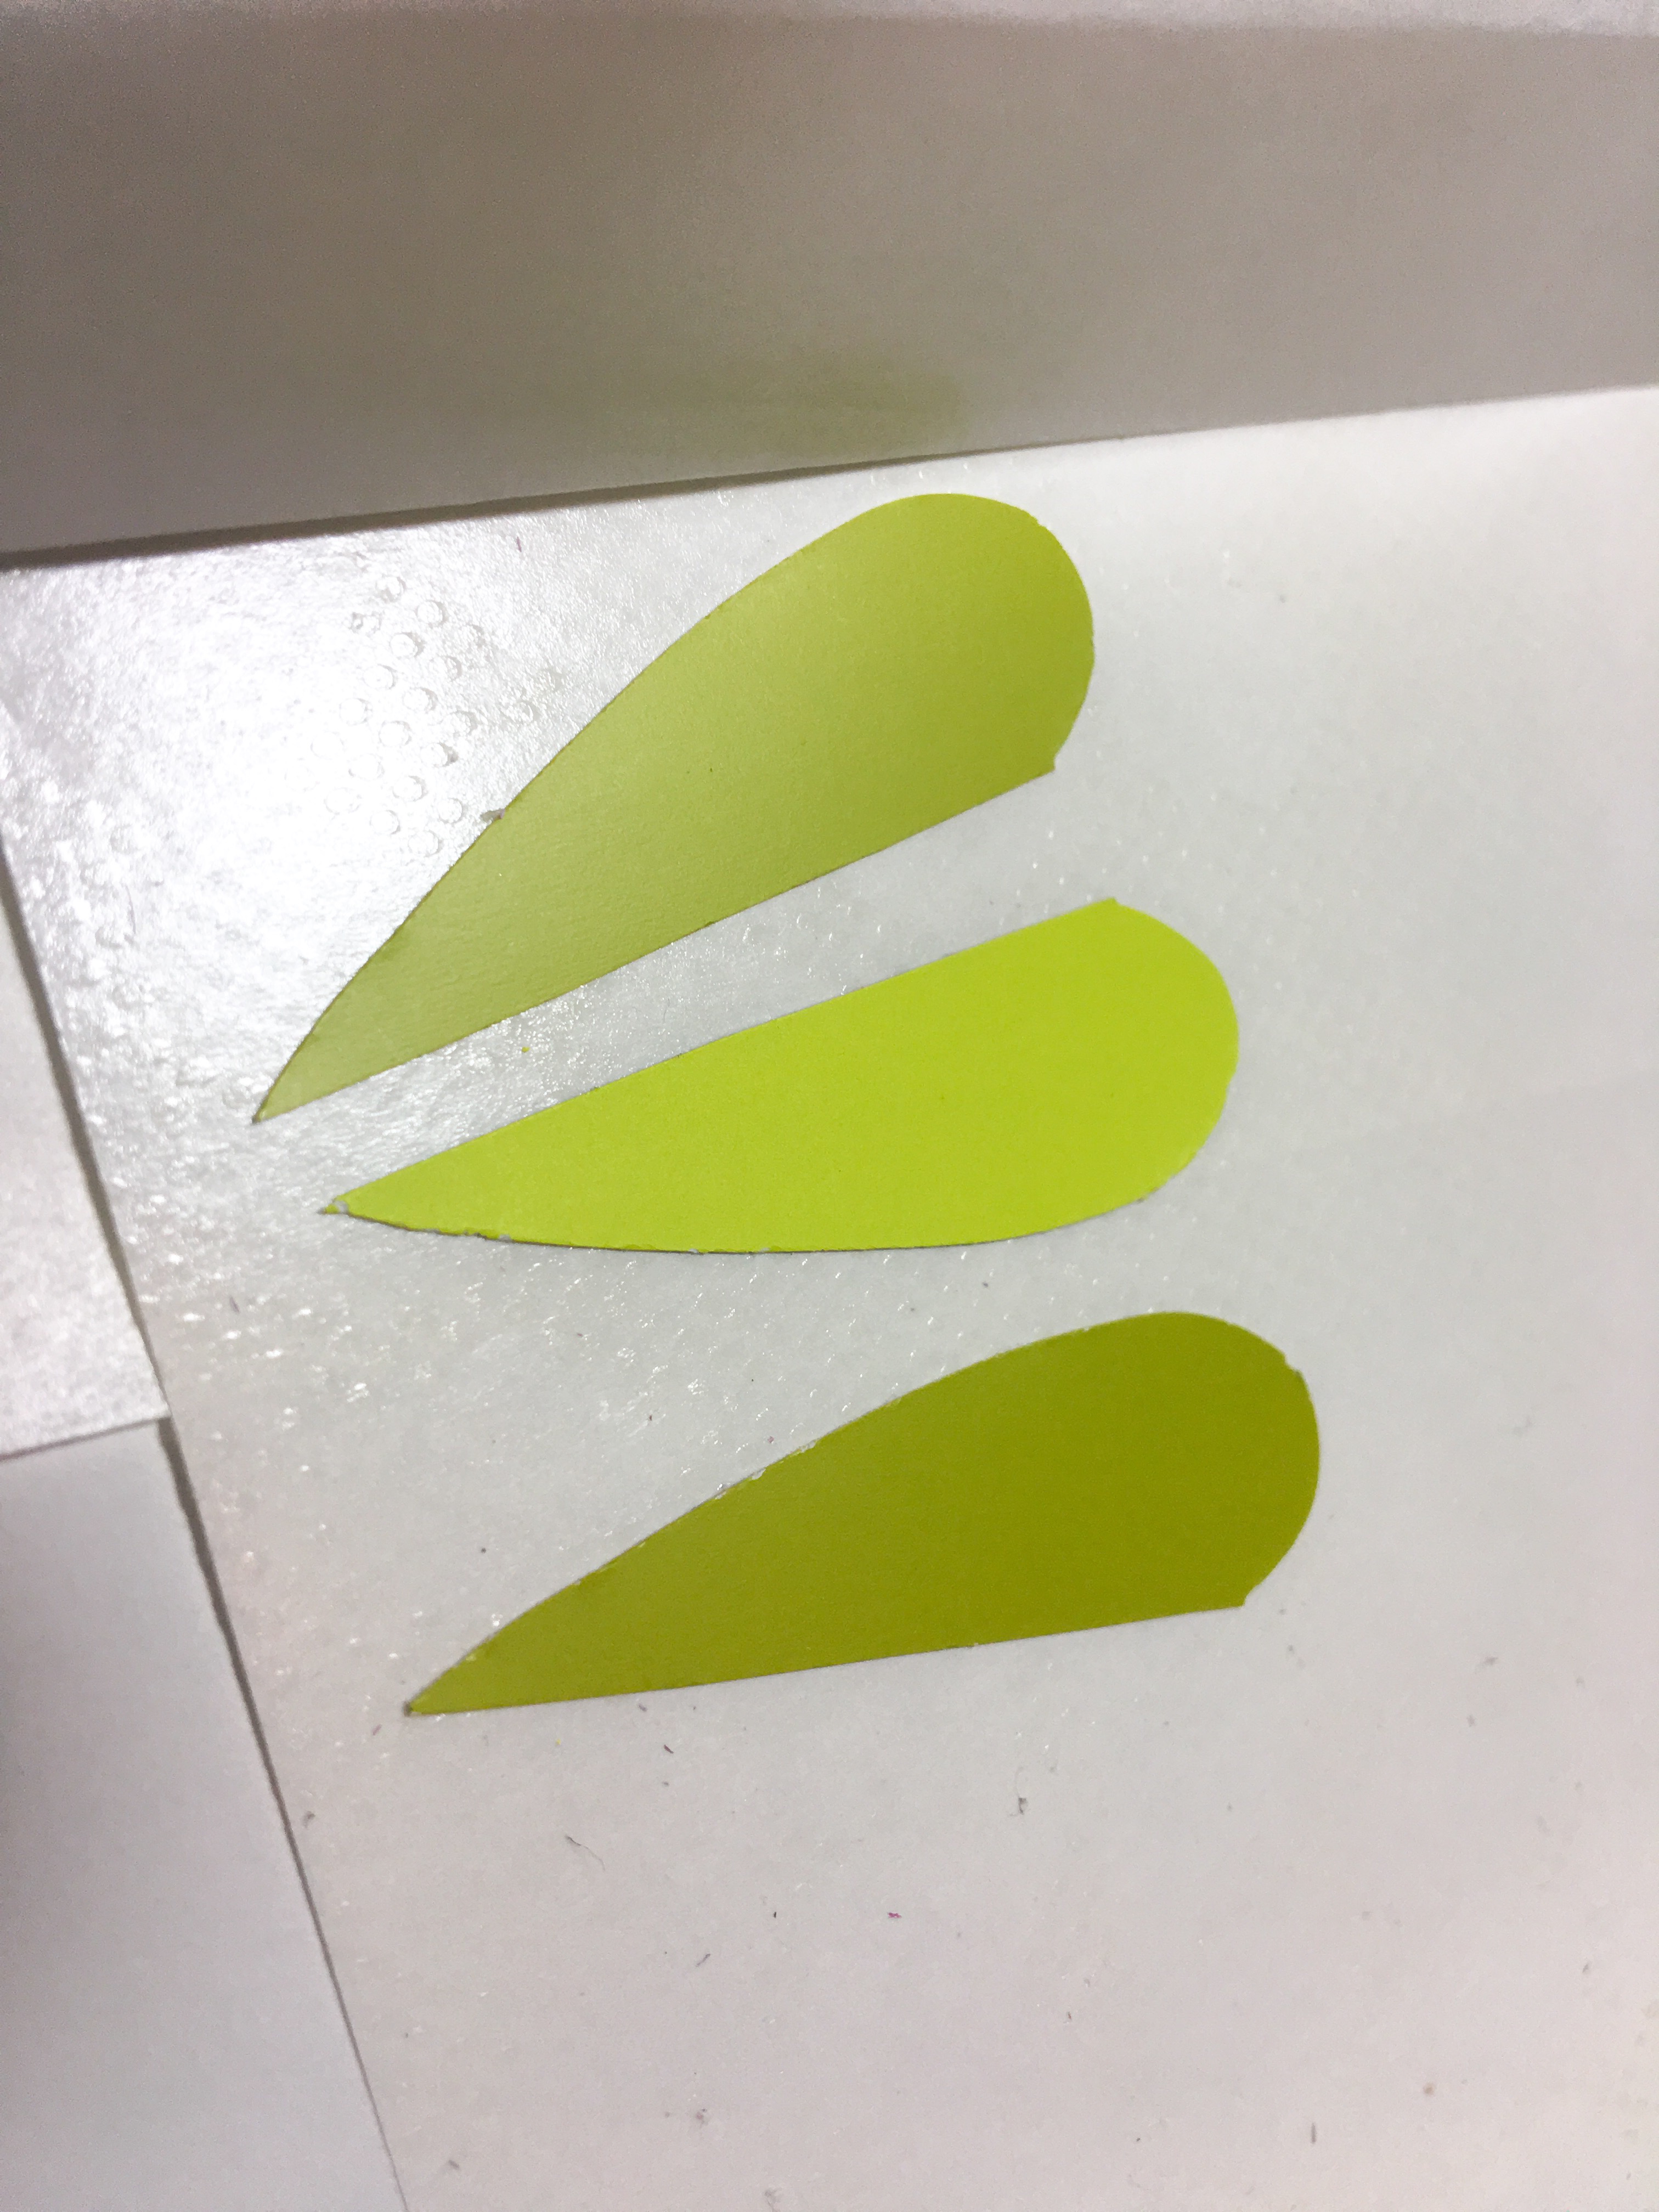
- Use the teardrop punch to punch out 16-18 shapes from the dark pink paint chip.
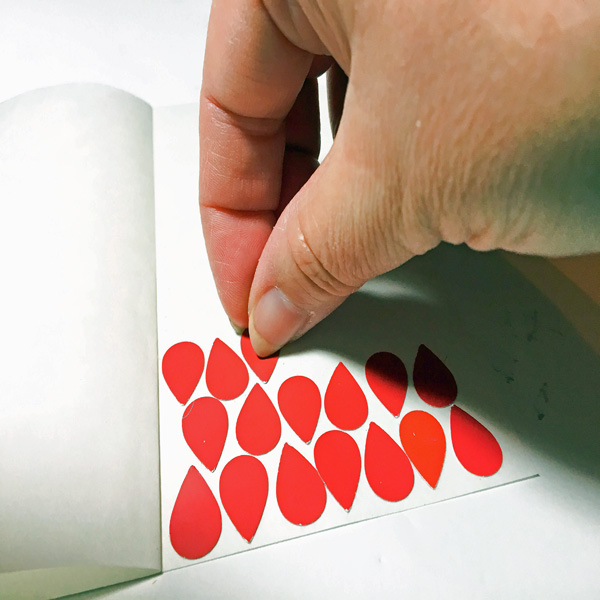
- Place punched shapes onto the Grafix Artist-tac sheet, as you punch to make sure you don’t drop or misplace any.
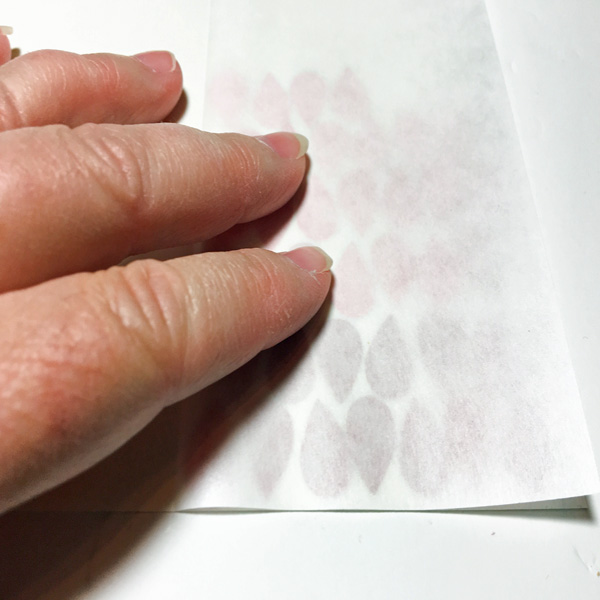
- Flip Grafix Artist-tac cover sheet back on top of adhesive, and smooth with your fingers to make sure shapes are firmly pressed into adhesive.
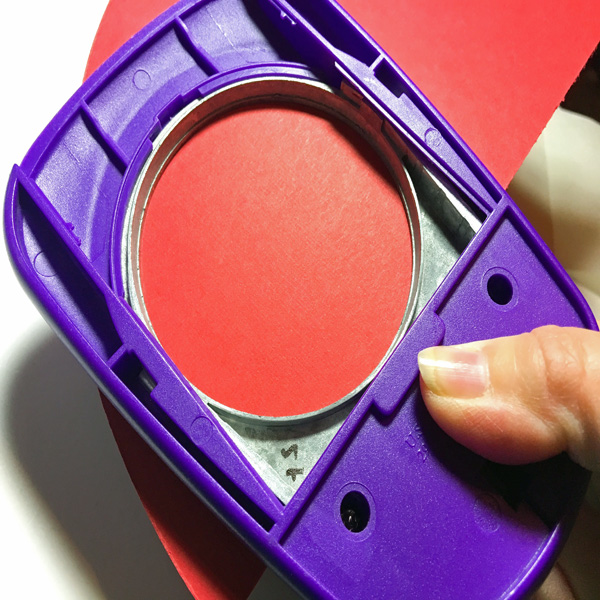
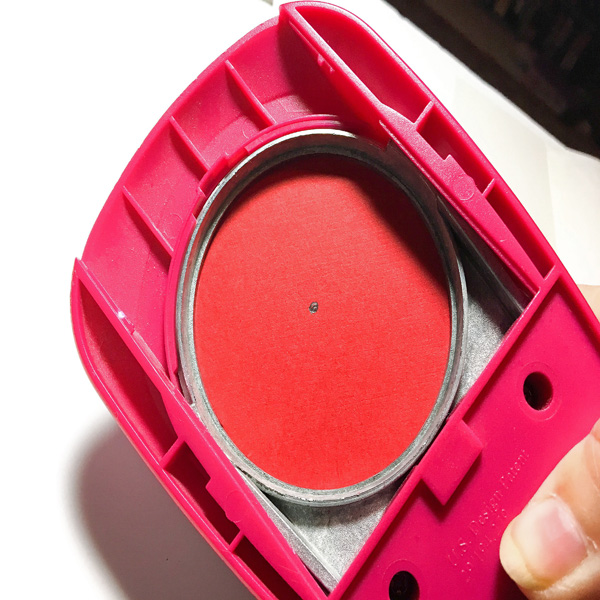
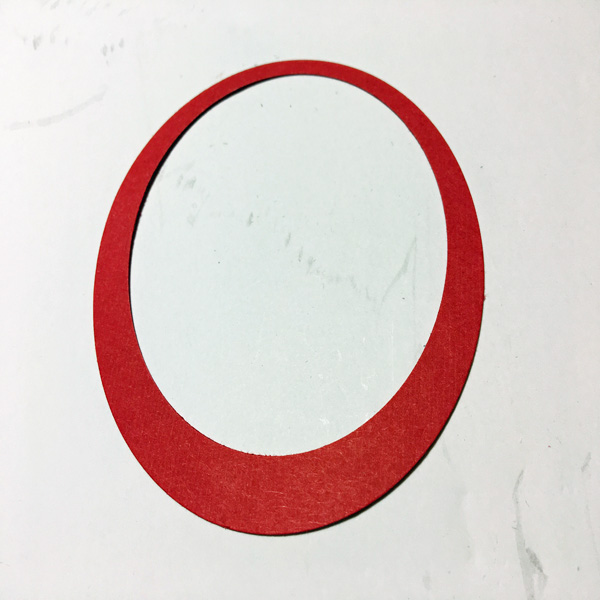
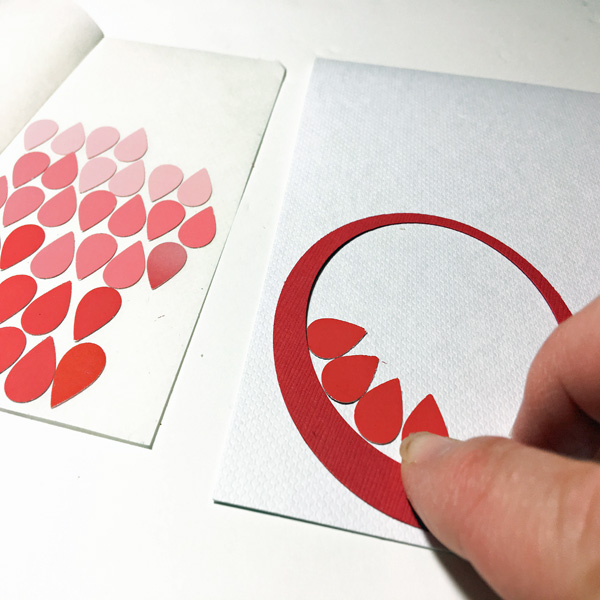
- To make forming mum shapes easier, create a simple template. Punch out a 3” circle. Then mark the center with a pencil. Insert the circle into a 2 ½” circle punch, and then center the dot and punch. Don’t worry if your circle is not exactly centered, it won’t matter.
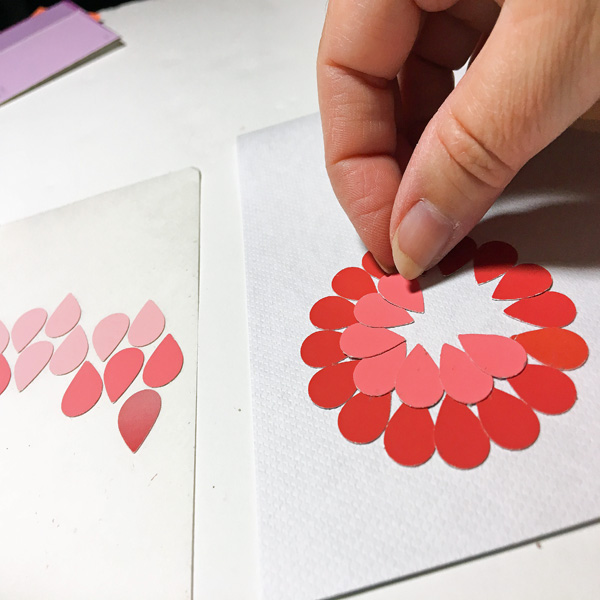
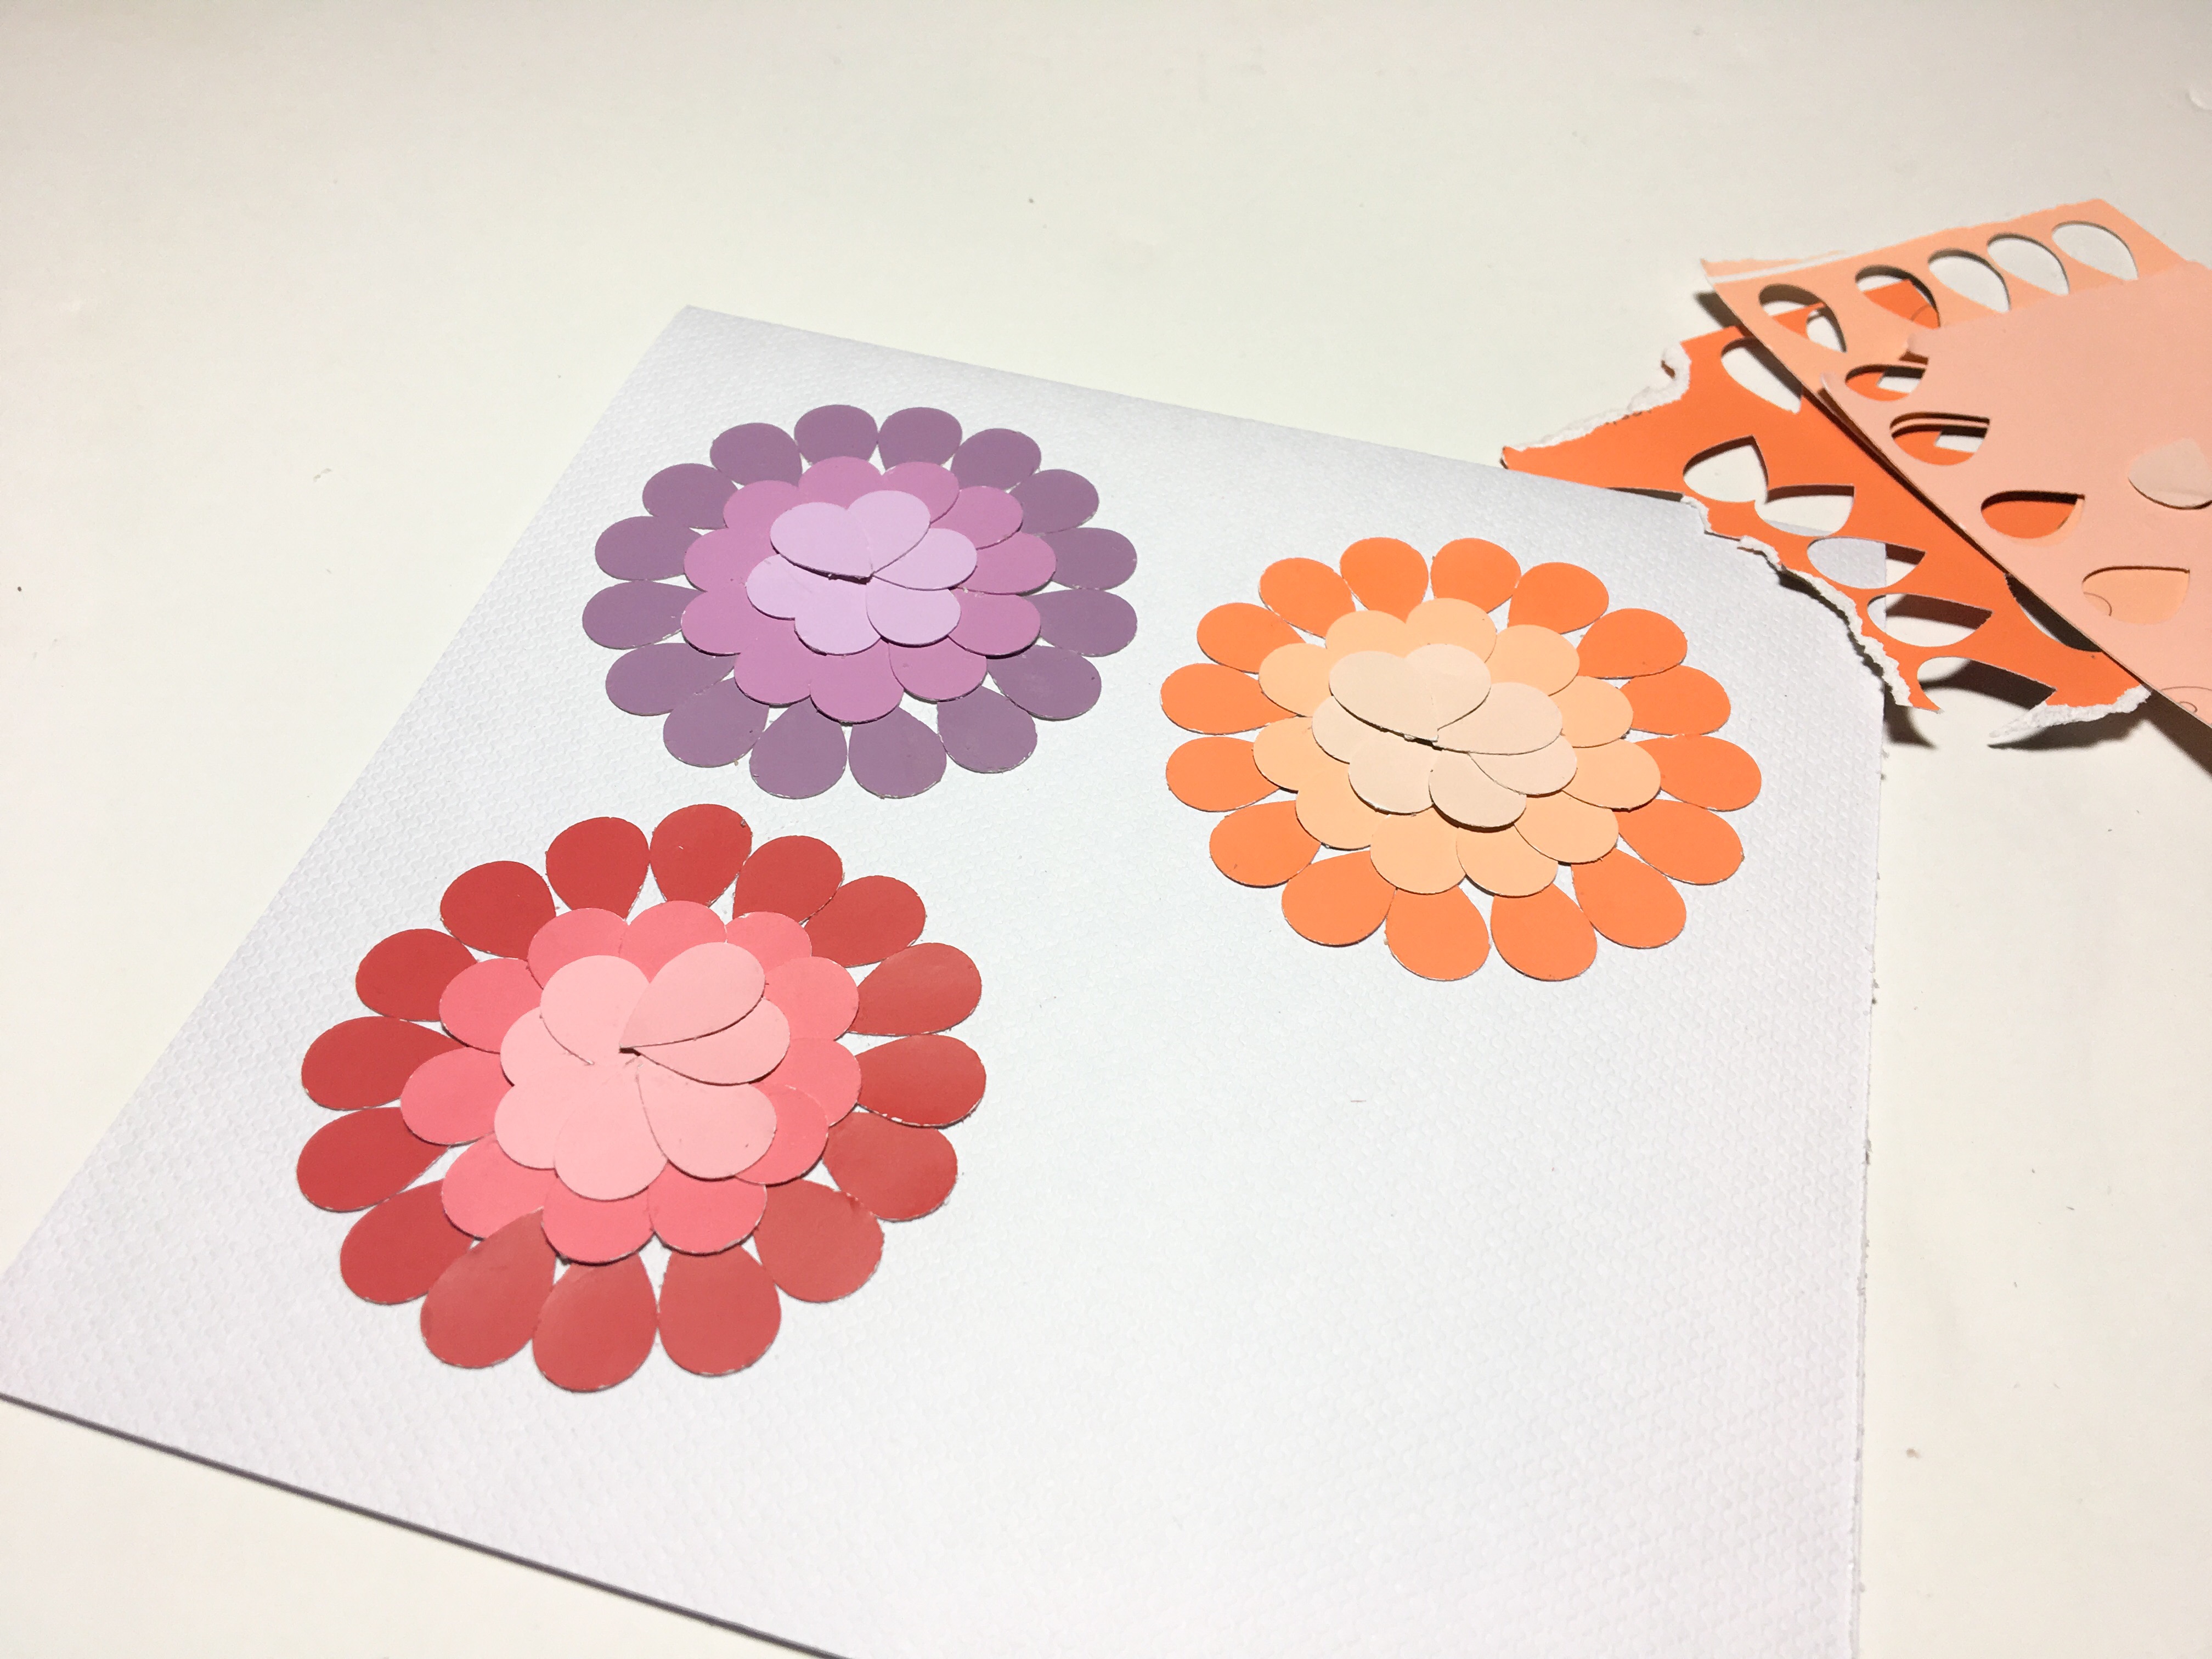
- Lay your template at the bottom left corner on the front of your card. Lift shapes off the Grafix Artist-tac sheet and place them one by one around the entire inside of the template with the points of the teardrops facing the center. Remove the template, it’s only used to create the outside ring of the flowers.
- Cut a ¼” strip off a medium pink paint chip so that the strip has all the colors on the card.
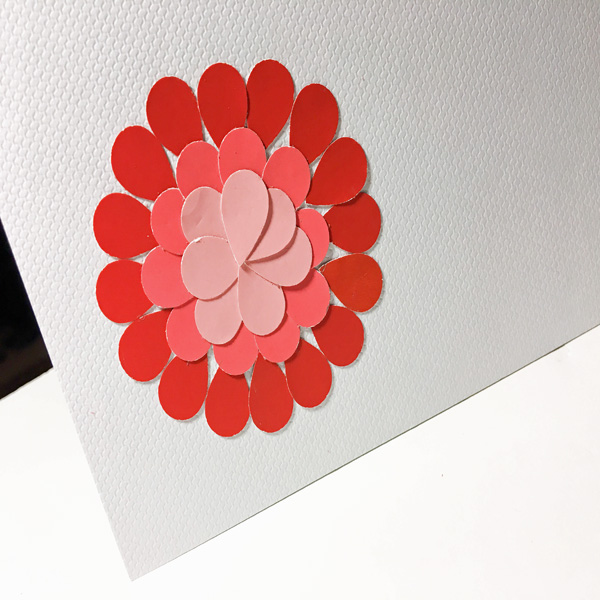
- Punch 10-12 teardrops from a medium pink paint chip, place on adhesive as before, and then adhere teardrops so that they overlap the dark pink circle slightly.
- Repeat steps 9-10 with light pink, punching 7-8 teardrops, and adhering with points overlapping to form the center of the flower.
- Repeat process at the upper left corner with purple paint chips, and the upper right with orange.
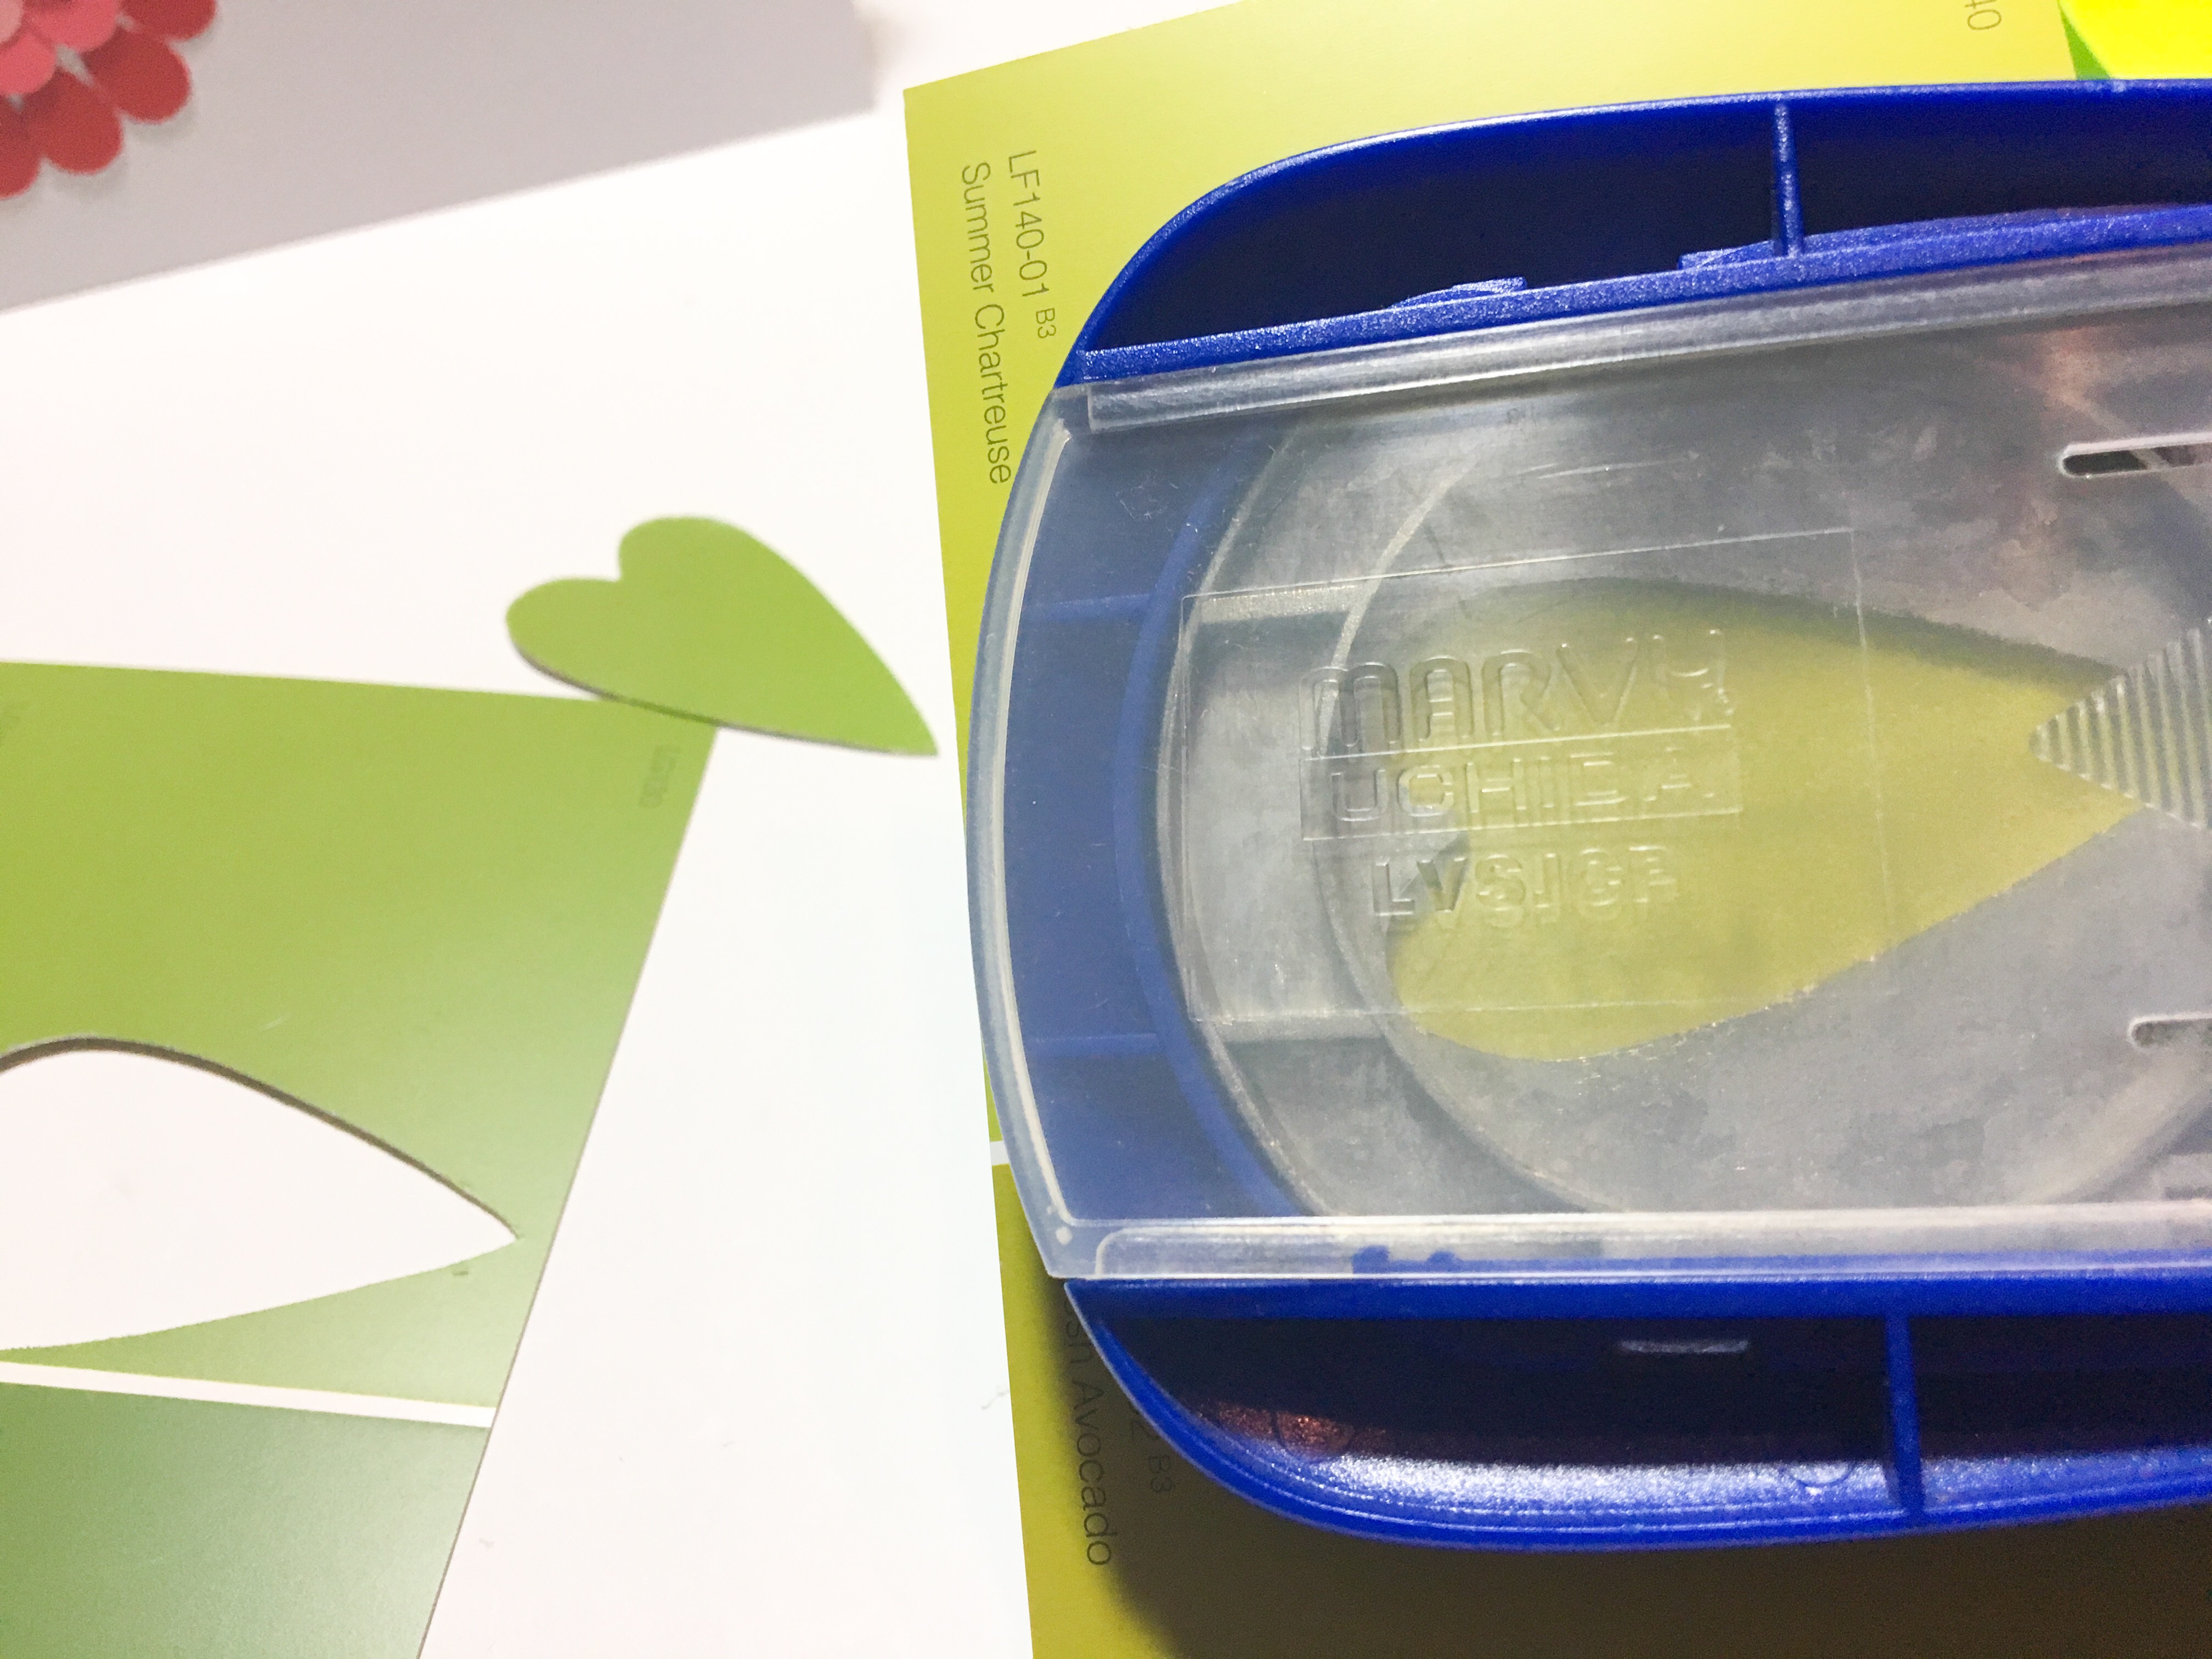
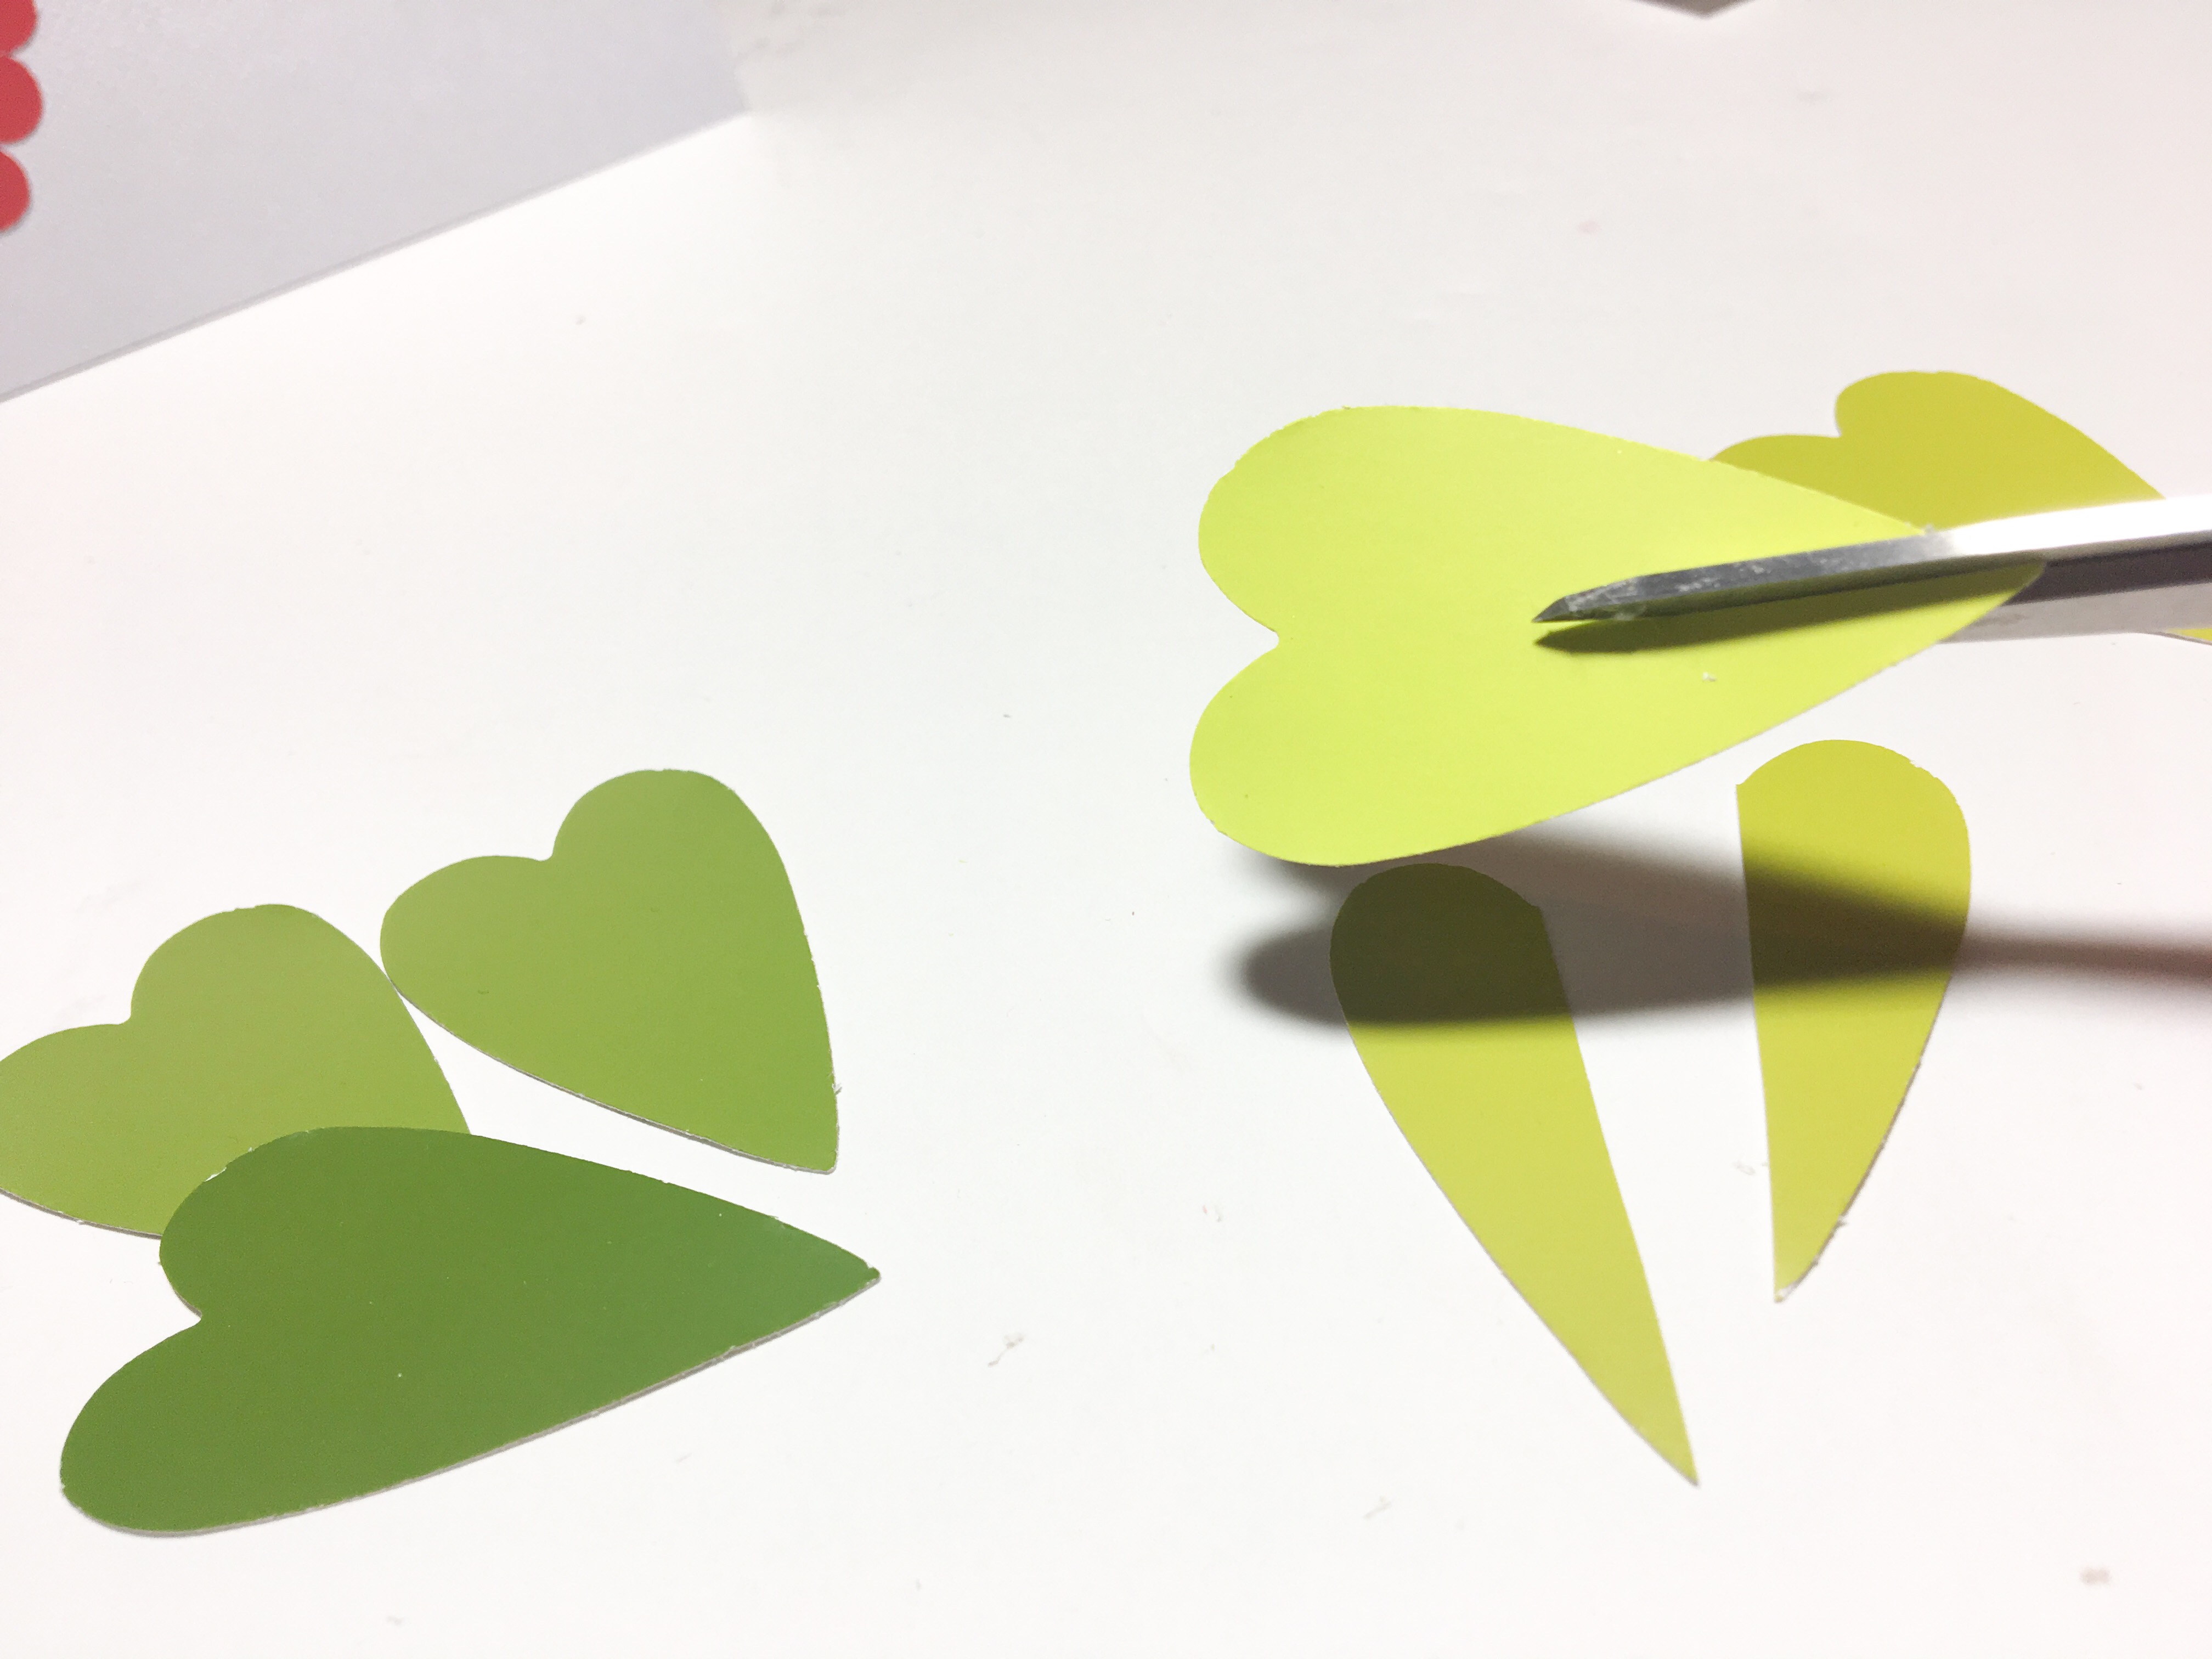
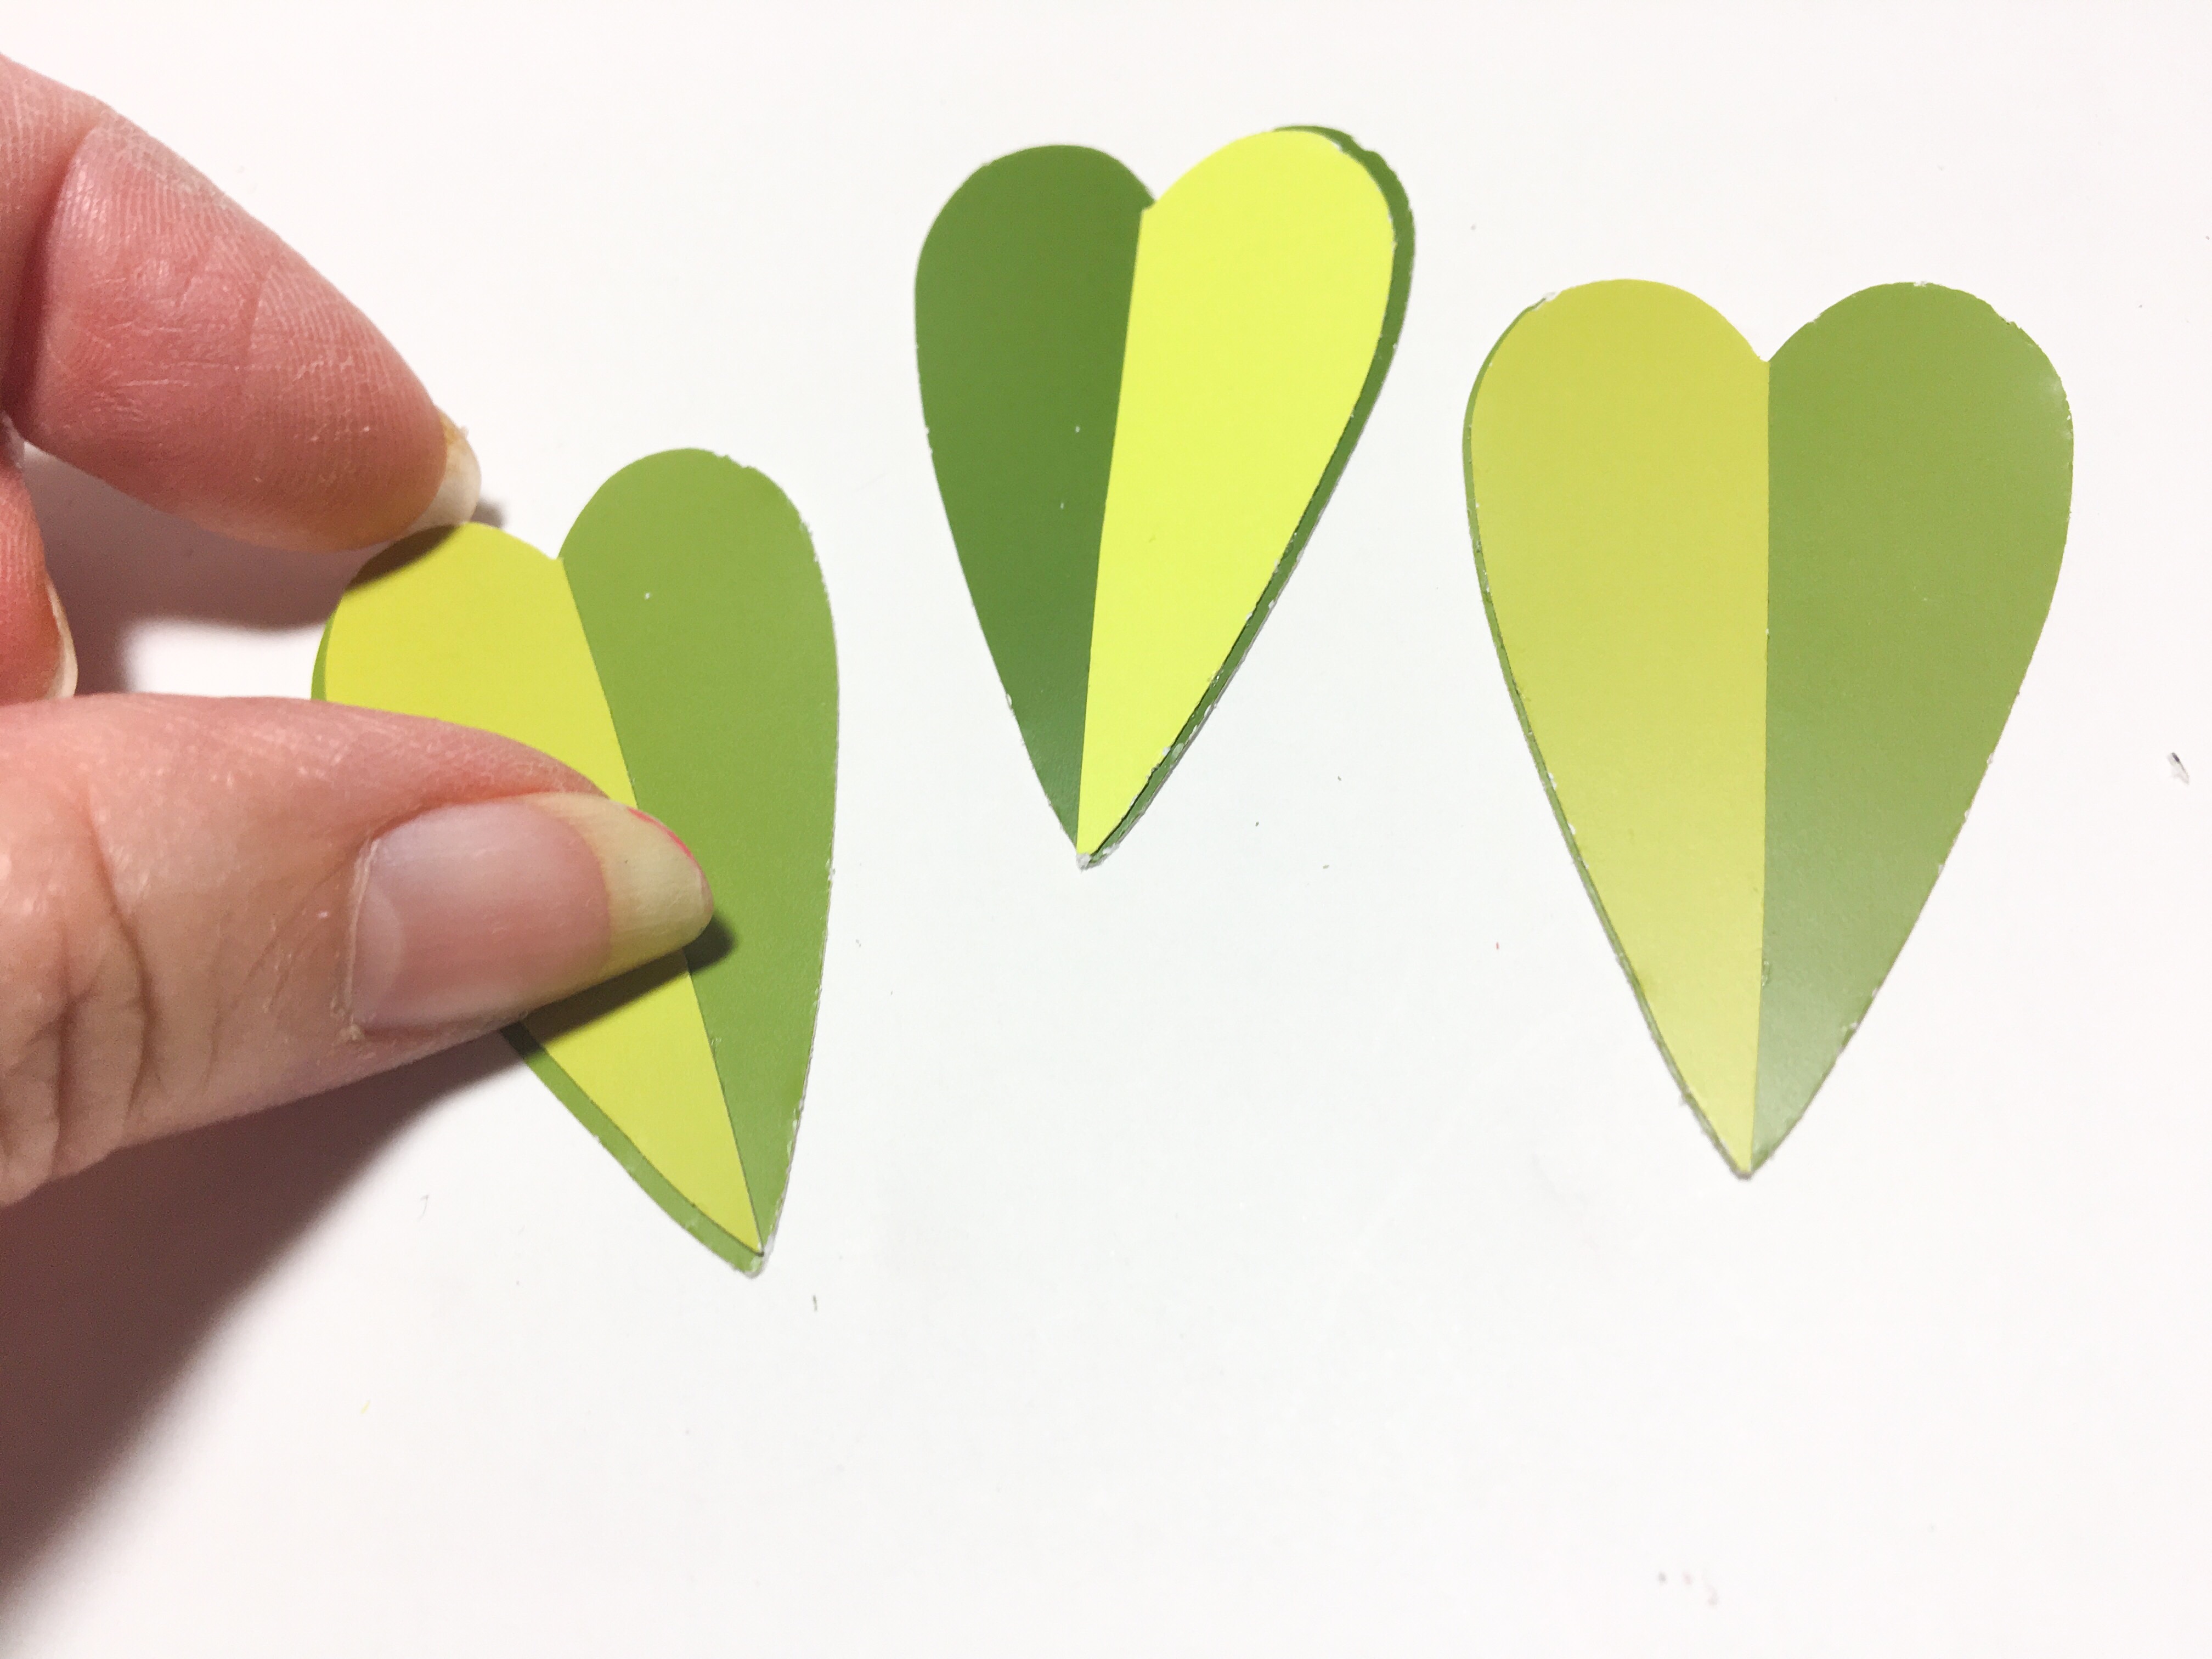
- Punch 2 skinny hearts from medium green and 1 from bright green, dark green, and lime green.
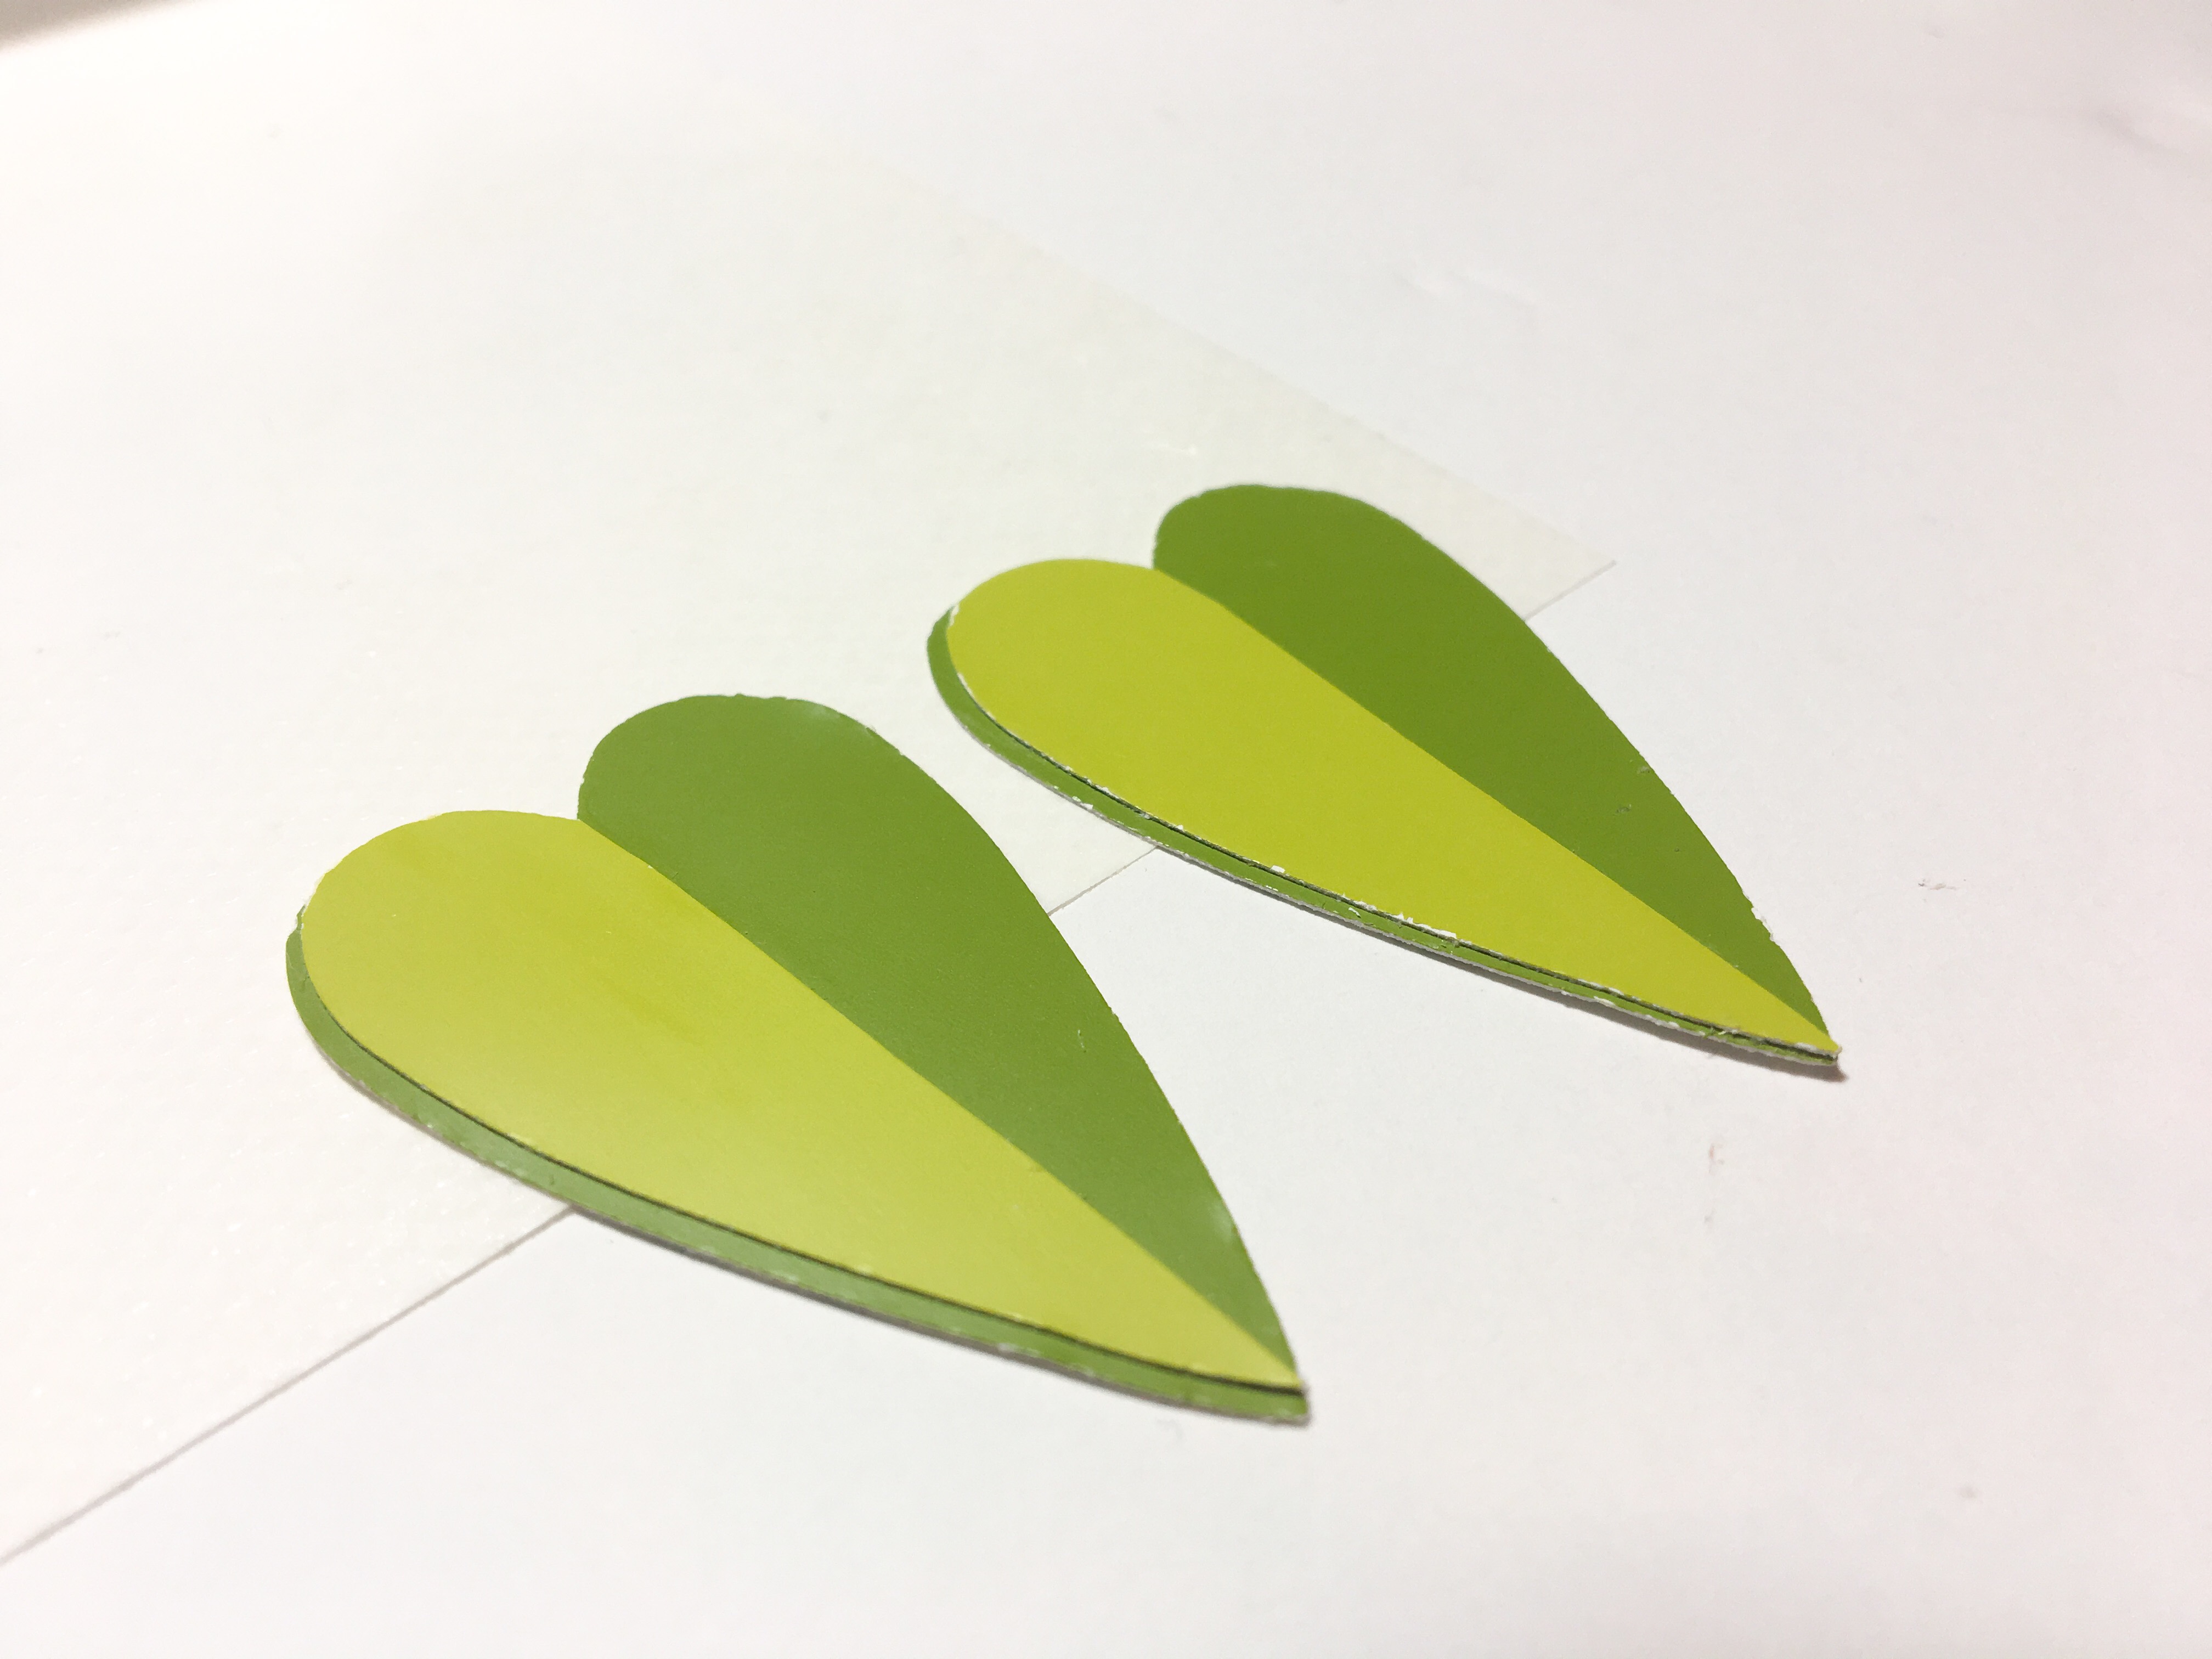
- Cut the bright green and lime green hearts in half, pick 3 to use.
- Place 3 half hearts on the Artist-tac sheet, replacing the cover and smoothing as before.
- Adhere half hearts over full hearts, having the half heart slightly offset to show the color underneath at the outer edge.
- Place the hearts so that only the top half is on the adhesive.
- Adhere the heart leaves to the card, slipping them under the flower edge and letting some overhang as shown. (Reason adhesive was only applied to top edge).
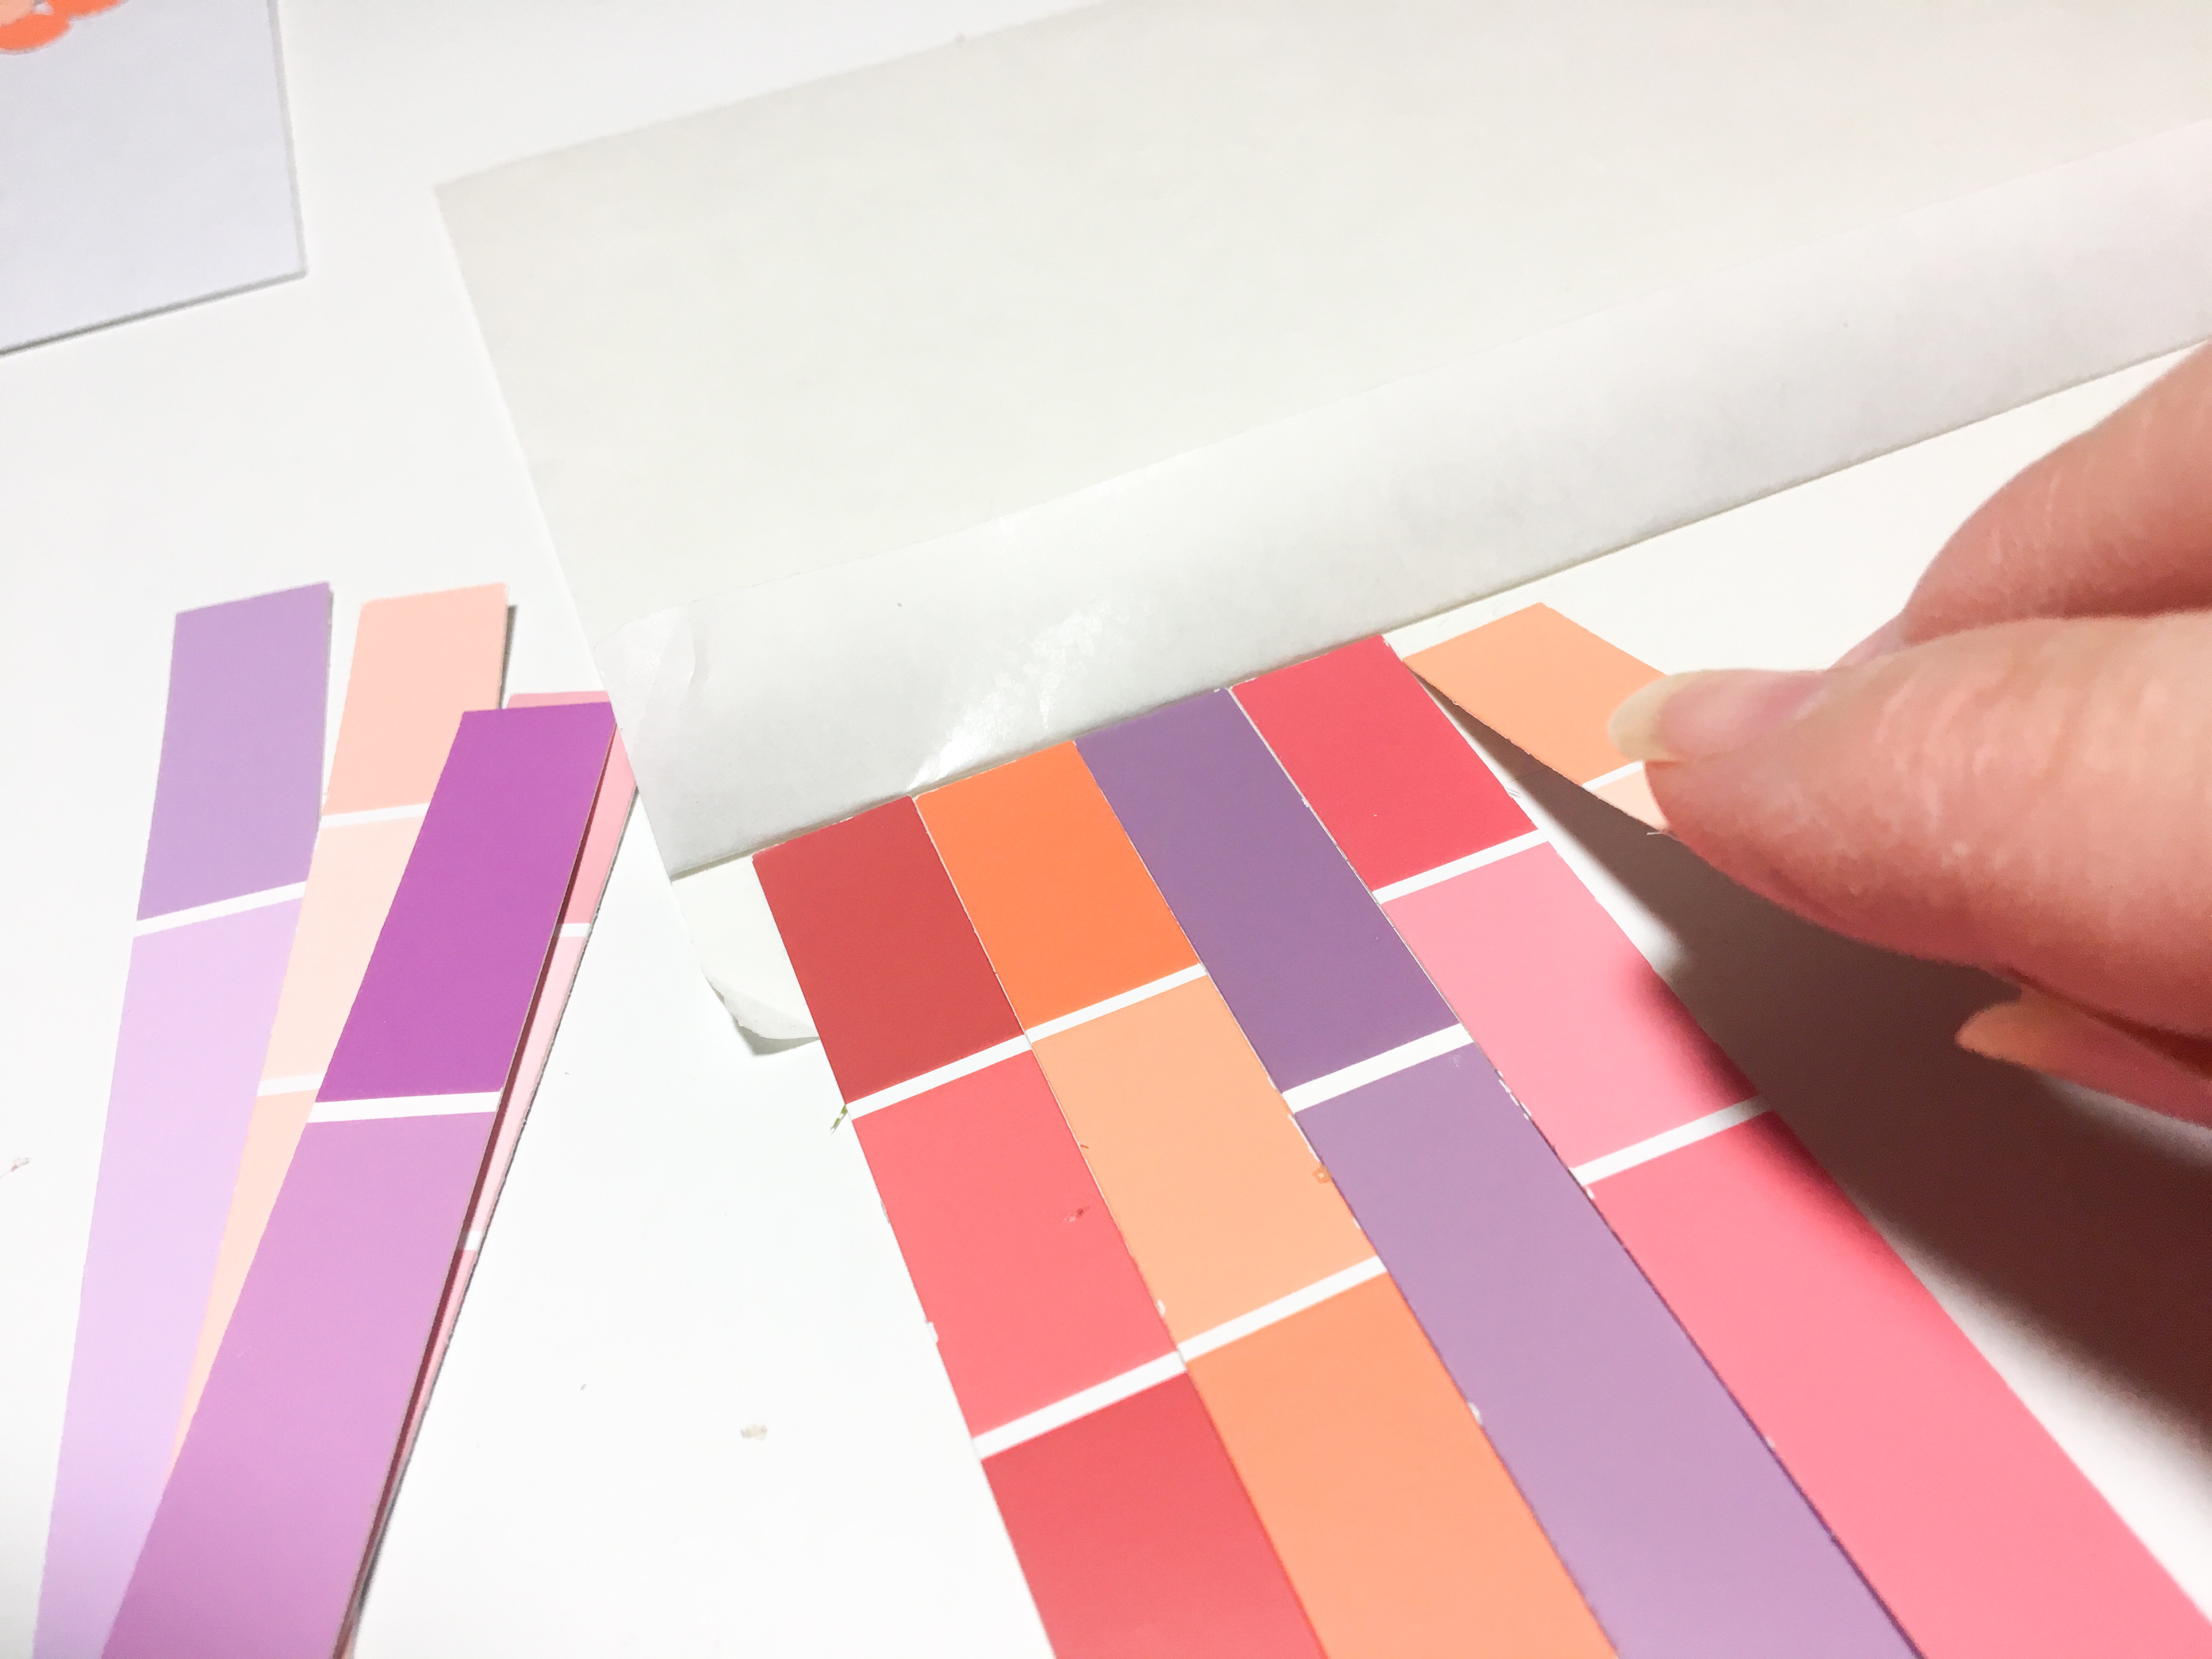
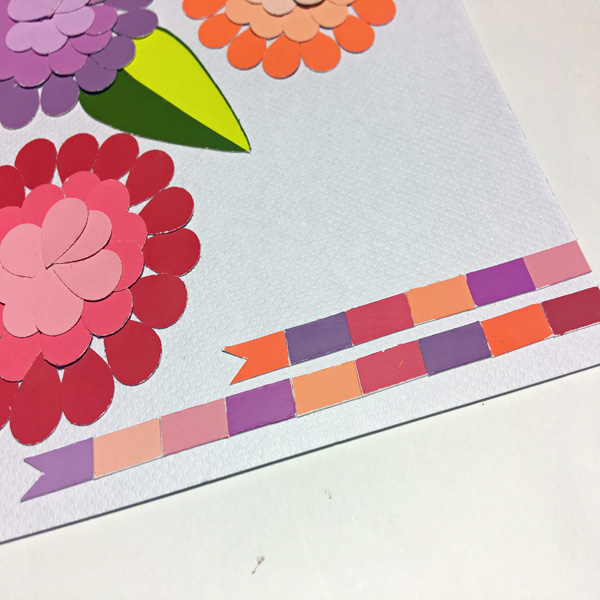
- Gather all the paint chip strips you cut and lay them out with colors alternating as you like.
- Lay about the first 1” or so of each strip on the adhesive, lining up the strips, side by side.
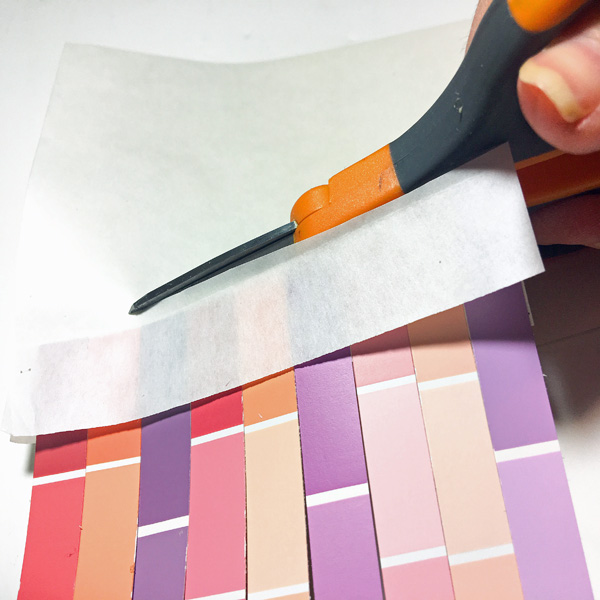
- Trim off the excess cover sheet.
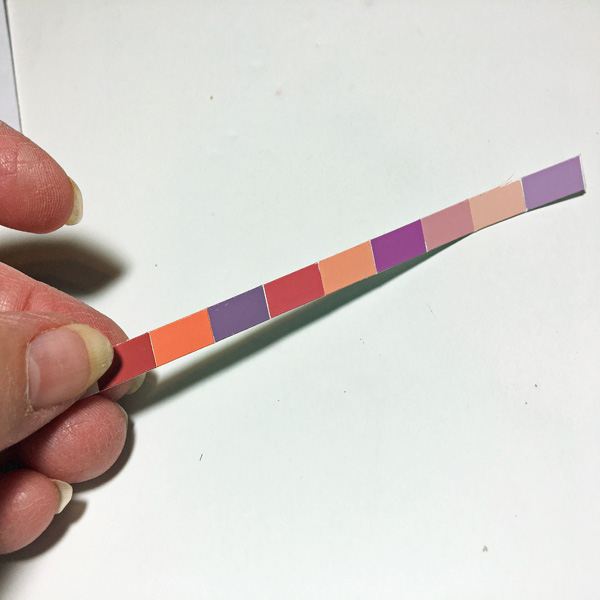
- Cut 2 – ¼” strips, the adhesive sheet will be attached to the back.
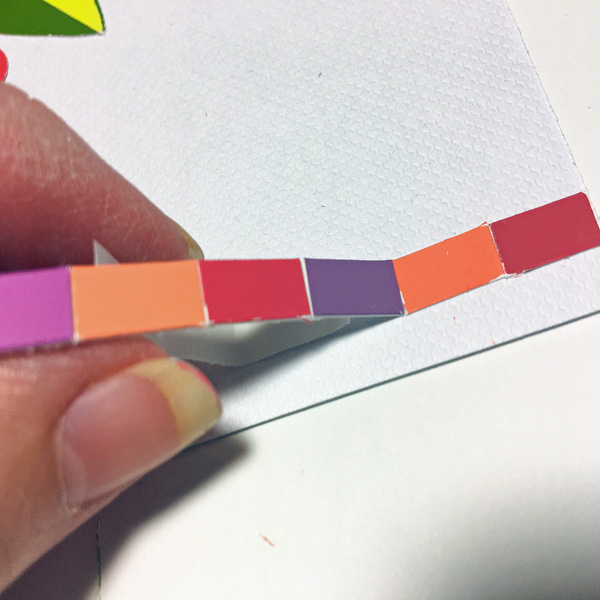
- Cut a 5” piece from one strip, dovetail left end, then peel back adhesive sheet from another end of the strip and slowly adhere pieces as you pull off strip along the bottom of the card, starting even with the right edge.
- Repeat with a 3 ½” piece and adhere slightly above the first strip.
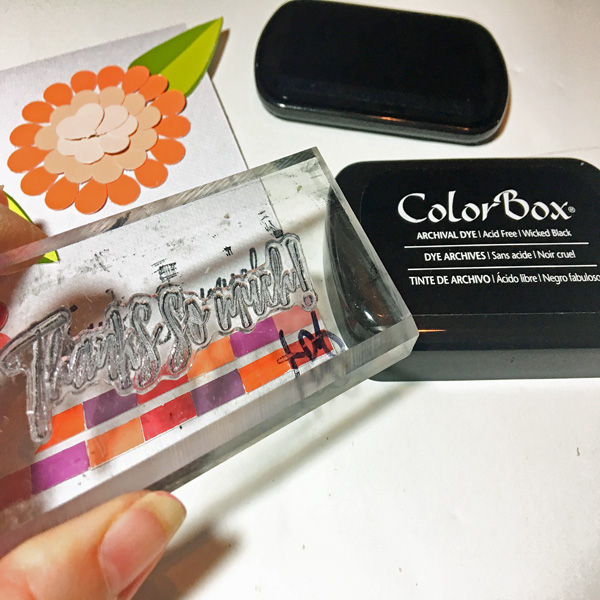
- Stamp sentiment above strips at the bottom right of the card.
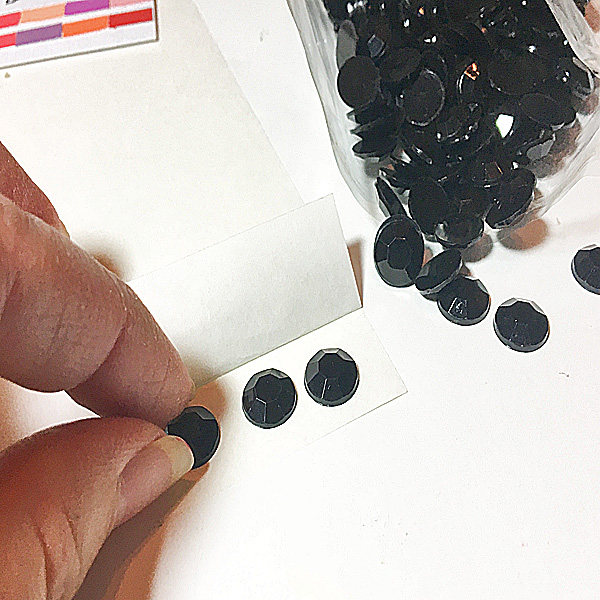
- Place 3 rhinestones onto the Grafix Artist-tac sheet and press to transfer adhesive.
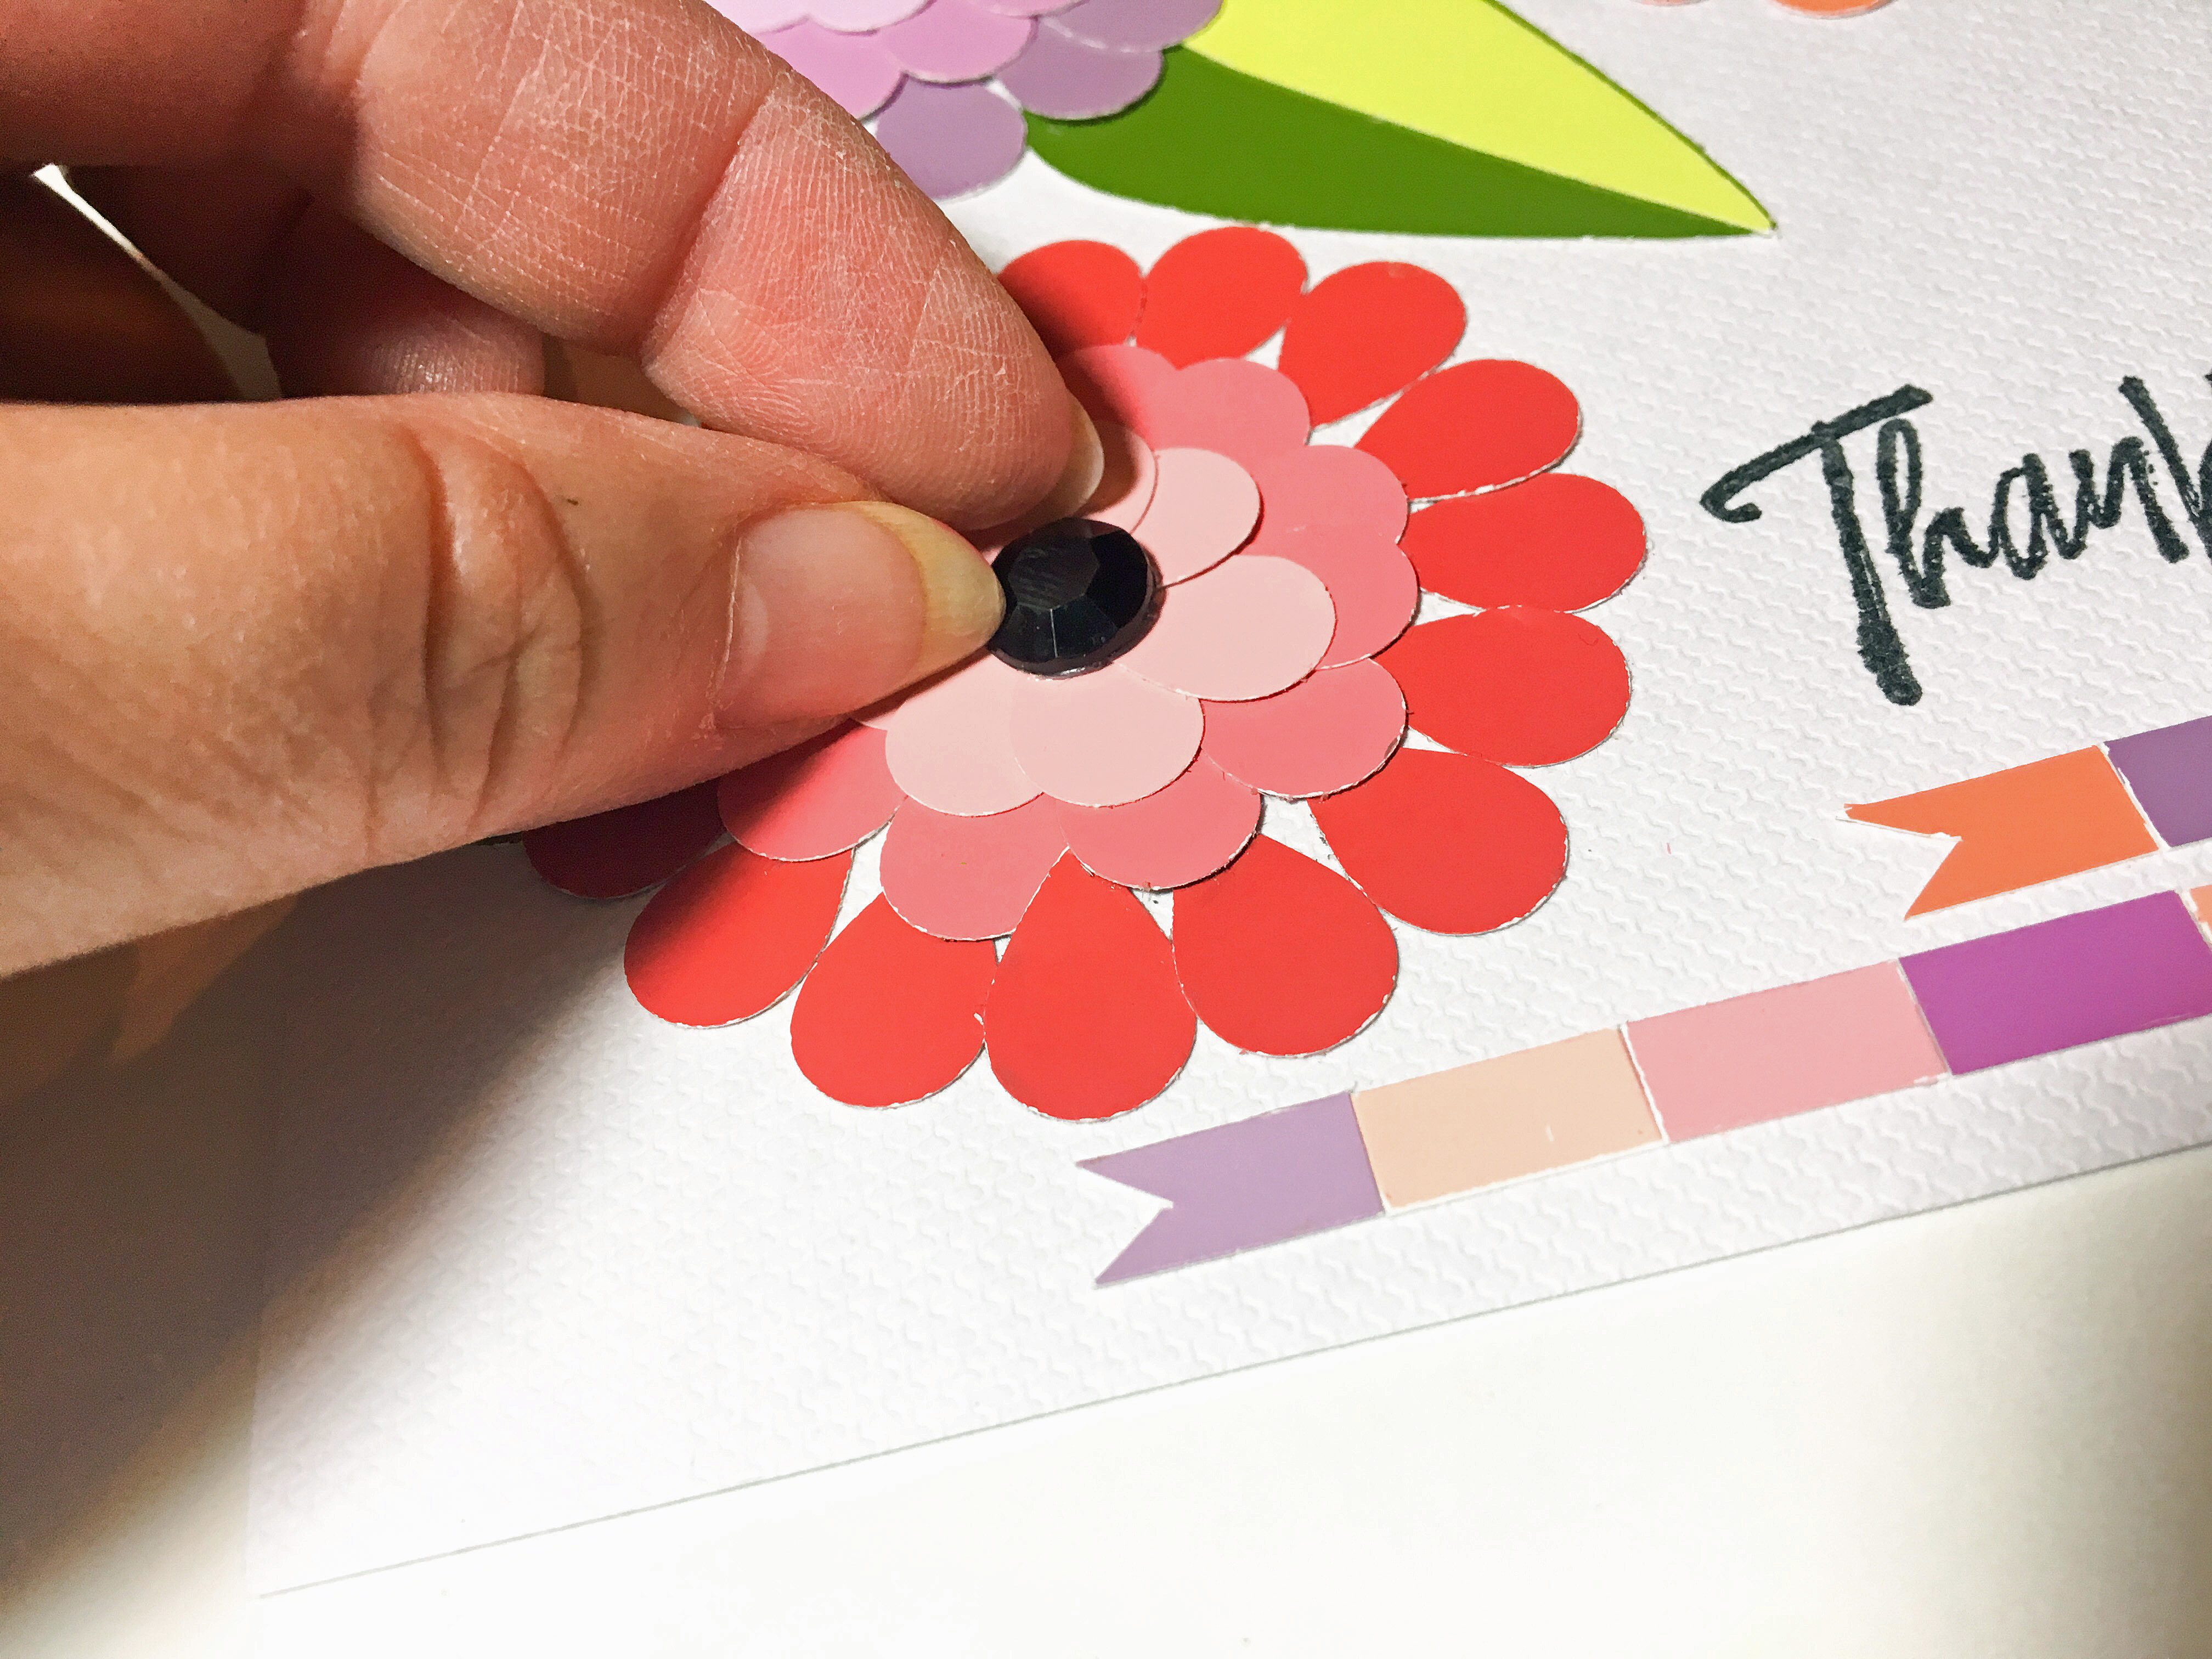
- Adhere rhinestones to the center of each flower.


