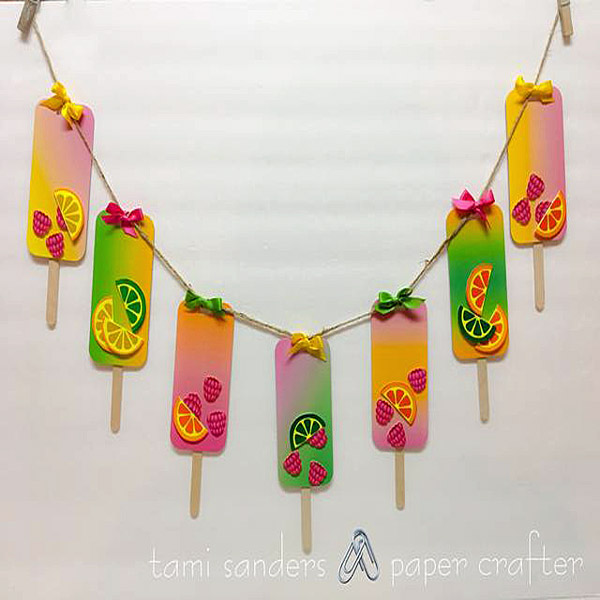
How to Use Computer Grafix to Make a Popsicle Garland
Project Description: Learn how to make this fun and colorful Popsicle banner using COMPUTER GRAFIX and INKJET PRINTABLE SHRINK FILM by Grafix. Pretty spring decor or use for a birthday party.

Designed by: Tami Sanders
Difficulty: Moderately Challenging
Materials:
- Computer Grafix Matte Adhesive-Backed Film
- Grafix Inkjet White Shrink Film
- Grafix White Chipboard 12 X 12
- Sizzix Bigz Bookmark Die
- Narrow Satin Ribbon: Pink, Green, and Yellow
- Jute Cording
- Wood Popsicle Sticks
Steps to Make This:
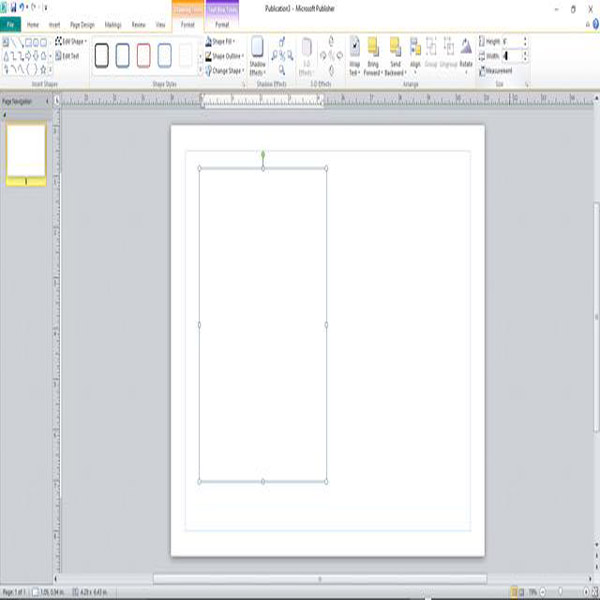
- Open a new document in a word processing program and add 1 – 4″ X 6″ text box.
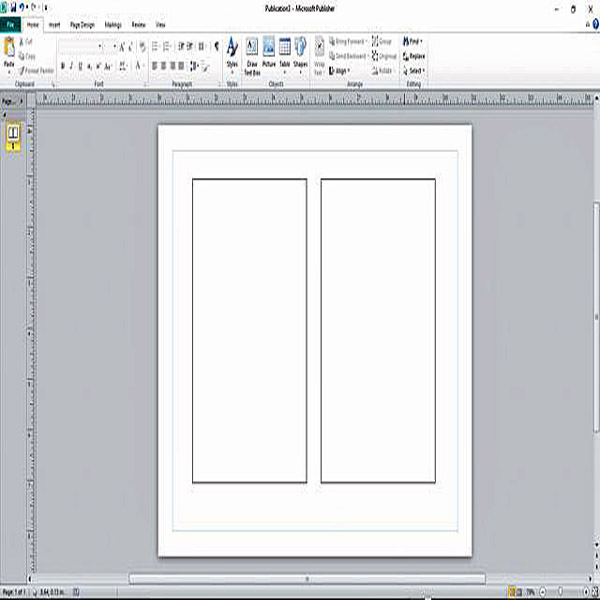
- Then copy and paste to fit 2 – 4″ X 6″ text boxes on one page.
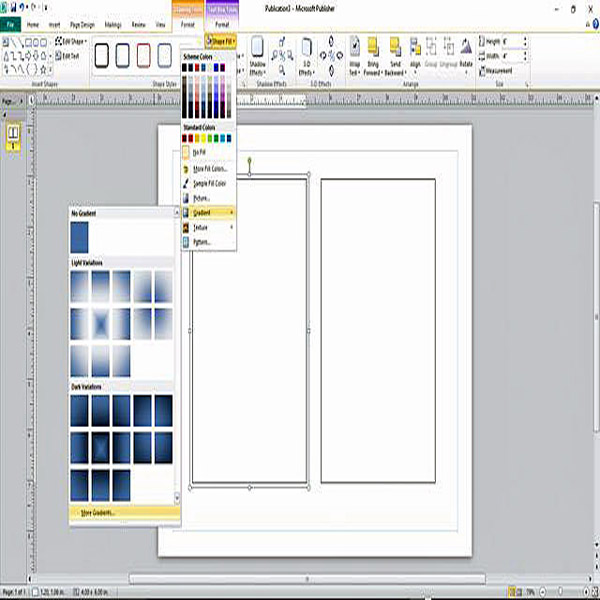
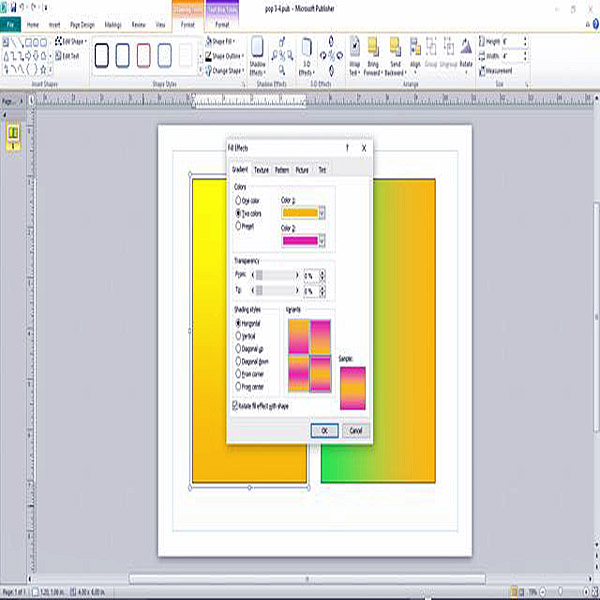
- From “drawing tools” menu, select “shape fill”, then “gradient” and “more gradients”.
- Next, select “two colors” and select a “shading style” of your choice.
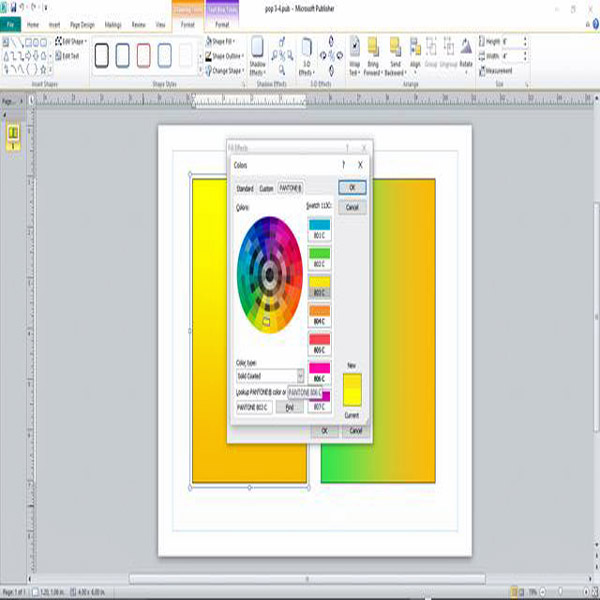
- Select the colors you’d like to be used. Make a note of choices if you would like to use the same variety of colors in all of your popsicles.
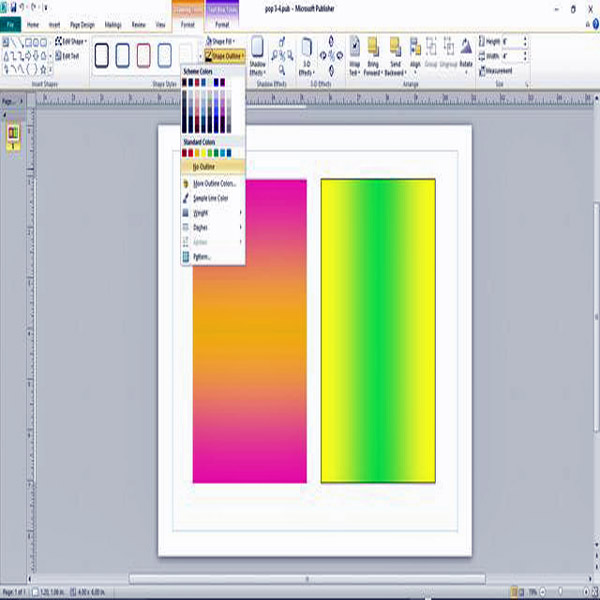
- Under “drawing tools”, select “shape outline” and “no outline” for both boxes. Save the page, then repeat to create 5 more gradient boxes for your popsicles.
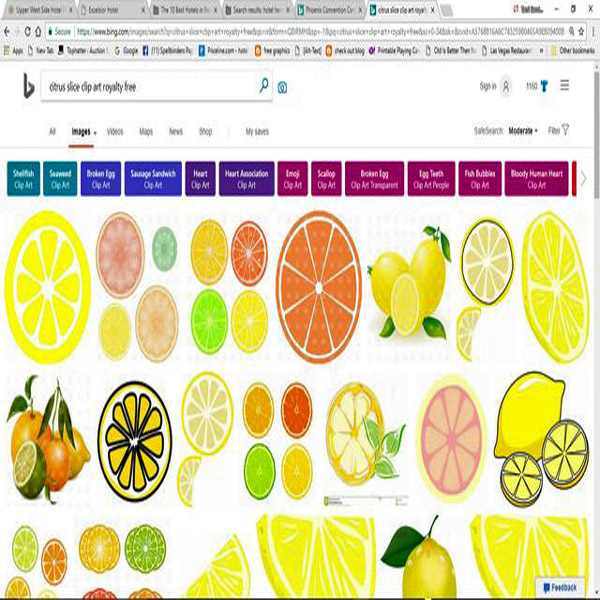
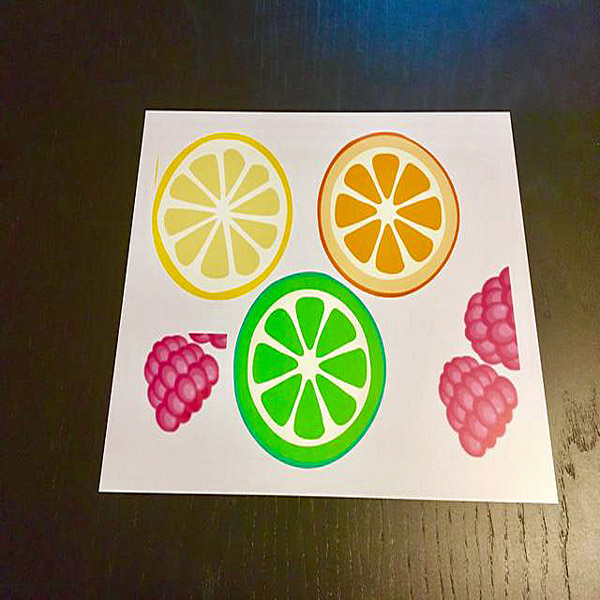
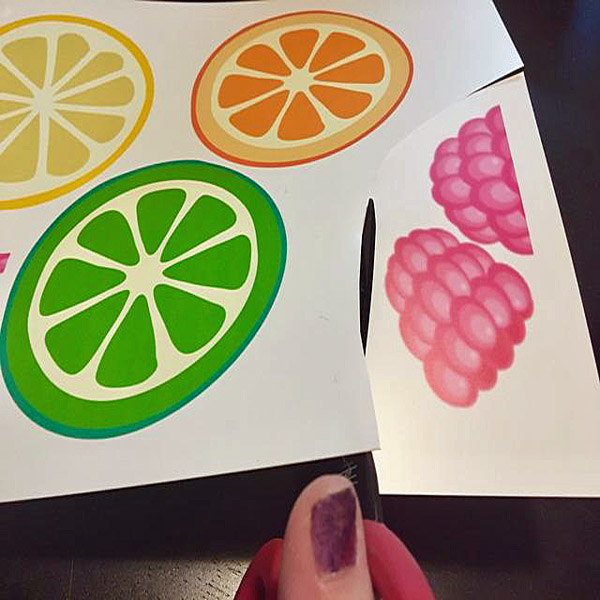
- Search the web to find royalty free fruit designs to print to use for your Shrink Film pieces. Arrange designs on a page, fitting as many as possible on a sheet.
- Print out fruit clip art on Inkjet Printable Shrink Film, you will need to print multiple sheets to have enough fruit to embellish your popsicles.
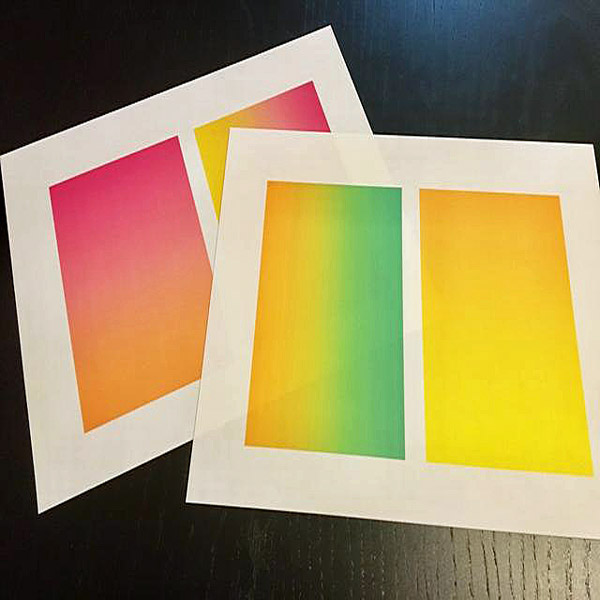
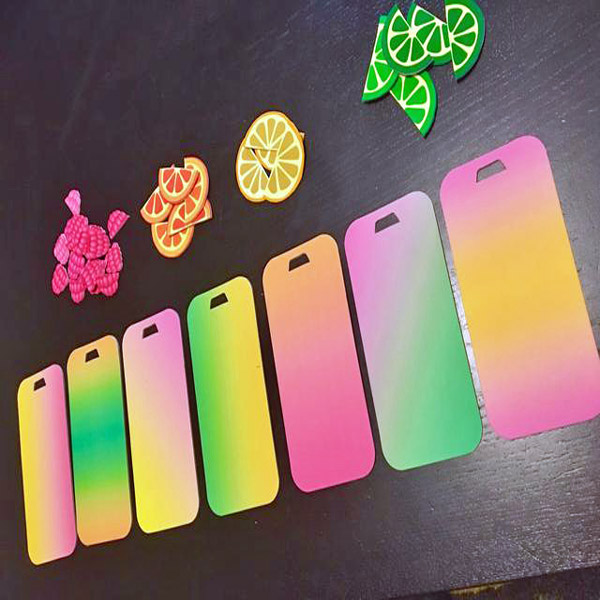
- Print out the gradient designs for the popsicles on the Matte Adhesive backed Computer Grafix.
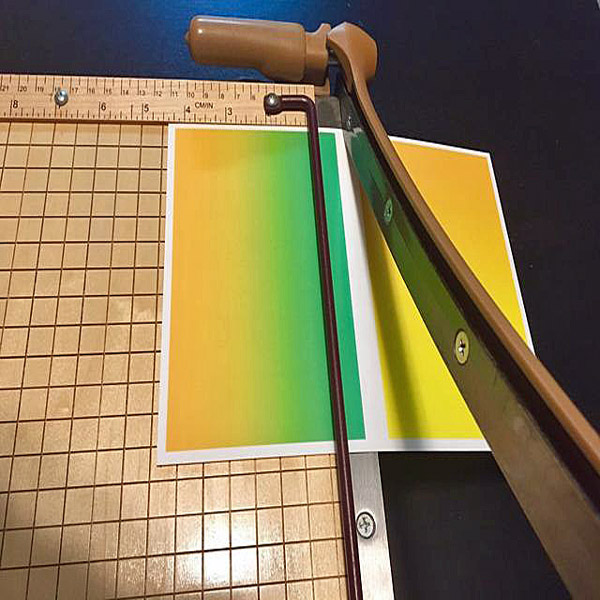
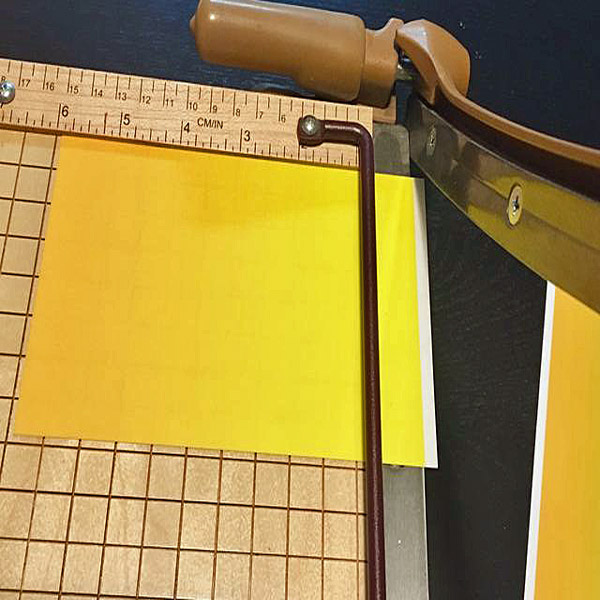
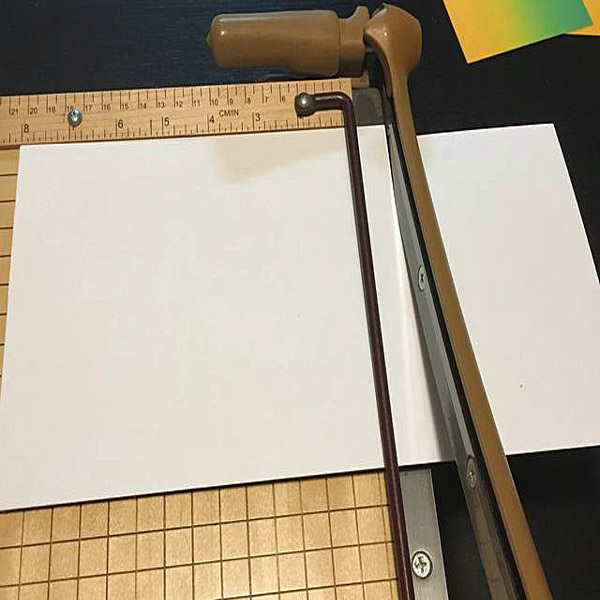
- Cut out the gradient pieces from the printed sheets. Trim close to design.
- Cut out 7- 4 X 6 pieces of White Chipboard for the base of the popsicles.
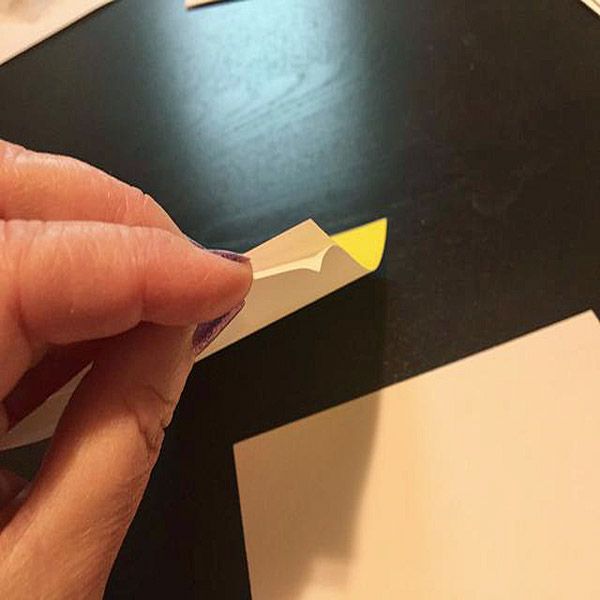
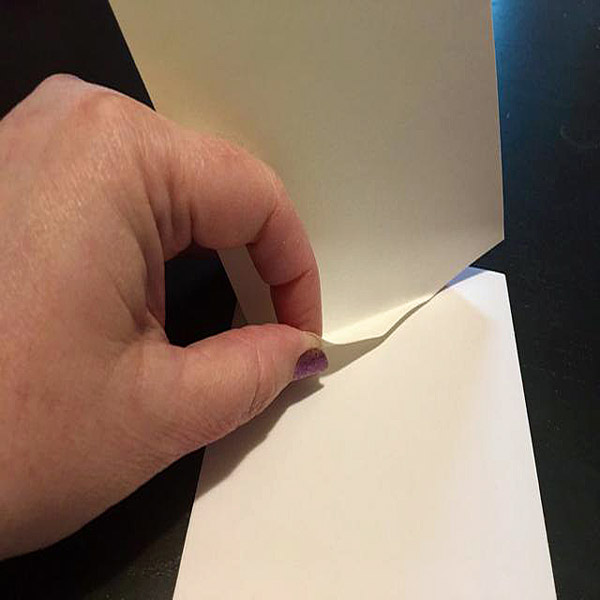
- Separate the adhesive backing from the film on one of the gradient printed pieces. Fold back the corner of the backing.
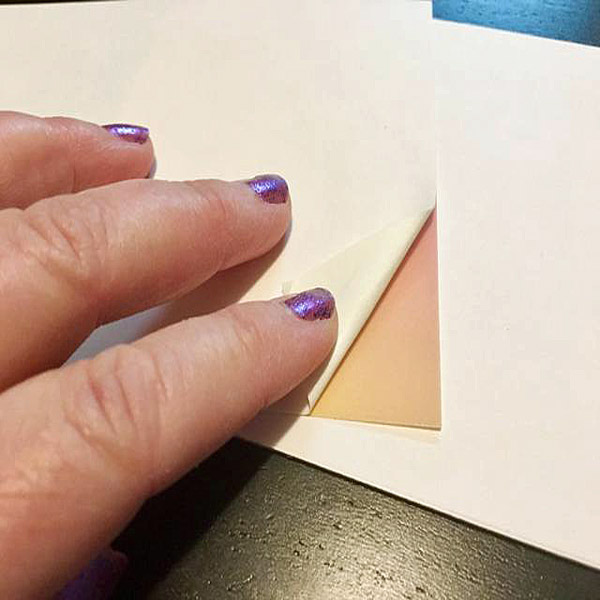
- Line up the adhesive-backed corner of the film with the matching corner of your 4 X 6 chipboard piece and apply the film to the corner.
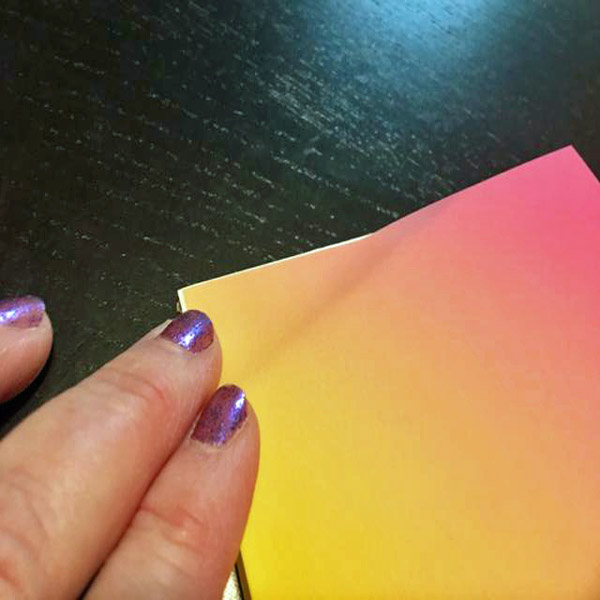
- Pull the backing to remove it bit by bit. As you smooth the film onto the chipboard, work slowly and press well to make sure no air bubbles are trapped.
- As you smooth the film onto the chipboard. Work slowly and press well to make sure no air bubbles are trapped.
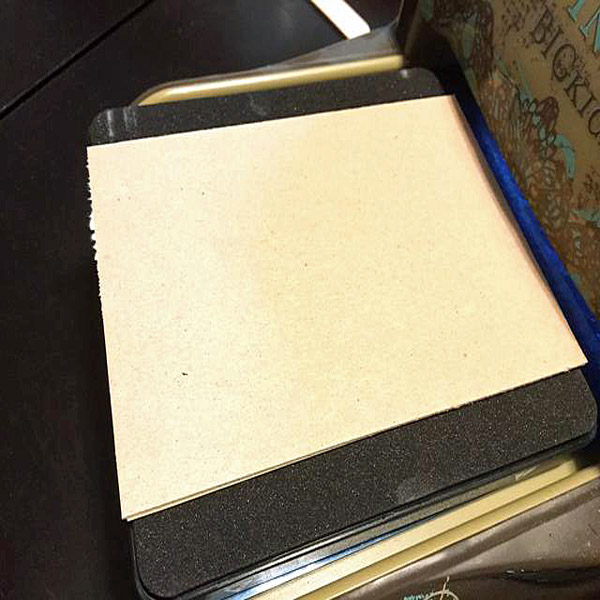
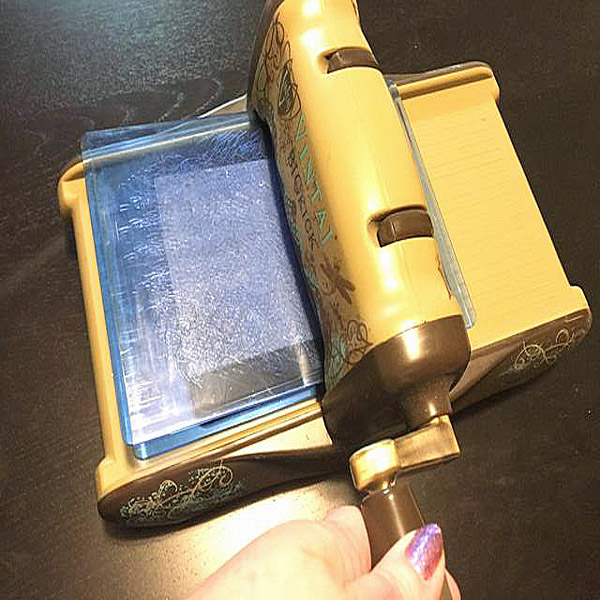
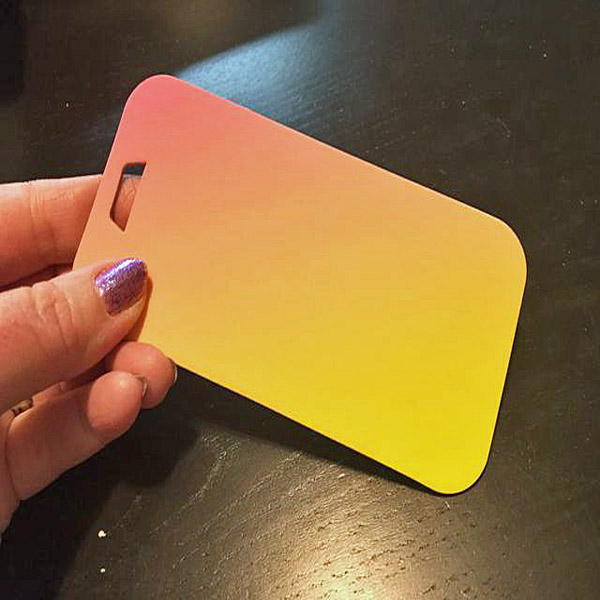
- “Sandwich” pieces as called for by your machine and run die through your cutting machine. Repeat steps to create other 6 popsicles.
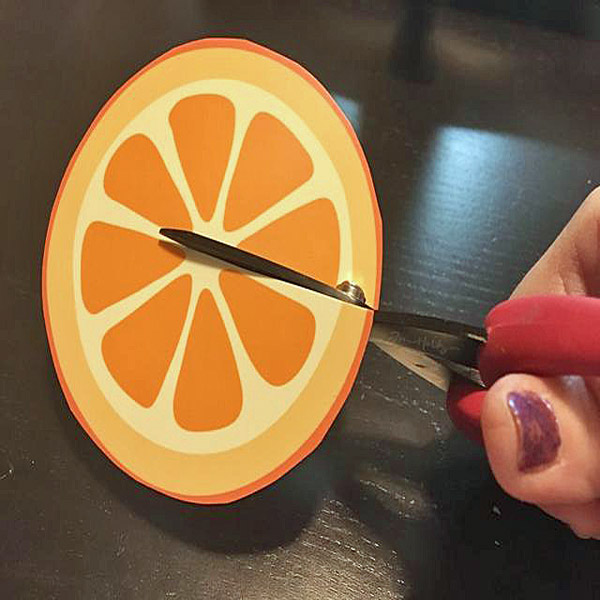
- Cut out fruits from Shrink Film
- Then cut the citrus pieces in half.
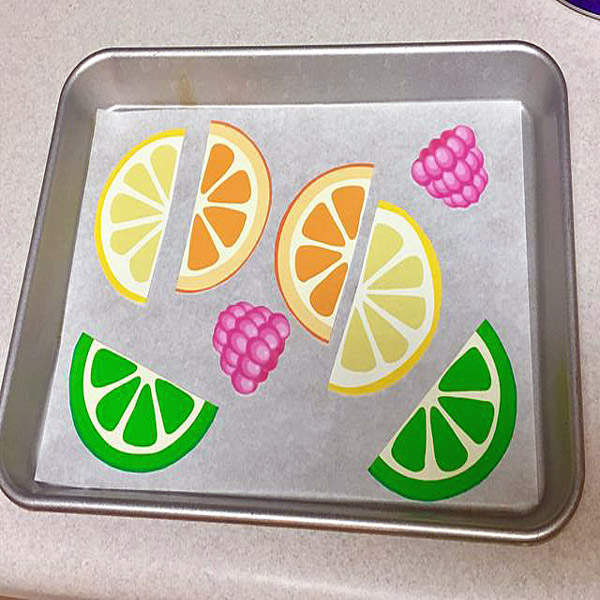
- Place Shrink Film pieces on a parchment lined baking tray and bake as per directions on package.
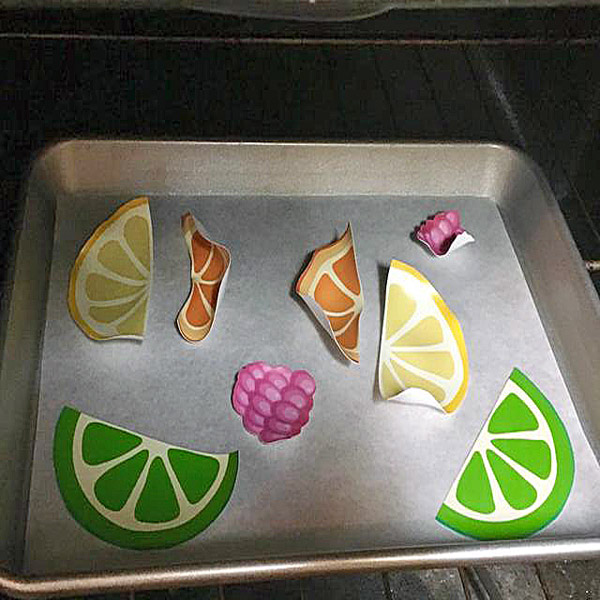
- Shrink Film pieces will pucker and bend as they shrink. Keep baking until pieces completely shrink and flatten.
- You can tell pieces are done baking when they have reduced in size and have become flat again.
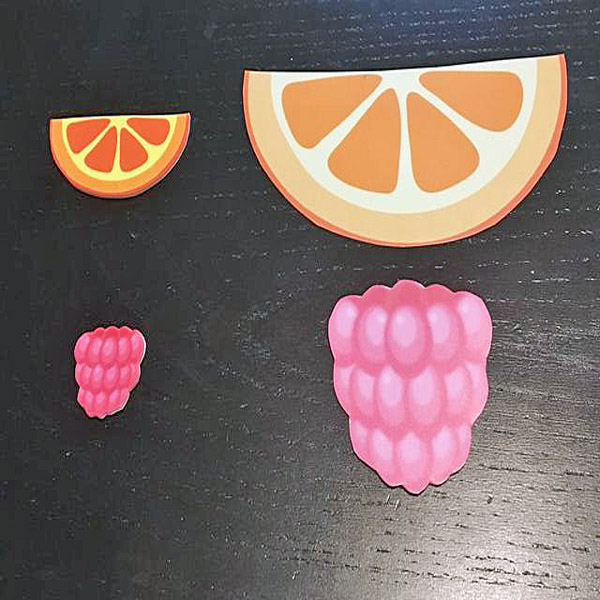
- Compare size and color of fruit pieces before and after shrinking. Notice how the designs have become darker as the design colors have concentrated as they shrunk.
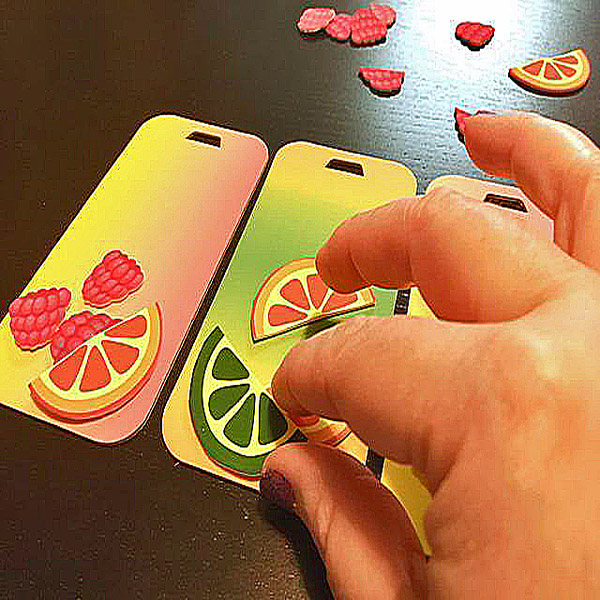
- Arrange the citrus halves on the popsicles until you get the desired look.
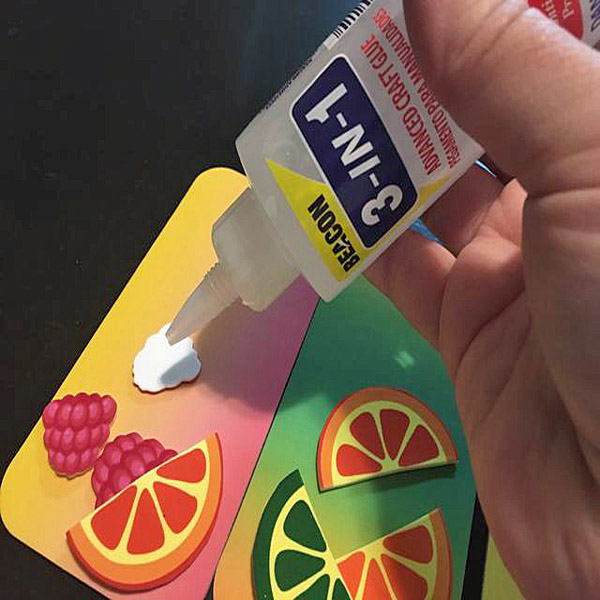
- Once you are happy with how the fruit pieces are arranged, begin adhering them to the popsicles using 3-in-1 Glue.
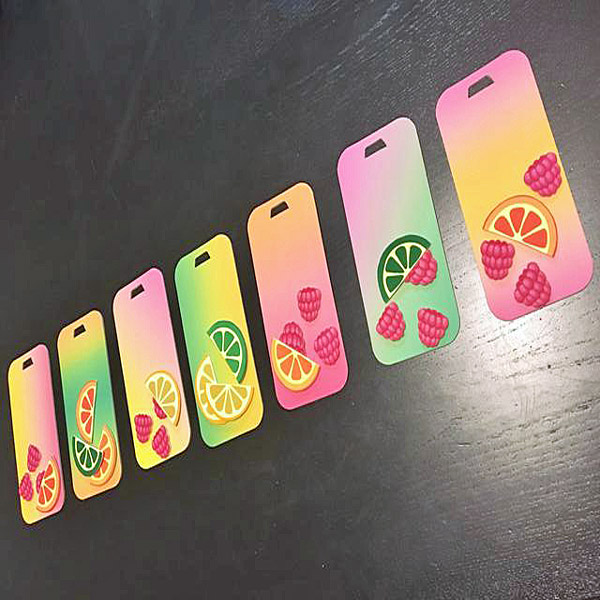
- Finished popsicles with fruit pieces adhered.
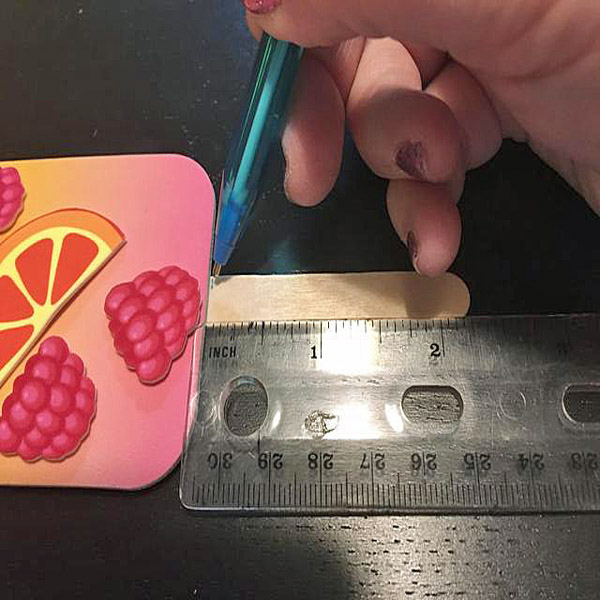
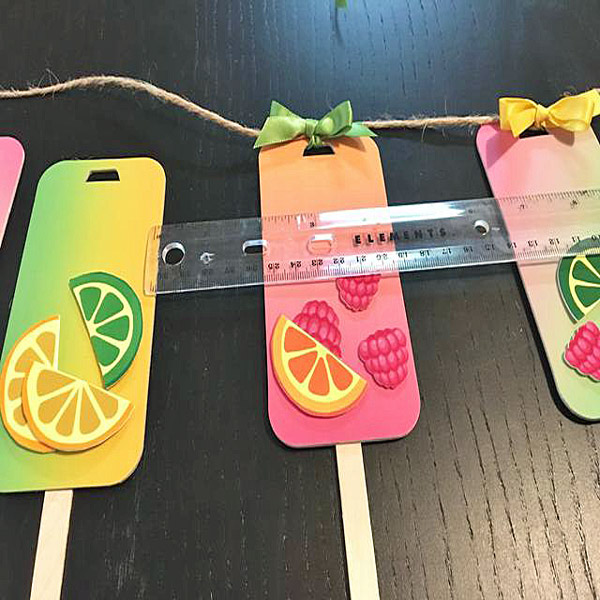
- Measure and mark sticks at 2 1/4″ from base to bottom of Popsicle.
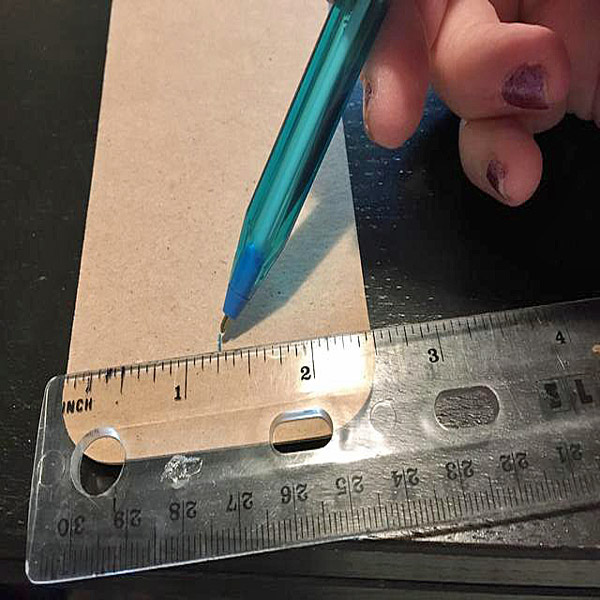
- Measure and mark center of Popsicle on back at 1 1/4″.
- Make a few more marks at center.
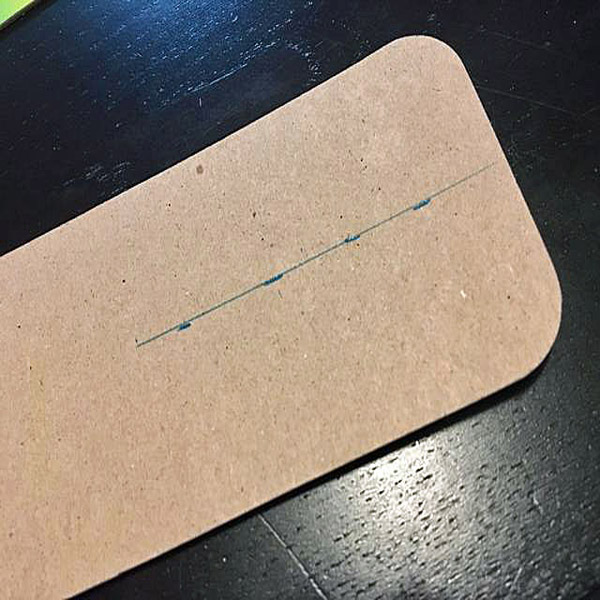
- Then connect them with a line.
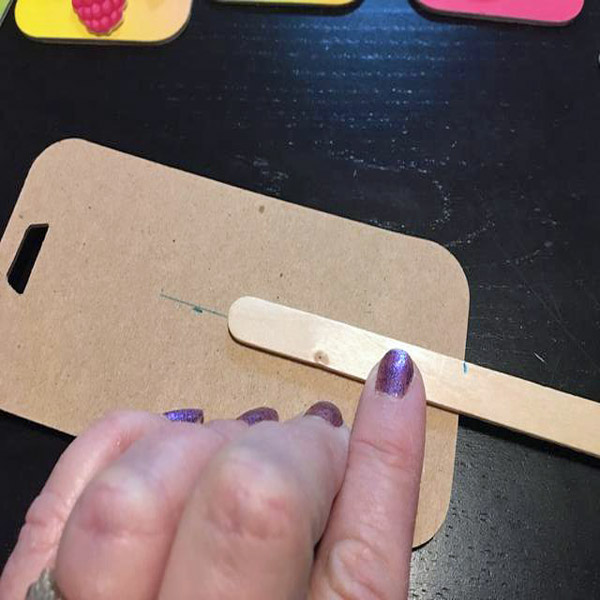
- Add a bead of glue to the back of Popsicle stick.
- Then adhere to back of each Popsicle; lining up stick on the center of the line down the back and having the 2 1/4″ mark on a stick at the bottom of the Popsicle.
- Cut 1 yard of jute and mark center. Tie on one Popsicle using ribbon at center, finishing in a bow. Then space other popsicles about 2″ apart on either side of the first one. Repeat until all are attached.