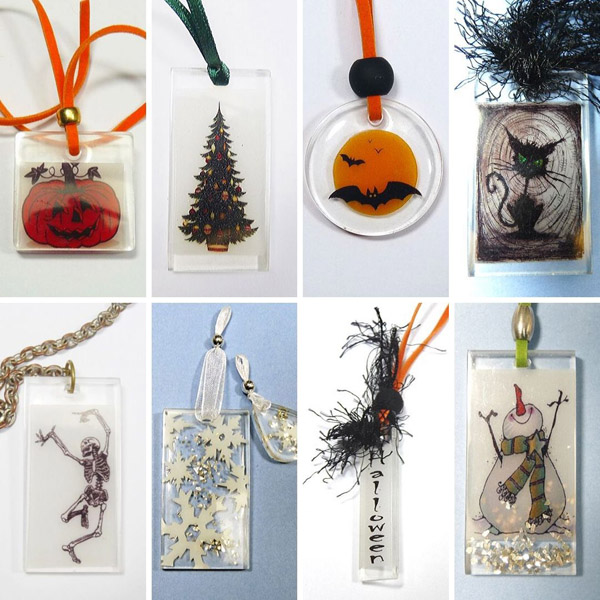
Custom Shrink Charms
Project Description: Create your own customized shrink and Resin Charms to use for a jewelry pendant, ornament, a tag for a gift or as an ornament.
Designed by: Kay Molyneux
Difficulty: Moderately Challenging
Materials:
- Grafix Clear Inkjet Shrink Film
- Ruler
- Fine Point Permanent Pen
- Oven
- Oven Tray
- Computer
- Printer
- 2 Part Jewellery Grade Resin
- Pendent Silicon Molds
- Paper Trimmer
- Jelly Roll Pens
- Glass Glitter
- Hole Punch
- String or Ribbon
Steps to Make This:
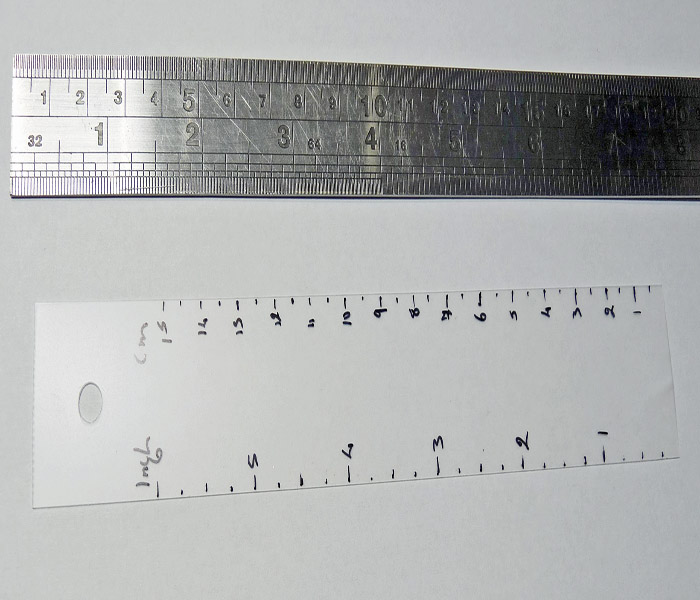
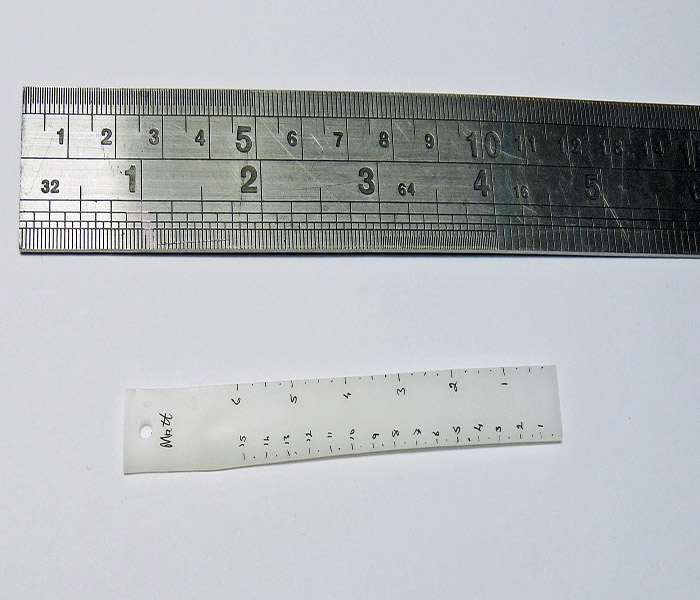
- Cut a one 1″ x 6″ (30mmx150mm) strip of the Grafix Inkjet Shrink Film to make a ruler design.
- Mark out the measurements in a fine point permanent pen on to the strip using the measurement of your choice.
- Hole punch a hole at the top of the design to be thread a piece of string or ribbon.
- Place the Shrink Film strip on the oven tray and in the oven. Follow the shrinking instructions on the back of the package.
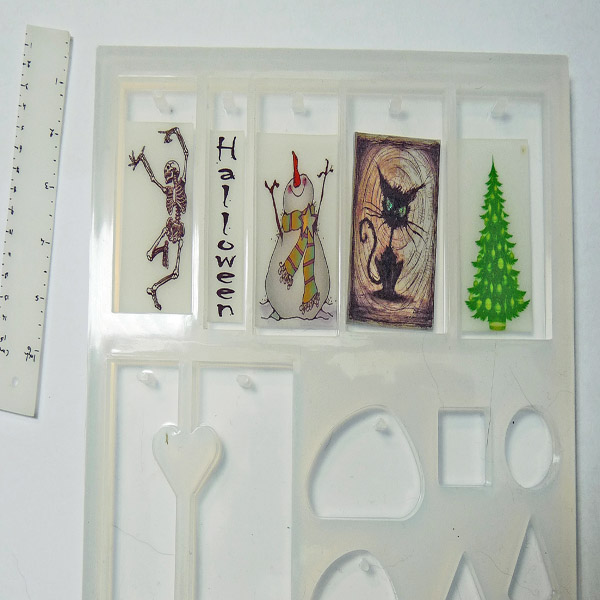
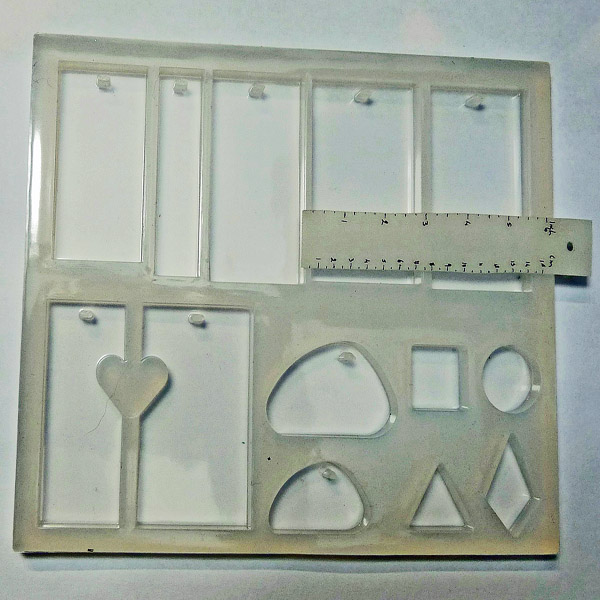
- Use the shrunken ruler to measure each pendent silicon mold, and make a note of each one.
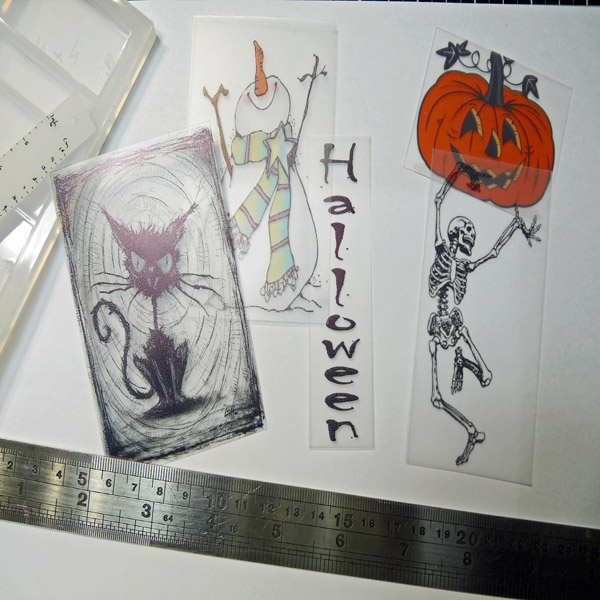
- Select an image or two on the computer and size each to match the chosen mold. (For example, if the mold measures 2″x3″ using the shrink film ruler then the image would need 2″ x3″ on a regular ruler).
- Print out the images onto the Clear Inkjet Shrink Film, use a setting for transparency and remember the color will intensify when shrunk.
- Let the ink dry and then cut out to size.
- Shrink the designs in the oven, again following the instructions on the back of the package.
- When cool place the designs in the molds. At this point embellishments such as Glass Glitter or Jelly Roll Pens can be added.
- Follow the manufactures instructions for the 2 part jewelry grade resin to mix and fill the molds.
- After the resin has set, remove the resin Shrink Film design from the mold.
- Remove the excess resin from the edges.
- To finish add findings as required for your project.

