“Die Cut” Dyed Easter Eggs
Project Description: Transform inexpensive wood eggs into custom Easter décor using die cut masks and dye based inks. This would be a fun project to do with older children and the results will last much longer than the hard-boiled variety!
Designed by: Alice Golden
Difficulty: Moderately Challenging
Materials:
- Grafix Frisket Film
- Factory Direct Crafts Flat Bottomed Unfinished Wood Eggs 2 ½” high (item number 911964) and 2” high (item number 911966)
- Papertrey Ink – Tremendous Treats Valentine Dies (rabbit)
- My Favorite Things – Die-namics Pierced Circle STAX Dies (circles)
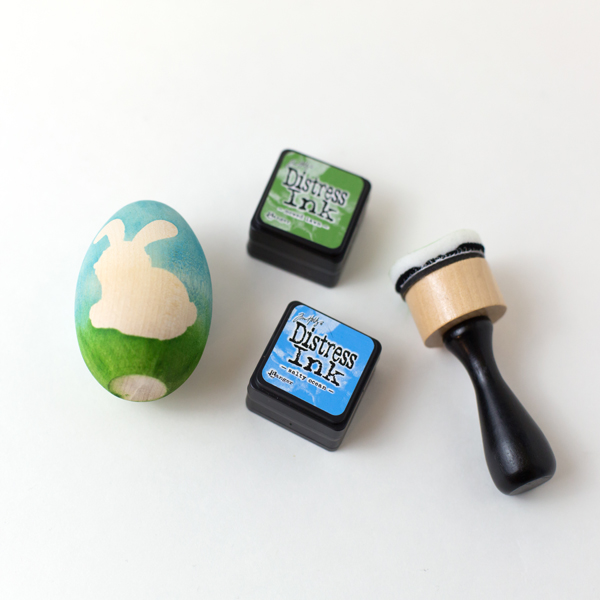
- Ranger Distress Ink: Mustard Seed, Seedless Preserves, Picked Raspberry, Salty Ocean, Mowed Lawn, and Wild Honey
- Ranger Ink Blending Tool and Mini Ink Blending Foam pads
- Mini Pom-poms (optional)
- Fine tipped pen (optional)
- Die cutting machine
- Scissors and/or paper trimmer
Steps to Make This:
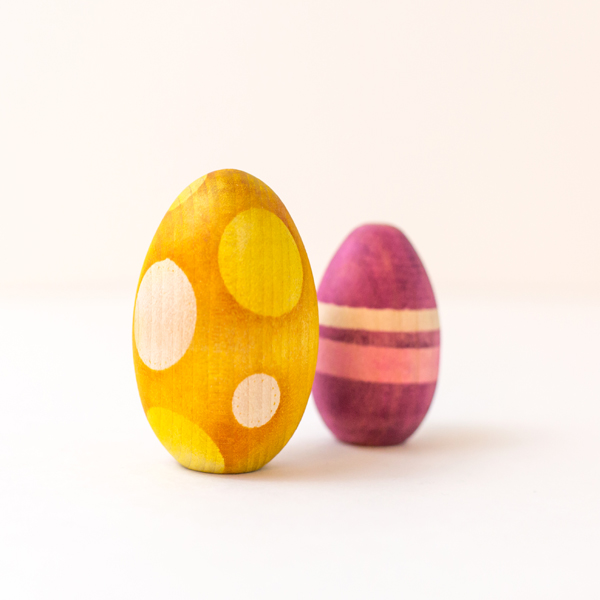
- Create masks for the eggs by die cutting Frisket Film into the desired shapes. (TIP: This is a great way to get more use out of your dies. You can also cut shapes by hand or cut strips of Frisket Film using a paper trimmer. Use an alphabet die to create monogrammed eggs or layer the negative pieces of the dies to create a freeform design).
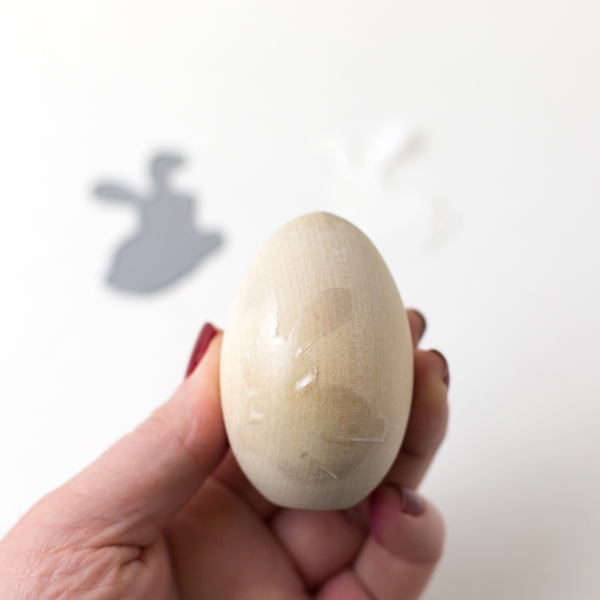
- Press the film onto the eggs, taking extra care to make sure the edges are sealed down tight. Starting with the lightest color, sponge dye ink onto the eggs. If desired, continue adding die cut film and sponging with more ink in the same or darker color. Try overlapping the shapes and experiment with layering colors to create interesting effects. Peel off the masks and reuse to create additional eggs. (TIP: Add a gloss varnish if desired to create a shiny finish. If you don’t want the wood grain to show, paint the egg with Gesso or primer first. Instead of dye ink, try sponging acrylic craft paint over the masks).
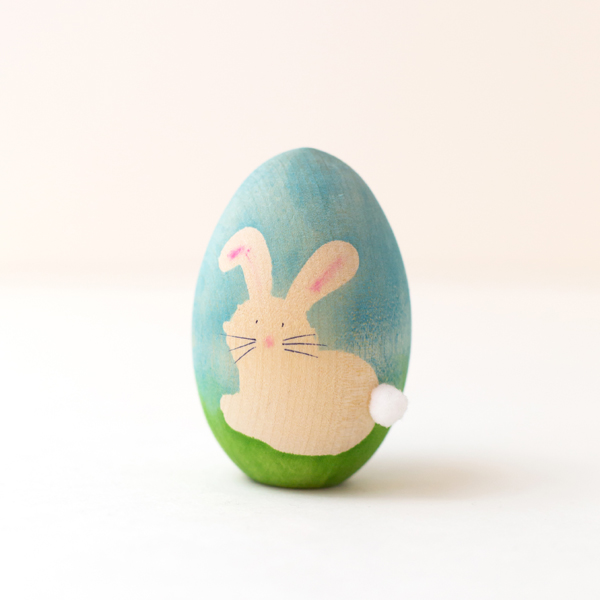
- If desired, add details to eggs using a fine tipped pen. Glue on embellishments, such as a mini pom-pom, buttons, or rhinestones.


