How to Embellish a Wood Bangle with Grafix Artist-tac
Project Description: Turn a plain wooden bangle into a work of art using Grafix Artist-tac and any paper of your choice; old newspapers, magazines, ads, or in this case a comic book.
Designed by: Tami Sanders
Difficulty: Easy
Materials:
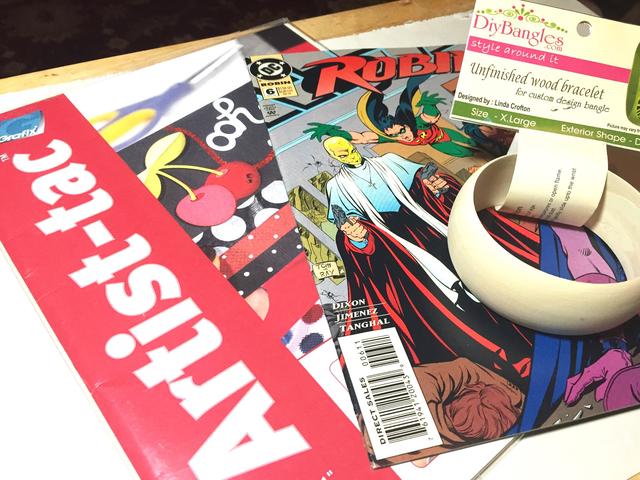
- Grafix Artist-tac
- DIY Bangles: 1 3/4″ domed unfinished wood bracelet
- Comic Book
- Paper Trimmer
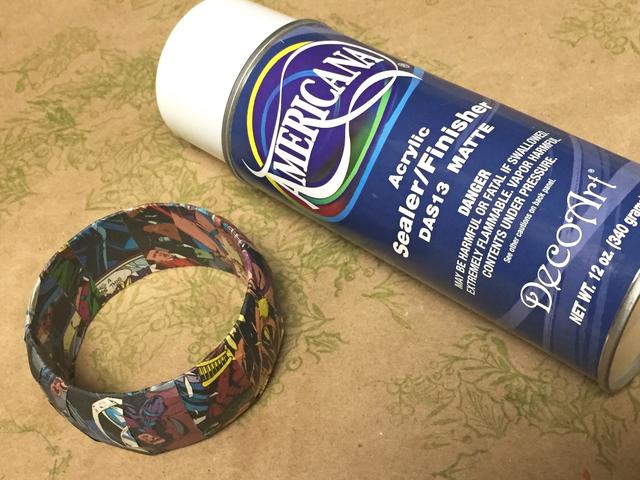
- Deco Art: Americana Matte Acrylic Sealer
NOTE: Artist-tac by Grafix is a dry adhesive that is great for adhering paper and more to all kinds of surfaces. Works great for with vellum and ribbons too.
Steps to Make This:
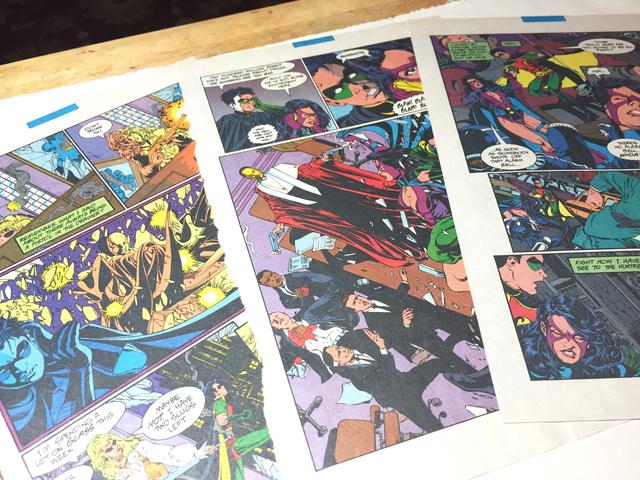
- Tear out a few pages from your comic book.
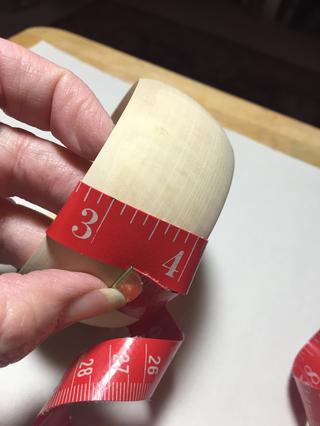
- Wrap a tape measure around the bangle to see how long your paper strips need to be. Add about 1/2″ to the measurement to allow for a bit of overlap.
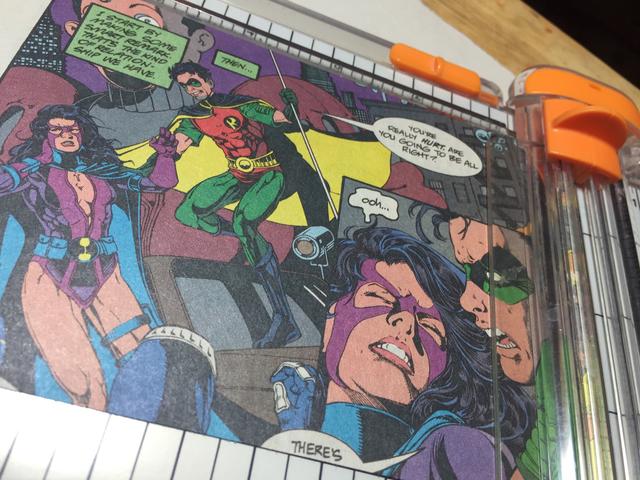
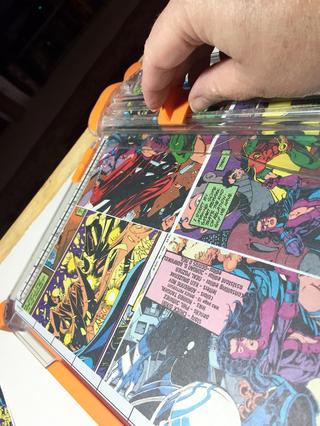
- Cut pieces of comic book pages the length of your measurement, I made my pieces 4″ X 4″, and cut 4 of them as about 12-14,1″ strips were needed for my bracelet.
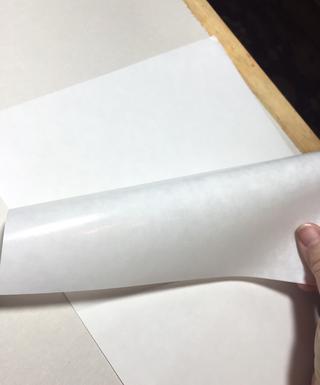
- Peel away a portion of the white liner from the Artist-tac sheet to expose the adhesive. (I find it easier to work with if I only reveal a portion of the adhesive at a time).
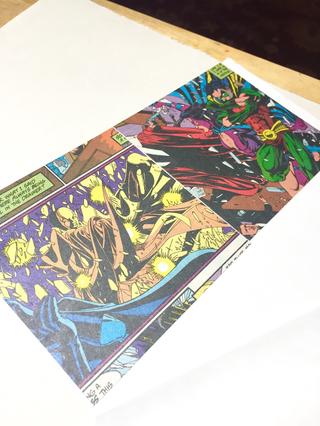
- Lining up corners and edges, lay 2 of your cut comic pieces on the adhesive sheet, pull the liner further down and add the other pieces.
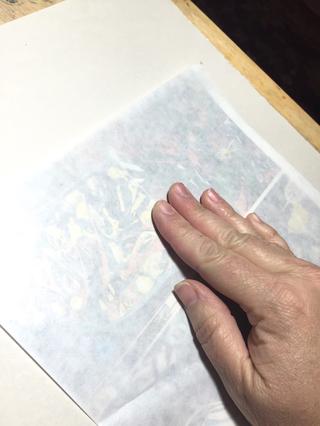
- Lay the liner back down over comic pieces and smooth with your hand to make sure the adhesive well adheres to the back of the paper.
- Then remove the liner and cut out comic pieces from the adhesive sheet. (If there is a portion of the Artist-tac sheet that has been unused, you can cut it off and save it for another project).
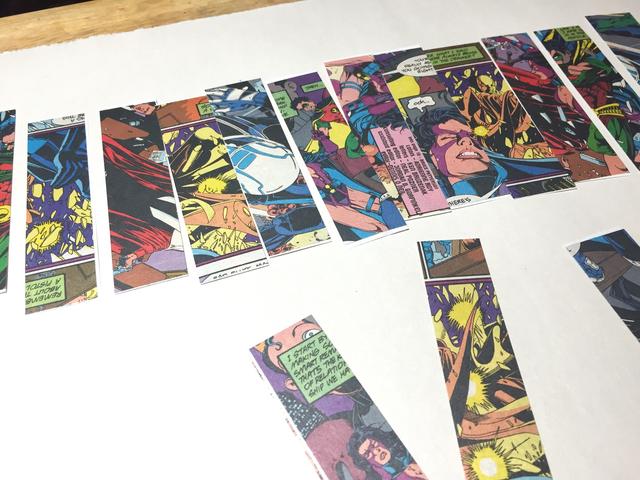
- Cut each comic piece into 1″ strips and arrange in the order you would like them to adhere. I wanted to mix the colors and patterns.
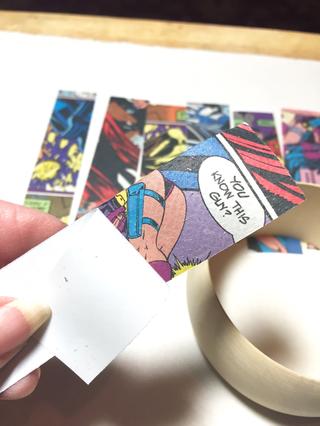
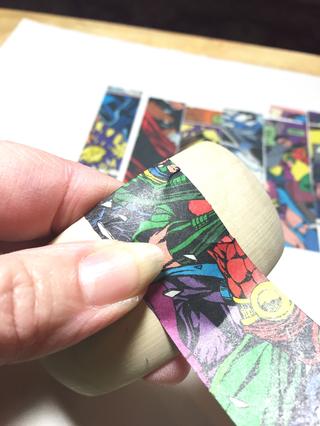
- Peel the backing off a portion of one end of a paper strip to expose the adhesive.
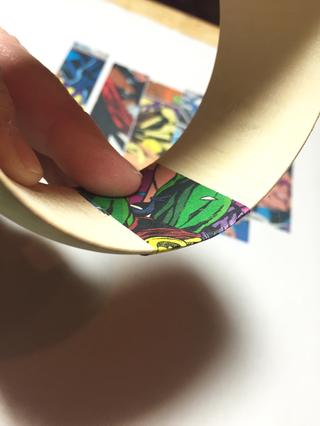
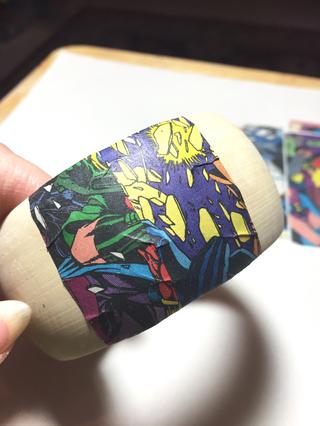
- Position the end about halfway down on the inside of the bracelet and rub to adhere.
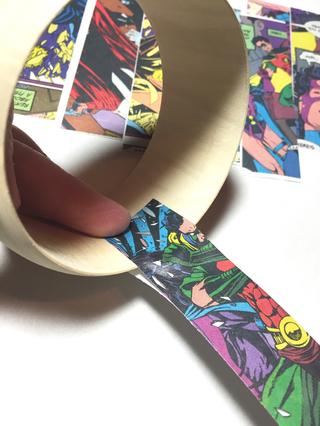
- Continue to remove the backing a little at a time, rubbing the strip as you go, to adhere it to the bracelet.
- Remove the backing and adhere the end of the strip to the inside of the bracelet, overlapping the other end.
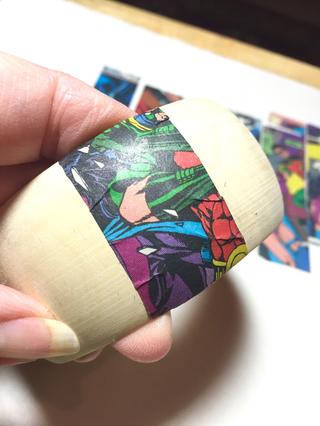
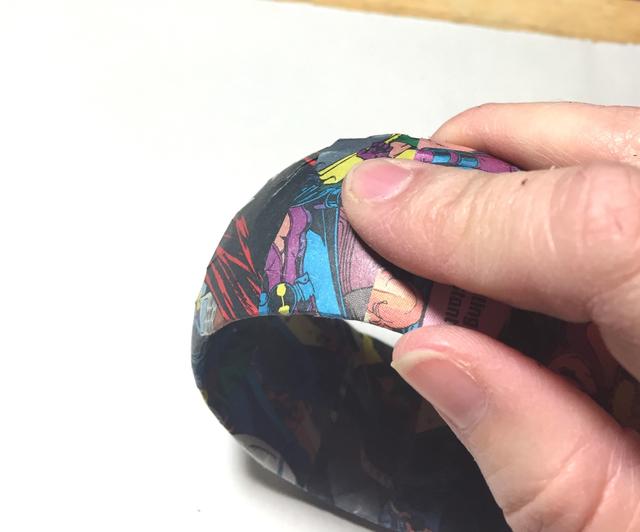
- Smooth strip with your fingers to be sure it’s well adhered and to smooth out some of the wrinkles.
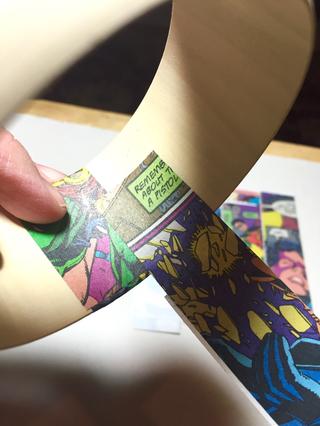
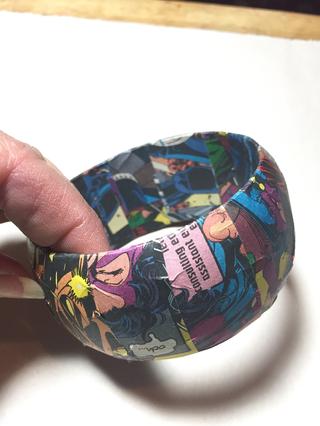
- Begin adding additional strips, overlapping the previous one a little bit. Make sure you are adhering all the strips in the same direction.
- The second strip adhered. Be sure that you rub and smooth each strip as you apply it.
- Once all the strips have been adhered, go over the entire piece again, rubbing and smoothing the paper across the surface inside and out. Be sure you do the edges too.
- Add a coat of two of a finishing spray to protect your bracelet.
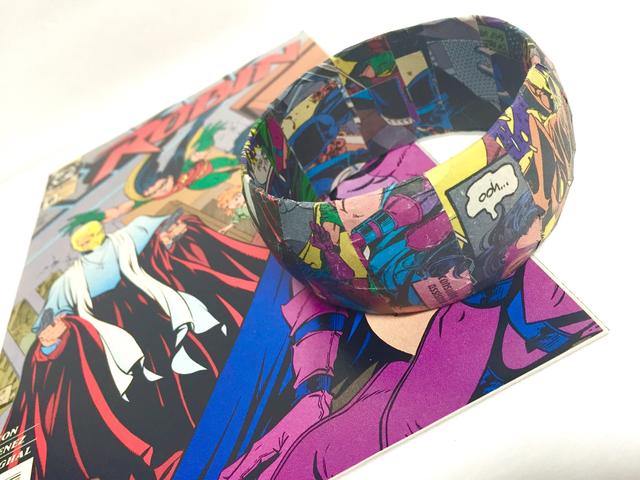
- Finished bracelet!

