Gold and Silver Shrink Film Star Card
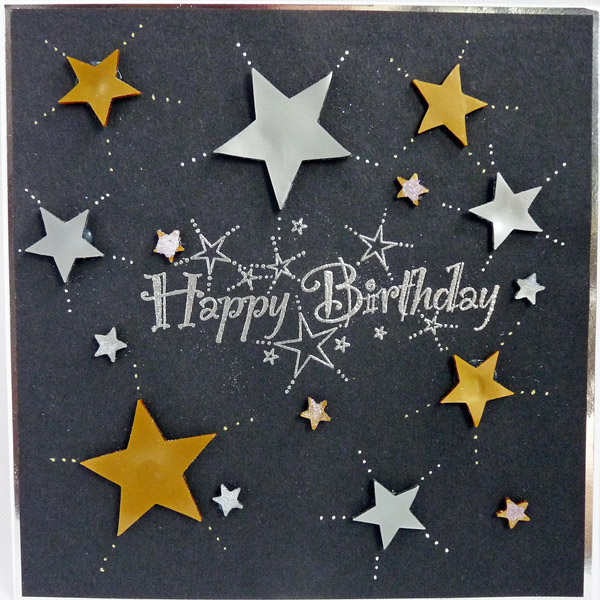
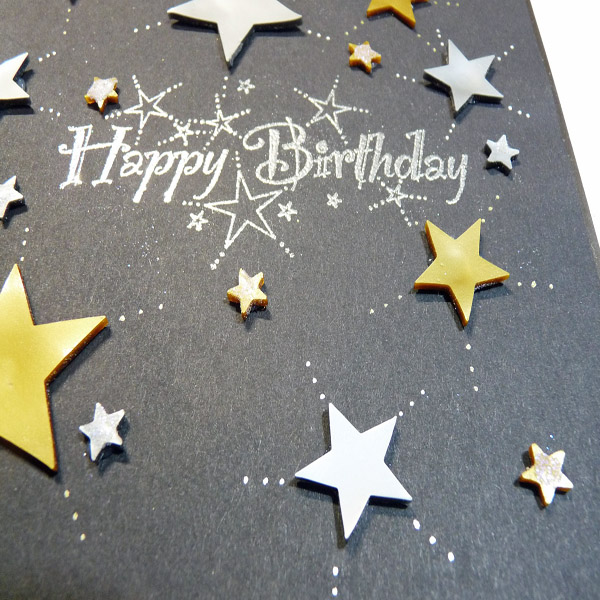
Project Description: Embellish your cards with Grafix Metallic Shrink Film for more pizazz! Try making this Gold and Silver Star card design using three different techniques ranging from easy to challenging.
Designed by: Kay Molyneux
Difficulty: Easy, Moderately Challenging and Challenging
Materials:
- Grafix Metallic Shrink Film- Gold and Silver
- Silver Foil Board 5 3/4″
- White Square Card Blank 6″
- Black Square Card Blank 5 1/2”
- Sentiment Stamp of Choice
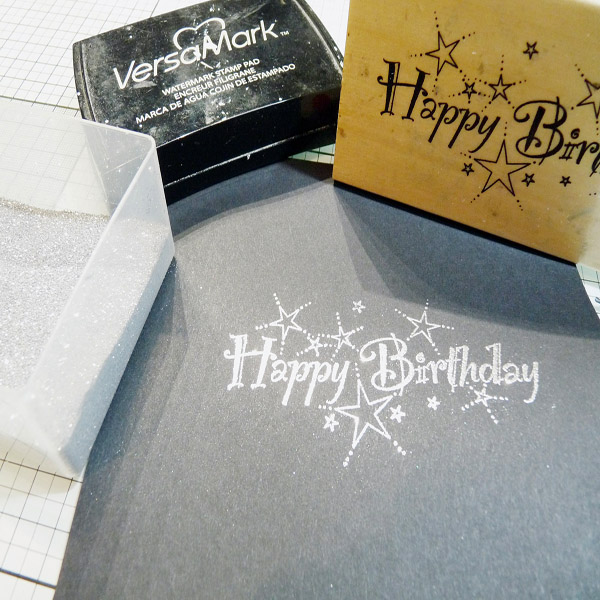
- Vera-Mark Ink Pad and Silver Embossing Powder or Metallic Silver ink pad
- StazOn ink pad for intermediate technique
- White Glitter
- PVA Glue
- Silicone Glue
- Silver Gel Pen
- Craft heat tool (Ranger) – see note 1
- Anti-static Bag
- Wooden Block
Steps to Make This:
- To create the background, stamp the sentiment stamp using the metallic ink pad in the center of the black card.
- Rub antistatic bag over the black card. Stamp the sentiment stamp with Versa-Mark pad cover with silver embossing powder, remove excess and heat with the heat tool to melt it.
- Glue the silver board onto the front of the card blank, leaving an even boarder all-round. Then attach the black card to the silver, again leaving an even border.
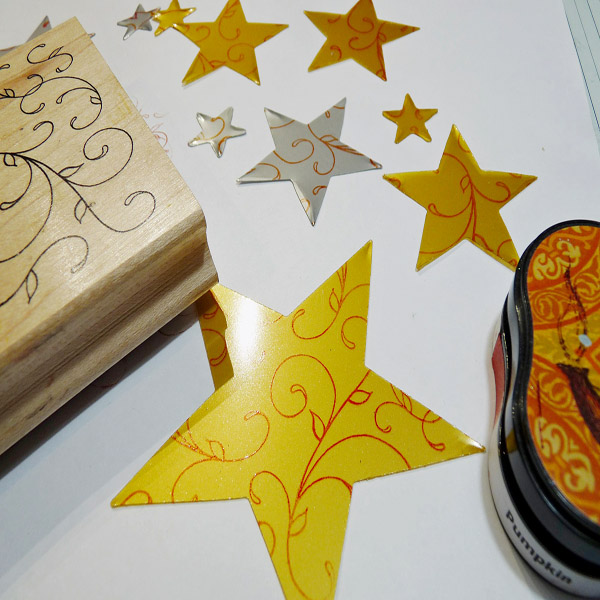
- Cut the gold and silver Shrink Film into about 15-star shapes of different sizes between 1” and 3”. This can be freehand, with a template or with a die cut machine.
- Depending on your skill level you can use the following techniques:
- For the easy technique, heat and shrink each of the stars following the instructions on the packaging.
- For the intermediate technique, stamp each of the larger stars with the background stamp and StazOn ink and heat shrink all of the stars to the instructions on the packaging.
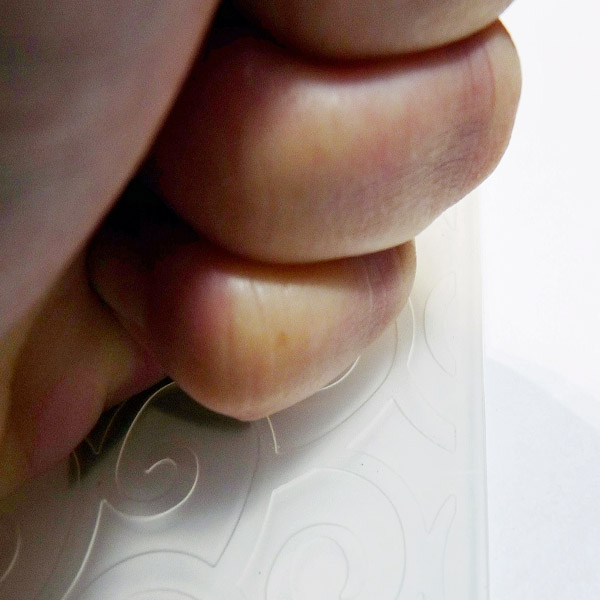
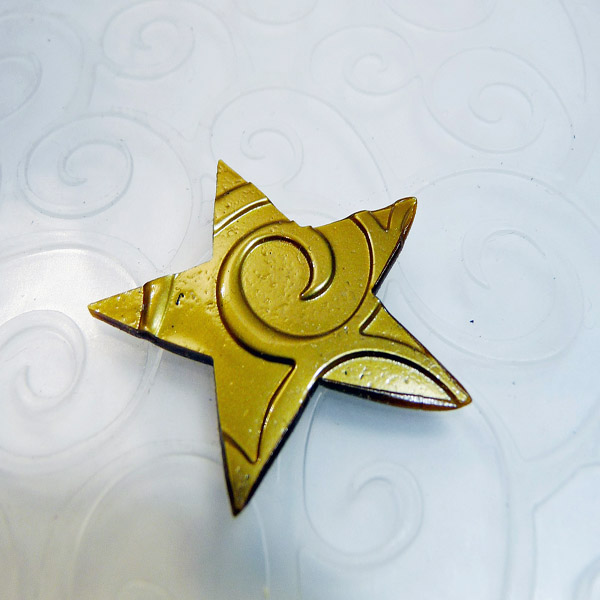
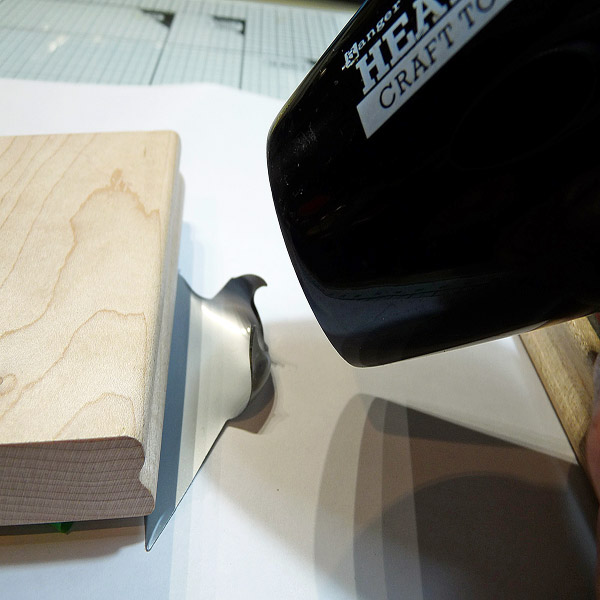
- For the advanced technique, add an embossing folder with a small detail design and have open and ready. With the heating tool, heat a star until it shrinks using the wooden block to keep the film in place. Keep the heat on to the star and move to the embossing folder (use tweezers being careful not to mark the star). Then remove the heat and immediately close the embossing folder and press firmly over the star. Remove when cooled. Repeat for all the stars.
- Add a little glue and then the glitter to each of the smallest stars. Arrange all the stars around the sentiment and attach to the card with silicone glue.
- To finish each card use the gel pen to add decorative details.
Notes
1. A craft heat tool is essential for the advanced technique and the heat embossing of the sentiment. However, an oven can be used to shrink the film for both the easy and intermediate techniques and a silver sticker or die cut sentiment could replace the stamped/heat embossed one.


