Grafix Lesson Plan: Lesson 6
Project Description: The student will choose their best idea and then transfer the design to Shrink Film and add color.
Designed by: Kirby Meng
Difficulty: Easy
Materials:
- Grafix Shrink Film – Sanded and Clear
- Paper and pencil for planning
- Permanent markers
- Colored pencils
- Pin backs
- Toaster oven or embossing heat gun for shrinking the film
Steps to Make This:
- Discuss graphic design and the use of color and design elements to promote any number of products, from soup to clothing, to events. Have students look for examples of design used in advertising. Examples can also be found in Communication Arts Design and Advertising annuals if you have access to those or Print magazine.
- One quarter sheet of Grafix Shrink Film is a great size to make a pin (4.25″ x 5.5″).
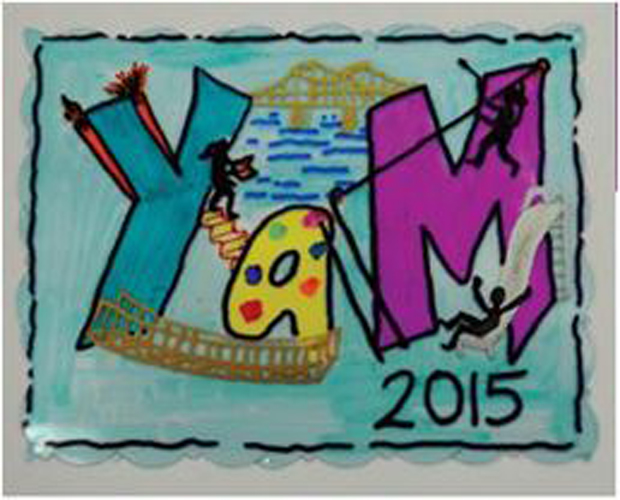
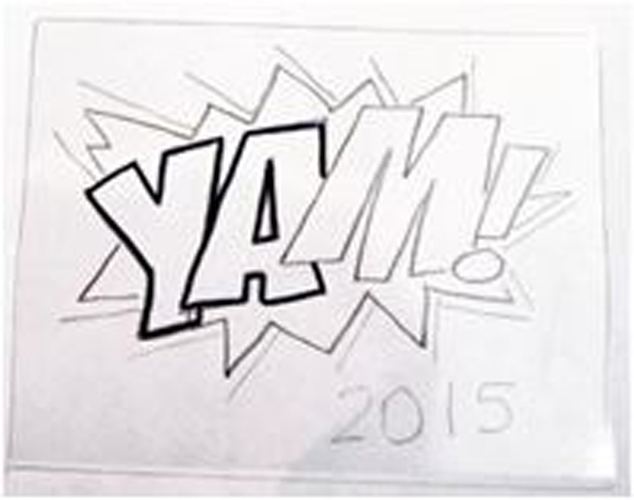
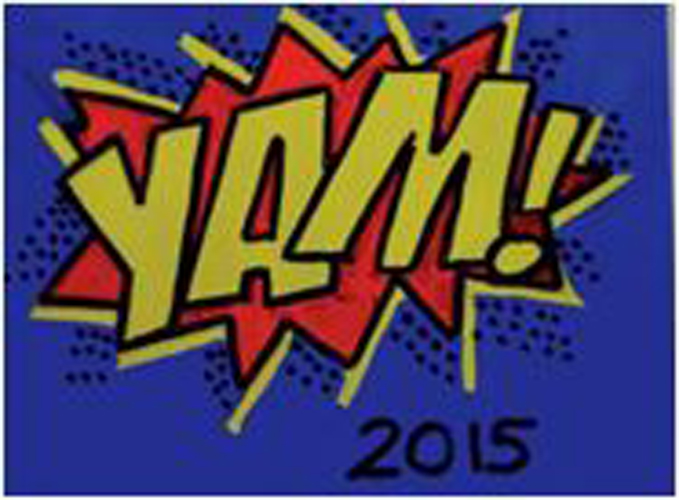
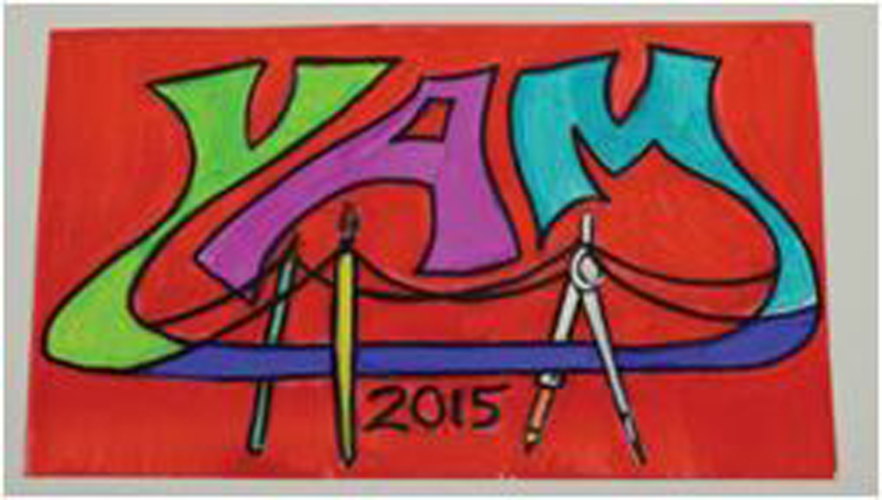
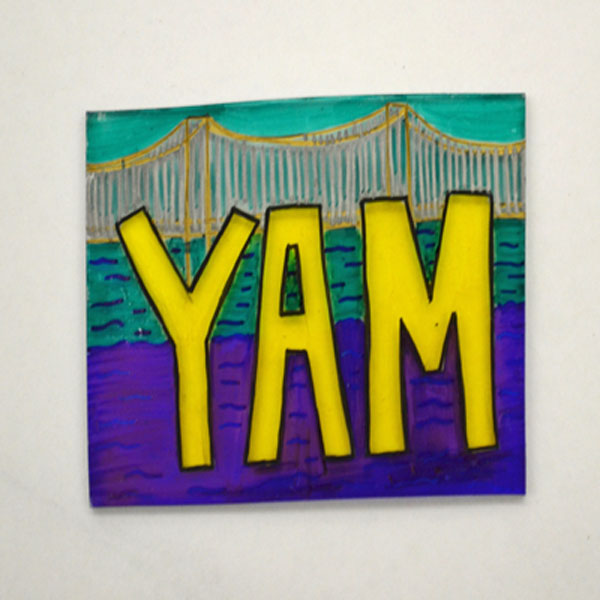
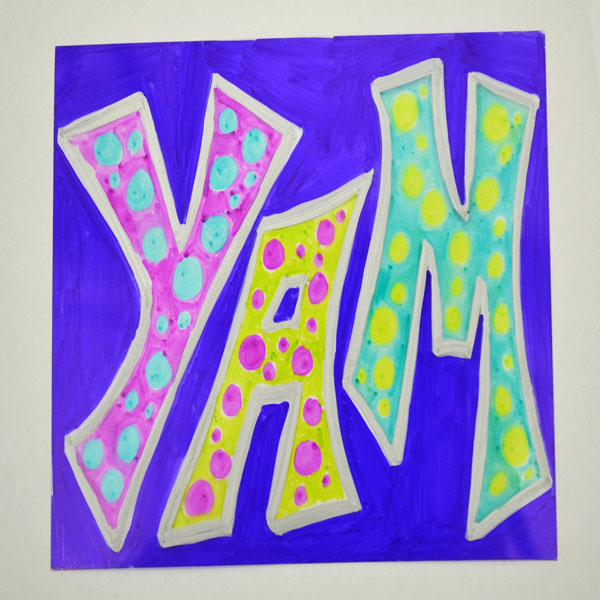
- Sketch some ideas for YAM pin designs that would fit the size of the film you have chosen to use. I like to have the letters YAM written out large for very young students to trace…then they can creatively add to the design.
- Choose the best design. Place a piece of Shrink Film over the design, trace and add color with permanent marker if using Clear Shrink Film. Or try using Sanded Shrink Film with colored pencils, which is great for younger kids. A decorative edge can be cut with craft scissors or holes punched out if desired.
- Shrink according to directions.
- Add pin back and wear proudly!

